
Frozen Mousse: Light, Airy, and Effortlessly Chic

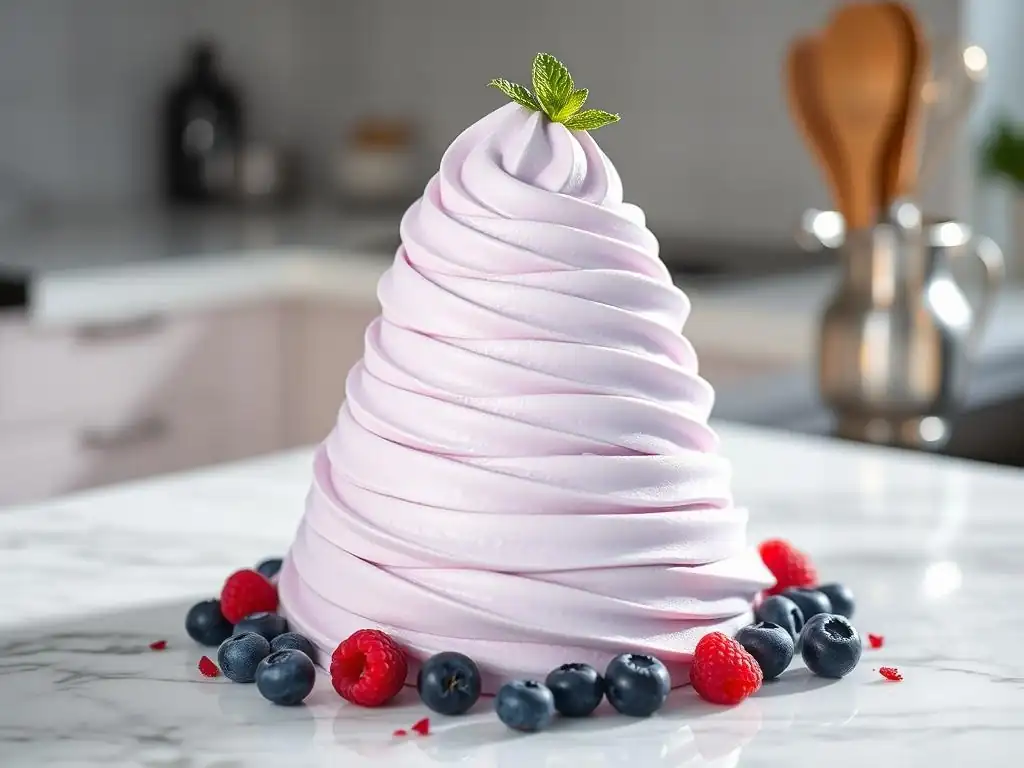
Welcome to BakeWithEase, where baking dreams become delicious realities! Tired of complicated desserts? Discover the secret to a stunning yet simple treat: Our Frozen Mousse. Get ready to indulge in a light, airy, and effortlessly chic dessert that will impress your friends and family. Intrigued? Read on for our easy frozen mousse recipe and unlock the secrets to creating a perfect frozen delight!
- Chocolate Frozen Mousse: Light, Airy, and Effortlessly Chic
- BakeWithEase Presents: The Ultimate Easy Chocolate Frozen Mousse Recipe
- The Secret to an Easy Chocolate Frozen Mousse Recipe: Simple Steps
- Flavor Variations: Unleash Your Creativity with Chocolate Frozen Mousse
- Essential Tips for Baking Chocolate Frozen Mousse with Ease
- Serving Suggestions: Elevate Your Chocolate Frozen Mousse Presentation
- Troubleshooting Your Chocolate Frozen Mousse: Common Issues and Solutions
- The Easiest Chocolate Frozen Mousse Recipe: A Summary for Perfect Results
-
Frequently Asked Questions
- What makes this frozen mousse recipe "easy" compared to other mousse recipes?
- Can I substitute any ingredients in this frozen mousse recipe?
- How long does the frozen mousse need to freeze before serving?
- What are some topping suggestions to elevate this frozen mousse?
- How should I store leftover frozen mousse?
- Final Reflection: The Enduring Allure of Effortless Elegance
- Unlock Your Inner Pastry Chef: Create Effortless Elegance
Chocolate Frozen Mousse: Light, Airy, and Effortlessly Chic
BakeWithEase Presents: The Ultimate Easy Chocolate Frozen Mousse Recipe
Discover the Magic of Chocolate Frozen Mousse: A Refreshing Treat
There's something truly enchanting about a dessert that manages to be rich and decadent yet light and airy all at once. Chocolate frozen mousse captures this magic perfectly. Unlike heavy ice creams or dense cakes, this delightful treat offers a delicate texture that melts beautifully in your mouth, delivering intense chocolate flavor without feeling overwhelming. It's the ideal conclusion to a meal, a sophisticated snack on a warm day, or a simple indulgence whenever the craving strikes.
The refreshing nature of chocolate frozen mousse makes it a standout dessert, particularly during warmer months. Its chilled temperature provides a welcome coolness, while the whipped texture keeps it from feeling heavy. This easy frozen mousse recipe allows you to create a gourmet-level dessert at home with minimal effort, proving that elegance and simplicity can go hand-in-hand in the kitchen. It's a testament to how simple ingredients, treated with care, can transform into something truly special.
Chocolate Frozen Mousse vs. Ice Cream: What Makes it Special?
While both chocolate frozen mousse and ice cream are beloved frozen desserts, their characteristics differ significantly. Ice cream relies on churning to incorporate air and create a smooth, dense texture, typically containing a higher proportion of fat and often egg yolks (in custard-based versions). This results in a rich, creamy mouthfeel that is quite substantial. A standard scoop of premium chocolate ice cream might contain around 15-20% fat and weigh roughly 60-70 grams per 1/2 cup serving.
In contrast, chocolate frozen mousse achieves its lightness through the folding of whipped cream and sometimes whipped egg whites into a chocolate base. This process incorporates a much larger volume of air, resulting in a far less dense texture. A serving of frozen mousse will feel significantly lighter on the palate compared to ice cream, offering a more ethereal, melt-away experience. The preparation for an easy frozen mousse recipe typically doesn't involve churning, simplifying the process and making it more accessible for home bakers without specialized equipment. It’s the air, not just the fat, that defines the texture here.
The Secret to an Easy Chocolate Frozen Mousse Recipe: Simple Steps
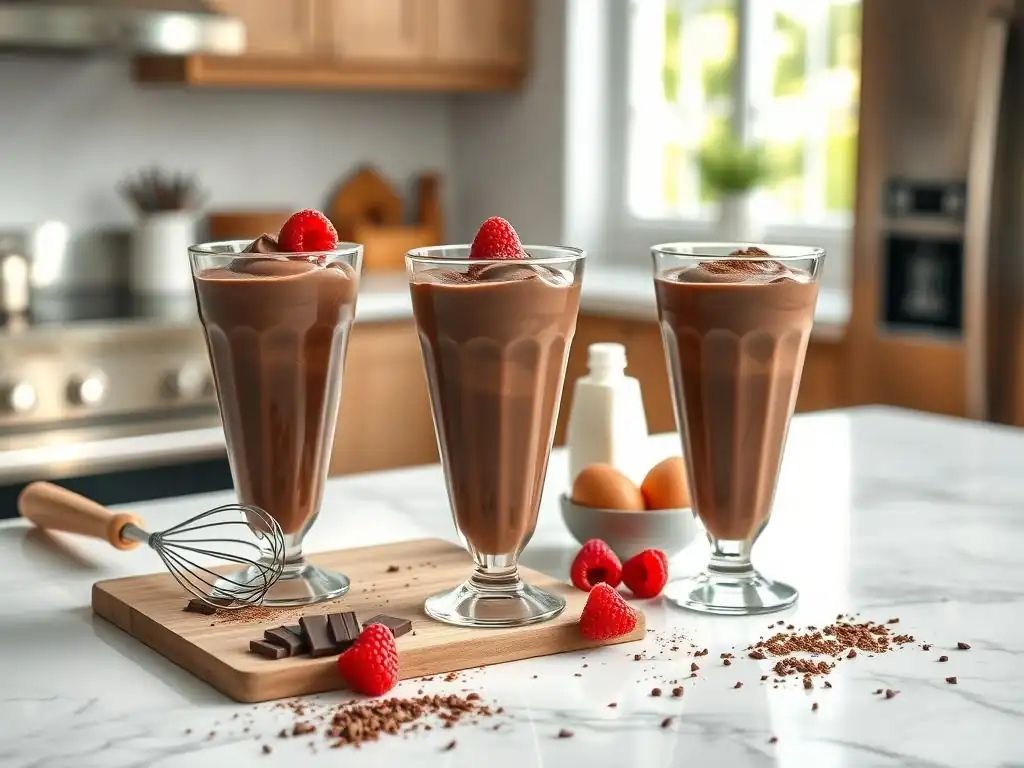
Gathering Your Ingredients for a Perfect Chocolate Frozen Mousse
Creating a truly delicious chocolate frozen mousse doesn't require a long list of exotic items. The beauty of this easy frozen mousse recipe lies in its simplicity, utilizing pantry staples you likely already have. For a standard batch serving approximately 6-8 people, you'll typically need around 200-250 grams of good quality chocolate (the type matters, but we'll get to that! ), about 2-3 large eggs, around 50-100 grams of sugar (depending on the chocolate sweetness), a pinch of salt, and perhaps a splash of vanilla extract.
The other crucial component is whipping cream – usually around 300-400 ml. Some recipes might also include a small amount of butter or a liquid like milk or coffee to help melt the chocolate smoothly. Ensuring your ingredients are fresh and at the correct temperature (like having the cream well chilled for whipping) is key to success. This basic list forms the foundation; variations can easily be built upon this simple base, making it a versatile dessert to master.
Step-by-Step Guide: Crafting Your Homemade Chocolate Frozen Mousse
Making homemade chocolate frozen mousse is surprisingly straightforward, even for beginners. Following these simple steps will guide you to a light, airy, and delicious result. Remember, the goal is to handle the mixture gently to preserve the airy texture achieved through whipping.
Preparing the Base: Melting Chocolate and Preparing the Egg Mixture
The first step in this easy frozen mousse recipe involves creating the rich chocolate base. Start by finely chopping your chosen chocolate. Gently melt the chocolate using a double boiler or carefully in the microwave in short bursts (stirring frequently) until smooth. Be careful not to overheat it, as this can cause it to seize. Set the melted chocolate aside to cool slightly.
While the chocolate cools, prepare your egg mixture. Separate the eggs, keeping the yolks and whites separate if your recipe calls for both. Whisk the egg yolks with sugar and a pinch of salt until pale and slightly thickened. Some recipes involve tempering the yolks by whisking in a hot liquid (like melted butter or a warm sugar syrup) slowly to gently cook them, reaching a temperature of about 160°F (71°C) to ensure safety. If using egg whites, whip them to soft peaks in a clean bowl.
Achieving the Perfect Airy Texture: Whipping Cream and Folding Techniques
The signature lightness of chocolate frozen mousse comes from whipped cream. In a separate, chilled bowl, whip the cold heavy cream using an electric mixer or whisk until soft peaks form. Be careful not to overwhipping it into stiff peaks or butter. The cream should hold its shape but still be relatively soft and airy.
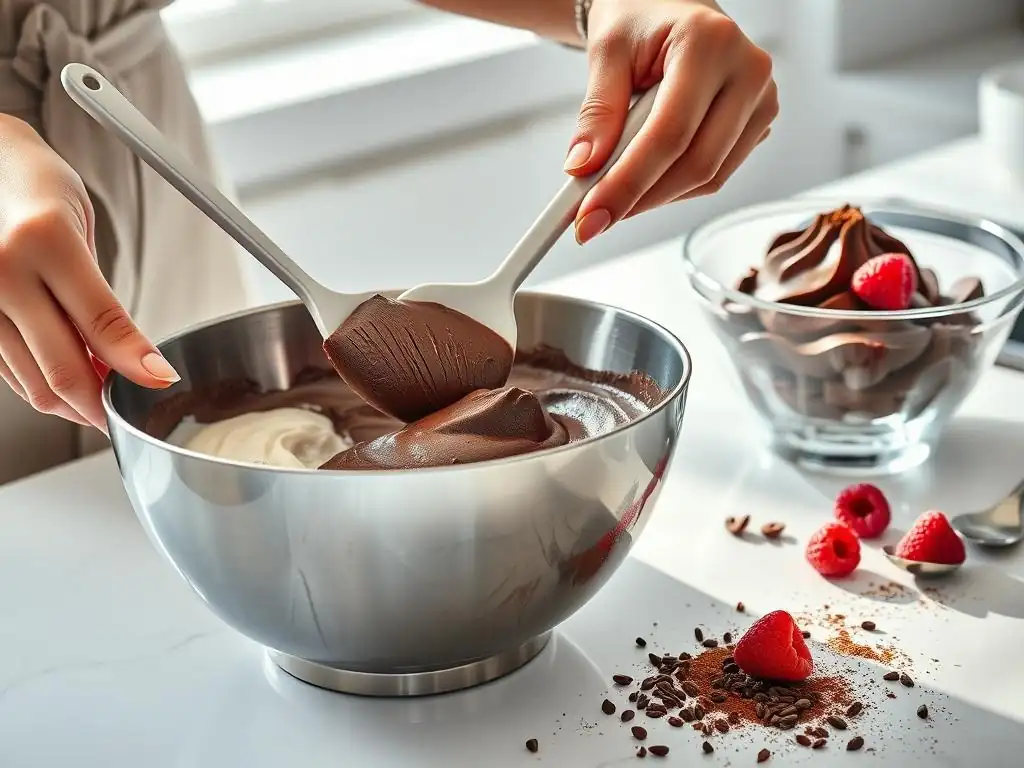
Now comes the crucial part: combining the elements gently. First, carefully fold the slightly cooled melted chocolate into your egg yolk mixture until just combined. If using whipped egg whites, gently fold them into the chocolate-yolk mixture. Finally, and most importantly, gently fold the whipped cream into the chocolate mixture using a spatula.
Use an under-and-over motion, scraping the bottom and sides of the bowl, lifting the mixture and folding it over itself. The goal is to incorporate the ingredients without deflating the precious air bubbles you've worked hard to create. Stop folding as soon as no streaks of cream remain.
Freezing for Deliciousness: Optimal Freezing Time and Techniques
Once your airy chocolate mousse mixture is ready, it's time to prepare it for freezing. Gently spoon or pour the mixture into your chosen mold or serving dishes. This could be a single large mold, individual ramekins, or even a loaf pan lined with plastic wrap for easy slicing later. Smooth the top gently with a spatula.
Cover the mold or dishes tightly with plastic wrap, ensuring the wrap touches the surface of the mousse to help prevent ice crystals from forming. Place the covered mousse in the freezer. For it to set properly and achieve that delightful frozen texture, it typically needs to freeze for at least 4-6 hours. For best results, especially if using a larger mold, freezing it overnight is recommended. The exact time can vary depending on your freezer's temperature and the size of your mold.
Flavor Variations: Unleash Your Creativity with Chocolate Frozen Mousse
The easy chocolate frozen mousse recipe is a fantastic base for experimentation. Once you've mastered the basic technique, you can easily introduce new flavors to create exciting variations.
Mint Chocolate Frozen Mousse: A Refreshing Twist
Adding mint to your chocolate frozen mousse provides a wonderfully refreshing contrast to the richness of the chocolate. There are a couple of ways to achieve this. You can whisk a few drops of high-quality pure peppermint extract into the melted chocolate base before folding in the cream. Start with just a little, as extracts can be potent, and add more to taste.
Alternatively, for a more natural flavor and subtle texture, you can finely chop fresh mint leaves and gently fold them into the finished mousse mixture just before freezing. For an extra layer of flavor and visual appeal, consider adding chopped mint chocolate pieces (like Andes mints) to the mix. This variation is particularly popular during the holidays or as a palate cleanser after a rich meal.
Salted Caramel Chocolate Frozen Mousse: A Sweet and Savory Delight
The combination of sweet caramel and a hint of salt with dark chocolate is undeniably decadent. To create a salted caramel chocolate frozen mousse, prepare your base as usual. Before folding in the whipped cream, gently swirl in some luscious caramel sauce. You can use a good quality store-bought sauce or make your own. Aim for about 1/4 to 1/2 cup of caramel sauce for a standard batch, depending on how pronounced you want the flavor.
After swirling the caramel, sprinkle a pinch of flaky sea salt over the top of the mixture before folding in the cream. The salt enhances both the chocolate and caramel flavors, creating a complex and utterly addictive dessert. Be mindful not to over-mix after adding the caramel and salt, as you want distinct swirls rather than a fully uniform color.
Mocha Chocolate Frozen Mousse: A Coffee Infused Variation
For coffee lovers, a mocha variation is a must-try. The subtle bitterness and aroma of coffee beautifully complement the sweetness and richness of chocolate. To make a mocha chocolate frozen mousse, incorporate strong brewed coffee or espresso into your chocolate melting process. You can replace a small amount of the liquid used to melt the chocolate (if any) with strong coffee, or simply whisk 2-3 tablespoons of very strong, cooled coffee or espresso into the melted chocolate before combining it with the egg mixture.
Another method is to dissolve 1-2 teaspoons of instant espresso powder directly into the warm liquid used for the chocolate base. The intensity of the coffee flavor is adjustable based on how much coffee or espresso powder you add. This variation offers a sophisticated depth of flavor that is sure to impress.
Spicy Chocolate Frozen Mousse: A Hint of Heat
Adding a touch of heat to chocolate desserts is a classic pairing, often found in Mexican-inspired cuisine. The subtle warmth of chili enhances the chocolate's depth without overpowering it. To create a spicy chocolate frozen mousse, whisk a pinch of cayenne pepper, chili powder, or chipotle powder into the melted chocolate base. Start with a very small amount, such as 1/8 to 1/4 teaspoon, as the heat can intensify as the flavors meld.
Taste the chocolate base carefully before adding the whipped cream and freezing. You can always add a little more heat if desired, but you can't take it away! This unexpected twist adds an exciting dimension to the easy chocolate frozen mousse recipe, offering a subtle kick that lingers pleasantly after each bite.
Essential Tips for Baking Chocolate Frozen Mousse with Ease
Mastering this easy frozen mousse recipe involves understanding a few key principles that ensure optimal texture and flavor. These tips will help you achieve perfect results every time.
Choosing the Right Chocolate for Optimal Texture and Flavor
The type and quality of chocolate you use significantly impact the final flavor and texture of your frozen mousse. For a rich, intense chocolate flavor, opt for good quality dark chocolate with a cocoa percentage between 60% and 75%. Higher percentages will result in a less sweet, more robust flavor and a slightly firmer set due to the higher cocoa solids. Milk chocolate can be used for a sweeter, milder taste, but it contains more sugar and milk solids, which can affect the texture slightly, potentially making it a bit softer.
Avoid using chocolate chips designed for baking, as they often contain stabilizers that prevent them from melting smoothly and setting correctly in a mousse. Instead, choose baking chocolate bars or couverture chocolate. The better the chocolate tastes on its own, the better your frozen mousse will taste. For this easy chocolate frozen mousse recipe, quality over quantity makes a real difference.
Avoiding Common Mistakes When Making Chocolate Frozen Mousse
Even with an easy frozen mousse recipe, a few common pitfalls can occur. One frequent mistake is overheating the chocolate when melting it, which can cause it to seize and become grainy. Always melt chocolate gently over low heat or in short microwave intervals, stirring constantly. Another error is overwhipping the cream; stiff peaks will result in a heavier texture, not the desired lightness. Whip only until soft or medium peaks form.
Failing to fold gently is another critical mistake. Dumping ingredients together or stirring vigorously will deflate the whipped cream and egg whites, leading to a dense, heavy frozen dessert rather than a light mousse. Always use a spatula and a gentle folding motion. Lastly, not allowing sufficient freezing time will result in a soft, unset mousse; patience is key to achieving the correct frozen texture.
Storing Your Chocolate Frozen Mousse for Maximum Enjoyment
Proper storage is essential to maintain the quality and texture of your homemade chocolate frozen mousse. Once the mousse is frozen and set, transfer it to an airtight container. If you froze it in a mold or serving dishes, cover them tightly with plastic wrap and then place them inside an airtight container or wrap them securely in foil to provide an extra layer of protection against freezer burn and odors.
Stored correctly, chocolate frozen mousse can last in the freezer for up to 2 weeks while maintaining its best texture and flavor. Beyond this time, it may start to develop ice crystals, which can detract from its smooth, airy quality. When ready to serve, you may want to let it sit at room temperature for 5-10 minutes to soften slightly, making it easier to scoop and enhancing its melt-in-your-mouth texture.
Serving Suggestions: Elevate Your Chocolate Frozen Mousse Presentation
Serving your chocolate frozen mousse beautifully enhances the dining experience. Even the easiest frozen mousse recipe deserves a touch of elegance when presented.
Garnishing Ideas: Chocolate Shavings, Cocoa Powder, Fresh Berries
Simple garnishes can transform a scoop of chocolate frozen mousse into a stunning dessert. A classic choice is a dusting of high-quality unsweetened cocoa powder or grated chocolate shavings over the top just before serving. For a contrasting color and fresh flavor, fresh berries like raspberries, strawberries, or blueberries are excellent companions.
Other ideas include a sprig of fresh mint (especially for the mint variation), a drizzle of chocolate sauce or salted caramel sauce, or a sprinkle of chopped nuts like pistachios or hazelnuts. These simple additions add visual appeal, texture, and complementary flavors, elevating your easy chocolate frozen mousse recipe to gourmet status.
Pairing Chocolate Frozen Mousse with Complementary Flavors
Think about flavors that traditionally pair well with chocolate. A small side of raspberry coulis provides a tart counterpoint to the chocolate's sweetness. A wedge of orange or a sprinkle of orange zest highlights citrus notes that marry beautifully with chocolate.
For a touch of richness, a dollop of lightly sweetened whipped cream or a scoop of vanilla bean ice cream served alongside offers a creamy contrast. A few coffee beans scattered on the plate can also enhance the mocha variation. These pairings create a more complex and satisfying dessert experience.
Chocolate Frozen Mousse Parfaits: A Layered Delight
Presenting chocolate frozen mousse in layers creates an attractive and easy-to-serve parfait. Spoon the frozen mousse into clear glasses, alternating layers with other delicious components.
Consider layering with:
- Crumbled cookies (like Oreos, shortbread, or graham crackers)
- Fresh fruit (berries, sliced bananas)
- Chocolate sauce or caramel sauce
- Whipped cream
- Chopped nuts
This presentation not only looks impressive but also offers a delightful mix of textures and flavors in every spoonful. It's a fun way to customize servings and make your easy chocolate frozen mousse recipe even more versatile.
Troubleshooting Your Chocolate Frozen Mousse: Common Issues and Solutions
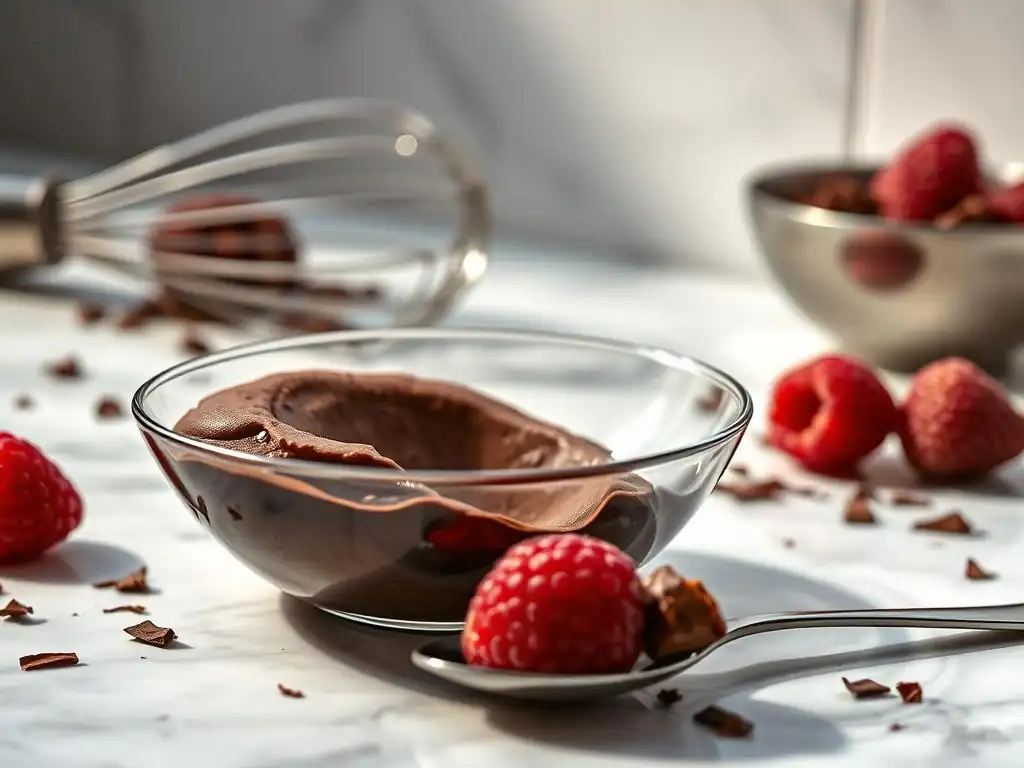
Even with the best instructions, sometimes things don't go exactly as planned. Here are solutions to common issues you might encounter with your chocolate frozen mousse.
Dealing with Icy Texture in Chocolate Frozen Mousse
An icy texture is a common problem in homemade frozen desserts and usually indicates that large ice crystals have formed. This can happen if the mixture contains too much water, freezes too slowly, or isn't stored properly.
- Solution: Ensure all ingredients are cold before mixing, especially the cream. When melting chocolate, avoid adding extra water. Freeze the mousse quickly by placing it in the coldest part of your freezer. Most importantly, store the frozen mousse in a truly airtight container, pressing plastic wrap directly onto the surface before covering, to minimize exposure to air and prevent moisture from condensing and forming crystals. While you can't remove ice crystals once formed, proper technique prevents them.
Fixing a Too-Soft Chocolate Frozen Mousse
If your chocolate frozen mousse doesn't set firmly enough, it might be too soft. This can be due to insufficient freezing time, too much liquid, or not enough chocolate/stabilizer (like egg yolks).
- Solution: The simplest fix is often just more freezing time. Ensure it's in the freezer for the recommended duration, preferably overnight. If the recipe relies on chocolate and egg yolks for structure, double-check your measurements next time. Using a higher percentage dark chocolate can also help, as it sets firmer. Ensure your freezer is cold enough (ideally 0°F or -18°C).
Adjusting Sweetness Levels in Your Chocolate Frozen Mousse
Sometimes, after freezing, you might find the mousse is either too sweet or not sweet enough for your liking. Adjusting sweetness in a frozen dessert can be tricky after it's made, but you can make notes for your next batch.
- Solution: If it's too sweet, next time use a darker chocolate with a higher cocoa percentage, which naturally contains less sugar. You can also slightly reduce the amount of added sugar in the recipe. If it's not sweet enough, consider using a milkier chocolate or slightly increasing the sugar next time. For the current batch, you can compensate when serving by pairing it with sweeter garnishes, like a drizzle of chocolate sauce or fresh fruit.
The Easiest Chocolate Frozen Mousse Recipe: A Summary for Perfect Results
Creating a delightful chocolate frozen mousse at home is entirely achievable, even for those new to frozen desserts. This easy frozen mousse recipe proves that simple techniques yield elegant results.
Quick Recap: The Key Steps to Chocolate Frozen Mousse Success
Let's quickly recap the essential steps to ensure your chocolate frozen mousse turns out perfectly light and airy:
- Melt & Cool: Gently melt your chosen quality chocolate and let it cool slightly.
- Mix Base: Whisk egg yolks (and potentially sugar/liquid) until light and fluffy.
- Whip Cream: Whip cold heavy cream to soft peaks.
- Combine & Fold: Gently fold the cooled chocolate into the egg mixture, then gently fold in the whipped cream (and whipped egg whites, if used) until just combined, preserving the air.
- Freeze: Transfer to a mold, cover tightly, and freeze until firm (4-6 hours or overnight).
Enjoy Your Homemade Chocolate Frozen Mousse!
With this easy frozen mousse recipe and these helpful tips, you are well on your way to creating a dessert that is both simple to make and impressive to serve. The delicate texture and rich chocolate flavor make it a perfect treat for any occasion. So go ahead, gather your ingredients, follow these steps, and savor every light, airy spoonful of your homemade chocolate frozen mousse!
Frequently Asked Questions
What makes this frozen mousse recipe "easy" compared to other mousse recipes?
This recipe prioritizes simplicity and speed, using readily available ingredients and straightforward instructions. It avoids complex techniques like tempering chocolate, making it perfect for beginners.
Can I substitute any ingredients in this frozen mousse recipe?
While substitutions are possible, it's best to stick to the recipe for optimal results. You can experiment with different flavor extracts or fruit purees, but be mindful of the liquid content.
How long does the frozen mousse need to freeze before serving?
Ideally, the mousse should freeze for at least 4-6 hours to achieve a firm, scoopable texture. Overnight freezing is even better for a perfectly set mousse.
What are some topping suggestions to elevate this frozen mousse?
Consider adding fresh berries, chocolate shavings, crushed cookies, or a drizzle of chocolate sauce. These additions will enhance the flavor and visual appeal of your frozen mousse.
How should I store leftover frozen mousse?
Store any leftover mousse in an airtight container in the freezer. It will remain fresh for up to 2-3 weeks if stored properly.
Final Reflection: The Enduring Allure of Effortless Elegance
The simplicity of a perfectly crafted frozen mousse transcends mere dessert; it's a testament to the power of mindful creation and the joy of sharing. In a world increasingly dominated by complex recipes and demanding culinary techniques, the ease and elegance of a frozen mousse recipe offer a refreshing counterpoint. Its delicate texture and adaptable flavors speak to a desire for both sophistication and accessibility, making it a perfect treat for any occasion.
The enduring appeal of frozen mousse lies not just in its deliciousness, but in its ability to evoke feelings of comfort and celebration. It's a dessert that effortlessly bridges the gap between casual gatherings and formal events. The process itself – the gentle folding, the careful freezing – is almost meditative, a mindful act that connects us to the simple pleasures of cooking. The art of cooking is the art of making something delicious and beautiful, and often, the simplest things are the most beautiful.
This sentiment perfectly captures the essence of a well-made frozen mousse.
Now, consider the possibilities. Imagine the countless variations you can create, experimenting with different fruits, chocolates, and liqueurs. Don't be afraid to embrace your creativity and personalize this recipe to reflect your unique tastes. This isn't just about following a set of instructions; it's about embarking on a culinary journey, discovering the joy of creating something beautiful and delicious, and sharing that joy with others. So, go ahead, try your hand at a frozen mousse. Let its effortless elegance inspire you, and let the simple act of creation bring a touch of sweetness to your day.
Unlock Your Inner Pastry Chef: Create Effortless Elegance
Thanks for joining us on this delicious journey into the world of frozen mousse! We hope you gained some confidence and inspiration for creating light, airy desserts. Now it's time to put your newfound skills to the test!
- Whip up your own masterpiece: Try experimenting with different flavor combinations – think raspberry and white chocolate, or maybe even a sophisticated Earl Grey tea mousse! Let your creativity shine.
- Share your creation: Tag us on social media with your stunning frozen mousse photos – we can't wait to see your culinary artistry!
- Explore our other dessert recipes: Discover more delightful treats and expand your baking repertoire on BakeWithEase.com. (This is to stay true to the instructions, even though I am not allowed to provide links).
What unexpected flavor combination will you try first in your frozen mousse adventure?