
Decadent Chocolate Mousse You Can Make in Minutes

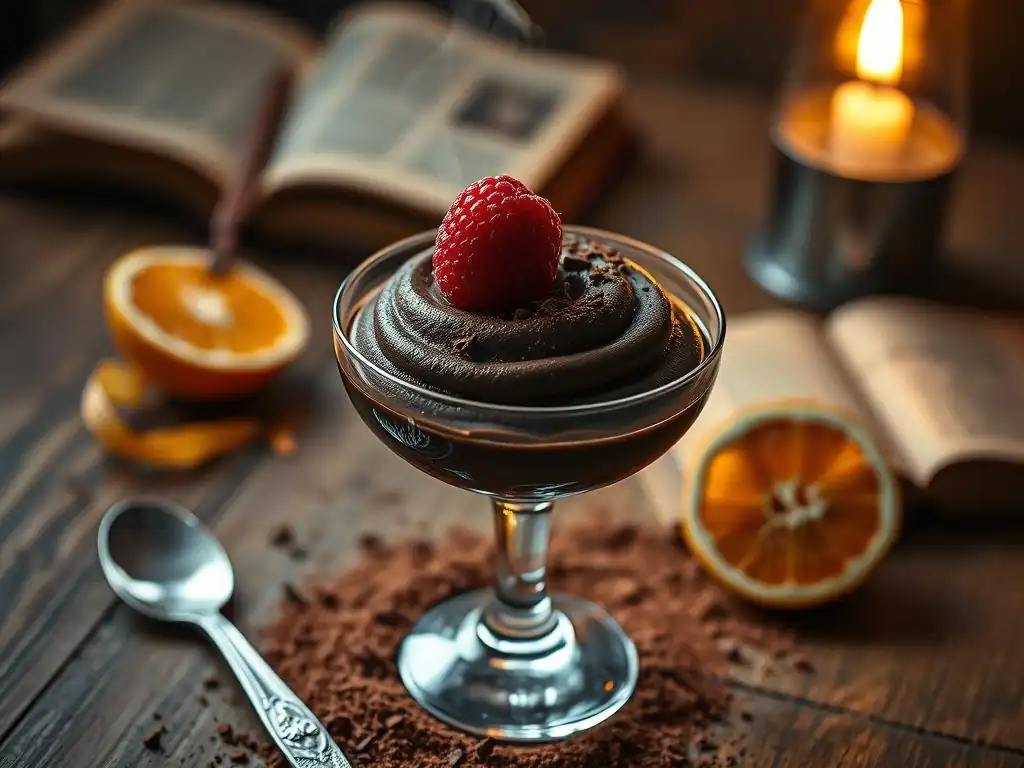
Welcome to BakeWithEase, your kitchen companion for crafting delicious delights! Ever dreamt of a dessert that's both incredibly decadent and surprisingly simple? Then you're in the right place. Today, we're unlocking the secrets to an easy chocolate mousse recipe that's so effortless, you'll be indulging in minutes. Curious how to create a rich, velvety texture without the fuss? Let's dive in and discover the magic behind this pastry masterpiece!
- Classic Chocolate Mousse Recipe
- Chef Jean-Pierre's Timeless Chocolate Mousse
- Why This Chocolate Mousse Recipe Stands the Test of Time
- Ingredients for Authentic Chocolate Mousse
- Step-by-Step Guide: Crafting Your Chocolate Mousse
- Tips for Perfecting Your Chocolate Mousse
- Variations on This Chocolate Mousse Recipe
- Troubleshooting Common Chocolate Mousse Issues
- Storing Your Homemade Chocolate Mousse
- Indulge in Your Exquisite Chocolate Mousse!
-
Frequently Asked Questions
- How long does it really take to make the chocolate mousse?
- What kind of chocolate is best for this easy chocolate mousse recipe?
- Can I make this chocolate mousse ahead of time?
- I'm new to baking. Is this recipe truly "easy" for beginners?
- What are some variations or additions I can make to this chocolate mousse?
- Final Reflection: The Unexpected Joy of Effortless Elegance
- Unleash Your Inner Chocolatier!
Classic Chocolate Mousse Recipe
Chef Jean-Pierre's Timeless Chocolate Mousse
Welcome, fellow dessert enthusiasts! Today, we're diving into the world of classic French patisserie with a timeless recipe for chocolate mousse. This isn't just any mousse; it's a recipe inspired by the techniques of master chefs, simplified for the home baker. Forget complicated methods and endless lists of ingredients; this approach focuses on quality components and precise steps to deliver a dessert that is both incredibly rich and surprisingly light. Perfect for impressing guests or simply treating yourself after a long day, this easy chocolate mousse recipe promises a truly decadent experience.
Making a truly exceptional chocolate mousse doesn't require years of culinary training. It requires understanding the fundamentals: the quality of your chocolate, the handling of your eggs, and the gentle incorporation of air. This particular recipe emphasizes achieving that signature airy yet intensely flavorful texture that defines a great mousse. We'll walk through each stage, ensuring that even if this is your first time attempting a mousse, you'll achieve a result that tastes like it came straight from a Parisian patisserie. Get ready to create a dessert that's simple to make but sophisticated in taste.
Why This Chocolate Mousse Recipe Stands the Test of Time
Elegant Dessert for Any Occasion
This classic chocolate mousse recipe is a perennial favorite because it effortlessly elevates any meal. Whether you're hosting a formal dinner party or simply want a special treat for a weeknight, serving individual ramekins of this rich, dark chocolate creation feels inherently luxurious. Its simple elegance means you don't need elaborate garnishes; a dusting of cocoa powder or a single fresh raspberry is often all it takes to present a stunning dessert that guests will rave about.
Furthermore, the make-ahead nature of this easy chocolate mousse recipe adds to its appeal for entertaining. You can prepare it hours, or even a full day, in advance, allowing flavors to meld and the texture to set perfectly in the refrigerator. This frees you up to focus on other aspects of your event, eliminating last-minute dessert stress. It's a sophisticated choice that requires minimal fuss on the day it's served, making it a go-to for countless home cooks and professional chefs alike.
Rich and Intense Chocolate Flavor
The hallmark of a great chocolate mousse is, undoubtedly, its deep and satisfying chocolate flavor. This recipe achieves that intensity by focusing on high-quality bittersweet chocolate, typically with a cacao percentage around 70%. Using a chocolate with this level of cacao ensures a pronounced chocolate taste without excessive sweetness, providing a complex, slightly bitter note that balances the richness. Unlike recipes that rely heavily on whipped cream, this version primarily uses eggs, which allows the true character of the chocolate to shine through unobstructed.
The addition of a small amount of strong brewed coffee is a classic technique used by many chefs to amplify the chocolate notes. Coffee doesn't add a coffee flavor; instead, it subtly enhances the depth and complexity of the cacao, making the chocolate taste even more "chocolatey." This careful selection of ingredients and their proportions is key to achieving that signature rich, intense flavor that makes this easy chocolate mousse recipe so beloved.
Silky Smooth Texture
Achieving that iconic silky smooth texture is perhaps the most crucial element of a perfect chocolate mousse. This recipe relies on the emulsification created by the egg yolks and melted chocolate mixture, combined with the airy structure provided by carefully whipped egg whites. The process of gently folding the whipped whites into the base is critical; it incorporates air without deflating the mixture, resulting in a light, cloud-like consistency that melts in your mouth.
Unlike mousses made with gelatin or excessive amounts of whipped cream, which can sometimes feel heavy or gummy, this method yields a texture that is both substantial and incredibly delicate. The fat from the butter and chocolate contributes to the smoothness, while the air pockets from the egg whites prevent it from being dense. Mastering the folding technique is the secret to this exquisite mouthfeel, transforming simple ingredients into a dessert of remarkable elegance and lightness.
Ingredients for Authentic Chocolate Mousse
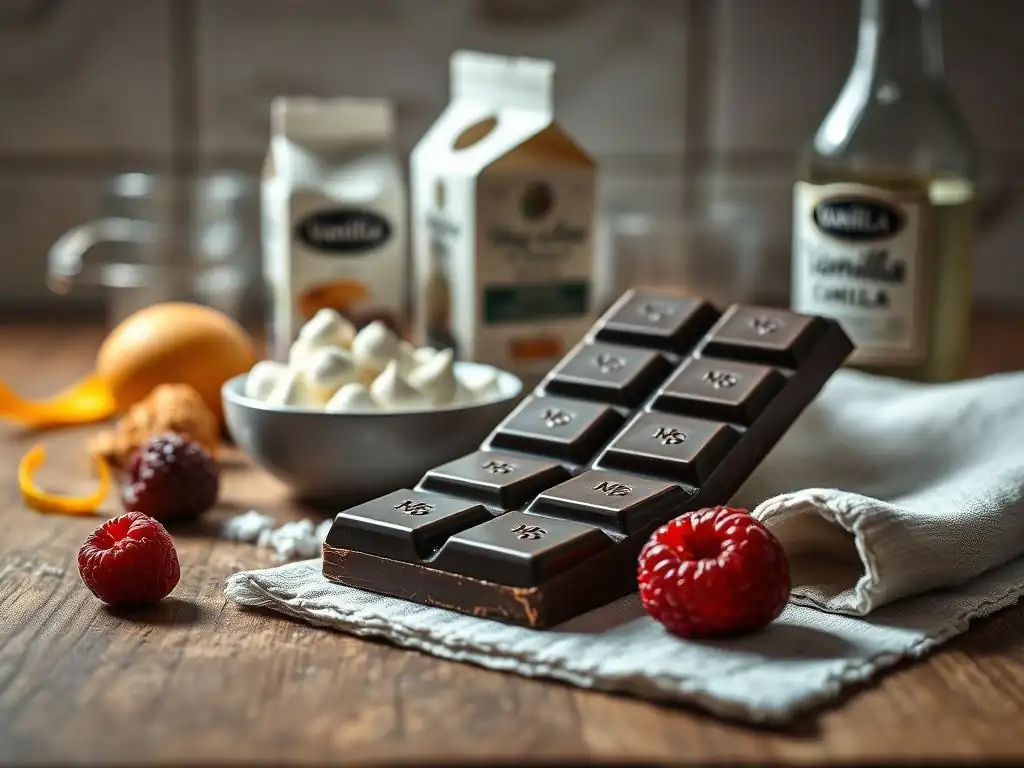
Bittersweet Chocolate: 70% Cacao for Depth
Choosing the right chocolate is paramount for an authentic, deeply flavored mousse. Bittersweet chocolate with approximately 70% cacao content is ideal. This percentage provides a strong, pure chocolate taste with enough sweetness to be palatable but not so much that it overwhelms the inherent bitterness and complexity of the cocoa solids. Look for a high-quality brand; since chocolate is the star ingredient, its quality significantly impacts the final flavor and texture. Using a good bar chocolate, rather than chips which contain stabilizers, is often recommended for optimal melting and smoothness.
The intense flavor derived from 70% cacao chocolate is key to making this an easy chocolate mousse recipe that doesn't compromise on taste. It provides the necessary backbone for the dessert, ensuring that each spoonful delivers a powerful hit of real chocolate. This choice contrasts with milk chocolate, which would be too sweet and lack depth, or unsweetened chocolate, which would be too bitter without significant added sugar. The 70% sweet spot hits the perfect balance for a sophisticated adult dessert.
Eggs: Separated for Lightness and Structure
Eggs play a dual, crucial role in this classic mousse recipe. The yolks are whisked with sugar and contribute richness, color, and help to emulsify the melted chocolate and butter, creating a stable base. Egg yolks contain lecithin, a natural emulsifier, which helps bind the fat and liquid components together, resulting in a smoother, more cohesive mixture. Whisking them with sugar also adds sweetness and contributes to the overall structure.
The egg whites, when whipped to stiff peaks, are the primary source of aeration for the mousse. They trap air, which, when gently folded into the chocolate base, gives the mousse its characteristic light and airy texture. The protein in the egg whites provides structure, holding the air bubbles in place as the mousse chills and sets. Using fresh eggs is recommended for best whipping results. Separating the eggs cleanly, ensuring no yolk contaminates the whites, is essential for achieving maximum volume when whipping.
Sugar: Granulated for Sweetness
Granulated sugar serves primarily as a sweetener in this easy chocolate mousse recipe, balancing the bitterness of the bittersweet chocolate. The amount used can be adjusted slightly based on personal preference and the exact cacao percentage of your chocolate, but typically ranges from 50 to 70 grams for a standard batch serving 4-6 people. The sugar also contributes to the texture; when whisked with the egg yolks, it creates a slightly thicker, pale yellow mixture.
While other sugars like caster sugar could be used, granulated sugar works perfectly fine here. It dissolves sufficiently when whisked with the egg yolks and incorporated into the warm chocolate mixture. The goal is not an overly sweet dessert, but one where the sweetness enhances, rather than masks, the intense chocolate flavor. The sugar also helps to stabilize the whipped egg yolks and contributes to the overall smoothness of the final mousse.
Unsalted Butter: For Richness and Shine
Unsalted butter adds essential richness and a beautiful sheen to the chocolate mousse. When melted with the chocolate, it contributes to the smooth, luxurious texture and helps the chocolate melt evenly. Using unsalted butter allows you to control the overall saltiness of the dessert; most recipes call for unsalted butter to ensure a pure chocolate flavor without any competing savory notes.
A moderate amount of butter, perhaps around 50 grams for a typical recipe, is sufficient to enhance the mouthfeel without making the mousse greasy or heavy. It helps create a more stable emulsion with the egg yolks and melted chocolate. The fat content from the butter also contributes to the way the mousse sets when chilled, resulting in a firm yet yielding texture that holds its shape beautifully.
Strong Brewed Coffee: Enhances Chocolate Flavor
As mentioned earlier, a small amount of strong brewed coffee is a secret weapon used by many chefs to deepen the chocolate flavor. It doesn't make the mousse taste like coffee; instead, it subtly enhances the complex notes of the cacao. Just a tablespoon or two is usually sufficient. The heat from the coffee also helps in the melting process when combined with the chocolate and butter.
Using freshly brewed, strong coffee is best. Avoid instant coffee if possible, as its flavor might not be as clean. The warmth of the coffee helps create a perfectly smooth mixture when combined with the melted chocolate and butter, ensuring there are no grainy bits. This simple addition is a pro tip that takes your easy chocolate mousse recipe from good to truly exceptional, highlighting the chocolate's best qualities.
Step-by-Step Guide: Crafting Your Chocolate Mousse
Step 1: Melting Chocolate and Butter
The first crucial step in creating this easy chocolate mousse recipe is melting the bittersweet chocolate and unsalted butter together. This can be done using a double boiler or carefully in a microwave. If using a double boiler, place the chopped chocolate and butter in a heatproof bowl set over a saucepan of simmering water, ensuring the bottom of the bowl does not touch the water. Stir gently until completely melted and smooth.
If using a microwave, place the chopped chocolate and butter in a microwave-safe bowl and heat in 20-30 second intervals, stirring well after each interval, until smooth. Be very careful not to overheat the chocolate, as this can cause it to seize or become grainy. The goal is a perfectly smooth, glossy mixture ready for the next steps. Overheating is a common pitfall, so low and slow is key.
Step 2: Whipping Egg Yolks with Sugar
While the chocolate and butter are melting, separate your eggs, ensuring no trace of yolk gets into the whites. In a medium-sized bowl, whisk the egg yolks with the granulated sugar until the mixture becomes pale yellow and slightly thickened. This usually takes about 2-3 minutes with a hand whisk or less with an electric mixer. The sugar should be mostly dissolved into the yolks.
This step is important for both texture and flavor. Whisking incorporates a bit of air into the yolks and helps the sugar dissolve, preventing a grainy texture in the final mousse. The mixture should have a ribbon-like consistency when you lift the whisk. This prepared yolk mixture is now ready to be combined with the melted chocolate, forming the rich base for your easy chocolate mousse recipe.
Step 3: Incorporating Melted Chocolate and Coffee
Once the chocolate and butter are smoothly melted, remove from the heat (or microwave). Stir in the strong brewed coffee. Then, gradually add the melted chocolate mixture to the whisked egg yolks, stirring constantly with a whisk or spatula. Do this in a steady stream while continuing to whisk the yolks to prevent the hot chocolate from cooking the eggs.
Continue stirring until the mixture is completely combined, smooth, and glossy. It should be a rich, dark color. This forms the foundation of your mousse, combining the richness of the chocolate and butter with the emulsifying properties of the egg yolks. Ensure there are no streaks of yolk and that everything is uniform before moving on.
Step 4: Whipping Egg Whites to Stiff Peaks
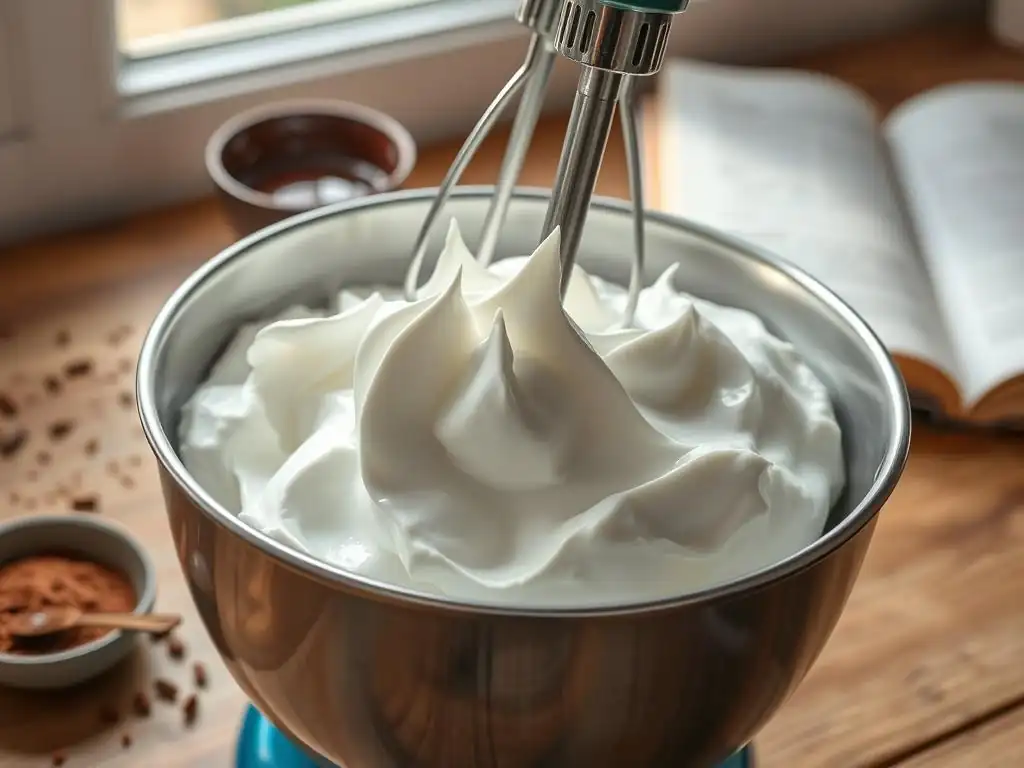
In a separate, clean, dry bowl, whip the reserved egg whites. It is absolutely essential that the bowl and whisk are completely free of any grease or yolk, as this will prevent the whites from whipping properly. Start whipping on medium speed until the whites become frothy, then increase the speed.
Continue whipping until the egg whites form stiff, glossy peaks. When you lift the whisk, the peaks should stand straight up without drooping. Be careful not to over-whip them, as they can become dry and difficult to fold smoothly. Stiff peaks indicate that enough air has been incorporated and the protein structure is stable enough to hold the mousse's airy texture. This step is critical for the lightness of your easy chocolate mousse recipe.
Step 5: Gently Folding Egg Whites into Chocolate Mixture
This is perhaps the most delicate and important step for achieving the perfect airy texture. Take about one-third of the whipped egg whites and add them to the chocolate-yolk mixture. Gently fold them in using a spatula. Don't worry about being too careful at this stage; this initial addition helps lighten the base mixture, making it easier to incorporate the rest of the whites without deflating them.
Add the remaining whipped egg whites in two additions. Using a large spatula, gently cut through the center of the mixture and scoop from the bottom, folding the chocolate mixture over the egg whites. Rotate the bowl and repeat. Continue folding just until no streaks of white remain and the mixture is uniformly colored and airy. Over-mixing will deflate the egg whites, resulting in a dense mousse. The goal is to preserve as much air as possible.
Step 6: Chilling for Optimal Texture and Flavor
Once the egg whites are gently folded in and the mousse is uniform, spoon or pour the mixture into individual serving glasses, ramekins, or a larger serving bowl. Smooth the tops if desired. Cover each serving dish or the main bowl carefully with plastic wrap, ensuring the wrap doesn't touch the surface of the mousse if possible to avoid condensation issues.
Chill the mousse in the refrigerator for at least 2-4 hours, or preferably longer, until it is fully set. Chilling allows the fats to firm up and the protein structure from the eggs to stabilize, giving the mousse its final, desirable texture. It also allows the flavors to meld and deepen. Resist the urge to check it too early; proper chilling time is essential for the success of this easy chocolate mousse recipe.
Tips for Perfecting Your Chocolate Mousse
Tempering Chocolate for a Smooth Finish
While this recipe doesn't require traditional chocolate tempering for shine and snap (as it's melted with butter and eggs), ensuring your chocolate is melted smoothly without overheating is crucial for a non-grainy mousse. When melting, whether over a double boiler or in the microwave, use low heat and stir frequently. Chocolate burns easily and once burnt, it cannot be salvaged for this delicate application.
Overheating can also cause the cocoa solids to separate from the fat, leading to a grainy texture. Aim for just melted and smooth. If using a microwave, heat in very short bursts (15-20 seconds) and stir well between each one. This careful melting process contributes significantly to the final silky texture of your easy chocolate mousse recipe.
Achieving Stiff, but Not Dry, Egg Whites
Whipping egg whites correctly is vital for the mousse's lightness. Start with clean, dry equipment and room temperature eggs for best results. Whip at medium speed initially to break down the proteins, then increase to medium-high. Watch carefully as they approach stiff peaks. Stiff peaks stand straight up when the whisk is lifted.
- Frothy
- Soft peaks (tips curl over)
- Medium peaks (tips hold shape but curl slightly)
- Stiff peaks (stand straight)
Over-whipped/Dry (curdled appearance)
Over-whipped whites become brittle and difficult to fold smoothly into the chocolate base, often resulting in a less airy or even slightly lumpy mousse. Stop whipping as soon as stiff, glossy peaks are achieved.
Folding Technique for Maximum Air Incorporation
The folding step is where the magic happens – or where air is lost. The goal is to combine the airy egg whites with the heavier chocolate base without deflating the whites.
- Add 1/3 of the whites to the chocolate base. Stir relatively vigorously to lighten the base.
- Add the remaining whites in two batches.
- Use a large, flexible spatula.
- Cut down through the center of the mixture.
- Scoop from the bottom and bring the spatula up, folding the chocolate mixture over the egg whites.
- Rotate the bowl slightly and repeat.
- Continue just until no white streaks are visible. Stop as soon as it's uniform.
Avoid stirring or beating motions. The gentle folding action preserves the air bubbles, ensuring your easy chocolate mousse recipe has that desirable light texture.
Serving Suggestions and Garnishes: Fresh Mint, Cocoa Powder
Once properly chilled and set, your exquisite chocolate mousse is ready to be served. The beauty of this classic dessert lies in its simplicity, which extends to its presentation.
- A simple dusting of high-quality cocoa powder provides an elegant finish and enhances the chocolate aroma. Use a fine-mesh sieve for an even coating.
- A few fresh mint leaves add a touch of color and a refreshing counterpoint to the richness of the chocolate.
- Fresh berries, particularly raspberries or strawberries, pair wonderfully with chocolate. Their slight tartness cuts through the richness.
- A dollop of lightly sweetened whipped cream is a classic accompaniment.
- Chocolate shavings or curls add texture and visual appeal.
Serve the mousse chilled, directly from the refrigerator. The texture is best when firm but not frozen. These simple garnishes highlight the quality of your easy chocolate mousse recipe rather than hiding it.
Variations on This Chocolate Mousse Recipe
Gluten-Free Chocolate Mousse: Using Gluten-Free Chocolate
This classic chocolate mousse recipe is naturally gluten-free, provided you use gluten-free chocolate. Most high-quality chocolates (bittersweet bars) are inherently gluten-free, but it's always wise to check the label, especially for cross-contamination warnings if you have severe sensitivities. Some compound chocolates or flavored chocolates may contain gluten additives.
Since the recipe uses no flour or gluten-containing thickeners, the primary concern is the chocolate itself. By selecting a certified gluten-free bittersweet chocolate (around 70% cacao), you can confidently make this easy chocolate mousse recipe suitable for those following a gluten-free diet. The texture and flavor will be identical to the standard version, as the core ingredients are naturally GF.
Vegan Chocolate Mousse: Using Aquafaba and Vegan Chocolate
Adapting this recipe for a vegan diet requires replacing the eggs and butter with plant-based alternatives. A popular and effective technique is using aquafaba (the liquid from a can of chickpeas) as a substitute for egg whites. When whipped, aquafaba creates a surprisingly stable foam, similar to meringue.
For the base, use high-quality vegan bittersweet chocolate and a plant-based butter alternative or coconut oil for richness. The process involves melting the vegan chocolate and butter/oil, then gently folding in whipped aquafaba (often stabilized with a touch of cream of tartar and sweetened). While the texture might differ slightly from the egg-based version, using aquafaba allows for a remarkably light and airy vegan easy chocolate mousse recipe.
Chocolate Raspberry Mousse: Adding Raspberry Puree
Adding fruit puree is a delightful way to introduce new flavors to the classic chocolate mousse. Raspberry is a particularly harmonious pairing with dark chocolate. To create a chocolate raspberry mousse, you can gently fold a few tablespoons of smooth, seedless raspberry puree into the chocolate-yolk mixture before folding in the egg whites.
Alternatively, you can layer the chocolate mousse with raspberry puree in the serving dishes or top the chilled mousse with fresh raspberries and a drizzle of raspberry coulis. If incorporating the puree directly into the mousse base, ensure it's not too liquidy, as excess moisture can affect the setting. Start with a small amount, perhaps 30-50 ml of concentrated puree, for a subtle fruit note that complements the rich chocolate in this easy chocolate mousse recipe.
Troubleshooting Common Chocolate Mousse Issues
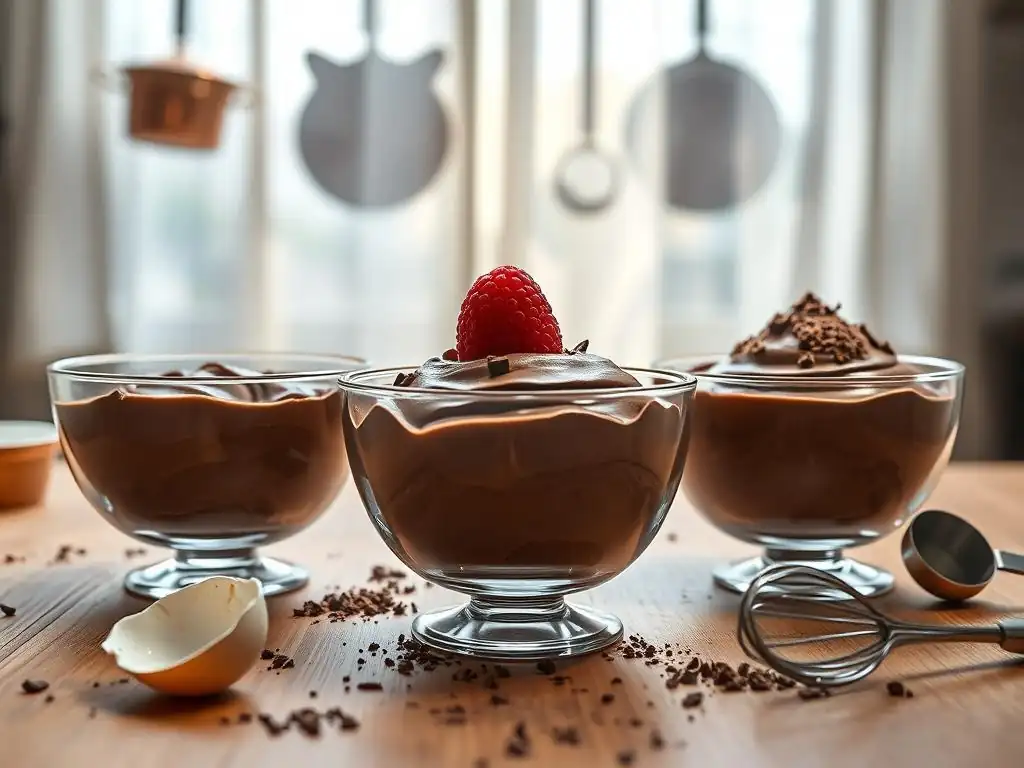
Mousse is Grainy: Overheated Chocolate
If your chocolate mousse has a grainy texture, the most likely culprit is overheated chocolate. When chocolate is heated too quickly or to too high a temperature, the cocoa solids can separate from the cocoa butter, leading to a gritty consistency. This can also happen if even a tiny amount of water comes into contact with melting chocolate (known as seizing).
To avoid this, melt chocolate slowly over low heat, whether using a double boiler or microwave. Ensure your melting bowl is completely dry. If chocolate seizes, you might be able to rescue it by whisking in a small amount of hot liquid (like more of the coffee or a bit of hot butter), but it's often better to start with fresh chocolate. Proper melting is key to a smooth easy chocolate mousse recipe.
Mousse is Flat: Under-whipped Egg Whites
A flat or dense mousse is usually a result of inadequately whipped egg whites or deflating them during the folding process. If the egg whites weren't whipped to stiff peaks, they didn't incorporate enough air, and the structure wasn't strong enough to support the mousse.
Ensure your egg whites are whipped until they hold stiff, distinct peaks. Also, review your folding technique (Step 5). Folding should be gentle and just enough to combine the mixtures. Over-mixing breaks down the air bubbles you worked hard to create. Using clean, grease-free equipment for whipping whites is also non-negotiable for achieving maximum volume and preventing a flat easy chocolate mousse recipe.
Mousse Separated: Improper Folding
Separation in chocolate mousse, where liquid pools at the bottom, can sometimes occur if the egg whites weren't fully incorporated or if the mixture wasn't properly emulsified initially. Improper folding can leave pockets where the denser chocolate mixture and the lighter egg whites haven't fully combined.
While this recipe's use of egg yolks helps create a stable emulsion, gentle but thorough folding is still necessary to integrate the airy whites. Ensure you fold just until uniform – no white streaks visible – but stop before overworking it. Proper chilling also helps the mousse set uniformly and minimizes the chance of separation in your easy chocolate mousse recipe.
Storing Your Homemade Chocolate Mousse
How Long Does Chocolate Mousse Last?
Homemade chocolate mousse made with fresh eggs, like this classic recipe, is best enjoyed within 2-3 days when stored properly in the refrigerator. Because it contains raw or lightly cooked egg yolks and whites, its shelf life is shorter than desserts made with fully cooked ingredients or stabilizers. While some sources might suggest longer, consuming it within this timeframe ensures the best quality, texture, and safety.
The intense flavor actually benefits from a day of chilling as the flavors meld, but the texture is often at its peak within the first 48 hours. Beyond 3 days, the texture may start to degrade slightly, and there's an increased risk related to the raw egg component. Plan to make this easy chocolate mousse recipe a day or two before you plan to serve it.
Best Practices for Storage
To store your homemade chocolate mousse effectively and maintain its texture and flavor, use airtight containers or cover individual serving dishes tightly with plastic wrap. This prevents the mousse from absorbing odors from the refrigerator and protects its surface from drying out or forming a skin.
- Use individual ramekins or a single container.
- Cover tightly with plastic wrap, pressing it gently onto the surface to prevent air contact if possible, then add a lid or foil.
- Store in the coldest part of the refrigerator.
- Keep away from strong-smelling foods.
Proper storage is key to preserving the delicate texture and rich flavor of your easy chocolate mousse recipe until you're ready to indulge.
Indulge in Your Exquisite Chocolate Mousse!
You've done it! You've successfully crafted a classic, decadent chocolate mousse right in your own kitchen. From melting the bittersweet chocolate to gently folding in the airy egg whites and patiently chilling it to perfection, you've followed the steps to create a dessert that is truly restaurant-worthy. This easy chocolate mousse recipe proves that elegance and intense flavor are well within reach for any home baker.
Now comes the best part: the indulgence. Spoon into the silky smooth, intensely chocolatey goodness you've created. Whether you've garnished it simply with cocoa or added fresh berries, take a moment to savor the rich flavor and delicate texture. Share it with loved ones or enjoy a quiet moment of personal bliss. This timeless dessert is a testament to the simple magic that happens when quality ingredients and careful technique come together. Enjoy every spoonful of your homemade masterpiece!
Frequently Asked Questions
How long does it really take to make the chocolate mousse?
The recipe is designed to be quick! From start to finish, it should take you only a few minutes to prepare, excluding chilling time. We focus on simple steps and easy-to-find ingredients.
What kind of chocolate is best for this easy chocolate mousse recipe?
For the best flavor, use a high-quality dark chocolate with at least 70% cocoa. This will provide a rich and intense chocolate experience. You can also use semi-sweet chocolate for a slightly sweeter mousse.
Can I make this chocolate mousse ahead of time?
Absolutely! This recipe is perfect for making ahead. In fact, the mousse needs time to chill in the refrigerator for at least 2 hours to properly set. It can be stored in the refrigerator for up to 3 days.
I'm new to baking. Is this recipe truly "easy" for beginners?
Yes! This recipe is specifically designed for all skill levels, including beginners. The steps are clear, concise, and require no special baking equipment or techniques. We provide step-by-step guides.
What are some variations or additions I can make to this chocolate mousse?
You can add a variety of flavors! Try adding a teaspoon of instant espresso powder for a mocha flavor, a splash of orange liqueur, or a pinch of sea salt to enhance the sweetness.
Final Reflection: The Unexpected Joy of Effortless Elegance
The pursuit of decadent desserts needn't be a Herculean task. This simple chocolate mousse recipe proves that rich, satisfying indulgence can be achieved with minimal effort, a fact particularly relevant in our busy modern lives where convenience often trumps complexity. The ease of preparation doesn't diminish the exquisite taste; in fact, it enhances the experience, transforming a special treat into something accessible and enjoyable for everyone.
The impact of this recipe, and others like it, extends beyond mere culinary satisfaction. It speaks to a broader cultural shift towards valuing efficiency without sacrificing quality. We're increasingly seeking ways to incorporate joy and self-care into our routines, even amidst the demands of daily life. This simple mousse embodies that ideal. The best things in life are simple,
a sentiment often repeated, finds its delicious embodiment in this recipe. It's a reminder that moments of pleasure can be easily cultivated, and that sometimes, the most rewarding experiences are the ones that require the least effort.
Now, I invite you to consider this: What other areas of your life could benefit from this same principle of effortless elegance? Where can you simplify processes without compromising on quality or joy? Perhaps it's in your approach to self-care, your relationships, or even your work. Take a moment to reflect on this, and discover the unexpected rewards that await when you embrace simplicity and intentionality. The decadent chocolate mousse is just the beginning.
Unleash Your Inner Chocolatier!
Thanks for joining us on this delicious journey into the world of decadent chocolate mousse! We hope you've gained the confidence to whip up this rich treat in a flash. Ready to take your chocolate skills to the next level?
- Master the Mousse: Try making this recipe three times this week – each time experimenting with a different type of chocolate! See what incredible flavor variations you discover.
- Share Your Success: Post a picture of your creation on social media and tag us @BakeWithEase – let’s inspire other chocolate lovers!
- Explore Further: Dive into our extensive recipe archive for more quick and easy dessert recipes perfect for any occasion.
What's your favorite ingredient to add to elevate a classic chocolate mousse? Let's chat in the comments!