
Decadent Chocolate Babka Made Easy

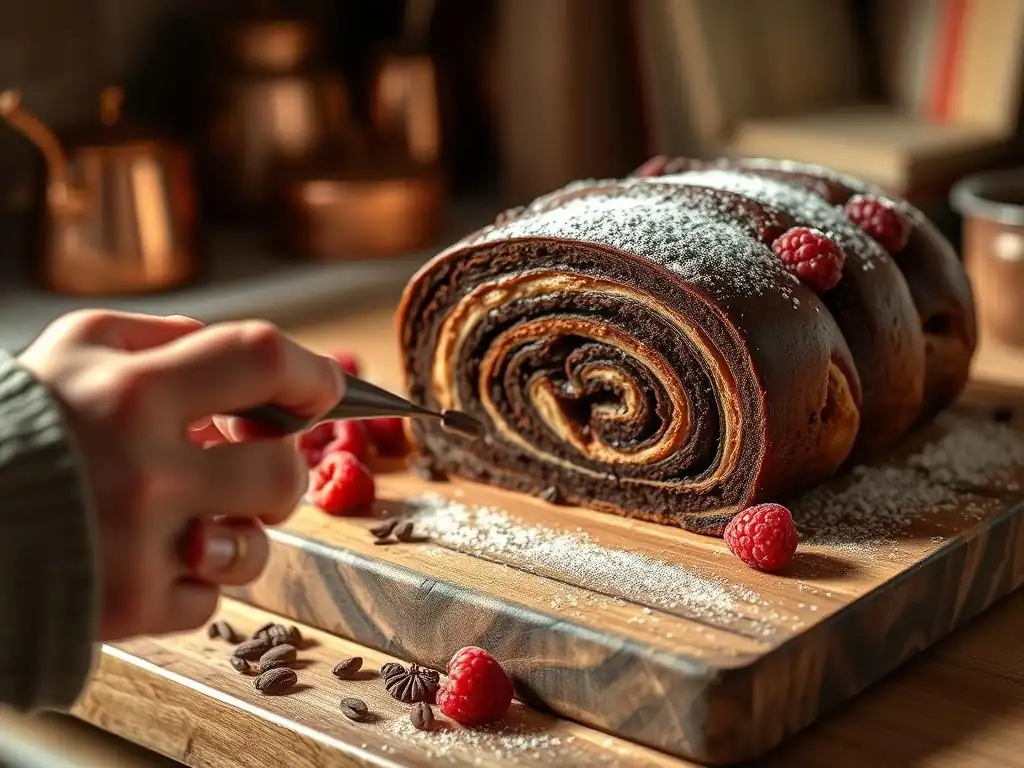
Welcome to BakeWithEase.com, your sanctuary for stress-free baking! Ever dreamed of creating that show-stopping dessert? Today, we're unlocking the secrets to a truly decadent treat. Get ready to discover our easy chocolate babka recipe – a surprisingly simple way to impress your friends and family with a bakery-worthy masterpiece. Intrigued? Let's get baking!
- Decadent Chocolate Babka Made Easy: BakeWithEase's Guide
- What is Chocolate Babka? A Beginner's Guide to This Sweet Bread
- BakeWithEase's Easy Chocolate Babka Recipe: Step-by-Step Instructions
- Tips and Tricks for the Best Chocolate Babka Ever
- Storing Your Homemade Chocolate Babka for Maximum Freshness
- Mastering the Art of Baking: More From BakeWithEase
-
Frequently Asked Questions
- What makes this Easy Chocolate Babka Recipe from BakeWithEase.com so easy?
- What are the key ingredients I need for this Easy Chocolate Babka Recipe?
- How long does it take to make this Easy Chocolate Babka Recipe from start to finish?
- Can I substitute any ingredients in this Easy Chocolate Babka Recipe?
- What are some tips for getting a perfectly swirled chocolate filling in my babka?
- Final Reflection: The Sweet Symphony of Simplicity
- Unlock Your Inner Baker: Bake This Babka Today!
Decadent Chocolate Babka Made Easy: BakeWithEase's Guide
What is Chocolate Babka? A Beginner's Guide to This Sweet Bread
Understanding the History and Origins of Babka
Babka is a sweet, braided bread or cake that originated in the Jewish communities of Eastern Europe in the early 19th century. Traditionally, it was made from leftover challah dough, enriched with fruit jam or cinnamon and baked in a tall, cylindrical pan. The name "babka" itself comes from the Polish word for "grandmother" ( babcia), potentially referencing its shape resembling a grandmother's skirt or the fact that it was often baked by grandmothers. This humble beginning paved the way for the rich, swirled versions we know and love today, particularly the chocolate babka which gained significant popularity.
The evolution of babka continued as Jewish immigrants brought the recipe to North America. Here, it transformed from a simple, often dry, cake-like bread into the moist, rich, and highly coveted pastry it is now. The addition of generous amounts of butter, eggs, and especially indulgent fillings like chocolate or cinnamon sugar became commonplace.
Modern babka is characterized by its beautiful swirled pattern, achieved by rolling and twisting the dough, and a shiny finish from a simple syrup brushed on after baking. This transformation solidified its place as a beloved treat, far removed from its modest origins as a way to repurpose leftover dough.
Why This Easy Chocolate Babka Recipe is Perfect for Home Bakers
Many home bakers are intimidated by babka due to its perceived complexity, involving yeast dough, rolling, filling, and twisting. However, this easy chocolate babka recipe breaks down the process into manageable steps, making it accessible even for those new to working with enriched doughs. We focus on clear instructions and reliable timings, ensuring that beginners can achieve a beautiful, bakery-quality result right in their own kitchen. The ingredients are simple and readily available, and the techniques taught are fundamental baking skills that can be applied to other recipes.
Furthermore, this specific easy chocolate babka recipe is designed to minimize common pitfalls. We provide tips on dough handling, ensuring proper rising times (which typically range from 1.5 to 2 hours for the first rise and 45-60 minutes for the second), and guidance on preventing the rich chocolate filling from leaking during baking. By following our detailed guide, bakers can gain confidence in handling enriched doughs and master the art of creating that signature babka swirl, proving that a decadent chocolate babka is well within reach for anyone with a little patience and a love for baking.
BakeWithEase's Easy Chocolate Babka Recipe: Step-by-Step Instructions
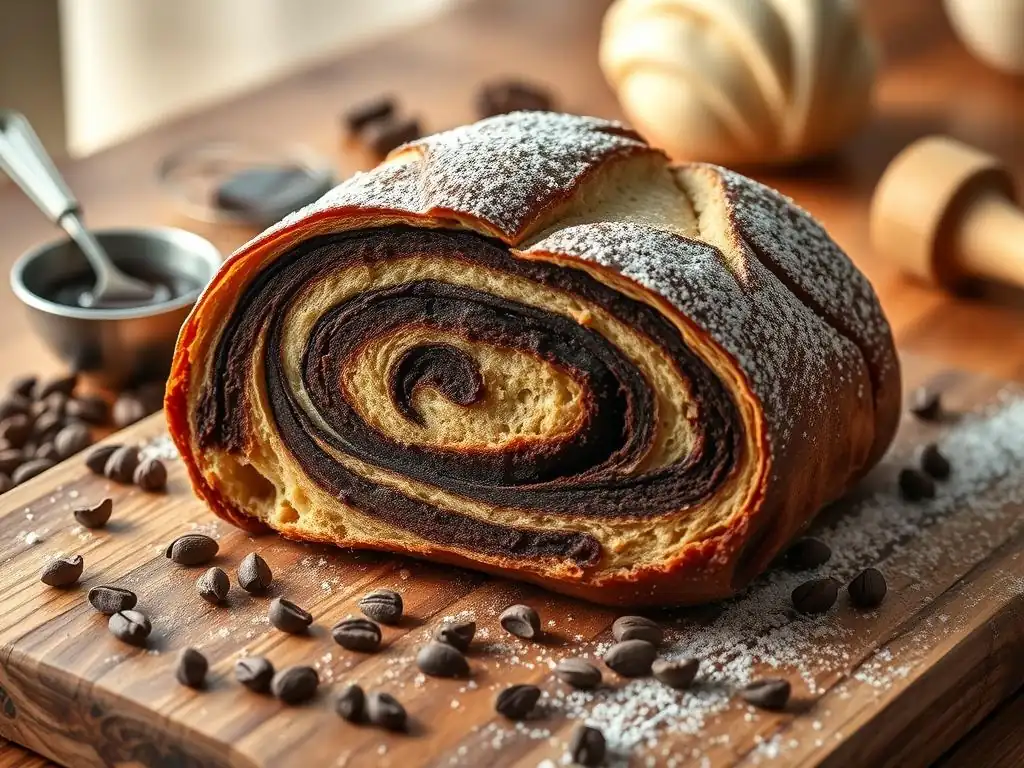
Ingredients for Your Decadent Chocolate Babka
Dough Ingredients: The Foundation of Perfect Babka
Creating a tender and enriched dough is the first step to a successful babka. You'll need standard baking staples like all-purpose flour (approximately 3.5 cups or 420 grams is a common starting point), granulated sugar (around 1/4 cup or 50 grams), and salt (about 1 teaspoon or 6 grams). The richness comes from unsalted butter, softened (around 1/2 cup or 113 grams), and large eggs (typically 2 whole eggs).
The leavening agent is active dry yeast (usually 2 and 1/4 teaspoons or 7 grams), which needs warm milk (about 1/2 cup or 120 ml, heated to around 105-115°F or 40-46°C) and a pinch of sugar to activate. This combination of ingredients creates a dough that is soft, slightly sweet, and elastic enough to handle the rolling and twisting process required for the signature babka shape, making it ideal for our easy chocolate babka recipe.
Chocolate Filling Ingredients: Richness and Flavor
The heart of a chocolate babka is its rich, indulgent filling. This recipe calls for a generous amount of high-quality chocolate (around 6-8 ounces or 170-225 grams), preferably bittersweet or dark chocolate chips or chopped bars, which provide a deep cocoa flavor that isn't overly sweet. Unsalted butter (about 1/2 cup or 113 grams) is melted with the chocolate to create a smooth, spreadable consistency.
To enhance the chocolate flavor and add sweetness, you'll need granulated sugar (approximately 1/4 cup or 50 grams) and unsweetened cocoa powder (around 1/4 cup or 20 grams). A pinch of salt (about 1/4 teaspoon) helps to balance the sweetness and intensify the chocolate. Some recipes also include a touch of cinnamon (1/2 teaspoon) or vanilla extract (1 teaspoon) for added complexity, creating a truly decadent filling that complements the soft dough perfectly in this easy chocolate babka recipe.
Simple Syrup Ingredients: Adding Moisture and Shine
The simple syrup brushed over the hot babka after baking serves two crucial purposes: it adds moisture, ensuring the babka stays tender, and it provides that beautiful, glossy finish characteristic of bakery-style babka. This simple syrup requires just two ingredients: granulated sugar and water.
The ratio is typically 1:1 sugar to water. For one loaf of babka, you might use 1/4 cup (50 grams) of granulated sugar and 1/4 cup (60 ml) of water. These are combined in a small saucepan and heated gently until the sugar is completely dissolved. Once dissolved, the syrup is ready to be brushed onto the babka as soon as it comes out of the oven, soaking into the warm bread and adding that desirable sweetness and shine.
Making the Babka Dough: A Simple Method
Activating the Yeast: The Key to a Light and Airy Babka
Activating the yeast is a crucial first step to ensure your dough rises properly, resulting in a light and airy babka. You'll start by warming your milk to the correct temperature range, typically between 105°F and 115°F (40°C and 46°C). Temperatures too low won't activate the yeast, while temperatures too high can kill it. A kitchen thermometer is helpful here, but you can also test it by feeling; it should feel comfortably warm, like a warm bath, not hot.
Pour the warm milk into a small bowl, sprinkle the active dry yeast over the top, and add a pinch of sugar. The sugar provides food for the yeast. Stir gently and let it sit for 5-10 minutes. You should see the mixture become foamy and bubbly on the surface. This indicates that the yeast is alive and active. If you don't see this foamy layer, your yeast might be expired, or the milk temperature was off, and you'll need to start this step over with fresh yeast.
Combining the Ingredients: Mixing to Perfection
Once your yeast is activated and bubbly, it's time to combine all the dough ingredients. In a large mixing bowl (or the bowl of a stand mixer with a dough hook attachment), whisk together the flour, the remaining sugar, and salt. In a separate bowl, whisk together the activated yeast mixture, softened butter, and eggs until well combined.
Pour the wet ingredients into the dry ingredients. If using a stand mixer, mix on low speed until a shaggy dough forms, then increase the speed to medium and knead for about 8-10 minutes. The dough should become smooth, elastic, and pull away from the sides of the bowl.
If mixing by hand, stir with a wooden spoon until the dough comes together, then turn it out onto a lightly floured surface and knead for 10-15 minutes until it's smooth and elastic. A properly kneaded dough is essential for developing the gluten structure needed to support the rich filling in your easy chocolate babka recipe.
First Rise: Allowing the Dough to Develop Flavor
The first rise, also known as bulk fermentation, is where the dough doubles in size and develops flavor. Lightly grease a large bowl with oil or cooking spray. Shape the dough into a ball and place it in the greased bowl, turning it to coat all sides. Cover the bowl tightly with plastic wrap or a clean kitchen towel.
Place the covered bowl in a warm, draft-free spot. An oven with the light on (but the oven off) is an ideal warm spot. The dough should take anywhere from 1.5 to 2 hours to double in size, depending on the warmth of your environment. You can test if the dough has risen enough by gently pressing two fingers into it; if the indent remains, it's ready. This slow rise is crucial for developing complex flavors in the dough, contributing significantly to the overall deliciousness of your easy chocolate babka.
Preparing the Chocolate Filling: Intense Chocolate Flavor
Melting the Chocolate: Achieving Smoothness
Creating a smooth, spreadable chocolate filling is key to getting those beautiful swirls in your babka. Start by finely chopping your chocolate if you're using bars, or measure out your chocolate chips (6-8 ounces or 170-225 grams). Place the chopped chocolate or chips in a heatproof bowl.
In a small saucepan, melt the unsalted butter (1/2 cup or 113 grams) over medium heat. Once the butter is melted and perhaps just starting to bubble, pour it over the chocolate in the heatproof bowl. Let it sit for a minute or two to allow the residual heat from the butter to begin melting the chocolate. Then, gently stir with a spatula or whisk until the chocolate is completely melted and the mixture is smooth and glossy. Avoid overheating the chocolate, as it can seize.
Mixing the Filling: Combining Chocolate, Butter, and Sugar
Once the chocolate and butter are smoothly combined, whisk in the granulated sugar (1/4 cup or 50 grams), unsweetened cocoa powder (1/4 cup or 20 grams), and salt (1/4 teaspoon). Continue stirring until all the dry ingredients are fully incorporated and the filling is uniform in color and texture.
If you are adding vanilla extract or cinnamon, whisk them in now as well. The filling should be thick but still spreadable. If it seems too thin, you can refrigerate it for a few minutes to firm up slightly before spreading. A well-mixed filling ensures that every bite of your easy chocolate babka is packed with intense chocolate flavor.
Assembling and Shaping the Chocolate Babka: The Fun Part
Rolling Out the Dough: Creating a Rectangle
After the first rise, punch down the dough gently to deflate it. Turn the dough out onto a lightly floured surface. Using a rolling pin, roll the dough into a large rectangle. The ideal size is typically around 18-20 inches long and 12-14 inches wide (approximately 45-50 cm by 30-35 cm). Aim for a thickness of about 1/8 to 1/4 inch (around 3-5 mm).
It's important to roll the dough evenly so that the thickness is consistent across the rectangle. This ensures that the babka bakes evenly and the layers are uniform. If the dough is resisting, let it rest for 5-10 minutes before continuing to roll; this allows the gluten to relax. Keeping the surface lightly floured prevents sticking, making this step much easier for your easy chocolate babka.
Spreading the Chocolate Filling: Even Distribution
Once the dough is rolled out, evenly spread the prepared chocolate filling over the entire surface of the rectangle, leaving a small border (about 1/2 inch or 1 cm) along one of the longer edges. Use an offset spatula or the back of a spoon to spread the thick filling from edge to edge (except for the border).
Ensure the chocolate is distributed as evenly as possible. A consistent layer of filling is crucial for achieving beautiful, defined swirls throughout the babka loaf. Don't be shy with the filling; this is where the decadence comes from! Spreading it right to the edges (except for the small border) ensures maximum chocolate in every slice.
Rolling and Twisting: The Signature Babka Shape
Starting from the long edge opposite the border you left plain, tightly roll the dough into a log, like you would a jelly roll. Try to keep the roll as tight as possible to minimize air pockets and ensure many layers of filling. Once rolled, pinch the seam closed to seal the log.
Using a sharp knife or bench scraper, slice the log lengthwise down the center, creating two long halves, exposing the beautiful layers of chocolate and dough. Turn the cut sides up. Carefully twist the two halves around each other, keeping the cut sides facing upwards as much as possible to showcase the swirls. Pinch the ends together to seal them.
Proofing the Babka: Second Rise for Maximum Height
Once your babka is assembled and twisted, gently lift it and place it into a greased loaf pan (typically 9x5 inches or 23x13 cm). If the loaf is slightly longer than the pan, you can gently tuck the ends under. Cover the loaf pan loosely with plastic wrap or a clean kitchen towel.
Let the babka rise for a second time in a warm, draft-free spot for about 45-60 minutes, or until it has visibly increased in size and looks puffy, nearly filling the loaf pan. This second proofing is essential for achieving a light texture and maximum height in your finished easy chocolate babka. Don't let it over-proof, as it can collapse during baking.
Baking the Chocolate Babka: Golden Brown Perfection
Baking Temperature and Time: Getting it Right
Preheat your oven to 350°F (175°C). Baking at the correct temperature is vital for ensuring the babka cooks through without burning the outside, especially with the sugary filling. Place the loaf pan in the preheated oven.
The baking time for a standard-sized babka loaf is typically between 40 and 55 minutes. The exact time can vary depending on your oven. You'll know it's done when the top is a deep golden brown and a wooden skewer or toothpick inserted into the center comes out clean (avoiding large pockets of chocolate filling). If the top starts browning too quickly, you can loosely tent the loaf pan with aluminum foil for the remaining baking time.
Applying the Simple Syrup: Adding Shine and Moisture After Baking
While the babka is baking, make the simple syrup by combining 1/4 cup (50 grams) sugar and 1/4 cup (60 ml) water in a small saucepan. Heat over medium heat, stirring until the sugar is completely dissolved. Remove from heat.
As soon as the babka comes out of the oven, while it is still hot, generously brush the simple syrup all over the top and sides of the loaf using a pastry brush. The hot babka will absorb the syrup, adding moisture and creating a beautiful, shiny glaze. Use all of the syrup for maximum effect. This step is key to the classic babka finish and helps keep your easy chocolate babka moist for longer.
Cooling and Serving Your Easy Chocolate Babka
Allowing the Babka to Cool: Preserving its Structure
Once the simple syrup has been applied, let the babka cool in the loaf pan for about 15-20 minutes. This initial cooling period allows the structure of the warm bread to set slightly before you attempt to remove it from the pan. Trying to remove it too soon can cause it to break or lose its shape.
After 15-20 minutes, carefully lift the babka out of the loaf pan and transfer it to a wire rack to cool completely. Cooling on a wire rack allows air circulation around the entire loaf, preventing the bottom from becoming soggy. While it's tempting to slice into it immediately, allowing it to cool fully (which can take 1-2 hours) helps the filling solidify slightly, resulting in cleaner slices and a better texture.
Slicing and Serving: Enjoying Your Homemade Treat
Once the babka has cooled completely, it's ready to be sliced and enjoyed. Use a serrated knife for the cleanest cuts, sawing gently back and forth. Slice the babka into thick, generous slices to best appreciate the beautiful swirls of dough and chocolate.
Your homemade easy chocolate babka is delicious served at room temperature. It pairs wonderfully with a cup of coffee or tea. You can also gently warm individual slices in a microwave for a few seconds for a gooey chocolate experience. Sharing your achievement with friends and family is the best part of mastering this easy chocolate babka recipe!
Tips and Tricks for the Best Chocolate Babka Ever
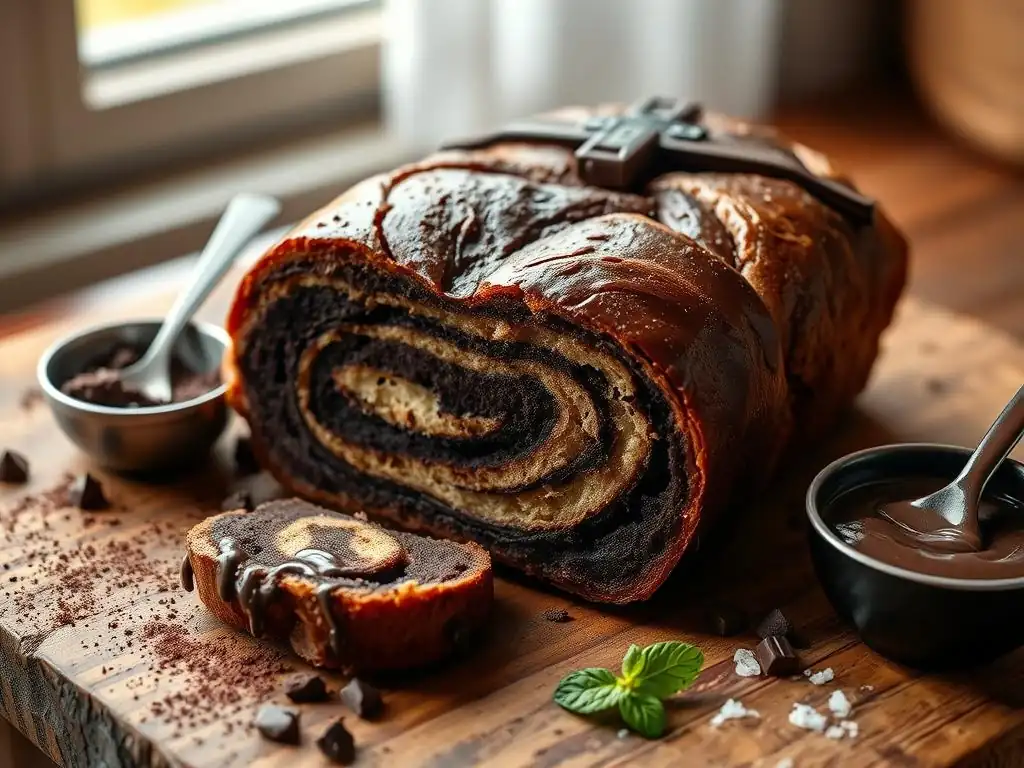
Ensuring a Moist Babka: Avoiding Dryness
Achieving a moist and tender babka is a common goal for home bakers. One key factor is not over-baking it. Over-baking will dry out the dough. Keep a close eye on the babka during the last 15-20 minutes of baking time, and use the skewer test to check for doneness. The internal temperature should be around 190-200°F (88-93°C) if you have a thermometer, but the skewer test is generally sufficient.
Another critical step for moisture is the simple syrup glaze applied immediately after baking. The hot bread readily absorbs the syrup, locking in moisture and adding sweetness. Don't skip this step, and be generous with the syrup! Finally, ensure your dough is properly hydrated during mixing; if it seems too dry, add a tablespoon of milk or water at a time during kneading until it is soft and pliable.
Variations and Add-Ins for Your Chocolate Babka
Adding Nuts: A Crunchy Texture
Adding nuts provides a wonderful textural contrast to the soft dough and smooth chocolate filling. To incorporate nuts, finely chop about 1/2 cup (around 50-60 grams) of your favorite nuts, such as walnuts, pecans, or hazelnuts.
You can sprinkle these chopped nuts directly over the chocolate filling before rolling up the dough. This distributes them throughout the layers. Alternatively, you can mix the nuts directly into the chocolate filling mixture after it's prepared. Toasting the nuts lightly before adding them can enhance their flavor.
Using Different Chocolate: Experimenting with Flavors
While bittersweet or dark chocolate is classic for babka, you can certainly experiment with different types of chocolate to vary the flavor profile. Milk chocolate will result in a sweeter, creamier filling, appealing to those who prefer less intense chocolate.
For a richer, more complex flavor, consider using a high-quality chocolate with a cocoa percentage of 70% or higher. You could also chop up your favorite chocolate bar instead of using chips. White chocolate is another option, though it's often combined with other flavors like berries or nuts rather than used on its own in a traditional babka structure.
Adding Zest: A Citrusy Twist
A touch of citrus zest can brighten and complement the rich chocolate flavor beautifully. Finely grated zest from one orange or lemon is a popular addition.
You can mix the citrus zest directly into the chocolate filling along with the sugar and cocoa powder. The oils in the zest will infuse the filling with a subtle, fragrant citrus note that cuts through the richness of the chocolate. Ensure you only grate the colored part of the peel and avoid the bitter white pith underneath.
Troubleshooting Common Babka Problems
Dough Not Rising: Possible Causes and Solutions
If your babka dough isn't rising during the first or second proofing stages, there are a few common culprits. The most frequent issue is inactive yeast. Ensure your yeast is fresh (check the expiration date) and that the liquid used to activate it was within the correct temperature range (105-115°F or 40-46°C). Water or milk that is too hot will kill the yeast.
Another reason for poor rise is a cold environment. Yeast thrives in warmth. Make sure your proofing location is warm and draft-free, ideally around 75-85°F (24-30°C). Over-kneading or under-kneading can also affect gluten development, impacting the dough's ability to rise. If you suspect your yeast is dead, unfortunately, you'll need to start over with a new batch of yeast.
Filling Leaking Out: Preventing and Fixing
Filling leaking out during baking is a common frustration with babka, especially with a rich, melted chocolate filling. This usually happens if the dough isn't sealed well after rolling or if the filling is too liquid. Ensure you pinch the seam of the rolled log tightly shut before slicing and twisting.
Also, make sure the ends of the twisted loaf are well-sealed and tucked into the loaf pan. If your filling seems very thin, you can refrigerate it briefly before spreading to help it firm up. If some filling does leak out during baking, don't panic; it's often unavoidable with very rich fillings. It might create a slightly messy exterior but won't significantly impact the taste or overall structure of this easy chocolate babka recipe.
Babka Too Dry: How to Avoid It
A dry babka is often the result of over-baking. As mentioned earlier, keep an eye on the baking time and use the skewer test. The babka should be golden brown on top but still feel relatively moist when tested. The internal temperature should be around 190-200°F (88-93°C).
The simple syrup glaze is your best defense against dryness. Applying it generously while the babka is hot allows it to soak into the bread, adding crucial moisture. Ensuring your dough is properly hydrated from the start and not using too much flour during kneading or rolling also helps maintain moisture in the final baked product.
Storing Your Homemade Chocolate Babka for Maximum Freshness
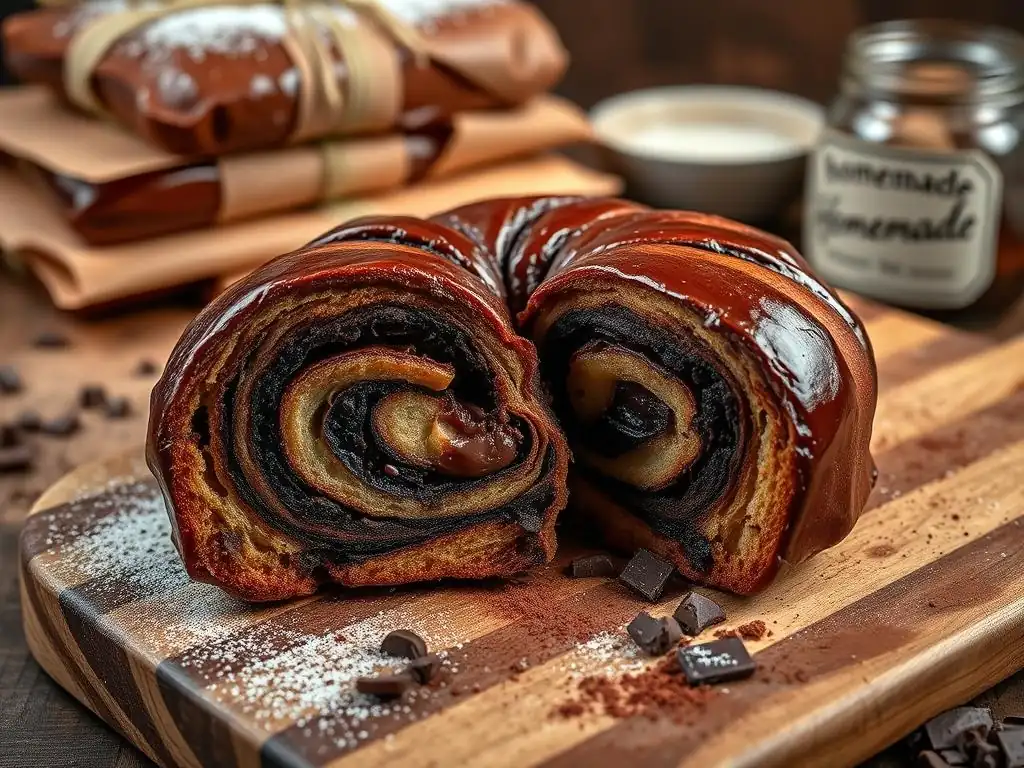
Proper Storage Techniques: Maintaining Quality
To keep your homemade easy chocolate babka fresh, proper storage is essential. Once the babka has cooled completely, wrap it tightly in plastic wrap, then place it in an airtight container or a large zip-top bag.
Stored at room temperature, babka will typically stay fresh for 2-3 days. The simple syrup helps retain moisture, but after a few days, it may start to dry out slightly. Avoid refrigerating babka, as this can actually make bread products stale more quickly.
Freezing Babka: Extending its Shelf Life
Babka freezes exceptionally well, allowing you to enjoy your hard work for much longer. To freeze, ensure the babka is completely cool. You can freeze the entire loaf or slice it first.
Wrap the cooled babka tightly in plastic wrap, ensuring no parts are exposed to the air. Then, wrap it again in aluminum foil or place it in a freezer-safe bag or container. Properly wrapped, babka can be stored in the freezer for up to 2-3 months. To thaw, unwrap the babka and let it sit at room temperature for several hours. Slices can also be thawed and gently warmed in a microwave or toaster oven.
Mastering the Art of Baking: More From BakeWithEase
Explore Other Chocolate Cakes & Desserts Recipes
If you enjoyed making this easy chocolate babka recipe, BakeWithEase offers a wide array of other delightful chocolate cakes and desserts to explore. From classic chocolate layer cakes and rich brownies to intricate chocolate tarts and simple chocolate chip cookies, our collection caters to all skill levels and occasions.
Each recipe is crafted with the same focus on simplicity and clear instructions as our babka guide. You'll find detailed ingredient lists, step-by-step methods, and helpful tips to ensure your success. Dive into our chocolate section and discover your next favorite bake, expanding your repertoire beyond this fantastic easy chocolate babka.
Discover Baking Techniques and Tips for All Skill Levels
BakeWithEase is more than just a recipe site; it's a resource for learning and improving your baking skills. We provide comprehensive guides on fundamental techniques, from mastering yeast doughs (perfect for this easy chocolate babka recipe and others) to creating perfect pastry crusts and whipping up flawless meringues.
Our tips cover everything from ingredient substitutions and measuring accurately to understanding oven temperatures and troubleshooting common baking issues. Whether you're a complete beginner or looking to refine your skills, our articles and guides offer valuable insights to help you bake with confidence and ease. Continue your baking journey with us and explore the wealth of knowledge available at BakeWithEase.
Frequently Asked Questions
What makes this Easy Chocolate Babka Recipe from BakeWithEase.com so easy?
The recipe focuses on simplified techniques and readily available ingredients, making it accessible even for beginner bakers. It also includes step-by-step instructions.
What are the key ingredients I need for this Easy Chocolate Babka Recipe?
You'll need basic baking staples like flour, yeast, sugar, eggs, and butter, plus good quality chocolate for the decadent filling. See the full recipe for specific quantities.
How long does it take to make this Easy Chocolate Babka Recipe from start to finish?
While the actual hands-on time is relatively short, the entire process, including proofing, can take several hours. Plan accordingly for optimal results.
Can I substitute any ingredients in this Easy Chocolate Babka Recipe?
While the recipe is designed for the best outcome, some substitutions are possible. For example, you could use dairy-free butter or chocolate for a vegan version, but the texture might vary.
What are some tips for getting a perfectly swirled chocolate filling in my babka?
After spreading the chocolate filling, tightly roll the dough and then carefully cut it lengthwise. Twisting the cut pieces together exposes the beautiful swirl pattern before baking.
Final Reflection: The Sweet Symphony of Simplicity
The pursuit of decadent desserts doesn't have to be a Herculean task. This easy chocolate babka recipe proves that achieving rich, rewarding flavors and textures is entirely within reach, even for the most novice baker. The joy of creating something beautiful and delicious shouldn't be reserved for culinary experts; it's a pleasure everyone deserves to experience.
This recipe, more than just a set of instructions, represents a shift in our approach to baking. It's a testament to the power of accessible recipes that empower home cooks to tackle ambitious projects. The best things in life are simple,
a sentiment often repeated, rings especially true when considering the satisfaction derived from creating something as delightful as this babka. The ease of the process allows you to focus on the joy of baking, rather than getting bogged down in complex techniques.
Now, I invite you to roll up your sleeves, gather your ingredients, and embark on this delicious journey. Don't be intimidated by the seemingly intricate swirl; the steps are straightforward, and the reward—a warm, gooey, chocolate-filled babka—is well worth the effort. Share your creations, your experiences, and your own sweet symphonies of simplicity with the world. Let this recipe be a springboard for your own culinary adventures, proving that even the most decadent treats can be surprisingly easy to make.
Unlock Your Inner Baker: Bake This Babka Today!
Thanks for joining us on this delicious journey into the world of chocolate babka! We hope you gained confidence and inspiration to tackle this seemingly complex treat. Now it's time to put your newfound skills to the test.
- Bake your own babka! Use the recipe and tips from this article to create your own decadent masterpiece. We know you can do it!
- Share your babka creation! Post a picture on social media and tag us – we’d love to see your baking success!
- Explore other easy recipes on BakeWithEase.com – we have tons more delicious treats just waiting to be discovered!
Ready to experience the joy of baking this incredible chocolate babka? What surprising ingredient will you add to your next batch to personalize it?