
The Best Way to Package Homemade Christmas Treats

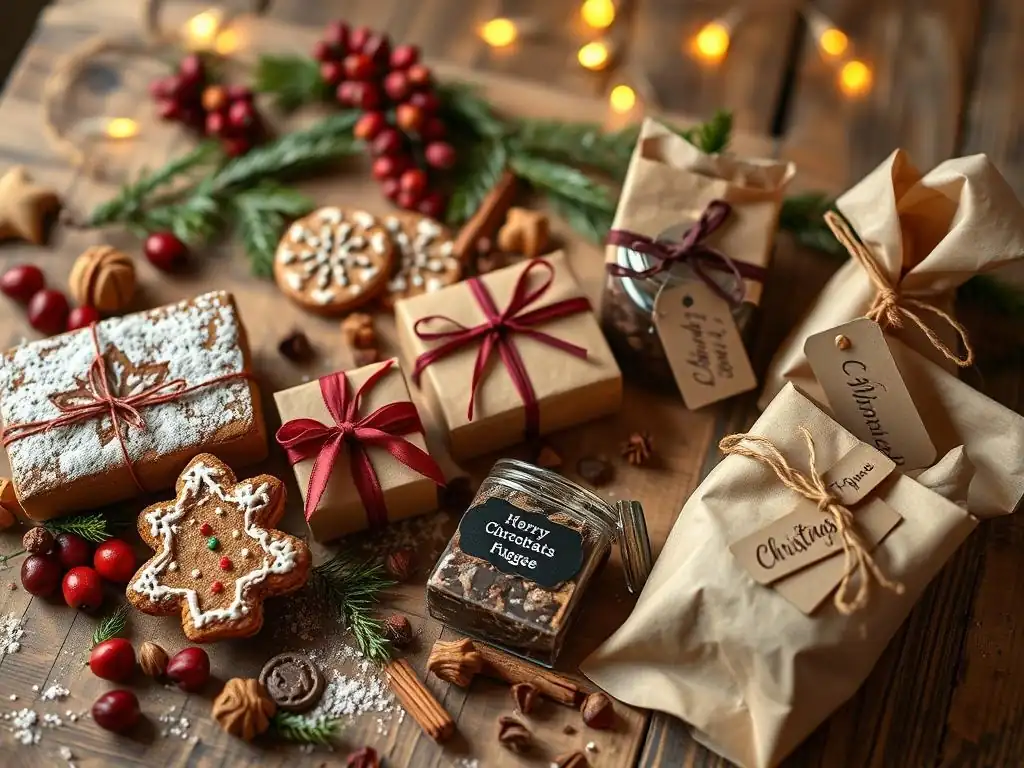
Welcome to BakeWithEase, your haven for all things baking! Ever wondered how to elevate your homemade Christmas treats from delicious to dazzling? Get ready to unwrap inspiration with our guide on the best way to package homemade Christmas treats. Discover clever and creative tips that will not only protect your festive goodies but also transform them into unforgettable gifts. Intrigued? Let's dive in and make this holiday season extra special, one beautifully packaged treat at a time!
- The Best Way to Package Homemade Christmas Treats for Gifting
- Introduction: Elevate Your Christmas Baking with Perfect Packaging
- Why Presentation Matters: Making Your Homemade Christmas Treats Extra Special
- Essential Homemade Christmas Treat Packaging Supplies
- Step-by-Step Guide to Packaging Your Homemade Christmas Treats
- Creative Ideas for Homemade Christmas Treat Packaging
- Tips for Keeping Your Christmas Treats Fresh During Shipping
- Homemade Christmas Treat Packaging Ideas by Treat Type
- Conclusion: Share the Joy of Baking with Beautifully Packaged Homemade Christmas Treats
-
Frequently Asked Questions
- What are some budget-friendly options for packaging homemade Christmas treats?
- Where can I find unique and festive packaging ideas beyond the typical tins?
- How can I ensure my packaging protects the treats and keeps them fresh?
- What are some eco-friendly alternatives for Christmas treat packaging?
- What are some tips for personalizing my homemade Christmas treat packaging?
- Final Reflection: The Sweetest Memories, Beautifully Wrapped
- Unwrap the Joy: Share Your Festive Baking!
The Best Way to Package Homemade Christmas Treats for Gifting
Introduction: Elevate Your Christmas Baking with Perfect Packaging
Christmas baking is a cherished tradition, filling homes with warmth and delicious aromas. Sharing these homemade delights with friends and family is a wonderful part of the holiday season. While the taste of your cookies, cakes, and candies is paramount, the way you present them can significantly enhance the gifting experience. Thoughtful packaging not only protects your precious baked goods but also adds a personal touch that speaks volumes about the care and effort you put into your creations.
Mastering the art of homemade Christmas treat packaging tips is just as important as perfecting your gingerbread recipe. It transforms a simple gift into a memorable gesture. Whether you're planning to hand-deliver a batch of festive sugar cookies or ship a fruitcake across the country, choosing the right packaging materials and techniques ensures your treats arrive safely and beautifully. Let's explore how to make your holiday gifts truly shine, starting with why presentation is key.
Why Presentation Matters: Making Your Homemade Christmas Treats Extra Special
Gift-giving is an act of love and thoughtfulness, and when that gift is something you've baked yourself, it carries even more meaning. The packaging is the first interaction the recipient has with your gift. Beautifully packaged homemade treats show that you've gone the extra mile, elevating a delicious item into a truly special present. It sets the stage for the delightful experience of tasting your baked goods.
Think about receiving a gift. The anticipation builds as you unwrap it. For homemade treats, this anticipation is amplified when the packaging is festive and appealing. It hints at the deliciousness inside and makes the act of receiving and opening the gift a part of the overall enjoyment. Excellent homemade Christmas treat packaging tips focus on creating this positive, exciting first impression.
The Importance of Attractive Christmas Treat Packaging
Attractive packaging serves multiple purposes beyond just looking pretty. Firstly, it protects the delicate structure and freshness of your baked goods. A sturdy box or tin prevents cookies from crumbling and cakes from getting squashed. Secondly, it reflects the spirit of the holiday season. Festive colors, patterns, and embellishments evoke joy and celebration, making the gift feel truly Christmassy.
Furthermore, well-chosen packaging communicates care. It shows that you value both the treats you've made and the person you're giving them to. Using quality materials, adding a personal tag, or tying a beautiful ribbon demonstrates attention to detail. This level of care makes the homemade Christmas treat packaging feel like an integral part of the gift itself, rather than just a container. For example, a simple batch of shortbread can become a luxurious gift when presented in a decorative tin lined with parchment paper and tied with a velvet ribbon.
First Impressions: The Visual Appeal of Gifted Baked Goods
The visual appeal of your packaged treats creates an immediate impact. Before anyone takes a bite, they see the packaging. Brightly colored boxes, clear cellophane bags showcasing colorful candies, or rustic twine tied around a loaf of gingerbread all contribute to this initial impression. This visual appeal can make your homemade treats stand out among other gifts.
Consider the difference between handing someone a plain plastic container versus a festive box filled with treats nestled in tissue paper. The latter feels more like a gift, more special. This is why focusing on homemade Christmas treat packaging tips that enhance visual appeal is so important.
Using festive elements like red and green ribbons, snowflake patterns, or holiday-themed tags instantly signals that this is a Christmas gift, adding to the excitement of the season. A carefully arranged assortment of cookies in a transparent bag tied with a bow allows the beautiful designs of your baked goods to be part of the visual presentation.
Essential Homemade Christmas Treat Packaging Supplies
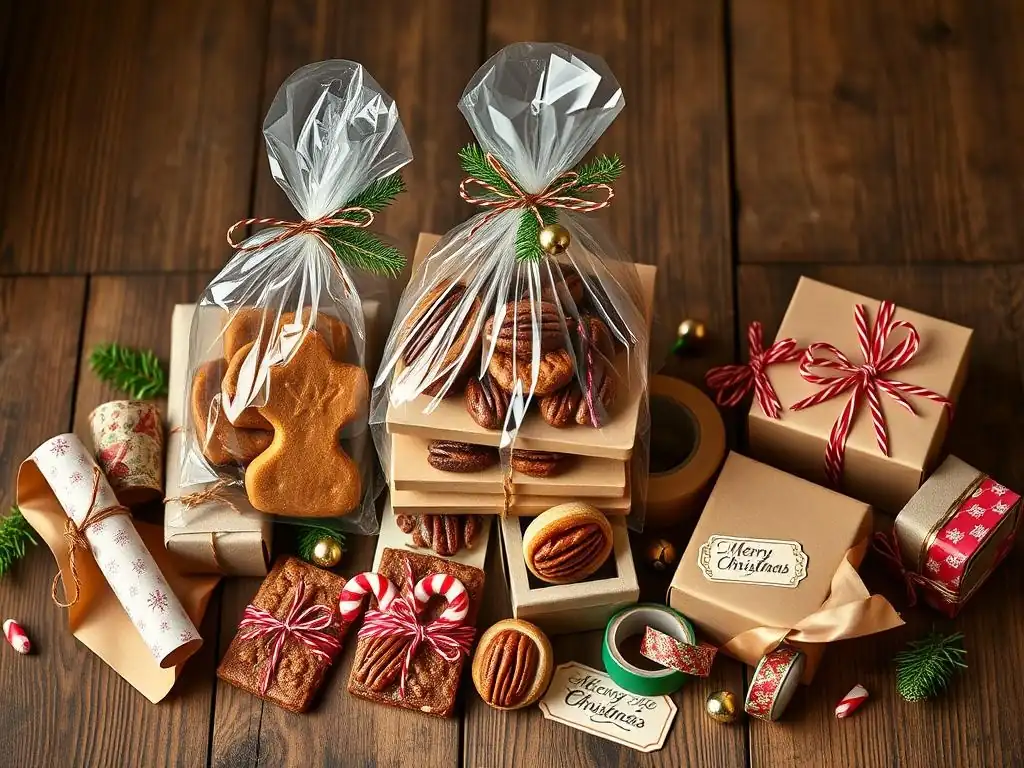
Having the right tools and materials on hand is crucial for successful homemade Christmas treat packaging. From the basic containers to decorative elements, the supplies you choose will impact both the safety and aesthetics of your gifts. Planning ahead and gathering your packaging stash before you start baking will make the process much smoother.
The variety of packaging supplies available is vast, catering to different types of treats and presentation styles. Essential items often include various boxes, bags, tins, wrapping paper, ribbons, tape, and labels. Thinking about the specific treats you'll be making and how you plan to distribute them will help you select the most appropriate supplies for your homemade Christmas treat packaging needs.
Eco-Friendly Packaging Options for Christmas Treats
In today's world, many people are looking for ways to reduce their environmental footprint, and gift packaging is no exception. Choosing eco-friendly homemade Christmas treat packaging options is a wonderful way to be kind to the planet while still creating beautiful gifts. Look for materials that are recyclable, compostable, or made from recycled content.
Examples include boxes made from recycled cardboard, paper bags, glass jars (which can be reused), and compostable cellophane. Instead of plastic ribbon, opt for natural twine, jute, or fabric scraps. Even shredded paper or natural excelsior can be used as void fill instead of plastic peanuts.
While some eco-friendly options might have a slightly higher upfront cost, perhaps adding an average of 10-20% to the price compared to conventional plastic, the long-term environmental benefits and the positive message it sends about your values are significant. Many craft stores and online suppliers now offer extensive ranges of sustainable packaging solutions specifically for food items.
Budget-Friendly Packaging Ideas for Holiday Baking
Packaging delicious homemade treats doesn't have to break the bank. There are many creative and budget-friendly homemade Christmas treat packaging ideas that look fantastic. Simple materials can be transformed into charming packaging with a little ingenuity.
Consider using materials you might already have or can source inexpensively. Brown paper bags or plain white boxes can be decorated with stamps, drawings, or stickers. Mason jars, often available in bulk for around $1-$3 per jar depending on size, are perfect for layered cookie mixes or small candies and can be dressed up with fabric scraps and ribbon.
Even clean, empty food containers like coffee tins can be repurposed and decorated. Buying supplies in bulk, like a large roll of cellophane or a pack of 50 small treat bags, can also significantly reduce the per-item cost compared to buying individual units. Focusing on simple, elegant designs rather than elaborate, expensive materials is a key budget-friendly tip.
Where to Buy Packaging for Homemade Christmas Treats
Finding the right supplies is easy once you know where to look. Various retailers cater to homemade Christmas treat packaging needs, offering a wide array of options. Your choice of supplier might depend on whether you need bulk quantities or just a few items, and your preference for in-store shopping versus online.
Craft supply stores like Michaels or Hobby Lobby are excellent resources, offering everything from decorative boxes and bags to ribbons, tags, and festive embellishments. Kitchen supply stores often have food-safe containers and bakery boxes. For bulk purchases or specialized items, online retailers like Amazon, Uline, or dedicated packaging supply websites (e.g., Paper Mart, Nashville Wraps) offer extensive selections, often at competitive prices, especially when buying in larger quantities.
Prices for a basic bakery box for a dozen cookies might range from $0.50 to $2.00 depending on size and material, while decorative tins can cost $3-$10 or more. Checking local dollar stores or supermarkets around the holidays can also yield some surprisingly good finds for simple and affordable packaging components.
Step-by-Step Guide to Packaging Your Homemade Christmas Treats
Once your delicious Christmas treats are baked, cooled, and ready to go, it's time to package them beautifully. Following a simple step-by-step process ensures your baked goods are protected, presented appealingly, and ready for gifting or shipping. This guide covers the essential stages of effective homemade Christmas treat packaging.
From selecting the right container to adding the final decorative touches, each step plays a vital role in the overall success of your packaging efforts. Taking your time and paying attention to the details will result in gifts that are not only tasty but also visually stunning. These homemade Christmas treat packaging tips aim to simplify the process and help you achieve professional-looking results right from your kitchen.
Step 1: Choosing the Right Container for Your Baked Goods
Selecting the appropriate container is the first and most crucial step in homemade Christmas treat packaging. The container must be suitable for the type of treat, its size, and how it will be transported. A delicate cake requires different packaging than sturdy cookies or fudge.
The container also sets the stage for the overall look and feel of your gift. Options range from simple cellophane bags and cardboard boxes to decorative tins and glass jars. Consider the quantity of treats you're gifting; a single large cookie might go in a small bag, while a dozen assorted cookies might fit best in a box with dividers or a tin. For instance, a standard loaf pan-sized gingerbread bread fits perfectly in an 8x4x3 inch bakery box, which typically costs around $0.80-$1.50 each.
Selecting Food-Safe Containers for Christmas Gifts
Ensuring the containers you use are food-safe is paramount for homemade Christmas treat packaging. Materials that come into direct contact with food should be non-toxic and free from harmful chemicals. Most packaging specifically marketed for food use, such as bakery boxes, cookie tins, and cellophane bags, are designed with food safety in mind.
Avoid using containers not intended for food, such as decorative boxes made with non-food-grade glues or inks, unless you line them with a food-safe barrier like parchment paper or a food-grade plastic liner. Glass jars are generally food-safe, but ensure the lids create a proper seal. When in doubt, look for labeling that indicates "food-safe" or check the manufacturer's specifications. Using certified food-safe materials, while potentially adding a few cents to the cost per item compared to non-certified options, guarantees the safety and integrity of your delicious baked goods.
Considering Size and Shape for Optimal Treat Presentation
The size and shape of the container should be chosen to fit your treats snugly but without crushing them. Too large a container allows treats to bounce around, increasing the risk of breakage. Too small a container might require force to fit the treats, damaging them.
For cookies, flat boxes or tins are ideal, especially when layered with parchment or tissue paper. For cupcakes or muffins, containers with individual cavities prevent them from shifting and protect delicate frosting. Loaves and cakes need boxes that accommodate their dimensions with a little extra space for easy placement and removal. A box that is just the right size also helps the treats look abundant and well-presented. For example, a standard 12-cavity cupcake carrier measures roughly 13x10x4 inches and costs about $1.50-$3.00, providing secure transport for a dozen decorated cupcakes.
Step 2: Protecting Your Treats During Transport
Protecting your homemade Christmas treats is vital, especially if they will be traveling any distance. Even the most delicious cookie or cake can be ruined if it arrives broken or smushed. Proper protection involves minimizing movement within the container and cushioning delicate items.
This step is particularly important for homemade Christmas treat packaging intended for shipping. The package will likely encounter bumps and jostles along the way. Techniques like using liners, dividers, and appropriate cushioning materials are essential to ensure your baked goods arrive in the same pristine condition they left your kitchen.
Preventing Crumbling and Breakage During Delivery
To prevent cookies from crumbling or other treats from breaking, minimize empty space within the container. Fill gaps with soft cushioning materials like tissue paper, crinkle paper, or shredded paper. For cookies, stacking them carefully with a layer of parchment or wax paper between each layer helps prevent them from sticking together and provides stability.
If using a tin or box that isn't completely full, you can use crumpled tissue paper or bubble wrap (outside of the food zone, of course) to fill the remaining space and prevent the treats from shifting. For items like brittle or fudge, wrapping individual pieces in cellophane or wax paper before placing them in a box can protect edges from chipping.
Securing items so they don't move more than an inch or two within the container drastically reduces the chance of damage during transport, which can involve forces equivalent to dropping the package from a height of 1-2 feet during sorting processes.
Using Liners and Dividers for Delicate Pastries
Delicate pastries, like decorated cookies, macarons, or tarts, require extra care. Using liners and dividers is a key homemade Christmas treat packaging tip for these items. Cupcake inserts are a common example of dividers, holding each cupcake securely in place.
For cookies, especially those with intricate designs or frosting, consider using small paper or cardboard dividers between each cookie, or placing them in mini cupcake liners before boxing. Layering with stiff cardboard covered in parchment paper can also create stable tiers in a deeper box or tin. For example, using fluted paper liners for individual muffins or cupcakes costs only about $0.02-$0.05 per liner but provides crucial protection and a clean presentation. These liners and dividers prevent treats from colliding with each other, preserving their shape and appearance.
Step 3: Adding Festive Touches and Personalization
Once your treats are securely contained, it's time to make the packaging look like a Christmas gift! Adding festive touches and personalizing the package elevates it from a simple container to a thoughtful present. This is where your creativity can really shine.
Think about colors, textures, and holiday themes. Ribbons, bows, tags, stamps, and stickers are all great ways to add a personal and festive flair to your homemade Christmas treat packaging. This step makes the recipient feel that the gift was made specifically for them.
Creative Christmas Gift Wrapping Ideas for Baked Goods
There are countless creative ways to wrap baked goods for Christmas. Instead of traditional wrapping paper (which can be tricky around oddly shaped boxes), consider using festive fabric scraps, patterned cellophane, or even brown kraft paper decorated with white ink drawings of snowflakes or stars.
Ribbons are a classic choice – velvet, satin, or grosgrain in red, green, gold, or silver add instant elegance. Tie a simple bow around a box or tin. For bags, gather the top and tie tightly with ribbon or twine.
Incorporate natural elements like a sprig of rosemary, a cinnamon stick, or a dried orange slice under the ribbon for added aroma and visual appeal. A small box of cookies wrapped in simple kraft paper and tied with red and white baker's twine with a sprig of evergreen looks rustic and charming, costing perhaps less than $1 per package for materials.
DIY Christmas Tags and Labels for a Personal Touch
A handwritten tag or label adds a warm, personal touch that store-bought labels often lack. This is an excellent way to convey who the gift is from and perhaps what the treats are. Simple cardstock can be cut into festive shapes (stars, circles, rectangles) and punched with a hole for tying.
You can use stamps, stickers, or simply write a short message and your name. If you have a printer, you can design custom labels with a festive design, the name of the treat (e.g., "Grandma's Famous Gingersnaps"), and your family name. Attaching the tag with festive ribbon or twine completes the look. Creating DIY tags can cost almost nothing if you use scrap paper or average around $0.10-$0.50 per tag if using new cardstock and decorative elements, providing significant personalization for minimal cost.
Step 4: Sealing and Securing Your Packaging
The final step in homemade Christmas treat packaging is properly sealing and securing the package. This ensures the treats stay fresh, prevents spills or leaks (especially important for items like fudge), and keeps the contents safe during transit.
The method of sealing will depend on the type of container used. Proper sealing also helps maintain the intended moisture level of the treats, preventing dry cookies or soggy cakes. This step is non-negotiable for both presentation and food safety.
Ensuring Freshness and Preventing Spillage
To maintain freshness, containers should be as airtight as possible. Tins with tight-fitting lids are excellent for this. For boxes, consider lining them with a food-safe plastic bag or cellophane before adding the treats, then sealing the bag. Cellophane bags filled with treats should be sealed tightly, either with tape, a heat sealer, or by twisting the top and securing it firmly with a twist tie or ribbon.
For items like fudge or brownies, which might be slightly oily or moist, wrapping them individually in wax paper or cellophane before boxing adds an extra layer of protection and prevents oil stains on the packaging. Ensuring a tight seal also prevents accidental spillage if the package is tilted or inverted during handling. A simple twist tie for a cellophane bag costs less than a penny, while adding crucial protection against staling.
Best Practices for Sealing Different Types of Containers
Different containers require different sealing techniques.
- Tins: Ensure the lid fits snugly. If slightly loose, a band of festive tape around the seam can help secure it.
- Boxes: For standard bakery boxes, folding the tabs securely is usually sufficient for hand-delivery. For shipping, reinforce seams with strong packing tape. Lining the box with a sealed bag offers extra freshness and security.
- Bags: Cellophane or plastic treat bags can be sealed with a heat sealer for a professional look and airtight seal (costing around $20-$50 for a basic model), or simply twisted tightly at the top and secured with ribbon, twine, or a twist tie.
- Jars: Ensure the lid is screwed on tightly. If using two-piece canning lids, make sure the seal is properly formed.
For added security, especially when shipping, you might place the primary container (like a tin or decorated box) inside a sturdier outer shipping box, cushioning it with packing material. This multi-layer approach is a key homemade Christmas treat packaging tip for ensuring treats arrive intact.
Creative Ideas for Homemade Christmas Treat Packaging
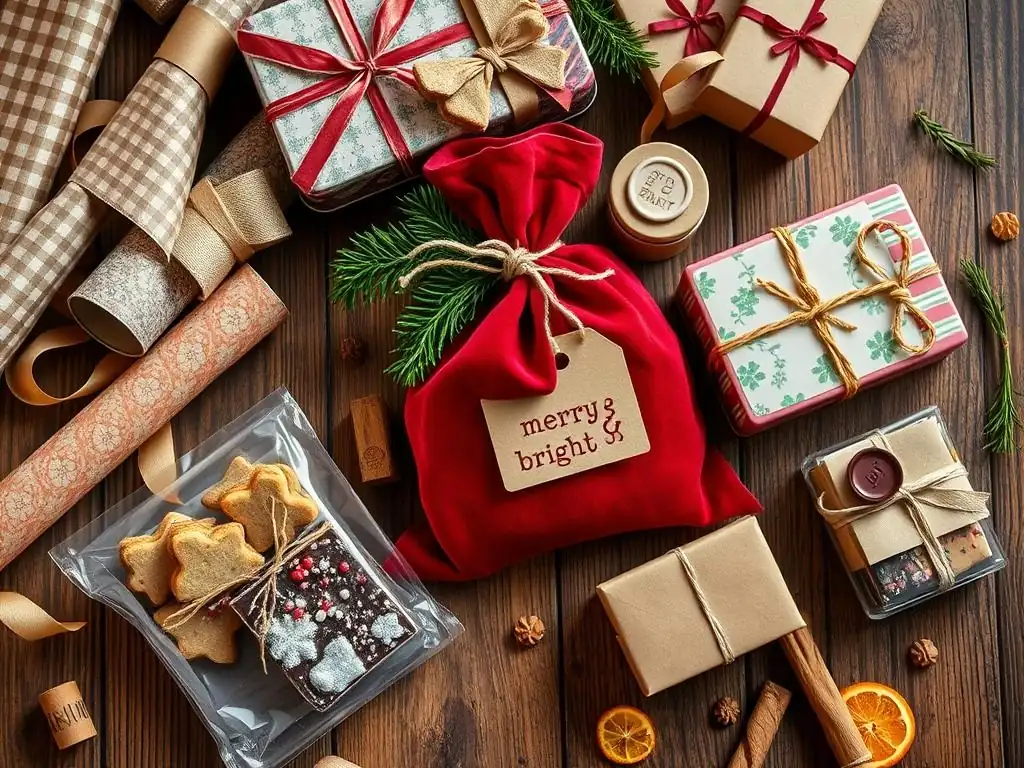
Looking for inspiration to make your homemade Christmas treat packaging truly memorable? Beyond the basic boxes and bags, there are many creative ways to package your baked goods that add charm and personality. These ideas often repurpose common items or use simple materials in imaginative ways.
Getting creative with your homemade Christmas treat packaging allows you to match the presentation to the style of the treat or the personality of the recipient. It's an opportunity to add an extra layer of thoughtfulness to your gift-giving.
Mason jars aren't just for canning; they are fantastic, reusable containers for homemade Christmas treats, especially cookies, candies, fudge, and even layered baking mixes. Their clear glass allows the colorful contents to be seen, which is part of the appeal.
For cookies, stack smaller cookies neatly inside, perhaps layering different types or colors. For candies or fudge, fill the jar to the brim. You can also create "cookies in a jar" gifts by layering the dry ingredients for a cookie recipe. Decorate the jar by tying a ribbon or twine around the neck, attaching a small ornament, or placing a festive fabric circle under the lid secured with the outer ring. A quart-sized Mason jar holds approximately 2-3 dozen standard-sized cookies and costs about $1.50-$2.50, making it a relatively inexpensive yet charming packaging option.
Boxed Bliss: Elegant Packaging for Cakes and Pastries
Boxes offer versatility for packaging larger or more delicate items like cakes, loaves, muffins, and pastries. They provide sturdy protection and a clean canvas for decoration. Options range from simple white or brown bakery boxes to pre-printed festive boxes.
For a more elegant look, consider using sturdy gift boxes or hat boxes lined with tissue paper. Cupcakes and muffins benefit from boxes with inserts that hold each one securely. Layering items in a box with parchment or festive tissue paper adds cushioning and visual appeal. For example, a standard 9x9 inch cake box costs around $1.00-$2.50 and provides ample space and protection for a small layer cake or a batch of brownies cut into squares, allowing for elegant presentation with minimal effort. Decorate the outside with ribbons, a sticker, or a festive band of paper.
Bagged Beauty: Simple and Charming Packaging for Smaller Treats
For smaller quantities or individual treats, bags are a simple, cost-effective, and charming packaging solution. Cellophane bags, paper bags, or even small fabric pouches work well for cookies, candies, or trail mix-style treats.
Clear cellophane bags are great for showcasing colorful treats like decorated sugar cookies or homemade hard candies. Tie the top with a festive ribbon or twine. Paper bags (like small glassine bags or colored paper gift bags) can be sealed with a sticker or folded over and punched to attach a tag or ribbon.
For a rustic feel, use small burlap or cotton drawstring bags for items like spiced nuts or gingerbread bites. A pack of 100 small cellophane bags might cost around $5-$10, making the cost per bag only pennies, which is highly economical for distributing individual treats or small samples.
Tips for Keeping Your Christmas Treats Fresh During Shipping
Shipping homemade Christmas treats requires extra precautions to ensure they arrive fresh and delicious. Temperature fluctuations, humidity changes, and transit times can all impact the quality of your baked goods. Following specific homemade Christmas treat packaging tips for shipping is essential.
Proper packaging for shipping focuses on protection from physical damage and environmental factors. While you can't control the exact conditions during transit, you can minimize their impact through careful preparation and packaging choices.
Maintaining Optimal Temperature and Humidity Levels
Temperature and humidity are major concerns when shipping baked goods. High temperatures can melt chocolate or frosting, while excessive humidity can make crisp cookies soggy. Freezing some treats before shipping can help them stay firm longer, especially if they contain chocolate or delicate frosting.
For temperature-sensitive items, consider using insulated liners or boxes and including frozen gel packs. These gel packs can keep the internal temperature cool for 24-48 hours. Ensure gel packs are wrapped to prevent condensation from making packaging or treats damp. Shipping during cooler months helps naturally maintain lower temperatures. For items susceptible to moisture, ensure they are sealed in airtight containers or bags within the shipping box. Using desiccants is generally not recommended for food items unless they are specifically food-grade and the treats are completely dry (like biscotti), as they can remove too much moisture and alter texture.
Using Oxygen Absorbers and Desiccants
While commonly used in commercial food packaging, oxygen absorbers and desiccants require careful consideration for homemade treats. Oxygen absorbers reduce oxygen levels to prolong shelf life for certain dry goods by preventing oxidation. Desiccants (like silica gel packets) absorb moisture to keep things dry.
For most fresh or semi-moist homemade Christmas treats (like cakes, brownies, or soft cookies), using oxygen absorbers or desiccants is generally not necessary or recommended. They can negatively affect texture and moisture content, potentially making soft items hard or changing flavors.
For very dry items like biscotti or hard candy, food-grade packets might be used, but ensuring the treat is already properly dried and sealed in an airtight container is usually sufficient for typical gifting or shipping times (e.g., 2-5 days). Always use food-grade packets and follow manufacturer instructions rigorously if you choose this route, though for most home bakers, focusing on airtight sealing is more practical and effective.
Addressing Potential Shipping Delays
Shipping during the busy Christmas season means potential delays are a real possibility. Choose a shipping method that aligns with the perishability of your treats. For items that stay fresh for only a few days, consider expedited shipping options, even if they cost more (e.g., 2-day or 3-day shipping, which might cost $20-$50+ depending on distance and weight, compared to standard ground).
Package your treats to stay fresh for at least 1-2 days longer than the estimated transit time. This means baking close to the shipping date, ensuring airtight seals, and using sturdy containers. Inform the recipient that a package of perishable treats is on its way so they can anticipate its arrival. Shipping early in December can also help avoid the peak shipping rush and reduce the likelihood of delays.
Homemade Christmas Treat Packaging Ideas by Treat Type
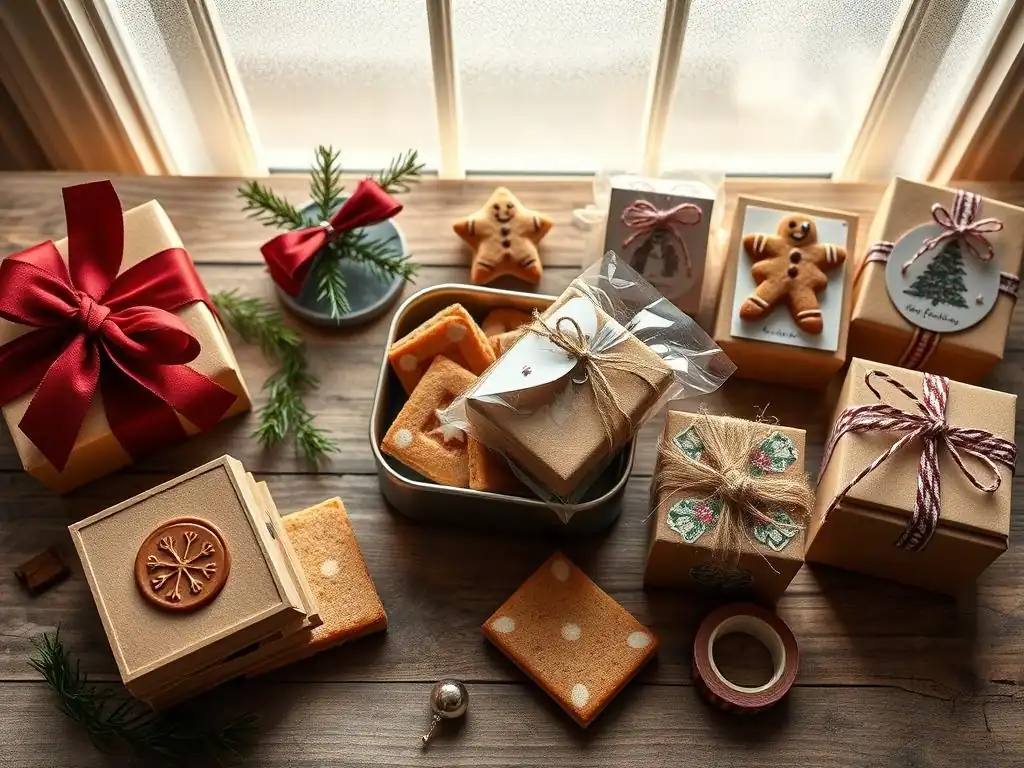
Different types of baked goods have unique characteristics that influence the best packaging methods. What works for a sturdy cookie might not work for a delicate frosted cupcake. Tailoring your homemade Christmas treat packaging to the specific item ensures it looks its best and stays fresh.
Considering the texture, shape, and fragility of your treats is key to successful packaging. Here are some specific homemade Christmas treat packaging tips based on common holiday favorites.
Cookies are perhaps the most popular homemade Christmas treat for gifting. They come in countless shapes and sizes, from flat cutouts to chunky drop cookies. The best packaging protects them from breaking and prevents them from going stale or getting soft.
Flat cookies are often best packaged in layers in a tin or flat box, separated by parchment or wax paper. This prevents sticking and provides cushioning. For a dozen standard-sized cookies (approx. 3 inches each), a 7x4x2.5 inch cookie box is often a good fit, costing around $0.70-$1.20 per box.
Chunkier cookies can be placed in single layers in boxes or stacked carefully in jars or bags. For decorated cookies, especially those with delicate icing, package them individually in small cellophane bags before placing them in a box or tin. This protects the design and prevents them from sticking to each other. Using food-safe cushioning like shredded paper or crinkle paper in the box helps fill voids and prevents movement.
Packaging Christmas Candies and Fudge
Homemade candies, brittle, toffee, and fudge are also wonderful holiday gifts. These items are often dense and less fragile than cookies or cakes, but they can melt, become sticky, or absorb moisture.
Fudge and brittle are often cut into squares or pieces. Layering them in a tin or sturdy box with parchment or wax paper between layers works well. Wrapping individual pieces in wax paper or cellophane before boxing prevents them from sticking together and makes them easy to share.
Small candies like caramels or truffles can be placed in decorative bags, small boxes, or jars. For items prone to melting, like chocolate truffles, packaging in a container that can be easily kept cool is beneficial, and including a frozen gel pack is advisable if shipping. A small, decorative tin measuring about 5x3 inches can hold approximately half a pound of fudge or candy squares and costs around $3-$6.
Packaging Christmas Cakes and Breads
Larger baked goods like fruitcakes, gingerbread loaves, panettone, or stollen require packaging that accommodates their size and preserves their moisture. These items are generally sturdier than layer cakes but still need protection from crushing.
Loaf cakes and breads fit well in standard loaf pans, and corresponding loaf-sized bakery boxes (like 9x5x4 inches, costing about $1.00-$1.80) are ideal. Wrap the cake or bread tightly in plastic wrap or place it in a food-safe plastic bag before boxing to maintain moisture and freshness. For round cakes, use cake boxes with a sturdy base.
Ensure the box is large enough that the sides don't touch the cake's frosting or structure. For shipping, place the wrapped and boxed cake inside a larger, well-cushioned shipping box, ensuring it cannot shift. Using corrugated cardboard inserts or bubble wrap (outside the inner food packaging) can provide excellent protection.
Packaging your homemade Christmas treats is the final, rewarding step in your holiday baking journey. It's an opportunity to add a personal touch and transform your delicious creations into beautiful, thoughtful gifts. By paying attention to the details of homemade Christmas treat packaging tips – choosing the right containers, protecting your treats, adding festive flair, and ensuring they stay fresh – you enhance the entire gifting experience for the recipient.
Whether you opt for simple, rustic charm or elegant, elaborate presentation, the effort you put into packaging shows how much you care. Sharing your baked goods is a way to spread warmth and holiday cheer. With these homemade Christmas treat packaging tips, your delicious gifts will not only taste incredible but also look stunning, making this Christmas season even sweeter for everyone you share them with. Happy baking and happy gifting!
Frequently Asked Questions
What are some budget-friendly options for packaging homemade Christmas treats?
You can use readily available materials like mason jars, recycled cardboard boxes, and parchment paper. Decorate them with ribbons, twine, and handmade tags for a personal touch.
Where can I find unique and festive packaging ideas beyond the typical tins?
Explore craft stores or online marketplaces like Etsy for specialty boxes, decorative bags, and personalized labels. Consider using repurposed vintage containers for a charming presentation.
How can I ensure my packaging protects the treats and keeps them fresh?
Use airtight containers or resealable bags to prevent staling. Add a layer of parchment paper between layers of treats to prevent sticking and crumbling.
What are some eco-friendly alternatives for Christmas treat packaging?
Opt for biodegradable cellophane bags, reusable cloth bags, or containers made from recycled materials. Avoid using excessive plastic and choose natural decorations like dried flowers.
What are some tips for personalizing my homemade Christmas treat packaging?
Add handwritten notes, personalized tags, or custom stickers with the recipient's name. Use themed ribbons or decorations that reflect their interests or the spirit of Christmas.
Final Reflection: The Sweetest Memories, Beautifully Wrapped
The art of gifting homemade Christmas treats isn't just about the deliciousness inside; it's about the thoughtful presentation that elevates the experience. A beautifully packaged gift speaks volumes about the care and effort put into creating it, transforming a simple act of sharing into a cherished memory. This is especially true during the holiday season, a time when we celebrate connection and generosity.
The impact of thoughtful packaging extends beyond the immediate recipient. It's a visual representation of the spirit of giving, a tangible symbol of warmth and holiday cheer that resonates throughout the season. The best gifts are wrapped in love.
This simple sentiment encapsulates the essence of what we've explored – that the packaging itself becomes an integral part of the gift, enhancing its emotional value and creating a lasting impression far beyond the taste of the treats themselves. The tradition of sharing homemade goods is a powerful one, and the way we present them significantly impacts how that tradition is experienced and remembered.
So, as you prepare your own homemade Christmas treats this year, remember the power of presentation. Don't underestimate the impact of a carefully chosen container, a charming ribbon, or a personalized tag. Take the time to create something beautiful, something that reflects the love and care you've poured into your baking. Let your packaging be an extension of the warmth and joy you wish to share, creating memories as sweet and lasting as the treats themselves.
Thanks for taking the time to learn how to beautifully package your homemade Christmas treats! We hope you've gained some inspiration and confidence in creating truly memorable gifts this holiday season. Now, let's get those delicious goodies ready for sharing!
- Master the art of festive wrapping: Try a new ribbon technique or experiment with unique tags – your thoughtful touches will make your gifts even more special. This is the key to spreading holiday cheer!
- Share your baking success: Post photos of your beautifully packaged treats on social media using #BakeWithEaseChristmas. Let's inspire others with your creativity!
- Consider a cookie exchange: Reach out to friends or family and organize a festive exchange to share the joy of baking with loved ones. It's a fantastic way to spread the holiday spirit!
What unique packaging idea will you try this year to make your Christmas treats truly unforgettable?