
Prevent Soggy Bottoms in Berry Bakes

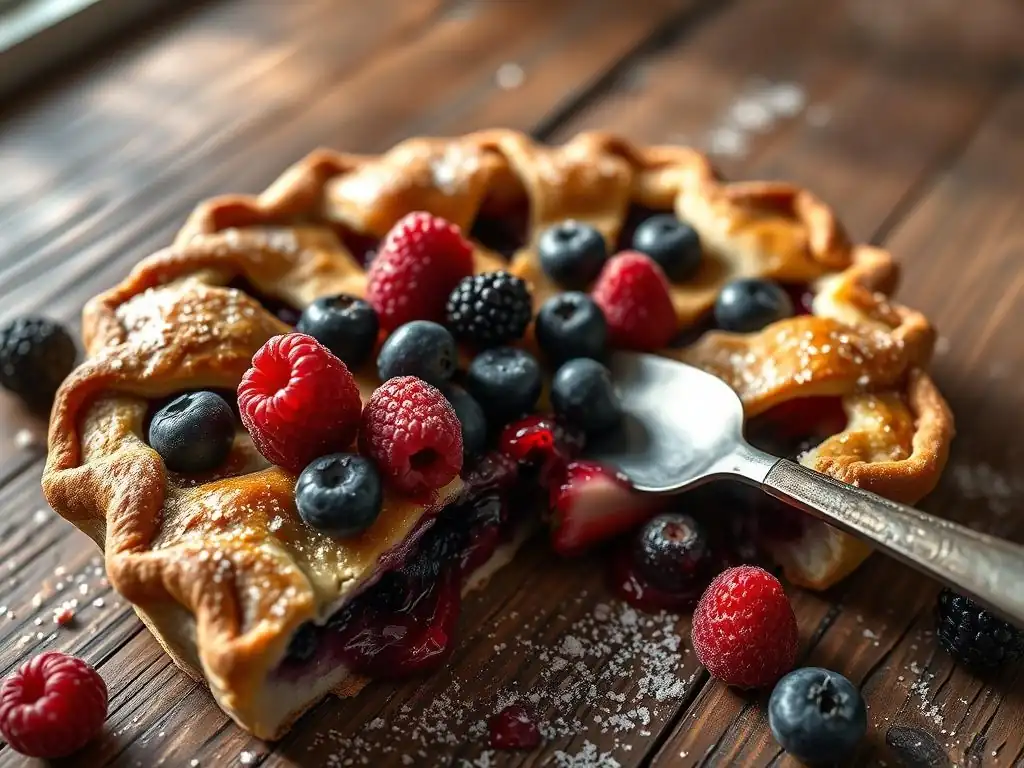
Welcome to BakeWithEase, your haven for baking brilliance! Ever dreamed of a perfectly crisp berry pie, but ended up with a soggy bottom instead? Fear not! We're diving deep into the secrets of preventing that dreaded soggy berry pie crust in our latest guide. Discover the tips and tricks that will transform your seasonal bakes from soggy disasters to delectable delights. Ready to unlock the secrets? Let's get baking!
- Prevent Soggy Bottoms in Berry Bakes: A Baker's Guide
- Understanding the Enemy: Causes of a Soggy Berry Pie Crust
- Preemptive Strikes: Preparing Your Berry Bake for Success
- Building a Moisture Barrier: Techniques for a Crispy Bottom Crust
- Mastering the Bake: Baking Techniques for a Perfect Berry Pie
- Troubleshooting Soggy Pie Crusts: Common Mistakes and Fixes
- Advanced Techniques: Elevating Your Berry Baking Game
- Conclusion: Bake Berry Pies with Confidence
-
Frequently Asked Questions
- How can I prevent my berry pie crust from getting soggy?
- What kind of thickener works best for berry pie fillings to avoid a soggy crust?
- Does blind baking the pie crust really make a difference in preventing sogginess?
- Are there specific berry types that are more prone to causing soggy pie crusts?
- Besides the crust itself, what can I do to minimize moisture in the berry filling and prevent a soggy crust?
- Final Reflection: The Pursuit of a Perfectly Crisp Crust
- Unlock Perfectly Dry Berry Pies!
Prevent Soggy Bottoms in Berry Bakes: A Baker's Guide
Introduction: The Soggy Berry Pie Crust Problem
Few things are as disheartening in baking as pulling a beautiful berry pie from the oven, only to discover its bottom crust has succumbed to the dreaded soggy fate. This isn't just a minor flaw; a soggy berry pie crust compromises the entire texture experience, turning what should be a delightful contrast of flaky pastry and juicy fruit into a disappointing, wet mess. The high water content of fresh berries, combined with the heat of the oven, creates a challenging environment for pie dough, often leading to this common baking pitfall.
The goal of any great berry bake is to achieve a harmonious balance: a vibrant, flavorful filling that holds its shape and a crust that is crisp, golden, and flaky from edge to center. This requires understanding the science behind moisture and heat in baking and employing strategic techniques to protect your delicate pie crust from the onslaught of berry juices. Mastering the art of preventing a soggy berry pie crust is a fundamental skill for any baker tackling summer fruits.
Understanding the Enemy: Causes of a Soggy Berry Pie Crust
Moisture Migration: The Main Culprit
The primary reason for a soggy berry pie crust is the migration of moisture from the fruit into the raw dough during baking. Berries, particularly those like raspberries and blackberries, can be up to 85-90% water. As they heat in the oven, their cell walls break down, releasing this liquid. This creates a hot, steamy environment within the pie, and the excess liquid pools at the bottom, saturating the lower crust before it has a chance to fully bake and set.
This released moisture acts like a sponge on the pie dough. The starch and gluten in the flour absorb the liquid, preventing the dough from reaching the temperatures needed to crisp up and form those desirable flaky layers. Instead, it becomes dense, pasty, and wet – the classic soggy berry pie crust. Controlling this moisture release and creating barriers are key strategies.
Inadequate Crust Protection
A common mistake is placing a wet berry filling directly into an unbaked pie shell without any form of protection. The raw dough is highly susceptible to absorbing liquid, and without a barrier, it stands little chance against the volume of juice released by cooking fruit. Thinly rolled crusts are even more vulnerable, offering less substance to resist moisture penetration.
Furthermore, poorly sealed edges or cracks in the crust can also contribute to sogginess. While not directly causing a soggy bottom crust, these weak points can allow steam and juice to escape or seep into the crust's structure, weakening it overall. Ensuring a well-sealed pie edge, whether crimped or fluted, is part of the overall strategy to manage moisture within the pie cavity.
Oven Temperature and Baking Time
Incorrect oven temperature and insufficient baking time are significant factors contributing to a soggy berry pie crust. If the oven is too cool, or if the pie isn't baked long enough, the bottom crust may never reach the critical temperature required for the gluten structure to set and the water to evaporate sufficiently. The filling might appear set on top, but the bottom remains undercooked and susceptible to moisture.
Starting the bake at a high temperature (often 400-425°F or 200-220°C) for the initial phase is crucial. This provides a burst of heat that helps set the bottom crust quickly before the bulk of the berry juice is released. Without this initial high heat, the crust stays soft and is easily overwhelmed by moisture, resulting in a persistent soggy berry pie crust.
Preemptive Strikes: Preparing Your Berry Bake for Success
Choosing the Right Berries
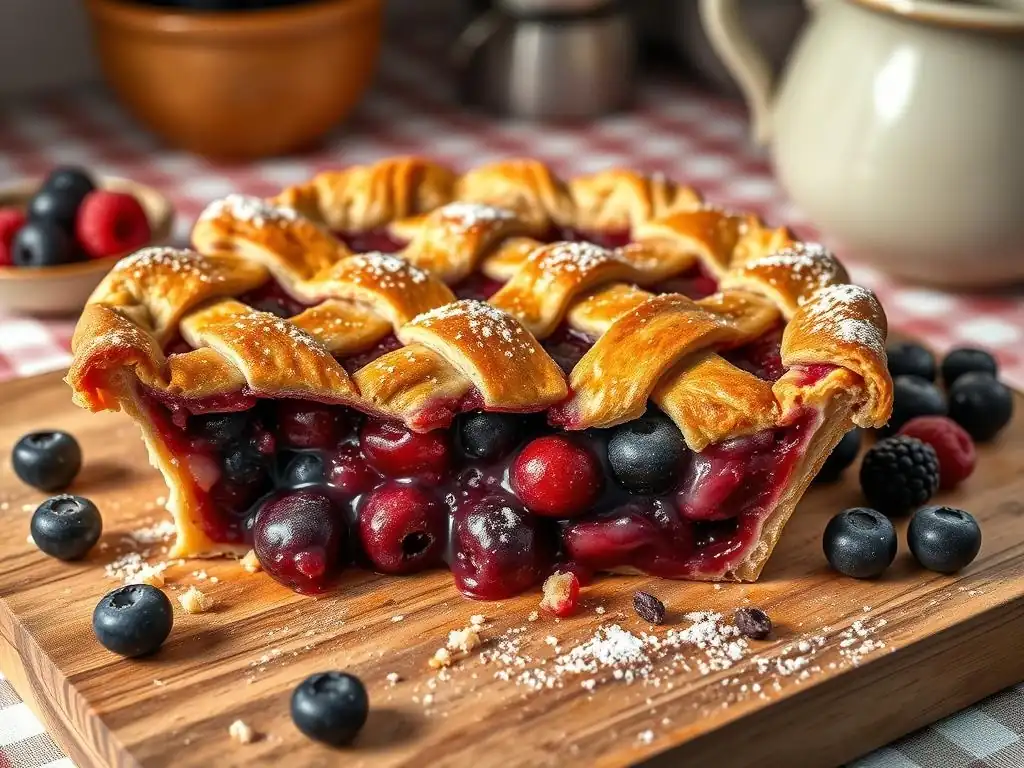
While you can bake with any berry, some are naturally juicier than others. Blueberries tend to hold their shape and release less liquid than softer berries like raspberries, blackberries, or sliced strawberries. Using a blend, perhaps favoring blueberries, can help manage overall moisture. If using frozen berries, it is absolutely essential to thaw them completely and drain off all the excess liquid before incorporating them into your filling. Skipping this step is a guaranteed path to a soggy berry pie crust.
Consider the ripeness as well. Very ripe berries are sweeter but also contain more water. If using exceptionally ripe or juicy berries, be prepared to use more thickener or employ additional moisture-prevention techniques. Some bakers even gently macerate (toss with sugar) juicy berries for a short period, drain the released liquid, and then use the drained berries, often reducing the overall sugar needed in the filling.
Thickening the Berry Filling
Using an appropriate amount and type of thickener is non-negotiable for preventing a soggy berry pie crust. Common options include cornstarch, tapioca starch, and flour. Cornstarch is widely used (typically 2-3 tablespoons per 4-5 cups of berries) and provides a clear gel, but it can break down if overcooked or frozen.
Tapioca starch (often 3-4 tablespoons for the same amount of fruit) works well with acidic fruits, creates a slightly softer gel, and holds up better to freezing. Flour (usually 1/4 to 1/3 cup) is another option but can make the filling cloudy and sometimes has a raw taste if not cooked long enough.
The correct ratio of thickener to fruit is vital. Too little, and the filling remains a watery soup that will saturate the crust. Too much, and the filling can become unpleasantly gummy. Recipes often provide guidelines, but juicy berries or large quantities of fruit may require slightly more thickener than stated. Ensure the thickener is thoroughly mixed with the sugar and sometimes a bit of spice before tossing gently with the berries to coat them evenly.
Pre-Baking the Crust: Blind Baking Techniques
Blind baking, or partially baking the bottom crust before adding the filling, is one of the most effective methods to combat a soggy berry pie crust. This technique sets the dough's structure and creates a firmer base that is less likely to absorb moisture from the filling. For berry pies, a partial blind bake is usually sufficient – baking just until the crust is set and lightly golden, not fully cooked as you would for a custard pie.
To blind bake, line your chilled pie shell with parchment paper or foil, then fill it with pie weights, dried beans, or uncooked rice right up to the edge. This prevents the crust from shrinking or puffing up. Bake in a preheated oven (around 375-400°F or 190-200°C) for 15-20 minutes until the edges are set. Remove the weights and paper, then bake for another 5-10 minutes to allow the bottom surface to dry out slightly before adding the filling. This creates a crucial head start against moisture.
Building a Moisture Barrier: Techniques for a Crispy Bottom Crust
Egg Wash or Chocolate Coating
Once your crust has been partially blind-baked, you can add an extra layer of defense against a soggy berry pie crust. A simple egg wash, made by whisking an egg with a tablespoon of water or milk, can be brushed thinly over the warm, partially baked bottom crust. As the pie finishes baking with the filling, this egg layer sets into a thin, protein-rich film that acts as a shield, helping to repel moisture from the filling. It also gives the inside of the crust a lovely golden sheen.
For certain berry combinations, particularly those that pair well with chocolate like raspberries or cherries, a thin layer of melted dark chocolate can serve as a delicious and effective barrier. Brush a modest amount of melted chocolate onto the warm, partially blind-baked crust and let it set completely before adding the filling. The hardened chocolate creates an impermeable layer that moisture cannot penetrate, ensuring a crisp bottom crust.
Using Crumbs or Ground Nuts
Another excellent technique for creating a buffer is to sprinkle a thin layer of dry crumbs or finely ground nuts over the bottom of the partially blind-baked crust before adding the berry filling. Options include graham cracker crumbs, finely crushed cookies (like vanilla wafers or shortbread), dry cake crumbs, or almond flour/finely ground nuts. Use about 1/4 to 1/2 cup for a standard 9-inch pie.
This layer acts like a sacrificial sponge, absorbing some of the initial liquid released by the berries before it reaches the crust itself. It adds a subtle layer of flavor and texture while providing a practical barrier against moisture, actively working to prevent a soggy berry pie crust. Ensure the layer isn't too thick, or it could make the bottom dense instead of crispy.
Lattice Crust or Cutout Designs
While they don't directly protect the bottom crust, lattice tops or pies with decorative cutouts serve a vital function in moisture management: they allow steam to escape during baking. Berry fillings produce a significant amount of steam as they cook. If this steam is trapped under a solid top crust, it can condense and drip back down onto the bottom crust, contributing to sogginess.
A lattice or vent cuts provide necessary ventilation, allowing this steam to escape the pie cavity. This helps the filling thicken properly and reduces the amount of moisture buildup inside the pie, indirectly helping to keep the bottom crust crisp and preventing a soggy berry pie crust. Plus, they look beautiful!
Mastering the Bake: Baking Techniques for a Perfect Berry Pie
Oven Placement and Temperature Control
Where you place your pie in the oven can significantly impact the bottom crust. For fruit pies, baking on the lowest rack or directly on a preheated baking steel or pizza stone is often recommended. This ensures that the bottom of the pie receives direct, intense heat, which helps it bake and crisp up quickly before it's saturated by the filling's moisture.
As mentioned earlier, starting at a high temperature (e.g., 425°F or 220°C) for the first 15-20 minutes helps set the crust. After this initial phase, reduce the oven temperature to a moderate heat (like 375°F or 190°C) to allow the filling to cook through and thicken without burning the top crust. This two-stage temperature method is highly effective at preventing a soggy berry pie crust.
Monitoring the Baking Process
Don't rely solely on the clock; watch your pie! A perfectly baked berry pie should have a deeply golden-brown crust, and the filling should be visibly bubbling vigorously, especially in the center. This bubbling indicates that the filling has reached a high enough temperature for the thickener to activate and create a stable gel. If the filling isn't bubbling, it hasn't thickened properly and will likely be runny, leading to a soggy berry pie crust upon cooling.
If the crust is browning too quickly, loosely tent the pie with aluminum foil. Ensure the filling bubbles for at least 5-10 minutes before removing the pie from the oven to guarantee the thickener has done its job. A little patience here goes a long way in achieving a well-set filling and avoiding a runny, moisture-laden mess.
Cooling and Setting
This step is arguably just as important as the baking itself for preventing a soggy berry pie crust. The filling continues to thicken and set as it cools. Cutting into a hot pie releases steam and liquid that should still be gelling. This liquid will inevitably run into the crust, making it soggy.
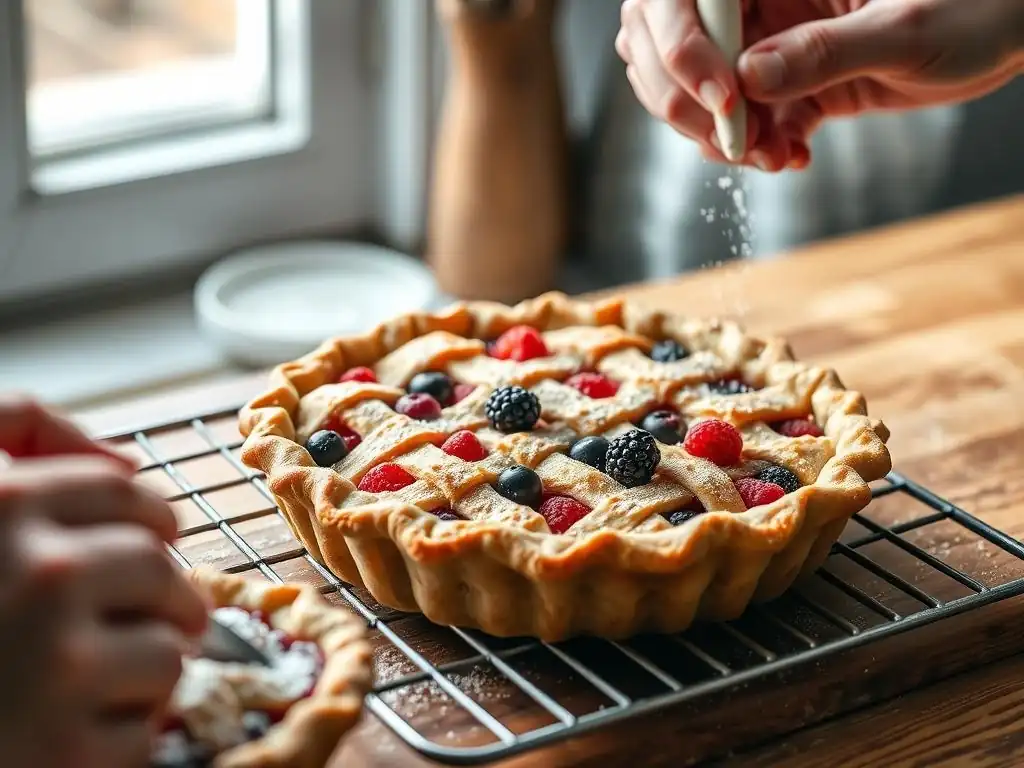
Allow the pie to cool completely on a wire rack. This can take anywhere from 2 to 4 hours, or even longer for large or deep-dish pies. The wire rack allows air to circulate underneath the pie plate, helping the bottom crust stay crisp. For fillings thickened with cornstarch, chilling the pie after it reaches room temperature can further help the filling set firmly and prevent any residual moisture from affecting the crust. Patience is truly a virtue here.
Troubleshooting Soggy Pie Crusts: Common Mistakes and Fixes
My Crust is Already Soggy! What Now?
Discovering a soggy berry pie crust after the fact is frustrating, but sometimes there are emergency measures you can attempt. If the pie is still warm, you can try returning it to a moderate oven (around 300°F or 150°C) for 10-15 minutes, placing it directly on a baking stone or the lowest rack, hoping to dry out the bottom slightly. Monitor it closely to avoid burning the top.
Another trick, if the pie is cool, involves carefully transferring the pie plate onto a preheated baking stone or a hot, dry skillet placed over low heat on the stovetop for a few minutes. The direct heat might help crisp up the bottom. However, these are rarely perfect fixes for a severely soggy berry pie crust and are best considered last-ditch efforts.
Common Mistakes to Avoid
Many soggy berry pie crust issues stem from easily avoidable errors. One frequent mistake is overfilling the pie; too much fruit means too much liquid for the thickener and crust to handle. Stick to the recommended amount of fruit in your recipe, typically 6-8 cups for a standard 9-inch pie. Using thawed, undrained frozen berries is another prime culprit – always drain them thoroughly!
Not using enough thickener, or not baking the pie long enough for the thickener to fully activate, are also common pitfalls. Ensure your filling bubbles well before removing the pie. Lastly, cutting into the pie before it has completely cooled and set is a surefire way to introduce excess liquid to the bottom crust, turning what might have been a slightly soft bottom into a fully soggy berry pie crust.
Advanced Techniques: Elevating Your Berry Baking Game
Using Pectin for a Gel-Like Filling
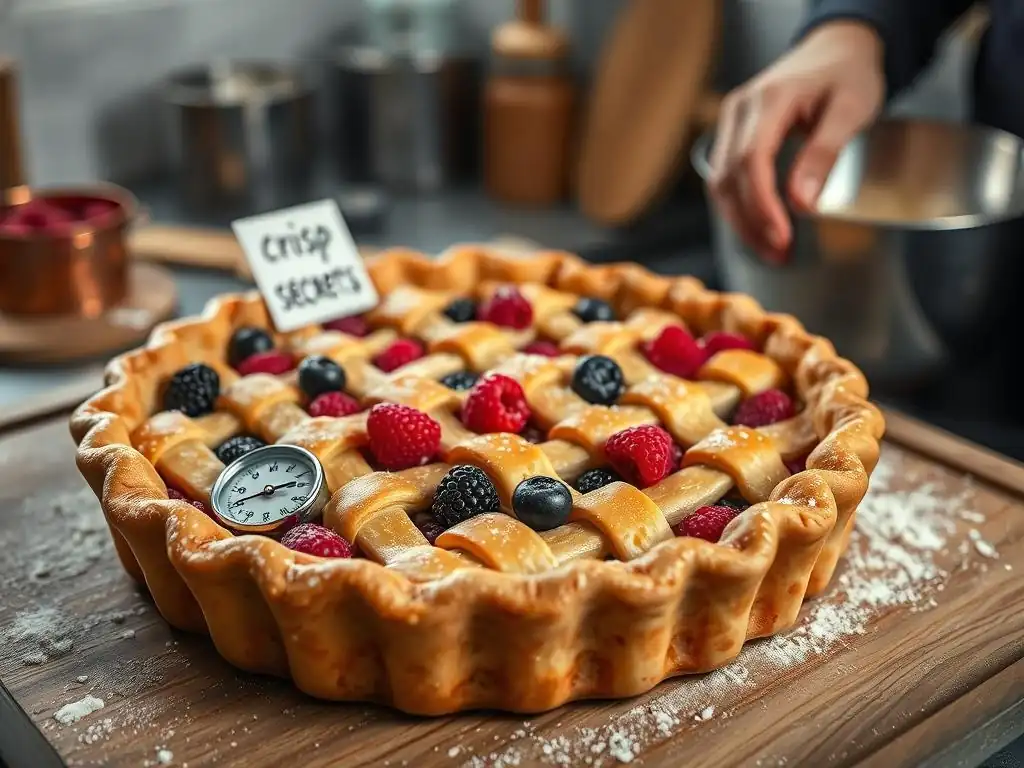
For bakers seeking a particularly stable, sliceable berry filling that minimizes liquid release, using pectin can be an advanced solution. Pectin is a natural gelling agent found in fruits. While some fruits (like apples or citrus) are high in pectin, berries are relatively low. Using a commercial pectin blend, especially low-methoxyl (LM) pectin which sets with less sugar and acid than high-methoxyl pectin, can create a very firm, gel-like filling that holds its shape beautifully and significantly reduces the amount of free-standing liquid that could create a soggy berry pie crust.
LM pectin requires calcium to set, which is often included in commercial blends marketed for low-sugar jams or pie fillings. Follow the specific package directions carefully, as the amount needed varies by brand and the type/quantity of fruit. Pectin-set fillings are less prone to "weeping" liquid, making them excellent for pies that need to sit for a while or be transported.
Sous Vide Berry Preparation
A more unconventional, but highly effective, advanced technique for controlling berry moisture is pre-cooking the berries using a sous vide method. This allows you to heat the berries gently at a precise temperature, forcing them to release a significant amount of their juice before they ever enter the pie crust. The released liquid can then be drained and discarded or reduced into a sauce, leaving you with berries that have already shed their excess water.
A typical approach might involve sealing berries (perhaps 4-6 cups) with a small amount of sugar and thickener in a vacuum-seal bag and cooking them in a water bath at around 180°F (82°C) for 15-20 minutes. This heat breaks down cell walls without turning the berries to mush. After sous viding, the bag will contain cooked berries and a considerable amount of liquid. Drain the berries thoroughly before using them in your pie filling. This drastically reduces the internal moisture load, making a soggy berry pie crust far less likely.
Conclusion: Bake Berry Pies with Confidence
Recap of Key Techniques for Preventing a Soggy Berry Pie Crust
Achieving that perfect balance of a flaky crust and a set, juicy berry filling is entirely within reach. Preventing a soggy berry pie crust relies on a multi-pronged approach, addressing moisture at every stage. Key techniques include choosing berries wisely and draining excess liquid, using the correct amount and type of thickener, and critically, employing a partial blind bake to give your bottom crust a head start.
Further layers of protection like an egg wash or a sprinkle of crumbs provide additional barriers. Mastering the bake involves using the right oven temperature and placement, monitoring for vigorous bubbling, and perhaps most importantly, having the patience to let your pie cool completely before slicing. By implementing these strategies, you can significantly reduce the risk of a soggy berry pie crust.
Achieving Perfect Berry Bakes.
Baking beautiful berry pies is a rewarding experience, a true highlight of seasonal baking. While the challenge of moisture exists, armed with the knowledge and techniques discussed, you are well-equipped to tackle it head-on. Each step, from preparing the fruit to cooling the final product, plays a role in ensuring a crisp, golden bottom crust that perfectly complements the sweet-tart berry filling.
Don't be discouraged by past soggy experiences. Baking is a journey of learning and refinement. Apply these methods, experiment with what works best for your oven and ingredients, and soon you'll be consistently producing berry pies that are a joy to behold and, more importantly, a delight to eat – free from the blight of a soggy berry pie crust. Enjoy the process, and savor the delicious results!
Frequently Asked Questions
How can I prevent my berry pie crust from getting soggy?
The key is to create a moisture barrier between the filling and the crust. You can do this by pre-baking the crust, brushing it with melted chocolate or egg wash, or using a thickener in the filling.
What kind of thickener works best for berry pie fillings to avoid a soggy crust?
Cornstarch and tapioca starch are excellent choices for thickening berry pie fillings. They help to absorb excess moisture released by the berries during baking, preventing a soggy crust.
Does blind baking the pie crust really make a difference in preventing sogginess?
Yes, blind baking is a crucial step. It partially cooks the crust before the filling is added, creating a more stable base that is less likely to absorb moisture from the berries.
Are there specific berry types that are more prone to causing soggy pie crusts?
Berries with a higher water content, such as strawberries and raspberries, tend to release more juices. Therefore, extra precautions like pre-baking and using sufficient thickener are even more important.
Besides the crust itself, what can I do to minimize moisture in the berry filling and prevent a soggy crust?
Consider macerating the berries with sugar and lemon juice before adding them to the crust. This draws out some of the moisture beforehand, which can then be discarded, resulting in a drier filling.
Final Reflection: The Pursuit of a Perfectly Crisp Crust
The fight against soggy bottoms in berry bakes is far more than a culinary quest; it's a testament to the enduring power of texture and the pursuit of baking perfection. A perfectly crisp crust, a juicy berry filling – this seemingly simple combination speaks to a deeper desire for balance and satisfaction in our culinary experiences. The seemingly minor detail of a soggy crust can ruin an otherwise delightful pie, highlighting the importance of understanding the fundamental principles of baking.
The impact of a flawlessly executed pie, free from the dreaded soggy bottom, extends beyond the immediate enjoyment of the dessert. It represents a connection to tradition, a celebration of simple ingredients transformed into something extraordinary. Baking is at once child's play and adult joy. And love, of course.
This quote perfectly captures the emotional resonance of baking, and the frustration – and ultimate triumph – of mastering techniques like preventing soggy crusts. The pursuit of this seemingly small detail speaks volumes about our dedication to craft and the satisfaction derived from creating something beautiful and delicious.
Now, consider your own baking journey. What seemingly small details have you struggled with? What techniques have you mastered that have brought you immense satisfaction? I urge you to embrace the challenge, to experiment with different methods, and to find your own path to a perfectly crisp crust. Don't be discouraged by a few soggy bottoms along the way; each failure is a lesson learned, bringing you closer to that moment of pure baking bliss. The journey, with all its triumphs and setbacks, is as important as the destination – a perfectly crisp, berry-filled pie.
Unlock Perfectly Dry Berry Pies!
Thanks for joining us on this journey to berry baking bliss! You've now got the secrets to preventing those dreaded soggy bottoms – and that's a victory worth celebrating! Ready to put your new skills to the test?
- Bake a show-stopping berry pie this week: Use your newfound knowledge to create a masterpiece! Challenge yourself with a new berry variety or a unique crust recipe.
- Share your baking triumph: Post a picture of your creation on social media and tag us – we’d love to see it!
- Explore more delicious baking tips: Dive into our other articles for even more helpful advice on mastering the art of baking.
What amazing berry bake will you create next?