
How to Decorate Cakes with Simple Chocolate Shavings

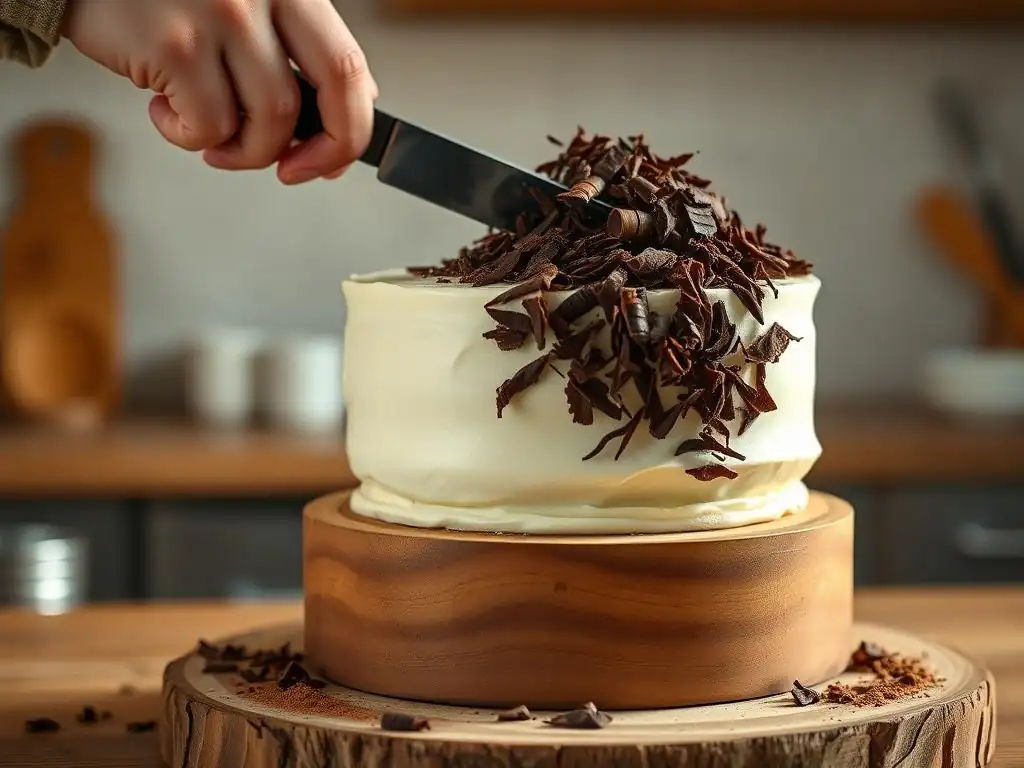
Welcome to BakeWithEase.com, your haven for effortless baking! Ever wondered how to achieve that elegant, professional look on your cakes without the fuss? Then you're in the right place. Dive in to discover the secrets of easy chocolate shaving cake decor and unlock a world of simple yet stunning cake transformations. Get ready to impress with minimal effort – let's get baking!
- Mastering Chocolate Shaving Cake Decoration: A Comprehensive Guide
- Introduction to Elegant Cake Decoration with Chocolate Shavings
- Gathering Your Supplies for Chocolate Shaving Cake Decoration
- Step-by-Step Guide: Creating Chocolate Shavings
- Applying Chocolate Shavings to Your Cake: Decoration Techniques
- Troubleshooting Common Chocolate Shaving Problems
- Delicious Cake Recipes Perfect for Shaving Decor
- Creative Ideas for Chocolate Shaving Cake Designs
- Storing Your Chocolate Shaving Cake
- Conclusion: The Art of Chocolate Shaving Cake Decoration
-
Frequently Asked Questions
- How difficult is it to create chocolate shavings for cake decoration?
- What type of chocolate is best for making chocolate shavings?
- What's the best tool to use for creating chocolate shavings?
- How do I prevent the chocolate from melting while making shavings?
- How should I store leftover chocolate shavings?
- Final Reflection: The Enduring Allure of Simple Elegance
- Unleash Your Inner Cake Artist!
Mastering Chocolate Shaving Cake Decoration: A Comprehensive Guide
Introduction to Elegant Cake Decoration with Chocolate Shavings
Decorating a cake doesn't have to be complicated or require specialized tools and techniques. Sometimes, the simplest methods yield the most stunning results. Chocolate shavings offer a fantastic way to add texture, flavor, and visual appeal to any cake, transforming a basic bake into a centerpiece with minimal effort. This guide will walk you through everything you need to know to master the art of easy chocolate shaving cake decor, from selecting the right chocolate to applying your beautiful shavings.
Whether you're a beginner baker looking for a foolproof decoration method or someone seeking to add a touch of elegance without intricate piping, chocolate shavings are an excellent choice. They are versatile, delicious, and forgiving, making them perfect for experimenting with different looks. Let's explore how these simple chocolate elements can elevate your cake decorating game.
Elevate Your Cakes with Simple Shaving Techniques
Simple chocolate shaving techniques can dramatically change the look of a cake, adding a layer of sophistication or rustic charm. For instance, using a standard vegetable peeler on a block of chocolate can produce delicate, thin curls perfect for scattering over the top or sides. A slightly different angle or tool, like a sharp knife or bench scraper, can create thicker, more substantial shavings or even small, irregular chunks for a different texture profile.
The beauty of using chocolate shavings lies in their ease of application and the variety of textures you can achieve. You can create fine, almost powdery shavings for a subtle dusting effect, or robust curls that stand out and add significant visual interest. Mastering just a few basic techniques allows you to customize the look of your easy chocolate shaving cake decor to suit any occasion or design preference.
Why Choose Chocolate Shavings for Cake Decorating?
Chocolate shavings are an incredibly popular choice for cake decoration for several compelling reasons. Firstly, they are remarkably easy to produce, requiring only a block of chocolate and a basic tool like a peeler or knife. This accessibility makes them ideal for home bakers who may not have extensive decorating equipment. The process is quick and can be done just before decorating, ensuring fresh, beautiful results.
Secondly, chocolate shavings add wonderful texture and intense chocolate flavor to a cake, complementing a wide range of cake bases, from classic vanilla to rich red velvet or even fruit-flavored cakes. They offer a textural contrast to smooth frosting or ganache. Moreover, the versatility of chocolate type (dark, milk, white, or even flavored) allows for endless flavor combinations and color palettes, making easy chocolate shaving cake decor a go-to for both simplicity and impact.
Gathering Your Supplies for Chocolate Shaving Cake Decoration
Before you can create beautiful chocolate shavings, you need to gather the right ingredients and tools. The quality of your chocolate and the suitability of your tools will directly impact the ease of the process and the appearance of your shavings. Don't worry, you likely have most of what you need already in your kitchen.
Preparation is key to successful easy chocolate shaving cake decor. Having all your supplies laid out and ready will make the process smooth and enjoyable. From selecting the perfect chocolate block to ensuring you have the right surface to collect your delicate shavings, a little planning goes a long way in achieving professional-looking results at home.
Selecting the Right Chocolate: Types and Recommendations
The type of chocolate you choose significantly affects the outcome of your shavings. High-quality bar chocolate designed for baking (often labeled as couverture or baking chocolate) is generally recommended because it has a higher percentage of cocoa butter, which results in smoother, more consistent shavings and curls. Avoid chocolate chips, as they contain stabilizers that prevent melting and make them difficult to shave into fine curls; they tend to just break into pieces.
For classic dark chocolate shavings, look for a bar with around 60-70% cocoa content for a good balance of flavor and ease of shaving. Milk chocolate can be used for a sweeter, creamier flavor, but it can be softer and melt more easily, requiring a cooler environment. White chocolate, while technically not chocolate due to the absence of cocoa solids, works well for shavings and adds a beautiful color contrast, though it can be slightly more brittle than dark or milk chocolate. Experiment with different types to find your favorite for easy chocolate shaving cake decor.
Essential Tools for Creating Perfect Chocolate Shavings
Creating perfect chocolate shavings requires minimal tools, making this an accessible decoration technique for everyone. The primary tool you'll need is something to shave the chocolate block. Beyond that, a few simple kitchen items will help you manage and apply the shavings neatly.
Having the right tools, even if they are just basic kitchen implements, makes the process much more efficient and helps you achieve the desired look for your easy chocolate shaving cake decor. Let's look at the specific tools that will be most useful.
Chocolate Peeler Options: Vegetable Peelers and Alternatives
A standard vegetable peeler is perhaps the most common and effective tool for creating classic chocolate shavings. Its sharp blade easily glides along the edge or surface of a chocolate block, producing lovely curls or ribbons. Ensure your peeler is clean and sharp for the best results.
Other tools can also be used, depending on the type of shaving you want. A sharp chef's knife or a bench scraper held at an angle against the chocolate can create thicker, more irregular shavings or larger curls. Some specialized chocolate shavers exist, but they are not necessary for achieving excellent results with easy chocolate shaving cake decor at home.
Other Helpful Tools: Parchment Paper, Bowls, and Spatulas
Beyond the shaving tool, having a few other items on hand is very helpful. Parchment paper or wax paper is essential for collecting the shavings as you create them. Laying a sheet down provides a clean surface to work on and makes it easy to transfer the delicate shavings.
Shallow bowls or containers are useful for holding the collected shavings before you apply them to the cake. A small offset spatula or even just your fingers can be used gently to pick up and arrange the shavings on the cake surface. A soft pastry brush can help dust away any stray chocolate bits.
Step-by-Step Guide: Creating Chocolate Shavings
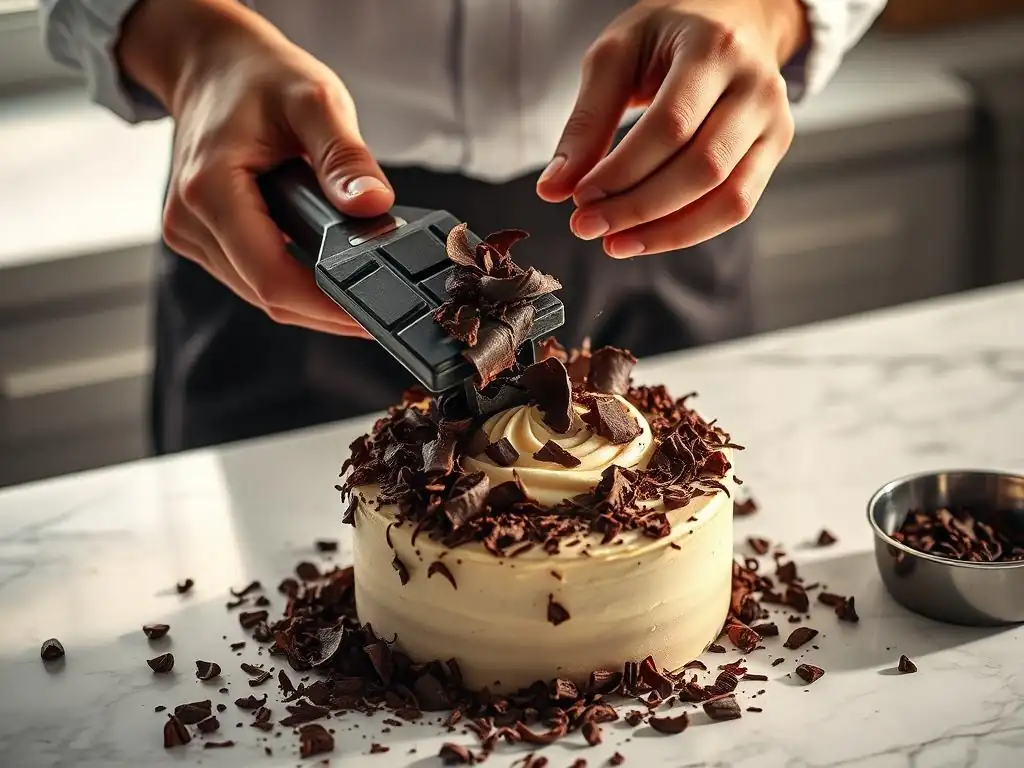
Now that you have your chocolate and tools ready, it's time to create those beautiful shavings. The process is straightforward, but a few tips can help ensure success and produce the best possible results for your easy chocolate shaving cake decor.
The key to good chocolate shavings lies in the temperature of the chocolate and the technique you use. Too cold, and the chocolate will splinter; too warm, and it will melt immediately upon contact with the blade or your hands. Finding that sweet spot makes all the difference.
Preparing the Chocolate: Tempering and Softening
Ideally, your chocolate block should be at room temperature or slightly cooler, around 68-72°F (20-22°C). If it's too cold, it will be brittle and shatter when you try to shave it. If it's too warm, it will melt and smear. If your chocolate is straight from the fridge, let it sit out for 10-15 minutes.
While full tempering (the process of melting and cooling chocolate to stabilize its crystal structure) isn't strictly necessary just for shaving, using chocolate that has been properly stored and isn't bloomed (showing grey streaks) will yield the best results. If you have a large block, you might find it easier to work with smaller chunks.
Chocolate Shaving Techniques: A Detailed Guide
There are several ways to create chocolate shavings, each producing a slightly different effect. Let's explore a few common techniques for easy chocolate shaving cake decor.
- [ ] Prepare your workspace with parchment paper.
- [ ] Ensure your chocolate is at the correct temperature.
- [ ] Select your desired shaving technique.
Using a Vegetable Peeler for Classic Chocolate Shavings
This is the most common method for producing delicate, curling shavings. Hold the chocolate block firmly in one hand. With the other hand, hold the vegetable peeler at a slight angle against one edge or the flat surface of the chocolate.
Apply steady, even pressure and draw the peeler along the chocolate. The chocolate should curl away from the blade as you shave. For larger curls, use the wider side of the peeler. For finer shavings, use the smaller side or angle the peeler more acutely. Collect the shavings on your parchment paper.
Creating Chocolate Curls with a Knife or Spatula
For thicker, more substantial curls, you can use a sharp knife or a metal offset spatula. Place the chocolate block on a flat, stable surface. Hold the knife or spatula at about a 45-degree angle against the surface of the chocolate.
Apply pressure and push the blade away from you along the chocolate. The chocolate should curl up ahead of the blade. This technique often works best on the flat, wide surface of a chocolate block rather than the edge. Be careful when using a sharp knife and always push away from your body.
Making Ribbon Chocolate Shavings: An Advanced Technique
Ribbon shavings are longer, thinner curls that look elegant draped over a cake. To create these, you often need a slightly larger, flatter piece of chocolate. Sometimes, chocolate is sold in larger bars or blocks perfect for this. Ensure the chocolate is at the right temperature (maybe slightly warmer than for small curls, but still firm).
Use a bench scraper or a wide, flat spatula. Hold the tool at a very low angle (almost parallel) against the flat surface of the chocolate. Apply firm, even pressure and push the scraper along the surface. If done correctly, the chocolate should peel off in long, thin ribbons. This technique can take a little practice to get the pressure and angle just right for beautiful easy chocolate shaving cake decor.
Applying Chocolate Shavings to Your Cake: Decoration Techniques
Once you have a pile of beautiful chocolate shavings, it's time to apply them to your cake. The method of application depends on the look you are trying to achieve. Whether you want full coverage, a simple border, or just a sprinkle on top, the process is relatively simple.
Applying the shavings requires a gentle touch to avoid breaking the delicate pieces or smudging your frosting. Having the cake chilled slightly before application can also help the shavings adhere better and reduce the risk of melting from the warmth of your hands.
Preparing Your Cake Surface for Chocolate Shavings
For chocolate shavings to stick, your cake's surface needs to be slightly tacky or coated in a frosting or ganache. A freshly frosted cake is ideal. If your frosting has set, you might need to very lightly moisten the surface with a tiny bit of water or milk using a pastry brush, or apply a very thin layer of additional frosting.
Ensure the frosting is smooth and even if you are aiming for full coverage, as any bumps will show through the layer of shavings. For easy chocolate shaving cake decor, a simple buttercream or ganache works wonderfully as the base layer.
Different Chocolate Shaving Cake Decorating Styles
There are numerous ways to incorporate chocolate shavings into your cake design. Here are a few popular styles:
- Covering the entire cake
- Creating a border
- Decorating just the top
Covering the Entire Cake with Chocolate Shavings
This technique creates a dramatic, textured look. Place your chilled cake on a serving plate or cake stand. Gather your chocolate shavings, perhaps in a wide, shallow bowl or directly on the parchment paper.
Gently press handfuls of shavings onto the sides of the cake, working your way around. Use your hands or a large offset spatula to press them onto the sides. Be careful not to press too hard and damage the cake structure. For the top, simply sprinkle the shavings evenly over the surface. Use the parchment paper to help funnel the shavings onto the cake, catching any excess that falls off.
Creating a Chocolate Shaving Border
A border of chocolate shavings adds a simple, elegant touch to the base or top edge of the cake. For a base border, gently press shavings onto the bottom edge of the cake sides. You can use your fingers or an offset spatula.
For a top border, either sprinkle shavings just around the perimeter of the top surface or create a ridge of frosting along the edge and press shavings into that. This easy chocolate shaving cake decor method uses fewer shavings but still provides a lovely visual element.
Adding Chocolate Shavings to the Top of the Cake
This is perhaps the easiest way to use chocolate shavings. Simply sprinkle them over the top of your frosted cake. You can cover the entire top surface or concentrate them in the center, leaving the edges plain or decorated differently.
Use your fingers to scatter the shavings or use a spoon for more control. For a neat edge, you can place a stencil or object on the cake before sprinkling, then remove it to reveal a clean design within the shavings. This simple technique is perfect for quick easy chocolate shaving cake decor.
Tips for Preventing Melting and Smudging
Working with chocolate shavings, especially in a warm environment, requires care to prevent them from melting or smudging. Keep your hands as cool as possible; washing them in cold water before handling the shavings can help.
Work quickly when applying the shavings to the cake. If your kitchen is warm, consider working in a cooler room or using a fan (directed away from the cake to avoid blowing shavings everywhere). Chilling the cake before applying the shavings is crucial, as the cool surface helps set the chocolate on contact. If the shavings become too soft while you are working, pop them back in the fridge for a minute or two.
Troubleshooting Common Chocolate Shaving Problems
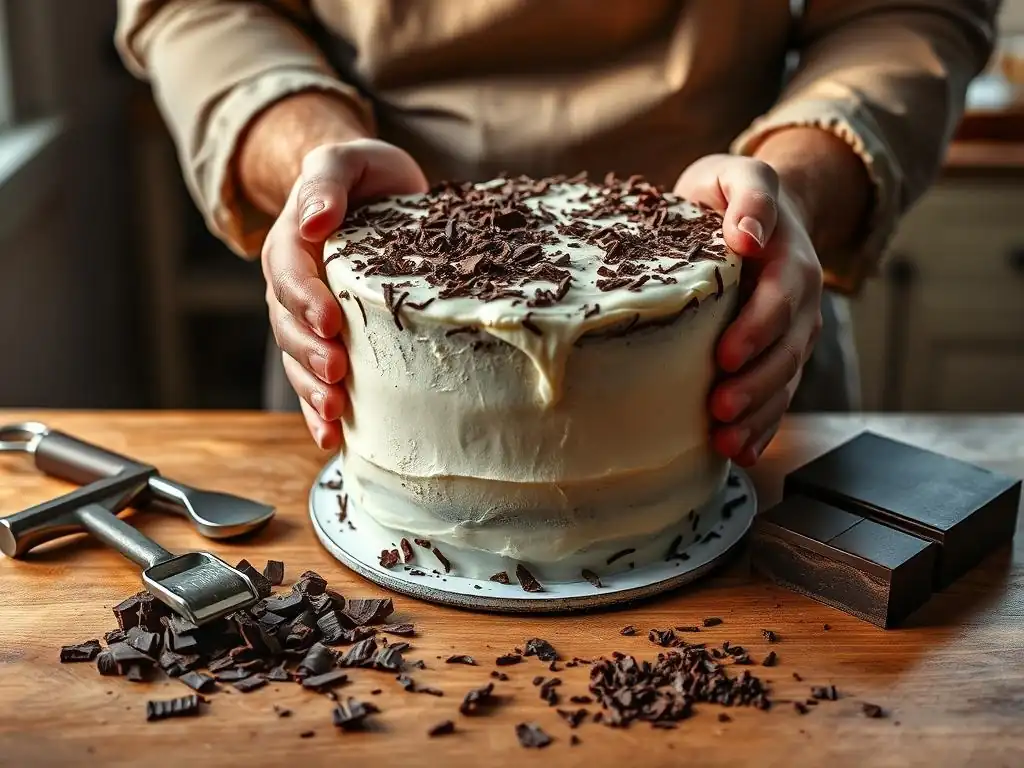
Even with the best preparation, you might encounter a few issues when creating or applying chocolate shavings. Don't worry, most problems have simple solutions.
Understanding why a problem is occurring is the first step to fixing it. Often, it relates back to the temperature of the chocolate or the technique being used.
Chocolate Shavings Too Soft or Melted
If your chocolate shavings are melting as you make them or apply them, the chocolate is likely too warm, or your hands/environment are too hot. Try chilling the chocolate block in the refrigerator for 5-10 minutes before shaving.
Work in a cooler part of your kitchen if possible. Handle the shavings as little as possible, perhaps using a spatula or parchment paper to transfer them to the cake. Ensure the cake itself is chilled, as this will help the shavings firm up when they touch the surface.
Chocolate Shavings Too Hard or Crumbly
If your chocolate is shattering into tiny pieces or powder instead of curling, it's probably too cold or you're using too much force. Let the chocolate block sit at room temperature for another 5-10 minutes to soften slightly.
Use less pressure when shaving. The blade should glide smoothly, not require significant force. Ensure your peeler or knife is sharp; a dull blade will require more pressure and cause the chocolate to break.
Shavings Not Sticking to the Cake
If your chocolate shavings are sliding off the cake sides or not adhering well, the frosting surface might be too dry or too firm. Ensure your cake is freshly frosted or that the frosting is slightly tacky.
If the frosting has crusted over, you can try lightly misting the cake surface with water using a spray bottle (very lightly!) or gently dabbing it with a damp paper towel before applying the shavings. Chilling the cake after applying the shavings can also help them set firmly into the frosting.
Delicious Cake Recipes Perfect for Shaving Decor
While easy chocolate shaving cake decor works on almost any cake, some recipes pair particularly well with the rich flavor and texture of chocolate. Here are a couple of classic options.
Choosing a cake recipe that complements the chocolate flavor is key to a delicious finished product. These recipes provide a great base for your beautiful chocolate decoration.
Classic Vanilla Cake Recipe
A moist, tender vanilla cake provides a perfect contrast to the rich flavor of chocolate shavings. The light color of the vanilla cake and frosting also makes the chocolate shavings stand out visually, creating a striking appearance.
Ingredients typically include flour, sugar, butter, eggs, milk, vanilla extract, baking powder, and salt. A standard 9-inch round vanilla cake recipe often calls for about 1.5 to 2 cups of flour and yields 10-12 servings. Frost with a classic vanilla buttercream or cream cheese frosting before applying your easy chocolate shaving cake decor.
Rich Chocolate Fudge Cake Recipe
For the ultimate chocolate lover, pairing chocolate shavings with a rich chocolate fudge cake is a decadent choice. This creates a monochromatic look that is sophisticated and intensely flavored.
A good chocolate fudge cake recipe usually features cocoa powder, hot water or coffee (to bloom the cocoa and deepen flavor), flour, sugar, eggs, butter, and leavening. A typical recipe for a two-layer 9-inch cake might use ¾ cup of cocoa powder and yield 12-14 servings. Frost with a dark chocolate ganache or chocolate buttercream for a truly indulgent experience before adding your easy chocolate shaving cake decor.
Creative Ideas for Chocolate Shaving Cake Designs
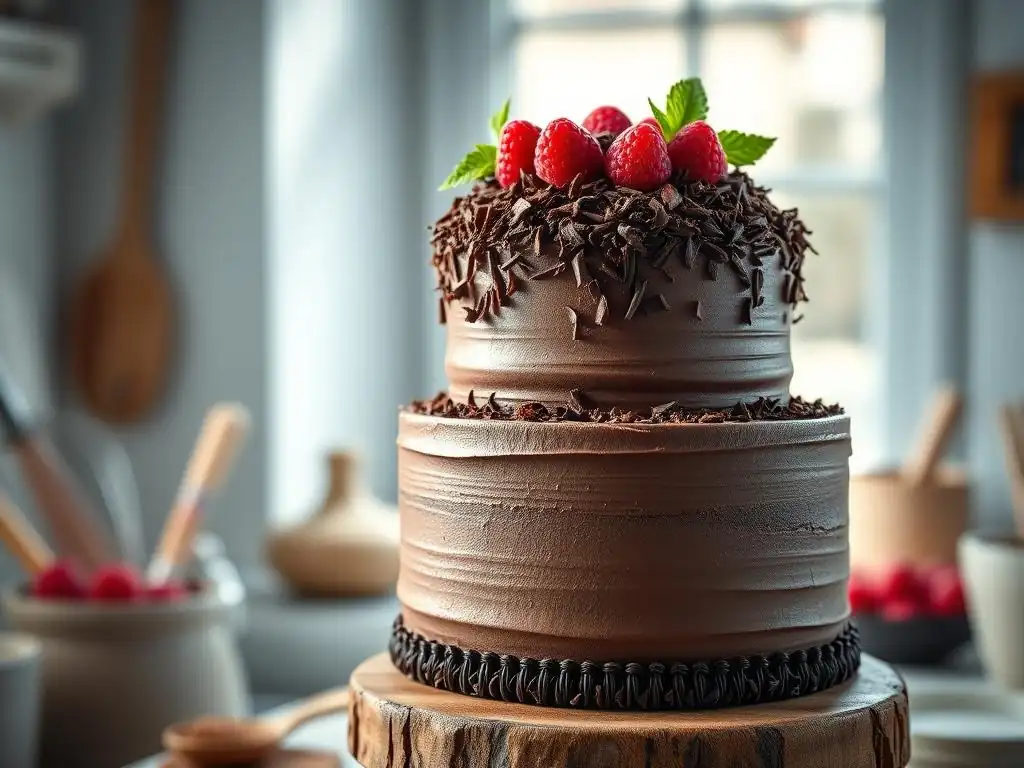
Beyond the basic full coverage or border, you can get creative with how you use chocolate shavings. Combining them with other simple decorations can lead to unique and beautiful cake designs.
Easy chocolate shaving cake decor is versatile. Don't be afraid to experiment with different patterns, combinations, and placements to make your cake truly special.
Chocolate Shaving Cake with Fresh Fruit
Combining the richness of chocolate with the freshness and vibrant colors of fruit is a classic pairing. After applying chocolate shavings to the sides or top of your cake, arrange fresh berries (like strawberries, raspberries, or blueberries) or sliced fruit (like kiwi or mandarins) on top.
The contrast in color, texture, and flavor is delightful. For example, a chocolate fudge cake covered in dark chocolate shavings topped with bright red strawberries is visually stunning and delicious.
Chocolate Shaving Cake with Chocolate Ganache Drip
For a trendy look, combine a chocolate ganache drip with chocolate shavings. Frost your cake and apply the ganache drip around the edge of the top. While the ganache is still slightly soft, apply chocolate shavings to the sides and/or the center of the top.
The shavings will stick to the ganache, creating a textured effect below the smooth drip. This technique adds multiple layers of chocolate flavor and texture, perfect for easy chocolate shaving cake decor that looks professionally done.
Ombre Chocolate Shaving Cake
Create an ombre effect using different types or colors of chocolate shavings. For example, start with dark chocolate shavings at the base of the cake, transition to milk chocolate in the middle, and finish with white chocolate shavings at the top.
Alternatively, if using only one type of chocolate, you could apply a dense layer of shavings at the bottom and gradually decrease the density as you move upwards. This requires a bit more patience in application but results in a visually appealing gradient effect.
Storing Your Chocolate Shaving Cake
Proper storage is important to keep your beautifully decorated cake fresh and maintain the appearance of the chocolate shavings.
Storing the cake correctly helps prevent the chocolate from melting, losing its shape, or blooming, ensuring your easy chocolate shaving cake decor stays looking its best.
Proper Storage to Maintain Freshness and Texture
Store your cake in an airtight container. This prevents the cake from drying out and protects the chocolate shavings from moisture and odors in the refrigerator. Place the cake in the refrigerator. The cool temperature helps keep the chocolate shavings firm and prevents them from melting, especially if your frosting is soft.
If the cake is large, you can cover it loosely with plastic wrap or foil, trying not to touch the shavings, before placing it in the fridge. Cakes with buttercream or ganache and chocolate shavings generally last 3-4 days in the refrigerator. For best flavor, let the cake sit at room temperature for about 15-30 minutes before serving.
Conclusion: The Art of Chocolate Shaving Cake Decoration
Mastering easy chocolate shaving cake decor is a rewarding skill that allows you to quickly and effectively elevate the appearance and flavor of your baked goods. From selecting the right chocolate block and using simple tools like a vegetable peeler to applying the shavings in various styles, this technique is accessible to bakers of all levels.
With just a little practice, you can create elegant curls, rustic textures, or modern designs using dark, milk, or white chocolate. Remember to work with chocolate at the right temperature and handle the delicate shavings with care. Whether you're decorating a simple vanilla cake or a rich chocolate creation, chocolate shavings offer a delicious and visually appealing finishing touch that is both easy and impressive. Happy baking and decorating!
Frequently Asked Questions
How difficult is it to create chocolate shavings for cake decoration?
It's surprisingly easy, even for beginners. The key is using the right chocolate and technique. With a little practice, you'll master it!
What type of chocolate is best for making chocolate shavings?
Semi-sweet or bittersweet chocolate bars are recommended, especially those with a high cocoa butter content. These melt smoothly and create beautiful, even shavings. Avoid chocolate chips.
What's the best tool to use for creating chocolate shavings?
A vegetable peeler is the most common and easiest tool to use. You can also use a cheese planer or a sharp knife. Experiment to see what works best for you.
How do I prevent the chocolate from melting while making shavings?
Ensure the chocolate is at room temperature but still firm. If it gets too soft, chill it in the refrigerator for a few minutes before continuing. Avoid touching the chocolate too much with your warm hands.
How should I store leftover chocolate shavings?
Store the shavings in an airtight container in a cool, dry place, away from direct sunlight and heat. They're best used within a few days for optimal flavor and texture.
Final Reflection: The Enduring Allure of Simple Elegance
The art of cake decorating doesn't require elaborate techniques to create stunning results; sometimes, the simplest elements yield the most impactful designs. A sprinkle of chocolate shavings, carefully applied, can transform an ordinary cake into a masterpiece, proving that elegance lies not in complexity but in thoughtful execution. This is a truth that resonates deeply in our increasingly fast-paced world, where a focus on simplicity and mindful creation offers a refreshing counterpoint to the overwhelming abundance of options.
The beauty of this technique lies not just in its ease, but in its versatility. It allows for a personalized touch, adaptable to any cake flavor or occasion. Whether it's a rustic chocolate ganache cake or a delicate vanilla sponge, the subtle shimmer and texture of chocolate shavings add a layer of sophistication. Simplicity is the ultimate sophistication,
as Leonardo da Vinci wisely observed, and this holds true even in the seemingly trivial act of cake decorating. This simple method allows bakers of all skill levels to experience the joy of creating something beautiful and delicious, fostering a sense of accomplishment and pride.
Now, consider your next baking project. Will you embrace the simplicity of chocolate shavings, allowing yourself the pleasure of creating something beautiful without the pressure of perfection? Remember the ease and elegance of this technique, and let it inspire you to find joy in the small details, to appreciate the beauty of simplicity, and to share your creations with those you love. Let the art of simple cake decorating remind you that sometimes, less is truly more.
Unleash Your Inner Cake Artist!
Thanks for joining us on this chocolatey adventure! We hope you've gained some delicious inspiration and newfound confidence in cake decorating. Ready to transform your baking?
- Master the art of chocolate shavings: Practice your newfound skills on your next cake – experiment with different chocolate types and shaving techniques! Aim for perfection, but embrace the imperfections too – they add character!
- Share your creations: Show us your beautifully shaved cakes! Tag us on social media – we'd love to see your masterpieces. #BakeWithEase #ChocolateShavings
- Challenge yourself: Try creating a unique design using only chocolate shavings. What artistic flourishes can you achieve?
What stunning chocolate design will you create next?