
Light and Airy Vanilla Cake Texture: How to Achieve It

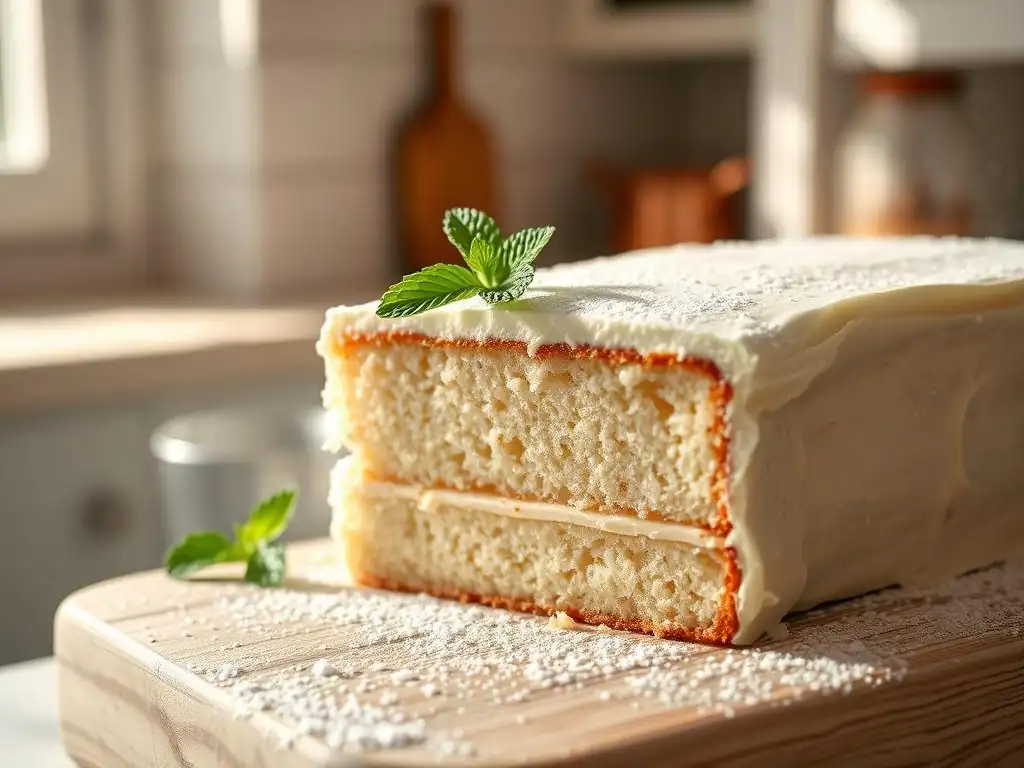
Welcome to BakeWithEase, your trusted companion on your baking journey! Ever dreamt of creating a light and airy vanilla cake that melts in your mouth? Discover the secrets behind that perfect texture, from ingredient selection to expert techniques. We'll guide you through each step, ensuring your next bake is your best yet. Ready to unlock the magic? Dive in and let's get baking!
- Introduction: The Quest for the Perfect Vanilla Cake Texture
- Understanding the Science Behind a Light and Airy Vanilla Cake
- Key Techniques for a Fluffy Vanilla Cake
- Troubleshooting Common Vanilla Cake Texture Problems
- Baking Tips for a Light and Airy Vanilla Cake
- Vanilla Extract and Flavor Enhancement for a Superior Cake
- Conclusion: Mastering the Art of Light and Airy Vanilla Cakes
-
Frequently Asked Questions
- How do I ensure my vanilla cake is truly light and airy?
- What role does the type of flour play in a light and airy vanilla cake?
- Can I substitute ingredients to make the vanilla cake healthier without sacrificing the texture?
- What's the best way to prevent a dense, heavy vanilla cake?
- How important is the oven temperature for achieving a light and airy vanilla cake?
- Final Reflection: The Pursuit of the Perfect Vanilla Cake
- Unlock the Secret to Light & Airy Perfection!
Introduction: The Quest for the Perfect Vanilla Cake Texture
There's something undeniably comforting and delightful about a slice of vanilla cake. But not just any vanilla cake – we're talking about one with that coveted light and airy texture. It's the kind of cake that feels delicate on the fork, practically melts in your mouth, and leaves you wanting another bite. Achieving this specific texture can sometimes feel like chasing a baking unicorn, but it's entirely within reach with the right knowledge and techniques.
Many home bakers strive for this ideal crumb, often encountering challenges like dense layers or a dry finish. The difference between a good vanilla cake and a truly exceptional light and airy vanilla cake lies in understanding the fundamental science behind baking and mastering a few key steps. This article will guide you through the essential elements, from ingredients to techniques, to help you consistently bake vanilla cakes that are wonderfully fluffy and tender.
Understanding the Science Behind a Light and Airy Vanilla Cake
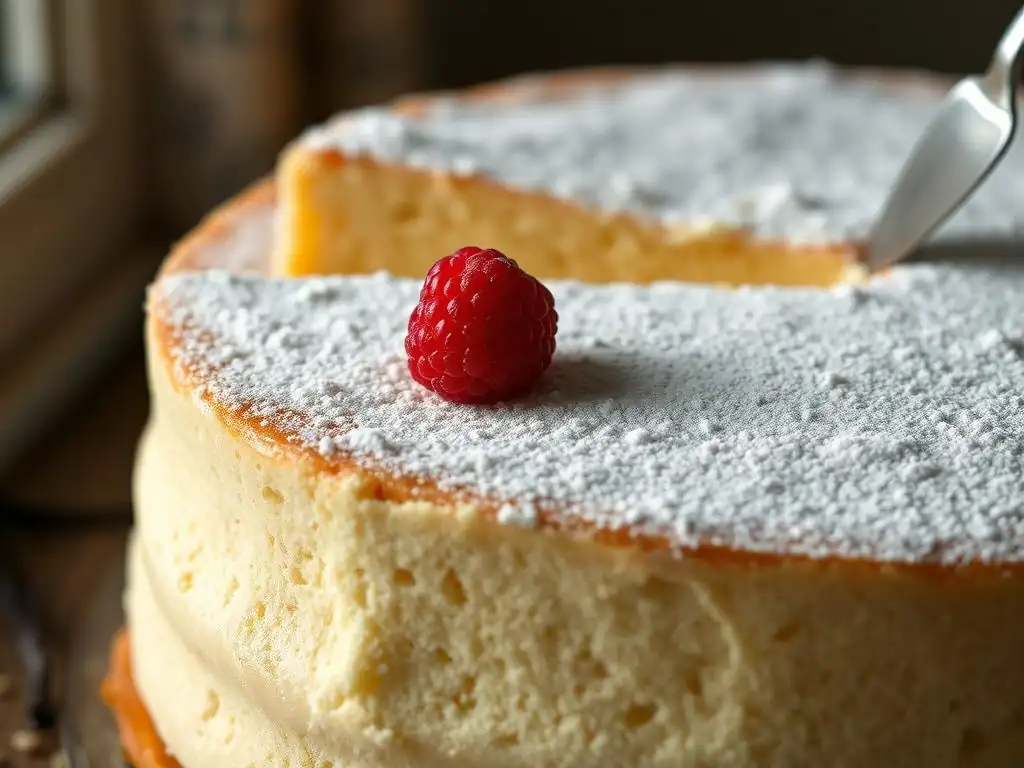
Achieving a light and airy vanilla cake isn't just about following a recipe; it's about understanding why certain steps are necessary. The texture of your cake is a direct result of chemical reactions and physical processes that occur when ingredients are combined and heated. From the gluten structure formed by flour to the gas produced by leavening agents, every component plays a vital role in creating that desirable tender crumb.
The interaction between different ingredients, the method of mixing, and the conditions during baking all contribute to the final structure and feel of your cake. By demystifying these processes, you gain control over your baking outcomes. Knowing how flour, sugar, fat, and eggs interact, and how leavening agents work their magic, provides the foundation for consistently producing a perfectly light and airy vanilla cake texture.
The Role of Ingredients in Vanilla Cake Texture
The ingredients you choose and how they are used are foundational to the texture of your light and airy vanilla cake. Each component contributes uniquely to the final structure, moisture, and tenderness. Selecting the right type and quality of ingredients is the first critical step in building that delicate crumb.
Understanding the specific function of flour, sugar, fat, and eggs allows you to make informed decisions and troubleshoot potential issues. For instance, using the wrong type of flour can lead to a tough cake, while an imbalance in fat or sugar can affect both moisture and structure. Let's break down the specific roles of these key players.
Flour Selection: Choosing Cake Flour for a Tender Vanilla Cake
Flour provides the primary structure for your cake through the development of gluten, a protein network formed when flour is mixed with liquid. However, too much gluten results in a tough, chewy texture – the opposite of what we want for a light and airy vanilla cake. This is where the type of flour becomes crucial.
Cake flour is milled from soft wheat and has a significantly lower protein content, typically ranging from 6% to 8%. In contrast, all-purpose flour usually contains 10% to 12% protein. Using cake flour minimizes gluten development, resulting in a softer, more tender crumb that is characteristic of a light and airy vanilla cake. While you can sometimes approximate cake flour by substituting a small amount of all-purpose flour with cornstarch (e.g., replacing 2 tablespoons per cup of all-purpose flour with cornstarch), using actual cake flour often yields the best results for that delicate texture.
Sugar's Impact: Sweetness, Moisture, and Structure
Sugar does much more than just add sweetness to your vanilla cake; it plays a significant role in texture. Granulated sugar crystals cut through the fat during creaming, creating tiny air pockets that contribute to leavening. Furthermore, sugar is hygroscopic, meaning it attracts and retains moisture, helping to keep the cake tender and moist over time.
By interfering with gluten development and protein coagulation (from eggs), sugar creates a softer, more delicate structure. It also contributes to the browning of the crust through caramelization and the Maillard reaction during baking. The amount of sugar in a recipe is carefully balanced; too little can result in a dry, tough cake, while too much can cause the cake to collapse or become gummy.
Fat's Influence: Achieving Moisture and Tenderness with Butter or Oil
Fat, whether from butter or oil, is essential for creating a tender and moist vanilla cake. Fat coats the flour particles, inhibiting excessive gluten development, which is key to a light and airy vanilla cake texture. It also adds richness and flavor.
Butter contributes flavor and aids in leavening when creamed with sugar, as the solid fat holds air bubbles. Oil, being liquid at room temperature, coats flour particles more effectively than solid fat, often resulting in a slightly more tender crumb, though it contributes less flavor and doesn't aid in creaming for lift. The choice between butter and oil, or a combination, depends on the desired balance of flavor, tenderness, and structure, but both are vital for preventing a dry cake.
Eggs: Binding, Leavening, and Flavor Enrichment
Eggs are multitasking powerhouses in a vanilla cake recipe. They provide structure through the coagulation of proteins as they heat, helping the cake hold its shape. Eggs also contribute to leavening in several ways: air is incorporated when they are beaten, and the moisture in eggs turns to steam during baking, creating lift.
Furthermore, egg yolks add richness, moisture, and emulsifying properties, helping to bind fat and liquid ingredients together smoothly. Egg whites, when beaten, add significant volume and contribute to a lighter, airier texture. The fat in the yolks can sometimes inhibit the whipping of whites, which is why some recipes call for separating eggs or incorporating them gradually. The balance of whole eggs, yolks, or whites specified in a recipe is carefully calculated to achieve the desired structure and richness for a light and airy vanilla cake.
Leavening Agents: Baking Powder and Baking Soda Explained
Leavening agents are critical for creating the lift and open crumb structure characteristic of a light and airy vanilla cake. They produce gas (carbon dioxide) within the batter, causing it to expand during baking. The two most common chemical leaveners are baking powder and baking soda, and understanding how they work is key.
Baking soda (sodium bicarbonate) is an alkaline compound that requires an acid to activate and produce carbon dioxide. Common acidic ingredients in cake batter include buttermilk, yogurt, sour cream, brown sugar, molasses, or vinegar. Baking powder, on the other hand, is a complete leavening system; it contains both an alkali (baking soda) and an acid (or multiple acids), along with a starch filler.
Most baking powders are double-acting, meaning they produce a small amount of gas when mixed with liquid and a second, more significant release of gas when heated in the oven. Using the correct type and amount of leavener specified in a recipe is paramount for achieving adequate lift and preventing a dense cake.
Key Techniques for a Fluffy Vanilla Cake
Beyond selecting the right ingredients, the way you combine them is equally important for achieving a light and airy vanilla cake. Mixing techniques are not just about blending; they are about developing structure, incorporating air, and ensuring ingredients are evenly dispersed without overworking the batter.
Mastering techniques like creaming, incorporating eggs properly, and gentle folding can make a significant difference in the final texture of your vanilla cake. These methods are designed to build a stable yet delicate structure and maximize the leavening action, resulting in that desirable fluffy crumb.
Creaming Butter and Sugar: Incorporating Air for a Light Crumb
The creaming method is a fundamental technique for many cakes, especially those aiming for a light and airy texture. It involves beating softened butter and sugar together until the mixture is pale, fluffy, and significantly increased in volume. This process mechanically incorporates tiny air bubbles into the fat.
As the sugar crystals cut into the butter, they create small pockets that trap air. During baking, these air bubbles expand from the heat, and the moisture in the batter turns to steam, further expanding the cake. Proper creaming, which typically takes 3-5 minutes with an electric mixer on medium speed, results in a mixture that is light in color and texture, often doubling or tripling in volume. This incorporated air provides initial lift and contributes significantly to the open structure of a light and airy vanilla cake.
Incorporating Eggs Gradually: Preventing Curdling and Ensuring Emulsification
Adding eggs correctly is crucial for maintaining the airy structure built during creaming and ensuring a smooth batter. Eggs should typically be added one at a time, or in small additions (e.g., half an egg's worth), beating well after each addition until fully incorporated before adding the next.
This gradual addition allows the fat and liquid components (from the eggs) to emulsify properly. Adding eggs too quickly can cause the mixture to curdle, appearing separated or lumpy. While a slightly curdled mixture can sometimes be rescued by adding a tablespoon of flour, it's best to prevent it. Proper emulsification results in a smooth, homogenous batter that holds air better and bakes into a cake with a finer, more even crumb – essential for a light and airy vanilla cake texture.
The Importance of Folding: Maintaining Air with a Gentle Hand
Once the wet and dry ingredients are partially combined, the final mixing step often involves folding in the remaining dry ingredients or additions like whipped egg whites. Folding is a gentle technique used to combine ingredients without deflating the air that has been incorporated through creaming or whipping.
Using a large spatula, you gently cut down through the center of the batter, scoop up the mixture from the bottom, and fold it over the top, rotating the bowl as you go. This motion should be repeated just until the ingredients are combined. Overmixing at this stage will develop too much gluten and deflate the air bubbles, leading to a tough, dense cake instead of a light and airy vanilla cake. The goal is to mix just enough to create a smooth batter.
Preventing Overmixing: Gluten Development and a Tough Cake
One of the most common culprits behind a dense or tough cake is overmixing, particularly after the flour has been added. Flour contains proteins (glutenin and gliadin) that, when hydrated and agitated, form gluten. While some gluten is necessary for structure, excessive gluten development leads to a chewy, bread-like texture that is undesirable in a tender cake.
Once you add the dry ingredients to the wet, mix only until the flour is just incorporated and no dry streaks remain. This usually takes only a minute or two on a low speed with a mixer, or even less when mixing by hand. Switching to a spatula for the final incorporation of dry bits is a good practice. Undermixing can result in an uneven texture with tunnels, but overmixing is the more frequent cause of a tough crumb, preventing you from achieving that desired light and airy vanilla cake texture.
Troubleshooting Common Vanilla Cake Texture Problems
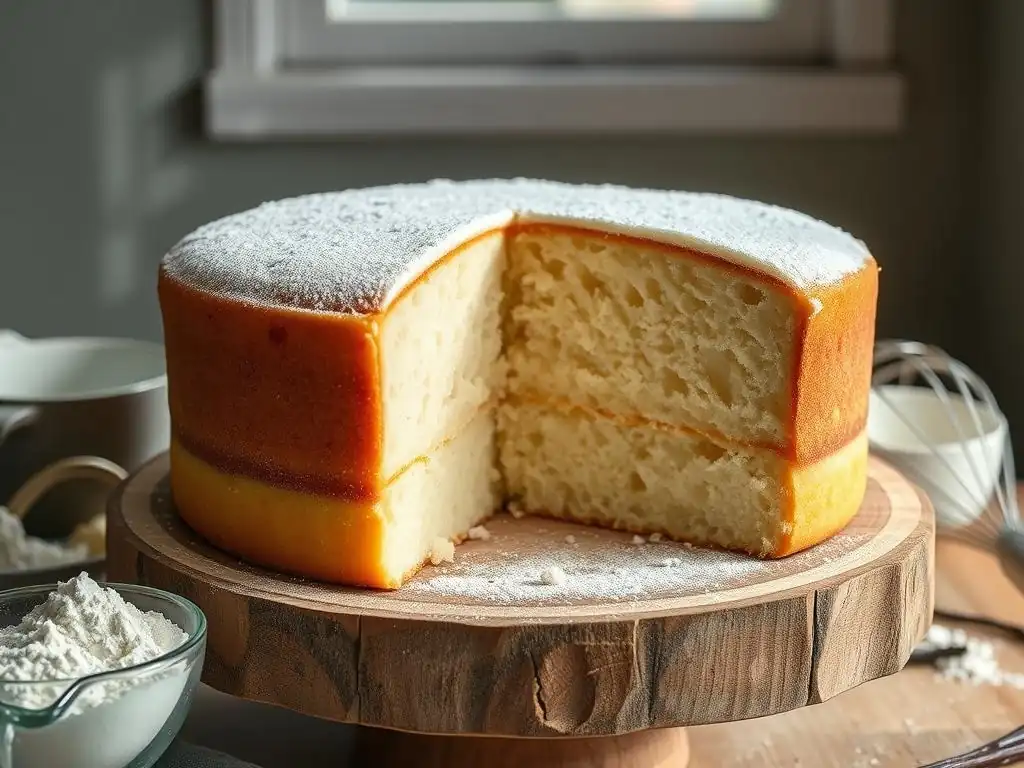
Even experienced bakers occasionally encounter texture issues with their vanilla cakes. Understanding the potential causes behind common problems like density or dryness allows you to diagnose what went wrong and adjust your technique or recipe next time. Don't be discouraged by a less-than-perfect result; view it as a learning opportunity.
Pinpointing the source of the problem often involves reviewing your ingredient measurements, mixing process, and baking conditions. Was the butter too cold? Was the batter mixed for too long? Was the oven temperature accurate? Addressing these factors systematically will help you refine your approach and consistently bake a successful light and airy vanilla cake.
Dense Vanilla Cake: Causes and Solutions (Overmixing, Incorrect Leavening)
A dense vanilla cake is often the result of insufficient leavening or excessive gluten development. If the cake doesn't rise properly or has a heavy, compact crumb, consider the following:
- Overmixing: As discussed, overmixing after adding flour develops too much gluten, making the cake tough and heavy. Ensure you mix only until the flour is just combined. For example, if your recipe calls for mixing for 3 minutes after adding flour, try reducing that to 1-1.5 minutes or mixing by hand for the final incorporation.
- Incorrect or inactive Leavening: Check the expiration date of your baking powder or baking soda. Baking powder loses its effectiveness over time. You can test baking powder by adding a teaspoon to a small amount of hot water; it should fizz vigorously. Test baking soda by adding a teaspoon to a bit of vinegar; it should also fizz immediately. Using too little leavener or inactive leavener will prevent adequate lift. Ensure you use the exact amount specified in the recipe.
- Ingredients too cold: Cold butter and eggs don't emulsify properly and hinder the creation of air pockets during creaming. Ensure butter is softened (press a finger into it, it should leave an indentation easily but not be greasy) and eggs are at room temperature. For example, letting butter sit out for 30-60 minutes or placing eggs in warm water for 5-10 minutes can make a difference.
Dry Vanilla Cake: Hydration and Baking Time Adjustments
A dry vanilla cake lacks moisture and can be crumbly or hard. This issue often relates to the balance of liquid and dry ingredients or the baking process.
- Insufficient Liquid/Fat: The recipe might have an incorrect ratio of wet to dry ingredients, or you might have measured incorrectly. Ensure you use precise measurements, especially for flour (spoon it into the measuring cup and level off, don't scoop directly from the bag, which can pack it down). For example, a cup of spooned and leveled all-purpose flour weighs about 120-130 grams, while scooped flour can weigh 140-150 grams, adding significantly more dry ingredient than intended.
- Overbaking: Baking the cake for too long or at too high a temperature evaporates too much moisture. Use an oven thermometer to verify your oven's temperature is accurate. Start checking for doneness at the minimum time suggested in the recipe using the toothpick test. A toothpick inserted into the center should come out with a few moist crumbs, not wet batter.
- Too much flour: Using too much flour is a very common cause of dry cakes, often due to incorrect measuring techniques as mentioned above. Weighing your flour using a kitchen scale is the most accurate method to avoid this. For instance, many recipes specify flour by weight (e.g., 250g) which is far more reliable than volume (e.g., 2 cups).
Uneven Texture: Mixing and Baking Issues (Uneven Oven Temperature)
An uneven texture might manifest as tunnels, large holes, or dense spots throughout the cake. This points towards inconsistencies in mixing or baking conditions.
- Undermixing: Not mixing the batter enough can leave pockets of dry ingredients or unincorporated leavening agents, leading to dense streaks or tunnels. Ensure the batter is mixed just until homogenous, with no dry flour streaks.
- Uneven Oven Temperature: Hot spots in your oven can cause parts of the cake to bake faster than others, leading to uneven rising and texture. Using an oven thermometer helps identify if your oven temperature is consistent. Rotating the cake halfway through the baking time can also help ensure even baking. For example, if your oven has a hot spot at the back, rotating the cake pan 180 degrees after 15 minutes can prevent the back from overbaking while the front is still raw.
- Improper Pan Preparation: If the cake sticks to the pan or cools unevenly, it can affect the final texture. Greasing and flouring the pan properly, or lining it with parchment paper, ensures the cake releases cleanly and cools correctly.
Baking Tips for a Light and Airy Vanilla Cake
Beyond ingredients and mixing, the actual baking process holds several critical steps that influence the final texture of your light and airy vanilla cake. Paying attention to details like precise measurements, oven temperature, baking time, and cooling techniques can elevate your cake from good to exceptional.
These steps ensure the cake rises properly, bakes evenly, and maintains its delicate structure as it cools. Skipping or rushing these stages can easily compromise the texture you've worked hard to achieve through ingredient selection and mixing.
Precise Measurements: Accuracy for Consistent Results
Baking is often described as a science, and precision is key to consistent results. Using accurate measurements for all ingredients is perhaps the single most important factor in replicating a recipe's intended outcome, including a light and airy vanilla cake texture.
Variations of even a small amount in flour, sugar, fat, or leavening can significantly alter the batter's consistency and how it behaves in the oven. For example, using 1/4 cup too much flour in a standard cake recipe can easily lead to a dry, dense cake.
Weighing ingredients, especially flour, sugar, and fat, using a digital kitchen scale is the most accurate method (e.g., a standard cup of granulated sugar weighs about 200 grams). If using volume measurements, ensure you use the correct measuring tools (dry cups for dry ingredients, liquid cups for liquids) and proper techniques (spooning and leveling dry ingredients).
Oven Temperature: Achieving Even Baking and Preventing Over-Browning
The temperature of your oven is critical for proper leavening and structure development. If the oven is too cool, the cake will rise slowly, potentially collapsing. If it's too hot, the crust will set too quickly, preventing the cake from rising fully, or it will over-bake before the center is done, leading to a dry texture and potentially tunnels.
Most vanilla cake recipes call for baking around 325°F to 350°F (160°C to 175°C). Using an oven thermometer is highly recommended, as oven thermostats can be off by as much as 25-50°F (15-30°C). Preheating your oven fully before putting the cake in is also essential – often requiring 15-20 minutes after the oven indicates it has reached temperature. For instance, if your oven reads 350°F after 10 minutes, it might not have actually reached that temperature evenly throughout the cavity; waiting an extra 10 minutes ensures the temperature is stable.
Baking Time: The Toothpick Test and Visual Cues
Baking time in a recipe is always an estimate, as actual time can vary based on oven calibration, pan material, and even altitude. Overbaking is a primary cause of dry cake, so knowing how to tell when your light and airy vanilla cake is perfectly done is crucial.
Begin checking the cake at the minimum time specified in the recipe. Look for visual cues: the cake should be pulled slightly away from the sides of the pan, the top should be golden brown and spring back gently when lightly pressed in the center. The most reliable test is the toothpick test: insert a toothpick or thin skewer into the very center of the cake. It should come out with a few moist crumbs attached, but no wet batter.
If it comes out clean, the cake is likely slightly overdone. If it comes out with wet batter, it needs more time. For example, if a recipe says bake for 30-35 minutes, start checking around the 30-minute mark.
Cooling Techniques: Preventing Cake Collapse and Sticking
Proper cooling is the final, often overlooked, step in ensuring a great texture for your light and airy vanilla cake. Removing the cake from the oven too soon can cause it to collapse in the center as the structure hasn't fully set. Leaving it in the hot pan for too long can cause the edges to dry out or the cake to become soggy from condensation.
Most cakes benefit from cooling in the pan for 10-15 minutes after coming out of the oven. This allows the structure to stabilize slightly. After this initial cooling period, carefully invert the cake onto a wire rack to cool completely. The wire rack allows air to circulate around the entire cake, preventing moisture buildup on the bottom and ensuring it cools evenly. Do not attempt to frost or handle the cake extensively until it is completely cool, which can take 1-2 hours for a standard layer cake.
Vanilla Extract and Flavor Enhancement for a Superior Cake
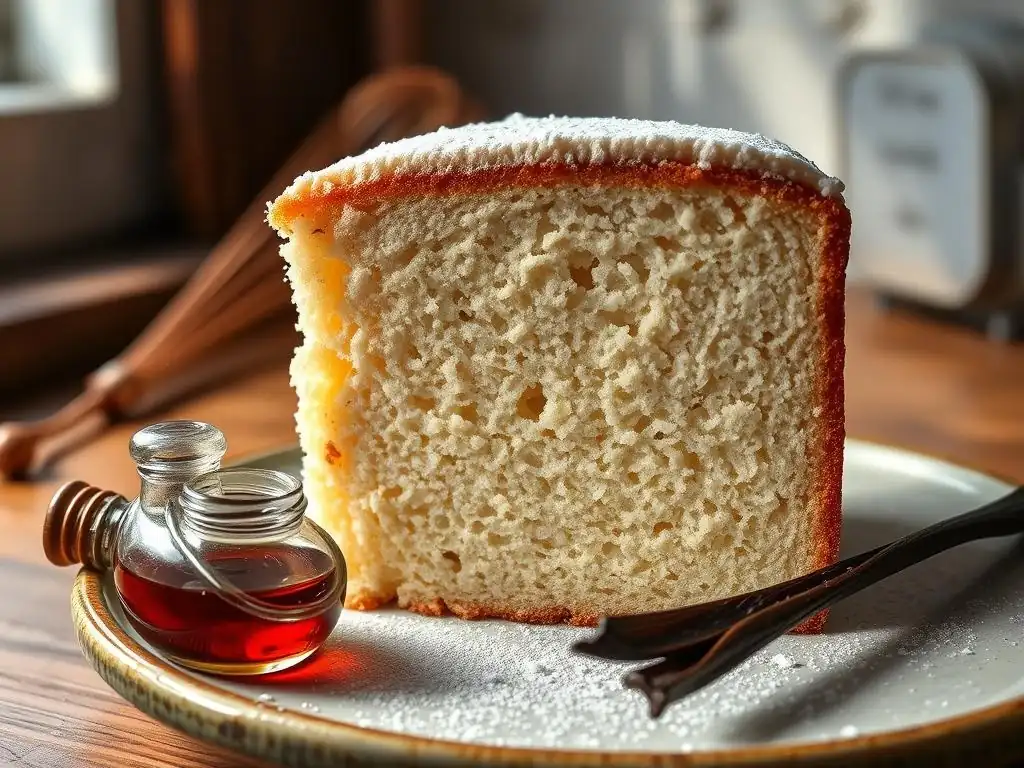
While texture is the focus, the flavor of your vanilla cake is equally important, and the quality of vanilla extract plays a starring role. Enhancing the flavor thoughtfully complements the delicate texture, creating a truly superior dessert.
Paying attention to the type and amount of vanilla, and considering complementary flavors, can elevate your light and airy vanilla cake from simply having a great texture to being a truly memorable treat.
Choosing High-Quality Vanilla Extract
Vanilla extract is the primary flavor source in a vanilla cake, so its quality significantly impacts the final taste. Pure vanilla extract, made by steeping vanilla beans in alcohol and water, offers a complex and nuanced flavor profile compared to imitation vanilla extract, which is made from synthetic vanillin.
While imitation vanilla is less expensive, it often has a one-dimensional, sometimes harsh flavor. Pure vanilla extract, particularly those labeled "Bourbon" (from Madagascar) or "Mexican," provide rich, creamy, or smoky notes that enhance the overall flavor of the cake. Using a good quality pure vanilla extract, often added towards the end of mixing to preserve its volatile flavor compounds, is essential for a truly delicious light and airy vanilla cake. Some bakers recommend adding vanilla after the flour is just incorporated to minimize mixing time and preserve the flavor.
Other Flavor Enhancements: Citrus Zest or Almond Extract
While vanilla is the star, other flavors can subtly enhance and complement the vanilla profile without overpowering it. A common and effective addition is citrus zest, such as lemon or orange zest.
Adding the finely grated zest of half a lemon or a whole orange to the batter provides a bright, fresh counterpoint to the sweet vanilla flavor. The oils in the zest carry intense flavor. Another popular enhancement is a small amount of almond extract. Even just 1/4 to 1/2 teaspoon of almond extract in a standard cake recipe can add a subtle depth and complexity that pairs beautifully with vanilla, making your light and airy vanilla cake even more special.
Conclusion: Mastering the Art of Light and Airy Vanilla Cakes
Achieving that perfect light and airy vanilla cake texture is a rewarding goal for any baker. It involves a combination of selecting the right ingredients, understanding their roles, employing precise mixing techniques, and paying close attention to the baking process. From using cake flour for a tender crumb and creaming butter and sugar for aeration, to gently folding and baking at the correct temperature for the right amount of time, each step contributes to the final delicate structure.
By understanding the science behind the rise and set of the cake and troubleshooting common issues like density or dryness, you gain the knowledge to consistently produce beautifully textured vanilla cakes. Remember that practice makes perfect, and each baking attempt, successful or not, offers valuable lessons. With patience and attention to these key principles, you are well on your way to mastering the art of baking a truly light and airy vanilla cake that will impress everyone who takes a bite.
Frequently Asked Questions
How do I ensure my vanilla cake is truly light and airy?
Achieving a light and airy texture relies on proper technique. Key factors include creaming the butter and sugar until light and fluffy and avoiding overmixing the batter. Also, sifting the flour is essential.
What role does the type of flour play in a light and airy vanilla cake?
The type of flour is crucial. Using cake flour, which has a lower protein content than all-purpose flour, will result in a more tender and delicate crumb. This contributes significantly to the desired light and airy texture.
Can I substitute ingredients to make the vanilla cake healthier without sacrificing the texture?
While substitutions are possible, be cautious. Replacing all the sugar or fat can affect the structure. Consider using applesauce or yogurt in small amounts and always use high-quality ingredients to maintain the best texture.
What's the best way to prevent a dense, heavy vanilla cake?
Overmixing is a common culprit. Ensure you mix only until just combined after adding the dry ingredients. Also, avoid using too much liquid and make sure your baking powder is fresh.
How important is the oven temperature for achieving a light and airy vanilla cake?
Oven temperature is extremely important. Baking at the correct temperature (as specified in the recipe) ensures the cake rises properly. An oven that is too hot or too cold can result in a dense or unevenly baked cake.
Final Reflection: The Pursuit of the Perfect Vanilla Cake
The quest for a light and airy vanilla cake transcends mere baking; it's a pursuit of culinary perfection, a testament to the transformative power of simple ingredients. This article explored the nuanced techniques that elevate a basic vanilla cake from ordinary to extraordinary, focusing on the delicate balance of ingredients and precise methods that contribute to that coveted ethereal texture. The principles discussed remain as relevant today as they were decades ago, proving that mastering the fundamentals is key to unlocking true baking artistry.
The enduring appeal of a perfectly textured vanilla cake speaks volumes about our collective desire for comfort and simple pleasures. It's a cake that evokes memories of childhood birthdays, family gatherings, and moments of quiet joy. The lightness of the cake itself mirrors the lightness of spirit we often associate with these cherished memories. A cake is a celebration of life, a symbol of joy and togetherness.
While this quote might not be directly about texture, it perfectly encapsulates the emotional weight we attach to this seemingly simple dessert. The pursuit of this ideal texture, therefore, becomes a pursuit of capturing and sharing these feelings.
Now, consider your own baking journey. What techniques resonated most with you? What challenges did you encounter, and how did you overcome them? Perhaps this article has inspired you to experiment further, to refine your own methods, and to strive for that perfect, cloud-like crumb. Don't be afraid to embrace the process, to learn from your mistakes, and to celebrate the small victories along the way. The journey to baking the perfect light and airy vanilla cake is a rewarding one, filled with delicious discoveries and the sweet satisfaction of creating something truly special.
Unlock the Secret to Light & Airy Perfection!
Thanks for joining us on this baking adventure! We hope you now feel confident in creating that incredibly light and airy vanilla cake texture you've always dreamed of. Ready to put your new skills to the test?
- Bake your dream cake today! Grab your ingredients and try out the recipe – we're sure you'll be amazed by the results. It’s easier than you think!
- Share your baking triumph! Post a picture of your cake on social media and tag us – we love seeing your creations.
- Explore more light and airy recipes on our website for even more baking inspiration. Discover new textures and flavors!
What’s your favorite tip for achieving a light and airy cake texture? Share your secrets in the comments below!