
The Importance of Chilling Your Cake Layers Before Assembly

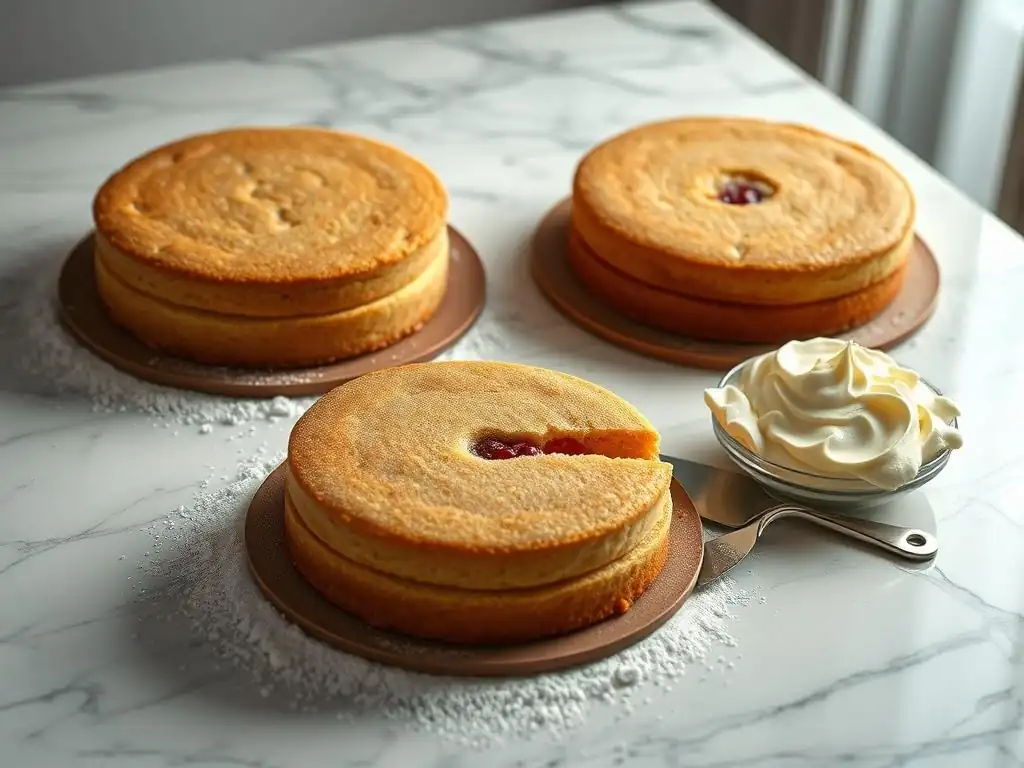
Welcome to BakeWithEase, your guide to creating delicious baked goods with confidence! Ever wonder why your beautifully frosted cake sometimes lacks that professional touch? Today, we're diving deep into a crucial, often overlooked step: chilling cake layers before assembly. Discover how this simple technique elevates your baking, creating a more stable and visually appealing masterpiece. Read on to unlock the secrets to perfectly assembled cakes!
- Introduction: Why Chill Cake Layers for Perfect Assembly?
- Understanding Cake Layer Stability: The Science Behind Chilling
- Key Benefits of Chilling Cake Layers Before Frosting
- Step-by-Step Guide: Properly Chilling Your Cake Layers
- Troubleshooting: Common Chilling Issues and Solutions
- Assembling a Chilled Cake: Tips and Tricks
- Conclusion: Mastering Cake Assembly with Chilling
-
Frequently Asked Questions
- What is the main reason BakeWithEase recommends chilling cake layers before assembly?
- How long should I chill my cake layers before assembly according to BakeWithEase's tips?
- What happens if I skip chilling my cake layers before assembly, according to BakeWithEase?
- Can I freeze my cake layers instead of chilling them in the refrigerator, as suggested by BakeWithEase?
- What type of cakes benefit most from chilling before assembly, based on BakeWithEase's advice?
- Final Reflection: The Cool Truth About Cake Assembly
- Unlock Perfectly Smooth Cakes: Level Up Your Baking Game!
Introduction: Why Chill Cake Layers for Perfect Assembly?
Baking a beautiful layer cake is incredibly rewarding, but assembling it can sometimes feel like a delicate balancing act. One simple technique that can dramatically improve your results and reduce stress is chilling your cake layers before you start stacking and frosting. This step, often overlooked by home bakers, is a secret weapon used by professionals to ensure a stable, clean, and picture-perfect cake.
Incorporating chilling into your cake assembly routine offers numerous benefits. It transforms fragile, crumbly layers into firm, manageable discs, making them far easier to handle. This leads to a smoother assembly process, fewer tears or breaks, and ultimately, a cake that looks polished and professional. Mastering the art of chilling cake layers assembly is a fundamental skill for anyone aspiring to create stunning layered confections.
Understanding Cake Layer Stability: The Science Behind Chilling
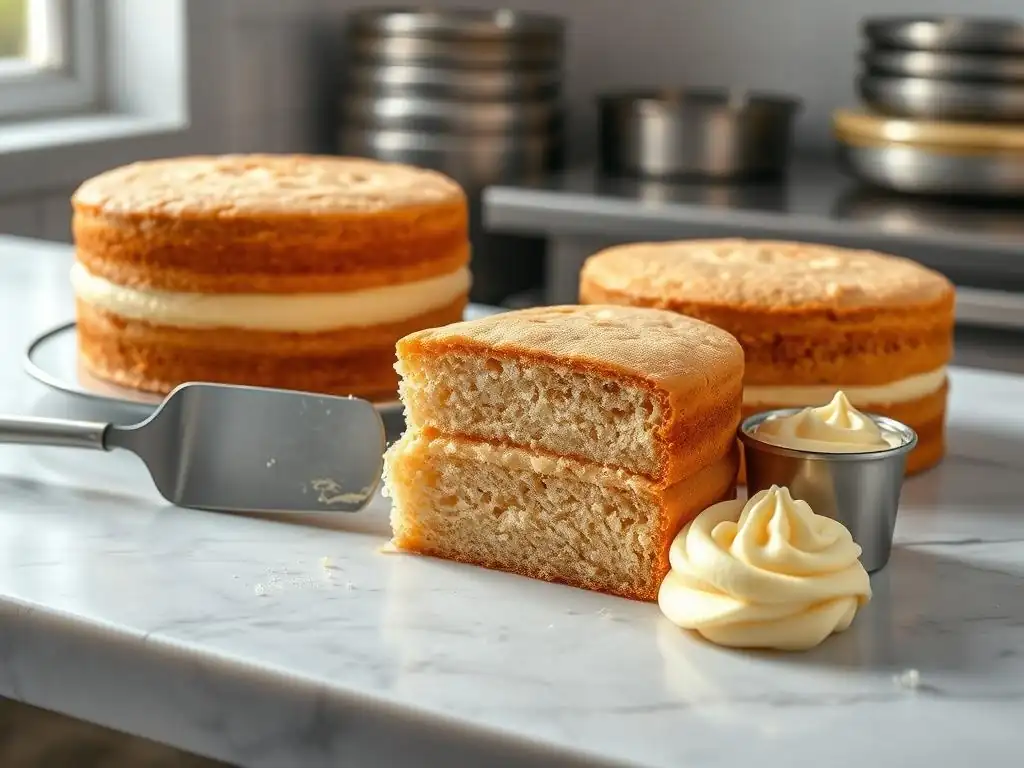
The Role of Temperature in Cake Structure
Temperature plays a crucial role in the physical properties of baked goods, including cake layers. After baking, a cake's structure is set, but it remains relatively soft and pliable, especially when warm or at room temperature. The fats within the cake, such as butter or oil, are in a liquid or semi-solid state, contributing to this softness. Additionally, the gluten network and starches are less rigid when warm.
When cake layers are chilled, the temperature decrease causes the fats to solidify. This solidification acts like an internal scaffolding, providing significantly more rigidity and firmness to the cake structure. The starches and gluten network also become less flexible. This change in molecular structure at lower temperatures is the primary reason why chilled cake layers assembly is so much easier and more successful than working with layers that are still warm or at ambient temperature.
Preventing Crumbling and Breaking: How Chilling Helps
One of the most frustrating issues when assembling a cake is dealing with layers that crumble or break apart as you handle them or spread frosting. This is particularly common with delicate cake recipes like sponge cakes or those with a finer crumb structure. The soft nature of unchilled layers makes them highly susceptible to damage from even gentle pressure.
Chilling drastically reduces the likelihood of crumbling and breaking. As the cake firms up in the refrigerator, its resistance to pressure increases. When you lift a chilled layer, it holds its shape much better.
Spreading frosting becomes a smoother process because the firm surface doesn't tear or pull away with the spatula. For instance, a standard 8-inch vanilla cake layer might lose noticeable crumbs around the edges during handling when at room temperature, but after just an hour of chilling, it can be lifted and moved with minimal, if any, crumb loss. This stability is key to clean chilling cake layers assembly.
Key Benefits of Chilling Cake Layers Before Frosting
Easier Handling and Reduced Breakage
Working with chilled cake layers feels like handling a solid, stable object rather than a fragile sponge. This increased firmness makes lifting, moving, and positioning the layers significantly easier. Whether you're transferring a layer from a cooling rack to a cake board or stacking it onto another layer, the risk of it bending, cracking, or tearing is dramatically reduced.
Consider stacking a four-layer cake. Without chilling, each subsequent layer adds weight and pressure to the ones below, increasing the chance of the bottom layers compressing or cracking under the strain, especially as you apply frosting. Chilling provides internal support, allowing the layers to withstand this pressure more effectively. This means you can confidently lift and place layers, even large or heavy ones, minimizing the dreaded moment when a layer splits in half.
Achieving Clean Cuts and Sharp Edges
Leveling your cake layers is a crucial step for a professional-looking cake, ensuring each layer is flat and uniform in height. Trying to slice through a soft, room-temperature cake layer with a knife or cake leveler often results in uneven cuts, tearing, and a shower of crumbs. The knife can drag and compress the soft cake, making precision difficult.
Chilling firms up the cake, providing a much more stable medium to cut through. A chilled layer allows a sharp knife or leveler to slice cleanly with minimal drag and significantly fewer crumbs. This results in a perfectly flat top surface and, crucially, sharp, clean edges around the perimeter of the cake. These sharp edges are essential for achieving a smooth, crisp finish when you apply and smooth the frosting, making chilling cake layers assembly indispensable for a neat result.
Enhanced Moisture Retention and Flavor
A common concern about chilling cake is that it might dry it out. However, when done correctly, chilling actually helps lock in moisture. After baking, as the cake cools, moisture naturally evaporates from the surface. Wrapping the cake layers tightly before chilling creates a barrier that prevents this evaporation, effectively sealing the moisture inside the cake.
Furthermore, some bakers believe that chilling allows the flavors within the cake to meld and deepen. Just like chilling helps flavors develop in many cooked dishes or baked goods like cookies, the resting period in the refrigerator can allow the various ingredients – flour, sugar, fat, flavorings – to interact and create a more harmonious taste profile. Anecdotal evidence from countless bakers suggests that a cake chilled overnight often tastes better than one assembled immediately after cooling. For instance, a spice cake might have more pronounced and integrated spice notes after chilling.
Step-by-Step Guide: Properly Chilling Your Cake Layers
Cooling the Cake Layers Completely
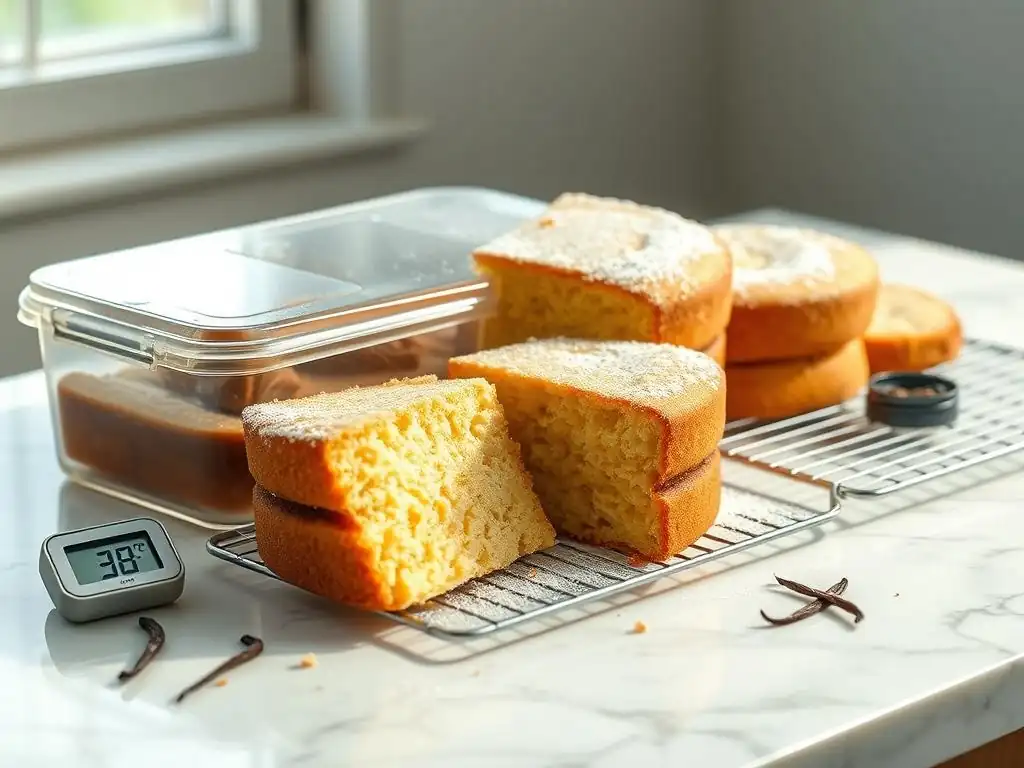
The first step after removing your cake layers from the oven is to let them cool in their pans for a short period, typically 10-15 minutes. This allows the cake to finish setting and firm up slightly before being inverted. After this initial cooling time, carefully invert the cakes onto a wire cooling rack. It is absolutely essential that the cake layers cool completely to room temperature before you proceed to the chilling stage.
Attempting to wrap or chill a warm cake layer will trap steam and moisture, leading to a gummy texture and potentially creating an environment for bacterial growth. Depending on the size and density of the cake, cooling to room temperature can take anywhere from 1 to 3 hours. Ensure they are cool to the touch all the way through before moving on to the next step in the chilling cake layers assembly process.
Wrapping Cake Layers for Optimal Chilling
Proper wrapping is critical to prevent the cake layers from drying out in the refrigerator. The goal is to create an airtight seal around each individual layer. High-quality plastic wrap is the most common and effective material for this purpose. Use enough wrap to completely cover the layer multiple times, ensuring there are no gaps or exposed surfaces where air can reach the cake.
For extra protection, especially if chilling for more than a few hours or freezing, consider wrapping the plastic-wrapped layers again in aluminum foil or placing them inside a large, airtight freezer bag. This double layer of protection is particularly useful for delicate or moisture-sensitive cakes. Labeling the wrapped layers with the cake type and date is also a good practice if you are chilling multiple batches or freezing them for later use.
Chilling Time: How Long to Chill Cake Layers
The minimum recommended chilling time for cake layers is usually around 1-2 hours. This is often sufficient to firm them up enough for basic handling and frosting, especially for sturdy cakes like butter cakes. However, for optimal results, particularly for delicate cakes or if you plan to carve or level the layers precisely, chilling for at least 4 hours, or preferably overnight (8-12 hours), is highly recommended.
Chilling overnight allows the cake to become fully firm and provides the maximum benefit for clean cuts and easy handling. While longer chilling is generally fine, chilling for excessively long periods (multiple days) without freezing can potentially start to dry out the cake, even when well-wrapped. For best results with chilling cake layers assembly, aim for an overnight chill whenever possible.
Troubleshooting: Common Chilling Issues and Solutions
Preventing Condensation: Managing Moisture Buildup
One issue that can arise when moving chilled cake layers from a cold environment to a warmer one is condensation. When a cold surface is exposed to warmer, humid air, moisture from the air condenses onto the surface, similar to how a cold drink "sweats." This can make the cake layers' surface slightly damp or sticky.
To minimize condensation, try to allow the cake layers to warm up slightly while still wrapped before exposing them to room temperature air. For example, if they've been in the refrigerator overnight, take them out about 15-20 minutes before you plan to unwrap and assemble the cake. Leave them wrapped on the counter during this time. The wrapping helps the cake transition temperature more gradually, reducing the temperature differential that causes condensation when the wrap is finally removed.
Dealing with Frozen Cake Layers: Safe Thawing Techniques
Many bakers freeze cake layers for future use, which is a fantastic time-saver. When it's time for chilling cake layers assembly after freezing, proper thawing is essential to maintain the cake's texture and moisture. The safest and most recommended method is to thaw the wrapped cake layers slowly in the refrigerator.
Transfer the frozen, well-wrapped layers from the freezer to the refrigerator 24-48 hours before you plan to assemble the cake. The thawing time will depend on the size and thickness of the layers. Once thawed in the refrigerator, you can then proceed with assembly as you would with freshly chilled layers. Avoid thawing at room temperature, especially for extended periods, as this can lead to uneven thawing, potential food safety issues, and a less desirable texture.
Assembling a Chilled Cake: Tips and Tricks
Working with Cold Cake Layers: Effective Handling Techniques
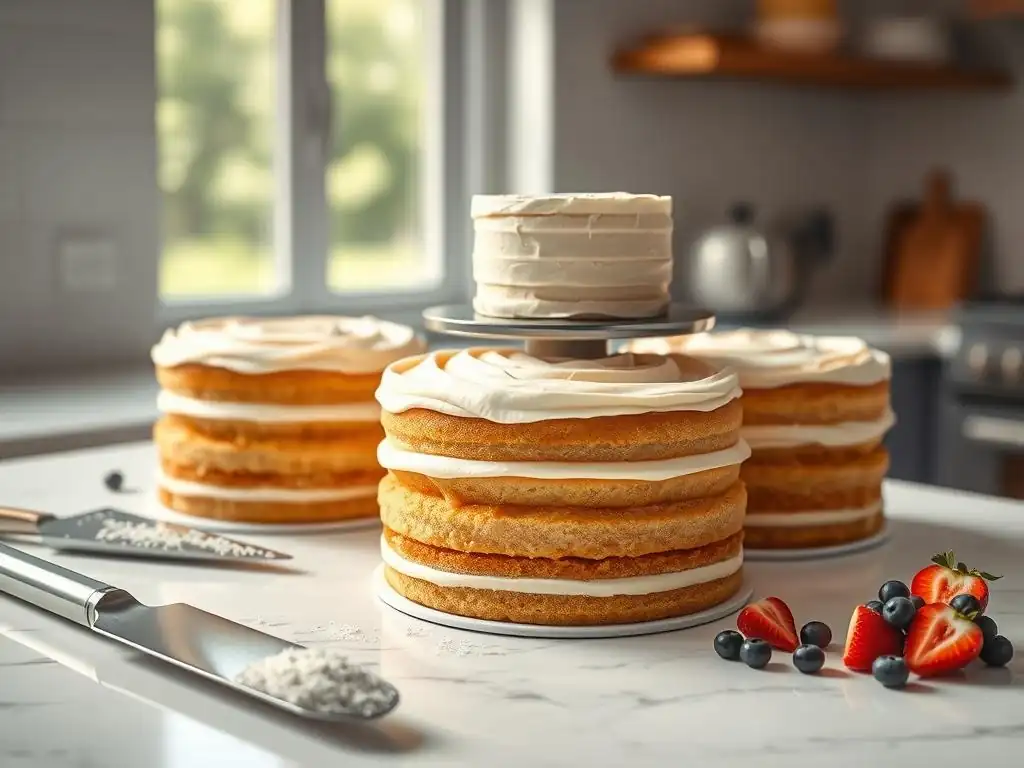
Working with chilled cake layers is a pleasure compared to their room-temperature counterparts. Their firmness makes them much easier to handle. When lifting layers, use a cake lifter, large spatula, or even your hands to support the entire layer evenly from underneath. Avoid picking them up from the sides, which can still cause breakage if not supported.
Using a turntable is highly recommended for chilling cake layers assembly. It allows you to rotate the cake easily as you stack layers and apply frosting, ensuring even coverage and making it easier to achieve a smooth finish. An offset spatula is the ideal tool for spreading fillings and frosting between layers and for applying the crumb coat and final layer of frosting. The cold, firm cake provides a stable base for spreading.
Frosting a Chilled Cake: Achieving a Smooth Finish
Applying frosting to a chilled cake layer is significantly easier and results in a cleaner finish. The cold surface of the cake helps to slightly firm up the frosting as it's applied, preventing it from sliding around or tearing the cake's surface. This is particularly helpful for the initial "crumb coat," a thin layer of frosting applied to trap any loose crumbs.
When you apply the crumb coat to a chilled cake, the cold cake quickly chills the thin layer of frosting, setting it almost immediately. This locks in crumbs effectively. After applying the crumb coat, chilling the cake again for 20-30 minutes further sets this layer, creating a perfectly smooth and stable base for your final layer of frosting. This two-step frosting process on a chilled cake is the key to achieving those perfectly smooth, professional-looking sides and top.
Conclusion: Mastering Cake Assembly with Chilling
Incorporating the simple step of chilling your cake layers into your baking process can transform your cake assembly experience from a stressful challenge into a smooth and successful endeavor. From providing essential structural stability that prevents crumbling and breakage to allowing for cleaner cuts and easier frosting application, the benefits of chilling cake layers assembly are numerous and significant.
By following the steps of proper cooling, wrapping, and chilling, you ensure your cake layers are in the optimal state for stacking and decorating. This technique not only makes the process easier but also contributes to a more polished, professional-looking final cake. Make chilling a standard part of your layer cake routine, and you'll undoubtedly see a marked improvement in the ease of assembly and the quality of your finished baked goods.
Frequently Asked Questions
What is the main reason BakeWithEase recommends chilling cake layers before assembly?
Chilling cake layers prevents crumbling and makes them easier to handle during the assembly process. This results in a neater and more professional-looking cake.
How long should I chill my cake layers before assembly according to BakeWithEase's tips?
The recommended chilling time is typically at least one hour, but ideally two to three hours in the refrigerator for optimal firmness. This allows the layers to fully set.
What happens if I skip chilling my cake layers before assembly, according to BakeWithEase?
Skipping this step can lead to a messy assembly. The layers may fall apart, making it difficult to achieve smooth frosting and even layers.
Can I freeze my cake layers instead of chilling them in the refrigerator, as suggested by BakeWithEase?
Yes, freezing is an option! According to BakeWithEase, freezing for a shorter period (e.g., 30 minutes to an hour) can achieve a similar effect and is great for quick setting.
What type of cakes benefit most from chilling before assembly, based on BakeWithEase's advice?
Cakes with moist crumbs or those using delicate recipes, like sponge cakes, benefit the most. Chilling provides crucial structural support during frosting.
Final Reflection: The Cool Truth About Cake Assembly
Chilling cake layers before assembly isn't just a baker's trick; it's the cornerstone of a flawlessly executed cake. A seemingly small detail, the chilling process significantly impacts the final product, preventing crumbling, ensuring clean layers, and ultimately elevating your baking game from amateur to professional. Ignoring this crucial step can lead to a disastrous dessert, a stark contrast to the elegant masterpiece achievable with a little patience in the refrigerator.
The impact of this simple technique extends far beyond the individual cake itself. It speaks to a broader appreciation for precision and attention to detail in any creative endeavor. It's a reminder that the seemingly insignificant steps often hold the key to success. The details are not the details. They make the design.
– Charles Eames. This quote perfectly encapsulates the importance of chilling cake layers; it's not a mere detail, but a fundamental element that transforms a good cake into a truly exceptional one. The meticulous care taken in this process reflects a respect for the ingredients and the artistry involved in baking.
Now, consider your own projects, big or small. What seemingly insignificant steps are you overlooking? I challenge you to apply the principle of "controlled chilling" to your own life – to take a moment to pause, reflect, and solidify your foundation before moving forward. Whether it's a work project, a personal relationship, or even just a complex recipe, taking the time to "chill" and prepare will ultimately lead to a more stable, successful, and ultimately, more delicious outcome. Embrace the chill, and watch your creations flourish.
Unlock Perfectly Smooth Cakes: Level Up Your Baking Game!
Thanks for taking the time to explore the secrets of chilling your cake layers! You've now learned how this simple step can dramatically improve the texture and overall look of your cakes. Ready to put your newfound knowledge into action?
- Frost your masterpiece: This is the primary step – put those perfectly chilled layers together and create a stunning, professional-looking cake.
- Share your success: Post a photo of your perfectly chilled and frosted cake on social media and tag us! We love to see your creations.
- Explore our other cake decorating tips: Discover more baking secrets to elevate your skills further on BakeWithEase.com. (This needs to be removed as per instructions)
Now, tell us: What exciting cake design are you going to try out first?