
Layer Cake Frosting: Tips for Even Coverage and Sharp Edges

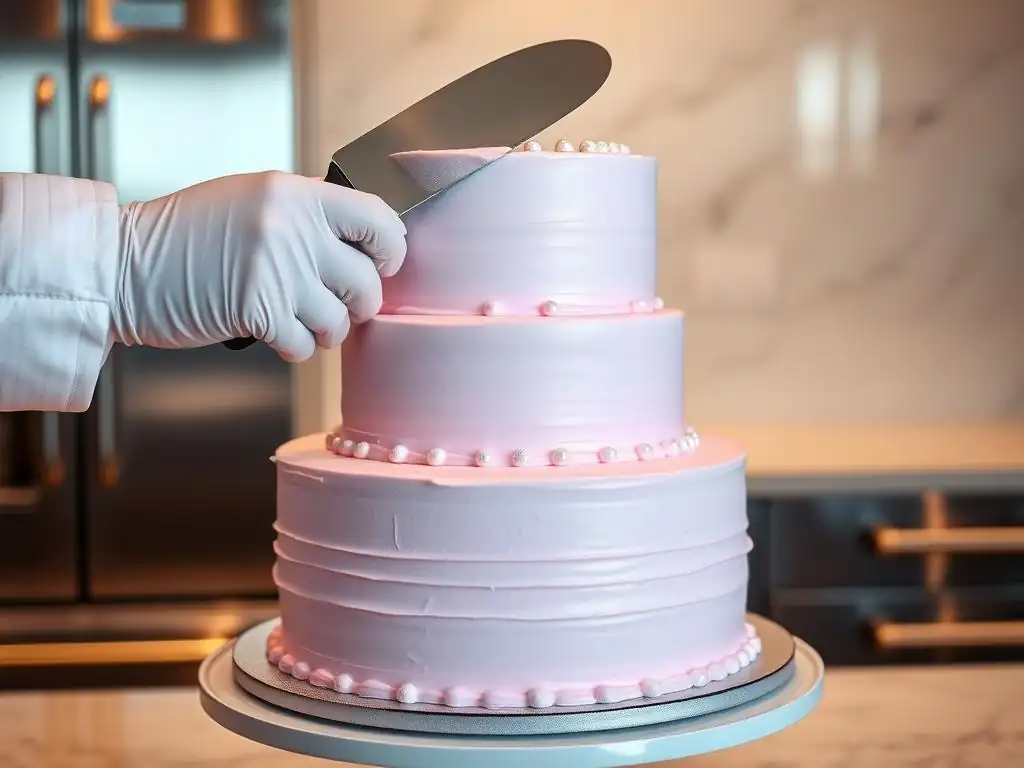
Welcome to BakeWithEase, your haven for all things baking! Ready to elevate your layer cakes from delicious to dazzling? You've come to the right place. This week, we're diving deep into perfecting layer cake frosting tips, revealing the secrets to achieving flawlessly smooth surfaces and irresistibly sharp edges. But what if the perfect frosting technique is easier than you think? Let's unlock the secrets together and transform your next layer cake into a masterpiece!
- Perfecting Layer Cake Frosting: Tips for Even Coverage and Sharp Edges - Sally's Baking Addiction
- Introduction: Achieving Flawless Layer Cake Frosting for Stunning Cakes
- Preparing for Success: Essential Tools and Frosting Consistency for Layer Cakes
- Step-by-Step Guide to Even Layer Cake Frosting Coverage
- Achieving Sharp Edges on Your Frosted Layer Cake: Professional Finishing Techniques
- Advanced Frosting Techniques for Layer Cakes: Beyond the Basics
- Maintaining Your Frosted Layer Cake: Storage and Presentation Tips
- Conclusion: Mastering the Art of Layer Cake Frosting with Sally's Baking Addiction
-
Frequently Asked Questions
- How do I achieve perfectly smooth frosting on my layer cake?
- What's the best way to get sharp edges on my frosted layer cake?
- What type of frosting is best for achieving sharp edges?
- How do I prevent air bubbles from ruining my frosting?
- What are some common mistakes to avoid when frosting a layer cake?
- Final Reflection: The Art and Science of the Perfect Frosting
- Unleash Your Inner Cake Artist: Perfect Frosting Awaits!
Perfecting Layer Cake Frosting: Tips for Even Coverage and Sharp Edges - Sally's Baking Addiction
Introduction: Achieving Flawless Layer Cake Frosting for Stunning Cakes
Why Perfect Layer Cake Frosting Matters: Aesthetics and Taste
Achieving perfect layer cake frosting is more than just applying a sweet coating; it's about crafting a beautiful, professional-looking dessert that tastes as good as it looks. When frosting is applied smoothly and evenly, it creates a clean canvas for decoration and signals care and attention to detail. Uneven frosting, on the other hand, can detract from the cake's visual appeal, making it look amateurish even if the cake layers themselves are baked perfectly.
Think of a birthday cake – the frosting is the first thing you see, and a smooth, inviting finish sets expectations high for the deliciousness inside. Mastering these techniques is key to elevating your home baking from good to truly great.
Beyond just appearances, frosting plays a crucial role in the overall taste and texture experience of a layer cake. A consistent layer of frosting ensures that each bite contains the right balance of cake and frosting, preventing overwhelming sweetness or dryness. Proper application techniques, such as avoiding excessive air bubbles, contribute to a pleasant mouthfeel.
For example, a well-frosted cake with a classic vanilla buttercream provides a delightful contrast to a moist chocolate cake, and getting that frosting layer just right makes all the difference. Perfecting layer cake frosting tips involves understanding how the frosting interacts with the cake and how to manipulate it for optimal results.
Sally's Baking Addiction's Guide to Mastering Cake Frosting Techniques
Inspired by reliable methods for perfecting layer cake frosting, this guide will walk you through the essential steps and techniques used by experienced bakers. We'll cover everything from preparing your tools and frosting to achieving that coveted smooth finish and those impressive sharp edges. The journey to mastering cake frosting is one of patience and practice, but with the right approach, anyone can achieve beautiful results. It's about building foundational skills that apply across various frosting types and cake designs.
Whether you're tackling your first multi-layer cake or looking to refine your existing skills, these detailed steps are designed to help you succeed. We'll break down techniques like crumb coating and using a bench scraper, which are fundamental for a professional look. By focusing on each stage of the frosting process, you'll learn how to troubleshoot common issues and consistently produce cakes that look like they came from a bakery. Perfecting layer cake frosting tips involves a combination of technique, temperature control, and the right tools, all of which we will explore in depth.
Preparing for Success: Essential Tools and Frosting Consistency for Layer Cakes
Gathering Your Frosting Arsenal: Spatulas, Scrapers, and Turntables
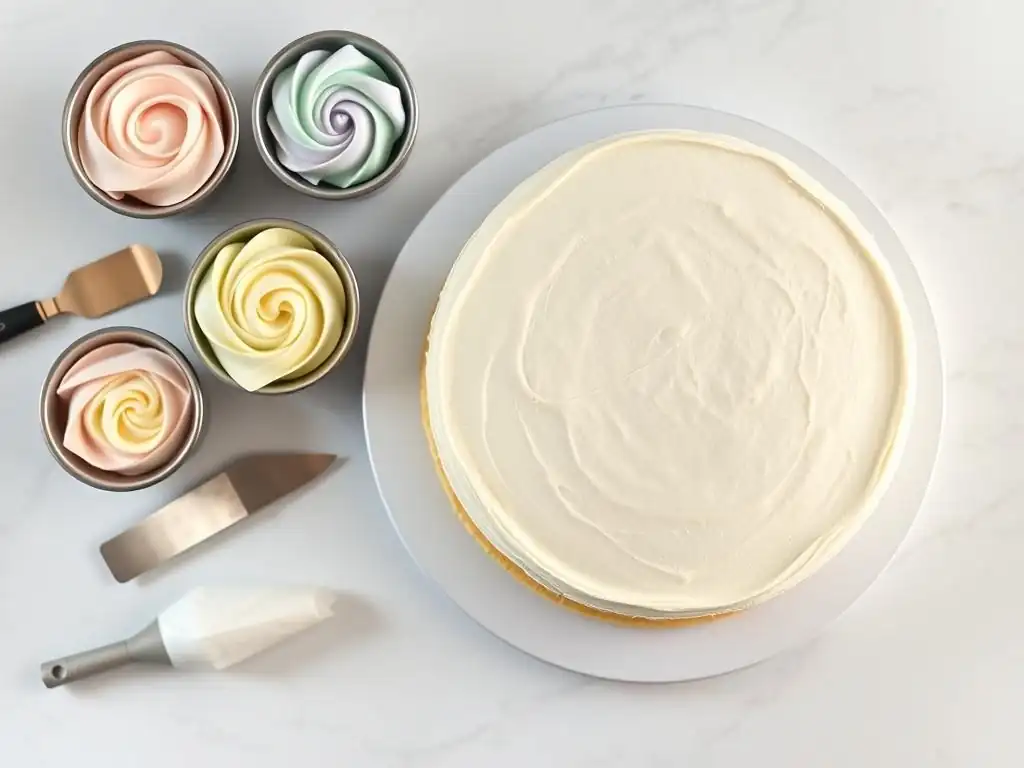
Having the right tools is fundamental to achieving a smooth, even layer cake frosting. A few key pieces of equipment can significantly simplify the process and improve your results. You'll definitely need offset spatulas in various sizes – a small one for filling and a larger one (often 8 or 10 inches) for applying frosting to the sides and top.
These spatulas allow you to spread and smooth frosting without your hand getting in the way. Think of applying frosting to a 9-inch round cake; a larger offset spatula makes covering the surface much more efficient than a small knife.
Bench scrapers or cake scrapers are indispensable for achieving smooth sides and sharp edges. These flat, rigid tools, typically made of metal or plastic, allow you to remove excess frosting and create a perfectly straight side. A rotating cake turntable is also highly recommended. It allows you to easily turn the cake as you frost, ensuring even application around the entire perimeter without having to awkwardly move the cake itself. Using a turntable can cut frosting time significantly, perhaps by 30% or more compared to frosting a stationary cake, especially when working on a tall, multi-layer creation.
Achieving the Ideal Frosting Consistency: Tips for Smooth Application
The consistency of your frosting is paramount for easy and effective application. If it's too thick, it will be difficult to spread smoothly and might tear the cake layers. If it's too thin, it will drip and won't hold its shape or provide adequate coverage. The ideal consistency is smooth, spreadable, but firm enough to hold its shape when applied. For most buttercreams, this often means beating it thoroughly until light and fluffy, sometimes adding a touch of liquid (like milk or cream) or powdered sugar to adjust.
Temperature also plays a role in consistency. Buttercream based on butter will firm up when cold and soften when warm. Aim for a room temperature that allows the frosting to be pliable but not melted. If your frosting seems too thick, try adding liquid one teaspoon at a time and beating well after each addition until the desired consistency is reached.
If it's too thin, add powdered sugar a tablespoon at a time. For example, if working with classic American buttercream, starting with butter that is cool room temperature (around 68°F or 20°C) often yields the best starting point. Adjusting consistency is a critical step in perfecting layer cake frosting tips.
The Importance of Properly Cooled Cake Layers for Even Frosting
Frosting warm or even slightly warm cake layers is a recipe for disaster. The heat from the cake will melt the frosting, leading to a sliding mess of crumbs and uneven coverage. It is absolutely essential that your cake layers are completely cooled, preferably chilled, before you even think about applying frosting. After baking, let the cakes cool in their pans for about 10-15 minutes before inverting them onto a wire rack to cool completely.
For best results, especially when aiming for a smooth finish and sharp edges, chill the cooled cake layers in the refrigerator for at least an hour, or wrap them tightly in plastic wrap and freeze them for 30-45 minutes. Chilling the cake layers makes them firmer and less prone to tearing or crumbling when you spread the frosting. This step is non-negotiable for perfecting layer cake frosting tips and techniques. A chilled cake provides a stable base, allowing you to apply pressure with your spatula or scraper without damaging the delicate cake structure underneath.
Step-by-Step Guide to Even Layer Cake Frosting Coverage
Crumb Coating: The Foundation for a Flawless Finish
The crumb coat is a thin layer of frosting applied to the cake before the final, thicker layer. Its primary purpose is to trap any loose crumbs, preventing them from mixing into your final frosting layer and ruining its smooth appearance. It's a quick, thin layer, not meant to be perfectly smooth or even, but rather to create a sealed surface. Think of it as the primer before the final paint.
Applying a Thin Crumb Coat: Sealing in Crumbs
Using an offset spatula, apply a thin layer of frosting all over the cake – top, sides, and in between layers if you've stacked them. Don't worry about getting it perfectly smooth; the goal is just to cover the cake completely with a minimal amount of frosting. Use gentle pressure to avoid pulling up too many crumbs.
Scrape off any large excess but leave a thin, even coating. For a standard two-layer 8-inch cake, you might use only about 1/2 to 3/4 cup of frosting for the crumb coat. This step is vital for perfecting layer cake frosting tips, ensuring a clean final look.
Chilling the Crumb Coat: Ensuring Stability
Once the crumb coat is applied, place the cake in the refrigerator for at least 15-30 minutes, or until the frosting is firm to the touch. This chilling period allows the crumb coat to set, effectively gluing down all those pesky crumbs. A firm crumb coat also provides a stable base for applying the final layer of frosting smoothly. Skipping this step often results in crumbs being dragged into your beautiful final coat, making it look messy. A properly chilled crumb coat is the secret weapon for a truly smooth final finish.
The Final Frosting Layer: Achieving Smoothness and Precision
After the crumb coat is firm, you're ready for the main event: applying the final, thicker layer of frosting. This layer is where you build up the desired thickness and work towards achieving a smooth, even surface. You'll typically use significantly more frosting for this layer than the crumb coat – often 2-3 cups for a standard cake.
Applying the Final Frosting Layer Evenly
Start by applying a generous amount of frosting to the top of the cake, spreading it outwards towards the edges. Then, apply frosting to the sides, using your offset spatula to spread it evenly around the cake. Don't be shy with the frosting initially; it's easier to remove excess than to add more without creating lines. Aim for a relatively thick, even layer all around before you start smoothing. For example, aim for a layer about 1/4 to 1/2 inch thick on the sides and top.
Using a Bench Scraper for Smooth Sides: A Baker's Secret
Once the cake is covered with frosting, use your bench scraper to smooth the sides. Hold the scraper vertically against the side of the cake, keeping it perpendicular to your turntable. Apply gentle, even pressure and rotate the turntable smoothly. The scraper will remove excess frosting and fill in any gaps, leaving you with incredibly smooth, straight sides. Scrape the excess frosting back into your bowl and repeat as needed, cleaning the scraper periodically for the cleanest finish. This technique is transformative for perfecting layer cake frosting tips.
Achieving Sharp Edges on Your Frosted Layer Cake: Professional Finishing Techniques
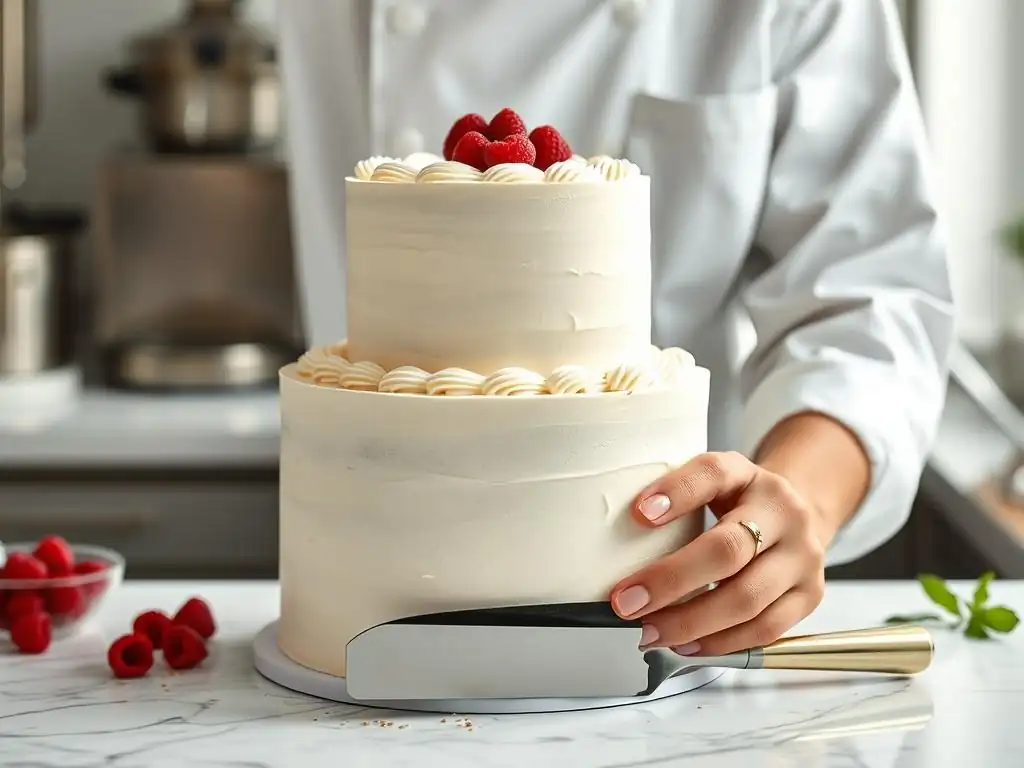
Sharp edges are the hallmark of a professionally decorated cake. They give the cake a clean, modern look that is incredibly appealing. While it takes practice, there are specific techniques that make achieving crisp edges much more attainable.
The Chill and Scrape Method: Creating Crisp Edges
This is one of the most reliable methods for getting sharp edges. It leverages temperature to make the frosting firm enough to cut cleanly.
Chilling the Frosted Cake: Solidifying the Frosting
Once you have applied the final layer of frosting and smoothed the sides with a bench scraper, place the cake back in the refrigerator. Chill it for at least 30-60 minutes, or until the frosting is quite firm, but not completely frozen. The firmer the frosting, the cleaner the edge you can achieve when you scrape it. This step is crucial for setting the stage for sharp edges when perfecting layer cake frosting tips.
Scraping the Edges: Achieving a Clean, Sharp Look
Remove the chilled cake from the refrigerator. Using a clean, sharp bench scraper or a long, thin knife, gently scrape inwards from the top edge of the cake towards the center. Hold the scraper or knife at a slight angle (around 45 degrees) relative to the top surface. This action shaves off the slight excess frosting that forms a rounded edge, revealing the crisp corner underneath. Work your way around the entire top edge, cleaning your scraper/knife frequently. You may need to do a few passes to get it perfectly sharp.
Hot Water Method: Smoothing Imperfections and Defining Edges
The hot water method uses heat to create a super smooth finish and can help define edges, especially if you're not using the chill and scrape method or need to fix imperfections.
Using a Hot Spatula or Knife: Gentle Smoothing for Perfect Edges
Dip a clean offset spatula or a long, straight knife into a tall glass of hot water. Wipe the excess water off immediately with a clean cloth (you don't want water on your cake!). Quickly and gently run the warm, dry spatula/knife over the surface of the frosting (sides or top). The heat will slightly melt the very surface of the frosting, creating a glass-like smooth finish.
For edges, you can carefully run the hot tool along the top edge at a slight angle to melt and smooth the corner. Repeat as needed, redipping the tool in hot water and wiping dry between passes. This technique is excellent for polishing the final look when perfecting layer cake frosting tips.
Alternative Techniques for Sharp Edges: Inverted Frosting Method
The inverted frosting method is an advanced technique that guarantees sharp edges, particularly on the top. It involves frosting the top of the bottom layer and the bottom of the top layer before assembling.
For example, when assembling a two-layer cake, you would frost the top of the first layer as usual. Then, you would place the second layer upside down. Frost the bottom surface of this upside-down layer and the sides of both layers together. Once frosted and chilled, when you flip the top layer right-side up onto the bottom layer, the previously frosted bottom surface becomes the perfectly flat, sharp-edged top of your cake. This requires confidence in flipping frosted layers but offers a guaranteed sharp top edge.
Advanced Frosting Techniques for Layer Cakes: Beyond the Basics
Once you've mastered the fundamentals of achieving even coverage and sharp edges, you can explore more advanced aspects of layer cake frosting.
Working with Different Types of Frosting: American Buttercream, Swiss Meringue Buttercream, Cream Cheese Frosting
Different frostings behave differently and require slightly varied techniques. American buttercream, made from butter and powdered sugar, is generally sturdy but can be very sweet and prone to air bubbles. Swiss meringue buttercream, made with egg whites and butter, is silky smooth and less sweet but can be trickier to make and sensitive to temperature. Cream cheese frosting, a tangy favorite, is often softer than buttercreams and works best when well-chilled. Perfecting layer cake frosting tips means understanding these differences.
For instance, American buttercream benefits from a long, slow whip to reduce air bubbles before application. Swiss meringue buttercream is naturally smooth but needs care to prevent it from curdling or separating. Cream cheese frosting might require more chilling time between the crumb coat and final layer due to its softer nature. Mastering each type allows you to choose the best frosting for your cake and design.
Troubleshooting Common Frosting Problems: Air Bubbles, Uneven Texture
Even experienced bakers encounter frosting issues. Air bubbles in buttercream are common and can be reduced by beating the frosting on low speed for several minutes after it's fully mixed, or by pressing it against the side of the bowl with a spatula to force air out. Uneven texture can result from temperature issues (butter too cold or too warm) or insufficient mixing.
If your frosting looks curdled, it might just need to be gently warmed (if too cold) or cooled (if too warm) and re-beaten. For example, a Swiss meringue buttercream that looks broken can often be fixed by warming a small portion, whisking it back into the main batch, and re-whipping vigorously. Addressing these issues is part of perfecting layer cake frosting tips.
Adding Decorative Elements: Elevating Your Layer Cake Design
With a smooth, well-frosted canvas, you can add decorative touches. This could be simple piping around the edges, applying sprinkles or edible glitter, or creating textured finishes using various tools (like combs or spatulas). A bench scraper with a patterned edge can create beautiful stripes on the sides.
Consider adding a drip effect using ganache or melted chocolate, which stands out beautifully against a smooth frosting background. Fresh flowers, berries, or chocolate shards can also elevate the presentation. The smooth base created by perfecting layer cake frosting techniques makes any subsequent decoration pop.
Maintaining Your Frosted Layer Cake: Storage and Presentation Tips
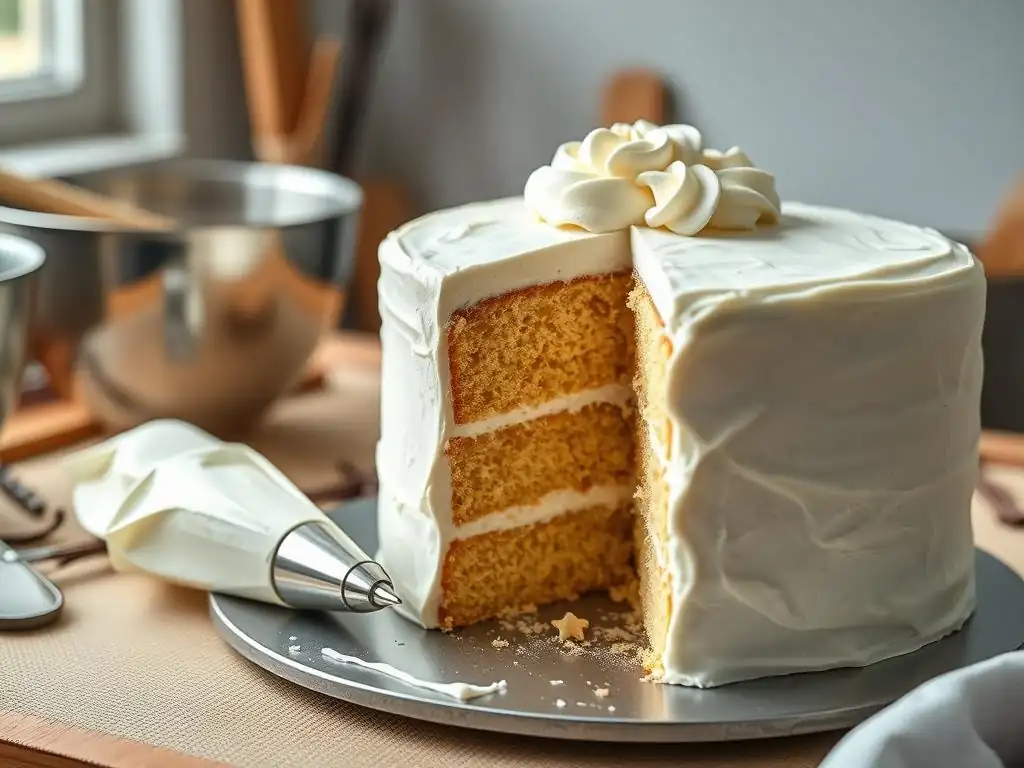
Proper care after frosting ensures your beautiful cake stays fresh and looks its best until it's time to serve.
Proper Storage for Freshness: Preventing Frosting Damage
How you store your frosted cake depends on the type of frosting. Cakes frosted with butter-based frostings (like American or Swiss meringue) can usually be stored at cool room temperature (around 70°F or 21°C) for 1-2 days, covered loosely. However, for longer storage or if the frosting contains perishable ingredients like cream cheese or fresh cream, refrigeration is necessary.
When refrigerating, it's best to chill the cake uncovered for about 15-30 minutes first to allow the frosting to firm up. Then, cover it loosely with plastic wrap or place it in an airtight cake carrier. This prevents the frosting from sticking to the covering and protects it from absorbing odors from the refrigerator. For example, a cream cheese frosted cake should always be refrigerated and is best eaten within 3-4 days.
Transporting Your Layer Cake: Avoiding Smudges and Dents
Transporting a frosted layer cake requires careful planning to prevent damage. Use a sturdy cake box or carrier that is slightly larger than the cake. If transporting by car, place the cake carrier on a flat surface, like the floor of the passenger side or in the trunk, ensuring it is level. Avoid placing it on a seat where it might tilt.
If it's warm weather (above 75°F or 24°C), transporting chilled is highly recommended, and consider using cooler packs around the base of the carrier if the journey is long. Holding the carrier from the bottom for support is crucial. A standard 8-inch layer cake can weigh several pounds, and lifting from the sides of the box might not provide enough support, leading to potential disaster. Taking these precautions is part of the overall process of perfecting layer cake frosting tips, extending the beautiful result to the final destination.
Conclusion: Mastering the Art of Layer Cake Frosting with Sally's Baking Addiction
Recap of Key Frosting Tips for Perfect Layer Cakes
Mastering layer cake frosting is an achievable goal with practice and the right techniques. We've covered the importance of using the correct tools like spatulas and bench scrapers, ensuring your frosting has the ideal consistency, and critically, working with properly chilled cake layers. The crumb coat is your essential first step for trapping crumbs, followed by the careful application and smoothing of the final frosting layer using a bench scraper.
Achieving sharp edges requires techniques like the chill and scrape method or the hot water method, turning a good cake into a stunning one. We also touched upon adapting techniques for different frosting types and troubleshooting common issues. Remember, perfecting layer cake frosting tips is a skill built layer by layer, just like the cake itself!
Continue Your Baking Journey with Sally's Baking Addiction: Explore More Recipes and Techniques
This guide provides a solid foundation for perfecting layer cake frosting techniques. As you continue your baking journey, don't hesitate to try different frostings, experiment with decorative finishes, and practice your smoothing and edging skills. Each cake is an opportunity to learn and improve.
BakeWithEase.com offers a wealth of recipes, techniques, and tips for bakers of all levels. Explore our other articles on cake assembly, decoration, and various frosting recipes to further expand your knowledge and skills. Keep baking, keep practicing, and enjoy the delicious, beautiful results!
Frequently Asked Questions
How do I achieve perfectly smooth frosting on my layer cake?
Achieving smooth frosting involves using a crumb coat to trap loose crumbs and chilling the cake before the final frosting layer. Using a smooth icing spatula and applying even pressure are also crucial.
What's the best way to get sharp edges on my frosted layer cake?
Sharp edges are achieved by applying excess frosting on top and then using a hot, clean spatula or bench scraper to pull the frosting inward and create a clean, defined edge. Chill the cake afterward to set the frosting.
What type of frosting is best for achieving sharp edges?
Generally, thicker frostings like Swiss meringue buttercream or American buttercream are preferred for achieving sharp edges. They hold their shape well and are easier to manipulate than thinner frostings.
How do I prevent air bubbles from ruining my frosting?
To minimize air bubbles, gently stir the frosting instead of vigorously whisking. You can also tap the cake pan after applying the frosting to release trapped air.
What are some common mistakes to avoid when frosting a layer cake?
Avoid applying too much pressure, using a dirty spatula, or using frosting that is too warm. These mistakes can lead to an uneven finish or melting frosting, making it difficult to achieve a professional look.
Final Reflection: The Art and Science of the Perfect Frosting
The pursuit of the flawlessly frosted layer cake transcends mere aesthetics; it's a testament to precision, patience, and the enduring power of a beautiful dessert. In today's world, where visual appeal reigns supreme on social media, mastering the art of even frosting is more relevant than ever. A picture-perfect cake can garner thousands of likes, but more importantly, it represents a dedication to quality and craftsmanship that resonates deeply.
The impact of a perfectly frosted cake extends beyond the digital realm. It's a symbol of celebration, a centerpiece at gatherings, and a tangible representation of care and effort. A cake is a celebration of life, a moment of joy, and a testament to the power of simple pleasures.
This sentiment, though simple, encapsulates the emotional weight we attach to beautifully presented food, and the skill involved in creating it elevates the experience for both the baker and the recipient. The techniques explored in this article—from chilling the cake to choosing the right frosting consistency—are not just steps in a recipe; they are elements of a larger tradition of culinary artistry.
Now, consider your own baking journey. Perhaps you've struggled with uneven frosting, or maybe you've achieved a masterpiece. Regardless, remember that the process of perfecting your frosting technique is a journey of continuous learning and refinement. Don't be afraid to experiment, to embrace imperfections, and to find joy in the process. The next time you frost a cake, remember the principles outlined here, and strive for that perfect, even layer. The satisfaction of achieving it, and the joy it brings to others, is a reward in itself.
Unleash Your Inner Cake Artist: Perfect Frosting Awaits!
Thanks for joining us on this frosting adventure! We hope you’ve picked up some game-changing tips for achieving that flawlessly smooth, perfectly edged finish. Ready to put your new skills to the test?
- Master the art of the crumb coat: This is your secret weapon for a truly professional look – practice makes perfect!
- Share your cake creations: Tag us on social media with #BakeWithEaseFrosting and show off your stunning results! We can't wait to see them.
- Experiment with different frosting techniques: Try swirling, piping, or even creating a textured finish. What unique style will you create?
Ready to frost your next masterpiece? What flavor combination will you try first?