
The Beginner's Guide to Assembling Your First Layer Cake

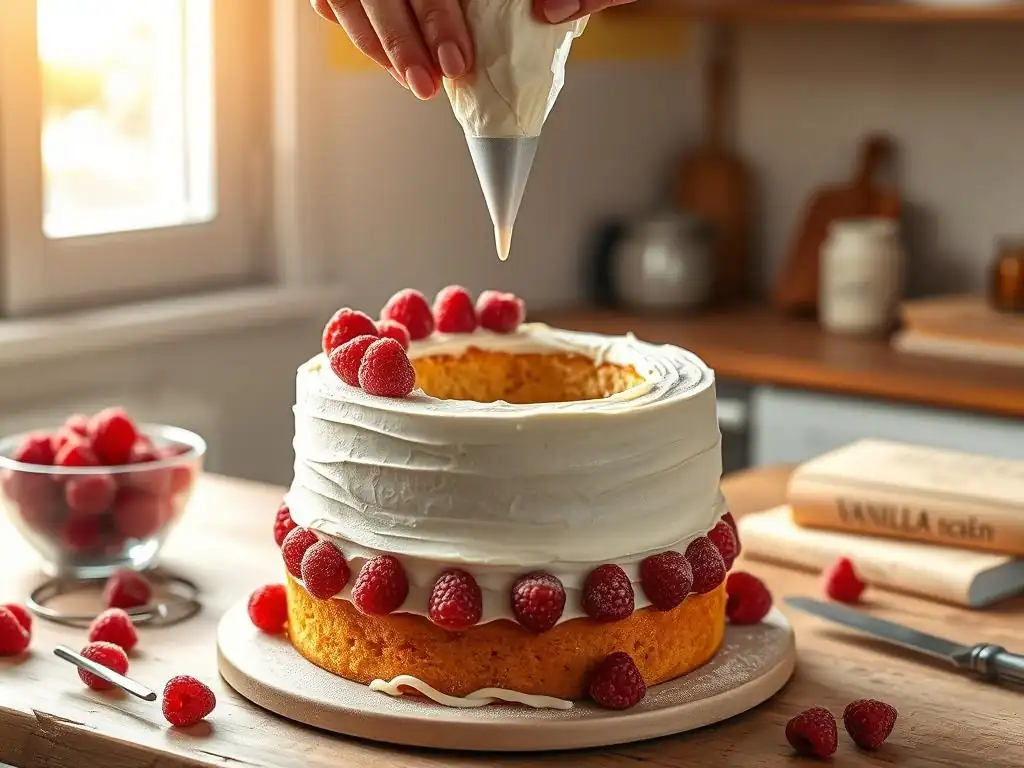
Welcome to BakeWithEase, your haven for all things baking! Are you ready to transform simple ingredients into impressive creations? Then you're in the right place. Let's conquer the kitchen together, starting with a delightful challenge: assembling your very own easy first layer cake. Discover the secrets to perfectly stacked layers and a flawless finish – keep reading to unlock the magic!
- The Beginner's Guide to Assembling a Chocolate Fudge Layer Cake
- Sweet Success Baking Presents: Your Easy Chocolate Fudge Layer Cake Journey
- Understanding Layer Cake Basics
-
Step-by-Step Guide to Assembling Your Chocolate Fudge Layer Cake
- Step 1: Baking Your Chocolate Fudge Cake Layers Perfectly
- Step 2: Leveling Your Cake Layers
- Step 3: Making Chocolate Fudge Frosting
- Step 4: Preparing Your Frosting and Cake for Assembly
- Step 5: Assembling and Frosting Your Layer Cake
- Step 6: Decorating Your Chocolate Fudge Layer Cake (Simple Techniques)
- Troubleshooting Common Layer Cake Assembly Problems
- Tips for Perfecting Your Layer Cake Assembly Skills
- Celebrate Your Chocolate Fudge Layer Cake!
-
Frequently Asked Questions
- What makes this layer cake recipe specifically good for beginners?
- What are the most common mistakes beginners make when assembling a layer cake, and how can I avoid them?
- What kind of frosting is recommended for an "Easy First Layer Cake" and why?
- What are some easy variations or additions I can make to this basic layer cake recipe once I'm comfortable with the basics?
- How important is it to use a cake stand or turntable for assembling and frosting a layer cake?
- Final Reflection: Slicing into Success: Your First Layer Cake Journey
- Unleash Your Inner Cake Artist: Layer Cake Mastery Awaits!
The Beginner's Guide to Assembling a Chocolate Fudge Layer Cake
Sweet Success Baking Presents: Your Easy Chocolate Fudge Layer Cake Journey
Welcome, beginner bakers! Are you ready to take your baking skills to the next level? Assembling your easy first layer cake might seem daunting, but with the right guidance and a delicious chocolate fudge theme, it's an achievable and incredibly rewarding project. This guide is designed to walk you through each step, making the process smooth, enjoyable, and resulting in a stunning dessert you can be proud of.
Creating a beautiful and stable layer cake involves more than just baking the layers; it's about careful assembly, frosting techniques, and a little bit of patience. We'll focus on a classic chocolate fudge cake because, let's be honest, who doesn't love chocolate? By the end of this guide, you'll have the confidence to tackle your first layer cake assembly with ease and maybe even try some simple decorations.
Understanding Layer Cake Basics
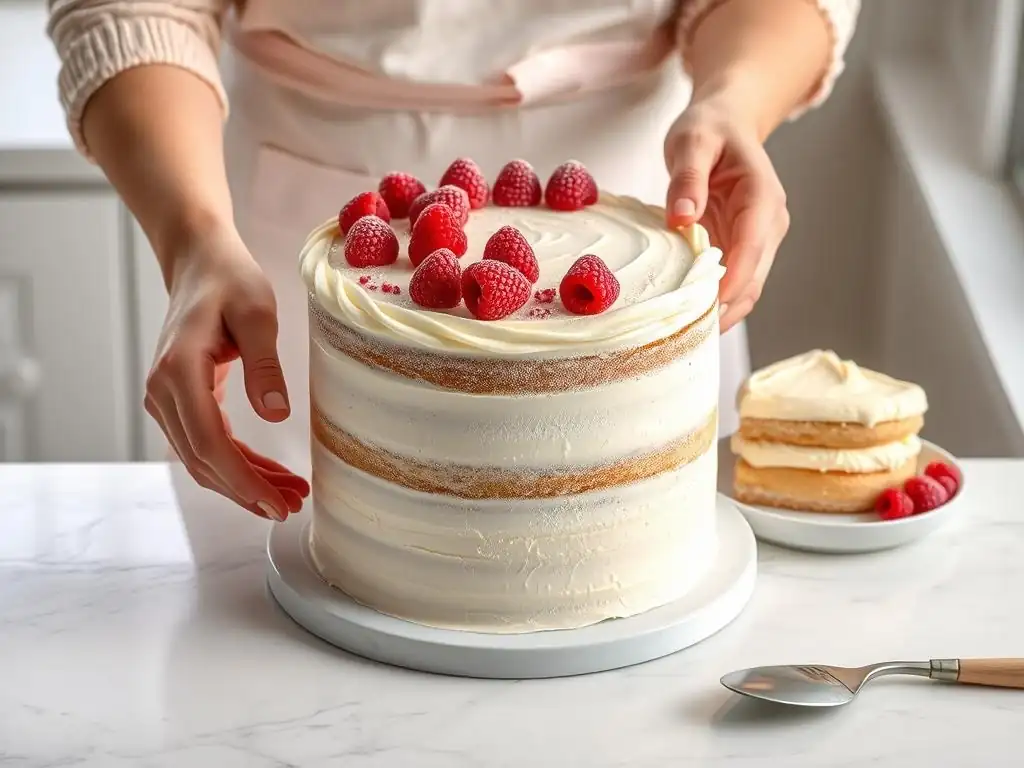
Getting started with an easy first layer cake requires understanding the fundamental components and tools that contribute to a successful outcome. It's not just about stacking cakes; it's about creating a stable, delicious structure that looks as good as it tastes. Knowing the basics ensures you're prepared for each step of the assembly process.
From having the right equipment on hand to understanding why certain steps are crucial, building a solid foundation of knowledge makes the entire experience less intimidating and more enjoyable. Think of this section as your prep work before the real fun begins – the assembly itself!
What Makes a Layer Cake Appealing?
Layer cakes are visually stunning and offer a delightful combination of textures and flavors in each bite. The multiple layers of cake interspersed with frosting create height and a sense of celebration that single-layer cakes simply can't match. A well-assembled layer cake promises a harmonious blend of moist cake and creamy frosting, making it a centerpiece for any occasion.
Beyond aesthetics, layer cakes allow for creative flavor pairings. You can combine different cake flavors, frostings, and fillings, offering a complex taste experience. For instance, a rich chocolate fudge cake pairs beautifully with classic chocolate fudge frosting, but you could also introduce elements like raspberry filling or salted caramel frosting to add another dimension, proving that an easy first layer cake can still be complex in flavor.
Essential Tools for Assembling a Layer Cake
Having the right tools makes the first layer cake assembly significantly easier and helps achieve a professional-looking finish. While you don't need every gadget on the market, a few key items are indispensable. These include a cake leveler or a long serrated knife, an offset spatula, a cake turntable, and potentially a bench scraper.
An offset spatula is crucial for spreading frosting smoothly, especially around the sides. A cake turntable allows you to rotate the cake easily while frosting, ensuring an even application without having to awkwardly move the cake itself. A simple serrated knife works perfectly for leveling, ensuring flat layers that stack neatly, which is vital for a stable easy first layer cake.
Choosing the Right Chocolate Fudge Cake Recipe
Selecting a reliable chocolate fudge cake recipe is the first critical step for your easy first layer cake. Look for recipes specifically designed for layer cakes, as these often have a crumb structure that is sturdy enough to stack but still moist and tender. A good recipe will provide clear instructions and ingredient measurements.
Many beginner-friendly recipes use common ingredients and straightforward methods, avoiding complicated techniques. For instance, a simple "one-bowl" chocolate cake can be an excellent choice. Ensure the recipe yields at least two identical cake layers, typically baked in 8 or 9-inch round pans, providing the foundation for your first layer cake assembly.
Step-by-Step Guide to Assembling Your Chocolate Fudge Layer Cake
Now that you understand the basics and have your tools ready, it's time to dive into the hands-on process of assembling your easy first layer cake. This section breaks down the assembly into manageable steps, guiding you from baked layers to a fully frosted cake. Follow these steps carefully, and you'll be well on your way to success.
Remember that patience is key, especially when working with frosting and stacking layers. Don't rush the chilling steps, as they are crucial for stability. This step-by-step approach is designed to make your first layer cake assembly as smooth and stress-free as possible, even for complete beginners.
Step 1: Baking Your Chocolate Fudge Cake Layers Perfectly
Baking perfect cake layers is the foundation of your easy first layer cake. Start by accurately measuring all your ingredients. Ensure your oven is preheated to the correct temperature (usually around 325-350°F or 160-175°C) and use parchment paper on the bottom of your greased and floured pans to prevent sticking.
Fill your cake pans about two-thirds full to allow for rising. Bake for the time specified in your recipe, typically 25-35 minutes for 8-inch layers. The cake is done when a toothpick inserted into the center comes out clean or with a few moist crumbs, but no wet batter. Avoid opening the oven door too early, as this can cause cakes to sink.
Tips for Moist and Rich Cake Layers
To ensure your chocolate fudge cake layers are moist and rich, consider using ingredients like buttermilk, sour cream, or yogurt, as their acidity helps tenderize the cake crumb. Using oil instead of or in combination with butter can also contribute to moisture. Don't overmix the batter; mix until just combined to avoid developing tough gluten.
Another tip is to avoid overbaking. Checking for doneness a few minutes before the minimum suggested baking time can prevent dry edges. Once baked, let the cakes cool in their pans on a wire rack for about 10-15 minutes before inverting them directly onto the wire rack to cool completely. This gradual cooling helps retain moisture, essential for your easy first layer cake.
Cooling Cake Layers Completely
Allowing your cake layers to cool completely on a wire rack is a non-negotiable step before assembly. Attempting to level or frost warm cake layers will lead to crumbling, tearing, and melting frosting, making your first layer cake assembly a frustrating experience. The internal structure needs time to set and firm up.
Cooling typically takes at least 1-2 hours at room temperature. For easier handling and leveling, you can even chill the completely cooled layers in the refrigerator for 30 minutes or wrap them tightly in plastic wrap and chill or freeze them. Chilling makes the cake crumb firmer and less prone to crumbling when you work with it, simplifying the process for your easy first layer cake.
Step 2: Leveling Your Cake Layers
Leveling your cake layers ensures that each layer is flat on top, creating a stable, even surface for stacking. Most cakes dome slightly in the center during baking. Stacking domed layers will result in a wobbly, uneven cake that is difficult to frost smoothly and is prone to tipping over, which is definitely not ideal for an easy first layer cake.
Leveling involves carefully slicing off the domed top portion of each cooled cake layer. The removed cake scraps are often called "baker's treats" and are perfect for snacking! This step guarantees that when you stack your layers, they sit perfectly flat on top of each other, providing a sturdy foundation for your first layer cake assembly.
Why Leveling Ensures Stability and Aesthetics
Stability is paramount in a layer cake. A level surface on each layer prevents the cake from leaning or collapsing under the weight of the layers and frosting. Imagine stacking slightly tilted books; eventually, they'll fall. The same applies to cake! Level layers ensure the finished cake stands tall and straight.
Aesthetically, level layers result in clean, even layers of cake and frosting when the cake is sliced. This professional look is easily achievable even for a beginner layer cake. Uneven layers can also make frosting the outside of the cake challenging, leading to thick and thin spots in your frosting application.
Techniques for Leveling Cakes: Serrated Knife
One of the simplest and most effective techniques for leveling cakes is using a long serrated knife. Place the cake layer on a flat surface. Hold the knife parallel to the surface, positioning it just above the highest point of the dome. Using a gentle sawing motion, slowly rotate the cake (or move around it) while keeping the knife steady and level.
Alternatively, you can use a cake leveler, which is an adjustable wire frame that slices through the cake at a set height. Whichever tool you use, the goal is to remove just enough of the dome to create a flat top surface. Practice makes perfect with this technique, but even slightly imperfect leveling is fine for your easy first layer cake.
Step 3: Making Chocolate Fudge Frosting
Every great chocolate fudge layer cake needs equally great chocolate fudge frosting! The frosting acts as the glue holding the layers together and provides that essential creamy contrast to the cake. While store-bought frosting is an option for an easy first layer cake, making your own from scratch is surprisingly simple and yields superior flavor and texture.
A classic chocolate fudge frosting is rich, smooth, and spreadable. It should be firm enough to hold its shape when spread between layers but soft enough to apply smoothly to the outside of the cake. The consistency is key for successful first layer cake assembly.
Choosing the Right Chocolate Fudge Frosting
There are various types of chocolate fudge frosting, from simple buttercream to cooked fudge frosting. For a beginner, a classic American buttercream infused with melted chocolate or cocoa powder is often the easiest. It whips up quickly and is very forgiving to work with.
Consider the sweetness level and richness you prefer. A frosting made with cocoa powder might be slightly less rich than one made with melted dark chocolate, but both work wonderfully. Ensure you have enough frosting – for a standard two-layer 8-inch cake, you'll likely need about 3-4 cups of frosting for both filling and covering.
Simple Chocolate Fudge Frosting Recipe
Here's a basic template for an easy first layer cake chocolate fudge frosting:
- Ingredients:
- 1 cup (2 sticks) unsalted butter, softened
- 4 cups powdered sugar, sifted
- 1/2 cup unsweetened cocoa powder, sifted
- 1/2 cup milk or cream
- 1 teaspoon vanilla extract
- Pinch of salt (optional)
- Optional: 4 oz melted and slightly cooled unsweetened or semi-sweet chocolate
- Instructions:
- Beat the softened butter in a large bowl until creamy.
- Gradually add the sifted powdered sugar and cocoa powder, alternating with the milk, beating on low speed until combined.
- Increase speed and beat until light and fluffy, about 3-5 minutes.
- Stir in vanilla extract and salt. If using melted chocolate, beat it in now.
- Add a little more milk if needed to reach desired consistency.
This recipe yields a robust, spreadable frosting perfect for your first layer cake assembly.
Step 4: Preparing Your Frosting and Cake for Assembly
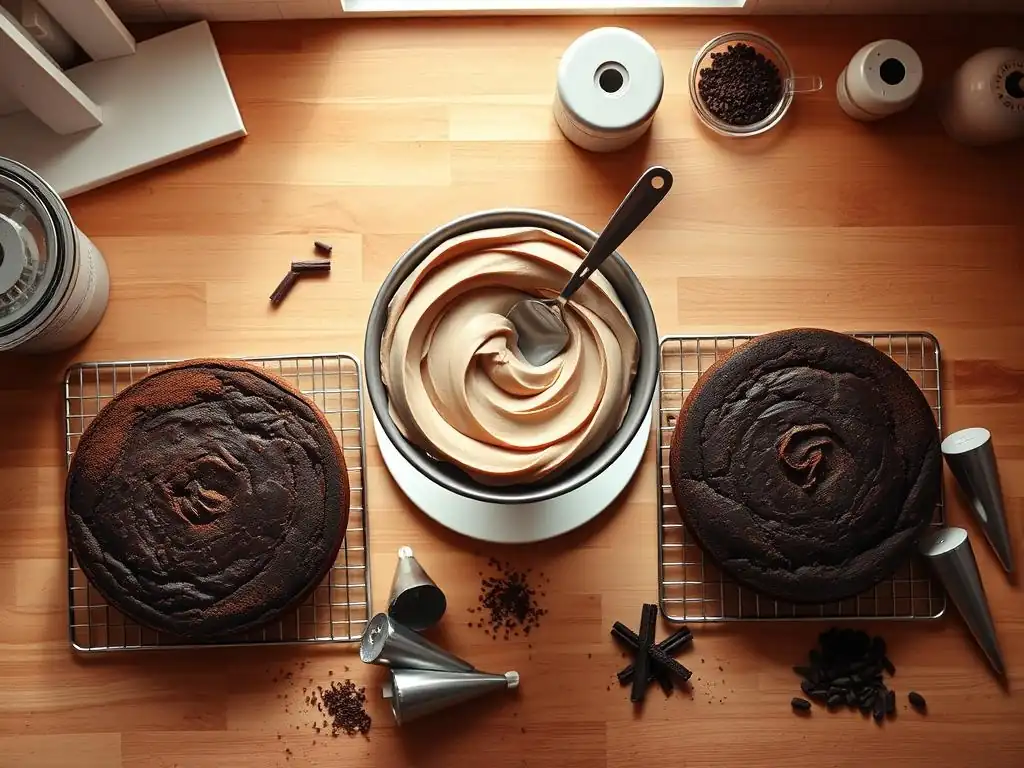
Preparation is key to a smooth first layer cake assembly. Once your cake layers are cooled and leveled, and your frosting is made, a couple of crucial steps will make the frosting process much cleaner and easier, especially for beginners. These steps involve dealing with crumbs and ensuring everything is at the right temperature.
Taking a few extra minutes for these preparatory steps can save you a lot of frustration during the main frosting process. A crumb coat is particularly important for achieving a clean finish, and chilling helps everything firm up, making the layers easier to handle.
Crumb Coating: Locking in Crumbs for a Professional Finish
The crumb coat is a thin layer of frosting applied to the cake layers before the final, thicker coat. Its purpose is to trap any loose crumbs from the cake layers, preventing them from mixing into your final frosting layer. This results in a clean, professional-looking finish on the outside of your easy first layer cake.
To apply a crumb coat, use an offset spatula to spread a thin, even layer of frosting over the top and sides of the stacked cake. Don't worry about perfection at this stage; just aim for a thin covering. Once applied, chill the cake for 15-30 minutes until the crumb coat is firm to the touch.
Chilling the Cake Layers and Frosting Briefly
Chilling the cake layers after leveling and before frosting makes them much easier to handle and less prone to breaking. A quick chill of 15-30 minutes in the refrigerator is usually sufficient. Chilled layers are firmer and easier to stack precisely.
Similarly, ensuring your chocolate fudge frosting is at the right consistency is important. If it's too soft, it will slide off the cake. If it's too stiff, it will be hard to spread. If your frosting seems too soft after making it, a brief chill (10-15 minutes) can help. If it's too stiff, beat in a teaspoon or two of milk or cream. The ideal temperature for first layer cake assembly is slightly cooler than room temperature.
Step 5: Assembling and Frosting Your Layer Cake
This is where your easy first layer cake starts to take shape! Assembly involves stacking the layers and applying the frosting between and around them. Work steadily and don't be afraid to adjust as you go. Having your cake on a turntable or cake stand will make this process much simpler.
Begin by placing your first layer cake layer (the bottom one) onto your cake board or serving plate. Secure it with a dab of frosting if needed. Now, you're ready to add the delicious chocolate fudge frosting between the layers.
Applying the First Layer of Frosting Evenly
Place a generous amount of chocolate fudge frosting onto the center of the bottom cake layer. Use your offset spatula to spread the frosting evenly across the top surface, leaving about a half-inch border from the edge. This border helps prevent the frosting from squeezing out excessively when the next layer is added.
Aim for a consistent thickness of frosting between the layers, usually about a quarter to half-inch thick. This ensures each slice of your easy first layer cake has a balanced cake-to-frosting ratio. Using a consistent amount helps maintain the cake's overall stability and height.
Adding the Second (and Subsequent) Cake Layers Carefully
Once the first layer of frosting is applied, carefully lift your second cake layer. If you leveled your cakes, the cut side can face down for a flat top, or face up if you prefer. Gently place the second layer directly on top of the frosted first layer, aligning the edges as best as possible.
Press down very gently to help the layer settle and make contact with the frosting. Avoid pressing too hard, which can cause frosting to ooze out excessively and potentially crack the cake. If you have more layers, repeat the process: frosting, then cake layer, aligning each one for your first layer cake assembly.
Achieving a Smooth and Even Frosting Finish with an Offset Spatula
After the crumb coat has chilled and firmed up (from Step 4), apply the final, thicker layer of chocolate fudge frosting to the top and sides of the cake. Start by applying frosting to the top, spreading it evenly. Then, apply generous amounts of frosting to the sides.
Use a clean offset spatula or bench scraper held perpendicular to the cake to smooth the sides, rotating the cake on the turntable. Scrape off excess frosting and reapply as needed until the sides are covered and relatively smooth. For the top, use the offset spatula to smooth the surface, pulling excess frosting towards the center or edges as desired. Don't aim for absolute perfection on your beginner layer cake; a slightly rustic look is perfectly acceptable!
Step 6: Decorating Your Chocolate Fudge Layer Cake (Simple Techniques)
Decorating your easy first layer cake is the final, fun step! You don't need to be a pastry chef to add simple touches that elevate the look of your cake. Focus on techniques that are easy for beginners and complement the chocolate fudge theme.
Simple decorations can make a big impact and turn a basic frosted cake into a showstopper. Having a few basic tools like a piping bag and a star tip can open up several easy decoration possibilities for your first layer cake assembly.
Easy Decoration Ideas for Beginner Bakers
For a minimalist look, you can simply leave the final frosting layer smooth or create simple swirls on top using your offset spatula. Another easy idea is to press chocolate sprinkles, mini chocolate chips, or chopped nuts onto the sides of the cake.
A dusting of cocoa powder or powdered sugar through a sieve can also add a touch of elegance. These simple methods require minimal skill but add visual appeal to your easy first layer cake, making it look more finished and festive.
Simple Piping Techniques for Cake Decorating: Rosettes
Piping rosettes is a classic and relatively easy technique for beginners. You'll need a piping bag fitted with a star tip (like a 1M or 2D). Fill the bag with frosting. Hold the bag perpendicular to the cake surface (either on top or around the edges).
Starting in the center of where you want the rosette, apply pressure and pipe in a circular motion, spiraling outwards until the rosette is the desired size. Stop squeezing before lifting the bag away quickly. Practice on a piece of parchment paper first to get the feel for it. A border of rosettes around the top or bottom edge adds a lovely decorative touch to your first layer cake assembly.
Adding Chocolate Shavings or Ganache Drizzle
Chocolate shavings are a simple yet effective decoration. Use a vegetable peeler or sharp knife to shave curls from a block of chocolate (chilled chocolate works best). Sprinkle these shavings over the top and/or sides of your frosted cake.
A simple chocolate ganache drizzle is also achievable. Heat equal parts heavy cream and chopped chocolate (e.g., 1/2 cup cream, 4 oz chocolate) until the chocolate is melted and smooth. Let it cool slightly until it's thick but still pourable. You can drizzle it over the top edge of the cake, letting it drip down the sides, or cover the entire top surface. This adds extra chocolate flavor and a beautiful finish to your easy first layer cake.
Troubleshooting Common Layer Cake Assembly Problems
Even with careful planning, you might encounter a few bumps in the road during your first layer cake assembly. Don't get discouraged! Many common problems have simple solutions. Understanding what might go wrong helps you prevent issues or fix them if they occur.
Baking and decorating are skills that improve with practice. Learning how to troubleshoot makes you a more confident baker. Here are some common issues beginners face when assembling an easy first layer cake.
Cake Layers Cracking or Breaking
Cake layers can crack or break if they are handled before they are fully cooled or if they are too delicate. Ensure your layers are completely cool before attempting to move or level them. Chilling the cooled layers for 30 minutes to an hour can make them firmer and less likely to break during handling.
If a layer does crack, don't panic! You can still use it. Place the broken pieces together on your cake board or serving plate as the bottom layer. The frosting will act as glue and hide the repair. For a top layer, you can try to piece it together carefully; the final frosting layer will help hold it in place on your easy first layer cake.
Frosting Slipping or Sliding
Frosting slipping or sliding is usually due to the cake being too warm, the frosting being too soft, or an unstable foundation. Ensure your cake layers are completely cool, ideally slightly chilled. Your chocolate fudge frosting should be firm enough to hold its shape when spread, not runny.
Applying a crumb coat and chilling the cake before the final frosting layer is crucial for preventing slippage. The firm crumb coat provides a stable, slightly tacky surface for the final frosting to adhere to. If the cake is sliding on the board, a dab of frosting underneath the bottom layer helps secure it for your first layer cake assembly.
Uneven Layer Cake Appearance
An uneven appearance can result from uneven layers, inconsistent frosting thickness, or the cake leaning. Start by ensuring your cake layers are properly leveled (Step 2). Use a consistent amount of frosting between layers (Step 5).
If the cake starts to lean during assembly, gently try to realign the layers before applying the final frosting. Use a bench scraper or a long ruler held against the side of the cake while rotating it on a turntable to check for vertical straightness. Don't expect perfection on your beginner layer cake; minor imperfections are part of the charm!
Tips for Perfecting Your Layer Cake Assembly Skills
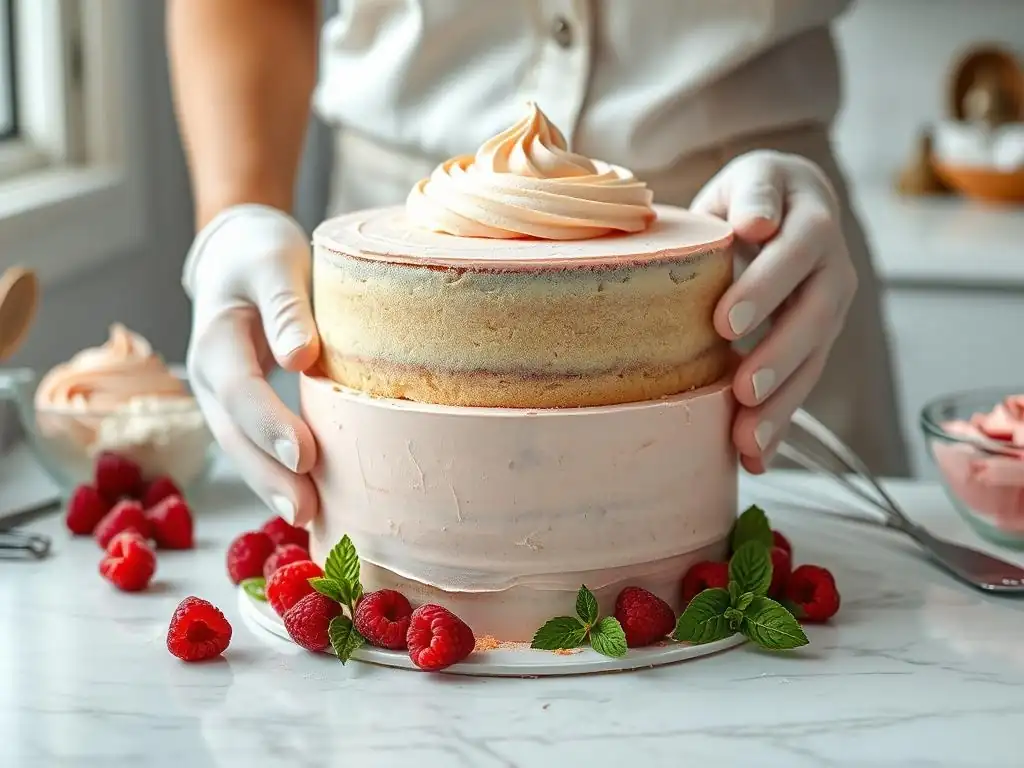
Assembling an easy first layer cake is just the beginning of your layer cake journey! Like any skill, practice is key to improvement. The more you bake and assemble cakes, the more comfortable and confident you'll become with the techniques.
Don't be afraid to experiment and try new things. Each cake you make will teach you something new about working with different recipes, frostings, and decoration styles. Enjoy the process and celebrate your progress!
Practicing Makes Perfect: Experiment with Different Frostings and Decorations
Once you've successfully assembled your first layer cake, try varying the frosting or decoration techniques on subsequent cakes. Maybe try a different type of chocolate frosting, like a ganache filling, or experiment with different piping tips.
You could practice crumb coating and final frosting techniques on cake scraps or even dummy cake forms. Trying out various simple decoration ideas will help you discover what you enjoy and what works best for you, building confidence beyond just an easy first layer cake.
Storing Your Assembled Layer Cake Properly in the Refrigerator
Proper storage is essential for keeping your assembled chocolate fudge layer cake fresh and delicious. Once frosted, the cake should be stored in the refrigerator, especially if your frosting contains dairy or the weather is warm.
Use a cake carrier or a large airtight container to protect the cake from drying out and absorbing odors from the refrigerator. If you don't have a container, cover the cake loosely with plastic wrap, being careful not to smudge the frosting. For best flavor and texture, let the cake sit at room temperature for 30-60 minutes before serving to allow the cake and frosting to soften slightly after being chilled for your first layer cake assembly.
Celebrate Your Chocolate Fudge Layer Cake!
You did it! You've successfully assembled your easy first layer cake. Take a moment to admire your creation. All your hard work, from baking the layers to the final frosting, has resulted in a delicious and beautiful chocolate fudge masterpiece.
This beginner layer cake is a testament to your growing baking skills. Don't hesitate to share your accomplishment with friends and family. The best part of baking is often sharing the results!
Enjoying the Delicious Result of Your Baking
The final step is the most rewarding: slicing into your chocolate fudge layer cake and enjoying a piece! Notice the layers of cake and frosting, the smooth texture, and the rich chocolate flavor. Savor the taste of your success.
Making your first layer cake assembly is a significant milestone in any baker's journey. It's a skill you can build upon, leading to more elaborate cakes in the future. For now, relax, grab a fork, and enjoy the delicious fruits of your labor with your spectacular easy first layer cake.
Frequently Asked Questions
What makes this layer cake recipe specifically good for beginners?
This recipe focuses on simple techniques and easy-to-find ingredients, ensuring a manageable and successful first layer cake experience. We also provide step-by-step instructions to guide you.
What are the most common mistakes beginners make when assembling a layer cake, and how can I avoid them?
Common mistakes include uneven cake layers, unstable frosting, and a wobbly structure. To avoid these, ensure your cakes are completely cooled before frosting, use a leveling tool to trim uneven layers, and chill the cake between frosting layers to set the frosting.
What kind of frosting is recommended for an "Easy First Layer Cake" and why?
A simple buttercream frosting is highly recommended. It's easy to make, forgiving to work with, and provides a stable base for the cake layers.
What are some easy variations or additions I can make to this basic layer cake recipe once I'm comfortable with the basics?
Once you've mastered the basic cake, you can experiment with different flavor extracts in the cake batter or frosting. You could also add fruit fillings between the layers for a more complex flavor profile.
How important is it to use a cake stand or turntable for assembling and frosting a layer cake?
While not essential, a cake stand or turntable makes frosting much easier and more even. It allows you to rotate the cake smoothly as you apply the frosting, resulting in a professional-looking finish.
Final Reflection: Slicing into Success: Your First Layer Cake Journey
The art of baking a layer cake, once perceived as intimidating, is now surprisingly accessible. Mastering this seemingly complex skill unlocks a world of creative possibilities, from simple celebrations to elaborate masterpieces. This beginner's guide has hopefully demystified the process, proving that even the most novice baker can achieve stunning results with a little patience and the right techniques.
The joy of creating something beautiful and delicious from scratch is deeply rewarding. It's more than just following a recipe; it's about connecting with a tradition, experimenting with flavors, and sharing the fruits of your labor with loved ones. As Julia Child famously said, Find something you're passionate about and keep tremendously interested in it.
Baking, and specifically the accomplishment of a perfectly layered cake, embodies this sentiment perfectly. The pride in presenting a homemade cake, the smiles it evokes, and the memories it creates far outweigh any initial challenges.
Now, it's your turn. Don't be afraid to experiment! Try different flavors, frostings, and decorations. Embrace the occasional mishap – they're learning opportunities in disguise. The most important ingredient isn't listed in the recipe: it's your confidence. Believe in your ability to create something wonderful, and you'll find that baking a layer cake, and indeed, tackling any new challenge, becomes a source of immense satisfaction and joy. So, grab your apron, gather your ingredients, and embark on your next baking adventure. The perfect cake awaits.
Unleash Your Inner Cake Artist: Layer Cake Mastery Awaits!
Thanks for joining us on this delicious journey into the world of layer cakes! You've just unlocked the secrets to creating stunning, mouthwatering masterpieces. Now it's time to put your new skills to the test.
Here's how to take the next step:
- Bake your dream layer cake! Use the techniques you've learned to create your own unique flavor combination. Don't be afraid to experiment!
- Share your creation! Post a picture on social media and tag us – we'd love to see your baking brilliance. Use #BakeWithEaseLayerCake to connect with other bakers.
- Consider trying a completely new frosting technique next time - maybe try a Swiss meringue buttercream for an extra luxurious feel.
Ready to wow your friends and family with your incredible cake-making skills? What flavor combination will you create first?