
Simple Piping Borders to Elevate Your Layer Cake Design

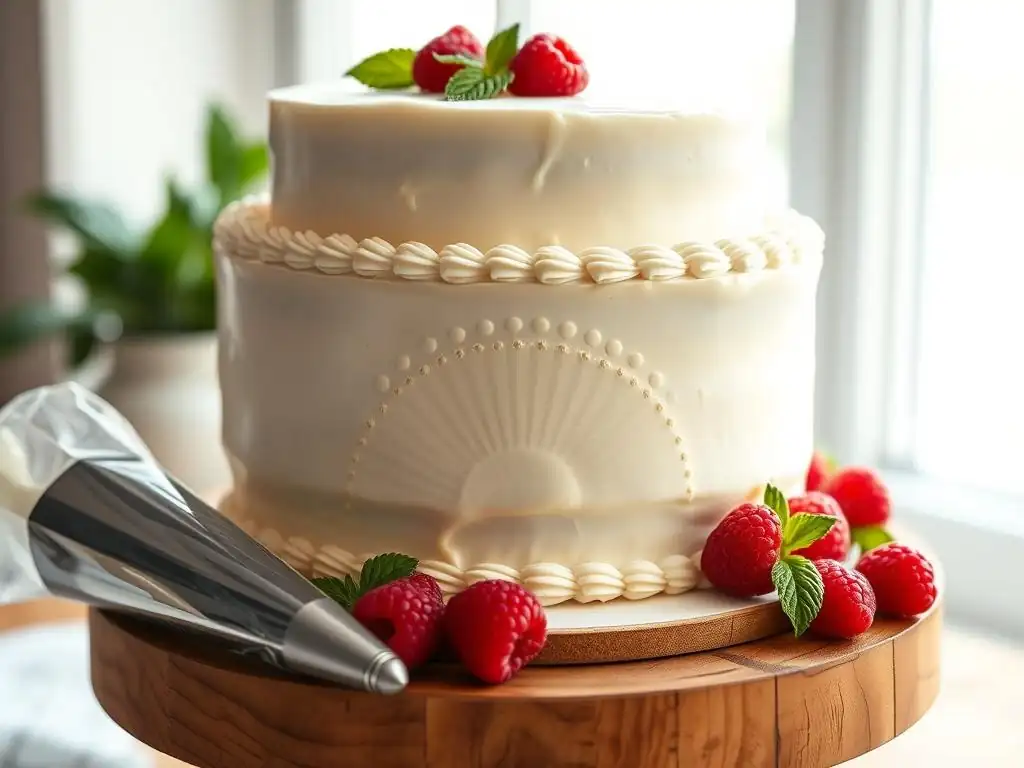
Welcome to BakeWithEase, your guide to creating unforgettable desserts! Ready to transform your layer cake from ordinary to extraordinary? Discover the secrets to easy layer cake border designs that even a beginner can master. We'll unlock simple piping techniques that add a touch of elegance and flair, making your next creation a true masterpiece. Intrigued? Let's get started and elevate your pastry skills!
- Mastering Cake Decorating: Piping Borders for Stunning Results
- Introduction: Enhance Your Cakes with Elegant Piping Borders
- Essential Tools & Materials for Cake Border Piping
- Mastering Basic Piping Techniques for Cake Borders
- Step-by-Step Guide: Creating Stunning Cake Borders
- Creative Variations & Advanced Piping Border Techniques
- Troubleshooting Common Piping Border Problems
- Cake Border Design Ideas for Inspiration
- Maintaining and Storing Your Decorated Cake
- Conclusion: Elevate Your Cakes with Beautiful Piping Borders
-
Frequently Asked Questions
- What are some easy layer cake border designs suitable for beginners?
- What kind of piping tips are recommended for creating easy layer cake borders?
- What type of frosting is best for piping easy layer cake borders?
- How can I practice piping easy layer cake borders before decorating my cake?
- What are some tips for achieving a smooth and even layer cake border design?
- Final Reflection: The Enduring Elegance of Simple Cake Borders
- Unleash Your Inner Cake Artist: Pipe Stunning Borders Today!
Mastering Cake Decorating: Piping Borders for Stunning Results
Introduction: Enhance Your Cakes with Elegant Piping Borders
The Impact of Piping Borders on Cake Aesthetics
Piping borders are far more than just a decorative flourish; they serve as the essential finishing touch that transforms a simple frosted cake into a polished masterpiece. An attractive border provides a visual frame for the cake's surface, drawing the eye and adding a professional touch that instantly elevates its perceived quality.
Think of it as the molding on a beautiful wall – it defines the space and adds a layer of sophistication. Even the most basic layer cake, perhaps covered in a simple crumb coat and final smooth layer, can look dramatically more impressive with a well-executed border around the base or top edge.
Beyond aesthetics, borders can also serve practical purposes. They can neatly hide any imperfections where the cake meets the plate or where the top layer meets the sides. For easy layer cake border designs, choosing a technique that complements the overall cake style is key. A delicate shell border suits an elegant occasion, while a fun star border is perfect for a birthday. Learning these simple piping techniques is a fundamental step in cake decorating that yields significant visual rewards with relatively little effort once the basic skills are practiced.
What You'll Learn: Essential Piping Techniques for Beautiful Cakes
This guide will walk you through the foundational knowledge and practical steps required to create beautiful piping borders on your layer cakes. You'll discover how selecting the right tools can make a significant difference in your results, exploring popular piping bags and nozzles perfect for various border styles. We will also delve into the critical aspect of frosting consistency – a common hurdle for beginners – and provide tips for achieving the perfect texture for smooth, defined piping.
Furthermore, we'll break down several classic and easy layer cake border designs, such as the versatile star and the elegant scallop, offering step-by-step instructions for mastering each one. You'll learn how to prepare your cake and piping bags correctly, practice your technique effectively, and apply the border confidently. Our aim is to equip you with the skills to not only replicate these designs but also to troubleshoot common issues and eventually explore creative variations for truly unique cake creations.
Essential Tools & Materials for Cake Border Piping
Recommended Piping Bags and Nozzles for Different Effects
Choosing the right piping bag and nozzle is crucial for successful border piping. Piping bags come in various materials, including disposable plastic, reusable plastic, and canvas. Disposable bags are convenient for quick cleanup, especially when working with multiple colors or frostings. Reusable bags are more eco-friendly and durable, often preferred for frequent use. For most easy layer cake border designs, a standard 12-inch or 16-inch bag provides ample space for frosting and comfortable handling.
Piping nozzles (or tips) are available in countless shapes and sizes, each producing a distinct effect. For beginners focusing on easy layer cake border designs, a few essential tips are a great starting point. A large open or closed star tip (like Wilton 1M or 21) is perfect for creating star borders, rosettes, and shells.
A round tip (like Wilton 12) makes simple dots and lines, which can form elegant bead borders. A petal tip (like Wilton 104) can be used for swags or ruffles, adding a delicate touch. Investing in a small set of these versatile tips will allow you to practice and execute many beautiful and simple cake borders.
Achieving the Ideal Frosting Consistency for Piping Borders
The consistency of your frosting is arguably the most critical factor in achieving clean, well-defined piping borders. Frosting that is too stiff will be difficult to pipe smoothly and may cause jagged edges or even split your piping bag. Conversely, frosting that is too soft will lose its shape, resulting in smudged or collapsed borders that lack definition. For most piping techniques, you need a frosting that is firm enough to hold its shape when piped but soft enough to flow smoothly under pressure.
A good indicator of proper consistency is the "stiff peaks" test, though for piping borders, you want something slightly softer than that used for roses. If using buttercream, a common ratio might be 1 part butter to 2-3 parts powdered sugar, with a small amount of liquid (milk or cream) added gradually. If your frosting is too stiff, add liquid one teaspoon at a time, mixing thoroughly until the desired consistency is reached.
If it's too soft, beat in more powdered sugar a tablespoon at a time. Chilling the frosting briefly in the refrigerator can also help firm it up if it becomes too warm or soft while working.
Other Useful Tools for Precise Cake Decoration
Beyond the core piping bag and nozzles, several other tools can significantly enhance your cake border piping experience and help achieve precise, professional-looking results. A coupler is a small, plastic piece that fits inside the piping bag and allows you to change nozzles easily without changing the bag or emptying the frosting. This is incredibly useful when you want to use the same color frosting but create different border elements or fix a clogged tip quickly.
An offset spatula is indispensable for filling piping bags cleanly and smoothing any areas around the border. A cake turntable is highly recommended, as it allows you to rotate the cake smoothly while piping, ensuring a consistent and even border all the way around. Some decorators also find it helpful to use a ruler or guide tool to mark the starting and stopping points for borders, especially for designs that require precise spacing like scallops or swags, contributing to beautiful and easy layer cake border designs.
Mastering Basic Piping Techniques for Cake Borders
The Star Border: A Versatile and Easy-to-Learn Technique
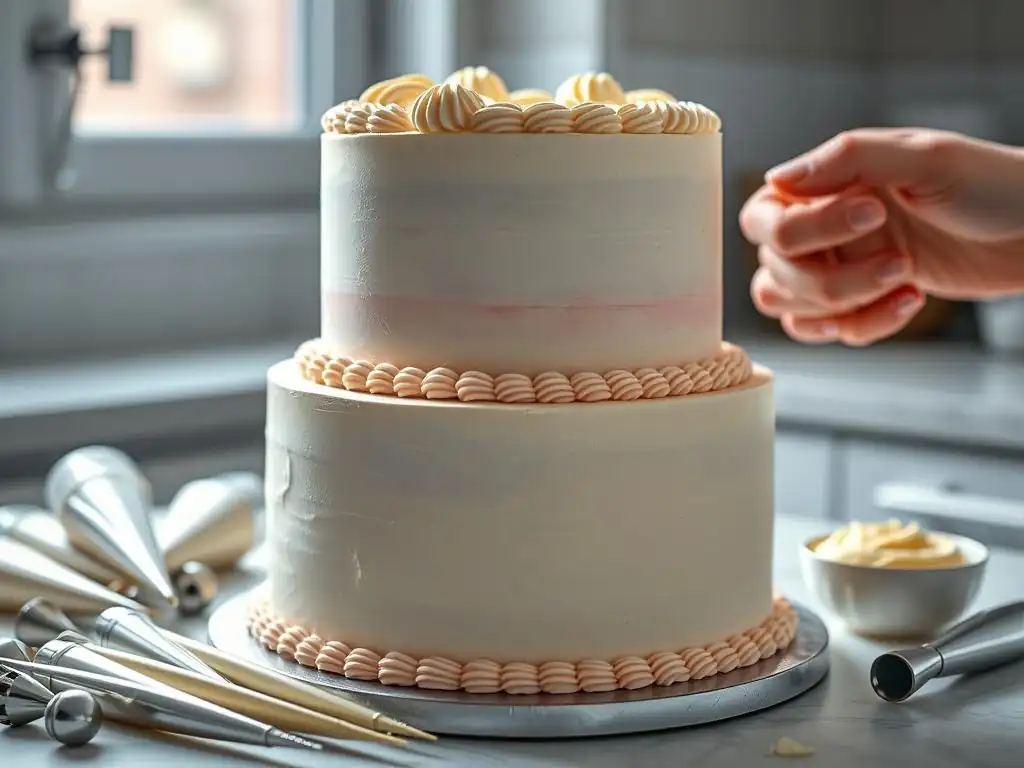
The star border is perhaps one of the most popular and accessible piping techniques for creating easy layer cake border designs. It utilizes a star-shaped nozzle (open or closed star tip) to produce small, ridged star shapes. To create a continuous star border, hold the piping bag at a 90-degree angle to the cake surface (for the top border) or a 45-degree angle (for the bottom border). Squeeze firmly to let the frosting fan out and form a star, then stop squeezing and pull the bag straight up or slightly towards you.
For a continuous border, you pipe each star right next to or slightly overlapping the previous one. The size of the star depends on the tip size and the amount of pressure applied. A larger tip (like 1M) creates bigger, bolder stars, while a smaller tip (like 21 or 32) yields smaller, more delicate stars. Practicing on parchment paper first is highly recommended to get a feel for the pressure needed and to ensure consistent star shapes before attempting it on your cake. This technique is forgiving and looks great on almost any style of layer cake.
The Scallop Border: Adding a Delicate Touch
The scallop border adds a touch of classic elegance to a layer cake and is surprisingly simple to master, making it a great choice for easy layer cake border designs. This technique typically uses a star tip (like 1M or 21) or sometimes a round tip for a smoother look. To create a scallop, start by piping a star or dot (depending on the tip) as your anchor point. Then, maintaining steady pressure, move the tip in an arc shape, lifting slightly as you reach the end of the arc. Stop squeezing and pull away cleanly.
To create a continuous scallop border, the next scallop starts where the previous one ended, with the arc overlapping the previous one slightly to create the flowing, wave-like pattern. The size and depth of the scallop are controlled by the tip size and the length of the arc you pipe. Practicing the consistent arc motion and pressure release on parchment paper is key to achieving uniform scallops. This border works beautifully around the top or base of a cake and pairs well with floral or delicate decorations on the cake's surface.
The Braided Border: Creating a Textured and Intricate Look
While slightly more complex than the star or scallop, the braided border offers a visually intricate, textured look that is still achievable for those looking to expand their repertoire of easy layer cake border designs. This technique typically uses a round tip (like Wilton 10 or 12) or sometimes a star tip for a different texture. The principle involves piping overlapping lines or ropes of frosting. Start by piping a short diagonal line. Then, pipe a second diagonal line next to it, overlapping the first one slightly at the top and crossing underneath it.
Continue this pattern, always piping the new line starting where the previous one ended and crossing over and under the preceding lines. It helps to think of it as creating a series of slightly curved V shapes that interlock. Maintaining consistent pressure and angle is important for a smooth, even braid. While it requires a bit more coordination than simpler borders, the result is a stunning, classic border that adds significant visual interest to your layer cake, making it look much more elaborate than the effort involved might suggest.
The Swag Border: A Classic and Elegant Design
The swag border is a timeless, elegant design often seen on formal or vintage-style cakes. It creates a draped effect around the side of the cake, typically along the top edge or just below it. This border is often created using a petal tip (like Wilton 104 or 125) for a flat, ribbon-like effect, or sometimes a star tip for a more textured swag.
To pipe a swag, start by piping an anchor point (a dot or star) at the top edge of the cake. Then, apply steady pressure and pipe a downward-curving line or arc, releasing pressure and pulling away when you reach the desired bottom point of the swag.
To create a continuous swag border, pipe the next swag starting from the same initial anchor point as the first, or from a new anchor point positioned slightly along the cake, and have it curve down to meet the end point of the previous swag. Alternatively, you can create anchor points evenly spaced along the top edge and pipe swags between them. Adding a small star or dot at the bottom point of each swag is a common finishing touch. This border adds a beautiful sense of movement and sophistication to easy layer cake border designs.
Step-by-Step Guide: Creating Stunning Cake Borders
Step 1: Preparing Your Cake for Piping
Before you even think about piping a border, your layer cake needs to be properly prepared. This involves ensuring the cake layers are cooled completely and any filling or crumb coat has been applied and allowed to set.
For the cleanest piping, it's highly recommended to apply a final smooth layer of frosting to the entire cake and then chill it in the refrigerator for at least 15-20 minutes, or until the frosting is firm to the touch. This firm surface provides a stable base for your piping and makes it easier to correct small mistakes without damaging the underlying frosting.
Ensure the cake is centered on your cake board or stand. If using a turntable, place the cake on the turntable. Having a smooth, chilled surface to work on is paramount for achieving crisp, well-defined piping lines and shapes, which is essential for beautiful and easy layer cake border designs. Any bumps or soft spots in the base frosting will show through in your piped border.
Step 2: Properly Filling Your Piping Bag
Filling a piping bag neatly and efficiently prevents mess and helps maintain consistent pressure while piping. Start by inserting the desired nozzle into the bag. If using a coupler, place the coupler base in the bag, push it down, snip the end of the bag just below the coupler threads, attach the nozzle, and screw on the ring. Fold down the top edges of the piping bag to create a cuff. This prevents frosting from getting on the outside of the bag where you hold it.
Use an offset spatula or spoon to fill the bag about two-thirds full with your prepared frosting. Avoid overfilling, as this makes the bag difficult to handle and squeeze. Push the frosting down towards the tip, eliminating any large air pockets. Unfold the cuff and twist the top of the bag tightly just above the level of the frosting. This twisted section is where you will apply pressure with your dominant hand, pushing the frosting down towards the tip. Proper filling is a small step that makes a big difference in executing easy layer cake border designs smoothly.
Step 3: Practicing Your Piping Technique
Practice is the key to mastering any piping technique, including easy layer cake border designs. Before piping directly onto your beautifully frosted cake, spend some time practicing on a piece of parchment paper or wax paper. Draw lines or circles on the paper as guides if needed. Hold the bag correctly – dominant hand at the twisted top to apply pressure, non-dominant hand guiding the bag near the tip.
Practice applying consistent, even pressure. Pipe a line, trying to keep it smooth and uniform. Practice the specific motions for the border you want to create – the squeeze and pull-up for stars, the arc motion for scallops, the overlapping lines for a braid. Pay attention to the angle you hold the tip and the speed you move the bag. Scrape the practice frosting back into a bowl and reuse it as many times as needed. This low-stakes practice allows you to build muscle memory and confidence before working on your final cake.
Step 4: Applying the Border to Your Cake
Once you feel confident after practicing, it's time to apply the border to your cake. If piping a border around the base, position yourself comfortably with the cake on a turntable if possible. Hold the bag at the appropriate angle for the chosen border (often 45 degrees for the base, 90 degrees for the top). Start piping in an inconspicuous spot, such as the back of the cake. Apply steady, consistent pressure and begin the motion for your chosen border design (star, scallop, etc. ).
Move smoothly around the cake, maintaining the angle and pressure. When you reach your starting point, carefully merge the end of the border with the beginning to create a seamless look. For top borders, pipe around the edge of the cake, holding the bag usually at a 90-degree angle to the top surface. Take your time and focus on consistency. If you make a mistake, gently scrape off the section with a clean offset spatula, smooth the underlying frosting if needed, and try again. With chilled frosting, this correction is much easier.
Creative Variations & Advanced Piping Border Techniques
Combining Piping Techniques for Unique Custom Borders
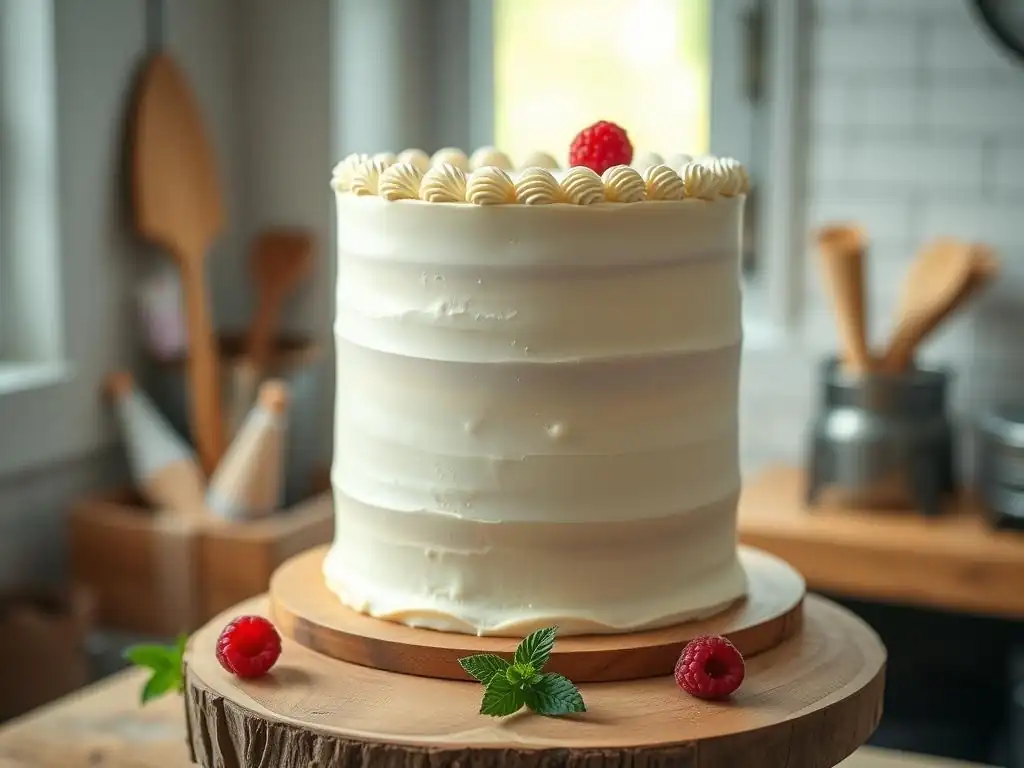
One of the best ways to move beyond basic designs and create truly unique easy layer cake border designs is by combining different piping techniques. For example, you could pipe a row of simple stars around the base of the cake using a medium star tip, and then pipe a row of delicate scallops just above it using a smaller star tip. Or, you could use a round tip to pipe a bead border and then pipe small rosettes (made with a star tip) placed strategically between the beads.
Another approach is to combine textured borders. A braided border around the base could be topped with a row of shells along the top edge. Experimenting with different tip combinations and placements allows for endless creative possibilities. For instance, piping a row of small dots with a round tip and then piping small leaves (using a leaf tip) emerging from them can create a simple vine effect. Don't be afraid to mix and match the techniques you've learned to develop your own signature easy layer cake border designs.
Incorporating Multiple Colors into Your Piping Designs
Adding multiple colors to your piping borders instantly elevates the visual appeal of your layer cake. There are several ways to achieve this. The simplest is to divide your frosting into separate bowls and color each portion differently using gel food coloring for vibrant hues. Then, fill separate piping bags with each color and pipe different border elements in distinct colors – for instance, a blue base border and a white top border.
For a marbled or striped effect within a single border element (like a star or shell), you can load the piping bag with multiple colors simultaneously. Apply streaks of different colored frosting along the inside walls of the bag before adding the main color, or carefully spoon alternating colors into the bag. As you pipe, the colors will blend or streak together, creating a beautiful variegated effect. Using a coupler also allows you to easily switch between different colored bags while keeping the same nozzle for consistent shapes in your easy layer cake border designs.
Creating Textured Effects with Different Nozzles
The choice of nozzle significantly impacts the texture and appearance of your piping border, offering a simple way to add visual interest to easy layer cake border designs. Star tips produce ridged textures, with open stars giving sharper ridges and closed stars yielding softer, more defined ridges. Round tips create smooth, rounded lines and dots. Petal tips result in flat, ribbon-like textures, perfect for ruffles or swags.
Beyond these basics, exploring other tip types can unlock unique textures. A basketweave tip creates a woven pattern. A grass tip produces many fine strands for a furry or grassy texture. Even using different sizes of the same tip type (e.g., a large star vs. a small star) changes the scale and texture of the resulting border. Experimenting with how pressure and movement affect the frosting coming out of different tips on parchment paper is a great way to discover new textural possibilities for your easy layer cake border designs.
Adding Decorative Elements to Your Borders
Piping borders can also serve as a base or frame for additional decorative elements, further enhancing the cake's design. Small sugar pearls, sprinkles, or edible glitter can be sprinkled onto piped borders while the frosting is still soft to add sparkle and texture. For example, a simple row of stars can be adorned with silver dragees placed in the center of each star.
Larger edible decorations like sugar flowers, fondant cutouts, or chocolate curls can be strategically placed along or on top of the piped border. A shell border around the base can be accented with small sugar seashells for a beach theme. A top border of rosettes can frame a scattering of edible glitter or small candy pieces on the cake's surface. These additions turn easy layer cake border designs into more complex and themed creations with minimal extra effort.
Troubleshooting Common Piping Border Problems
Achieving Consistent Piping Pressure and Height
One of the most common challenges when learning easy layer cake border designs is maintaining consistent pressure and height, which results in uneven or misshapen border elements. Inconsistent pressure leads to some stars being large and others small, or some parts of a scallop being thin and others thick. Inconsistent height means your border might dip or rise around the cake.
To improve consistency, focus on holding the twisted part of the bag firmly with your dominant hand and applying steady, even pressure from your palm. Use your non-dominant hand to guide and support the bag near the tip, helping to control the angle and direction. Practice on parchment paper, trying to make rows of identical shapes. If your hand tires, take a break. Ensure your frosting consistency is correct – frosting that is too cold or stiff will require excessive pressure, making consistency difficult. Aim for a steady, continuous squeeze rather than intermittent bursts.
Preventing Air Bubbles in Your Frosting
Air bubbles in your frosting can cause frustrating interruptions while piping, resulting in gaps or spurts of air in your otherwise perfect border. These bubbles are often introduced when mixing the frosting too vigorously or when filling the piping bag. A large air pocket can cause the frosting flow to stop abruptly, leaving a hole in your border.
To minimize air bubbles, mix your frosting on a lower speed after adding all ingredients. When filling the piping bag, push the frosting down gently towards the tip, squeezing the bag from the top to force air upwards and out. You can also hold the filled bag tip-up and gently tap the top of the bag on your counter a few times to help trapped air rise.
If you encounter an air bubble while piping, stop squeezing, gently massage the bag near the tip to move the bubble along, and then resume piping. Taking these steps helps ensure a smooth, continuous flow for your easy layer cake border designs.
Dealing with Clogging Nozzles
Clogging nozzles are another common issue that can disrupt the flow of your piping and ruin the uniformity of your border. This often happens if there are small lumps in your frosting, such as undissolved powdered sugar or bits of flavoring extract that haven't been fully incorporated. Using very cold or stiff frosting can also make it harder to pass through the tip, mimicking a clog.
To prevent clogs, ensure your powdered sugar is sifted before mixing your frosting, especially if you live in a humid environment where it can clump. Mix your frosting until it is completely smooth and lump-free. If your frosting is too stiff, adjust the consistency by adding a tiny amount of liquid (milk or cream) and mixing thoroughly.
If a clog occurs while piping, stop immediately. You may be able to clear it by gently squeezing the bag harder, but sometimes you need to remove the nozzle (if using a coupler) or empty the bag to clear the obstruction. Keeping your frosting the right consistency is key to avoiding this problem with easy layer cake border designs.
Cake Border Design Ideas for Inspiration
Floral-Themed Piping Borders
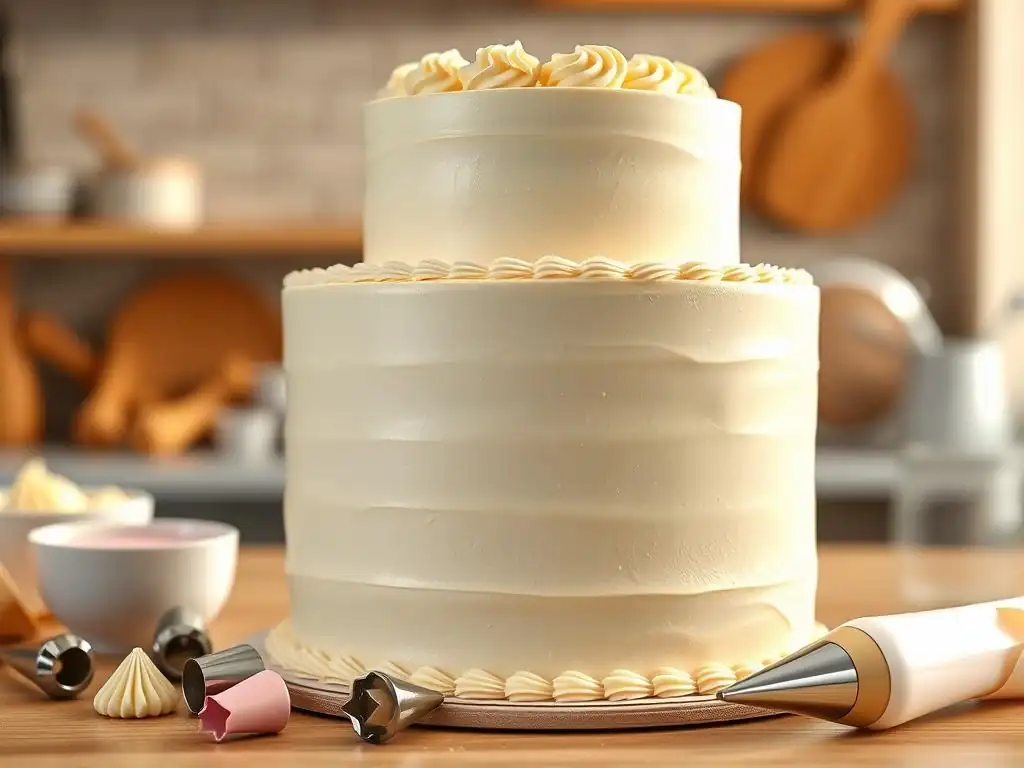
Floral themes are incredibly popular in cake decorating, and piping borders can beautifully complement this style. A simple and classic approach is to pipe a base border using a star tip (like 1M) to create shells or stars that resemble small buds or leaves. Around the top edge, you could pipe a border of small rosettes, also using a star tip, positioned side-by-side.
For a more intricate floral border, use a leaf tip to pipe a continuous vine around the base or top, then pipe small flowers (like drop flowers made with a drop flower tip or small rosettes) along the vine. You could also pipe simple petals or ruffles using a petal tip (like 104) to create a border that mimics a flower or a cascading floral arrangement. Adding green-tinted frosting for leaves or vines alongside brightly colored flowers truly brings these easy layer cake border designs to life.
Geometric Piping Borders
Geometric borders offer a modern and clean look for layer cakes. Simple lines and dots are fundamental to these easy layer cake border designs. Using a round tip (like Wilton 10 or 12), you can pipe a border of evenly spaced dots around the base or top. Varying the pressure can create dots of different sizes.
Another geometric approach is to pipe straight lines. Using a round or star tip, pipe vertical lines around the side of the cake, or horizontal lines around the base or top. You could pipe a grid pattern on the side of the cake, framed by simple star borders on the top and bottom edges. Using a large star tip, you can pipe zig-zag patterns or chevron stripes around the cake. Precision is key for geometric designs, often benefiting from marking points on the cake beforehand.
Abstract Piping Borders
Abstract piping borders allow for more freedom and artistic expression. These easy layer cake border designs don't follow strict patterns but focus on texture, color, and freeform shapes. Using various tips, you can pipe swirls, squiggles, or random textures around the cake. For example, use a grass tip to create a fuzzy, textured border around the base.
Another abstract idea is to use multiple colors and pipe overlapping lines or swirls in a freeform manner around the cake. You could use a large round tip to pipe large, uneven dots or blobs that slightly merge together. The beauty of abstract borders lies in their forgiving nature; slight inconsistencies often add to the unique, artistic look. Experiment with different tips and pressures on parchment paper to see what interesting textures and shapes you can create.
Seasonal Piping Borders
Incorporating seasonal themes into your easy layer cake border designs is a wonderful way to celebrate holidays and changing seasons. For example, for a winter cake, use a star tip with white or light blue frosting to pipe a border of jagged icicles dripping down the side from the top edge. For a fall cake, use brown or orange frosting with a star tip to create a rustic rope border around the base.
For spring, pipe small green leaves with a leaf tip around the base, or use a small star tip to create tiny clusters of "berries" or "buds." For summer, a simple shell border in blue frosting can evoke a beach theme, or use bright colors for star borders. Adding seasonal sprinkles like snowflakes, pumpkins, or flowers onto soft borders also enhances the theme. These borders are not only easy but also add a festive touch.
Maintaining and Storing Your Decorated Cake
Protecting Your Piping Work During Transport
Transporting a decorated layer cake, especially one with delicate piping borders, requires careful planning to prevent damage. The most important step is to ensure the cake is placed on a sturdy cake board that is slightly larger than the cake itself, providing a stable base. Use a non-slip mat or a dab of frosting under the board to secure it to the transport box or surface.
Choose a cake box that is tall enough to accommodate the height of your cake and its border without the top touching the piping. Secure the box lid firmly. When driving, place the boxed cake on a flat surface, like the floor of the passenger seat or the trunk, ensuring it is level. Avoid placing it on a car seat where it could tip. Drive slowly and avoid sudden stops or sharp turns. Keeping the car cool, especially in warm weather, helps the frosting maintain its structure and prevents borders from melting or smudging.
Proper Storage to Preserve Frosting Quality
Proper storage is essential to maintain the freshness and appearance of your decorated layer cake and its beautiful piping borders. Cakes decorated with buttercream or cream cheese frosting should generally be stored in the refrigerator. The cold helps the frosting set firmly, which protects the piped designs from getting squashed or damaged.
To prevent the cake from drying out or absorbing odors from the refrigerator, store it in an airtight container or loosely cover it with plastic wrap, taking care not to press the wrap directly against the piping. If the cake is too large for a container, you can carefully tent it with plastic wrap secured around the base.
Before serving, allow the cake to sit at room temperature for 30-60 minutes (depending on size and room temperature) to allow the frosting and cake layers to soften slightly for better flavor and texture. Cakes with royal icing borders can often be stored at cool room temperature in a container, as royal icing hardens significantly.
Conclusion: Elevate Your Cakes with Beautiful Piping Borders
The Importance of Practice and Experimentation
Mastering easy layer cake border designs, or any cake decorating skill, fundamentally comes down to practice and a willingness to experiment. Your first attempts at piping might not be perfect, and that's completely normal! Each time you fill a piping bag and try a technique, you build muscle memory and gain a better understanding of how frosting behaves. Don't be discouraged by imperfections; view them as learning opportunities.
Set aside frosting specifically for practice sessions on parchment paper. Try different tips, vary your pressure, and experiment with different frosting consistencies. As you become more comfortable with the basic techniques outlined here, challenge yourself to combine them or try new variations. Experimentation is where true creativity flourishes, allowing you to move beyond simply replicating designs to developing your own unique style for easy layer cake border designs.
Continue Exploring the Art of Cake Decoration
Piping borders are just one exciting facet of the vast art of cake decoration. Once you feel confident creating beautiful and easy layer cake border designs, there's a whole world of techniques waiting to be explored. Consider delving into piping intricate flowers like roses or hydrangeas, learning to smooth frosting to a flawless finish, working with fondant for sculpted elements, or mastering the art of drip cakes.
Every new technique you learn adds another tool to your decorating toolkit, enabling you to create increasingly complex and stunning edible works of art. Cake decoration is a journey of continuous learning and creativity. Keep exploring new tutorials, trying new recipes, and most importantly, keep baking and decorating! The joy of creating beautiful cakes is immense, both in the process and in sharing your delicious, decorated creations with others.
Frequently Asked Questions
What are some easy layer cake border designs suitable for beginners?
Beginner-friendly options include simple dots, basic rosettes, and the classic shell border. These require minimal skill and create a polished look.
What kind of piping tips are recommended for creating easy layer cake borders?
Round tips are ideal for dot borders, while star tips are perfect for rosettes and shell borders. A larger tip size makes piping easier to control.
What type of frosting is best for piping easy layer cake borders?
A stable frosting like American buttercream is recommended. It holds its shape well and is relatively easy to work with, even for beginners.
How can I practice piping easy layer cake borders before decorating my cake?
Practice on a piece of parchment paper or wax paper first. This allows you to refine your technique and avoid mistakes directly on the cake.
What are some tips for achieving a smooth and even layer cake border design?
Ensure your frosting is a consistent consistency. Use even pressure on the piping bag and maintain a steady hand for uniform designs.
Final Reflection: The Enduring Elegance of Simple Cake Borders
The art of cake decorating, even at its most basic level, holds the power to transform a simple dessert into a breathtaking masterpiece. A perfectly piped border can elevate a humble layer cake from ordinary to extraordinary, proving that sometimes, less is truly more. This is especially relevant today, where the accessibility of information and DIY culture encourages everyone to explore their creative potential in the kitchen.
The impact of simple, yet elegant, cake decorating techniques like those explored in this article extends far beyond the visual appeal. They represent a connection to tradition, a celebration of craftsmanship, and a testament to the joy found in creating something beautiful with one's own hands. The best things in life are simple,
a sentiment that perfectly encapsulates the enduring charm of a well-executed cake border. This simple act of decorating speaks to a deeper human need for beauty and the satisfaction of creating something delightful to share with others.
Now, I invite you to consider the possibilities. Don't be intimidated by the seemingly complex world of cake decorating. Take the techniques outlined in this article, practice them, and discover the joy of transforming a plain cake into a showstopper. Let the simple elegance of a perfectly piped border inspire you to explore your creativity, whether it's for a special occasion or simply to brighten your day. The beauty you create will be a testament to your skill and a source of delight for yourself and those you share it with.
Unleash Your Inner Cake Artist: Pipe Stunning Borders Today!
Thanks for taking the time to explore the world of piping borders with us! We hope you gained some valuable techniques to elevate your layer cakes. Ready to put your new skills to the test?
- Master a new piping technique: Choose one of the border designs we showcased and practice it – you'll be amazed at how quickly you improve!
- Share your creations! Show us your piped masterpieces on social media using #BakeWithEaseBorders – we can't wait to see your beautiful cakes!
- Challenge yourself: Try adapting a border design to a different type of frosting or cake.
What stunning border design will you create first?