
Filling and Stacking: The Foundation of a Beautiful Layer Cake

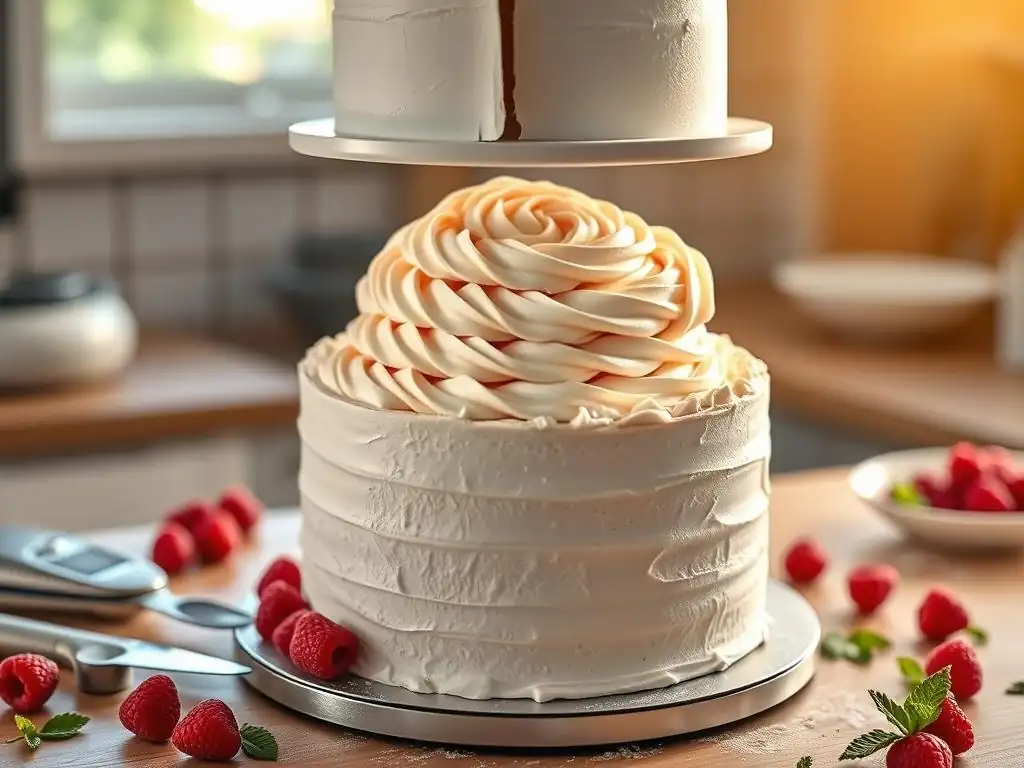
Welcome to BakeWithEase, your guide to baking brilliance! Ever wondered how to achieve those flawlessly stacked layer cakes you see online? It's easier than you think! Dive into our latest article, "Filling and Stacking: The Foundation of a Beautiful Layer Cake," where we reveal the secrets to mastering layer cake stacking techniques. Prepare to transform your pastry dreams into delicious, gravity-defying realities. Ready to build your masterpiece?
- BakeWithEase Presents: Mastering Layer Cake Stacking Techniques
- Preparing Your Cake Layers for Stacking
- Selecting the Perfect Filling for Your Layer Cake
- Layer Cake Filling Techniques: Achieving Even Distribution
- Layer Cake Stacking: The Step-by-Step Guide
- Leveling and Smoothing Your Stacked Layer Cake
- Advanced Layer Cake Stacking Tips and Tricks
- Decorating Your Beautifully Stacked Layer Cake
- Enjoying Your Perfect Layer Cake
-
Frequently Asked Questions
- How important is leveling my cake layers before stacking?
- What is the best type of filling to use for a layer cake that will hold its shape well?
- What are some techniques I can use to ensure my cake layers don't slide around during stacking?
- How do I prevent air bubbles from forming in my frosting when filling and stacking a layer cake?
- What is a crumb coat, and why is it important for stacking a layer cake?
- Final Reflection: The Enduring Allure of the Perfectly Stacked Layer Cake
- Unlock Your Inner Cake Artist: Master the Art of Layering!
BakeWithEase Presents: Mastering Layer Cake Stacking Techniques
Welcome to the wonderful world of layer cakes! Building a stunning layer cake is an art form, and it all starts with mastering the fundamental layer cake stacking techniques. From preparing your cake layers to the final crumb coat, each step is crucial for creating a stable, beautiful, and delicious dessert. Don't worry if you're new to this; we'll guide you through everything with friendly, clear instructions.
Getting the foundation right is key to avoiding leaning towers or sliding layers. We'll cover how to ensure your cake layers are perfectly prepped, select the best filling for your design, apply it evenly, and stack with precision. These layer cake stacking techniques are not just about structure; they also contribute significantly to the overall eating experience, ensuring every slice has a balanced ratio of cake and filling.
Preparing Your Cake Layers for Stacking
Before you even think about assembling your cake, the layers themselves need proper preparation. This involves ensuring they are level, fully cooled, and ready to be handled. Skipping these initial steps can lead to major headaches down the line, making the actual layer cake stacking techniques much more challenging.
Proper preparation saves time and frustration. Imagine trying to stack uneven, warm layers – it's a recipe for disaster! Taking a few extra steps here guarantees a smooth assembly process and a professional-looking result, setting the stage for successful layer cake stacking techniques.
Leveling Your Cake Layers for Even Stacking
Leveling your cake layers is essential for creating a stable, even stack. Often, cakes dome slightly in the oven, leaving you with rounded tops. To level, you can use a long serrated knife or a specialized cake leveler. Carefully slice off the domed top, aiming for a flat surface. You typically need to remove anywhere from 1/4 to 1/2 inch, depending on how much your cake domed.
This process ensures that when you stack your layers, they sit flush against each other, creating a straight, balanced structure. Uneven layers force the filling to be thicker on one side, leading to instability and a leaning cake. By leveling, you're already implementing a core principle of sound layer cake stacking techniques.
Cooling Cake Layers Completely Before Filling
Patience is key when it comes to cooling. Your cake layers must be completely cool before you attempt to handle or fill them. Warm cakes are fragile and prone to breaking or crumbling. Moreover, warm cake will melt your filling, creating a messy, unstable situation. After removing cakes from the oven, let them cool in their pans for about 10-15 minutes before inverting them onto a wire rack to cool fully.
Allowing the cakes to cool on a wire rack ensures air circulation, which helps them cool down faster and prevents the bottoms from getting soggy. For even easier handling and cleaner leveling, you can wrap the cooled layers tightly in plastic wrap and chill them in the refrigerator for at least 30 minutes, or even freeze them for a short period. Chilled layers are much firmer and easier to work with, greatly improving your layer cake stacking techniques.
Choosing the Right Cake Board or Plate for Your Layer Cake
Selecting the correct base for your cake is a foundational step in layer cake stacking techniques. A sturdy cake board or plate provides support and makes the cake easy to move. For multi-layer cakes, a strong cardboard cake round (usually 1/4 inch thick) is recommended. Choose a board that is slightly larger than your cake layers – for an 8-inch cake, a 9 or 10-inch board is ideal.
This extra margin provides space for frosting the outside of the cake and makes it easier to handle without bumping the cake itself. Ensure the board is stable and flat. You can add a small dollop of frosting to the center of the board before placing the first layer down; this acts as "glue" to prevent the cake from sliding, a simple but effective trick for stable layer cake stacking techniques.
Selecting the Perfect Filling for Your Layer Cake
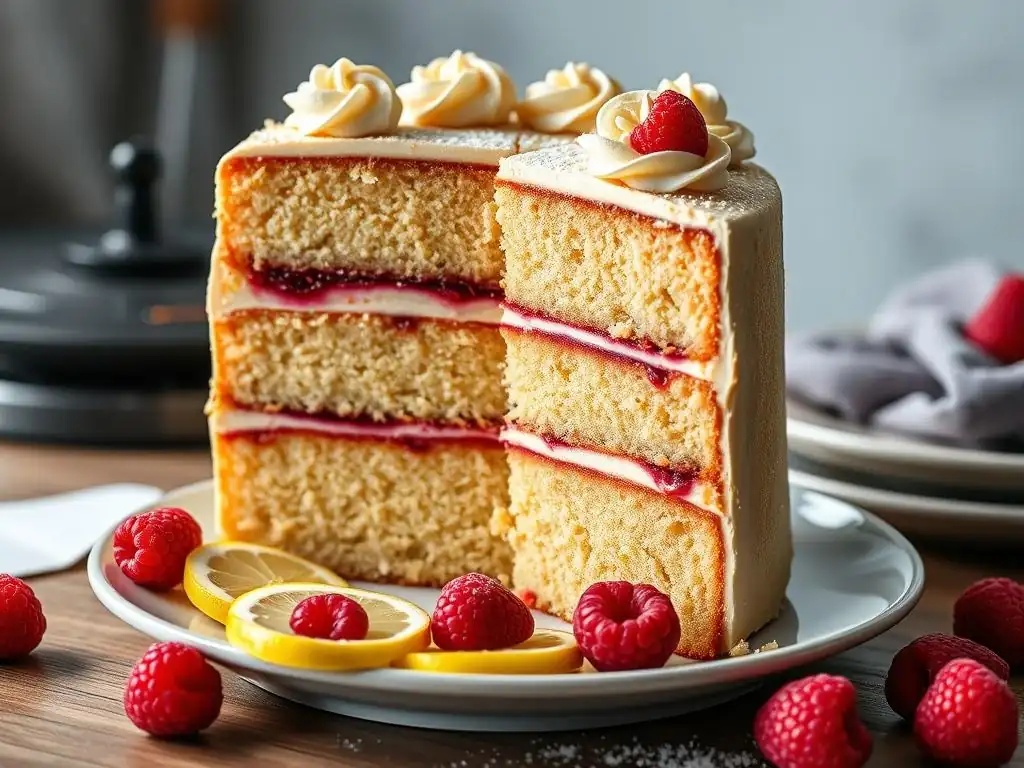
The filling you choose not only adds flavor but also plays a critical role in the structural integrity of your cake stack. The consistency of the filling is just as important as its taste. Too soft, and your layers will slide; too stiff, and it will be difficult to spread evenly.
Consider the weight of your cake layers and the number of layers when choosing a filling. A very soft mousse might be fine for a two-layer cake but could cause a taller cake to buckle. Understanding the properties of different fillings is vital for successful layer cake stacking techniques.
Buttercream Filling Options for Layer Cakes
Buttercream is a classic and versatile choice for layer cake filling. American buttercream, made from butter, powdered sugar, and liquid, is generally quite stable due to its high sugar content. Swiss meringue, Italian meringue, and French buttercreams, while lighter and less sweet, are also excellent options, offering a smooth, rich texture. Their stability depends on the proper emulsification of butter and meringue.
For optimal stability when stacking, especially with taller cakes, ensure your buttercream is not too soft. If it's warm or loose, chill it slightly before filling. A standard recipe might use 1 cup of butter to 3-4 cups of powdered sugar for a stable American buttercream. This consistency is firm enough to hold layers securely, making it ideal for practicing reliable layer cake stacking techniques.
Fruit Filling Ideas for Layer Cakes
Fruit fillings, like compotes, curds, or jams, add wonderful flavor and moisture. However, their higher moisture content can pose a challenge for stacking. To make fruit fillings suitable for layer cakes, they often need to be thickened. Cooking fruit with a little sugar and a thickener like cornstarch or pectin creates a stable compote that won't run.
A common ratio for a fruit compote suitable for filling might be 2 cups of fruit cooked with 1/4 cup sugar and 1-2 tablespoons of cornstarch slurry. Lemon curd, made with eggs, sugar, citrus juice, and butter, thickens as it cooks and chills, becoming quite stable. When using softer fruit fillings, it is almost always necessary to pair them with a firmer frosting, like buttercream, and create a "dam" to contain them, a crucial step in layer cake stacking techniques.
Chocolate Ganache Filling for Layer Cakes
Chocolate ganache, a simple mixture of chocolate and cream, can be a luxurious and stable filling. The ratio of chocolate to cream determines its consistency. A ganache made with equal parts chocolate and cream (by weight) will be pourable when warm but sets to a thick, fudgy consistency perfect for filling when chilled. A 2:1 ratio of chocolate to cream results in an even firmer ganache, ideal for truffles or very stable fillings.
Dark chocolate ganache (around 60-70% cocoa) sets firmer than milk or white chocolate ganache due to its higher cocoa solid content. For an 8-inch cake, you might use 8 ounces of chocolate and 8 ounces of heavy cream for a standard filling ganache. Allow the ganache to cool and thicken at room temperature or in the refrigerator until it reaches a spreadable consistency, like peanut butter, before using it for layer cake stacking techniques.
Considerations for Filling Flavor Pairing
Choosing a filling isn't just about texture; it's also about flavor harmony. The filling should complement, not overpower, the cake flavor. A light vanilla cake pairs well with almost anything, from raspberry compote to chocolate ganache or classic vanilla buttercream. A rich chocolate cake can stand up to bold flavors like espresso buttercream, salted caramel, or cherry filling.
Think about balance. If your cake is very sweet, a slightly tart fruit filling can provide a nice contrast. If your cake is dense, a lighter, airy filling might be preferable. Consider the overall desired outcome – are you aiming for bright and fresh, or rich and decadent? Harmonious flavor pairing enhances the enjoyment of your beautifully stacked layer cake.
Layer Cake Filling Techniques: Achieving Even Distribution
Once you've chosen your filling, applying it correctly is the next step in mastering layer cake stacking techniques. Even distribution is crucial for both aesthetics and stability. An inconsistent layer of filling can cause the cake to be lopsided or make slicing difficult.
Using the right tools and techniques ensures that each bite of your layer cake has the perfect balance of cake and filling, contributing to a delightful eating experience. These techniques are simple but make a significant difference in the final outcome of your layer cake stacking techniques.
How to Pipe a Dam to Contain Filling
For softer fillings like fruit compotes, curds, or loose mousses, creating a "dam" of firmer frosting is essential. This dam acts as a barrier to prevent the softer filling from squeezing out the sides when the next layer is placed on top. Using a piping bag fitted with a round tip (like a Wilton 1A or similar), pipe a ring of buttercream or ganache around the outer edge of the cake layer, about 1/2 to 3/4 inch from the edge.
The dam should be thick and tall enough to contain the filling you plan to add to the center. For a typical layer, a dam about 1/2 inch high works well. Once the dam is piped, you can spoon or pipe the softer filling into the center, spreading it evenly within the ring. This simple step is a game-changer for layer cake stacking techniques when working with less stable fillings.
Using an Offset Spatula for Even Filling Distribution
An offset spatula is your best friend for spreading fillings evenly across cake layers. Its angled blade allows you to spread the filling smoothly without your hand dragging through it. Place a generous dollop of filling in the center of the cake layer (within the dam, if using). Use the offset spatula to gently push and spread the filling towards the edges, ensuring an even thickness across the entire surface.
Aim for a consistent layer of filling, typically between 1/4 and 1/2 inch thick, depending on your preference and the filling type. Avoid spreading the filling all the way to the very edge of the cake layer, especially if you didn't pipe a dam, as it will squeeze out when stacked. Even filling distribution is a fundamental aspect of successful layer cake stacking techniques.
Measuring Filling for Consistency Between Layers
For a truly professional look and consistent flavor in every slice, try to use roughly the same amount of filling between each layer. You can measure your filling by volume (e.g., using a measuring cup or scoop) or by weight. For example, you might aim for 1/2 cup or 150 grams of buttercream per layer on an 8-inch cake.
Pre-portioning your filling before you start stacking ensures consistency and helps you manage your total amount. This attention to detail in filling quantity is part of mastering precise layer cake stacking techniques, resulting in a cake where every tier looks and tastes the same. It also prevents running out of filling before the top layer!
Layer Cake Stacking: The Step-by-Step Guide
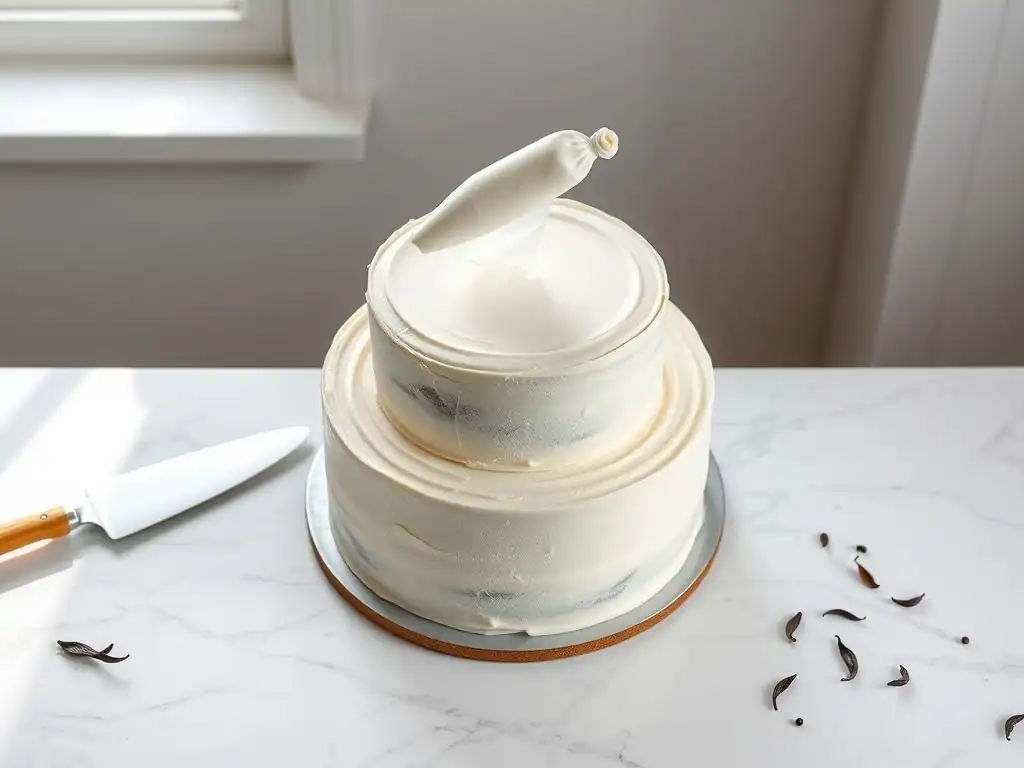
Now for the exciting part: putting it all together! Stacking your cake layers requires careful placement and alignment. This step-by-step guide walks you through the process, focusing on stability and precision – the core of good layer cake stacking techniques.
Taking your time and being mindful of alignment at each stage will prevent leaning or uneven layers. Don't rush this process; a little patience here pays off with a beautifully straight cake.
Applying the First Layer of Filling
Place your first cake layer (often the bottom layer of the cake, which might have been the top layer from the oven if you're using the flat side down for stability) onto your prepared cake board or plate. Secure it with a small amount of frosting underneath if you haven't already. Apply your chosen filling to this layer using the techniques described above, whether piping a dam and filling the center or simply spreading a firm filling evenly with an offset spatula.
Ensure the filling is spread to the desired thickness and coverage, leaving a small border if not using a dam. This first layer of filling is the base for your stack, so make sure it's level and consistent across the surface.
Stacking the Second Cake Layer
Carefully lift your second cake layer. The easiest way to do this is to support it with one hand underneath and perhaps an offset spatula in the other, or use two offset spatulas for larger or more delicate layers. Gently center the second layer directly on top of the first layer of filling. Aim to align the edges of the second layer perfectly with the edges of the first layer.
Lower the layer slowly and evenly onto the filling. Avoid dropping it or placing it off-center and trying to slide it, as this can squish the filling unevenly or cause the layers to separate later. Precise placement is a key element of effective layer cake stacking techniques.
Repeating the Filling and Stacking Process
Continue this process for all subsequent cake layers. Apply the filling to the top of the layer you just placed, then carefully stack the next cake layer on top of the filling, aligning the edges as you go. Work your way up, layer by layer, until all cake layers and fillings are in place.
For each layer, double-check alignment before pressing down firmly. Applying gentle, even pressure helps the layers settle into the filling slightly, creating a more stable bond.
Ensuring Cake Layers are Aligned
As you stack, periodically step back and look at your cake from different angles to ensure the layers are stacking straight. If a layer is slightly off, you can gently nudge it into place before you add the next layer or the crumb coat. Once the cake is frosted, correcting alignment is much more difficult without damaging the frosting.
Use a ruler or a bench scraper held vertically against the side of the cake as a visual guide to check for straightness. Minor adjustments during the stacking process are part of refining your layer cake stacking techniques and preventing a leaning tower.
Leveling and Smoothing Your Stacked Layer Cake
Once all the layers are stacked, the cake might still have slight wobbles or gaps. The next steps involve checking for stability, applying a crumb coat, and chilling the cake. These steps are crucial for creating a smooth, professional surface for your final frosting layer and are integral to advanced layer cake stacking techniques.
A well-executed crumb coat and proper chilling make the final decorating process significantly easier and yield a much cleaner finish. Don't be tempted to skip these steps!
Checking for Wobbles and Correcting Imbalances
After stacking, gently press down on the top center of the cake. It should feel stable. If it feels wobbly, it might indicate uneven filling distribution or layers that aren't sitting flush. You can sometimes correct minor wobbles by gently pressing down on the higher side of a layer to encourage it to settle into the filling. For significant leaning, you might need to carefully separate a layer, adjust the filling, and restack.
Another check is to place a spirit level or even just a flat object like a cutting board across the top of the cake to see if it's level. Small imbalances are often corrected by the crumb coat, but major issues need addressing now.
Crumb Coating Your Stacked Layer Cake
The crumb coat is a thin layer of frosting applied to the entire surface of the stacked cake. Its primary purpose is to trap any loose crumbs, preventing them from getting into your final frosting layer. Apply a thin, even layer of frosting using an offset spatula or bench scraper, covering the top and sides completely. Don't worry about making it perfectly smooth at this stage.
Use a bench scraper held perpendicular to the side of the cake and spun on the turntable (if using) to scrape away excess frosting and create a thin, even layer. This process seals the crumbs effectively and provides a smooth base for the final frosting, perfecting your layer cake stacking techniques.
Chilling the Crumb-Coated Layer Cake
After applying the crumb coat, chill the cake in the refrigerator for at least 15-30 minutes, or until the frosting is firm to the touch. This chilling step is vital. As the crumb coat sets, it locks in the crumbs and stabilizes the entire structure of the stacked layers and filling.
A firm crumb coat provides a solid surface for applying the final layer of frosting smoothly and easily. Trying to apply final frosting over a soft crumb coat is difficult and often results in pulling up crumbs or creating an uneven finish. Chilling is a non-negotiable step for achieving professional results with your layer cake stacking techniques.
Advanced Layer Cake Stacking Tips and Tricks
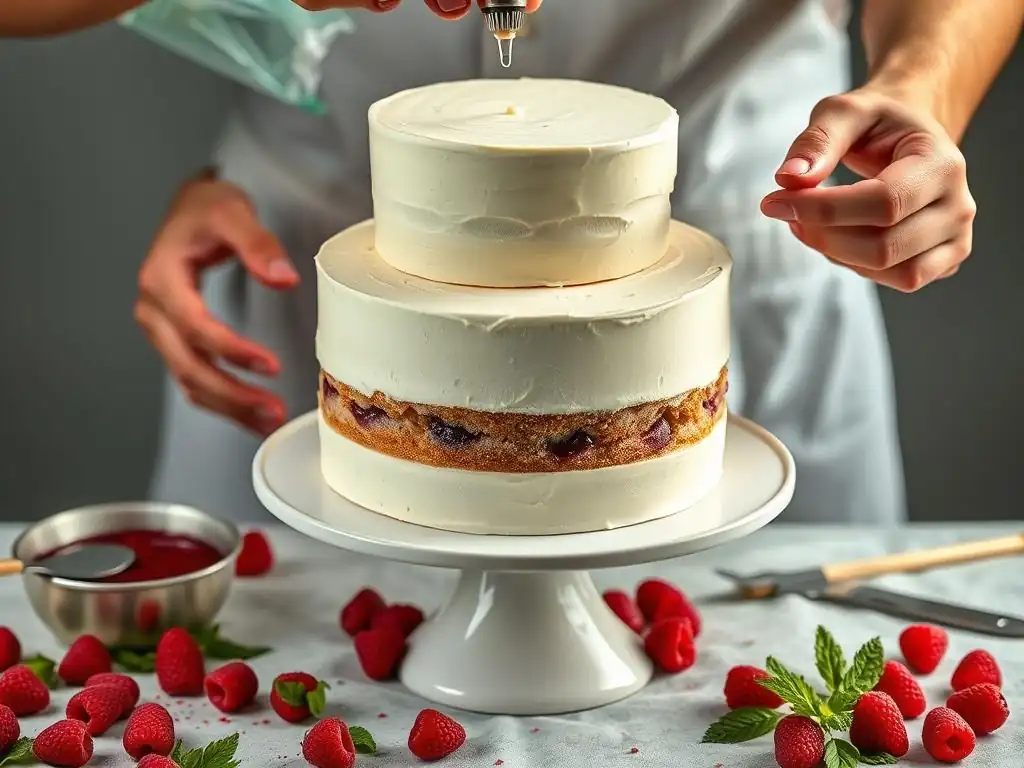
For taller or more complex layer cakes, basic stacking might not be enough. Incorporating support structures and knowing how to handle common issues will elevate your layer cake stacking techniques to the next level. These tips are particularly useful for cakes with three or more layers or those using softer fillings.
Adding internal support ensures your cake remains stable, even during transport or display. Learning these advanced techniques gives you the confidence to tackle more ambitious cake projects.
Using Cake Dowels for Added Support
For cakes with three or more layers, especially if they are tall or have soft fillings, internal support is highly recommended. Cake dowels (food-grade plastic or wooden rods) are inserted vertically through the stacked layers to provide stability. You typically need 3-5 dowels for a standard round cake, placed in a circle about 2 inches from the center.
Cut the dowels to the exact height of your stacked layers and filling. Insert them carefully through the top layer, pushing them straight down until they reach the cake board. The dowels bear the weight of the upper layers, preventing the lower layers from compressing and the cake from collapsing or leaning. Using dowels is a key advanced layer cake stacking technique for multi-tier or very tall single-tier cakes.
Stacking Tall Layer Cakes Securely
Stacking a tall cake requires extra care and stability measures. Beyond using dowels, ensure your cake layers are dense enough to support the weight above them. Lighter, airier cakes might compress under the pressure of multiple layers. Chill your crumb-coated cake thoroughly, ideally for several hours or even overnight, until it is very firm.
When handling tall stacks, support the cake from the bottom using the cake board. Avoid lifting the cake by the sides alone. For transport, insert a central dowel that goes through all layers and into the base board, securing it with tape or a nut underneath the board if possible. These techniques are crucial for successfully executing tall layer cake stacking techniques.
Troubleshooting Common Stacking Problems
Even with the best planning, issues can arise. If your cake starts to lean during stacking, check if the layers are centered and if the filling is evenly distributed. Sometimes, gently pushing the leaning side can help correct it before the crumb coat. If the filling is too soft and squeezing out, you might need to remove the top layer, scrape off the filling, pipe a firmer dam, and use less filling.
If a layer cracks during handling, you can often "glue" it back together with a little frosting before stacking, ensuring the crack side is less visible. For persistent wobbles in a tall cake, adding or repositioning dowels might be necessary. Learning to identify and fix these issues is part of mastering versatile layer cake stacking techniques.
Decorating Your Beautifully Stacked Layer Cake
With your cake expertly stacked and crumb-coated, you're ready for the final, creative steps of decoration. The stable foundation you've built using careful layer cake stacking techniques now allows you to apply your final frosting and decorative elements with ease and confidence.
A well-stacked cake provides a smooth, even canvas for your design. Whether you're going for a minimalist look or an elaborate creation, the quality of your stacking will shine through in the final presentation.
Choosing a Decoration Style
Your decoration style will depend on the occasion, your skill level, and the desired aesthetic. Options range from a simple smooth finish with a few sprinkles to intricate piping, drip effects, or fondant coverings. Consider the stability of your final frosting choice – a stiff buttercream holds sharp edges well, while a ganache drip requires precise temperature control.
Think about the overall theme and flavor profile of your cake. A rustic semi-naked cake might suit a fruit-filled sponge, while a smooth, sharp-edged buttercream is perfect for a formal celebration cake.
Applying the Final Frosting Layer
Once the crumb coat is firm, apply your final layer of frosting. Start with a generous amount of frosting on top of the cake and push it over the edges. Then, apply frosting to the sides, using an offset spatula or piping bag. Use a bench scraper or large offset spatula held against the side and top to smooth the frosting, removing excess until you achieve your desired finish (smooth, textured, etc. ).
Work quickly but carefully, using consistent pressure. Dip your spatula or scraper in hot water and dry it for an extra smooth finish. This step is much easier on a cake that is stable and straight thanks to proper layer cake stacking techniques and chilling.
Adding Decorative Elements
This is where your cake truly comes to life! Add decorative elements like piped borders, swirls, rosettes, sprinkles, edible glitter, chocolate shavings, fresh fruit, or flowers. Use piping bags fitted with various tips to create different textures and patterns.
Place heavier decorations carefully to avoid damaging the frosting or destabilizing the cake. For large or heavy toppers, consider inserting them with skewers into the cake's internal structure (like dowels) for extra support.
Enjoying Your Perfect Layer Cake
You've mastered the layer cake stacking techniques, prepared and filled your layers with care, and beautifully decorated your creation. Now it's time to share and enjoy the fruits of your labor! Serving your cake correctly ensures that everyone gets to appreciate its structure and flavor.
Take a moment to admire your work before slicing. You've successfully built a stable, delicious, and visually appealing layer cake from the foundation up!
Cutting and Serving Tips
For clean slices that showcase your beautiful layers and filling, use a sharp, thin-bladed knife. For best results, warm the knife by dipping it in hot water and wiping it dry between each slice. This helps the knife cut smoothly through both the cake and the filling without dragging.
Slice the cake from the center outwards. For round cakes, it's often easiest to cut a circle about 2 inches in from the edge, then slice that outer ring into portions before moving to the center. Serve slices with a spatula, supporting the bottom to keep the layers intact. Enjoy showing off your expert layer cake stacking techniques!
Frequently Asked Questions
How important is leveling my cake layers before stacking?
Leveling your cake layers is crucial for a stable and visually appealing layer cake. Uneven layers can cause the cake to lean or collapse, so take the time to trim them carefully. This ensures your filling is evenly distributed.
What is the best type of filling to use for a layer cake that will hold its shape well?
A thicker filling like buttercream frosting or a stable pastry cream is ideal for holding its shape. Avoid runny fillings as they can cause the cake to slide. Consider chilling your filling slightly before application.
What are some techniques I can use to ensure my cake layers don't slide around during stacking?
Using a small amount of frosting on your cake board helps secure the first layer. You can also insert dowels or straws into the cake for added support, especially for taller cakes. Chilling the cake between layers can also help.
How do I prevent air bubbles from forming in my frosting when filling and stacking a layer cake?
To minimize air bubbles, ensure your frosting is smooth and evenly distributed. Gently press down on each layer to help the frosting adhere and release any trapped air. A crumb coat can also help.
What is a crumb coat, and why is it important for stacking a layer cake?
A crumb coat is a thin layer of frosting applied to the entire cake before the final frosting layer. It seals in loose crumbs, preventing them from mixing with the final frosting. This gives your cake a smooth and professional finish ready for stacking.
Final Reflection: The Enduring Allure of the Perfectly Stacked Layer Cake
The art of layer cake stacking, far from being a mere culinary technique, represents a powerful metaphor for achieving balance and beauty in any endeavor. A flawlessly stacked cake, with its even layers and delicate frosting, is a testament to precision, patience, and a deep understanding of the fundamentals. This meticulous process, as detailed throughout this article, is a testament to the power of foundational skills.
The impact of mastering this seemingly simple skill extends far beyond the kitchen. The principles of careful preparation, precise execution, and attention to detail are transferable to countless other aspects of life. The details are not the details. They make the design.
- Charles Eames. This quote perfectly encapsulates the importance of the seemingly small steps involved in creating a stunning layer cake, and indeed, in achieving any significant goal. The smooth, even layers represent a harmonious balance, a visual representation of the effort and care invested in the process.
Now, consider your own "layer cake." What are the foundational elements in your life, your work, your passions? What seemingly small details, like properly leveled layers or smoothly applied frosting, contribute to the overall beauty and success of your endeavors? I invite you to reflect on this, to identify those crucial fundamentals, and to approach them with the same care and precision you would use to create a masterpiece layer cake. The result, I promise, will be equally rewarding.
Unlock Your Inner Cake Artist: Master the Art of Layering!
Thanks for joining us on this delicious journey into the world of layer cakes! We hope you gained valuable insights into the secrets of perfect stacking and filling. Now it's time to put your newfound knowledge into practice!
- Bake your masterpiece: Try your hand at the recipe we discussed (or one of your own! ), focusing on creating even, moist layers. This is your chance to shine!
- Share your creation: Post a picture of your beautiful layered cake on social media and tag us – we'd love to see your baking success! Use #BakeWithEaseLayeredCakes.
- Experiment with fillings: Explore different flavor combinations. What unique filling will you create to wow your friends and family?
Ready to transform your baking skills? What unexpected flavor combination will you try next?