
The Drip Cake Effect: Your Guide to Perfect Chocolate Drips

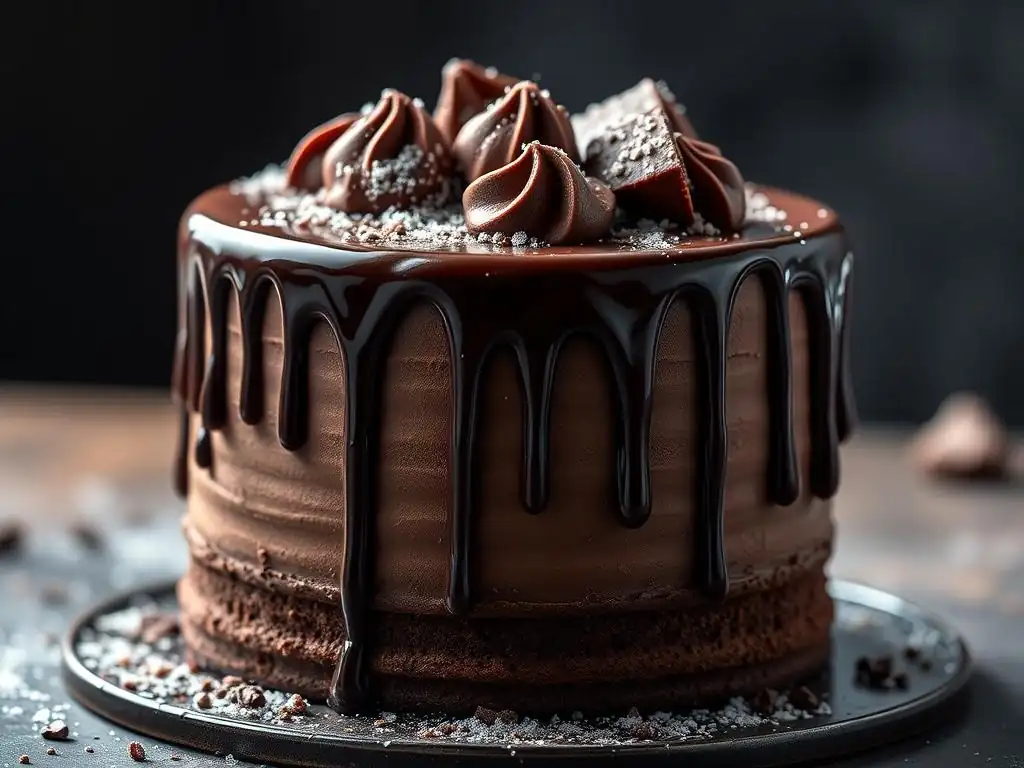
Welcome to BakeWithEase, where baking dreams become delicious reality! Ever wondered how to achieve that flawlessly decadent look on your cakes? This week, we're diving deep into the secrets behind the ever-so-tempting perfect chocolate drip cake. Prepare to unlock the techniques that will transform your creations from simple sweets to show-stopping masterpieces. Ready to master the drip? Let's get baking!
- BakeWithEase' Guide to Achieving the Perfect Chocolate Drip Cake
- Essential Ingredients for a Flawless Chocolate Drip
- Tools and Equipment Needed for Drip Cake Perfection
- Step-by-Step Guide: Creating the Perfect Chocolate Drip
- Troubleshooting Common Chocolate Drip Problems
- Chocolate Drip Cake Ideas and Inspiration
- Tips for Long-Lasting and Beautiful Chocolate Drips
- Mastering the Drip: Advanced Techniques for Chocolate Drip Cakes
- Conclusion: Your Journey to Perfect Chocolate Drip Cakes Starts Now!
-
Frequently Asked Questions
- How do I achieve the perfect consistency for my chocolate drip?
- What type of chocolate is best for a chocolate drip cake?
- How do I prevent my chocolate drip from being too thick or too thin?
- What's the best technique for applying the chocolate drip to the cake?
- How do I fix a chocolate drip that's not working properly?
- Final Reflection: The Enduring Allure of the Perfect Chocolate Drip
- Unleash Your Inner Pastry Chef: Master the Perfect Chocolate Drip!
BakeWithEase' Guide to Achieving the Perfect Chocolate Drip Cake
What is a Chocolate Drip Cake and Why is it So Appealing?
A perfect chocolate drip cake is a confectionary masterpiece where a luscious, often glossy, chocolate coating is carefully poured or squeezed around the top edge of a frosted cake, allowing it to cascade down the sides in deliberate, attractive rivulets. This technique creates a visually striking effect, adding a touch of elegance, decadence, and sometimes playful whimsy to a cake.
Its appeal lies in this dynamic look, which suggests richness and abundance, making the cake itself look like a melting work of art. From birthdays to weddings, a cake adorned with a perfect chocolate drip stands out, promising a delightful texture contrast between the smooth drip and the cake's frosting and layers.
The popularity of the chocolate drip cake has surged in recent years, becoming a staple in bakeries and home kitchens alike. It offers a simple yet dramatic way to elevate a basic frosted cake. Consider a simple vanilla bean cake covered in classic buttercream; adding a rich, dark perfect chocolate drip instantly transforms it into a sophisticated dessert.
Similarly, a vibrant red velvet cake with cream cheese frosting gains an extra layer of visual interest and flavor complexity with a cascading white chocolate drip. This technique allows for endless creative possibilities, making each perfect chocolate drip cake unique and eye-catching.
The Science Behind a Successful Chocolate Drip: Factors to Consider
Achieving a successful chocolate drip isn't just about pouring melted chocolate; it involves understanding a few key scientific principles related to temperature, viscosity, and adhesion. The temperature of both the cake and the chocolate mixture is paramount. The cake needs to be thoroughly chilled, ideally in the refrigerator for at least 30-60 minutes, bringing its surface temperature down to around 4°C (39°F). This cold surface helps the warm chocolate drip set quickly upon contact, preventing it from running all the way down and pooling at the bottom, thus creating those desirable drips of varying lengths.
Equally critical is the temperature and consistency (viscosity) of the chocolate drip mixture itself. If the mixture is too hot (above 40°C or 104°F), it will be too thin and run uncontrolled. If it's too cool (below 28-30°C or 82-86°F for milk/dark chocolate, or 26-28°C or 79-82°F for white chocolate), it will be too thick and won't drip properly, resulting in short, stubby drips or none at all.
The ideal temperature range for application is often between 30-35°C (86-95°F), depending on the type of chocolate and the desired drip effect. The ratio of chocolate to cream (or other liquid) determines the mixture's viscosity; more liquid makes it thinner, less liquid makes it thicker. Mastering this balance is key to achieving the perfect chocolate drip consistency for your cake.
Essential Ingredients for a Flawless Chocolate Drip
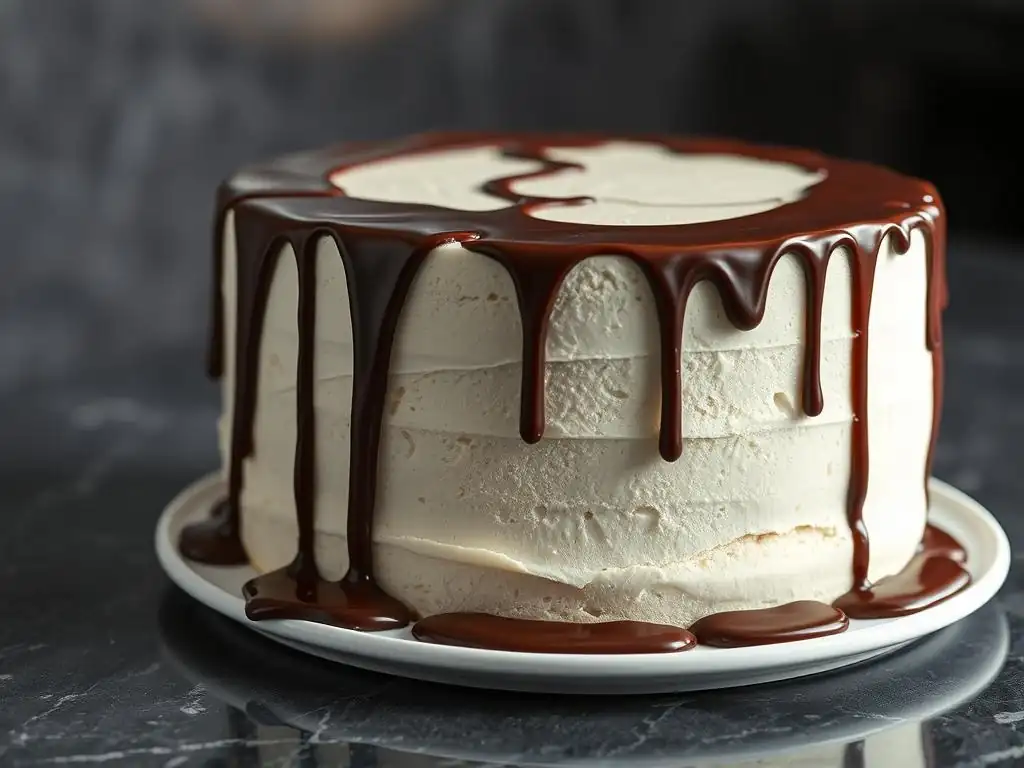
Choosing the Right Chocolate for Your Drip: Semisweet vs. Dark Chocolate
The type of chocolate you use is fundamental to the success and flavor of your perfect chocolate drip cake. High-quality chocolate, specifically baking chocolate or couverture chocolate, is recommended over chocolate chips. Chocolate chips contain stabilizers to help them maintain their shape when baked, which can result in a less smooth, sometimes grainy, drip texture. Baking bars or wafers, on the other hand, melt more smoothly due to their composition and higher cocoa butter content, leading to a glossier, more fluid drip.
When considering semisweet versus dark chocolate, both can produce a beautiful perfect chocolate drip, but they will yield different flavors and slightly different working properties. Semisweet chocolate typically contains between 35-60% cocoa solids and offers a balanced sweetness. Dark chocolate, with 60% or more cocoa solids, provides a richer, more intense chocolate flavor and is often less sweet.
The higher cocoa butter content in darker chocolate can sometimes make it slightly more fluid when melted, but this difference is often balanced by adjusting the cream ratio. Ultimately, the choice depends on the desired flavor profile to complement your cake and frosting, but always opt for quality over convenience (like chips).
The Importance of Cream and Other Liquids: Achieving the Right Consistency
The liquid component, most commonly heavy cream (or whipping cream), is what transforms melted chocolate into a pourable, drippable ganache or mixture. The fat content in heavy cream is crucial as it emulsifies with the melted chocolate, creating a smooth, stable mixture. The ratio of cream to chocolate is the primary factor in controlling the consistency of your drip.
A higher ratio of chocolate to cream (like 2:1 or 2.5:1 chocolate to cream by weight) will produce a thicker ganache, suitable for thicker drips or even frosting. A lower ratio (like 1.5:1 or 1:1 chocolate to cream) will result in a thinner mixture, perfect for creating delicate, flowing drips.
While heavy cream is standard, other liquids can be used, though they will affect the final texture, flavor, and setting properties. Milk can be used but has less fat, potentially leading to a less stable emulsion and a thinner drip that may not set as firmly.
Some recipes incorporate butter for added richness and sheen, or even a touch of corn syrup or glucose for extra gloss and elasticity, helping to prevent cracking once set. Experimenting with these ratios and additions is part of mastering your perfect chocolate drip technique, but starting with a classic heavy cream and quality chocolate ratio is recommended for beginners aiming for a reliable result.
Optional Add-Ins: Enhancing Flavor and Texture in Your Chocolate Drip
Beyond the basic chocolate and cream, various optional ingredients can be incorporated into your drip mixture to enhance its flavor, texture, and visual appeal. A small amount of unsalted butter, often added after melting and mixing the chocolate and cream, can increase the glossiness and richness of the drip. Just a tablespoon or two per cup of chocolate can make a noticeable difference in shine, contributing to that coveted perfect chocolate drip sheen.
Flavor extracts are another popular add-in. A splash of vanilla extract, almond extract, or even a liqueur like raspberry or coffee can deepen the complexity of the chocolate flavor and tie it into the cake's overall profile. Ensure extracts are oil-based or add them after the emulsion has formed to avoid seizing the chocolate.
For a hint of saltiness that beautifully contrasts the sweetness, a pinch of fine sea salt can be stirred in. Some bakers also add a tiny amount of food coloring (specifically oil-based or powdered colors suitable for chocolate) to white chocolate drips to create vibrant colored drips, expanding the decorative possibilities for a perfect chocolate drip cake.
Tools and Equipment Needed for Drip Cake Perfection
Must-Have Tools for Creating a Smooth Chocolate Drip
While the ingredients are key, having the right tools makes the application process much smoother and helps achieve that perfect chocolate drip effect. A heatproof bowl and a saucepan (for a double boiler) or a microwave are essential for melting the chocolate gently and safely, preventing it from burning or seizing. Gentle heat is crucial; direct, high heat is a common culprit for ruined chocolate.
Accurate measuring cups and spoons or, preferably, a digital kitchen scale are vital for getting the chocolate-to-cream ratio correct. Precision in measurement directly impacts the consistency of your drip mixture. A rubber spatula or whisk is needed for stirring the mixture until it's smooth and emulsified. Finally, a tool for applying the drip is necessary; a small spoon is the most basic tool, allowing for controlled application of drips around the edge. For finer control, a piping bag or a squeeze bottle is highly recommended.
Optional Equipment for Achieving Professional-Looking Drips: Turntable, Squeeze Bottles
To truly elevate your perfect chocolate drip cake game and achieve professional-looking results, a few optional pieces of equipment are incredibly helpful. A cake turntable is almost indispensable for easily rotating the cake as you apply the drip around the perimeter. This allows for a consistent application speed and angle, leading to more uniform and controlled drips. Simply place your chilled cake on the turntable and spin it gently as you apply the chocolate.
Squeeze bottles, particularly those with a fine tip, offer unparalleled control over the drip application. Filling a squeeze bottle with your prepared chocolate drip mixture allows you to apply precise amounts of chocolate exactly where you want them, creating drips of varying lengths and thicknesses with ease. This control is much harder to achieve with just a spoon. Using a piping bag with a small round tip is another excellent option for precision. These tools, while not strictly necessary, make the process significantly easier and contribute greatly to achieving a truly perfect chocolate drip finish.
Step-by-Step Guide: Creating the Perfect Chocolate Drip
Step 1: Preparing Your Cake for the Chocolate Drip
Ensuring a Cold and Stable Cake for Optimal Drip Adhesion
The first and arguably most critical step in creating a perfect chocolate drip cake is ensuring your cake is properly prepared. This means the cake should be fully assembled, frosted, and, most importantly, thoroughly chilled. After you've applied your final layer of frosting (whether it's buttercream, ganache, or cream cheese frosting), place the cake in the refrigerator for at least 30-60 minutes, or even the freezer for 15-20 minutes. The goal is to get the frosting surface firm and cold.
Why is a cold cake so important? When the warm chocolate drip mixture hits the cold surface of the cake's frosting, it cools down rapidly. This rapid cooling causes the chocolate to thicken and set quickly, allowing you to control the length and shape of your drips. If the cake is at room temperature, the chocolate will stay liquid for longer, running further down the sides (potentially pooling at the bottom) and making it much harder to achieve distinct, controlled drips. A cold cake provides the perfect canvas for your perfect chocolate drip.
Step 2: Making Your Chocolate Drip: Recipe and Instructions
Melting Chocolate: Avoiding Seizing and Achieving a Smooth Texture
Making the chocolate drip mixture requires careful attention to temperature to avoid seizing. Seizing occurs when chocolate comes into contact with even a tiny amount of water or is exposed to too much heat too quickly, causing it to turn into a grainy, unusable mass. The safest method is using a double boiler: place chopped chocolate in a heatproof bowl set over a saucepan of simmering water (ensure the bottom of the bowl doesn't touch the water). Stir gently until about 90% of the chocolate is melted, then remove from heat and stir until smooth using residual heat.
Alternatively, you can melt chocolate in the microwave in 20-30 second intervals, stirring thoroughly after each interval. Use medium power (around 50%) and stop when there are still a few small lumps, stirring until smooth. Whichever method you use, low, gentle heat is key. Once melted and smooth, the chocolate is ready to be combined with your heated cream.
Achieving the Perfect Drip Consistency: The Cream to Chocolate Ratio
The most common type of chocolate drip is a simple ganache, made from chocolate and heavy cream. The ratio is crucial for consistency. A good starting point for a perfect chocolate drip is often a 1.5:1 or 1:1 ratio of chocolate to cream by weight. For example, combining 150g of chopped chocolate with 100g of hot heavy cream (1.5:1) will yield a relatively thick, controlled drip. A 1:1 ratio (100g chocolate to 100g cream) will be thinner and runnier, creating longer, more delicate drips.
To make the ganache, heat the cream in a saucepan until it just begins to simmer (do not boil vigorously). Pour the hot cream over your finely chopped chocolate in a heatproof bowl. Let it sit undisturbed for 5 minutes to allow the heat from the cream to melt the chocolate.
Then, starting from the center of the bowl, gently whisk or stir with a rubber spatula in small circles, gradually working outwards, until the mixture is completely smooth and emulsified into a glossy ganache. If there are any stubborn bits of chocolate, you can very gently warm the mixture again over the double boiler or in the microwave for a few seconds, then stir until smooth.
Step 3: Applying the Chocolate Drip: Techniques and Tips
Testing Your Drip: Practicing on a Cold Glass
Before applying the drip directly to your beautiful, frosted cake, it's highly recommended to test the consistency and temperature of your mixture. Grab a cold glass (pop it in the freezer for a few minutes) or even the back of a cold plate. Spoon a small amount of your chocolate drip mixture onto the edge and let it drip down the side.
Observe how it flows. Is it running too fast and thin? It might be too warm or have too much liquid; let it cool slightly or stir in a little more melted chocolate. Is it too thick and barely moving? It might be too cool or have too much chocolate; gently warm it slightly or stir in a tiny bit more warm cream. This simple test allows you to adjust the temperature and consistency before you commit to applying it to your perfect chocolate drip cake.
Applying the Drip Evenly Around the Cake
Once your drip mixture is the perfect consistency and temperature (ideally around 30-35°C / 86-95°F), it's time to apply it to your cold cake. If using a spoon, spoon small amounts of the mixture onto the top edge of the cake, gently pushing it just over the edge to initiate the drip. Control the amount of chocolate you push over the edge to vary the length of the drips – more chocolate creates longer drips, less creates shorter ones. Work your way around the entire perimeter of the cake.
For more control, use a piping bag with a small round tip or a squeeze bottle. Fill the bag/bottle, snip a small opening (if using a bag without a tip), and gently squeeze a small amount of chocolate onto the top edge, letting it flow naturally.
You can apply drips individually by squeezing, pausing, and moving, or create a continuous drip effect by moving the bag/bottle steadily around the edge while squeezing. If you want to cover the entire top of the cake as well, apply a layer of the drip mixture over the top after you've created the drips around the edge, then smooth it out with an offset spatula.
Step 4: Finishing Touches and Decoration Ideas
Adding Sprinkles, Candies, and Other Decorative Elements
After applying the perfect chocolate drip, you have a brief window while it's still slightly wet to add additional decorations. This is the ideal time to adorn your perfect chocolate drip cake with sprinkles, edible glitter, chopped nuts, chocolate shavings, or small candies. Gently sprinkle them over the wet drips or press them lightly onto the top surface. Once the drip sets, these elements will adhere beautifully.
Consider the overall theme and color scheme of your cake when adding these elements. Rainbow sprinkles add a fun, festive touch, perfect for a birthday cake. Chopped pistachios or hazelnuts can add texture and a sophisticated look. Edible gold leaf or dust can create a luxurious effect on a dark chocolate drip.
Creating a Cohesive and Visually Appealing Chocolate Drip Cake
Beyond the immediate additions to the wet drip, think about how the drip integrates with the rest of the cake's decoration. Fresh berries like strawberries, raspberries, or cherries are a classic pairing with chocolate and add a pop of color and freshness when placed on top of the cake. Meringue kisses, macarons, chocolate shards, or even small cookies can be strategically placed on the top surface to build height and visual interest.
Consider piping additional swirls or dollops of frosting on top of the cake, perhaps around the inner edge where the drip stops. These can serve as a base for placing larger decorations. The key is to create a balanced composition that feels intentional, with the perfect chocolate drip serving as a beautiful foundation or accent for the rest of your decorative elements.
Troubleshooting Common Chocolate Drip Problems
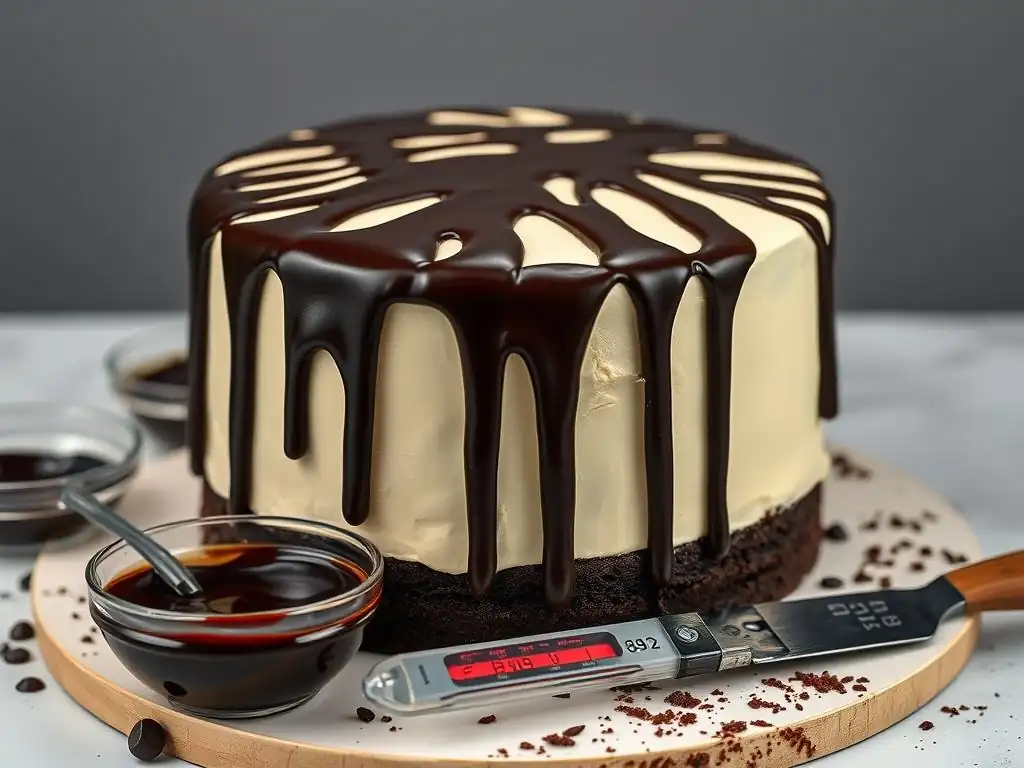
My Chocolate Drip is Too Thick: Add More Cream, Gently Heat
If you've applied your chocolate drip and find it's too thick, resulting in short, stubby drips or none at all, it's usually because the mixture is too cool or the chocolate-to-cream ratio is too high. The easiest fix is to gently warm the mixture slightly. Place the bowl back over a warm (not boiling) water bath or microwave it for just 5-10 seconds. Stir thoroughly.
If warming doesn't achieve the desired consistency, you likely need to adjust the ratio. Heat a small amount of additional heavy cream until warm (not simmering). Stir this warm cream into your thick chocolate mixture, a tablespoon at a time, stirring until smooth after each addition. Test the drip consistency on a cold surface after adding each spoonful until you reach the desired flow. Patience and gradual additions are key here to avoid making it too thin.
My Chocolate Drip is Too Thin: Add More Chocolate, Refrigerate Briefly
A drip that is too thin will run rapidly down the cake, potentially pooling at the bottom and creating uneven, uncontrolled streaks rather than defined drips. This happens when the mixture is too warm or the cream-to-chocolate ratio is too low (too much liquid). First, try letting the mixture cool down at room temperature for a few minutes, stirring occasionally. As it cools, it will naturally thicken.
If cooling doesn't sufficiently thicken it, you need to add more chocolate. Gently melt a small amount of the same type of chocolate you used for the drip. Stir this melted chocolate into your thin drip mixture, a tablespoon at a time, stirring until completely smooth after each addition. Test the consistency on a cold surface. Alternatively, if the mixture is only slightly too thin, placing the entire bowl of the drip mixture in the refrigerator for just 5-10 minutes, stirring every couple of minutes, can help it thicken up without adding more chocolate.
My Chocolate Drip is Uneven: Rotate Cake, Apply More Pressure
Uneven drips can occur due to inconsistent application speed, angle, or pressure around the cake. If some drips are long and others are short when you intended uniformity, or if the coverage is patchy, it often relates to the application technique. Using a cake turntable is crucial here; rotate the cake smoothly as you apply the drip.
If using a spoon, try to use a consistent amount of chocolate for each drip and push it over the edge with the same motion. If using a squeeze bottle or piping bag, maintain steady pressure and a consistent distance from the cake's edge.
If you notice unevenness as you go, you can often go back and add a tiny bit more chocolate to shorter drips to encourage them to extend, but do this carefully. Practicing on a cold glass or even the side of an overturned bowl before applying to the cake can help you refine your technique and achieve a more perfect chocolate drip pattern.
My Chocolate Drip is Seized: Add Hot Water Gradually, Stir Vigorously
Seized chocolate turns into a stiff, grainy, unusable mass, often due to contact with water or overheating. While prevention is best, sometimes you can rescue seized chocolate. The most common method is to add a small amount of hot liquid, usually boiling water or hot cream, and stir vigorously.
For a seized chocolate drip (which is already mixed with cream), try adding a teaspoon of boiling water or very hot cream to the seized mixture. Stir extremely vigorously from the center outwards. It might look worse at first, but keep stirring. The hot liquid can sometimes help re-emulsify the cocoa solids and fat.
You may need to add another teaspoon or two of hot liquid, stirring forcefully each time. This method doesn't always work perfectly, but it's worth a try before discarding the batch. If rescued, the texture might be slightly different, but it could still be usable for a perfect chocolate drip.
Chocolate Drip Cake Ideas and Inspiration
Classic Chocolate Drip Cake Variations
The classic perfect chocolate drip cake often features a rich chocolate ganache cascading down a frosted cake. This can be a dark chocolate drip on a vanilla or chocolate cake, or a milk chocolate drip for a sweeter flavor profile. Consider a devil's food cake frosted with chocolate buttercream and finished with a dark chocolate drip for a truly decadent experience.
Another beloved classic is a vanilla bean cake with vanilla buttercream, topped with a contrasting dark or semisweet perfect chocolate drip. This combination highlights both the clean flavor of vanilla and the intensity of the chocolate. Often, these classic variations are adorned simply with chocolate shavings, curls, or fresh berries, letting the beauty of the drip itself be the star. A 2:1 dark chocolate to cream ganache provides a thick, glossy drip perfect for this style.
White Chocolate Drip Cake Designs
White chocolate drips offer a different aesthetic, providing a lighter color palette that works beautifully on vibrant or pastel-colored cakes. A popular choice is a red velvet cake with cream cheese frosting, complemented by a striking white perfect chocolate drip. The contrast in color is visually stunning.
White chocolate is sweeter and contains cocoa butter but no cocoa solids. It can be a bit trickier to work with as it seizes more easily and tends to be thicker.
Ratios for white chocolate drips often require slightly more liquid, perhaps a 2:1 white chocolate to cream ratio by weight for a thicker drip, or even 1.5:1 for a thinner one, but this can vary greatly depending on the brand of white chocolate. White chocolate drips are also ideal for coloring with oil-based food colors to match any party theme, creating vibrant pink, blue, or green perfect chocolate drip cakes.
Colored Chocolate Drip Cake Techniques
Creating colored drips opens up a world of creative possibilities for your perfect chocolate drip cake. This is typically achieved by adding oil-based or powdered food coloring specifically designed for chocolate or candy melts to a white chocolate drip mixture. Water-based gel or liquid colors will cause the chocolate to seize.
To color a white chocolate drip, make your white chocolate ganache as usual. Once smooth, add a tiny amount of oil-based food coloring using a toothpick or dropper. Stir gently but thoroughly until the color is evenly distributed. Add more color gradually until you achieve the desired shade. Vibrant colors like electric blue, hot pink, or bright yellow can transform a simple cake into a showstopper, perfect for themed parties or celebrations. Ensure the consistency remains correct after adding the color; if it thickens, gently warm slightly.
Creative Chocolate Drip Cake Combinations: Raspberry & Chocolate, Salted Caramel & Chocolate
Beyond basic chocolate, you can infuse your perfect chocolate drip with other flavors. A popular combination is raspberry and chocolate. This can be achieved by using a raspberry-flavored chocolate, stirring freeze-dried raspberry powder into a white chocolate drip, or even incorporating a small amount of seedless raspberry puree (be cautious with water content) into the ganache, though this requires careful emulsification. A dark chocolate drip on a raspberry-flavored cake or a white chocolate drip infused with raspberry on a lemon cake creates delightful flavor pairings.
Salted caramel and chocolate is another heavenly combination. You can create a salted caramel ganache by combining melted chocolate with a pre-made or homemade salted caramel sauce and a touch of cream. This yields a drip that is both sweet and salty with notes of caramel. A salted caramel perfect chocolate drip on a chocolate or vanilla cake, perhaps topped with extra caramel drizzle and flaky sea salt, is incredibly popular and delicious. Experimenting with these flavor infusions adds another layer of mastery to your perfect chocolate drip cakes.
Tips for Long-Lasting and Beautiful Chocolate Drips
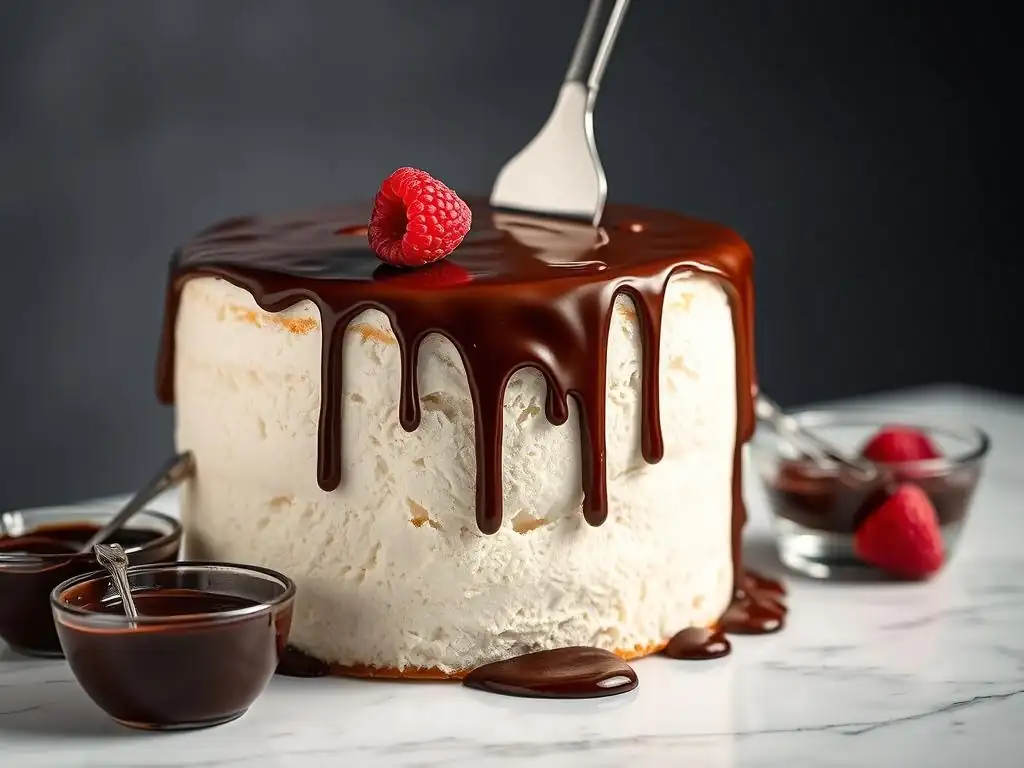
Storing Your Chocolate Drip Cake Properly
Proper storage is essential to maintain the appearance and quality of your perfect chocolate drip cake. Once decorated, cakes, especially those with cream-based frostings or fillings, should be stored in the refrigerator. Place the cake in an airtight cake carrier or loosely cover it with plastic wrap, being careful not to let the wrap touch the drip if possible.
Refrigeration helps keep the frosting firm and prevents the chocolate drip from becoming too soft or melting, especially if the room temperature is warm. While refrigeration is necessary, chocolate can sometimes develop condensation when moved from the cold fridge to warmer room temperatures, which can affect its appearance. Allowing the cake to sit at room temperature for 15-30 minutes before serving can help temper the chocolate slightly and improve texture, but watch for condensation.
Preventing Cracking and Melting of the Chocolate Drip
Cracking of the chocolate drip after it has set can sometimes occur, particularly with thicker ganaches or if the cake undergoes significant temperature fluctuations. Using a ganache with a slightly higher liquid ratio (closer to 1:1 chocolate to cream) can result in a softer drip that is less prone to cracking compared to a very thick 2.5:1 ratio. Adding a touch of corn syrup or glucose during the ganache making process can also add elasticity, helping to prevent cracks.
Melting is primarily a temperature issue. Once the drip is set, the cake should be kept cool. If displaying the cake, try to keep it out of direct sunlight or warm spots. If transporting the cake, keep it in a cool environment, ideally in an insulated carrier. While a perfect chocolate drip sets firm, it will soften and can melt if exposed to high temperatures for too long, especially on a warm day.
Mastering the Drip: Advanced Techniques for Chocolate Drip Cakes
Creating Ombre Chocolate Drips
Once you've mastered the basic perfect chocolate drip, you can explore more advanced techniques like creating an ombre effect. This involves using several shades of the same color chocolate drip or different colors that blend harmoniously. For a chocolate ombre, you might start with a dark chocolate drip, then use a milk chocolate drip, and finish with a lighter white chocolate drip (or a white chocolate drip colored brown to match).
Apply the darkest shade around the bottom edge of where you want the drips to end, then apply the next lighter shade slightly higher up, and the lightest shade around the top edge of the cake. As you apply, the different colors will slightly blend where they meet, creating a gradient effect. This technique requires careful planning of where each color band will go and precise application to ensure a smooth transition between shades, resulting in a visually stunning perfect chocolate drip cake.
Adding Textures to Your Chocolate Drip
Beyond the smooth, glossy finish, you can add texture to your perfect chocolate drip. While the drip is still wet, you can use a small offset spatula or the back of a spoon to gently push or swirl the chocolate to create peaks, valleys, or feathered effects. This works best with a slightly thicker ganache that holds its shape better.
Another way to add texture is by incorporating finely chopped nuts, cookie crumbs, or even very small sprinkles directly into the drip mixture before applying it. This creates a textured surface as it drips. Alternatively, after the main drip has set, you can create a second, thicker mixture (like a 2.5:1 ganache) and use a piping bag with a small star tip to pipe small dots or swirls on top of the set drips for added dimension.
Using Ganache for a More Luxurious Drip
As mentioned earlier, ganache (chocolate and cream) is the foundation for most perfect chocolate drips. Using a high-quality couverture chocolate with a higher cocoa butter content will naturally result in a more luxurious, glossy, and smooth ganache compared to standard baking chocolate or chips. Couverture requires tempering for solid chocolate work, but for a drip, simply melting it with cream is sufficient, and its composition yields a superior texture and sheen.
For an extra rich ganache, consider replacing a small portion of the cream with milk or dark chocolate pastry cream or adding a knob of softened butter at the end of the emulsification process. These additions increase the fat content and richness, contributing to a silkier texture and a beautiful, long-lasting shine on your perfect chocolate drip cake. Experimenting with different chocolate percentages and cream ratios will help you discover your preferred luxurious drip consistency.
Conclusion: Your Journey to Perfect Chocolate Drip Cakes Starts Now!
Frequently Asked Questions
How do I achieve the perfect consistency for my chocolate drip?
The ideal consistency is achieved by melting your chocolate with a small amount of heavy cream or coconut oil. The consistency should be similar to thick syrup for a controlled drip.
What type of chocolate is best for a chocolate drip cake?
Semi-sweet chocolate or dark chocolate are popular choices. Use a high-quality chocolate for the best flavor and a smooth, glossy drip. Avoid using chocolate chips as they can contain stabilizers that prevent them from melting smoothly.
How do I prevent my chocolate drip from being too thick or too thin?
Start with a small amount of liquid (cream or oil) and add more gradually until you reach the desired consistency. If it's too thin, add a small amount of melted chocolate.
What's the best technique for applying the chocolate drip to the cake?
Use a squeeze bottle or a spoon to gently drizzle the chocolate along the edge of the cake, allowing it to drip down the sides. Rotate the cake as you go for an even distribution.
How do I fix a chocolate drip that's not working properly?
If the drip is too thick, gently reheat the chocolate with a tiny bit more cream/oil. If it's too thin, refrigerate it briefly to thicken slightly. Practice makes perfect! Don't be afraid to try again.
Final Reflection: The Enduring Allure of the Perfect Chocolate Drip
The pursuit of the perfect chocolate drip is more than just a culinary quest; it's a reflection of our desire for beauty, precision, and the simple joy of a perfectly executed dessert. In a world increasingly dominated by fast-paced trends, the meticulous process of creating a flawless chocolate drip offers a calming counterpoint, a chance to slow down and appreciate the artistry involved in even the smallest details. This dedication to craft resonates deeply with home bakers and professional pastry chefs alike.
The impact of visually stunning desserts, like drip cakes, on our social media feeds and culinary culture is undeniable. We are drawn to the elegance and sophistication they represent, a testament to the power of visual appeal in the culinary arts. The simplest things are often the most beautiful,
a sentiment perfectly encapsulating the understated elegance of a well-executed chocolate drip. This seemingly simple detail elevates a cake from ordinary to extraordinary, transforming it into a centerpiece worthy of celebration and sharing. The enduring appeal of the drip cake speaks to our inherent appreciation for both beauty and deliciousness.
Now, consider your own baking journey. What elements of the perfect chocolate drip resonate most with you? Is it the precise control required, the satisfaction of a flawlessly executed drip, or perhaps the sheer joy of creating something beautiful and delicious to share with loved ones? I encourage you to embrace the challenge, experiment with different techniques, and discover the unique satisfaction of mastering the art of the perfect chocolate drip. Let your creativity flow, and remember, the journey itself is as rewarding as the final result. The perfect chocolate drip awaits your touch.
Unleash Your Inner Pastry Chef: Master the Perfect Chocolate Drip!
Thanks for taking the time to explore the world of perfect chocolate drips with us! We hope you've gained the confidence to create stunningly delicious cakes. Ready to put your new skills to the test?
- Create your masterpiece! Try out the drip cake technique you learned today – and don't forget to share your creation with us on social media using #BakeWithEaseDrips!
- Experiment with different chocolates and flavors. What unique drip combinations can you dream up?
- Share your experience! Leave a comment below and tell us about your favorite part of the process, or any unexpected challenges you overcame.
What innovative chocolate drip design will you conquer next?