
Easy Ways to Decorate a Layer Cake with Chocolate Shavings

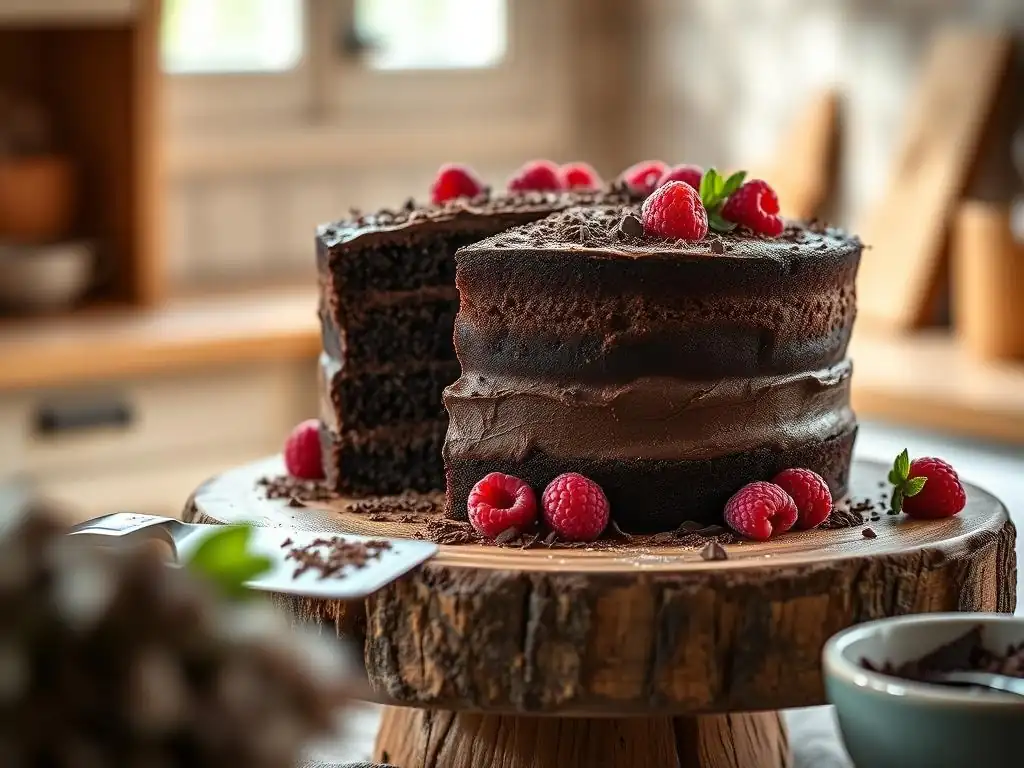
Welcome to BakeWithEase, your trusted guide to baking brilliance! Ever wondered how to achieve that professional, show-stopping look on your desserts? This week, we're diving into the delightful world of chocolate shavings and revealing our secrets to creating a stunning Chocolate Shaving Layer Cake. Prepare to be amazed at how simple it is to elevate your baking from ordinary to extraordinary – let's unlock the secrets to perfectly shaved chocolate and a beautifully decorated cake that will impress everyone!
- Decorating a Chocolate Cake with Chocolate Shavings
- Chocolate Cake Decoration: Elevating Your Cake with Shavings
- Understanding Chocolate Shaving Cake Decoration
- Step-by-Step Guide to Decorating a Cake with Chocolate Shavings
- Troubleshooting Common Chocolate Shaving Cake Decoration Issues
- Advanced Chocolate Shaving Techniques for Cakes
- Inspiration: Chocolate Shaving Cake Ideas
- Mastering the Art of Chocolate Cake Decoration with Ease
- Frequently Asked Questions
- Final Reflection: The Enduring Allure of Chocolate Shavings
- Unleash Your Inner Cake Artist: Decorate & Delight!
Decorating a Chocolate Cake with Chocolate Shavings
Chocolate Cake Decoration: Elevating Your Cake with Shavings
Adding chocolate shavings to a layer cake is a classic and elegant way to enhance its appearance and flavor profile. It offers a beautiful texture contrast to smooth frosting and provides an extra burst of chocolatey goodness in every bite. Whether you're a beginner or looking to refine your decorating skills, mastering the technique of creating and applying chocolate shavings can transform a simple cake into a showstopper. This guide will walk you through everything you need to know to achieve stunning results on your next chocolate shaving layer cake.
Understanding Chocolate Shaving Cake Decoration
What is a Chocolate Shaving Cake?
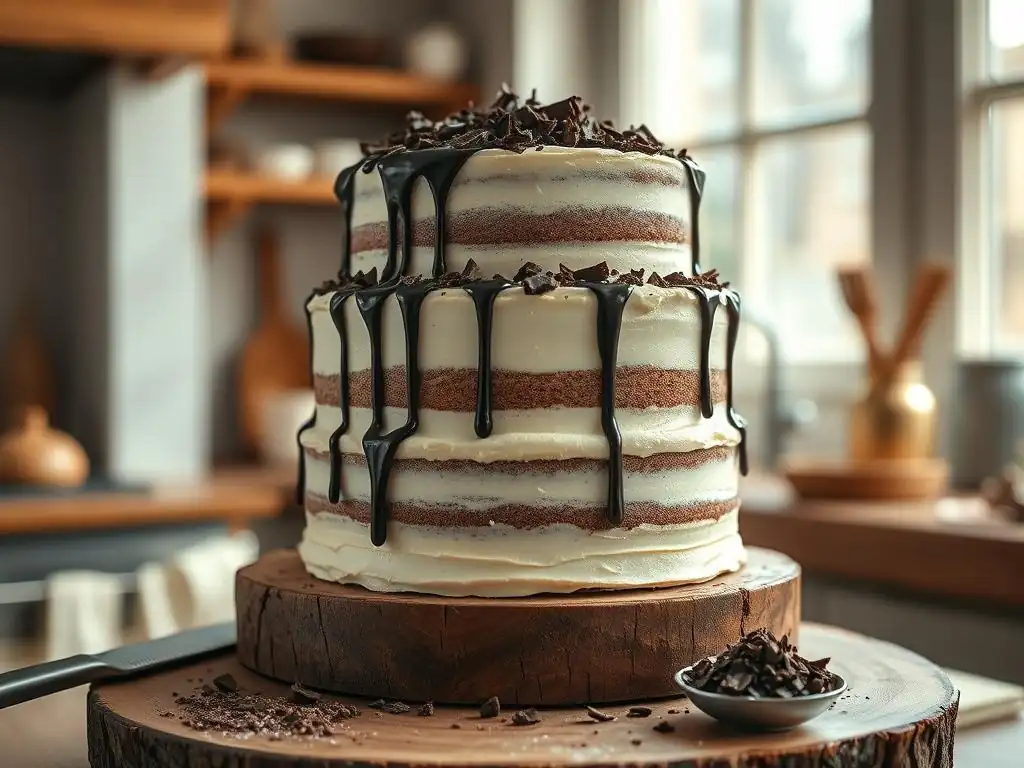
A chocolate shaving cake typically refers to a cake, often a layer cake, that has been decorated with delicate curls or flakes of chocolate. These shavings are created by scraping a block of chocolate using various tools, resulting in thin, light pieces that can be adhered to the sides and top of the cake. The effect is a visually appealing texture that can range from a rustic, snow-like coverage to more intricate patterns, adding both aesthetic appeal and a pleasant textural element alongside the cake and frosting.
The beauty of a chocolate shaving layer cake lies in its simplicity and the rich appearance it imparts. Unlike complex piping or fondant work, applying chocolate shavings is relatively straightforward, making it accessible for bakers of all skill levels. It's a versatile decoration that works well on various cake flavors, though it is most frequently paired with chocolate or vanilla cakes to complement the cocoa flavor. The texture of the light shavings contrasts beautifully with smooth buttercream or ganache.
Why Choose Chocolate Shavings for Cake Decoration?
Choosing chocolate shavings for your cake decoration offers several distinct advantages. Firstly, they provide a sophisticated and professional look without requiring advanced decorating skills. The process of creating and applying the shavings is relatively quick compared to intricate piping designs or modeling with fondant. This makes it an excellent option when you want an impressive result with less effort, perfect for enhancing a simple chocolate shaving layer cake.
Beyond aesthetics, chocolate shavings contribute wonderfully to the cake's taste and texture. They add another layer of chocolate flavor, which can be intensified or varied depending on the type of chocolate used (dark, milk, white). The delicate, slightly crisp texture of the shavings provides a delightful contrast to the soft cake layers and smooth frosting. This multi-sensory experience elevates the overall enjoyment of the cake, making a chocolate shaving layer cake a popular choice for special occasions.
Essential Tools for Creating Chocolate Shavings
To successfully create chocolate shavings, you'll need a few basic tools. The most common and versatile tool is a vegetable peeler. A standard swivel peeler works well, gliding along the edge of a chocolate block to produce thin, delicate curls or flakes. Ensure the peeler is sharp for the best results; a dull blade will simply scrape powder rather than create shavings.
Another useful tool, particularly for creating more uniform shavings or curls, is a dedicated chocolate shaver or a sharp chef's knife. A chocolate shaver is specifically designed with a wide blade and often a handle, allowing for controlled scraping. For using a knife, you'll typically run the blade across a relatively flat surface of the chocolate block at a slight angle. Having a clean, stable surface like a cutting board is also essential for safely creating the shavings.
Step-by-Step Guide to Decorating a Cake with Chocolate Shavings
Step 1: Preparing Your Cake for Decoration
Before you can apply chocolate shavings, your layer cake needs proper preparation. This involves ensuring the cake layers are level and applying a crumb coat. A level cake provides a stable base, while the crumb coat serves as the 'glue' for your shavings and prevents loose crumbs from getting into your final decoration.
Leveling the Cake: Achieving a Smooth Surface
After your cake layers have cooled completely, they may have domes on top. To level them, use a serrated knife or a cake leveler. Hold the knife parallel to your work surface and carefully slice off the dome, creating a flat top on each layer. Aim for an even thickness across all layers. This ensures your finished chocolate shaving layer cake sits straight and looks professional. Leveling is crucial not just for stacking but also for providing a consistent surface for frosting and ultimately, adhering the chocolate shavings evenly around the sides and top.
Crumb Coating: The Foundation for Perfect Chocolate Shavings
Once your cake layers are stacked with your chosen filling, apply a thin layer of frosting all over the cake – the top and sides. This is called the crumb coat. The purpose of the crumb coat is to trap any loose crumbs before you apply your final layer of frosting.
Apply the crumb coat thinly and evenly using an offset spatula. Once applied, chill the cake in the refrigerator for at least 20-30 minutes until the crumb coat is firm. This creates a smooth, stable surface for your final frosting layer, which is essential for the chocolate shavings to stick to effectively.
Step 2: Making the Chocolate Shavings
Creating the chocolate shavings is a simple process, but the type of chocolate and the technique you use will impact the final look and texture.
Choosing the Right Chocolate for Shavings
The best chocolate for making shavings is typically a bar or block of baking chocolate, rather than chocolate chips, which contain stabilizers that make them harder to shave smoothly. Couverture chocolate, known for its high cocoa butter content, yields particularly shiny and delicate shavings. However, a good quality bar of dark, milk, or white chocolate from the baking aisle works perfectly well.
The flavor profile you want for your chocolate shaving layer cake will guide your choice – dark chocolate offers intensity, while milk or white chocolate provides sweetness and a different color contrast. Ensure the chocolate is at room temperature or slightly cooler, but not cold from the fridge, as very cold chocolate can be brittle and harder to shave into curls.
Techniques for Creating Different Chocolate Shaving Styles
Different tools and techniques will give you varying types of chocolate shavings, allowing you to customize the look of your chocolate shaving layer cake. Experimenting with these methods can produce flakes, curls, or thicker pieces for different decorative effects.
Using a Vegetable Peeler for Thin Shavings
Using a vegetable peeler is perhaps the easiest method for creating thin, delicate chocolate shavings. Hold a block of chocolate firmly in one hand. Using the other hand, place the blade of the vegetable peeler against the edge of the chocolate block at a slight angle. Apply gentle, even pressure and draw the peeler down the length of the chocolate.
As you peel, thin strips of chocolate will curl up. Let these shavings fall onto a clean surface, ideally a baking sheet lined with parchment paper. Repeat this process, rotating the block as needed, until you have enough shavings for your cake.
Using a Chocolate Shaver for Uniform Shavings
A dedicated chocolate shaver, often resembling a small plane or a wide-bladed knife, is designed to produce more uniform shavings or ribbons. Hold the chocolate block securely. Position the shaver's blade against the surface of the chocolate. Apply steady pressure and push the shaver across the chocolate. The design of the shaver helps to create consistent curls or strips. This tool is excellent if you desire a more polished and consistent look for your chocolate shaving layer cake decoration. Collect the shavings on a parchment-lined tray.
Creating Chocolate Curls with a Knife
For slightly larger or more irregular curls, a sharp chef's knife can be effective. Place a block of chocolate on a clean, stable surface like a cutting board. Hold the knife blade at a low angle (around 30-45 degrees) against the flat surface of the chocolate.
Apply gentle pressure and push the knife blade away from you across the chocolate. The chocolate should peel up into curls as the blade moves. This method requires a bit more practice to control the size and shape of the curls compared to a peeler or shaver, but it can produce beautiful, rustic-looking pieces for your chocolate shaving layer cake.
Step 3: Applying the Chocolate Shavings to Your Cake
Once you have your chocolate shavings ready and your cake is chilled with its final layer of frosting (or ganache, or buttercream), it's time to apply them. The frosting acts as the adhesive.
Achieving Even Coverage with Chocolate Shavings
The easiest way to apply chocolate shavings to the sides of a cake is to gently press them on. Hold the cake on a turntable if possible, or simply work over a baking sheet to catch any excess shavings. Pick up handfuls of shavings and gently press them against the frosted sides of the cake, starting from the bottom and working your way up.
Rotate the cake as you go, ensuring the entire side surface is covered. For the top of the cake, simply sprinkle or carefully place the shavings across the surface, using an offset spatula or your fingers to distribute them evenly. Don't be afraid to use a generous amount; excess shavings can be collected from the baking sheet and reused.
Creating Decorative Patterns with Chocolate Shavings
Beyond simple coverage, you can create specific patterns with chocolate shavings to add visual interest to your chocolate shaving layer cake.
Ombre Chocolate Shaving Effect
An ombre effect transitions from one color or density to another. To create an ombre with chocolate shavings, you could use two types of chocolate (e.g., dark and white) or vary the density of application.
For a simple density ombre, apply a thick layer of shavings around the base of the cake, gradually applying fewer and fewer shavings as you move up the sides, leaving the top section of frosting more visible. For a color ombre using dark and white chocolate, apply dark shavings to the bottom, milk in the middle, and white on top, gently blending the edges where the colors meet.
Vertical Chocolate Shaving Design
Instead of covering the entire cake, you can create vertical stripes of chocolate shavings. Frost your cake smoothly. Then, using a piece of parchment paper or a large spatula, carefully apply vertical strips of chocolate shavings from the bottom edge up towards the top edge, leaving gaps of frosting between the stripes. You could also apply shavings only to the top of the cake, leaving the sides smooth, or vice versa, for a different vertical emphasis on your chocolate shaving layer cake.
Concentric Circle Chocolate Shaving Pattern
For the top of the cake, you can create a concentric circle pattern. Start by placing a small pile of shavings in the center of the cake. Then, using an offset spatula or spoon, gently push the shavings outwards in a circular motion, creating rings. You can continue adding shavings and pushing them outwards to fill the entire top surface with a spiral or ring effect. This works particularly well on a flat-topped chocolate shaving layer cake.
Step 4: Finishing Touches and Presentation
Once the chocolate shavings are applied, a few final touches can elevate the presentation of your chocolate shaving layer cake.
Adding Extra Elements: Berries, Dusting Sugar, and More
To add color and freshness, consider topping your chocolate shaving layer cake with fresh berries like raspberries or strawberries. Their bright color and slight tartness contrast beautifully with the rich chocolate. A light dusting of powdered sugar over the top can also add an elegant, snowy effect, especially on dark chocolate shavings. Small chocolate decorations, edible glitter, or even a simple drizzle of ganache or caramel can be added to the top for extra flair. These elements can be placed strategically or scattered artfully.
Storing Your Decorated Chocolate Shaving Cake
A chocolate shaving layer cake should be stored in a cool place. If your frosting is buttercream, it's best stored in the refrigerator, especially in warmer environments. Place the cake in an airtight cake carrier to prevent it from drying out and absorbing odors. If using ganache, the cake can often be stored at cool room temperature (below 70°F or 21°C) for a day or two, but refrigeration is safer for longer storage. Before serving, let the cake sit at room temperature for 30-60 minutes to allow the flavors and textures to soften and become optimal.
Troubleshooting Common Chocolate Shaving Cake Decoration Issues
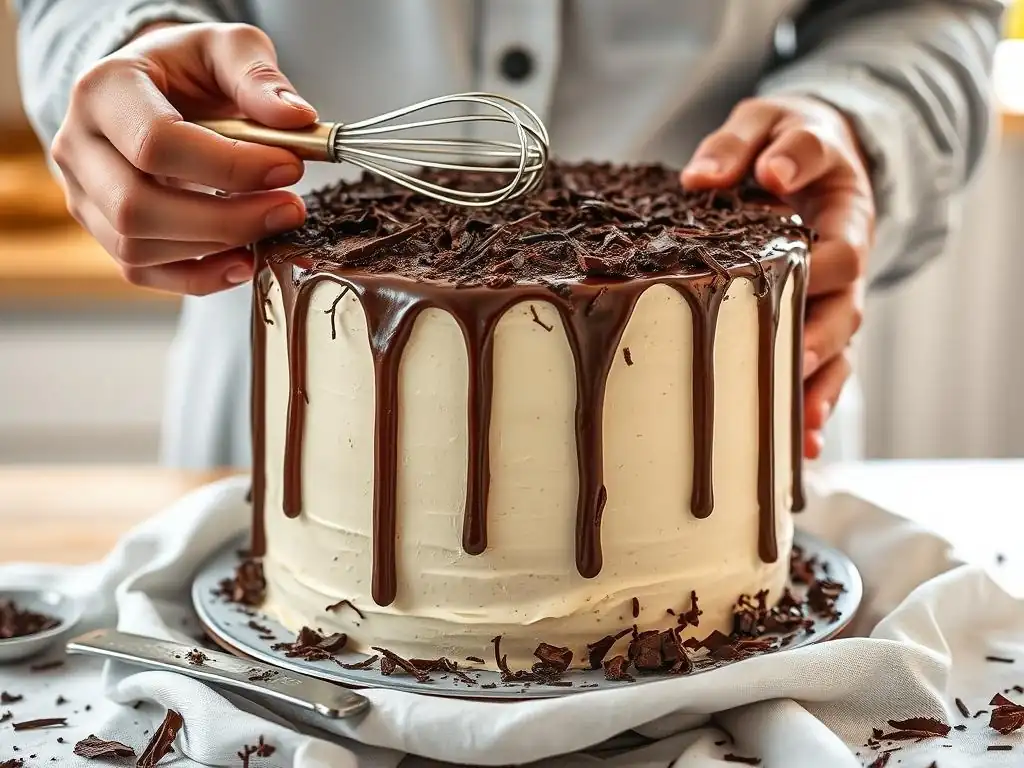
Even with careful preparation, you might encounter a few challenges when decorating a chocolate shaving layer cake.
Chocolate Shavings Melting
One common issue is the chocolate shavings melting as you handle them or apply them to the cake. This is usually due to warm hands or a warm environment. To prevent this, ensure your hands are cool and dry.
Work quickly, and consider chilling your chocolate block briefly in the refrigerator (just for 5-10 minutes) before shaving, especially in a warm kitchen. Have a parchment-lined tray ready to catch the shavings and pop them back into the fridge for a few minutes if they start to soften before application. Applying the shavings to a cold, frosted cake also helps keep them firm.
Shavings Not Sticking to the Cake
If your chocolate shavings aren't sticking to the cake, the most likely culprit is the frosting not being sticky enough or the cake not being cold enough. Ensure your final layer of frosting is soft enough to be adhesive but firm enough to hold its shape.
Applying the shavings immediately after frosting or after a brief chill (just enough to set the frosting slightly, not harden it completely) usually works best. If the frosting is too firm, you can try lightly misting the cake with a little water or milk using a spray bottle just before applying the shavings, but be careful not to oversaturate.
Uneven Chocolate Shaving Coverage
Achieving perfectly even coverage can be tricky, especially around the base and edges. If you notice patchy areas after the initial application, simply gather more shavings from your tray and gently press them onto the sparse spots. Don't be afraid to handle the cake carefully; a gentle hand-pressing motion can help embed the shavings more firmly and fill gaps. Rotating the cake on a turntable while applying the shavings to the sides can also help you see and fill in any uneven areas more easily, ensuring your chocolate shaving layer cake looks consistently covered.
Advanced Chocolate Shaving Techniques for Cakes
Once you've mastered the basics, you can explore more advanced techniques to make your chocolate shaving layer cake truly stand out.
Using Multiple Chocolate Types for Contrasting Shavings
Combining dark, milk, and white chocolate shavings on a single cake can create beautiful visual contrast and add layers of flavor. You could create distinct bands of each type, mix them together for a marbled effect, or use different types for specific decorative elements. For example, use dark chocolate shavings on the sides and white chocolate shavings on top, or alternate vertical stripes of different colors. This technique requires preparing shavings from each chocolate type separately and then strategically applying them.
Tempering Chocolate for Shiny, Professional-Looking Shavings
Tempering chocolate involves heating and cooling it to specific temperatures to stabilize the cocoa butter crystals. This results in chocolate that is shiny, snaps cleanly, and melts in your mouth rather than in your hands. While not strictly necessary for basic shavings, using tempered chocolate will produce shavings that are glossier, firmer, and less prone to melting at room temperature, giving your chocolate shaving layer cake a more professional sheen. Tempering can be done using the seeding method or the tabling method, requiring a thermometer and careful temperature control.
Creating Chocolate Shaving Flowers and Other Designs
With practice, you can manipulate larger chocolate curls to create more intricate designs. By carefully peeling wider strips of chocolate and gently coiling them, you can form rose-like shapes. These 'flowers' can then be placed on top of the cake or along the edges. Similarly, you can arrange shavings to mimic textures like wood grain or create specific patterns like swirls or borders. This level of detail requires using a knife or a specific chocolate shaver designed for wider curls and handling the delicate pieces with great care.
Inspiration: Chocolate Shaving Cake Ideas
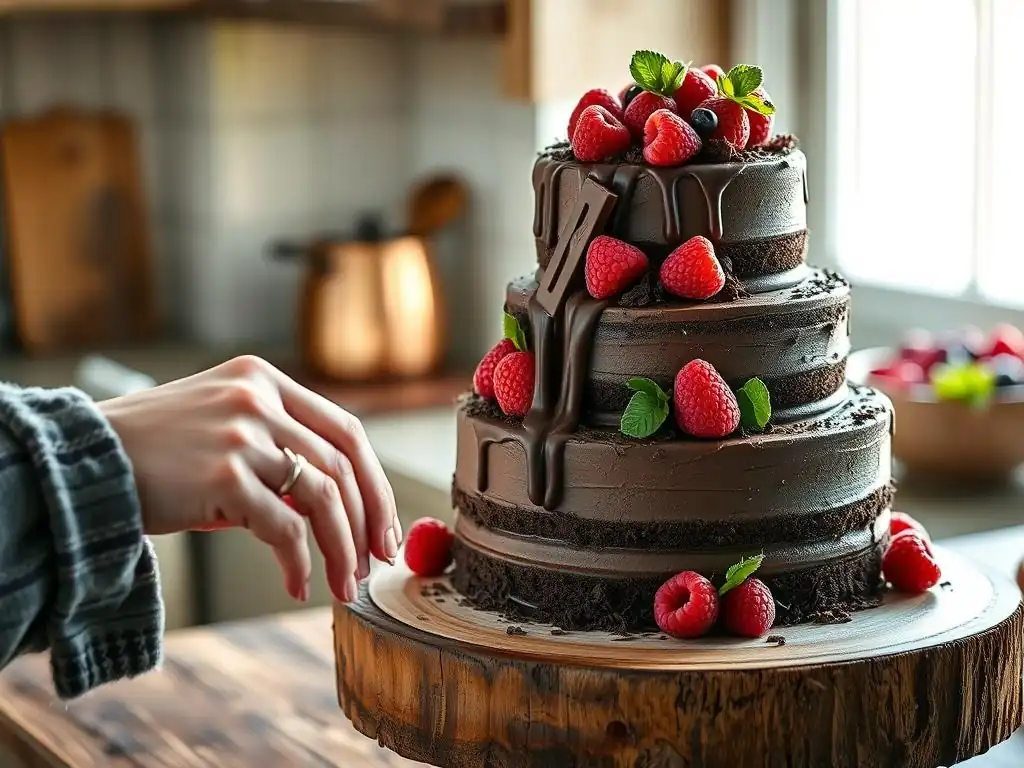
Looking for ideas for your next chocolate shaving layer cake? Here are a few concepts to get you started.
Classic Dark Chocolate Shaving Cake
A dark chocolate cake with dark chocolate buttercream, covered entirely in dark chocolate shavings. This is a timeless, elegant choice that emphasizes the rich, deep flavor of cocoa. It's simple, sophisticated, and always a crowd-pleaser. Pair it with a simple chocolate ganache drip or fresh berries on top for a touch of color.
White Chocolate Shaving Cake with Raspberry Filling
A vanilla or white chocolate cake filled with vibrant raspberry compote or mousse, frosted with white chocolate buttercream, and covered in delicate white chocolate shavings. The contrast between the sweet white chocolate and the tart raspberries is delightful, and the white shavings create a bright, airy look.
Milk Chocolate Shaving Cake with Salted Caramel Drizzle
A moist chocolate or caramel cake layered with salted caramel filling, frosted with milk chocolate buttercream, and adorned with milk chocolate shavings. Finish it off with a generous drizzle of homemade salted caramel sauce cascading down the sides. The combination of milk chocolate and salted caramel is incredibly popular and decadent.
Combining Chocolate Shavings with Other Decorations
Don't feel limited to just shavings! A chocolate shaving layer cake can be beautifully complemented by other decorative elements. Pipe swirls of buttercream or ganache around the top edge before filling the center with shavings. Add a chocolate drip down the sides before applying shavings to the lower portion. Or, create a smooth band of frosting around the bottom and cover only the top and upper sides with shavings. The possibilities are endless!
Mastering the Art of Chocolate Cake Decoration with Ease
Frequently Asked Questions
How do I make chocolate shavings for my layer cake?
The easiest way is to use a vegetable peeler on a slightly softened chocolate bar. You can also use a microplane grater for finer shavings.
What type of chocolate is best for chocolate shavings?
Using a high-quality dark or semi-sweet chocolate is recommended, as it provides a rich flavor and good structure for shaving. Avoid milk chocolate, as it can be too soft.
How do I prevent my chocolate shavings from melting?
Keep the shavings chilled until ready to use and work quickly. Avoid handling them too much with warm hands.
How do I adhere the chocolate shavings to the cake?
Applying a thin layer of frosting to the cake creates a surface for the shavings to stick to. Gently press the shavings onto the frosting.
Can I make chocolate shavings ahead of time?
Yes, you can! Store the shavings in an airtight container in the refrigerator for up to a week. This will ensure they stay fresh and crisp.
Final Reflection: The Enduring Allure of Chocolate Shavings
The simple act of decorating a layer cake with chocolate shavings transcends mere aesthetics; it's a testament to the power of small details to elevate the ordinary to the extraordinary. This article explored easy techniques to achieve beautiful, professional-looking chocolate shavings, proving that even novice bakers can create stunning desserts. The accessibility of these methods makes them incredibly relevant today, in a world where visually appealing food is increasingly valued on social media and in our everyday lives.
The impact of visually stunning desserts, like those adorned with delicate chocolate shavings, is undeniable. It's a sensory experience that goes beyond taste; the sight of perfectly formed curls of chocolate adds a layer of elegance and sophistication. The best things in life are simple,
a phrase often used, truly resonates here. The simplicity of the techniques presented, combined with the impressive results, highlights the beauty in understated elegance. This resonates with a growing appreciation for handcrafted items and the personal touch they offer, a counterpoint to the mass-produced nature of much of our modern world.
Now, consider your own baking journey. Perhaps you've been intimidated by elaborate cake decorating in the past. I encourage you to revisit that feeling, armed with the knowledge gained here. Try one of the techniques outlined in this article – experiment with different types of chocolate, different tools, and different designs. Embrace the process, allow yourself to be creative, and discover the joy of transforming a simple cake into a masterpiece. The beauty of chocolate shavings lies not only in their visual appeal but also in the satisfaction of creating something beautiful with your own hands.
Unleash Your Inner Cake Artist: Decorate & Delight!
Thanks for taking the time to explore the delicious world of chocolate-shaved layer cakes! We hope you've picked up some tasty inspiration. Now it's time to put your newfound skills to the test.
Here’s what you can do next:
- Master the Chocolate Shaving Technique: Practice your chocolate-shaving skills on a small batch – you'll be amazed how quickly you'll improve! Experiment with different chocolate types and tools for unique results.
- Share Your Creation: Post a picture of your stunning cake masterpiece on social media and tag us @BakeWithEase – we'd love to see it!
- Consider trying a new flavor combination: What other delicious fillings and frostings can you pair with your chocolate shavings? Let your creativity flow!
Ready to transform a simple cake into a showstopper? What delicious flavor profile are you going to try next?