
Mastering the Crumb Coat: Essential for Flawless Layer Cakes

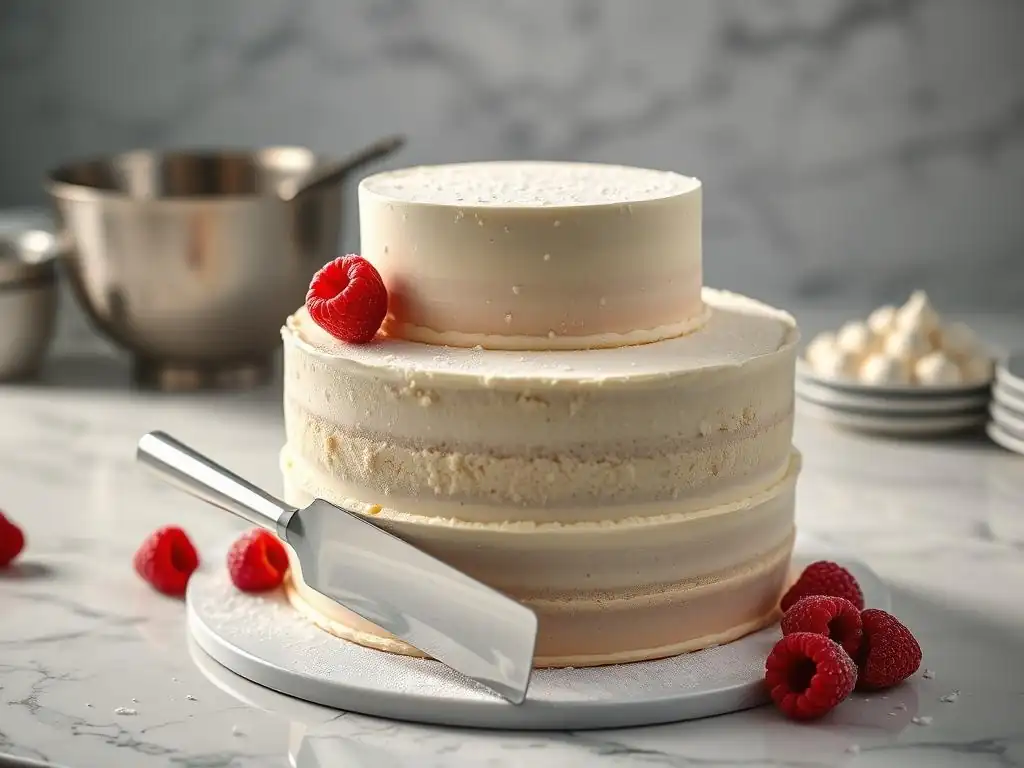
Welcome to BakeWithEase, your haven for all things baking! Ever wondered how to achieve those picture-perfect layer cakes you see online? The secret lies in mastering a fundamental technique: the crumb coat. Dive in and discover our essential guide to perfecting crumb coat layer cakes, transforming your creations from good to absolutely stunning. Get ready to unlock the secrets to a smooth, professional finish that will leave everyone wanting more!
- Achieving Perfect Layer Cakes with a Professional Crumb Coat
- Understanding the Importance of a Crumb Coat for Layer Cakes
- Preparing for the Crumb Coat: Essential Steps Before You Begin
- The Crumb Coat Process: A Step-by-Step Guide
- Troubleshooting Common Crumb Coat Issues & Solutions
- Tips and Tricks for an Impeccable Crumb Coat Finish
- Beyond the Basics: Advanced Crumb Coat Techniques
- Perfecting Crumb Coat Layer Cakes: Final Thoughts and Encouragement
-
Frequently Asked Questions
- What exactly is a crumb coat, and why is it so important for layer cakes?
- How do I prevent crumbs from getting into my crumb coat?
- What kind of frosting is best for a crumb coat?
- How long should I chill the crumb-coated cake before applying the final frosting?
- What happens if I skip the crumb coat altogether?
- Final Reflection: The Crumb Coat's Enduring Power
- Unlock Your Inner Cake Artist: Level Up Your Baking Game!
Achieving Perfect Layer Cakes with a Professional Crumb Coat
Creating beautiful, smooth layer cakes is a rewarding part of baking. Whether you're crafting a classic birthday cake, an elegant wedding centerpiece, or just a treat for friends, a flawless finish is often the goal. The secret weapon in achieving this professional look is the crumb coat. It's an often-overlooked but absolutely essential step in the cake decorating process.
Mastering the crumb coat is fundamental to perfecting crumb coat layer cakes. It lays the groundwork for a smooth, clean final frosting layer, preventing those frustrating crumbs from marring your beautiful decoration. Think of it as the primer before painting a wall – it seals the surface and prepares it for the final, perfect coat.
Understanding the Importance of a Crumb Coat for Layer Cakes
What is a Crumb Coat and Why is it Necessary?
A crumb coat is a very thin layer of frosting that is applied to a cake before the final, thicker layer of frosting or fondant. Its primary purpose is to trap any loose crumbs that flake off the cake during the frosting process. This initial layer acts like a glue, adhering all those pesky crumbs firmly to the cake's surface.
Without a crumb coat, as you apply your final layer of frosting, your spatula will inevitably pick up crumbs from the cake's surface and mix them into your beautiful, smooth frosting. This results in a speckled, unprofessional appearance. Applying a crumb coat is a simple step that saves a significant amount of frustration and ensures a clean finish, making it indispensable for perfecting crumb coat layer cakes.
Preventing Crumbs in Your Final Frosting: The Crumb Coat's Primary Role
The most critical function of the crumb coat is to create a barrier between the cake's potentially crumbly surface and the smooth, final layer of frosting. As you apply the first thin layer, you're essentially brushing the crumbs into the frosting and sticking them down. Once this layer is chilled and set, the crumbs are locked in place.
Consider a chocolate cake, which is often quite crumbly. Trying to apply a final layer of white vanilla buttercream directly onto an un-coated chocolate cake will almost certainly result in chocolate crumbs mixing into the white frosting, creating unattractive brown streaks. A proper crumb coat traps those chocolate crumbs in the initial thin layer, leaving your final white frosting pristine.
Achieving a Smooth Cake Surface: How the Crumb Coat Helps
Beyond just trapping crumbs, the crumb coat also serves to create a more even and stable surface for your final decoration. It fills in any small gaps, holes, or imperfections on the cake's sides and top, creating a smoother canvas.
This is particularly helpful when you want sharp edges on your cake. The firm, chilled crumb coat provides a solid base against which you can press your bench scraper or spatula when applying and smoothing the final frosting layer. It helps correct slight leaning and provides structural integrity to the frosting layers, contributing significantly to perfecting crumb coat layer cakes.
Extending Cake Freshness with a Protective Crumb Layer
While its main job is aesthetic and structural, a crumb coat can also offer a minor benefit in helping to keep the cake moist. The layer of frosting, even a thin one, acts as a seal around the cake layers.
This is especially true for the exposed cut surfaces where layers are stacked. The frosting helps prevent air from reaching the cake directly, which can slow down the drying process. While not its primary function, this slight protective barrier contributes to maintaining the cake's texture and freshness for a little longer.
Preparing for the Crumb Coat: Essential Steps Before You Begin
Leveling Your Layer Cake: Creating an Even Surface
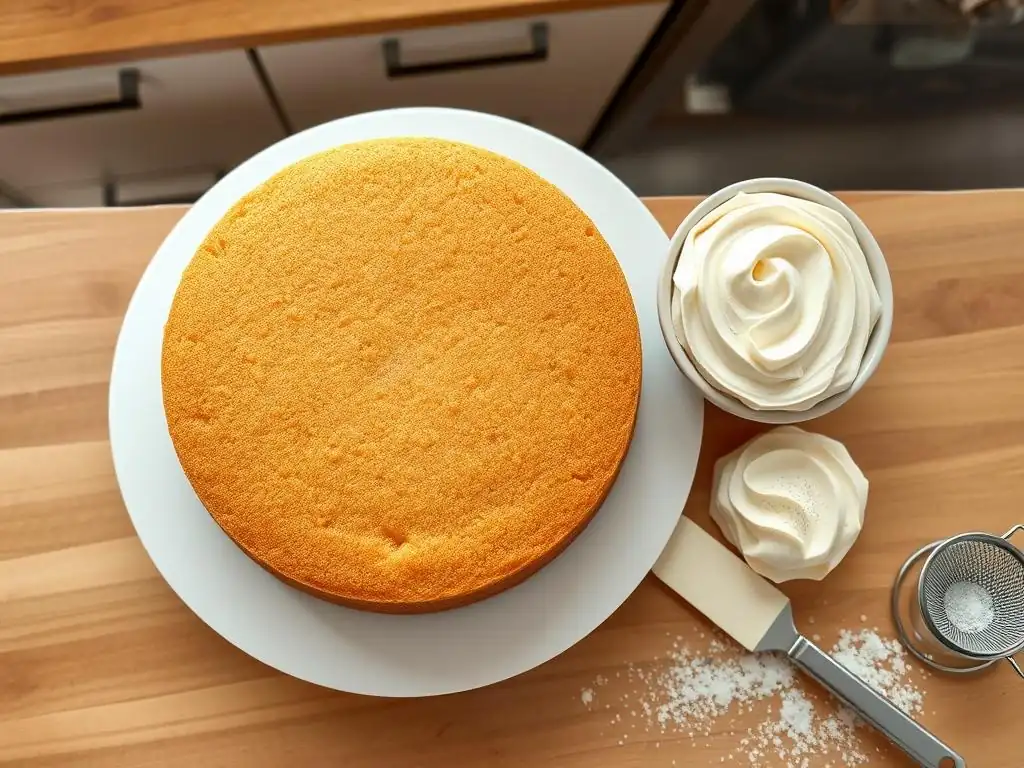
Before you even think about frosting, your cake layers need to be level. Cakes often bake with a dome in the center, which can make stacking unstable and lead to a lopsided cake. Leveling ensures that your layers sit flat on top of each other, creating a straight, even structure for frosting.
To level, you can use a long serrated knife or a specialized cake leveler. Hold the knife parallel to the counter and gently saw through the dome, removing just enough to create a flat surface. For a multi-layer cake, ensuring each layer is level is crucial for stability; a 1/2 inch dome on one layer can become a significant lean when stacked three or four high.
Choosing the Right Frosting for Your Crumb Coat: Consistency is Key
Almost any frosting can be used for a crumb coat, but consistency is paramount. The ideal crumb coat frosting should be slightly thinner than your final frosting, but still thick enough to spread easily and adhere to the cake without sliding off. Buttercream, ganache, or even a thin layer of jam or melted chocolate (for specific applications) can work.
A classic American buttercream often works well, perhaps thinned slightly with a teaspoon or two of milk or cream if it's very stiff. Swiss or Italian meringue buttercreams are also excellent choices as they are smooth and stable once chilled. Avoid very soft or runny frostings, as they won't effectively trap crumbs or provide a firm base for perfecting crumb coat layer cakes.
Gathering Your Tools: Spatulas, Turn Tables, and More
Having the right tools on hand makes the crumb coating process much smoother and more efficient. You don't need a professional bakery setup, but a few key items are incredibly helpful.
Essential tools include an offset spatula (small or medium size is versatile), a bench scraper or cake scraper for smoothing the sides, and ideally, a cake turntable. A cake board or plate for the cake to sit on while you work is also necessary. Having everything ready before you start ensures you can work quickly and cleanly, which is important for preventing the frosting from warming up too much.
The Crumb Coat Process: A Step-by-Step Guide
Step 1: Applying the Initial Layer of Frosting
Place your first level cake layer on your cake board or serving plate. If stacking multiple layers, add a layer of filling and stack the next level cake layer on top, ensuring it's centered and level. Once stacked, place the cake on your turntable, if using. Take a small amount of your chosen crumb coat frosting – about 1/2 cup for an 8-inch cake – and place a dollop on top of the cake.
Using an offset spatula, gently spread the frosting evenly across the top of the cake, pushing some over the edges. Then, take small amounts of frosting and apply them to the sides of the cake. The goal here isn't thickness, but coverage. Use light pressure to avoid tearing the cake.
Step 2: Sealing in the Crumbs: Focus on Thin and Even Coverage
Once you have frosting applied to the top and sides, use your offset spatula or bench scraper to smooth it out into a very thin, even layer. As you spread, you will see crumbs mixing into this layer – this is exactly what you want! Work your way around the cake, ensuring every part is covered with this thin layer of crumb-filled frosting.
The layer should be just thick enough to cover the cake and trap the crumbs. You should still be able to see the cake faintly through the frosting in places. Don't worry about perfection at this stage; the focus is on sealing in all those loose bits to ensure a clean base for perfecting crumb coat layer cakes.
Step 3: Chilling the Crumb-Coated Cake: The Critical Resting Period
This is arguably the most important step in the crumb coating process. Once the thin layer of frosting is applied, place the cake in the refrigerator to chill. The cold temperature will firm up the frosting, effectively gluing all the crumbs in place and creating a solid, stable surface.
Chill the cake for at least 15-30 minutes in the refrigerator, or 5-10 minutes in the freezer, until the crumb coat is firm to the touch and no longer sticky. An ideal chilling temperature is typically between 35-40°F (2-4°C). Do not rush this step; insufficient chilling is a common cause of issues when applying the final coat.
Step 4: Smoothing and Refining: Addressing Imperfections
After the cake is sufficiently chilled and the crumb coat is firm, take it out of the refrigerator. At this point, you can visually inspect the cake for any major imperfections or gaps. If you see any spots where the cake is showing through, or if the surface feels uneven, you can apply a tiny bit more frosting just to those specific areas and smooth them gently.
This is a quick refinement step, not a full second coat. Use your spatula to lightly smooth the now-firm crumb coat if needed. The goal is a relatively smooth, firm surface ready to receive the final, thicker layer of frosting for perfecting crumb coat layer cakes.
Troubleshooting Common Crumb Coat Issues & Solutions
Dealing with Stubborn Crumbs: Techniques for a Smooth Finish
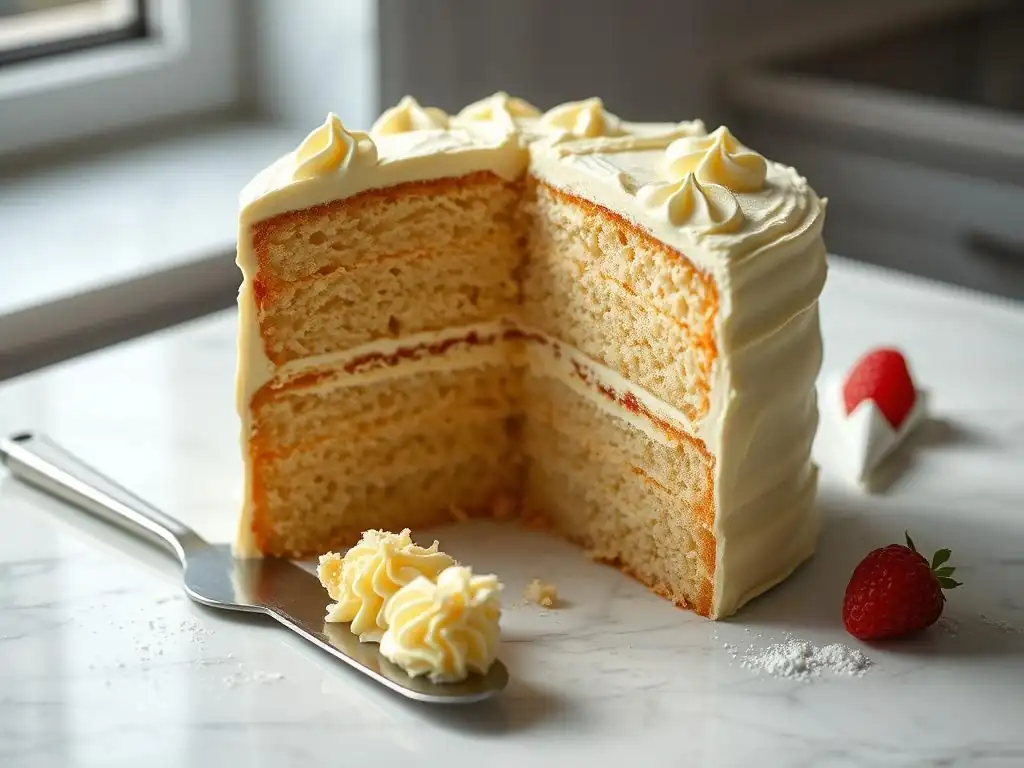
Some cakes, like those made with darker flours or additions like cocoa powder or nuts, are inherently more crumbly. If you're finding that crumbs are still escaping your initial crumb coat attempt, there are a couple of strategies. One technique is to brush the cake gently with a dry pastry brush before applying any frosting to remove as many loose surface crumbs as possible.
Another effective method for very crumbly cakes is to apply an exceptionally thin "dirty" crumb coat first, chill it for a short time (maybe 10 minutes), and then apply a second, slightly more substantial but still thin crumb coat. This double-layer approach is excellent for trapping even the most stubborn crumbs, significantly helping in perfecting crumb coat layer cakes.
Preventing the Frosting from Tearing the Cake: Gentle Application
If your cake layers are very tender or moist, you might find the frosting application tears the delicate cake surface. This usually happens when you use too much pressure or too little frosting on your spatula initially.
To avoid this, always start with a generous amount of frosting on your offset spatula before touching it to the cake. Use a light, sweeping motion to apply the frosting, letting the frosting itself do the work of spreading rather than pressing the spatula into the cake. If your frosting is very cold or stiff, let it warm up slightly at room temperature for a few minutes to make it more pliable.
Avoiding a Sticky Crumb Coat: Proper Chilling Techniques
A sticky or soft crumb coat is the enemy of a smooth final frosting layer. If the crumb coat isn't firm when you apply the final coat, the spatula will drag the crumb coat, creating streaks and mixing crumbs into your clean frosting. The main culprit here is insufficient chilling time.
Ensure your refrigerator is cold enough (around 35-40°F or 2-4°C) and give the cake adequate time to firm up – typically 15-30 minutes is sufficient for most standard buttercreams. If you're in a hurry, the freezer can work, but be careful not to leave it in too long (no more than 10-15 minutes for a standard cake) to avoid condensation issues when it comes back out.
Fixing Uneven Crumb Coats: Building Up Low Spots
It's common for the crumb coat to be slightly uneven after the initial application. While perfection isn't needed, significant dips or low spots can still show through the final frosting layer.
After the initial chilling period, if you notice any areas where the crumb coat is significantly thinner or where the cake is still visible, you can add a small amount of frosting specifically to those spots. Use your offset spatula to gently smooth just those areas, blending them into the existing firm crumb coat. It's much easier to add a little frosting to fill a gap on a firm surface than to try and remove or redistribute frosting on a soft one, making this step helpful for perfecting crumb coat layer cakes.
Tips and Tricks for an Impeccable Crumb Coat Finish
Using a Hot Spatula for Ultra-Smooth Frosting
While more commonly used for the final frosting layer, a hot spatula can sometimes be used very carefully on a chilled crumb coat for minor smoothing if needed. Dip your offset spatula in hot water, wipe it completely dry, and then gently glide it over the firm crumb coat surface.
The slight warmth from the spatula will momentarily soften the surface of the crumb coat, allowing you to smooth out small ridges or imperfections. This technique requires a light touch and is best used sparingly on a well-chilled crumb coat to avoid melting too much of the frosting.
Applying Multiple Thin Coats vs. One Thick Coat
For crumb coating, thinner is almost always better. A single, thick crumb coat takes longer to chill and firm up, and it's harder to apply evenly without disturbing crumbs. It also adds unnecessary bulk to the cake.
Applying a very thin layer that effectively traps crumbs, chilling it until firm, and then applying the final, thicker decorative layer is the standard and most effective method. For extremely crumbly cakes, two very thin crumb coats, each chilled until firm, can be more effective than one thicker layer at perfecting crumb coat layer cakes.
Creating a Perfectly Smooth Crumb Coat on Different Cake Textures
The technique for applying the crumb coat might need slight adjustments depending on the cake's texture. A dense pound cake is sturdy and can handle a bit more pressure, while a delicate sponge cake requires a much lighter touch.
For delicate cakes, ensure your frosting is easily spreadable and use minimal pressure, letting the spatula glide over the surface. For sturdier cakes, you can be slightly firmer with your spatula or scraper, but still prioritize gentle handling to avoid tearing or lifting crumbs unnecessarily.
The Importance of Patience: Don't Rush the Process
Perhaps the most critical tip for perfecting crumb coat layer cakes is patience. Rushing the chilling step is the number one mistake bakers make. A crumb coat that hasn't fully firmed up cannot do its job effectively.
Allowing the cake sufficient time in the refrigerator (at least 15-30 minutes) is non-negotiable for achieving a clean, smooth final frosting layer. Use this chilling time to clean your tools, prepare your final frosting, or simply take a break. The wait is worth it for the flawless finish you'll achieve.
Beyond the Basics: Advanced Crumb Coat Techniques
Creating a "Naked" Crumb Coat for a Rustic Look
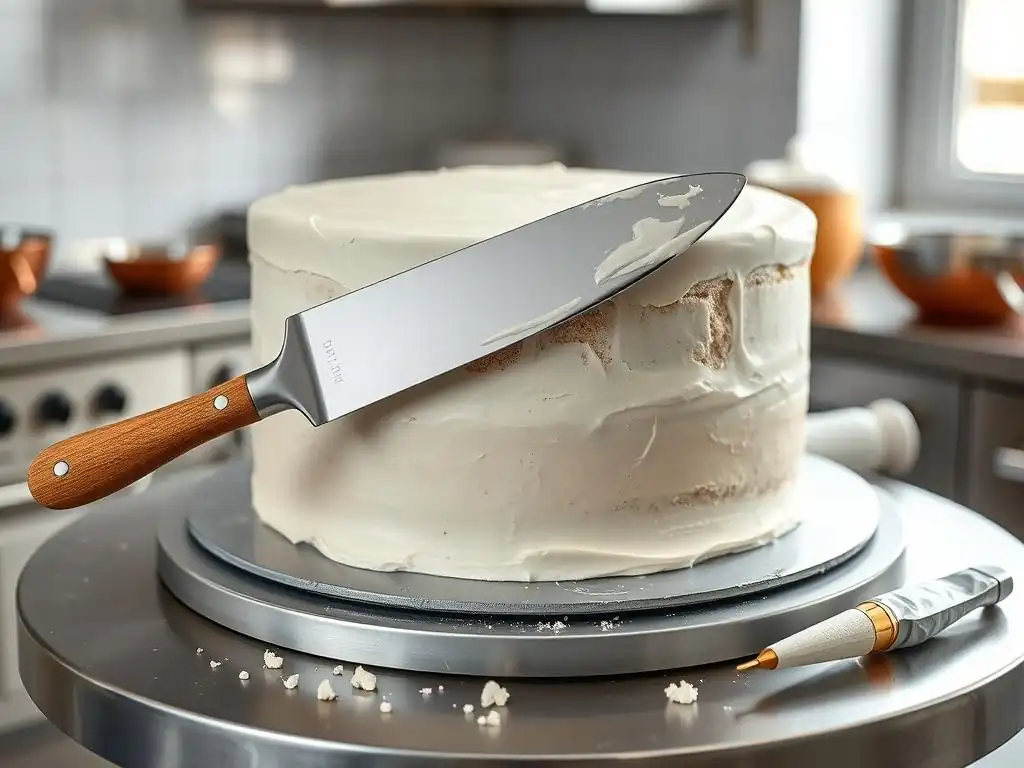
The "naked cake" trend relies heavily on a well-executed crumb coat. In this style, the crumb coat is the final layer, applied so thinly that the cake layers peek through. This requires a very smooth and even crumb coat application, as there's no thicker final layer to hide imperfections.
For a naked cake, apply the crumb coat as usual, focusing on an even, thin distribution. Use a bench scraper held perpendicular to the cake to scrape away most of the frosting, leaving just a thin veil that allows the cake layers to show through. This technique truly showcases the importance of a clean, smooth crumb coat for perfecting crumb coat layer cakes with a specific aesthetic.
Using Different Flavors for the Crumb Coat
While the crumb coat is usually the same flavor as the final frosting or a neutral vanilla, you can get creative. Using a complementary flavor for the crumb coat can add an extra layer of taste complexity.
For example, you could use a thin layer of chocolate ganache or chocolate buttercream as a crumb coat under a peanut butter frosting. Or a cream cheese frosting crumb coat under a lemon buttercream. Just ensure the consistency is right for crumb coating and that the flavors pair well.
Achieving a Perfectly White Crumb Coat
If you are aiming for a final frosting layer that is stark white, particularly with a cake that has a darker color (like red velvet or dark chocolate), you might worry about the cake color showing through.
To prevent this, you can use a shortening-based buttercream for your crumb coat, as shortening is naturally whiter than butter. Alternatively, you can use a small amount of white gel food coloring in your butter-based crumb coat frosting to ensure it's opaque and perfectly white, creating a clean base for your final white frosting layer.
Perfecting Crumb Coat Layer Cakes: Final Thoughts and Encouragement
Practice Makes Perfect: Don't Be Afraid to Experiment
Mastering the crumb coat, like any baking technique, takes practice. Your first attempt might not be flawless, and that's perfectly okay! Each cake is different, and you'll learn how different cake textures and frosting consistencies behave as you practice.
Don't be discouraged by initial challenges. Focus on the core principles: thin, even application, and crucial chilling time. With each cake you frost, you'll get better at controlling your spatula, applying even pressure, and achieving that smooth, crumb-free base, moving closer to perfecting crumb coat layer cakes with ease.
Resources for Advanced Layer Cake Techniques.
The crumb coat is just one step in the journey of creating stunning layer cakes. Once you've mastered this essential technique, you might want to explore other aspects of layer cake assembly and decoration.
BakeWithEase.com offers a wealth of resources on frosting techniques, creating stable cake structures with dowels, applying different types of decorative finishes, and much more. Continue practicing your crumb coating, and then explore our other guides to take your layer cake skills to the next level.
Frequently Asked Questions
What exactly is a crumb coat, and why is it so important for layer cakes?
A crumb coat is a thin layer of frosting applied to a cake before the final frosting layer. It's crucial because it traps loose crumbs and prevents them from mixing with the final decorative frosting, resulting in a smoother finish.
How do I prevent crumbs from getting into my crumb coat?
Ensure your cake layers are completely cooled before frosting. Use a thin, even layer of frosting for the crumb coat, and consider using a stiff offset spatula to minimize disturbance of the cake surface.
What kind of frosting is best for a crumb coat?
Almost any frosting works, but buttercream is a popular choice. A slightly firmer frosting can be beneficial for trapping crumbs. Ensure it's a smooth consistency for easy application.
How long should I chill the crumb-coated cake before applying the final frosting?
Chill the crumb-coated cake for at least 30 minutes, or preferably an hour, in the refrigerator. This allows the frosting to firm up and set, preventing crumbs from escaping when you apply the final layer.
What happens if I skip the crumb coat altogether?
Skipping the crumb coat will likely result in crumbs mixing with your final frosting layer, creating an uneven and unprofessional finish. It makes achieving a smooth, flawless look much more difficult.
Final Reflection: The Crumb Coat's Enduring Power
Mastering the crumb coat isn't just about achieving a perfectly smooth final layer; it's about embracing the process of building something beautiful, layer by delicious layer. The seemingly small act of applying a thin layer of frosting before the final coat is, in reality, the foundation upon which a truly stunning cake is built. It's a testament to the power of meticulous preparation and the rewards of patience in baking.
The impact of a well-executed crumb coat extends far beyond the visual appeal of the finished cake. It's a symbol of dedication to craft, a reflection of the care and attention poured into each step of the baking process. It reminds me of the quote by Julia Child: Find something you're passionate about and keep tremendously interested in it.
For me, that passion is found in the precision and artistry of cake decorating, and the crumb coat is a crucial element in that journey. It's a technique that elevates the simple act of baking into a form of creative expression.
Now, it's your turn. Consider the crumb coat not just as a technique, but as a metaphor for life's projects. What seemingly small, meticulous steps are you overlooking that could form the foundation for a greater achievement? Take the time to master the "crumb coats" in your own life—the seemingly insignificant details that ultimately determine the success and beauty of your larger goals. Embrace the process, find joy in the details, and watch your creations flourish.
Unlock Your Inner Cake Artist: Level Up Your Baking Game!
Thanks for taking the time to learn about mastering the crumb coat! We hope you now feel confident in tackling even the most intricate layer cakes. Ready to put your new skills to the test?
- Bake a show-stopping cake this weekend! Use what you've learned to create a masterpiece—impress your friends and family with your newfound expertise.
- Share your baking triumph on social media! Tag us @BakeWithEase – we’d love to see your creations!
- Challenge yourself by trying a new flavor combination using the crumb coat technique – what unexpected flavors will you explore?
What innovative crumb coat design will you create next?