
Mastering the Art of the Crumb Coat and Final Frosting

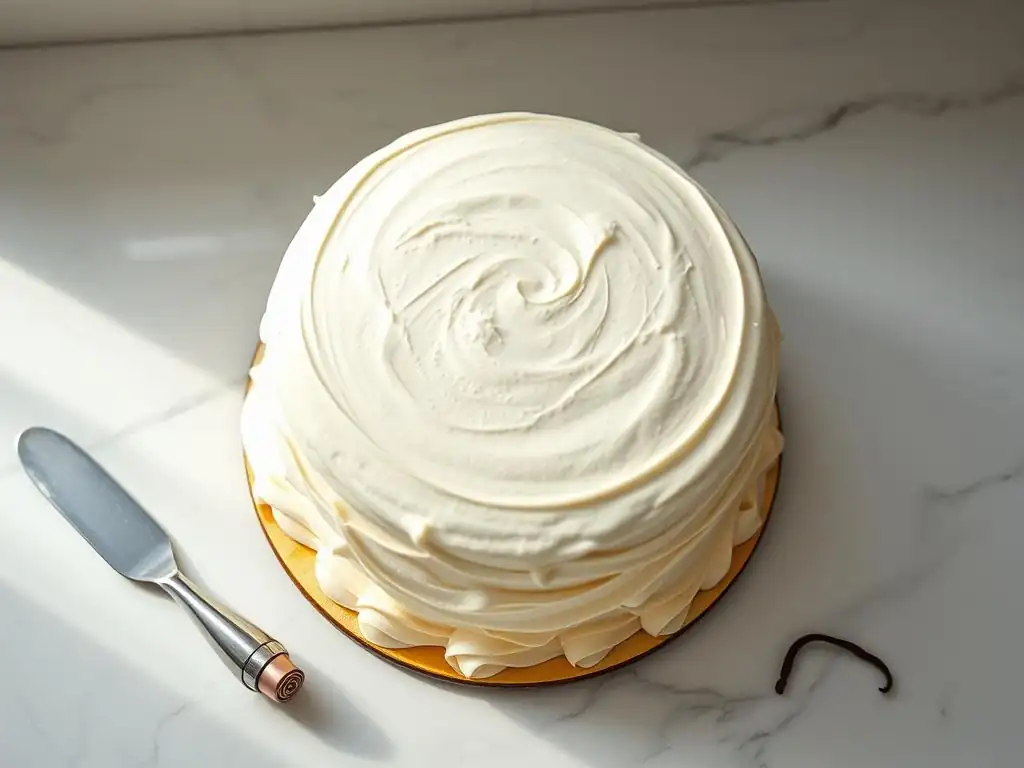
Welcome to BakeWithEase, your haven for all things baking! Ever wondered how to achieve that flawlessly smooth, bakery-worthy finish on your cakes? This article dives deep into the secrets of the essential crumb coat frosting techniques guide, transforming your baking from good to absolutely stunning. Prepare to unlock the key to a perfect final coat, and say goodbye to crumbs in your frosting forever. Intrigued? Let's get started!
- Mastering the Art of the Crumb Coat and Final Frosting: A BakeWithEase Guide
- Introduction to Crumb Coating and Final Frosting Techniques
- Step-by-Step Crumb Coat Frosting Techniques Guide
- The Art of the Final Frosting Layer
- Troubleshooting Common Crumb Coat and Frosting Problems
- Tips for Professional-Looking Layer Cake Decoration
- Crumb Coat Frosting Techniques: A Recap for BakeWithEase Bakers
- Frequently Asked Questions
- Final Reflection: The Transformative Power of a Perfect Frosting
- Unleash Your Inner Cake Artist: Level Up Your Frosting Game!
Mastering the Art of the Crumb Coat and Final Frosting: A BakeWithEase Guide
Introduction to Crumb Coating and Final Frosting Techniques
Welcome, fellow bakers, to a crucial step in creating stunning layer cakes! Whether you're a beginner tackling your first stacked creation or looking to refine your finishing touches, mastering the art of the crumb coat and the final frosting layer is absolutely essential. This guide will walk you through the techniques needed to achieve smooth, professional-looking cakes right in your own kitchen. Think of the crumb coat as your cake's base layer, providing a clean canvas for the beautiful top coat of frosting.
Getting the crumb coat right is the foundation for success in cake decorating. It's the secret step that elevates a homemade cake from rustic to refined. Once you understand the purpose and process of the crumb coat, applying the final frosting becomes much easier, allowing you to focus on achieving those smooth sides, sharp edges, or beautiful decorative textures you envision. Let's dive into the details and unlock the secrets to mastering this fundamental technique, guided by proven crumb coat frosting techniques.
Why a Crumb Coat is Essential for Perfect Layer Cakes
A crumb coat serves as a thin layer of frosting applied directly to the cake layers before the final layer of frosting. Its primary purpose is to trap and seal in any loose crumbs that naturally flake off the cake during assembly. Imagine trying to apply a smooth, dark chocolate ganache or a vibrant buttercream to a cake surface shedding tiny particles – those crumbs would inevitably mix into your beautiful final layer, creating an unsightly, bumpy finish. The crumb coat prevents this, ensuring your final frosting application is clean and smooth.
Beyond just trapping crumbs, this initial layer also helps to fill in any small gaps or imperfections on the cake's surface, providing a more uniform and stable foundation. It slightly chills and firms up the cake layers, making them easier to handle and less likely to shift or tear when applying the thicker final frosting. This crucial step, part of effective crumb coat frosting techniques, significantly improves the overall structural integrity and aesthetic appeal of your finished layer cake, setting you up for a truly professional result.
Setting the Stage: Gathering Your Crumb Coating Supplies
Before you begin the crumb coating process, having all your tools and ingredients ready will make the job much smoother and more efficient. You'll need your cooled cake layers, the frosting you plan to use for both the crumb coat and the final layer (though some bakers use a slightly thinner frosting for the crumb coat), an offset spatula (various sizes are helpful, but a 6-inch or 8-inch is standard), and a cake turntable. A bench scraper or straight icing spatula can also be useful for smoothing.
Ensure your workspace is clean and clear. Having your ingredients at the right temperature is also key; your frosting should be soft enough to spread easily but not so warm that it's runny. Typically, frosting at room temperature (around 70-72°F or 21-22°C) is ideal for spreading. Having everything laid out before you start, including your chilled cake layers, will help you move through the steps seamlessly and confidently apply your initial crumb coat frosting techniques.
Step-by-Step Crumb Coat Frosting Techniques Guide
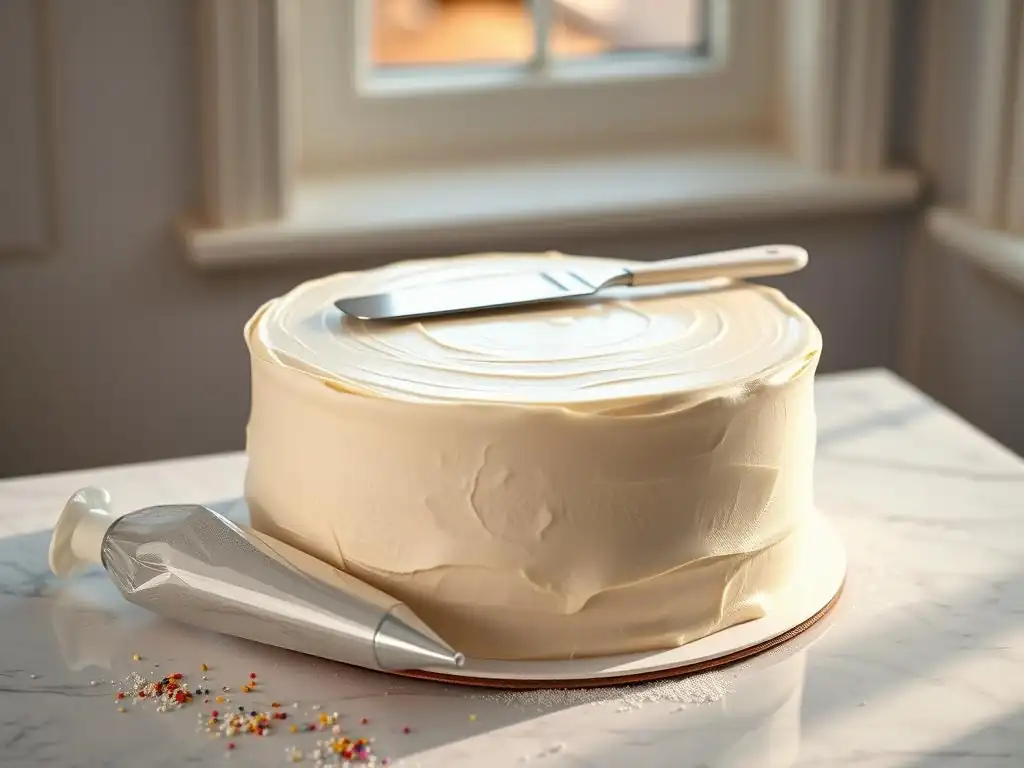
Applying the crumb coat might seem like an extra step, but it's a quick process that saves you time and frustration in the long run. By following a simple sequence, you can effectively seal your cake and prepare it for its final, flawless finish. This section breaks down the process into manageable steps, guiding you through the essential crumb coat frosting techniques.
The goal is to create a thin, even layer that adheres well to the cake surface, trapping every stray crumb. It's not about making it look perfect at this stage; it's about functionality. Don't worry about achieving sharp edges or a completely smooth surface – that comes later with the final frosting. Focus on coverage and crumb containment.
Preparing Your Cake for the Crumb Coat
Proper preparation of your cake layers is the first critical step in achieving a successful crumb coat and, subsequently, a beautifully finished cake. Rushing this stage can lead to uneven layers, unstable stacks, and frustration when trying to apply frosting smoothly. Taking a few moments to prepare your cakes ensures they are in the best possible condition for the crumb coating process.
This preparation involves two key actions: leveling the cake layers to create flat surfaces that stack neatly and chilling the layers to make them firm and easier to handle. These simple steps, foundational to effective crumb coat frosting techniques, make a significant difference in the ease and success of the entire cake assembly process.
Leveling Cake Layers for Even Frosting
Uneven cake layers are a common issue that can make frosting a cake challenging. If your cake layers have domes, they won't sit flat on top of each other, leading to a leaning tower situation and difficulty achieving straight, smooth sides when frosting. Leveling creates a flat surface, ensuring your cake stacks evenly and provides a stable base for applying the crumb coat.
To level your cake layers, you can use a serrated knife, a cake leveler tool, or even dental floss for very delicate cakes. Simply place the cake layer on a flat surface and carefully slice off the dome parallel to the base. For example, if your cake has a 1-inch dome, carefully slice off that top portion to create a flat surface. You can save these cake scraps for cake pops or trifles! This simple cut makes all the difference in the final appearance and stability of your frosted cake, facilitating smoother crumb coat frosting techniques.
Chilling Cake Layers for Easier Handling
Chilling your cake layers before assembling and crumb coating is a game-changer, especially when using delicate sponges or softer frostings. Cold cake is much firmer and less prone to tearing, crumbling, or breaking when you are moving it, stacking it, or spreading the initial layer of frosting. This firmness allows for cleaner handling and a more efficient crumb coating process.
After your cake layers have cooled completely from baking (usually about 1-2 hours on a wire rack), wrap each layer tightly in plastic wrap. Place the wrapped layers in the refrigerator for at least 30 minutes, or in the freezer for about 15-20 minutes, until they are firm to the touch. This chilling step is particularly helpful when practicing crumb coat frosting techniques, as it minimizes loose crumbs and makes the cake surface more resistant to damage from your spatula.
Applying the Initial Crumb Coat Layer
Once your cake layers are leveled and chilled, it's time to apply the crucial crumb coat. This is the step where you literally trap those pesky crumbs and create a smooth canvas for your final decorative layer. Don't be intimidated; the goal here is coverage, not perfection.
Using an offset spatula and a cake turntable makes this process significantly easier. Start with a small amount of frosting and spread it thinly over the top and sides of the cake. The key is to use just enough frosting to pick up and seal the crumbs without applying a thick, heavy layer. This initial application is fundamental to effective crumb coat frosting techniques.
Achieving a Thin and Even Crumb Coat
The ideal crumb coat is thin – think of it as a sheer veil over the cake. Applying too much frosting in this layer is counterproductive; it can make the final layer look bulky and is unnecessary for trapping crumbs. Start by placing a dollop of frosting on top of the cake. Using your offset spatula, spread it evenly over the top surface, going slightly over the edge. Then, apply frosting to the sides, using the turntable to rotate the cake as you go.
Use light pressure with your spatula to spread the frosting. As you spread, you will notice crumbs getting mixed into this layer – that's exactly what you want! Don't try to remove them; they are now sealed into the crumb coat. Aim for a consistent thickness across the entire cake surface, typically no more than 1/8 to 1/4 inch thick. A thin, even application is key to successful crumb coat frosting techniques.
Sealing in Loose Crumbs: The Key to Success
The primary function of the crumb coat is to seal in every loose crumb. As you apply the thin layer of frosting, you are essentially creating a barrier between the cake and the final frosting layer. Any crumbs that detach from the cake surface during spreading will adhere to this initial layer of frosting.
Once the cake is covered, use your offset spatula or a bench scraper held perpendicular to the cake to gently scrape away any excess frosting, ensuring the layer remains thin and smooth relative to itself. This scraping action also helps to press the frosting more firmly onto the cake surface, further sealing in the crumbs. Don't worry if it looks slightly messy; the goal is achieved when no more crumbs are visible on the surface or mixing into the frosting you are applying. This thorough sealing is paramount in mastering crumb coat frosting techniques.
Chilling the Crumb Coated Cake
After applying the crumb coat, the next essential step is to chill the cake. This step is non-negotiable for achieving a clean, smooth final frosting layer. Chilling allows the thin crumb coat layer to firm up and set completely, creating a stable, non-sticky surface that won't lift or tear when you apply the final, thicker layer of frosting.
Skipping the chilling step is one of the most common reasons bakers struggle with getting a smooth final finish, as the crumb coat can mix with the final frosting or lift off the cake. Properly chilling ensures the crumb layer acts as a solid foundation, making the application of the final frosting much easier and more forgiving, a crucial part of effective crumb coat frosting techniques.
The Importance of Refrigeration or Freezing
Chilling the crumb coated cake in the refrigerator or freezer solidifies the butter or shortening in the frosting. This process firms up the thin layer of frosting, making it hard and stable. When you then apply the final frosting layer, your spatula glides smoothly over the hardened crumb coat instead of picking up crumbs or pulling the crumb coat away from the cake.
For instance, if you are using a standard American buttercream, which is high in butter, chilling will make it quite firm. A cream cheese frosting might not get as hard but will still firm up sufficiently. This firm surface provides resistance, allowing you to spread the final frosting without disturbing the layer underneath. Refrigerating is standard, but a quick freeze can speed up the process if you're short on time, a practical tip for applying crumb coat frosting techniques efficiently.
Time Recommendations for Optimal Crumb Coat Setting
The amount of time needed to chill a crumb coated cake depends on the type of frosting used and whether you are using the refrigerator or freezer. As a general guideline, refrigerate the crumb coated cake for at least 30 minutes to 1 hour. This allows sufficient time for most frostings to firm up properly.
If you're in a hurry, you can place the cake in the freezer for about 15-20 minutes. Be careful not to freeze the cake solid if you plan to frost it immediately afterward, as this can cause condensation issues. The crumb coat should be firm and dry to the touch, not sticky or soft. Testing the surface gently with your finger is a good way to check if it's ready for the final frosting application, ensuring your crumb coat frosting techniques are successful.
The Art of the Final Frosting Layer
With the crumb coat successfully applied and chilled, you've created the perfect canvas for your final, decorative frosting layer. This is where you bring your cake to life, achieving that smooth, polished look or creating beautiful textures and designs. The final frosting layer is often thicker than the crumb coat and requires a slightly different approach to application.
The goal now is aesthetic perfection. You want a smooth, even layer of frosting that covers the entire cake, free of visible crumbs or spatula marks (unless they are intentional texture). This step allows you to showcase your decorating skills and complete your layer cake masterpiece, building upon the solid foundation provided by your crumb coat frosting techniques.
Preparing Your Final Frosting
Just as cake preparation is key for the crumb coat, preparing your frosting is essential for a smooth and beautiful final layer. The consistency of your frosting plays a huge role in how easily it spreads and how smooth a finish you can achieve. Too stiff, and it's hard to spread without pulling the cake; too soft, and it might not hold its shape or can slide off.
Ensuring your frosting is the right consistency and free of air bubbles or lumps will make the application process much smoother and lead to a more professional result. This preparation step is vital for executing advanced crumb coat frosting techniques and achieving a flawless finish.
Achieving the Perfect Frosting Consistency
The ideal consistency for final frosting is smooth, creamy, and spreadable, similar to soft-serve ice cream or peanut butter. It should be soft enough to spread easily without tearing the cake but firm enough to hold its shape and not drip. If your frosting is too stiff, you can add a tiny amount of milk, cream, or water (about 1 teaspoon at a time), mixing thoroughly until the desired consistency is reached.
If your frosting is too soft, you can refrigerate it for a short period (10-15 minutes) to firm it up, or beat in a tablespoon or two of powdered sugar (if using buttercream) or cornstarch (for cream cheese frosting). For example, if your buttercream feels like stiff playdough, add liquid; if it feels like melted ice cream, chill it. The right consistency is crucial for smooth application over your chilled crumb coat, perfecting your crumb coat frosting techniques.
Tips for Smooth and Creamy Frosting
To ensure your frosting is perfectly smooth and creamy, beat it on low speed using a stand mixer or hand mixer for several minutes after all ingredients are combined. This helps to incorporate air evenly and break down any small lumps of sugar or fat. For instance, beating buttercream for 3-5 minutes on low can transform a slightly grainy texture into a silky smooth one.
You can also press the frosting through a fine-mesh sieve to remove any stubborn lumps, especially if using powdered sugar. Before applying, give the frosting a final stir with your spatula to remove any large air bubbles that may have formed during mixing. Smooth, lump-free frosting is much easier to apply evenly over the crumb coat, allowing you to execute your crumb coat frosting techniques flawlessly.
Applying the Final Frosting Layer
With your crumb coated cake chilled and your final frosting perfectly prepared, it's time for the main event! Applying the final layer is where you cover the entire cake with a thicker, even coating of frosting and begin to achieve your desired finish. This step requires a steady hand and patient technique.
Start by applying a generous dollop of frosting to the top of the cake. Spread it evenly over the top, working towards the edges. Then, apply generous amounts of frosting to the sides of the cake using your offset spatula. Don't be shy with the amount of frosting initially; it's easier to remove excess than to add more without disrupting the layer, a key principle in advanced crumb coat frosting techniques.
Techniques for a Flawless Finish
Achieving a flawless, smooth finish requires practice, but a few techniques can help. Once the cake is completely covered in frosting, use your offset spatula or a bench scraper to smooth the sides. Hold the scraper or spatula perpendicular to the cake and the turntable. As you rotate the turntable, apply steady, gentle pressure, allowing the scraper to shave away excess frosting and create a smooth surface. For instance, holding a bench scraper at a 45-degree angle while rotating the turntable can help create sharp edges.
For the top, use your offset spatula to gently pull the excess frosting from the edge towards the center of the cake. Wipe your spatula clean frequently to prevent dragging crumbs or unevenness. Repeat smoothing the sides and top until you achieve the desired level of smoothness. Patience and repeated passes with a clean tool are key to refining your crumb coat frosting techniques for a perfect final layer.
Achieving Smooth Sides and Sharp Edges
Achieving perfectly smooth sides and sharp edges is a hallmark of professional cake decorating. Once the sides are frosted, hold a bench scraper or a large, straight icing spatula flat against the side of the cake, keeping it perpendicular to the base. Rotate the turntable steadily while applying gentle pressure to the scraper. This will remove excess frosting and flatten the side surface.
To create sharp edges on the top, after smoothing the sides, use an offset spatula to gently pull the small 'lip' of frosting that forms on the top edge towards the center of the cake. Wipe your spatula clean after each pull. Repeat this process around the entire top edge until you have a clean, sharp angle where the top meets the sides. This technique, perfected after mastering crumb coat frosting techniques, elevates the look of your cake dramatically.
Advanced Frosting Techniques for Cake Decoration
Once you've mastered the basic smooth finish over your crumb coat, you can explore more advanced frosting techniques to add decorative flair to your cakes. These techniques go beyond simple smoothing and allow for creative expression using different tools and applications.
Using piping bags, various tips, and textured tools like spatulas or combs can transform a simple frosted cake into a stunning centerpiece. These methods build upon the stable foundation provided by effective crumb coat frosting techniques.
Using Piping Bags for Decorative Elements
Piping bags are indispensable tools for cake decoration, allowing you to apply frosting precisely and create a variety of shapes and patterns. You can use them for everything from simple borders and swirls to intricate rosettes and text. Fill a piping bag fitted with your desired tip about two-thirds full with frosting. Twist the top of the bag to seal it and gently squeeze from the top to apply pressure.
Practice on a piece of parchment paper first to get a feel for the pressure and movement needed for different tips. For example, a round tip (#12) is great for simple dots or beads, while a star tip (#1M) creates beautiful rosettes. Using a piping bag is also useful for applying frosting generously to the sides of the cake before smoothing, ensuring even coverage over the crumb coat.
Creating Textures with Spatulas and Combs
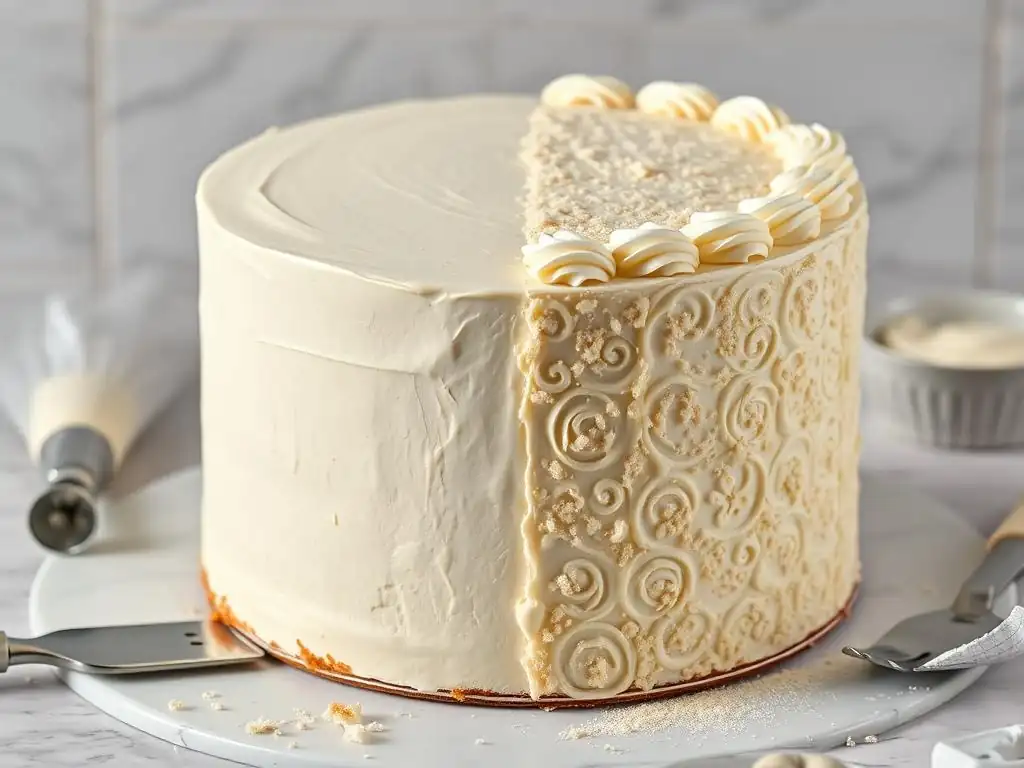
If a perfectly smooth finish isn't your goal, you can use spatulas and cake combs to create interesting textures on the final frosting layer. After applying the main layer of frosting, you can use a small offset spatula to create swirls, peaks, or rustic swooshes. Simply use the tip or flat edge of the spatula to make patterns in the soft frosting.
Cake combs, which are tools with serrated edges, create uniform patterns like stripes or waves around the sides of the cake. After applying and somewhat smoothing the side frosting, hold the cake comb against the side of the cake at a slight angle and rotate the turntable. The comb will scrape away frosting, leaving behind a textured pattern. Experiment with different comb patterns and spatula techniques to add unique visual interest, leveraging your base crumb coat frosting techniques.
Troubleshooting Common Crumb Coat and Frosting Problems
Even with the best intentions and careful application of crumb coat frosting techniques, sometimes things don't go perfectly. Dealing with common issues like visible crumbs, uneven frosting, or frosting that doesn't adhere properly is part of the learning process. Knowing how to troubleshoot these problems can save your cake and your sanity!
Most frosting issues can be fixed with a little patience and adjustment. Don't be discouraged if your first attempt isn't flawless. Identifying the problem is the first step to fixing it and improving your technique for next time.
Dealing with Crumbs in Your Final Frosting
Finding crumbs in your beautiful final frosting layer is frustrating, and it usually indicates that the crumb coat wasn't fully effective or wasn't chilled long enough. If you see a stray crumb or two, you can often gently pick them out with the tip of a clean offset spatula or a toothpick if the frosting is still soft.
If there are many crumbs, it might be best to gently scrape off the affected area of the final frosting layer, re-chill the cake (the crumb coat is still underneath! ), and apply a fresh layer of frosting to that section or the entire cake again. Ensuring your crumb coat is thin, fully seals the cake, and is properly chilled are the best preventative measures against this common problem when using crumb coat frosting techniques.
Fixing Uneven Frosting
Uneven frosting can result from applying too much or too little frosting in certain areas, not holding your smoothing tool straight, or using frosting that is too stiff or too soft. If the frosting is still soft, you can often go back with your offset spatula or bench scraper and re-smooth the area, applying even pressure.
If the frosting has already started to set, trying to smooth it can make it worse. You might need to gently scrape off the uneven section and apply fresh frosting. Ensure your cake layers were level to begin with, as this significantly impacts the evenness of the frosting on the sides. Practice with your smoothing tools, maintaining a consistent angle and pressure, is key to achieving even results with your crumb coat frosting techniques.
Preventing Frosting from Sliding Off
Frosting sliding off the cake can happen if the cake is too warm, the frosting is too soft, or if the crumb coat wasn't properly chilled and sealed. If your cake layers were not fully cooled before applying the crumb coat, residual heat can melt the frosting. Similarly, if your final frosting is too warm or soft, gravity can cause it to sag or slide, especially on the sides.
Ensure your cake layers are completely cool, your crumb coat is well-chilled and firm, and your final frosting is the correct, slightly firm consistency. If you notice sliding, immediately place the cake back in the refrigerator to firm everything up before attempting to fix it. Sometimes, applying a slightly firmer frosting for the final layer can also help prevent sliding, reinforcing the importance of proper chilling and consistency when using crumb coat frosting techniques.
Tips for Professional-Looking Layer Cake Decoration
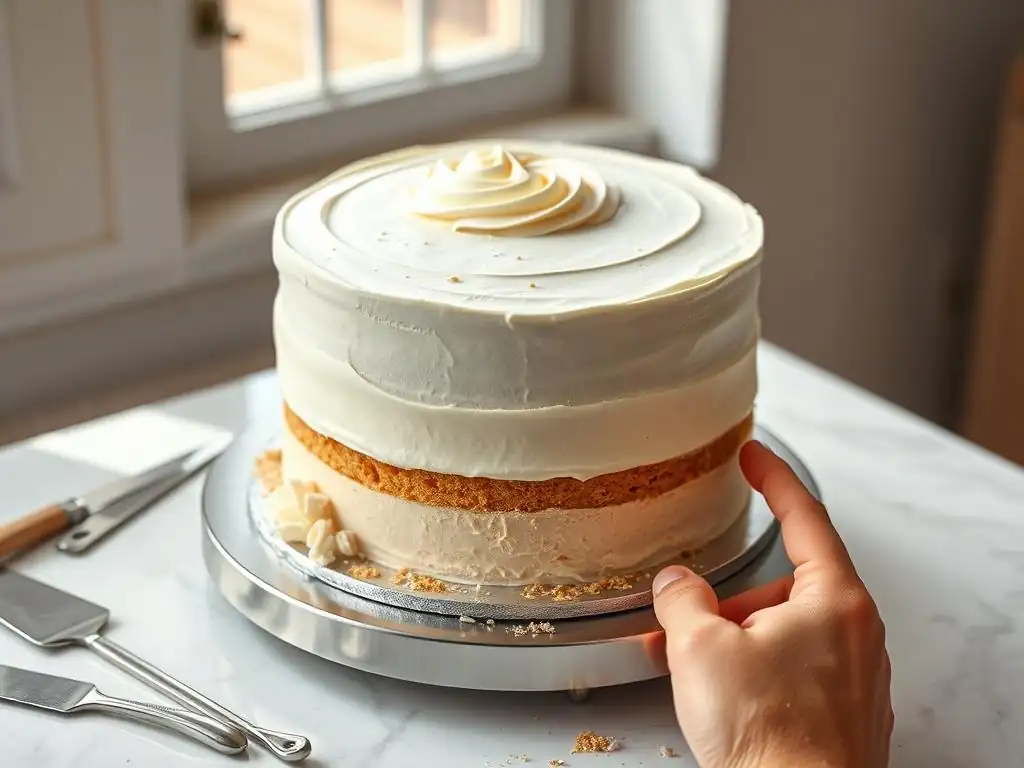
Achieving a professional look for your layer cakes goes beyond just smooth frosting. It involves thoughtful choices about your frosting type, mastering various application styles, and adding finishing touches like garnishes. Building on your solid crumb coat frosting techniques, these additional tips will help you elevate your cake decorating skills.
Consider the overall design and desired outcome before you even start frosting. Thinking about the colors, textures, and decorations will influence your approach to applying the final frosting layer and adding those special touches that make your cake stand out.
Choosing the Right Frosting for Your Cake
The type of frosting you choose can significantly impact the final look and ease of application. For instance, a classic American buttercream is generally easy to work with for smooth finishes and piping, but it can be very sweet. Swiss or Italian meringue buttercreams are less sweet, incredibly smooth, and stable, making them excellent for sharp edges, but they can be trickier to make.
Cream cheese frosting is delicious but often softer and less stable than buttercream, making sharp edges more challenging. Ganache, while luxurious, sets firmly and requires quick, confident application. Consider the cake flavor, desired sweetness level, and the complexity of your design when selecting your frosting. For beginners focusing on crumb coat frosting techniques, a stable buttercream is often a good starting point.
Mastering Different Frosting Styles
Beyond the smooth finish, there are numerous frosting styles you can master. A rustic look can be achieved by applying frosting with an offset spatula and leaving intentional swirls and textures. A semi-naked cake look involves applying a very thin layer of frosting that allows some of the cake layers to show through, often smoothed with a bench scraper.
Piping techniques allow for decorative borders, shells, rosettes, or intricate patterns covering the entire cake. Learning just a few basic piping tips can open up a world of decorating possibilities. Practice these styles on a dummy cake or even overturned bowls before tackling your finished cake, refining your crumb coat frosting techniques and then applying decorative layers.
Garnishing and Decorating Your Finished Cake
Once your cake is frosted, garnishes and decorations add the final touch of artistry. Fresh berries, chocolate shavings, edible flowers, sprinkles, or a simple message written in frosting can transform a plain cake into a celebration showstopper. Consider the colors and textures that complement your cake flavor and frosting.
Applying garnishes neatly and thoughtfully makes a big difference. For example, arranging berries symmetrically or strategically placing edible flowers can create a polished look. Don't overdo it; sometimes, less is more. A few well-placed decorations can be more impactful than a cluttered design, beautifully finishing the cake built upon your solid crumb coat frosting techniques.
Crumb Coat Frosting Techniques: A Recap for BakeWithEase Bakers
You've journeyed through the essential steps of mastering the crumb coat and applying the final frosting layer. Remember, these techniques are foundational to creating beautiful, professional-looking layer cakes at home. Like any skill, they improve with practice and patience.
Don't be discouraged by imperfections along the way. Every cake you frost is an opportunity to learn and refine your skills. Embrace the process and enjoy the transformation of simple cake layers into a stunning edible creation.
Key Takeaways for Perfect Layer Cake Assembly
Let's quickly recap the most important points for successful crumb coating and final frosting, summarizing the core crumb coat frosting techniques:
- Chill your cake layers: Cold cake is easier to handle and less crumbly.
- Apply a thin crumb coat: Its purpose is to trap crumbs, not to be thick.
- Chill the crumb coated cake: This step is essential for a stable base for the final layer.
- Use frosting at the right consistency: Not too stiff, not too soft.
- Use the right tools: An offset spatula and turntable are invaluable.
- Be patient when smoothing: Wipe your tools clean and make repeated passes.
These key steps, when followed diligently, will drastically improve the outcome of your frosted layer cakes.
Practice Makes Perfect: Refining Your Crumb Coating Skills
Mastering crumb coat frosting techniques, like any baking skill, requires practice. Don't expect your first cake to be perfectly smooth with razor-sharp edges. Each cake you decorate will teach you something new about handling frosting, using your tools, and understanding consistency.
Try frosting practice cakes (even just cake scraps layered together) or use overturned bowls or dummy cakes to work on your smoothing and decorating techniques without the pressure of working on a real cake. The more you practice applying the crumb coat and final frosting, the more confident and skilled you will become. Soon, you'll be creating stunning, professional-looking cakes with ease, all thanks to your dedicated practice of crumb coat frosting techniques.
Frequently Asked Questions
What is a crumb coat and why is it necessary?
A crumb coat is a thin layer of frosting applied to a cake before the final frosting layer. Its purpose is to trap loose crumbs and prevent them from mixing into the final frosting, resulting in a smoother finish.
What type of frosting is best for a crumb coat?
Almost any frosting can be used, but a stiff buttercream or ganache is ideal. The consistency should be easy to spread thinly without being too runny, allowing it to effectively seal in the crumbs.
How long should I chill the cake after applying the crumb coat?
Chilling is crucial for setting the crumb coat. Aim for at least 30 minutes in the refrigerator, or even better, 15-20 minutes in the freezer, to ensure the frosting is firm and prevents crumb migration.
What tools are recommended for applying a crumb coat?
An offset spatula is highly recommended for its flexibility and ease of spreading. A cake turntable can also be very helpful for even application and a professional finish.
Can I skip the crumb coat if I'm short on time?
While tempting, skipping the crumb coat is not advisable if you want a professional-looking cake. Without it, crumbs will likely appear in your final frosting, resulting in a less polished and potentially messy appearance.
Final Reflection: The Transformative Power of a Perfect Frosting
The art of the crumb coat, once a seemingly insignificant step in cake decorating, has evolved into a crucial foundation for achieving professional-looking results. Mastering this technique, as explored throughout this guide, isn't just about aesthetics; it's about understanding the fundamental principles of texture, consistency, and the delicate balance between structure and artistry. This knowledge empowers both novice bakers and seasoned professionals to elevate their creations to a new level.
The impact of a flawlessly executed crumb coat extends far beyond the visual appeal of the finished cake. It represents a dedication to process, a commitment to detail, and a celebration of the transformative power of simple techniques. It's about taking something seemingly ordinary – a layer of frosting – and using it to create an extraordinary foundation. As the renowned pastry chef, Jacques Torres, once said: Baking is a science, but it's also an art. It's about precision and passion, and the willingness to experiment.
This perfectly encapsulates the spirit of mastering the crumb coat and its subsequent layers of frosting.
Now, it's your turn. Consider the lessons learned within this guide – the importance of proper chilling, the nuances of frosting consistency, and the satisfying feeling of a perfectly smooth surface. Don't just bake a cake; craft a masterpiece. Embrace the process, experiment with different techniques, and allow the joy of creation to guide your hand. The next time you frost a cake, remember the power of the crumb coat – a small detail with a significant impact, a testament to the artistry found in even the simplest of baking techniques.
Unleash Your Inner Cake Artist: Level Up Your Frosting Game!
Thanks for taking the time to explore the world of crumb coats and flawless frosting! We hope you now feel confident and inspired to create stunning cakes. Ready to put your newfound skills to the test?
- Master the perfect crumb coat: Practice your technique on a smaller cake first, focusing on the even application and chilling process. This is your key to bakery-worthy results!
- Share your creations: Post a picture of your masterpiece on social media and tag us! Let's inspire each other's baking journeys. #BakeWithEase #CrumbCoatMaster
- Explore advanced frosting techniques: Dive deeper into our website for more tutorials and recipes. We have a whole library of decorating ideas just waiting to be discovered!
What’s your favorite frosting flavor to work with, and what cake will you be decorating first? Let us know in the comments!