
Achieve Scone Perfection: Simple StepbyStep

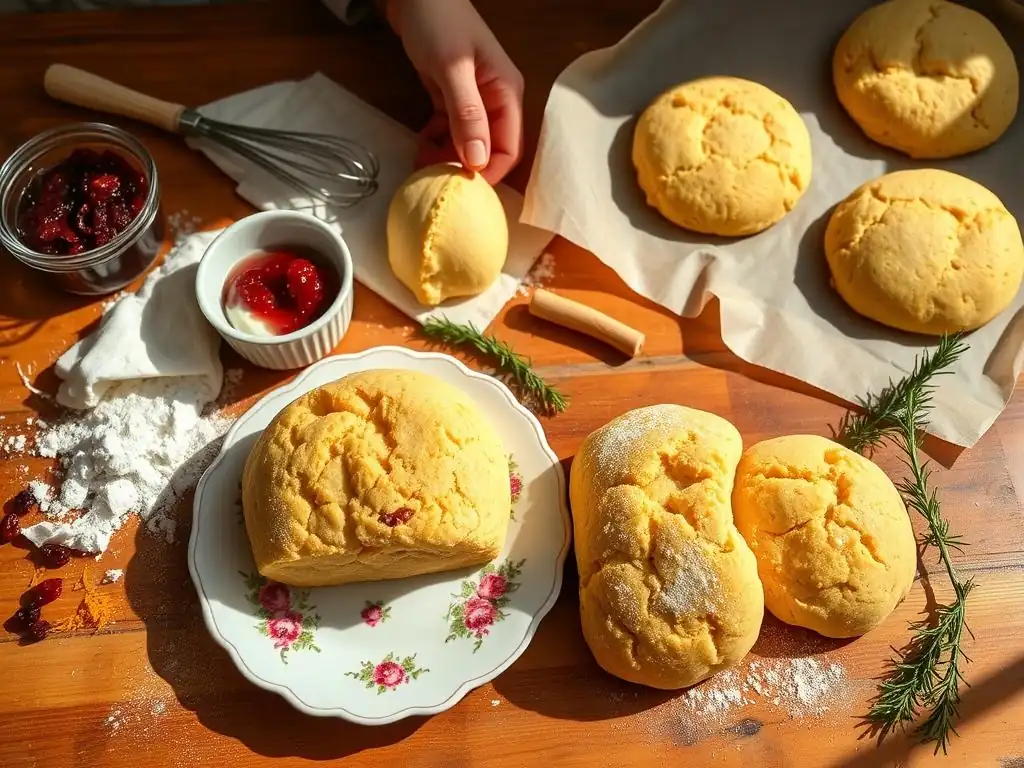
Welcome to BakeWithEase!
Ever dreamt of perfectly golden, melt-in-your-mouth scones, but felt intimidated by the process? You're not alone! Here, we believe everyone can bake delicious treats. Dive into our easy scone recipe step by step and discover the secrets to achieving scone perfection, even if you're a complete beginner. Get ready to unlock a delightful world of baking possibilities – your journey to becoming a scone master starts now!
- Easy Scone Recipe Step by Step: Achieve Scone Perfection with BakeWithEase
- Ingredients for the Perfect Easy Scone Recipe
- Preparing Your Baking Space for Easy Scone Making
- Step 1: Mixing the Dough for Easy Scones
- Step 2: Shaping and Cutting Scones for Optimal Results
- Step 3: Baking Your Scones to Golden Perfection
- Step 4: Cooling and Serving Your Easy Homemade Scones
- Troubleshooting Common Issues in Easy Scone Recipes
- Variations on the Classic Easy Scone Recipe Step by Step
- Tips and Tricks from BakeWithEase for Consistently Perfect Scones
- Conclusion: Mastering Easy Scone Baking with Step-by-Step Guidance
-
Frequently Asked Questions
- What makes the BakeWithEase scone recipe particularly "easy"?
- What are the key ingredients for achieving perfect scone texture, according to BakeWithEase?
- How does BakeWithEase advise beginners to avoid overmixing the scone dough?
- Can I substitute ingredients in the BakeWithEase easy scone recipe?
- What are some tips from BakeWithEase for ensuring even baking and browning of the scones?
- Final Reflection: The Enduring Allure of the Perfect Scone
- Unlock Your Inner Baker: Scone Secrets Await!
Easy Scone Recipe Step by Step: Achieve Scone Perfection with BakeWithEase
Introduction to Easy Scone Baking for Beginners
Welcome to the wonderful world of scone baking! Scones are a beloved classic, perfect for breakfast, brunch, or an afternoon tea treat. Many beginners might feel intimidated by baking, fearing dense or dry results. However, mastering an easy scone recipe step by step is absolutely achievable with a little guidance and the right techniques. This guide is designed specifically for those new to baking, breaking down the process into simple, manageable steps that build confidence and lead to delicious results.
Our goal at BakeWithEase is to demystify baking and show you that creating beautiful, tasty treats like easy scones is within your reach. By following this clear, simple scone recipe, you'll learn the fundamental principles of working with dough, handling butter, and achieving that coveted light and flaky texture. Forget the notion that scones are tricky; with our step-by-step approach, you'll be enjoying warm, homemade scones in no time.
Why Choose This Simple Step-by-Step Scone Recipe?
Choosing an easy scone recipe step by step is crucial for beginner bakers. Complex instructions or techniques can quickly lead to frustration and discouraging outcomes. Our method focuses on simplicity, using common ingredients and straightforward processes that minimize potential pitfalls. We prioritize clear language and visual cues (which we will describe in detail) to make each stage of baking accessible and easy to understand, even if you've never baked before.
This particular approach simplifies key steps, such as incorporating fat into the flour and handling the dough, which are often where beginners face challenges. By breaking down these processes into smaller, more manageable actions, we reduce the likelihood of overworking the dough – a common cause of tough scones. Furthermore, this easy scone recipe provides a foundational understanding that you can later build upon, experimenting with variations once you've mastered the basics of making simple scones.
Ingredients for the Perfect Easy Scone Recipe
Essential Baking Ingredients for Soft and Fluffy Scones
Creating soft and fluffy easy scones starts with a few key ingredients. The base typically includes all-purpose flour, which provides the structure. Leavening agents like baking powder and sometimes baking soda are essential for rise and lightness; a typical ratio might use 1 tablespoon of baking powder per 2 cups of flour, often with a pinch of baking soda. Sugar adds a touch of sweetness and aids in browning, while salt balances the flavors.
Crucially, cold fat, usually unsalted butter, is cut into the dry ingredients. This is key to creating flaky layers. When the cold butter melts during baking, it creates steam, pushing apart the layers of dough. Liquid, most commonly milk or buttermilk, brings the dough together. Buttermilk adds tenderness due to its acidity reacting with the leavening agents. Using cold liquid is also important to keep the butter solid until it hits the oven.
Tips for Selecting Fresh and Quality Ingredients
The quality and freshness of your ingredients significantly impact the outcome of your easy scones. Always check the expiry dates on your flour, baking powder, and baking soda. Stale leavening agents will result in flat, dense scones. For butter, choose unsalted butter so you can control the salt level in your recipe; ensure it's fresh for the best flavor.
When selecting dairy, whole milk or buttermilk generally yields the richest flavor and tenderest crumb. If using buttermilk, ensure it is fresh. Using cold ingredients is paramount; this is why recipes often specify cold butter and cold milk. Consider chilling your butter in the freezer for 10-15 minutes and measuring your milk directly from the refrigerator just before use.
Preparing Your Baking Space for Easy Scone Making
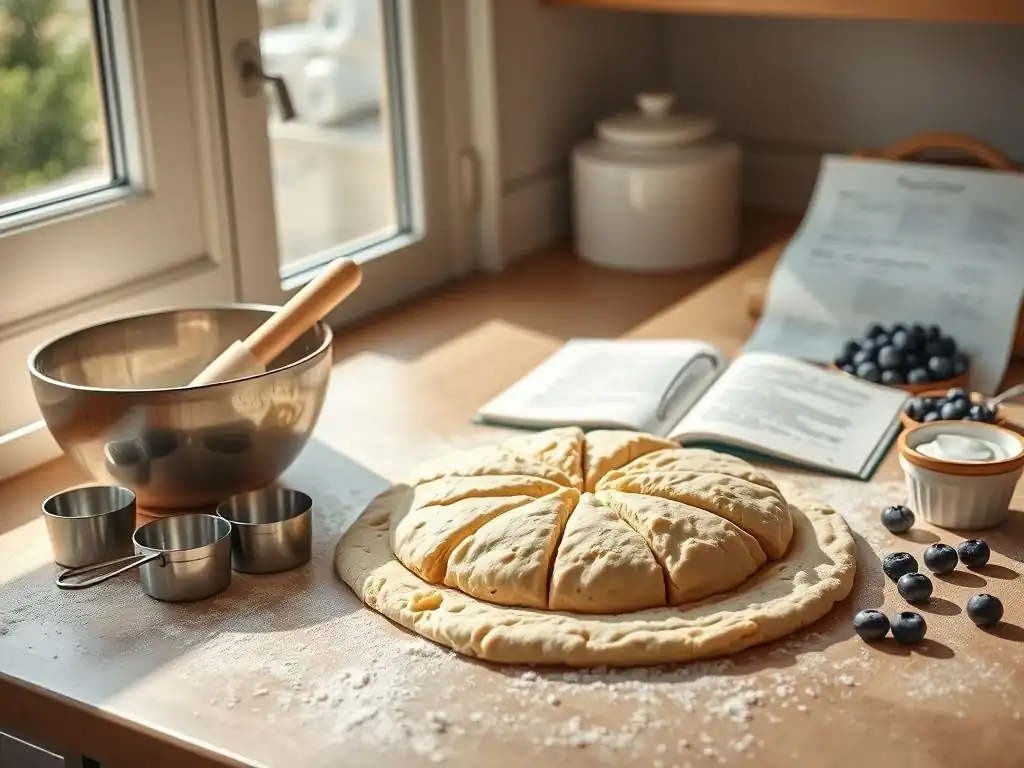
Necessary Tools and Equipment for Step-by-Step Scone Baking
Having the right tools ready before you begin makes the easy scone recipe step by step process smoother and more enjoyable. You'll need a large mixing bowl for combining the dry ingredients and bringing the dough together. A pastry blender, fork, or your fingertips are necessary for cutting the cold butter into the flour. Measuring cups and spoons are essential for accurate ingredient amounts – precision helps ensure consistent results when baking scones step by step.
Other useful items include a rolling pin (if you plan to shape cut scones), a round biscuit or cookie cutter (about 2-2.5 inches in diameter is standard), a baking sheet, and parchment paper or a silicone baking mat to prevent sticking. A pastry brush is helpful for applying an egg wash or milk wash for a golden top. Having these items clean and within reach before you start mixing saves time and prevents mess.
How to Organize Ingredients for a Smooth Baking Process
Organization is key to successful baking, especially when following an easy scone recipe for the first time. Start by reading the entire recipe through before you even get out your ingredients. This helps you understand the flow and anticipate each step. Next, measure out all your ingredients before you begin mixing. This is often called "mise en place" (everything in its place).
Place your measured dry ingredients (flour, sugar, baking powder, salt) in one bowl. Cube your cold butter and keep it chilled until ready to use. Measure your liquid (milk, buttermilk) and keep it in the refrigerator. Having everything prepped and ready prevents you from scrambling mid-process, which can lead to errors or warmer butter, negatively impacting your easy scones.
Step 1: Mixing the Dough for Easy Scones
Combining Dry Ingredients Properly for Light Texture
The first step in our easy scone recipe step by step involves combining the dry ingredients. In a large bowl, whisk together the flour, sugar, baking powder, and salt. Whisking serves two purposes: it breaks up any clumps in the flour and evenly distributes the leavening agents and salt throughout the mixture. This even distribution is vital for ensuring a uniform rise and consistent flavor in every scone.
Ensure you use the correct type of flour specified in the recipe, typically all-purpose flour for a standard easy scone. Using too much or too little of any dry ingredient, especially the baking powder, can significantly affect the texture. After whisking, the mixture should look uniform, with no visible pockets of salt or leavening agent.
Incorporating Butter and Moisture for Flaky Scones
This is arguably the most crucial step for achieving flaky easy scones. The goal is to cut cold butter into the dry ingredients until it resembles coarse crumbs or small peas. You can use a pastry blender, two forks, or your fingertips. If using your hands, work quickly to avoid melting the butter with your body heat. The cold butter pieces coated in flour are what create those desirable flaky layers as they melt and steam during baking.
Once the butter is cut in, make a well in the center of the dry ingredients and pour in your cold liquid (milk or buttermilk). Use a fork or spatula to gently bring the mixture together until just combined. The dough should be shaggy and moist, but not wet. Do not overmix! Overmixing develops gluten, which makes scones tough. A few dry spots are okay; they will hydrate as the dough rests briefly. This gentle mixing is key to a tender, easy scone recipe step by step outcome.
Step 2: Shaping and Cutting Scones for Optimal Results
Techniques for Shaping Classic and Drop Scones
There are two primary methods for shaping easy scones: cutting them into traditional wedges or squares, or forming them as drop scones. For classic cut scones, turn the shaggy dough out onto a lightly floured surface. Gently pat or lightly roll the dough into a disc or rectangle about 3/4 to 1 inch thick. Avoid pressing or rolling too firmly, as this can compress the dough and prevent a good rise.
If you prefer an even simpler approach perfect for an easy scone recipe, try drop scones. For this method, you don't need to turn the dough out or roll it. Simply use a large spoon or ice cream scoop to drop mounds of the dough directly onto the prepared baking sheet. These will have a more rustic, freeform shape but are incredibly quick and easy to prepare, making them ideal for a truly simple scone recipe.
Using Proper Cutting Methods to Ensure Even Baking
When cutting classic scones from a shaped disc or rectangle, use a sharp knife, pastry wheel, or a biscuit cutter. If using a cutter, press straight down without twisting. Twisting can seal the edges of the scone, hindering its ability to rise properly and resulting in a less symmetrical shape. Cut the dough into wedges (if using a round shape) or squares/rectangles.
Arrange the cut scones on your baking sheet, leaving about an inch between them for even heat circulation. If you want softer sides, you can place them closer together so they just touch. For drop scones, space the mounds about 2 inches apart. Proper spacing ensures that each scone bakes evenly and develops a beautiful golden crust all around, a key part of achieving scone perfection with this easy scone recipe step by step.
Step 3: Baking Your Scones to Golden Perfection
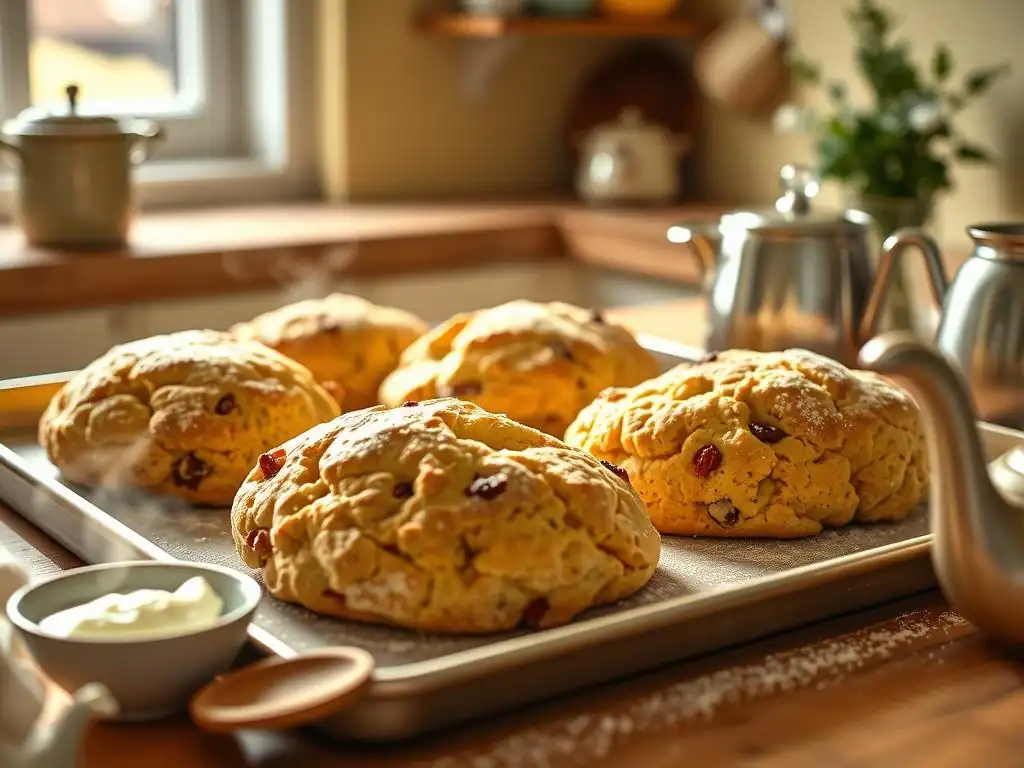
Oven Settings and Baking Times for Different Types of Scones
Preheating your oven to the correct temperature is absolutely critical for baking easy scones. A common temperature range for scones is around 400°F (200°C). A hot oven helps the leavening agents activate quickly and allows the cold butter to create steam rapidly, resulting in a good rise and flaky texture before the scone spreads too much.
Baking times can vary depending on your oven and the size and thickness of your scones. Typically, scones bake for 12-15 minutes. Thicker scones might take slightly longer, perhaps up to 18 minutes. Drop scones might bake slightly faster than cut scones due to their irregular shape. Always use the suggested time as a guideline and start checking for doneness a few minutes early.
How to Check for Doneness Without Overbaking
Overbaking is the enemy of soft, tender easy scones. Scones are done when they are golden brown on top and around the edges. The bottoms should also be lightly browned. If you are unsure, you can gently lift one scone with a spatula to check the bottom. Another test is to insert a skewer or toothpick into the center of a scone; it should come out clean, with no wet batter attached.
A perfectly baked scone will also feel firm but still light when gently tapped on the top. They should have expanded and risen noticeably in the oven. Avoid leaving them in the oven "just in case" once they look ready, as even an extra minute or two can turn them from tender to dry. This step-by-step scone process emphasizes visual cues for readiness.
Step 4: Cooling and Serving Your Easy Homemade Scones
Best Practices for Cooling to Retain Moisture and Fluffiness
Once your easy scones are baked to golden perfection, carefully transfer them from the hot baking sheet to a wire cooling rack. Leaving them on the hot pan can cause the bottoms to continue baking and become overdone or soggy from steam. Allow them to cool on the rack for at least 5-10 minutes before handling or serving.
Cooling on a wire rack allows air to circulate around the entire scone, preventing the bottom from getting steamy and ensuring a crisp exterior while the interior remains soft and fluffy. While it's tempting to eat them immediately, letting them cool slightly allows the internal structure to set, ensuring they don't fall apart when you slice them open.
Serving Suggestions and Complementary Toppings
Easy homemade scones are best enjoyed warm! Slice them horizontally using a knife or gently pull them apart with your hands. The classic pairing is clotted cream and jam, particularly strawberry jam, which offers a delightful contrast in textures and flavors. Butter is also a simple and delicious option, melting perfectly into the warm crumb.
Other popular toppings include whipped cream, lemon curd, honey, or even just a dusting of powdered sugar. For savory scones, butter, cream cheese, or even a slice of ham or cheese work wonderfully. Don't be afraid to experiment with different toppings to find your favorite way to enjoy your perfectly baked easy scones.
Troubleshooting Common Issues in Easy Scone Recipes
How to Fix Dry or Tough Scones
Dry or tough easy scones are often the result of too much flour, too little fat or liquid, or, most commonly, overworking the dough. When mixing, stop as soon as the ingredients are just combined; a slightly shaggy dough is desirable. Ensure your butter is very cold and cut into the flour properly (pea-sized pieces). This creates steam for tenderness.
If your dough feels dry before baking, you may need to add a tiny bit more liquid, a tablespoon at a time, until it just comes together. For future attempts at this easy scone recipe step by step, measure your flour accurately (scoop lightly into the measuring cup and level off, don't pack it). If you've already baked tough scones, unfortunately, there's no fixing the texture, but you can try to salvage them by slicing and toasting them, then serving with plenty of butter or jam.
Solutions for Scones That Don’t Rise Properly
Scones that don't rise well are typically caused by inactive or old leavening agents (baking powder/soda) or the dough being handled too much or being too warm. Always check the expiry date on your baking powder; it loses potency over time. Store it in a cool, dry place.
Ensure your butter is very cold and that you handle the dough gently and quickly. Warm dough and melted butter before baking will result in less rise. Also, make sure your oven is fully preheated to the correct temperature. If the oven isn't hot enough, the leavening won't activate as effectively. Following each part of the easy scone recipe step by step carefully, especially the cold ingredients and gentle mixing, is key to a good rise.
Variations on the Classic Easy Scone Recipe Step by Step
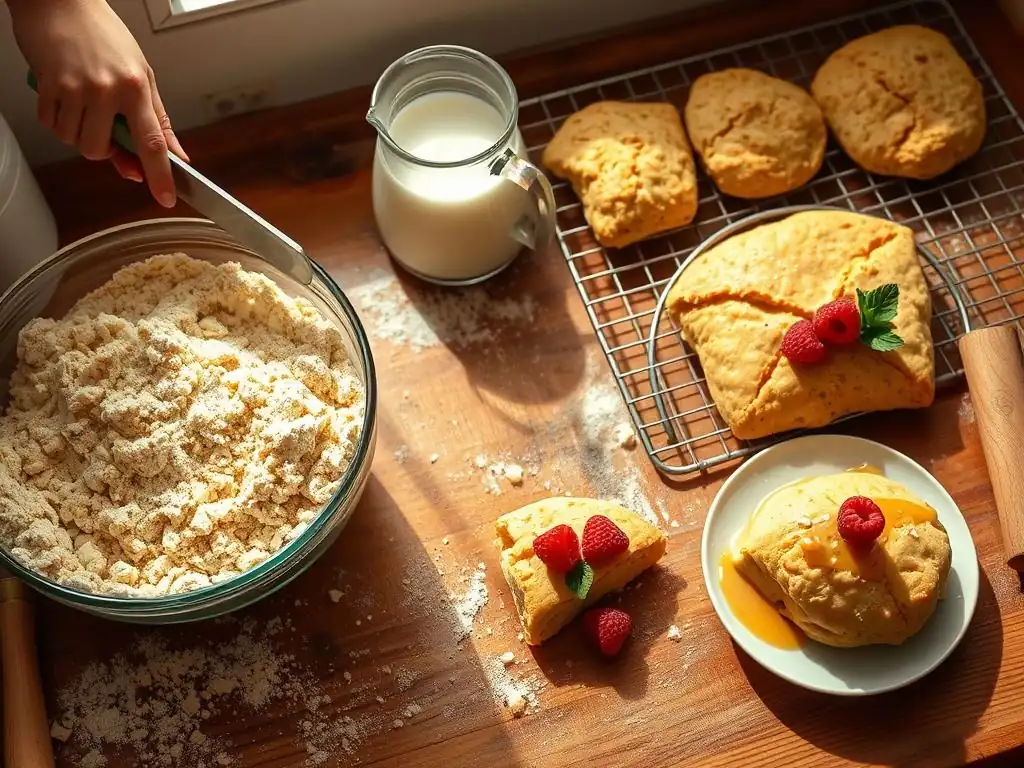
Adding Flavors: Sweet and Savory Scone Ingredient Ideas
Once you've mastered the basic easy scone recipe step by step, the possibilities for flavor variations are endless! For sweet scones, popular additions include dried fruits like cranberries, raisins, or currants (about 1/2 cup per 2 cups of flour). Fresh or frozen berries (like blueberries, about 1/2 to 3/4 cup) can be folded in gently. Chocolate chips, citrus zest (lemon or orange), or spices like cinnamon or nutmeg are also wonderful additions.
For savory easy scones, consider adding grated cheese (cheddar, parmesan), fresh herbs (chives, rosemary, thyme), chopped cooked bacon or ham, or black pepper. You can use about 1/2 cup of cheese or 1-2 tablespoons of herbs per 2 cups of flour. These additions should be folded in gently just before shaping the dough, ensuring they are distributed but not crushed.
Gluten-Free and Vegan Adaptations for Beginner Bakers
Adapting an easy scone recipe step by step for dietary needs is also possible. For gluten-free scones, you can substitute the all-purpose flour with a good quality gluten-free all-purpose flour blend. Look for blends that contain xanthan gum, which helps provide structure. The ratio of flour to other ingredients may need slight adjustment based on the specific blend used.
To make this easy scone recipe vegan, substitute the dairy milk with a non-dairy milk (like almond, soy, or oat milk) and use a solid, cold vegan butter alternative in place of dairy butter. Ensure your sugar is vegan (some white sugar is processed with bone char). You might also need a binder like a flax egg or a small amount of applesauce if the recipe originally called for an egg wash or egg in the dough, though many basic scone recipes do not include eggs.
Tips and Tricks from BakeWithEase for Consistently Perfect Scones
Secrets to Achieving the Ideal Scone Texture Every Time
The secret to consistently perfect easy scones lies in a few key practices. Keep ingredients cold: This cannot be stressed enough. Cold butter and cold liquid are fundamental for flakiness. Don't overwork the dough: Mix only until the ingredients are just combined. A shaggy dough is good! Handle gently: When shaping or cutting, be gentle to avoid compressing the dough.
Use fresh leavening: Check those expiry dates! Store baking powder/soda properly. Preheat oven properly: A hot oven is essential for a good rise. Avoid overbaking: Watch for visual cues of doneness. By focusing on these simple tips throughout the easy scone recipe step by step, you'll significantly increase your chances of achieving that desired light, tender, and flaky texture every single time you're baking scones step by step.
How to Store and Reheat Scones Without Losing Freshness
Homemade easy scones are best enjoyed fresh and warm from the oven. However, if you have leftovers, proper storage is important to maintain quality. Once completely cooled, store scones in an airtight container at room temperature for 1-2 days. For longer storage, you can freeze baked and cooled scones. Wrap them individually in plastic wrap, then place them in a freezer bag or container. They can be frozen for up to 2-3 months.
To reheat frozen scones, you can bake them directly from frozen at about 300-325°F (150-160°C) for 15-20 minutes, or until warmed through. Thawed scones can be reheated quickly in a toaster oven or conventional oven at 350°F (175°C) for 5-10 minutes. Reheating helps restore some of that fresh-baked warmth and tenderness, allowing you to enjoy your easy scones again.
Conclusion: Mastering Easy Scone Baking with Step-by-Step Guidance
Encouragement to Experiment with Your Own Scone Creations
You've successfully navigated the easy scone recipe step by step! Baking scones doesn't have to be complicated, and now you have the foundational skills to create delicious, tender treats. This simple scone recipe is a fantastic starting point, but it's also a springboard for creativity. Don't be afraid to try adding your favorite fruits, cheeses, herbs, or spices in your next batch.
Experiment with different shapes – triangles, squares, or even mini scones. Adjust baking times accordingly for size variations. The more you practice this step-by-step scone method, the more intuitive it will become, and you'll feel confident venturing into new flavor combinations and techniques.
How This Easy Scone Recipe Fits into Your Beginner Baking Journey
This easy scone recipe step by step is an excellent milestone in your beginner baking journey. It introduces fundamental techniques like cutting in butter, gentle mixing, and understanding the role of leavening, which are applicable to many other baked goods like biscuits, pie crusts, and even some cakes. Mastering simple scones builds confidence and teaches you to read dough consistency and recognize when ingredients are properly combined.
Consider this easy scone recipe as a stepping stone. The skills you've learned here will make tackling other beginner baking recipes on BakeWithEase.com much easier. You've proven that you can create something delicious and beautiful from scratch by following clear instructions. Keep baking, keep experimenting, and most importantly, keep enjoying the process and the delicious results of your efforts!
Frequently Asked Questions
What makes the BakeWithEase scone recipe particularly "easy"?
This recipe focuses on simplified steps and readily available ingredients. We minimize complex techniques to make scone baking accessible to everyone.
What are the key ingredients for achieving perfect scone texture, according to BakeWithEase?
The most important ingredients are cold butter and proper flour. These are crucial for creating a light and flaky texture in your scones.
How does BakeWithEase advise beginners to avoid overmixing the scone dough?
We recommend a gentle folding technique rather than vigorous mixing. Overmixing develops gluten, resulting in tough scones.
Can I substitute ingredients in the BakeWithEase easy scone recipe?
While substitutions are possible, they can affect the outcome. We suggest sticking to the original recipe for best results, especially for beginners.
What are some tips from BakeWithEase for ensuring even baking and browning of the scones?
Ensure your oven is properly preheated and use a baking sheet lined with parchment paper. Avoid overcrowding the scones to promote even heat distribution.
Final Reflection: The Enduring Allure of the Perfect Scone
The seemingly simple act of baking a scone holds a surprising depth, connecting us to culinary traditions and offering a tangible path to joy. From the careful measurement of ingredients to the satisfying crackle of the oven, the process itself is a meditation on precision and patience. More than just a recipe, it's a journey to a perfectly golden, crumbly delight.
The scone, in its humble form, reflects our enduring desire for comfort and connection. It's a treat easily shared, a symbol of homeliness and warmth. The simple act of baking and sharing scones transcends generations, fostering a sense of community and shared experience. Baking is at once child's play and adult joy. And love, of course.
– This sentiment perfectly captures the essence of scone baking—a process that blends simplicity with profound satisfaction.
Now, I invite you to consider your own approach to baking. Perhaps you'll try this recipe, embracing the detailed steps and the promise of perfection. Or maybe you'll be inspired to explore your own culinary passions, finding joy in the process of creation and the pleasure of sharing your creations with others. Remember, the journey to the perfect scone, like many journeys in life, is as rewarding as the destination itself. So, gather your ingredients, preheat your oven, and embark on your own scone adventure.
Unlock Your Inner Baker: Scone Secrets Await!
Thanks for joining us on this scone-baking adventure! We hope you've gained the confidence and knowledge to create truly delicious scones. Ready to take your baking to the next level?
- Bake your perfect scones today! Put your newfound skills to the test and impress yourself (and others!) with a batch of fluffy, golden-brown scones. Remember, practice makes perfect!
- Share your scone success story! Snap a picture of your creation and tag us on social media – we'd love to see your baking triumphs.
- Experiment with unique flavors: Try adding different fruits, spices, or even cheeses to your scones. What unexpected combination will you create?
What exciting scone variations will you bake next? Let us know in the comments!