
Simple Creamy Chocolate Panna Cotta

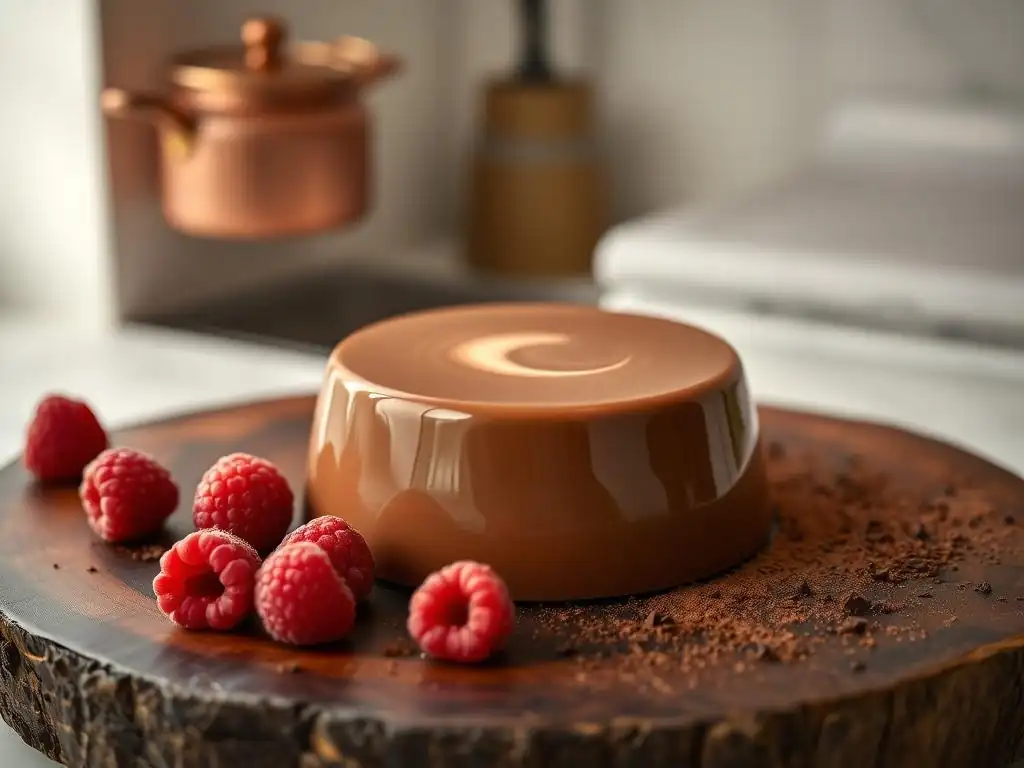
Welcome to BakeWithEase, your guide to baking mastery!
Ever dreamed of creating a dessert that's both elegant and effortless? In this article, we'll unveil the secrets to making an Easy Creamy Chocolate Panna Cotta that will impress everyone. But first, let's delve into the basics. What makes a panna cotta so irresistibly smooth, and how can you achieve that perfect texture every time? Keep reading to unlock the secrets and embark on a delicious baking adventure!
- Rich Chocolate Panna Cotta: A Decadent Dessert
- BakeWithEase Presents: A Classic Chocolate Panna Cotta Recipe
- Understanding Panna Cotta
- Easy Chocolate Panna Cotta: Step-by-Step Recipe
- Preparing the Chocolate Panna Cotta Base
- Setting the Chocolate Panna Cotta
- Serving Chocolate Panna Cotta
- Tips for Perfect Panna Cotta
- Panna Cotta Flavor Variations
- Storing Homemade Panna Cotta
- More Dessert Recipes
-
Frequently Asked Questions
- What makes this panna cotta recipe "easy"?
- What kind of chocolate should I use for the "Simple Creamy Chocolate Panna Cotta"?
- How long does the panna cotta need to chill before serving?
- Can I make this panna cotta recipe dairy-free or vegan?
- What are some serving suggestions for this "Simple Creamy Chocolate Panna Cotta"?
- Final Reflection: The Enduring Allure of Simple Perfection
- Unlock Your Inner Pastry Chef: Master the Creamy Chocolate Panna Cotta!
Rich Chocolate Panna Cotta: A Decadent Dessert
BakeWithEase Presents: A Classic Chocolate Panna Cotta Recipe
Why This Chocolate Panna Cotta is a Crowd-Pleaser
This easy creamy chocolate panna cotta stands out not only for its luxurious taste and smooth texture but also for its surprising simplicity. Unlike complex layered desserts or delicate pastries that require hours of intricate work, this recipe can be prepared with minimal effort and common kitchen tools. The magic lies in its ability to deliver a sophisticated dessert experience without the fuss, making it perfect for busy weeknights or impressive dinner parties alike. Its rich, deep chocolate flavor appeals to nearly everyone, from ardent chocoholics to those who prefer just a hint of sweetness.
Furthermore, the adaptability of this simple chocolate panna cotta recipe makes it a perpetual favorite. While the base is incredibly satisfying on its own, it serves as an exquisite canvas for a variety of toppings, allowing you to customize each serving to individual preferences or seasonal availability. For instance, pairing the creamy chocolate panna cotta with tart fresh raspberries provides a refreshing contrast, while a drizzle of warm chocolate sauce amplifies its decadence. This versatility ensures that this easy creamy chocolate panna cotta remains a go-to dessert, always capable of delighting guests and satisfying sweet cravings.
Understanding Panna Cotta
What is Panna Cotta?
Panna cotta, which translates literally to "cooked cream" in Italian, is a classic dessert originating from Italy's Piedmont region. It's essentially a mixture of cream, sugar, and a gelling agent – typically gelatin – that is heated, flavored, and then chilled until set into a delicate, wobbly custard-like consistency.
Unlike traditional custards that rely on eggs for thickening and often require careful tempering and baking (like crème brûlée), panna cotta achieves its smooth, rich texture solely through the action of gelatin and the inherent richness of dairy. This fundamental difference makes panna cotta generally simpler to prepare, reducing the risk of curdling or overcooking.
The beauty of panna cotta lies in its elegant simplicity. Its base flavor is mild, allowing for a wide range of infusions and additions, from vanilla bean to citrus zest, coffee, or, as in our case, chocolate.
When prepared correctly, the texture should be incredibly smooth and melt-in-your-mouth, holding its shape just enough to be unmolded or served directly from a dish, yet yielding easily to a spoon with a delightful jiggle. Achieving this easy creamy chocolate panna cotta texture is key to its appeal and is primarily controlled by the precise ratio of gelatin to cream and the chilling time.
Essential Ingredients for Panna Cotta
Creating a perfect panna cotta requires just a few core ingredients, each playing a vital role in achieving the desired texture and flavor. The foundation is high-quality dairy, usually heavy cream, sometimes mixed with milk or half-and-half to adjust richness. Using heavy cream (typically containing 36-40% milk fat) is crucial for that signature smooth, creamy mouthfeel. Lower-fat dairy will result in a less rich and potentially less stable set. Sugar provides sweetness, balancing the richness of the cream and the intensity of the flavorings. Granulated sugar is standard, but alternatives like caster sugar dissolve more quickly.
The gelling agent is the setting star, and unflavored gelatin is the most traditional choice. It's available in powdered or sheet form. Powdered gelatin, commonly found in grocery stores, usually comes in 1/4-ounce envelopes, with each envelope typically setting about 2 cups (approximately 470ml) of liquid.
For a standard recipe yielding four to six servings, around 1.5 to 2 teaspoons of powdered gelatin (or roughly one envelope) is often sufficient to set about 2-3 cups of cream mixture, depending on the desired firmness. Accurate measurement of gelatin is critical; too little results in a liquid or overly soft set, while too much leads to a rubbery texture, far from the easy creamy chocolate panna cotta ideal.
Easy Chocolate Panna Cotta: Step-by-Step Recipe
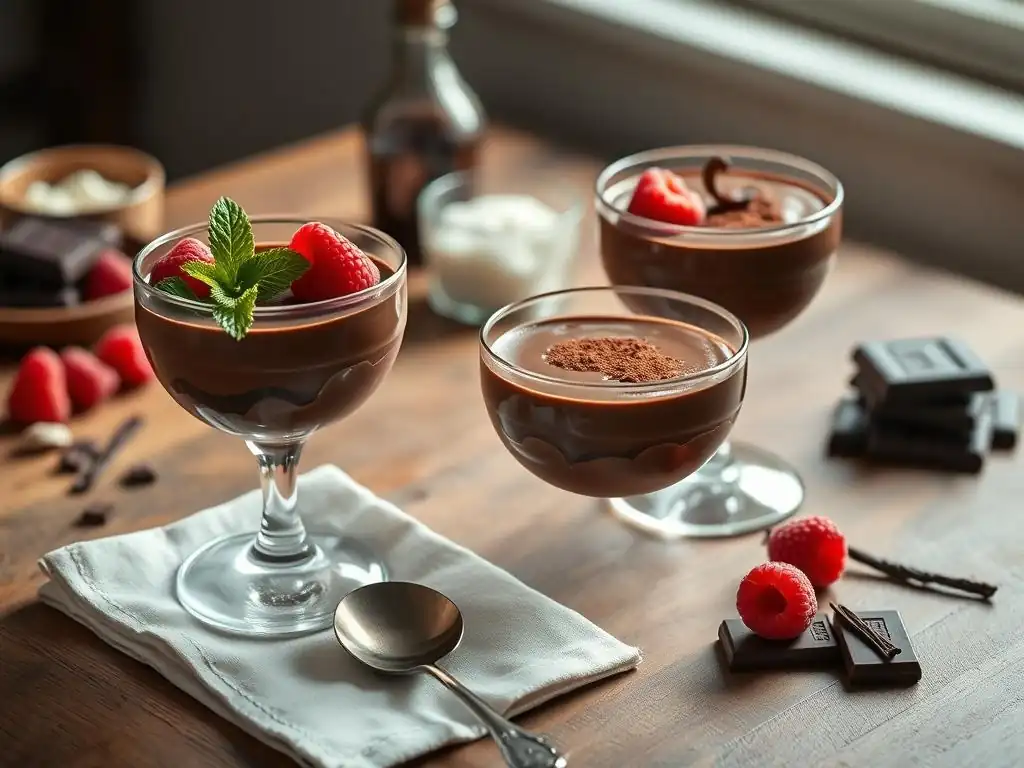
Ingredients
- 1 ½ teaspoons unflavored powdered gelatin (about half a standard 1/4-ounce envelope)
- 2 tablespoons cold water
- 2 cups (470ml) heavy cream
- ½ cup (100g) granulated sugar
- ¼ teaspoon salt
- 1 teaspoon pure vanilla extract
- 4 ounces (115g) good quality bittersweet or semi-sweet chocolate, finely chopped
Equipment
- Small bowl for blooming gelatin
- Medium saucepan
- Whisk
- Heatproof spatula
- Fine-mesh sieve (optional, for extra smooth texture)
- Individual serving dishes, ramekins, or glasses (about 4-6)
Preparing the Chocolate Panna Cotta Base
Step 1: Bloom the Gelatin
This initial step is crucial for ensuring the gelatin dissolves smoothly and evenly into the cream mixture, preventing grainy pockets in your easy creamy chocolate panna cotta. Measure the cold water into a small bowl. Carefully sprinkle the measured powdered gelatin over the surface of the water. Do not stir it in immediately; simply let it sit undisturbed for about 5 to 10 minutes. During this time, the gelatin granules will absorb the water, swelling and becoming translucent and jelly-like. This "blooming" process prepares the gelatin to fully dissolve when gently heated later.
Skipping or rushing the blooming step can lead to unincorporated gelatin granules, resulting in an unpleasant texture in the final dessert. Ensure the water is cold; hot water can cause the gelatin to clump. Use the exact amount of water specified, as too much or too little can affect the blooming process. Properly bloomed gelatin will look like a soft, solid mass rather than separate granules floating in water.
Step 2: Infuse Cream with Vanilla
Combine the heavy cream, granulated sugar, and salt in a medium saucepan. Place the saucepan over medium heat. Stir the mixture gently with a whisk or heatproof spatula until the sugar is completely dissolved. Avoid boiling the cream; the goal is just to heat it sufficiently to dissolve the sugar and prepare it for the chocolate and gelatin. Look for small bubbles forming around the edges of the pan, indicating it's hot but not yet boiling vigorously. This usually takes about 5-7 minutes over medium heat.
Once the sugar has dissolved and the cream is hot, remove the saucepan from the heat. Stir in the pure vanilla extract. Vanilla adds a warm, aromatic depth that complements the richness of the chocolate beautifully in your easy creamy chocolate panna cotta. Ensure the vanilla is stirred in off the heat to preserve its delicate aroma, as high heat can diminish its flavor profile.
Step 3: Melt Chocolate into the Cream Mixture
Add the finely chopped bittersweet or semi-sweet chocolate to the hot cream mixture in the saucepan. Let it sit for a minute or two without stirring to allow the heat from the cream to begin melting the chocolate. Then, gently whisk or stir with a spatula until the chocolate is completely melted and the mixture is smooth, glossy, and uniformly brown. Ensure there are no lumps of chocolate remaining; a smooth base is essential for a creamy texture.
The quality of chocolate you use significantly impacts the final flavor of your easy creamy chocolate panna cotta. Using a good quality chocolate with around 60-70% cocoa solids provides a rich, intense chocolate flavor without being overly sweet. If you prefer a sweeter panna cotta, semi-sweet chocolate (typically 40-60% cocoa solids) works well. If the mixture seems stubborn to fully melt the chocolate, you can return the pan to very low heat for just a moment, stirring constantly, but be careful not to scorch the chocolate or boil the cream.
Step 4: Incorporate Gelatin
Gently heat the bloomed gelatin mixture. You can do this by placing the small bowl containing the bloomed gelatin over a larger bowl of hot water (a double boiler method) and stirring until it becomes liquid and clear, which usually takes just a minute or two. Alternatively, you can microwave the bloomed gelatin for about 5-10 seconds, just until it's liquid. Be careful not to overheat it, as boiling gelatin can weaken its gelling power.
Once the gelatin is fully dissolved and liquid, pour it into the warm chocolate-cream mixture. Whisk immediately and thoroughly for at least 30 seconds to ensure the gelatin is evenly distributed throughout the liquid. Proper incorporation is key to achieving a consistent set. If desired, you can pour the mixture through a fine-mesh sieve at this stage to catch any potential lumps or undissolved particles, ensuring an extra-smooth easy creamy chocolate panna cotta.
Setting the Chocolate Panna Cotta
Step 5: Pouring into Individual Serving Dishes
Once the gelatin is fully incorporated into the warm chocolate-cream mixture, it's time to pour it into your chosen serving vessels. Carefully divide the mixture among the individual ramekins, glasses, or molds you have prepared. Pouring slowly helps to avoid introducing air bubbles. Fill the dishes to your desired level, keeping in mind that these will be the final serving portions. Using clear glasses allows you to appreciate the beautiful, rich color of the chocolate panna cotta.
Ensure your serving dishes are clean and dry before pouring. If you plan to unmold the panna cotta later, lightly oiling the inside of the molds with a neutral oil (like canola or grapeseed) or a non-stick spray can help facilitate release. For an easy creamy chocolate panna cotta served directly in the dish, no preparation is needed. Arrange the filled dishes on a tray or baking sheet for easy transfer to the refrigerator.
Step 6: Refrigeration for Optimal Setting
Place the tray of filled panna cotta dishes gently into the refrigerator. It is crucial to refrigerate the panna cotta for sufficient time to allow the gelatin to set properly. The minimum chilling time required is typically at least 4 hours, but for the best texture and a firm yet wobbly set, refrigerating for at least 6 hours or, ideally, overnight is recommended. Adequate chilling ensures the gelatin network fully forms, providing the characteristic smooth and stable texture of easy creamy chocolate panna cotta.
Avoid disturbing the panna cotta while it is setting in the refrigerator. Movement can disrupt the delicate gelatin structure before it has fully solidified, potentially resulting in an uneven or softer set. Ensure the refrigerator temperature is consistently cold, typically between 35°F and 40°F (1.7°C and 4.4°C). Covering the dishes lightly with plastic wrap once the surfaces have cooled (after about 30 minutes in the fridge) can prevent a skin from forming and absorb any refrigerator odors, though some prefer to leave them uncovered initially to cool down faster.
Serving Chocolate Panna Cotta
Step 7: Garnishing and Presentation
Once your easy creamy chocolate panna cotta has set beautifully in the refrigerator, it's time for the final touch: garnishing and presentation. Presentation can elevate a simple dessert into something truly special. If serving directly in the dish, add your chosen toppings just before serving to keep them fresh and appealing. If unmolding, briefly dip the bottom of the mold in warm water (about 10-15 seconds) and invert onto a plate. A gentle shake or loosening with a knife tip can help release it.
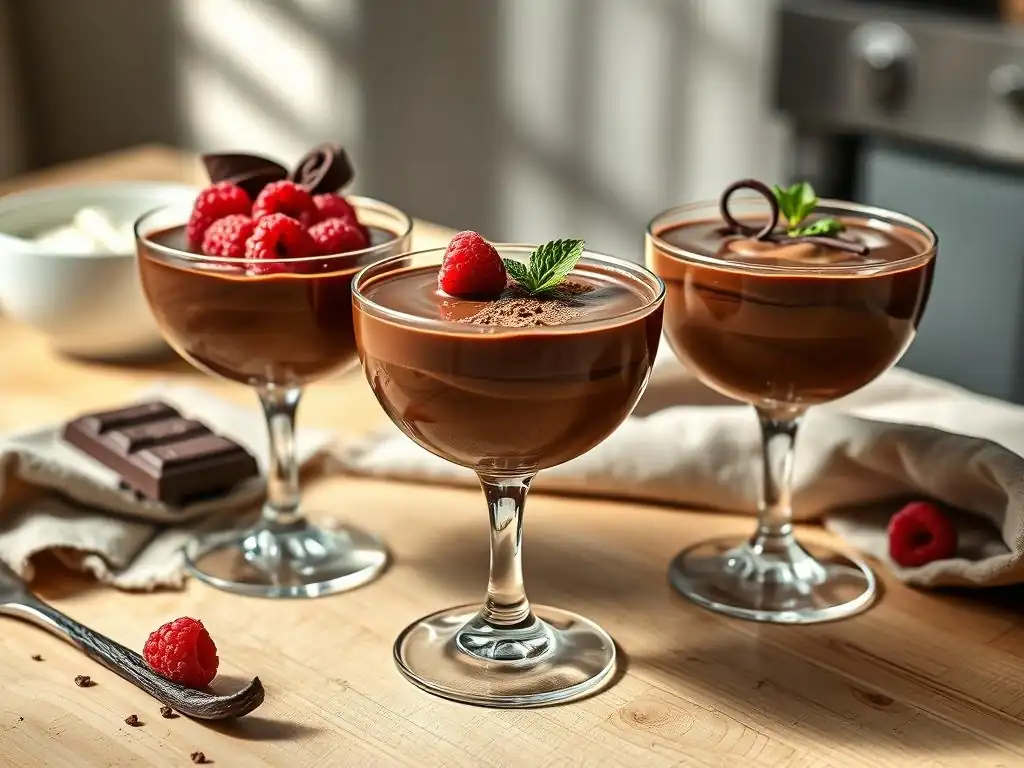
Consider the visual appeal when garnishing. A sprinkle of cocoa powder, a few fresh berries, a sprig of mint, or a drizzle of sauce can add color, contrast, and elegance. The deep brown of the chocolate panna cotta provides a rich backdrop for vibrant toppings like red raspberries or white whipped cream. Simple yet thoughtful garnishes enhance the overall enjoyment of this easy creamy chocolate panna cotta.
Delicious Topping Ideas
Fresh Raspberries: A Tart Complement
Fresh raspberries offer a delightful counterpoint to the richness of the easy creamy chocolate panna cotta. Their bright, slightly tart flavor cuts through the sweetness and creamy texture, providing a refreshing contrast. The vibrant red color of the berries also adds a beautiful visual pop against the dark chocolate.
A handful of fresh raspberries scattered over the top of each panna cotta serving is simple yet effective. You could also create a quick raspberry coulis by pureeing raspberries with a little sugar and lemon juice, then straining it for a smooth sauce to drizzle around the base or over the top. Approximately 1/4 cup of fresh raspberries per serving is often sufficient for a pleasant balance of flavors.
Chocolate Sauce for Added Richness
For the ultimate chocolate lover, a drizzle of rich chocolate sauce is the perfect accompaniment to easy creamy chocolate panna cotta. A simple ganache made from equal parts melted chocolate and warm cream, or a store-bought hot fudge sauce, can intensify the chocolate experience.
Warm the chocolate sauce slightly before serving so it drizzles smoothly. A tablespoon or two per serving is usually enough to add extra richness without overwhelming the panna cotta itself. You can also use a contrasting chocolate sauce, like white chocolate, for a striking visual effect.
Toasted Hazelnuts: For Texture and Flavor
Adding toasted hazelnuts introduces a wonderful textural element and a complementary nutty flavor to the easy creamy chocolate panna cotta. The slight crunch of the nuts provides a pleasant contrast to the smooth, creamy dessert. Hazelnuts pair exceptionally well with chocolate, a classic flavor combination.
Lightly toast chopped hazelnuts in a dry pan over medium heat for a few minutes until fragrant and slightly browned. Let them cool before sprinkling them over the panna cotta just before serving. A tablespoon of toasted hazelnuts per serving adds a satisfying crunch and depth of flavor. Other nuts like pistachios or almonds could also work well.
Tips for Perfect Panna Cotta
Achieving the Right Consistency
The ideal consistency for an easy creamy chocolate panna cotta is wobbly and delicate, holding its shape but melting smoothly in the mouth. This texture is primarily determined by the amount of gelatin used relative to the amount of liquid. Using too much gelatin results in a firm, rubbery set, while too little will leave the panna cotta too soft, potentially even liquid.
Follow the recipe measurements precisely, but be aware that different brands of gelatin can have slightly varying strengths. A general guideline for a standard "medium" set is about 1.5 to 2 teaspoons of powdered gelatin per 2 cups of liquid.
Temperature control is also vital. Ensure the cream mixture is hot enough to fully dissolve the sugar and chocolate, and critically, the bloomed gelatin. However, avoid boiling the mixture after adding the gelatin, as this can degrade the gelatin's gelling power. Allowing sufficient chilling time in the refrigerator is equally important; gelatin needs several hours (ideally 6+) in a cold environment to form its stable gel structure. If your panna cotta doesn't set after the recommended time, it's likely due to insufficient gelatin, incomplete dissolving of gelatin, or not enough chilling time.
Troubleshooting Common Issues
Preventing Grainy Texture
A grainy texture in panna cotta is usually caused by undissolved sugar or, more commonly, undissolved gelatin. To prevent this in your easy creamy chocolate panna cotta, ensure the sugar is completely dissolved in the warm cream before adding the chocolate and gelatin. Stir the cream mixture over medium heat until you no longer feel sugar granules when rubbing a little between your fingers.
For the gelatin, the key is proper blooming followed by gentle, thorough heating until it is completely liquid and clear before adding it to the warm cream mixture. Whisking it in vigorously and ensuring it's fully incorporated is also crucial. If you are concerned about any undissolved bits, straining the final mixture through a fine-mesh sieve before pouring it into serving dishes can catch any errant particles and help achieve a perfectly smooth texture.
Ensuring Proper Setting
If your easy creamy chocolate panna cotta doesn't set properly, the most probable culprits are issues with the gelatin or inadequate chilling. Double-check the amount of gelatin used against the recipe; using too little will result in a soft or liquid panna cotta. Ensure the gelatin was properly bloomed in cold water and then fully dissolved in the warm cream mixture. Gelatin that hasn't fully dissolved won't contribute to the set.
Furthermore, adequate refrigeration time is absolutely essential. While the panna cotta might seem partially set after a couple of hours, it typically requires at least 4-6 hours, and often longer, to achieve the desired firm-yet-wobbly consistency. Ensure your refrigerator is cold enough (below 40°F or 4°C). If after sufficient time the panna cotta is still too soft, there is unfortunately little that can be done for that batch, but these tips will help you achieve a perfect set next time.
Panna Cotta Flavor Variations
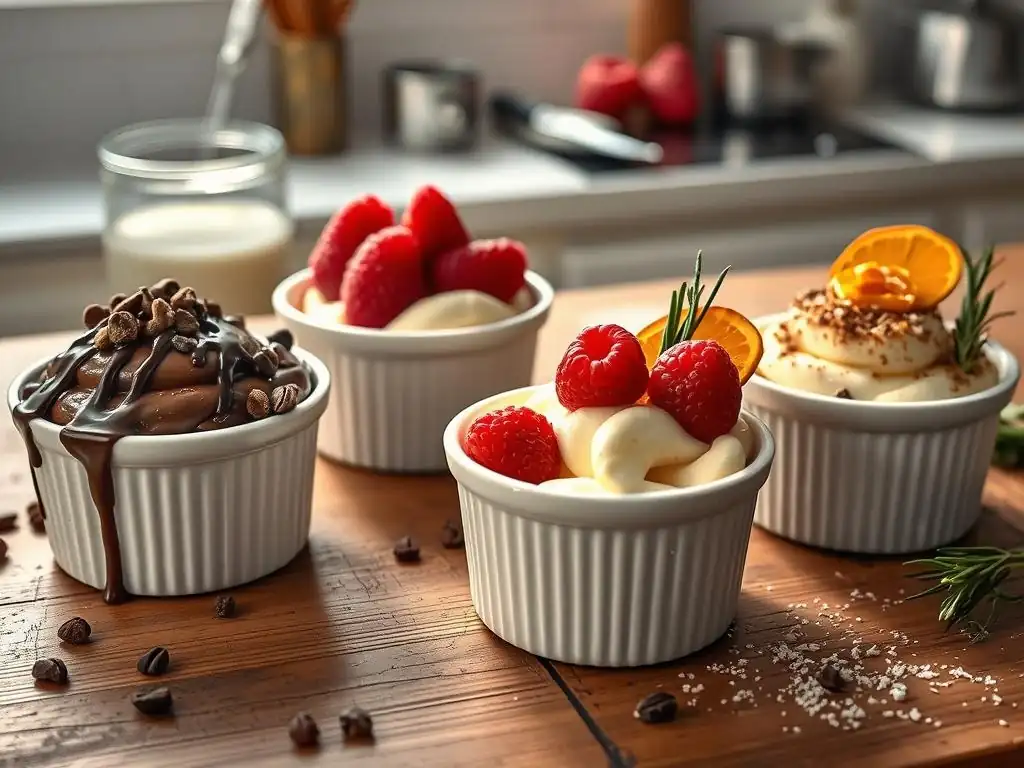
Coffee Panna Cotta: A Caffeinated Delight
Beyond the classic easy creamy chocolate panna cotta, panna cotta serves as a versatile base for numerous flavors. Coffee panna cotta is a popular variation that provides a sophisticated, slightly bitter contrast to the sweet cream. To make it, simply dissolve 1-2 tablespoons of instant espresso powder or very strong instant coffee granules into the warm cream mixture along with the sugar.
Alternatively, you can gently infuse the cream with coffee beans. Heat the cream with about 1/4 cup of lightly crushed coffee beans, let it steep off the heat for about 15-20 minutes, then strain out the beans before proceeding with the recipe by adding sugar, gelatin, etc. This method yields a more subtle, nuanced coffee flavor. Serve coffee panna cotta with whipped cream and a dusting of cocoa powder or a coffee bean garnish.
Salted Caramel Panna Cotta: Sweet and Salty
Salted caramel panna cotta offers a delightful interplay of sweet, rich caramel and a hint of salt, creating an incredibly addictive dessert. You can incorporate caramel flavor in a couple of ways. One method is to stir in a good quality salted caramel sauce into the warm cream mixture before adding the gelatin. Approximately 1/3 to 1/2 cup of sauce per 2 cups of cream should provide a noticeable caramel flavor.
Another approach involves making a caramel directly in the saucepan by melting sugar until it turns an amber color, then carefully whisking in the warm cream (be cautious, as it will steam and bubble vigorously). Once the caramel is dissolved in the cream, proceed with the gelatin and setting steps. Finish this variation with an extra drizzle of salted caramel sauce and perhaps a sprinkle of flaky sea salt just before serving.
Raspberry Panna Cotta: Fruity and Refreshing
For a brighter, fruitier take, raspberry panna cotta is a fantastic choice, offering a departure from the richness of easy creamy chocolate panna cotta. This can be achieved by pureeing fresh or frozen raspberries (thawed and drained) and incorporating the puree into the cream mixture. About 1 cup of raspberry puree, strained to remove seeds, can be mixed into 2 cups of cream base.
Adjust the sugar level based on the sweetness of the raspberries. You'll also need to adjust the gelatin slightly, potentially adding a little more, as the fruit puree adds extra liquid and acidity which can affect the set. Serve raspberry panna cotta with fresh raspberries or a vibrant raspberry coulis for an extra burst of fruity flavor.
Storing Homemade Panna Cotta
Best Refrigeration Practices
Proper storage is key to keeping your easy creamy chocolate panna cotta fresh and delicious. Once the panna cotta has fully set (after the initial chilling period of 6+ hours), cover the individual serving dishes or the container you are storing it in. Plastic wrap is effective; press it gently onto the surface of the panna cotta itself or cover the top of the dish securely to prevent a skin from forming and to protect against absorbing odors from other items in the refrigerator.
Store the panna cotta in the coldest part of your refrigerator, typically the back. Maintaining a consistent cold temperature (around 35-40°F or 1.7-4.4°C) is crucial for keeping the gelatin set firm and preventing spoilage. Avoid placing hot items near the panna cotta, as temperature fluctuations can negatively impact its texture. If storing in a larger container before portioning, ensure it is well-sealed.
Shelf Life of Panna Cotta
Homemade panna cotta, including this easy creamy chocolate panna cotta, when stored correctly in the refrigerator, typically has a shelf life of about 3 to 4 days. While it might technically be safe to consume slightly longer, the texture and quality are best within this timeframe. Gelatin-based desserts can start to weep or the texture can degrade slightly over time.
It's always best to consume panna cotta within a few days of making it for the optimal creamy and smooth experience. Discard any panna cotta that develops an off smell, color, or appears slimy, as these are signs of spoilage. Freezing panna cotta is generally not recommended; the freezing and thawing process can break down the gelatin structure, resulting in a watery and less appealing texture.
More Dessert Recipes
Explore Our Italian Dessert Collection
If you enjoyed making this easy creamy chocolate panna cotta, you'll find many more delightful recipes in our collection of Italian Desserts. Discover how to make classic Tiramisu with its layers of coffee-soaked ladyfingers and mascarpone cream, or try your hand at crafting delicate Cannoli shells filled with sweet ricotta. Explore recipes for Biscotti, perfect for dipping in coffee, or learn the secrets to a perfect Affogato.
Our Italian dessert section celebrates the rich culinary heritage of Italy, offering recipes that range from simple and quick to those that require a bit more time and technique. Whether you're looking for creamy, fruity, or pastry-based treats, you're sure to find something to inspire your next baking adventure. Each recipe provides clear instructions and tips to help you achieve delicious results right in your own kitchen.
Frequently Asked Questions
What makes this panna cotta recipe "easy"?
This recipe is easy because it utilizes simple ingredients and provides clear, step-by-step instructions, making it accessible for bakers of all skill levels.
What kind of chocolate should I use for the "Simple Creamy Chocolate Panna Cotta"?
For the best flavor, use high-quality semi-sweet chocolate. You can also experiment with dark chocolate for a richer, more intense flavor.
How long does the panna cotta need to chill before serving?
The panna cotta needs to chill for at least 4 hours, but preferably overnight, to fully set and develop its creamy texture.
Can I make this panna cotta recipe dairy-free or vegan?
Yes, you can substitute the cream with coconut cream or other plant-based alternatives. You'll also need to use a vegan gelatin alternative like agar-agar.
What are some serving suggestions for this "Simple Creamy Chocolate Panna Cotta"?
Serve it chilled, garnished with fresh berries, a chocolate sauce drizzle, or a sprinkle of cocoa powder for an elegant presentation.
Final Reflection: The Enduring Allure of Simple Perfection
The pursuit of culinary excellence doesn't always require complex techniques or obscure ingredients; sometimes, the most satisfying dishes are born from simplicity. A perfectly smooth, intensely chocolatey panna cotta, achieved with minimal effort, speaks volumes about the power of mindful preparation and quality ingredients. This recipe, designed for ease and deliciousness, proves that even the most sophisticated desserts can be accessible to everyone.
The enduring appeal of panna cotta lies not just in its creamy texture and rich flavor, but also in its versatility. It's a blank canvas for culinary creativity, easily adaptable to different tastes and preferences. Simplicity is the ultimate sophistication.
- Leonardo da Vinci. This quote perfectly encapsulates the essence of this recipe, demonstrating that true elegance can be found in the careful execution of basic techniques, resulting in a dessert that is both visually stunning and incredibly satisfying.
Now, I invite you to consider this: What other seemingly complex dishes can be simplified without sacrificing flavor or quality? Don't be afraid to experiment, to embrace the joy of creating something delicious with minimal fuss. The next time you crave a decadent treat, remember the simplicity and elegance of this chocolate panna cotta, and let it inspire you to explore the boundless possibilities of easy, yet exquisite, cooking.
Unlock Your Inner Pastry Chef: Master the Creamy Chocolate Panna Cotta!
Thanks for joining us on this delicious journey into the world of creamy chocolate panna cotta! We hope you've gained the confidence to tackle this elegant dessert. Ready to take your baking skills to the next level?
- Whip up your own panna cotta: Use our recipe as a springboard—experiment with different flavorings or toppings to create your signature masterpiece! Think salted caramel, raspberry coulis, or even a sprinkle of chili flakes for a surprising twist.
- Share your creation: Tag us on social media with your stunning panna cotta photos! We love seeing your culinary adventures. Use #BakeWithEasePannaCotta to join the conversation.
- Leave a comment below: What unique flavor combinations are you dreaming up for your next panna cotta adventure?
What unexpected ingredient will you add to elevate your panna cotta to the next level?