
Mastering the Art of Christmas Cake Pops

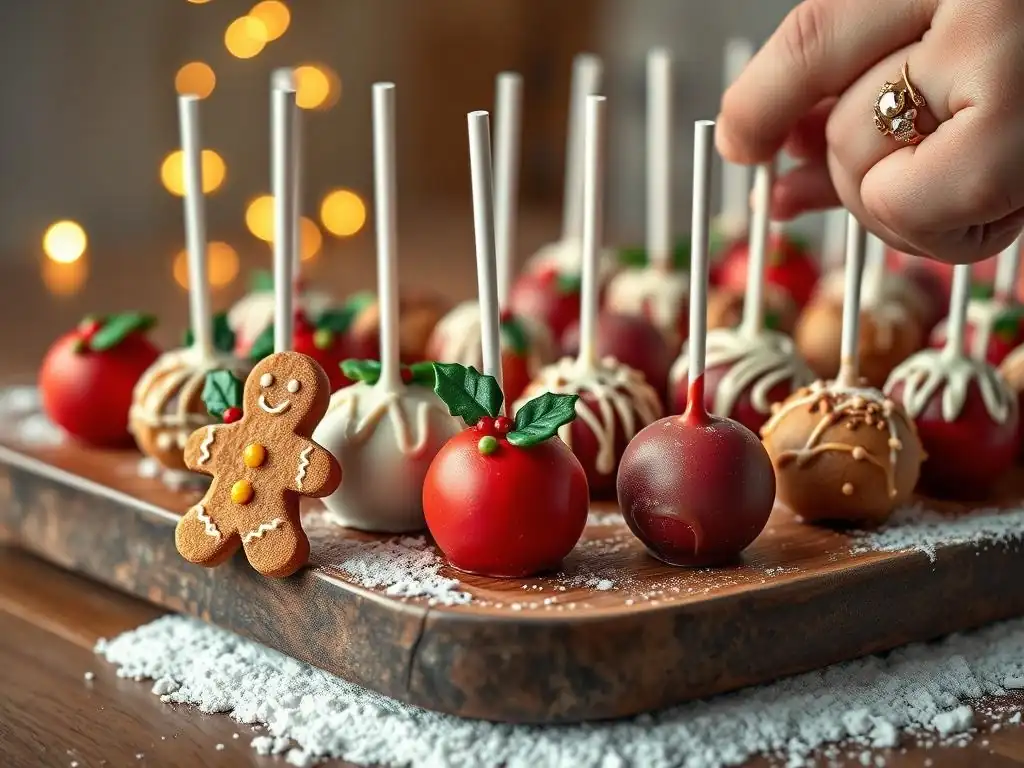
Welcome to BakeWithEase, your trusted companion in the delightful world of baking! Are you ready to transform your holiday gatherings with a touch of sweet magic? Discover the secrets to crafting the most delectable treats, starting with our Easy Christmas cake pop recipe. Intrigued? Let's unlock the simple steps and festive flavors that will make you the star baker this season!
- Mastering the Art of Easy Christmas Cake Pops: A BakeWithEase Guide
- Introduction to Festive Cake Pops: Your Easy Christmas Cake Pop Recipe Awaits
- Why Christmas Cake Pops are the Perfect Holiday Treat
- Essential Ingredients for Your Christmas Cake Pop Recipe
- Step-by-Step Guide: Baking Your Easy Christmas Cake Pops
- Dipping and Decorating: Bringing Your Christmas Cake Pops to Life
- Pro Tips for Perfect Christmas Cake Pops
- Creative Christmas Cake Pop Variations
- Displaying and Gifting Your Christmas Cake Pops
- Conclusion: Enjoying Your Easy Christmas Cake Pop Creations
- Frequently Asked Questions
- Final Reflection: The Sweet Legacy of Christmas Cake Pops
- Unleash Your Inner Cake Pop Artist!
Mastering the Art of Easy Christmas Cake Pops: A BakeWithEase Guide
Introduction to Festive Cake Pops: Your Easy Christmas Cake Pop Recipe Awaits
Welcome to BakeWithEase, your trusted guide in the world of baking! As the festive season twinkles closer, there's no treat quite as charming and delightful as a Christmas cake pop. These bite-sized wonders are not only delicious but also incredibly fun to make and customize, making them a perfect project for holiday baking with family or friends. If you're searching for an easy Christmas cake pop recipe that delivers impressive results without the fuss, you've come to the right place.
This guide will walk you through every step, from baking the cake to the final festive decorations. We'll share tips and tricks to ensure your cake pops are perfect, whether you're a seasoned baker or just starting out. Get ready to create edible works of art that will bring cheer to any holiday gathering or make wonderful homemade gifts. Let's dive into mastering your very own easy Christmas cake pop recipe!
Why Christmas Cake Pops are the Perfect Holiday Treat
Fun and Festive: The Allure of Christmas Cake Pops
Christmas cake pops are inherently joyful. Their small size and ability to be shaped and decorated in countless ways make them ideal for capturing the festive spirit. Imagine little Rudolph noses, Santa hats, snowmen, or sparkling ornaments on a stick – each one a tiny, edible celebration. They add a playful touch to dessert tables, delighting guests of all ages and sparking conversations about their creative designs.
Beyond their appearance, the process of making them is an activity in itself. Gathering around to roll the cake balls, dip them in colorful coatings, and sprinkle on decorations creates lasting holiday memories. It's a hands-on craft that results in a delicious reward, embodying the warmth and fun of the Christmas season. An easy Christmas cake pop recipe allows everyone to participate, regardless of baking skill.
Easy to Make: Even for Beginner Bakers
One of the biggest appeals of cake pops, especially when following an easy Christmas cake pop recipe, is their relative simplicity. While they might look intricate, the core process involves just a few steps: baking a cake, crumbling it, mixing it with frosting, shaping, chilling, dipping, and decorating. Many steps can be done ahead of time, breaking down the process into manageable chunks.
Compared to elaborate layer cakes or delicate pastries, cake pops are quite forgiving. Small imperfections can often be covered with coating and decorations. Plus, they don't require advanced techniques like tempering chocolate (though we'll discuss achieving a smooth coating!). With a simple recipe and a little patience, even someone who's never baked before can create beautiful and tasty Christmas cake pops.
Customizable: Tailor Your Cake Pops to Your Taste
The versatility of cake pops is unmatched. You can start with virtually any cake flavor – vanilla, chocolate, red velvet, gingerbread – and pair it with a complementary frosting, like cream cheese, buttercream, or ganache. This allows for endless flavor combinations to suit any preference. Want a classic? Vanilla cake with vanilla buttercream. Feeling adventurous? Gingerbread cake with cream cheese frosting.
The decoration possibilities are even wider. From simple sprinkles and edible glitter to detailed designs using colored candy melts, edible markers, or even fondant accents, you can truly make them your own. Tailor the colors and themes to match your specific Christmas party decor or create a variety of designs for a festive assortment. This adaptability makes an easy Christmas cake pop recipe a go-to for holiday baking.
Great for Gifting: A Homemade Christmas Delight
Handmade gifts carry a special kind of warmth, and Christmas cake pops are perfect for sharing the holiday spirit. Packaged beautifully in small boxes, cellophane bags, or tied with festive ribbons, they make thoughtful and delicious presents for neighbors, teachers, colleagues, or friends. A box of homemade cake pops shows care and effort, far beyond a store-bought treat.
They are also fantastic for holiday bake sales or as party favors. Their individual packaging makes them easy to distribute and enjoy on the go. Gifting homemade treats like those from an easy Christmas cake pop recipe is a wonderful way to connect with others during the festive season, spreading cheer one delicious bite at a time.
Essential Ingredients for Your Christmas Cake Pop Recipe
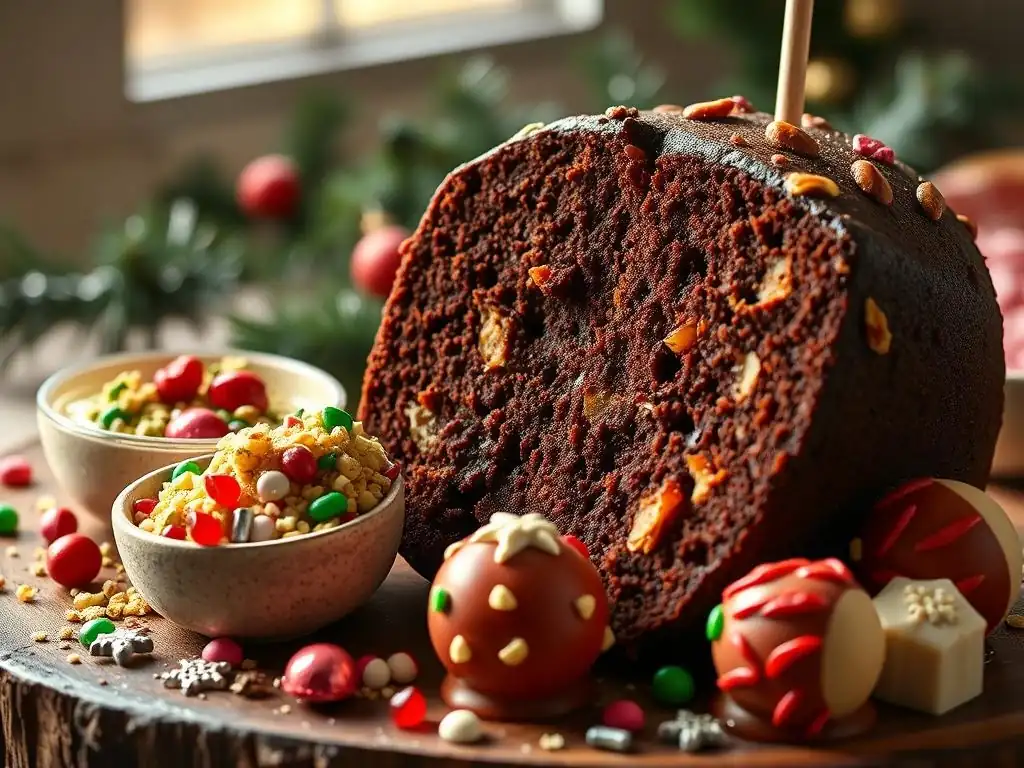
The Cake Base: Choosing the Right Flavor and Texture
The foundation of your cake pop is, naturally, the cake itself. While you can bake a cake specifically for pops, using leftover cake is also a fantastic, zero-waste option. Standard box cake mixes work wonderfully and are a great way to make an easy Christmas cake pop recipe even simpler. A 15.25 oz (approx. 430g) box mix, prepared according to package directions, typically yields enough cake for 30-40 cake pops, depending on size.
For flavor, classic choices like vanilla, chocolate, or red velvet are popular. During Christmas, gingerbread or spice cake mixes can add a wonderful festive aroma and taste. Ensure the cake is fully cooled before crumbling; warm cake can be too moist and dense. The texture should be slightly crumbly but not dry.
Frosting Fundamentals: Binding Your Cake Crumbs
Frosting acts as the binding agent that holds your cake crumbs together, creating the pliable "dough" needed for shaping. The type and amount of frosting are crucial for achieving the right consistency. Too little, and the dough will be dry and won't hold its shape; too much, and it will be sticky and difficult to work with. For a standard box cake, you'll typically need about 1/3 to 1/2 of a 16 oz (approx. 450g) can of prepared frosting.
Cream cheese frosting is a popular choice, especially with red velvet or spice cakes, providing a tangy contrast. Vanilla or chocolate buttercream also works well. Avoid using whipped or glaze-style frostings, as they often don't provide enough structure. Start with a small amount of frosting and add more gradually until the mixture resembles moist dough that can be rolled into a ball without crumbling.
Candy Coating Magic: Achieving a Smooth, Professional Finish
The outer shell of a cake pop is typically made from candy melts or confectionery coating, not true chocolate. Candy melts are designed to melt smoothly and harden quickly at room temperature, making them ideal for dipping. They come in a wide array of colors, including vibrant reds, greens, and whites perfect for Christmas. You'll likely need about 1-1.5 lbs (approx. 450-680g) of candy melts for 30-40 cake pops, depending on how thick you apply the coating.
White candy melts are versatile as they can be easily colored using oil-based candy coloring. Red and green melts are readily available during the holiday season. For a really smooth finish, you can add a small amount of vegetable shortening (about 1-2 teaspoons per cup of melted melts) or a specialized candy melt thinning agent. This helps the coating flow better, resulting in a thinner, more even layer and reducing the risk of cracks.
Festive Decorations: Sprinkles, Edible Glitter, and More
This is where the real Christmas magic happens! Having a variety of festive decorations on hand allows for creative expression. Classic options include red and green sprinkles, white nonpareils (like tiny snowballs), and edible glitter for sparkle. Crushed candy canes offer a peppermint crunch, while mini chocolate chips or edible pearls can be used for details like eyes or buttons.
Beyond sprinkles, consider using edible markers to draw faces or patterns, or small candy pieces like M&M's or mini marshmallows for features. Thin drizzles of contrasting colored candy melts or royal icing can add elegant lines or patterns. Having a selection of festive sprinkles and small candies ready before you start dipping is key, as the coating hardens quickly.
Step-by-Step Guide: Baking Your Easy Christmas Cake Pops
Baking the Cake: From Scratch or Box Mix?
The first step in any easy Christmas cake pop recipe is preparing your cake base. You have two main options: baking a cake from scratch or using a box mix. For simplicity and consistency, especially for beginners, a box mix is highly recommended. Follow the package instructions precisely, using the specified eggs, oil, and water. Bake the cake in a standard 9x13 inch pan or two 8 or 9-inch round pans.
If using a scratch recipe, ensure it's a relatively sturdy cake, not overly delicate or crumbly. Yellow, white, or chocolate cake recipes work well. Bake until a toothpick inserted into the center comes out clean. Once baked, let the cake cool in the pan for about 10-15 minutes before inverting it onto a wire rack to cool completely. Complete cooling is essential before moving to the next step.
Crumbling and Mixing: Creating the Perfect Cake Pop Dough
Once your cake is thoroughly cooled, it's time to crumble it. The easiest way is to break it into large pieces into a large mixing bowl. Then, using your hands or a fork, crumble the cake into very fine crumbs. You want a texture similar to coarse sand or fine breadcrumbs, with no large chunks remaining. Ensure even crumbling for a consistent mixture.
Now, add your chosen frosting gradually. Start with about 1/3 of the can for a box mix cake. Mix the frosting into the crumbs using your hands (the most effective method) or a sturdy spoon or stand mixer with a paddle attachment on low speed. Continue mixing and adding small amounts of frosting until the mixture comes together like moist dough. When you can squeeze a handful and it holds its shape without being sticky or greasy, it's ready.
Shaping the Cake Pops: Tips for Uniformity and Roundness
The classic cake pop shape is a sphere, but you can get creative for Christmas (think cones for trees, ovals for snowmen). For uniform round pops, use a small cookie scoop (about 1.5 tablespoons) to portion the dough. Scoop a portion, then roll it firmly between your palms to create a smooth, dense ball. Aim for balls roughly 1 to 1.5 inches in diameter.
As you roll, place the formed balls onto a baking sheet lined with parchment paper or wax paper. Try to make them as uniform in size as possible, as this helps with even chilling and dipping. Avoid rolling them too loosely, as they might fall apart during dipping. A firm, smooth ball is key for a successful cake pop.
Chilling the Cake Pops: Ensuring Stability for Dipping
Chilling is a critical step in making stable cake pops. Once all your balls are rolled and placed on the lined baking sheet, pop the sheet into the refrigerator. They need to chill for at least 1-2 hours, or until they are firm to the touch but not frozen solid. This firmness helps them stay securely on the stick and prevents them from crumbling when dipped into the warm coating.
Alternatively, you can place them in the freezer for about 30-45 minutes. Be careful not to freeze them completely, as extreme temperature differences can cause the candy coating to crack later. While they are chilling, prepare your candy coating and decorations.
Dipping and Decorating: Bringing Your Christmas Cake Pops to Life
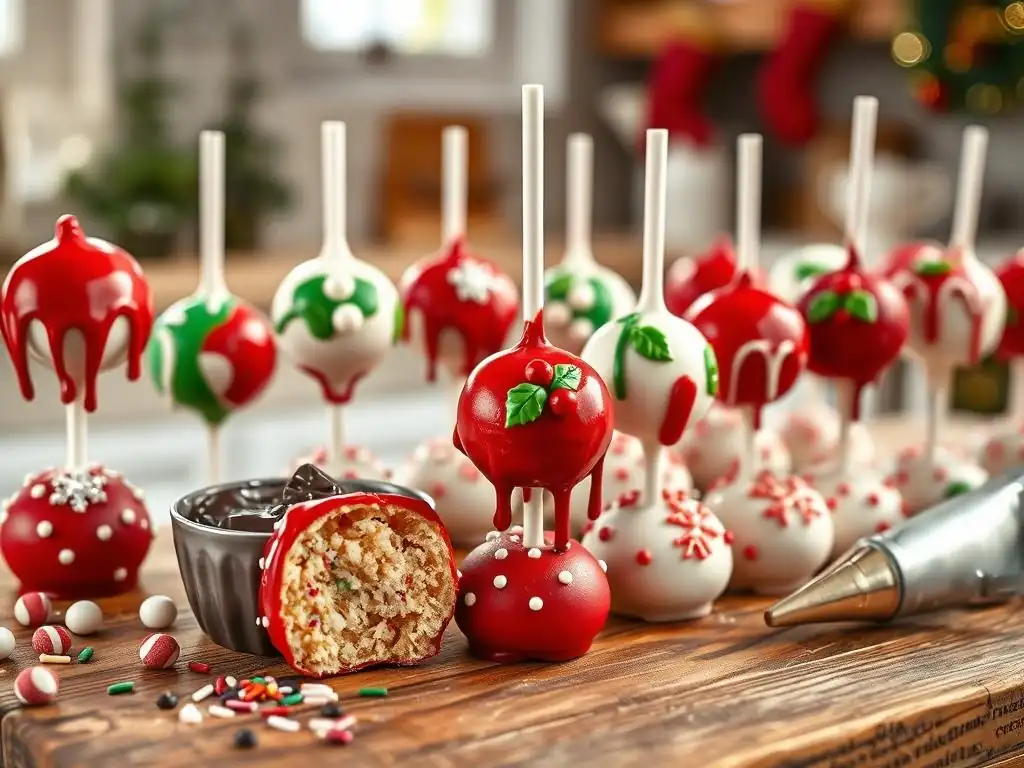
Melting the Candy Coating: Achieving the Right Consistency
Melting the candy coating properly is crucial for a smooth finish. The best methods are using a microwave or a double boiler. For the microwave, place the candy melts in a microwave-safe container (a tall, narrow glass or plastic container is ideal for dipping). Heat on 50% power for 30-second intervals, stirring thoroughly after each interval, until mostly melted. Stir until completely smooth using residual heat. Avoid overheating, which can cause the melts to seize.
If using a double boiler, place the candy melts in a heatproof bowl set over a pot of simmering (not boiling) water. Stir gently until melted and smooth. Once melted, the consistency should be like melted chocolate or thick paint. If it's too thick, stir in 1-2 teaspoons of vegetable shortening or a thinning agent per cup of melts until the desired consistency is reached.
Dipping Techniques: Creating a Smooth and Even Coat
Before dipping the entire pop, dip the tip of a lollipop stick (available at craft or baking supply stores) about 1/2 inch into the melted coating, then insert the coated end about halfway into the chilled cake ball. This acts as glue to secure the stick. Let this set for a few minutes (you can speed this up in the fridge).
Once the stick is secure and the coating is ready, dip the cake pop. Hold the pop by the stick and immerse it completely into the melted coating. Gently tilt and rotate the container to ensure full coverage. Lift the pop straight up, then gently tap the stick against the side of the container while rotating the pop. This allows excess coating to drip off and helps create a smooth surface. Continue tapping until the dripping slows to just a few drops.
Decorating Ideas: Unleashing Your Christmas Creativity
Decorating happens immediately after dipping, while the coating is still wet. Have all your sprinkles, edible glitter, and other decorations ready in shallow bowls or dishes. For a simple sprinkle coat, hold the wet pop over a dish of sprinkles and spoon or pour them over the surface, rotating the pop to cover evenly.
For more intricate designs, you can use tweezers to place individual candies or sprinkles. Drizzles of contrasting colors can be added by dipping a fork or spoon into melted coating and letting it drizzle over the pop, or by using a piping bag with a fine tip. Get creative with Christmas themes: white pops with red sprinkles for ornaments, green pops with red nonpareils for trees, or brown pops with mini chip "antlers" and red candy "noses" for reindeer.
Setting the Coating: Preventing Cracking and Melting
Proper setting is key to durable, crack-free cake pops. After dipping and decorating, the pops need to harden. The best way to do this is to stand them upright in a cake pop stand, a block of floral foam, or even a sturdy piece of cardboard with holes poked in it. Ensure they are not touching each other.
Let them set at room temperature if the environment is cool (around 68-70°F or 20-21°C). This slow setting often results in the smoothest finish and reduces the risk of cracking. If your environment is warmer, you can place them in the refrigerator for about 10-15 minutes to speed up setting. Avoid drastic temperature changes or putting warm pops into a cold fridge, as this can cause the coating to crack.
Pro Tips for Perfect Christmas Cake Pops
Troubleshooting Common Cake Pop Problems
Even with an easy Christmas cake pop recipe, you might encounter some common issues. If your cake balls are too soft and fall off the stick, they likely weren't chilled enough or the cake-frosting mixture was too moist (too much frosting). If the coating is too thick, it will be hard to dip smoothly and might cause cracks; thin it with shortening. If the coating cracks after setting, it's often due to temperature fluctuations (e.g., dipping a very cold pop into warm coating) or the coating being too thick.
Another issue can be the cake pop sliding down the stick. This usually means the stick wasn't glued securely with coating or the cake ball wasn't firm enough. Practice makes perfect! Don't get discouraged; even imperfect cake pops taste delicious.
Avoiding Cake Pop Cracks: Temperature and Consistency Control
Cracking is a common frustration. To minimize it, ensure your cake balls are firm but not frozen solid when dipping. Their internal temperature should not be drastically different from the melted coating. Also, make sure your candy coating is the right consistency – thin enough to dip smoothly but not so thin it's translucent. Adding a little shortening helps here.
Once dipped, allow the pops to set at a consistent temperature. While refrigeration is sometimes necessary to speed things up, allowing them to set at a cool room temperature is often best for preventing cracks caused by rapid contraction.
Keeping Cake Pops Fresh: Storage and Shelf Life
Proper storage ensures your beautiful Christmas cake pops stay delicious. Once the coating is fully set, store them in an airtight container at room temperature for up to 5-7 days. Stack them carefully in layers separated by parchment or wax paper to prevent them from sticking or damaging the decorations.
If your cake pops contain ingredients that require refrigeration (like certain cream cheese frostings in warm environments), you can store them in the refrigerator. However, condensation can sometimes form, potentially affecting the appearance or causing stickiness. Bring them back to room temperature for about 15-20 minutes before serving for the best texture and flavor.
Making Cake Pops Ahead of Time: Preparation Strategies
Cake pops are an excellent make-ahead treat for busy holiday schedules. You can bake the cake and mix the cake-frosting dough up to 2-3 days in advance. Store the dough, tightly wrapped in plastic wrap, in the refrigerator.
You can also roll the cake balls ahead of time and store them on a parchment-lined baking sheet in an airtight container in the refrigerator for up to 2 days. If you need more time, the rolled cake balls can be frozen for up to 4 weeks. Thaw them in the refrigerator before inserting sticks and dipping. Dipped and decorated pops are best made within 3-5 days of serving.
Creative Christmas Cake Pop Variations
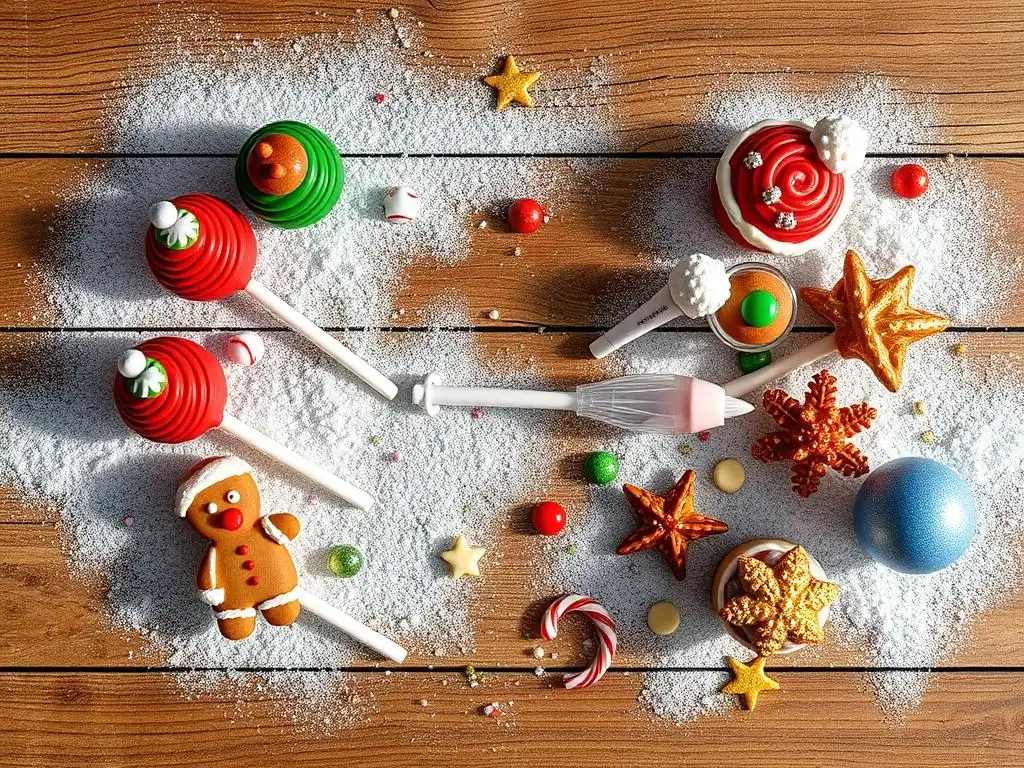
Peppermint Bark Cake Pops: A Festive Twist
Combine the classic flavors of Christmas with this variation. Start with a chocolate cake base and mix it with a little cream cheese or chocolate frosting. Dip the pops in white candy melts and immediately sprinkle with crushed candy canes or peppermint bark pieces before the coating sets. The cool peppermint crunch pairs wonderfully with the rich chocolate cake.
Alternatively, use a vanilla cake base, mix with peppermint-flavored frosting, dip in white melts, and decorate with red swirls or crushed peppermints. This offers a lighter, mint-forward flavor profile perfect for the holidays.
Gingerbread Cake Pops: A Classic Christmas Flavor
Nothing says Christmas quite like gingerbread. Use a gingerbread cake mix or a homemade gingerbread recipe as your base. Mix with cream cheese frosting for that perfect spicy-tangy combination. Dip the pops in white or light brown (caramel colored) candy melts.
Decorate them to look like mini gingerbread men – use white icing or melted white candy melts to draw buttons, eyes, and smiles. You can also just decorate with white drizzles and a dusting of cinnamon or nutmeg for a simpler look that highlights the flavor.
Red Velvet Cake Pops: Adding a Touch of Elegance
Red velvet cake pops are visually stunning with their deep red interior contrasting with a white or cream cheese-flavored coating. Use a red velvet cake mix or recipe and pair it with traditional cream cheese frosting. Dip the pops in white candy melts.
Decorate simply with a swirl of leftover cream cheese frosting, a sprinkle of red velvet cake crumbs, or elegant gold or silver edible glitter. They look sophisticated and taste divine, making them perfect for a more formal holiday gathering.
Chocolate Orange Cake Pops: A Zesty Holiday Treat
The combination of chocolate and orange is a festive favorite. Use a chocolate cake base and mix it with chocolate frosting infused with a little orange zest or orange extract. Dip the pops in dark or milk chocolate candy melts.
Decorate by drizzling with orange-colored candy melts or white melts mixed with orange zest. You can also add a small candied orange peel piece on top. This variation offers a bright, zesty flavor that cuts through the richness of the chocolate, making it a refreshing addition to your Christmas treats.
Displaying and Gifting Your Christmas Cake Pops
Creative Presentation Ideas: Making Your Cake Pops Stand Out
How you display your easy Christmas cake pop recipe creations can turn them from simple treats into a festive centerpiece. Cake pop stands are readily available and come in various materials like acrylic, cardboard, or wood. A block of floral foam covered in festive fabric or paper works just as well.
For a rustic look, use a large mason jar or vase filled with sugar or festive candies (like M&M's or peppermints) to hold the pops upright. Arrange them by color or design on a tiered dessert stand for a stunning visual impact. You can also lay them flat on a platter lined with festive paper liners or nestled amongst greenery.
Packaging Options: Keeping Your Cake Pops Safe and Fresh
Proper packaging is essential for gifting or transporting your cake pops. Individual cellophane bags tied with ribbon are a classic and effective option. This keeps each pop fresh and prevents them from sticking together. Look for bags specifically designed for cake pops, which often have a twist tie included.
For gifting larger quantities, use small decorative boxes or tins lined with tissue paper. Arrange the pops carefully, ensuring they don't press against each other. You can also use small pieces of foam inside the box to help hold the sticks in place during transport. Ensure the container is airtight if storing for more than a few hours.
Gifting Etiquette: Sharing Your Homemade Treats
When gifting your homemade Christmas cake pops, consider including a small tag that identifies the flavor and perhaps a simple ingredient list, especially if giving to someone with allergies. A handwritten note adds a personal touch, explaining that they are homemade from your easy Christmas cake pop recipe.
Present the gift with a smile and share the joy of your baking efforts. They are perfect for bringing to holiday parties, surprising neighbors, or thanking service providers. Remember, the effort and thought behind a homemade gift are often appreciated more than the gift itself.
Conclusion: Enjoying Your Easy Christmas Cake Pop Creations
Congratulations! You've navigated the steps to mastering an easy Christmas cake pop recipe and created delightful, festive treats. From choosing your flavors and mixing the perfect dough to dipping, decorating, and presenting, you've brought a little extra magic to your holiday baking. These charming cake pops are sure to be a hit, bringing smiles and festive cheer to everyone who sees and tastes them.
Whether you made a simple batch with sprinkles or intricate character pops, take pride in your homemade creations. Baking is a wonderful way to connect with the season and with loved ones. So, gather your friends and family, whip up a batch of these easy delights, and enjoy the sweet rewards of your efforts. Happy holiday baking from BakeWithEase!
We love seeing what you create! Share photos of your festive Christmas cake pops made using our guide. Let us know what flavors you tried or your favorite decorating ideas. Your creations can inspire others in our baking community. Keep baking, keep exploring, and make your holidays deliciously memorable with BakeWithEase!
Frequently Asked Questions
What makes a cake pop recipe "easy" for Christmas?
An "easy" Christmas cake pop recipe typically focuses on simple ingredients and straightforward instructions, minimizing complex techniques and readily available holiday decorations.
Can I use a store-bought cake mix for this recipe?
Yes, using a store-bought cake mix is a great way to simplify the process. It saves time and ensures a consistent base flavor for your cake pops.
What kind of frosting is best for binding the cake crumbs?
Cream cheese frosting or vanilla buttercream are excellent choices. They provide the right consistency to hold the cake crumbs together and add a delicious flavor.
How do I prevent my cake pops from cracking when dipped in chocolate?
Ensure the cake balls are thoroughly chilled before dipping. Also, temper the chocolate properly to achieve a smooth and stable coating that resists cracking.
What are some easy Christmas decorations I can use for my cake pops?
Sprinkles, crushed candy canes, edible glitter, and colored chocolate melts are all simple and festive options for decorating your Christmas cake pops. You can also use holiday-themed sprinkles.
Final Reflection: The Sweet Legacy of Christmas Cake Pops
The art of crafting delightful Christmas cake pops isn't merely a seasonal hobby; it's a delicious way to connect with loved ones and create lasting memories. This simple yet impactful activity transcends the mere act of baking; it's about sharing joy, fostering creativity, and celebrating the spirit of the season. The ease of the recipes detailed in this article makes this accessible to everyone, regardless of baking experience.
The enduring appeal of cake pops lies in their versatility and the sheer joy they bring. They're a perfect blend of nostalgia and innovation, a modern twist on classic holiday treats. The act of decorating them, whether with festive sprinkles, intricate designs, or personalized touches, becomes a meditative and creative process. As the great Julia Child once said, >“People who love to eat are always the best people.” And what better way to celebrate that love than with a homemade, heart-warming Christmas cake pop?
This holiday season, I encourage you to embrace the spirit of creativity and connection. Don't just bake; create. Don't just decorate; express. Try your hand at one of the recipes outlined in this article, and experience the satisfaction of crafting something beautiful and delicious to share with those you cherish. Let the sweet aroma of Christmas cake pops fill your home with warmth and the joy of the season. The memories you create, like the taste of these delectable treats, will linger long after the last pop is gone.
Unleash Your Inner Cake Pop Artist!
Thanks for joining us on this sweet journey into the world of Christmas cake pops! We hope you’ve gained some delicious inspiration and new techniques. Now it's time to put your skills to the test!
- Craft your own masterpiece: Try out one of the festive designs we explored – or better yet, let your creativity run wild and invent your own unique Christmas cake pop! Don't forget to share your creations with us!
- Share the joy: Spread the Christmas cheer by gifting your homemade cake pops to friends and family. Imagine their faces when they receive such a delightful and personal present!
- Explore new flavor combinations: Think beyond the traditional! What unique Christmas-themed flavors can you create? Experiment with spices, extracts, and fillings to discover your next signature cake pop recipe.
Ready to transform your kitchen into a Christmas cake pop wonderland? What innovative flavor combinations will you be experimenting with?