
NoBake Wonders: Easy Treats for Kids' Parties Without Turning on the Oven

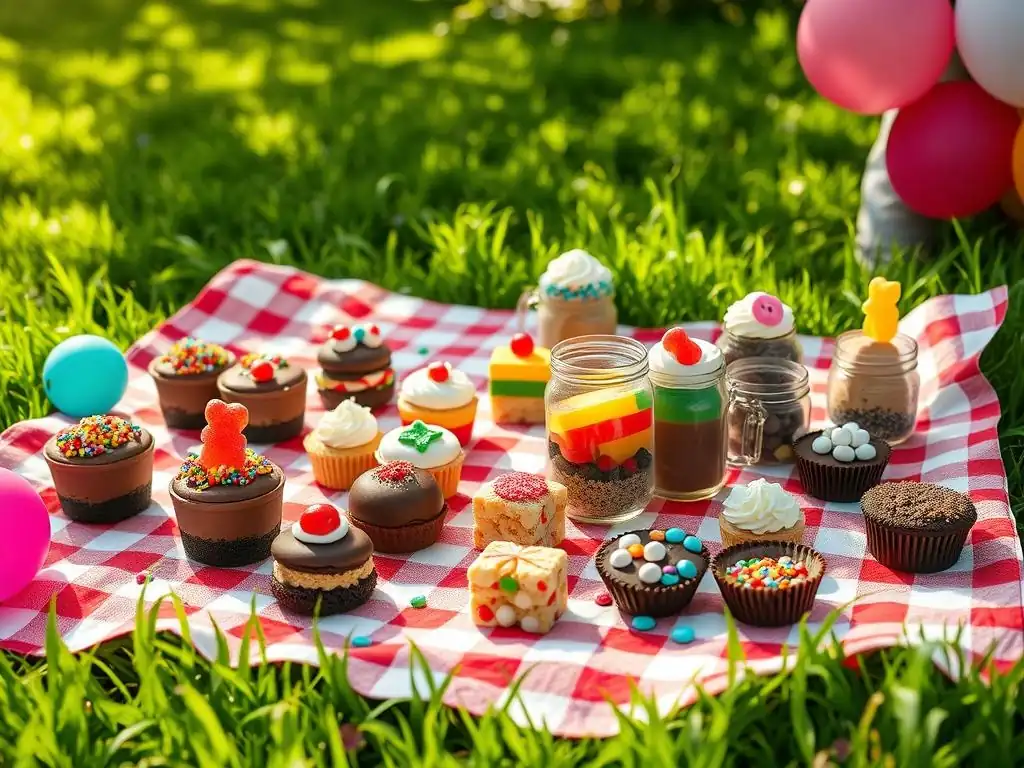
Welcome to BakeWithEase, your kitchen companion for crafting delectable delights! Are you ready to whip up some fun without the fuss? Discover the magic of no bake desserts kids will adore – perfect for parties, playdates, or simply a sweet treat on a sunny day. Get ready to ditch the oven and dive into a world of simple, scrumptious recipes that will have everyone asking for seconds! What delicious secrets await? Let's find out!
- Introduction to No-Bake Desserts for Kids' Parties
- Delicious No-Bake Dessert Recipes for Kids
- Tips for Making No-Bake Desserts with Kids
- No-Bake Dessert Variations and Adaptations
- Storing and Serving Your No-Bake Creations
- Conclusion: Enjoy the Ease of No-Bake Desserts
-
Frequently Asked Questions
- What are some easy no-bake dessert options that kids can help make?
- What's the best way to involve kids in making no-bake desserts?
- Are no-bake desserts a healthy option for kids' parties?
- How can I make no-bake desserts visually appealing for kids?
- What are some common mistakes to avoid when making no-bake desserts with kids?
- Final Reflection: The Sweet Simplicity of No-Bake Joy
- Unleash Your Inner Party Planner: Easy Treats Await!
Introduction to No-Bake Desserts for Kids' Parties
Planning a kids' party can be a whirlwind of activity, from decorations and games to, of course, the food! When it comes to sweet treats, the thought of firing up the oven and managing multiple baked goods can feel overwhelming. That's where the magic of no-bake desserts for kids comes in.
These delightful creations require no oven time, making them incredibly simple to prepare and often much faster than traditional baked goods. They are the perfect solution for busy parents and a fantastic way to involve the little ones in the kitchen fun, all while creating memorable and tasty party snacks.
Choosing no-bake options significantly reduces the stress associated with party preparations. Not only do they save you precious oven space and time, but they also minimize the heat in your kitchen – a welcome relief, especially during warmer months. From simple fruit-based treats to decadent chocolatey delights, the variety of easy no-bake desserts for children's parties is vast and exciting. BakeWithEase is here to guide you through some fantastic, kid-approved no-bake recipes that are sure to be a hit at your next celebration, proving that delicious party treats don't always require heat.
Why Choose No-Bake Treats for Kids' Parties?
Opting for no-bake desserts offers a multitude of benefits when catering to a young crowd. Primarily, they are incredibly time-efficient. Unlike cakes or cookies that require precise baking times and cooling periods, many no-bake options can be assembled in minutes and simply need chilling time in the refrigerator or freezer.
This speed is invaluable when you're juggling numerous party tasks. Furthermore, the simplicity of many no-bake recipes makes them ideal for involving children in the preparation process. Stirring, mixing, pressing, and decorating are all tasks little hands can manage, fostering a sense of accomplishment and making the party prep an activity in itself.
Another significant advantage is safety. With no hot oven involved, the risks of burns are eliminated, making the kitchen a safer environment for children who want to help. This allows for a more relaxed and enjoyable experience for both parent and child.
No-bake desserts also tend to be quite versatile; many recipes can be easily adapted to accommodate common allergies or dietary preferences, a crucial consideration when hosting a diverse group of children. Plus, the often vibrant colors and fun shapes of no-bake treats naturally appeal to kids, ensuring they are not only easy to make but also eagerly devoured by your young guests.
BakeWithEase Presents: Simple No-Bake Recipes
At BakeWithEase, we understand the desire for simple, delicious, and stress-free baking (or in this case, unbaking) experiences, especially when it comes to celebrations. We've curated a selection of our favorite easy no-bake desserts perfect for children's parties. These recipes have been chosen for their straightforward instructions, readily available ingredients, and guaranteed kid-appeal. From classic combinations like chocolate and peanut butter to colorful, whimsical treats, there's something here to suit every taste and party theme.
Our goal is to empower you to create impressive and tasty party food without the hassle. These no-bake recipes are designed to be accessible for bakers of all levels, including those who might be completely new to making party treats. We'll walk you through each recipe step-by-step, providing tips and tricks along the way to ensure your no-bake creations turn out perfectly every time. Get ready to discover just how simple and rewarding it is to prepare delightful no-bake desserts that will make your kids' party unforgettable.
Delicious No-Bake Dessert Recipes for Kids
No-Bake Chocolate Peanut Butter Bars: A Classic Crowd-Pleaser
Few flavor combinations are as universally loved, especially by children, as chocolate and peanut butter. These no-bake bars are a delightful, easy-to-make treat that requires minimal effort but delivers maximum flavor. They feature a rich, dense peanut butter base topped with a layer of smooth chocolate, creating a satisfyingly sweet and slightly salty bite. The simplicity of this recipe makes it a go-to option for busy parents preparing for a kids' party, as it comes together quickly and sets beautifully in the refrigerator.
Making these no bake desserts for kids involves simple melting and mixing, followed by chilling. The result is a sturdy bar that is easy to cut and serve, making it perfect for a party setting where little hands will be grabbing for treats. You can even drizzle extra melted chocolate or sprinkle some chopped peanuts on top for added texture and visual appeal. This classic recipe proves that you don't need to be an expert baker or even turn on your oven to create truly scrumptious party snacks that everyone, kids and adults alike, will adore.
Ingredients for Chocolate Peanut Butter Bars
To make a standard batch of these easy no-bake chocolate peanut butter bars, you'll typically need just a few basic ingredients:
- About 1.5 to 2 cups of crushed graham cracker crumbs (from approximately 12-14 full graham cracker sheets)
- Around 1 cup of creamy peanut butter (natural or conventional works)
- Approximately 0.5 cup (1 stick) of unsalted butter, melted
- About 2 cups of powdered sugar
- For the chocolate topping: Approximately 1.5 to 2 cups of semi-sweet chocolate chips
- About 2 tablespoons of shortening or coconut oil (optional, for smoother chocolate)
These quantities yield a batch suitable for a moderate-sized party, typically fitting into a 9x13 inch pan. The beauty of this recipe lies in its flexibility; you can easily adjust the sweetness by slightly altering the powdered sugar, or use different types of chocolate for the topping.
Step-by-Step Instructions for No-Bake Bars
Making these delicious no-bake chocolate peanut butter bars is incredibly straightforward.
- Prepare your pan: Line a 9x13 inch baking pan with parchment paper or aluminum foil, leaving an overhang on the sides to make lifting easier. Lightly grease the paper/foil if desired.
- Make the base: In a large bowl, combine the graham cracker crumbs, powdered sugar, and peanut butter. Pour in the melted butter and mix thoroughly until everything is well combined and the mixture is crumbly but holds together when pressed.
- Press into pan: Transfer the mixture to the prepared pan. Using the bottom of a glass or a flat spatula, firmly and evenly press the mixture into the bottom of the pan. Ensure it's compacted well for a solid base.
- Prepare the chocolate topping: In a microwave-safe bowl, melt the chocolate chips (and shortening/coconut oil, if using) in 30-second intervals, stirring well after each, until smooth and completely melted. Alternatively, melt the chocolate in a double boiler on the stovetop.
- Pour chocolate layer: Pour the melted chocolate evenly over the peanut butter base in the pan. Spread it gently to cover the entire surface.
- Chill: Place the pan in the refrigerator for at least 2-3 hours, or in the freezer for about 30-60 minutes, until the chocolate layer is firm and set.
- Cut and serve: Once set, lift the entire block out of the pan using the overhang. Place it on a cutting board and cut into squares or bars of your desired size. Store any leftover bars in an airtight container in the refrigerator.
Fruity Pebble Cereal Treats: Colorful and Fun
Step aside, traditional rice cereal treats! Fruity Pebble cereal treats bring a burst of color and a unique, sweet flavor that kids absolutely adore. These easy no-bake desserts for children's parties are visually appealing and incredibly simple to make, making them a fantastic alternative to the classic version. The vibrant colors of the cereal make them instantly festive and require no extra decoration to look party-ready. They are chewy, sweet, and offer a fun twist on a familiar favorite.
These treats are perfect for a kids' party because they are quick to prepare, require minimal cleanup, and are portable once set. The process is very similar to making standard cereal treats, involving melting marshmallows and butter and then mixing in the cereal. The result is a sticky, sweet snack that is both nostalgic for adults and exciting for kids. You can easily customize the size and shape by cutting them into squares, rectangles, or even using cookie cutters (with a little butter or non-stick spray) before they fully set.
Ingredients for Fruity Pebble Treats
To make a batch of these cheerful Fruity Pebble treats, you will need:
- About 6 cups of Fruity Pebbles cereal
- Approximately 1 bag (10 ounces) of mini marshmallows
- About 4 tablespoons of unsalted butter
This simple list highlights how few ingredients are needed for these fun no bake desserts kids will love. Using mini marshmallows helps them melt faster and more evenly, contributing to the perfect chewy texture. Ensure your butter is unsalted to control the sweetness and avoid any savory notes. Doubling the recipe is easy if you're hosting a larger party; just make sure you have a large enough pot and pan!
Making Fruity Pebble Treats: An Easy Recipe
Whipping up a batch of Fruity Pebble treats is quick and easy:
- Prepare your pan: Grease a 9x13 inch baking pan generously with butter or non-stick cooking spray, or line it with parchment paper.
- Melt butter and marshmallows: In a large pot over low heat, melt the butter. Once melted, add the mini marshmallows and stir continuously until they are completely melted and smooth. Remove the pot from the heat.
- Add cereal: Quickly add the 6 cups of Fruity Pebbles cereal to the melted marshmallow mixture. Stir gently but quickly with a greased spatula or wooden spoon until the cereal is evenly coated with the marshmallow mixture.
- Press into pan: Transfer the mixture to the prepared pan. Using a greased spatula or your greased hands (be careful, it's sticky! ), gently press the mixture evenly into the pan. Do not press too firmly, as this can make the treats hard.
- Cool and cut: Let the treats cool completely at room temperature for about 1-2 hours, or chill them in the refrigerator for about 30 minutes to speed up setting. Once cool and set, cut into squares or desired shapes using a greased knife. Store in an airtight container at room temperature.
No-Bake Oreo Truffles: A Decadent Delight
No-bake Oreo truffles are an incredibly popular and surprisingly easy treat that tastes far more complex than it is to make. These rich, creamy, bite-sized delights are made from just a few ingredients, primarily crushed Oreo cookies and cream cheese, and then coated in melted chocolate. Their decadent flavor and simple preparation make them a perfect choice for easy no-bake desserts for children's parties where you want something a little more indulgent without extensive effort.
The beauty of Oreo truffles lies in their texture and intense flavor. The crushed cookies provide a slightly crumbly texture within the smooth, creamy center, while the chocolate coating adds a satisfying snap. They are small, portable, and easy for kids to handle, minimizing mess. You can also have fun decorating them with sprinkles, drizzles of white chocolate, or crushed cookies before the chocolate coating sets, adding an extra touch of party flair. They do require chilling time, so plan ahead, but the active preparation time is minimal.
Oreo Truffle Ingredients List
To make a batch of these delightful no-bake Oreo truffles, you will need:
- Approximately 1 package (14.3 ounces) of Oreo cookies (original flavor works well, but feel free to experiment)
- About 1 block (8 ounces) of cream cheese, softened to room temperature
- For the coating: Approximately 1.5 to 2 cups of melting chocolate or chocolate chips (milk, semi-sweet, or white chocolate)
- Optional decorations: Sprinkles, crushed cookies, chopped nuts
Ensure your cream cheese is fully softened; this is crucial for achieving a smooth mixture that is easy to roll into balls. Using melting wafers or chips designed for melting will give you the smoothest coating, though regular chocolate chips with a little shortening or oil also work. This recipe typically yields around 30-40 truffles, depending on size.
Simple Oreo Truffle Preparation Guide
Making no-bake Oreo truffles is a simple three-step process: crush, mix, and dip.
- Crush the cookies: Place the entire package of Oreo cookies (including the cream filling) into a food processor and pulse until they are finely ground into crumbs. Alternatively, place them in a large zip-top bag and crush them with a rolling pin. Reserve about 2-3 tablespoons of the crumbs for decoration if desired.
- Mix and roll: In a medium bowl, combine the crushed Oreo crumbs and the softened cream cheese. Mix with a spoon or electric mixer until thoroughly combined and a thick, uniform mixture forms. Roll the mixture into small balls, about 1 inch in diameter. Place the balls on a baking sheet lined with parchment paper.
- Chill and dip: Refrigerate the truffle balls for at least 30 minutes to firm up. While they chill, prepare your chocolate coating by melting the chocolate according to package directions (microwave or double boiler). Once the balls are firm, dip each one into the melted chocolate using a fork or dipping tools, letting excess chocolate drip off. Place the coated truffles back on the parchment-lined baking sheet. If using, sprinkle with reserved crumbs or sprinkles immediately before the chocolate sets.
- Chill again: Return the truffles to the refrigerator for at least 1 hour (or freezer for 15-20 minutes) until the chocolate coating is completely set. Store in an airtight container in the refrigerator.
Yogurt Parfaits: Healthy and Customizable
For a lighter, healthier option among the no bake desserts kids might enjoy, yogurt parfaits are a fantastic choice. They are not only refreshing and nutritious but also highly customizable, allowing you to cater to individual preferences and dietary needs easily. A basic parfait consists of layers of yogurt, fruit, and granola or crushed cookies, but the possibilities for variations are endless. They are simple to assemble, look beautiful in clear cups or jars, and provide a good source of protein and vitamins.
Yogurt parfaits are ideal for kids' parties because they can be prepared in advance or set up as a fun, interactive "parfait bar" where children can build their own. This gives kids agency and makes the dessert part of the entertainment. Using colorful fruits like berries, melon, and kiwi makes them visually appealing, while different types of yogurt (Greek, regular, flavored, dairy-free) and toppings (granola, nuts, seeds, crushed graham crackers or cookies) offer variety in texture and taste. They are a refreshing alternative to heavier desserts and are generally less messy to eat.
Yogurt Parfait Ingredients and Variations
The core ingredients for yogurt parfaits are simple, but variations abound:
- Yogurt: Plain or flavored yogurt (vanilla, strawberry, etc.). Greek yogurt is thicker and higher in protein. Dairy-free options like coconut, almond, or soy yogurt work perfectly. You'll likely need about 1-2 cups per 4-6 parfaits, depending on size.
- Fruit: Fresh or thawed frozen fruit. Sliced strawberries, blueberries, raspberries, sliced bananas, diced mango, kiwi chunks, or mandarin orange segments are popular choices. Aim for a total of 1-2 cups of mixed fruit.
- Crunchy Layer: Granola, crushed graham crackers, crushed cookies (like vanilla wafers or shortbread), or even chopped nuts (be mindful of allergies). About 0.5 to 1 cup total should suffice for a small batch.
Variations include:
- Adding a drizzle of honey, maple syrup, or agave nectar for extra sweetness.
- Mixing in a spoonful of jam or fruit compote.
- Layering with pudding or whipped cream for a more dessert-like feel.
- Adding mini chocolate chips or cocoa nibs for a touch of chocolate.
- Using different types of cereal instead of granola.
Assembling the Perfect Yogurt Parfait
Assembling yogurt parfaits is incredibly simple and can be done just before serving or a few hours in advance (if using ingredients that won't get soggy, like granola):
- Choose your container: Select clear cups, glasses, jars, or bowls so the layers are visible.
- Start layering: Begin with a layer of yogurt at the bottom. A few tablespoons or about 1/4 cup is a good start.
- Add fruit: Spoon a layer of fruit over the yogurt. Use about the same amount as the yogurt layer.
- Introduce crunch: Add a layer of your crunchy component, such as granola or crushed cookies.
- Repeat layers: Continue layering yogurt, fruit, and the crunchy element until your container is full, ending with a layer of yogurt or fruit on top.
- Optional additions: Drizzle with honey or add other toppings like sprinkles or a mint leaf if desired.
- Chill: If assembling ahead of time, cover and refrigerate until ready to serve. If using granola, it's best to add it closer to serving time to keep it crunchy.
Tips for Making No-Bake Desserts with Kids
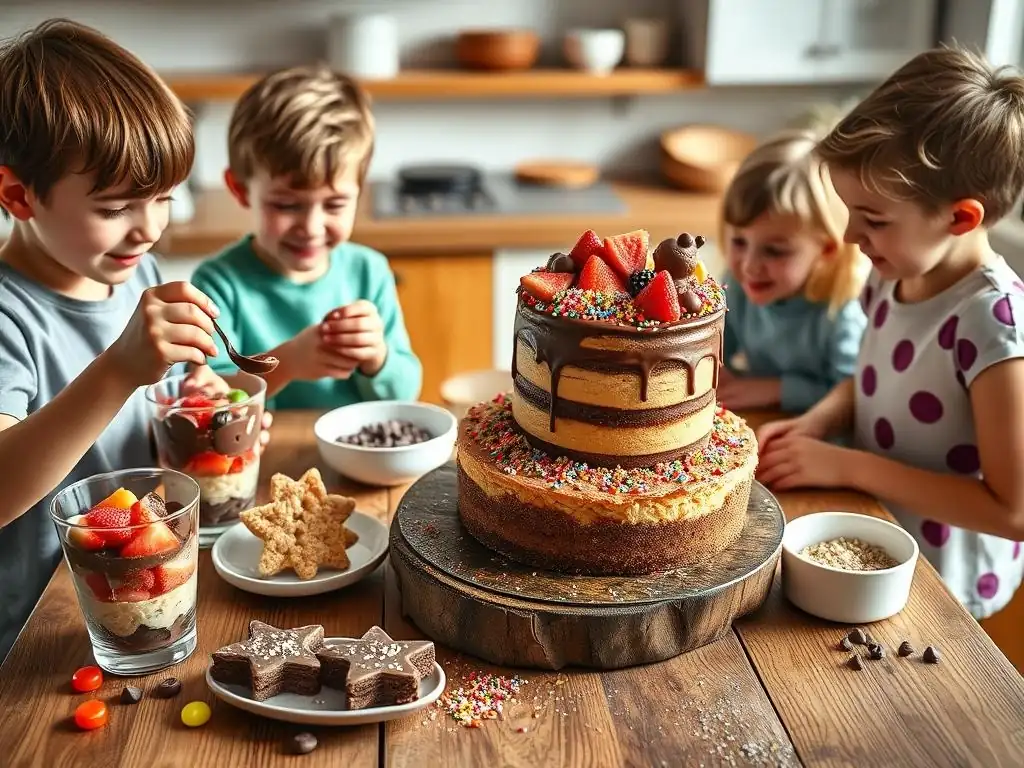
Involving children in the kitchen is a fantastic way to teach them about food, measurements, and following instructions, while also creating fun memories. No-bake desserts for kids are particularly well-suited for this, as they often involve simpler steps and eliminate the risks associated with hot ovens. Tasks like stirring, mixing, measuring (with supervision), pressing mixtures into pans, rolling balls, and decorating are all perfect for little helpers. This hands-on experience can make kids more enthusiastic about trying the finished product and gives them a sense of pride in their contribution to the party.
When working with children, patience is key. Expect some mess, and focus on the process rather than perfection. Break down tasks into simple steps and explain what you're doing and why. For instance, explain why you need to press the graham cracker base firmly or why the chocolate needs to be melted gently. This turns a simple cooking activity into a learning opportunity. Assign age-appropriate tasks – younger children can help stir or add pre-measured ingredients, while older children can manage more complex steps like rolling truffles or measuring ingredients themselves.
Getting Kids Involved in the No-Bake Process
Incorporating children into the preparation of no-bake desserts can turn party prep into a delightful family activity. Assigning specific roles makes them feel important and engaged. For example, with no-bake bars, a child can be in charge of crushing the graham crackers (in a bag with a rolling pin), measuring the powdered sugar, or pressing the mixture into the pan. For cereal treats, they can help measure the cereal or gently press the mixture into the pan once it's cool enough to handle safely.
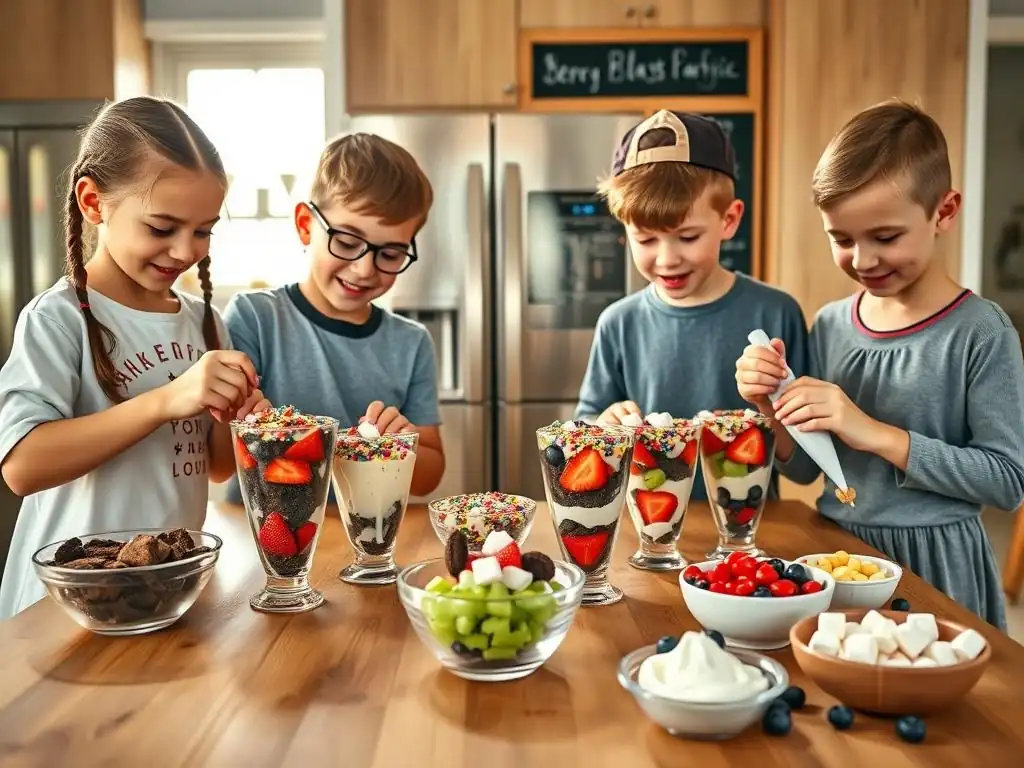
For recipes like yogurt parfaits, setting up an assembly line or a "parfait bar" is an excellent way to get multiple kids involved simultaneously. They can be responsible for adding a specific layer – one child adds yogurt, another adds fruit, and another adds granola. With Oreo truffles, rolling the mixture into balls (once it's firm enough not to be too sticky) is a fun tactile task, as is dipping them in chocolate (with close supervision for younger kids) and adding sprinkles. These simple roles empower children and make them feel like true contributors to the party's success.
Safety Tips for Baking with Children
While no-bake desserts significantly reduce risks compared to traditional baking, kitchen safety is still paramount when kids are involved. Always supervise children closely, especially when using any kitchen tools. Even simple tools like knives (for cutting bars or fruit) or hot melted chocolate require adult oversight. Ensure little hands are kept away from potential hazards, and teach them about cleanliness, like washing hands before and after handling food.
Emphasize that kitchen tools are not toys and should be used properly. If melting chocolate, use a microwave in short intervals or a double boiler, and explain that the bowls and melted chocolate will be hot. If using the stovetop for melting marshmallows, keep children a safe distance away. Teach them where utensils belong and how to handle them safely. By establishing clear rules and demonstrating safe practices, you create a positive and secure environment for your young chefs to learn and enjoy the process of making no bake desserts kids will love.
Creative Decoration Ideas for No-Bake Treats
Decoration is often the most exciting part of making no-bake desserts for kids! These treats offer a blank canvas for creativity. For chocolate-coated items like Oreo truffles or dipped pretzels (another easy no-bake idea! ), sprinkles are a simple yet effective way to add color and fun. Have a variety of sprinkles on hand – jimmies, nonpareils, edible glitter, or themed shapes. A drizzle of contrasting melted chocolate (like white chocolate on dark chocolate truffles) also adds a professional touch.
Think beyond sprinkles. Edible markers can be used on firm chocolate coatings or even on firm yogurt layers (if you're quick!). Small candies, mini marshmallows, or even pieces of fruit can be used to create faces or patterns on the surface of bars or truffles before they set. For parfaits, arranging fruit on top to make shapes (like a smiley face with berries and banana slices) or adding a fun paper straw makes them extra appealing. Allowing kids to take charge of the decorating step lets their imagination run wild and personalizes each treat.
No-Bake Dessert Variations and Adaptations
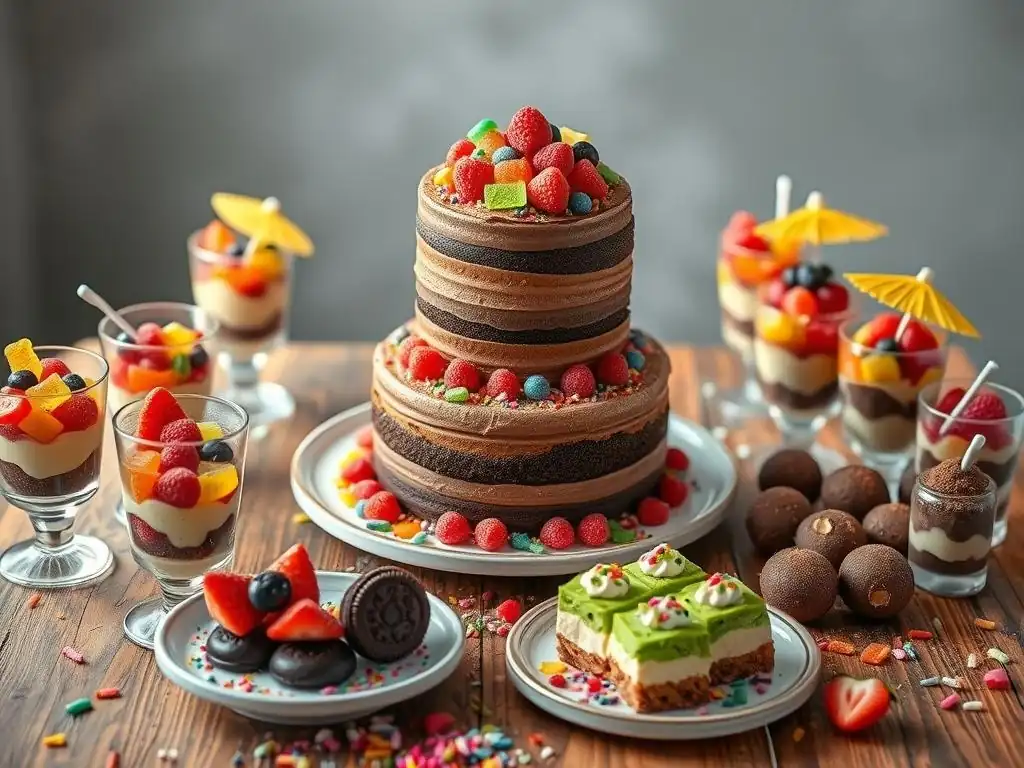
One of the great advantages of many no-bake desserts is how adaptable they are. With increasing awareness of allergies and dietary preferences, being able to modify recipes is essential for hosting an inclusive kids' party. Many classic no-bake recipes can be easily tweaked to become gluten-free, dairy-free, or even vegan, ensuring that all children can enjoy the sweet treats without worry. This flexibility makes no-bake options incredibly practical for modern entertaining.
Adapting recipes often involves simple ingredient swaps. For instance, substituting gluten-free graham crackers or cookies, using dairy-free butter alternatives and cream cheese, or opting for plant-based yogurts and chocolates can transform a standard recipe. It's important to read ingredient labels carefully when selecting substitute products to ensure they meet the necessary dietary requirements. With a little planning, you can create delicious and safe no bake desserts kids with various dietary needs can enjoy right alongside their friends.
Allergy-Friendly No-Bake Dessert Options
Addressing common allergies like gluten and dairy is simpler than you might think with no-bake treats. Many ingredients used in no-bake recipes naturally fall into these categories, or have readily available substitutes. This makes it much easier to ensure that every child at the party has a delicious and safe dessert option. Always confirm ingredients with parents of children with severe allergies to be absolutely certain.
Creating allergy-friendly no bake desserts kids will love means focusing on safe ingredients that don't compromise on taste or fun. Clearly label allergy-friendly treats at the party table to avoid confusion. Preparing these items first, or using separate utensils and surfaces, can help prevent cross-contamination, which is crucial for severe allergies. With careful planning and smart ingredient choices, you can provide delightful treats that accommodate everyone.
Gluten-Free No-Bake Treats
Many no-bake desserts can easily be made gluten-free. The most common gluten-containing ingredient in classic no-bake recipes is graham crackers or certain types of cookies (like Oreos, in their standard form). Fortunately, gluten-free versions of these are widely available. For example, you can use gluten-free graham crackers for the base of no-bake bars or cheesecakes.
Recipes like yogurt parfaits are naturally gluten-free if you use gluten-free granola or crushed gluten-free cookies. Fruit-based no-bake options, such as fruit skewers or chocolate-dipped fruit, are also inherently gluten-free. When making cereal treats, ensure the cereal itself is certified gluten-free (rice cereal is typically GF, but check labels for additives). By making these simple swaps, you can create delicious no bake desserts kids who need to avoid gluten can safely enjoy.
Dairy-Free No-Bake Options
Dairy is another common allergen, but dairy-free no-bake desserts are increasingly easy to make thanks to the availability of plant-based alternatives. Butter can be replaced with dairy-free margarine or coconut oil in recipes like cereal treats or no-bake bar bases. Cream cheese can be substituted with dairy-free cream cheese alternatives for recipes like Oreo truffles or no-bake cheesecakes.
For parfaits, use yogurt made from almond milk, soy milk, coconut milk, or oat milk. When recipes call for melted chocolate, ensure you use dairy-free chocolate chips or melting wafers, which are readily available in most supermarkets. Many fruit-based no-bake options, like sorbet or fruit popsicles (which you can make at home! ), are naturally dairy-free. These simple substitutions allow you to create a variety of delicious no bake desserts kids with dairy sensitivities or allergies can safely indulge in.
Vegan No-Bake Dessert Ideas
Creating vegan no-bake desserts means avoiding all animal products, including dairy, eggs, and honey. This is often a combination of the adaptations needed for dairy-free and sometimes egg-free baking (though many no-bake recipes don't use eggs anyway). Vegan no-bake options are plentiful and can be just as rich and satisfying as their non-vegan counterparts.
Recipes like energy balls made from dates, nuts, and oats are naturally vegan and no-bake. Many no-bake cookie dough bites, using ingredients like oats, nut butter, and maple syrup, are also vegan. Fruit-based desserts, like fruit skewers, frozen fruit pops, or fruit salads, are inherently vegan. For chocolatey treats, use vegan chocolate and plant-based milk alternatives for ganaches or dips. Vegan cream cheese and butter substitutes allow you to make vegan versions of no-bake cheesecakes, truffles, and bars. These options ensure you can offer a diverse range of no bake desserts kids following a vegan diet will love.
Storing and Serving Your No-Bake Creations
Proper storage is key to keeping your no-bake desserts fresh and delicious for the party. Most no-bake treats, especially those containing dairy or cream cheese, require refrigeration to set and maintain their texture and safety. Items like no-bake bars, truffles, and cheesecakes should be stored in airtight containers in the refrigerator. This prevents them from absorbing odors from other foods and keeps them firm. Yogurt parfaits are best assembled closer to serving time, but the components (washed fruit, yogurt, granola) can be prepped and stored separately in the fridge.
Cereal treats can often be stored at room temperature in an airtight container, but they can sometimes benefit from refrigeration if the party is in a warm environment, as this helps them hold their shape better. Freezing is also an option for some no-bake items like bars or truffles if made well in advance; just ensure they are wrapped tightly to prevent freezer burn and thawed properly in the refrigerator before serving. Knowing the best storage method for each specific no bake desserts kids will be enjoying ensures they are served at their peak quality.
Best Practices for Storing No-Bake Desserts
To maximize the freshness and appeal of your no-bake creations, follow these storage tips. Always use airtight containers to prevent desserts from drying out or becoming stale. Separate different types of desserts if possible to avoid flavor transfer. Most refrigerated no-bake desserts will last for 3-5 days when stored correctly, though some, like fruit parfaits, are best consumed within 1-2 days.
When storing items like bars or truffles, you can place pieces of parchment paper between layers in the container to prevent them from sticking together. For items that need to remain firm, like chocolate-coated truffles, keeping them chilled until just before serving is ideal, especially if the party area is warm. Planning your preparation schedule based on how long each dessert keeps and its storage requirements will help ensure everything is perfect for the party.
Creative Serving Suggestions for Kids' Parties
How you present your no-bake desserts can make a big difference in their appeal to kids. Instead of simply placing everything on a tray, think about fun and colorful ways to serve. For example, cut no-bake bars into fun shapes using cookie cutters before they fully set (dip the cutter in hot water first for cleaner cuts). Serve yogurt parfaits in small, clear plastic cups or mini mason jars so the layers are visible – add colorful spoons or striped straws.
For truffles or energy balls, consider using colorful mini cupcake liners or placing them on decorative skewers. Arrange different no bake desserts kids can grab easily on tiered stands for a visually appealing display. Use bright platters and bowls that match your party theme. You can also create a "dessert bar" where kids can customize their own treats, like the parfait bar mentioned earlier, or offer various toppings for cereal treats or chocolate-dipped items. Presentation is a simple way to add extra excitement to your party treats.
Conclusion: Enjoy the Ease of No-Bake Desserts
As you can see, creating delicious, fun, and crowd-pleasing treats for a kids' party doesn't require hours slaving over a hot oven. No-bake desserts offer a fantastic, stress-free alternative that saves time, reduces heat in the kitchen, and provides plenty of opportunities for kids to get involved in the preparation. From classic chocolate and peanut butter bars to colorful cereal treats, decadent truffles, and healthy parfaits, the variety of easy no-bake desserts for children's parties is truly impressive.
By utilizing simple techniques like mixing, pressing, rolling, and chilling, you can produce a wide array of tasty snacks that cater to different tastes and dietary needs. Remember to involve the kids in the process – it's a great way to bond and teach them basic kitchen skills safely.
With creative decoration and presentation, your no-bake creations will not only taste great but also look amazing, adding that extra touch of magic to the celebration. So, embrace the simplicity, explore these wonderful no bake desserts kids will rave about, and enjoy a more relaxed and fun party preparation experience with BakeWithEase.
Frequently Asked Questions
What are some easy no-bake dessert options that kids can help make?
There are many! Think about chocolate bark, fruit parfaits, or even decorated rice crispy treats. These are all simple and fun for kids to participate in.
What's the best way to involve kids in making no-bake desserts?
Assign age-appropriate tasks. Younger children can stir ingredients or sprinkle toppings, while older kids can measure ingredients or arrange layers.
Are no-bake desserts a healthy option for kids' parties?
They can be! Focus on recipes with fresh fruits, yogurt, or whole grains. Limit the amount of added sugar and unhealthy fats.
How can I make no-bake desserts visually appealing for kids?
Use colorful ingredients like berries, sprinkles, and edible glitter. Get creative with presentation by using fun shapes and serving dishes.
What are some common mistakes to avoid when making no-bake desserts with kids?
Rushing the process and not having ingredients prepped beforehand. Also, ensure the recipe is age-appropriate and supervise carefully to prevent messes.
Final Reflection: The Sweet Simplicity of No-Bake Joy
The enduring appeal of no-bake desserts for kids' parties transcends mere convenience; it's about creating joyful memories without the kitchen heat. These simple treats, assembled with minimal fuss and maximum fun, offer a refreshing alternative to elaborate, oven-dependent baking projects. They allow parents to focus on the celebration, not the culinary marathon.
The impact of these easy recipes extends beyond the immediate satisfaction of a sweet treat. They foster creativity and togetherness, transforming kitchen time into a shared experience. The best things in life are the simple things.
This sentiment rings especially true when considering the lasting positive associations children develop with these fun, accessible desserts. The memories made while creating and sharing these treats are often more valuable than the dessert itself.
Now, consider your next children's party. Will you embrace the simplicity and joy of no-bake delights? Imagine the smiles, the shared laughter, and the ease of preparation. Let go of the pressure of perfect baking and embrace the freedom of no-bake creativity. You'll discover that the sweetest moments are often the simplest ones, leaving you with more time to enjoy the party itself, and memories that will last a lifetime.
Unleash Your Inner Party Planner: Easy Treats Await!
Thanks for joining us on this no-bake adventure! We hope you've discovered a treasure trove of delicious and effortless recipes perfect for your next kids' party. Ready to take the next step?
- Whip up your favorite recipe: Grab your ingredients and get baking (no oven required!). We bet the kids will love helping too!
- Share your creations: Show us your masterpieces on social media using #BakeWithEaseNoBake. We can't wait to see them!
- Explore more no-bake fun: Dive into our recipe archives for even more creative ideas to impress your little guests.
What's the most inventive no-bake treat you'll be making for your next celebration? Let's hear it in the comments!