
Princess Party Treats Fit for Royalty (Simple Recipes)

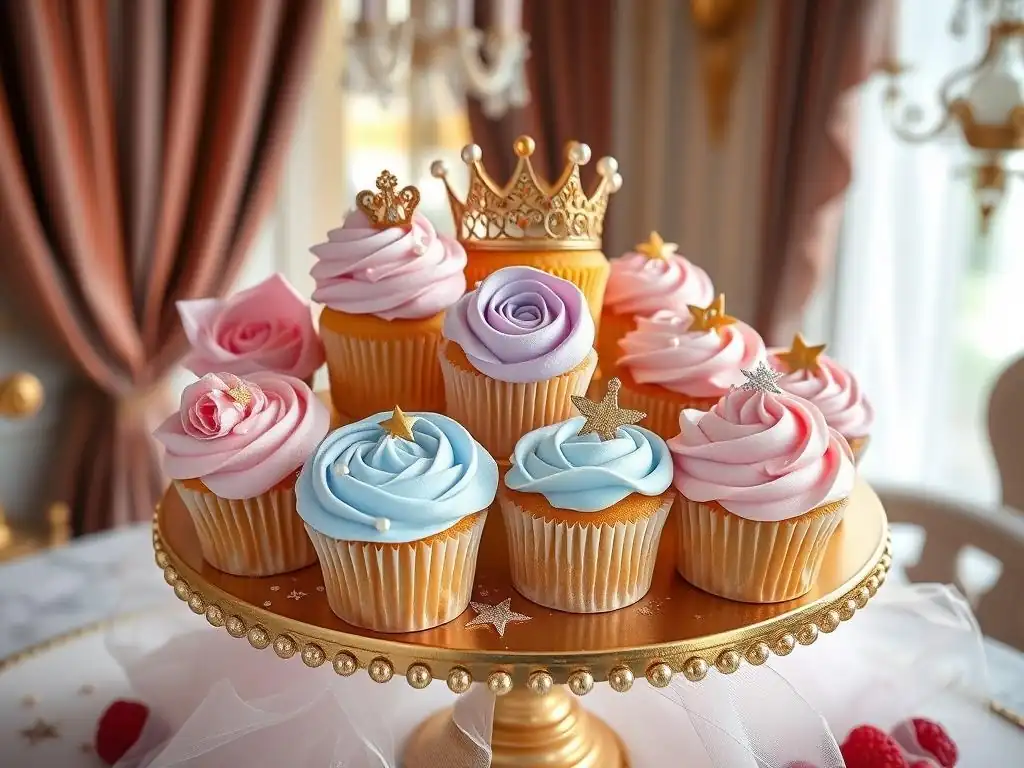
Welcome to BakeWithEase, your guide to creating unforgettable treats without the fuss! Ready to conjure up some magic? This week, we're diving into the enchanting world of Easy Princess Party Cupcakes. Discover how to create delightful, regal desserts that will be the highlight of any celebration. Intrigued? Keep reading to unlock the secrets to baking these royal delights and making your next party truly unforgettable...
- Princess Party Treats Fit for Royalty: Simple Recipes from BakeWithEase
- BakeWithEase: Creating Magical Princess Party Treats
- Easy Princess Party Cupcakes: The Crown Jewel of Your Dessert Table
- Beyond Cupcakes: Other Royal Treat Ideas
- Tips for a Stress-Free Princess Party Baking Experience
- Adaptations for Dietary Needs and Allergies
- Making Your Princess Party Treats Extra Special
- Conclusion: Baking Memories with Easy Princess Party Cupcakes
-
Frequently Asked Questions
- What makes these cupcakes "easy" for a princess party?
- What are some decoration ideas for "princess party cupcakes" mentioned in the article?
- Can I adapt the cupcake recipes for dietary restrictions, like gluten-free or vegan options?
- What are the key ingredients I need to have on hand to bake these "easy princess party cupcakes"?
- How can I involve children in the baking process of these "princess party cupcakes"?
- Final Reflection: The Enduring Magic of a Princess Party
- Unleash Your Inner Royal Baker!
Princess Party Treats Fit for Royalty: Simple Recipes from BakeWithEase
BakeWithEase: Creating Magical Princess Party Treats
Planning a princess party is all about creating enchantment, and what better way to add a touch of magic than with delightful, easy-to-make treats? At BakeWithEase, we believe that baking for special occasions, especially for little ones, should be fun and stress-free. Forget complicated techniques and hard-to-find ingredients; our focus is on simple, reliable recipes that deliver impressive results, perfect for tiny hands and royal palates alike.
From the centerpiece of the dessert table – the easy princess party cupcakes – to charming edible wands and sparkling cookies, we'll guide you through creating a spread that will make every guest feel like royalty. We'll share tips and tricks to ensure your baking journey is smooth, allowing you more time to enjoy the celebration. Let's sprinkle some fairy dust on our ingredients and get started on crafting a memorable spread for your little princess and her friends.
Baking for Kids Parties: A Royal Celebration
Baking for children's parties offers a unique opportunity to bring themes to life through edible creations. A princess party theme, in particular, lends itself beautifully to creative and visually appealing treats, often incorporating pastel colors, sparkle, and whimsical shapes. The goal is to create desserts that are not only delicious but also contribute significantly to the festive atmosphere, making the birthday child feel truly special.
When planning your party baking, consider the age of the children attending. Younger children might appreciate simpler, less fussy treats that are easy to handle, like mini cupcakes or bite-sized cookies. For a party of, say, 15-20 children, planning for at least one to two items per child is a good starting point, ensuring there's enough for everyone to enjoy their favorites. Remember, the joy often comes from the bright colors, fun shapes, and a hint of sparkle, all achievable with straightforward baking and decorating techniques.
Easy Princess Party Cupcakes: The Crown Jewel of Your Dessert Table
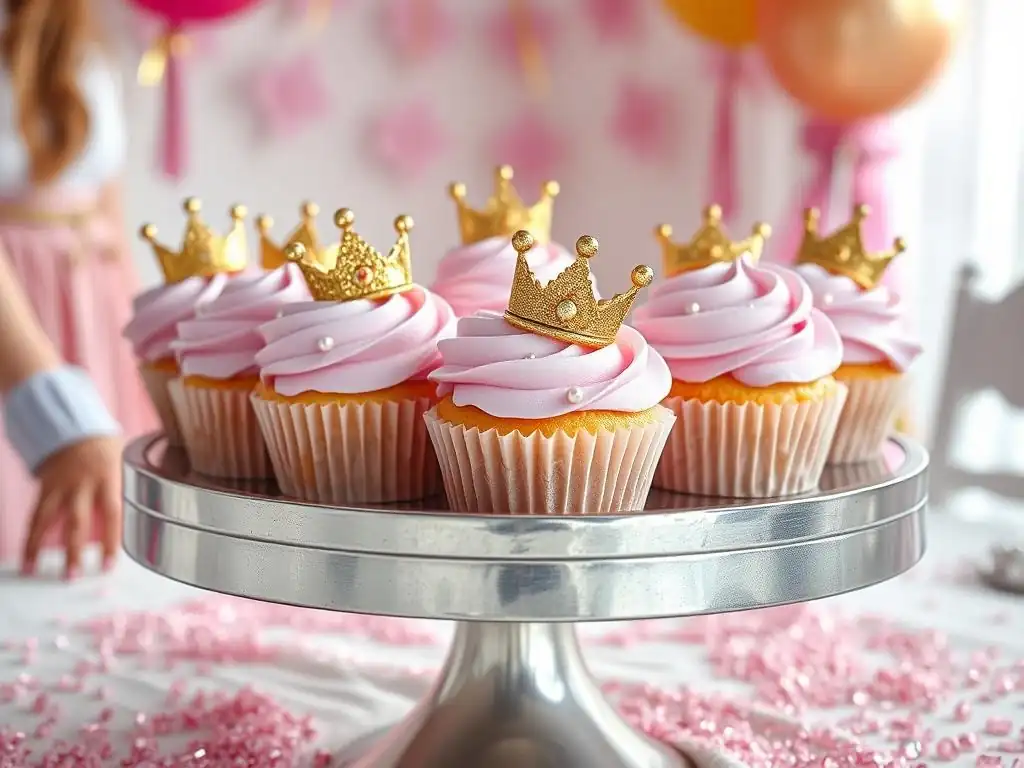
No princess party is complete without cupcakes, and making them doesn't have to be a royal pain. Our approach focuses on simplicity without sacrificing flavor or visual appeal. Easy princess party cupcakes are the perfect canvas for all sorts of magical decorations, from simple sprinkles to more elaborate (but still easy!) fondant shapes. They are portion-controlled, easy to serve, and universally loved by children.
The base of any great cupcake is a reliable recipe. We recommend starting with a classic vanilla or chocolate, as these are crowd-pleasers. Once you have a solid base, the fun begins with the frosting and decorations. The beauty of easy princess party cupcakes lies in their versatility; you can adapt colors, toppings, and themes to match any princess character or style you envision, all with minimal effort and maximum impact.
Recipe: Classic Vanilla Cupcakes for a Princess Theme
A tender, moist vanilla cupcake is the ideal foundation for your princess creations. This recipe is designed to be straightforward, perfect even for beginner bakers. You'll likely need standard pantry staples: all-purpose flour, sugar, baking powder, salt, butter, eggs, milk, and vanilla extract. The key is to use room temperature ingredients, which helps them emulsify properly, resulting in a smoother batter and a finer crumb.
To make approximately 12-14 standard cupcakes, you might start by creaming together about 1/2 cup (115g) of softened unsalted butter with 1 cup (200g) of granulated sugar until light and fluffy, which usually takes 3-5 minutes with an electric mixer. Then, beat in 2 large eggs one at a time, followed by 1 teaspoon of vanilla extract. In a separate bowl, whisk together 1 and 1/2 cups (185g) of all-purpose flour, 1 and 1/2 teaspoons of baking powder, and 1/4 teaspoon of salt. Gradually add the dry ingredients to the wet ingredients, alternating with about 1/2 cup (120ml) of milk, starting and ending with the dry ingredients.
Mix until just combined, being careful not to overmix. Fill cupcake liners about two-thirds full and bake at 350°F (175°C) for 18-22 minutes, or until a toothpick inserted into the center comes out clean. Allow them to cool completely before frosting.
Frosting Fit for a Queen: Simple Buttercream Recipe
A simple vanilla buttercream is the perfect complement to vanilla cupcakes and provides a smooth, stable base for decorations. It's incredibly easy to make and can be colored any shade imaginable to match your princess theme. You'll need softened butter, powdered sugar, milk or cream, and vanilla extract. The ratio of powdered sugar to butter is crucial for consistency – typically, you'll use about 3-4 cups of powdered sugar for every 1/2 cup of butter.
To make a batch sufficient for frosting 12-14 cupcakes generously, start by beating 1/2 cup (115g) of softened unsalted butter until creamy. Gradually add about 3 cups (360g) of powdered sugar, alternating with 2-3 tablespoons of milk or cream, mixing on low speed initially to avoid a sugar cloud, then increasing speed to beat until light and fluffy. Add 1 teaspoon of vanilla extract.
If the frosting is too thick, add more milk a teaspoon at a time; if too thin, add more powdered sugar a tablespoon at a time. For princess colors, divide the frosting into bowls and mix in gel food coloring sparingly until you achieve your desired pastel pinks, purples, blues, or yellows.
Decorating Princess Cupcakes: Easy Techniques
Decorating easy princess party cupcakes is where the magic truly happens. You don't need to be a professional decorator to create stunning results. Simple techniques using readily available items can transform plain frosted cupcakes into royal delights. Think about incorporating elements like sparkle, height, and themed accents.
A basic piping bag fitted with a large star tip can create a beautiful swirl of frosting, instantly elevating the look. Even spreading the frosting with an offset spatula can look charmingly rustic. The real impact often comes from the toppings and additions – this is where you can let your creativity shine with minimal effort.
Using Edible Glitter for Sparkle
Edible glitter is a princess party must-have! It catches the light and adds an instant touch of glamour and magic to any treat. Unlike craft glitter, edible glitter is made from food-safe ingredients like gum arabic, maltodextrin, and food coloring, making it safe to consume.
Applying edible glitter is incredibly simple. You can sprinkle it directly onto wet frosting for an all-over shimmer. For more precise application, you can use a small, clean paintbrush to dab it onto specific areas or designs. A typical small jar of edible glitter, costing around $5-$8, can sparkle dozens of cupcakes, making it a cost-effective way to add significant visual appeal.
Creating Royal Icing Decorations: Crowns and Wands
Royal icing is perfect for making hard, stable decorations like small crowns, wands, or tiaras that can sit atop your cupcakes. While it sounds fancy, making royal icing is quite simple, often requiring just powdered sugar, meringue powder (or egg whites), and water. Meringue powder is recommended for safety and stability.
To make a small batch, whisk together about 2 cups (240g) of powdered sugar with 2 tablespoons of meringue powder. Gradually whisk in about 3-4 tablespoons of water until the desired consistency is reached.
For piping decorations, you want a consistency that holds its shape but flows smoothly from a piping bag fitted with a fine tip (like a Wilton tip #2 or #3). You can draw simple crown or wand shapes onto parchment paper placed over a template, let them dry completely (this can take several hours or even overnight, depending on humidity), and then carefully peel them off and place them on your frosted easy princess party cupcakes.
Princess Party Cupcake Toppers: DIY Ideas with Paper and Fondant
Cupcake toppers are a fantastic way to add a specific theme or character element to your easy princess party cupcakes without complex decorating. They are quick, easy, and can make a big impact.
- Paper Toppers: Print small princess images, crowns, castles, or wands onto cardstock. Cut them out and tape or glue them onto toothpicks or small wooden skewers. Insert these into the top of your frosted cupcakes. This is perhaps the quickest and most budget-friendly option. For a party of 20 children, you could easily create 20-25 unique paper toppers in under an hour.
- Fondant Toppers: While fondant might sound intimidating, pre-made fondant is readily available in most craft or grocery stores. You can knead in food coloring to get desired shades. Use small cookie cutters (like stars, hearts, or mini circles) to cut out shapes. For slightly more detail, you can roll out fondant and use a knife or small template to cut out simple crown or tiara shapes. These can be attached to the frosting with a tiny dab of water or edible glue. A small package of fondant (around 8-10 oz) is typically enough to create dozens of small toppers.
Beyond Cupcakes: Other Royal Treat Ideas
While easy princess party cupcakes might be the main event, offering a variety of themed treats adds depth and excitement to your dessert table. Expanding your repertoire with a few other simple items ensures there's something for every little royal guest to enjoy.
Consider treats that are easy to handle, visually appealing, and tie into the princess theme through color, shape, or added sparkle. These additional items can often be prepared in stages, further simplifying your party planning and baking schedule.
Princess Wands Made with Pretzels and Candy Melts
Edible wands are a whimsical and popular choice for a princess party. They are incredibly simple to make and offer a satisfying sweet and salty crunch. Pretzel rods make the perfect handle, and candy melts provide a colorful, easy-to-use coating.
You'll need pretzel rods, candy melts in princess colors (pink, purple, blue, white, or yellow), and various sprinkles, edible glitter, or sugar pearls for decoration. A 12 oz bag of candy melts is typically sufficient to coat two dozen pretzel rods.
Dipping Pretzels: A Step-by-Step Guide
Melting candy melts and dipping pretzels is a straightforward process. Place candy melts in a microwave-safe container, such as a tall glass or a deep mug, which makes dipping the rods easier. Microwave on 50% power for 30-second intervals, stirring in between, until completely melted and smooth. Be careful not to overheat, as this can cause the melts to seize.
Hold a pretzel rod by one end and dip about two-thirds of it into the melted candy. Rotate the pretzel to coat evenly. Lift the pretzel out, letting excess candy drip back into the container. You can use a spoon or spatula to help coat or smooth the candy if needed.
Adding Edible Decorations: Sprinkles and Sugar Pearls
Once the pretzel rod is coated in the melted candy, you have a short window before the candy sets to add decorations. This is where the magic happens! While the candy coating is still wet, immediately sprinkle it with edible glitter, nonpareils, jimmies, or press on sugar pearls.
Place the decorated pretzel rods onto a baking sheet lined with parchment or wax paper to set completely. This usually takes about 15-20 minutes at room temperature, or faster if placed in the refrigerator for 5-10 minutes. Once set, they are ready to be displayed or served.
Royal Fruit Skewers: A Healthy and Delicious Option
Offering a healthier option alongside the sweets is always a good idea, and fruit skewers can be made to fit the princess theme beautifully. They are colorful, refreshing, and easy for little hands to hold and eat.
Choosing fruits in princess-like colors like pink, purple, red, and yellow works well. These skewers are simple to assemble and require no baking, making them a quick addition to your party spread.
Choosing the Right Fruits for a Princess Party: Strawberries, Pineapple, and Grapes
Select fruits that are relatively firm and easy to thread onto skewers. Good choices include strawberries (red/pink), pineapple chunks (yellow), green or red grapes (green/purple/red), melon chunks (cantaloupe or honeydew), and blueberries (blue/purple). Aim for a variety of colors to make the skewers visually appealing.
For a party of 20 children, planning for about 2-3 skewers per child, each with 4-5 pieces of fruit, means you'll need approximately 80-120 pieces of fruit total. A typical large pineapple might yield 30-40 chunks, a pound of strawberries about 20-25, and a pound of grapes around 50-60 individual grapes.
Assembling Fruit Skewers: Tips and Tricks
Use blunt-tipped wooden skewers to make them safer for children. Wash and prepare all your fruit first, cutting larger fruits into bite-sized chunks. For strawberries, simply hull them. For grapes, you can leave them whole or halve larger ones.
Thread the fruit onto the skewers, alternating colors for a visually appealing pattern. Leave a small space at the bottom of the skewer for holding. You can assemble these a few hours in advance and keep them refrigerated. For an extra touch, you could add a marshmallow or a small piece of pound cake cut into a star shape at the top of the skewer before the last piece of fruit.
Sugar cookies are another classic party treat that offers endless possibilities for decoration. A simple cut-out sugar cookie recipe is robust enough to hold its shape during baking, making it perfect for using themed cookie cutters like crowns, stars, castles, or even gingerbread-style princess shapes.
Baking sugar cookies from scratch is straightforward, requiring basic ingredients like butter, sugar, egg, vanilla, flour, and baking powder. The dough is forgiving and can be made ahead of time, which is a big plus for party planning.
Baking Sugar Cookies: A Beginner's Guide
Start by creaming together 1 cup (225g) of softened butter with 1 and 1/2 cups (300g) of granulated sugar until light and fluffy. Beat in 1 large egg and 1 teaspoon of vanilla extract. In a separate bowl, whisk together 3 cups (375g) of all-purpose flour and 1 teaspoon of baking powder. Gradually add the dry ingredients to the wet, mixing until just combined. The dough should be relatively stiff.
Divide the dough in half, flatten each disk, wrap in plastic wrap, and chill for at least 1 hour (or up to 2-3 days). Chilling is crucial as it prevents the cookies from spreading too much while baking. Roll out the chilled dough on a lightly floured surface to about 1/4 inch thickness. Cut out shapes using your princess-themed cookie cutters.
Place cookies on baking sheets lined with parchment paper and bake at 375°F (190°C) for 8-11 minutes, or until the edges are lightly golden. Let them cool on the baking sheet for a few minutes before transferring to a wire rack to cool completely before decorating. This recipe typically yields about 2-3 dozen cookies depending on the size of your cutters.
Royal Icing for Sugar Cookies: Basic Recipe
Royal icing is the preferred choice for decorating sugar cookies because it dries hard and smooth, creating a clean, professional finish and allowing for stacking or packaging. The recipe is similar to the one used for cupcake toppers but might require a slightly different consistency depending on whether you are outlining or flooding the cookies.
For outlining, you need a stiffer consistency (add less water), and for flooding (filling in the outlined areas), you need a runnier consistency (add more water). You can achieve this by making a medium-consistency batch and then thinning small portions for flooding. Use gel food coloring to tint the icing in various princess colors.
Decorating Princess Cookies: Ideas and Inspiration for Dresses and Tiaras
Once your cookies are baked and cooled, the fun of decorating begins. Use piping bags fitted with small round tips (like #2 or #3) for outlining and flooding.
- Princess Dresses: Use a dress-shaped cutter. Outline the dress with a medium-consistency icing and let it set for a few minutes. Then, use a thinner "flooding" consistency icing to fill in the outlined area. Use a toothpick or scribe tool to spread the icing to the edges and pop any air bubbles. Let the flooded base dry completely (several hours or overnight). Once dry, you can add details like bodices, sleeves, or trim using stiffer icing in contrasting colors.
- Tiaras and Crowns: Use small tiara or crown cutters. Outline and flood as described above. Once dry, you can add details with piping or attach small edible pearls or sprinkles using a tiny dot of icing as glue.
- Stars and Hearts: These simple shapes can be flooded with different colors and then sprinkled with edible glitter or nonpareils while the icing is still wet.
Tips for a Stress-Free Princess Party Baking Experience
Planning and executing the baking for a kids' party can feel overwhelming, but with a few smart strategies, you can minimize stress and maximize enjoyment. The key is organization and doing as much as possible ahead of time.
Remember that perfect is the enemy of good, especially when baking for children. They will appreciate the love and effort you put in far more than flawless execution. Embrace the fun and the occasional imperfection!
Preparing in Advance: Baking Schedule
Creating a baking schedule is crucial for managing your time effectively. Most party treats can be made at least partially, if not entirely, in the days leading up to the event.
- 3-4 Days Before: Bake sugar cookies. Once cooled, store them in airtight containers. You can also make royal icing (store tightly covered; it may need a quick whisk with a drop of water to loosen before use) and fondant decorations.
- 2 Days Before: Bake cupcakes. Let them cool completely and store in airtight containers. Prepare fruit for skewers and assemble them, storing them covered in the refrigerator.
- 1 Day Before: Make buttercream frosting and tint it with colors. Decorate the sugar cookies (they will need time to dry). Dip pretzels in candy melts and decorate them. Frost the easy princess party cupcakes and add basic sprinkles.
- Day of Party: Add any delicate toppers (like dried royal icing crowns) to the cupcakes. Arrange all treats on your display table.
Involving the Kids: Making it a Fun Activity
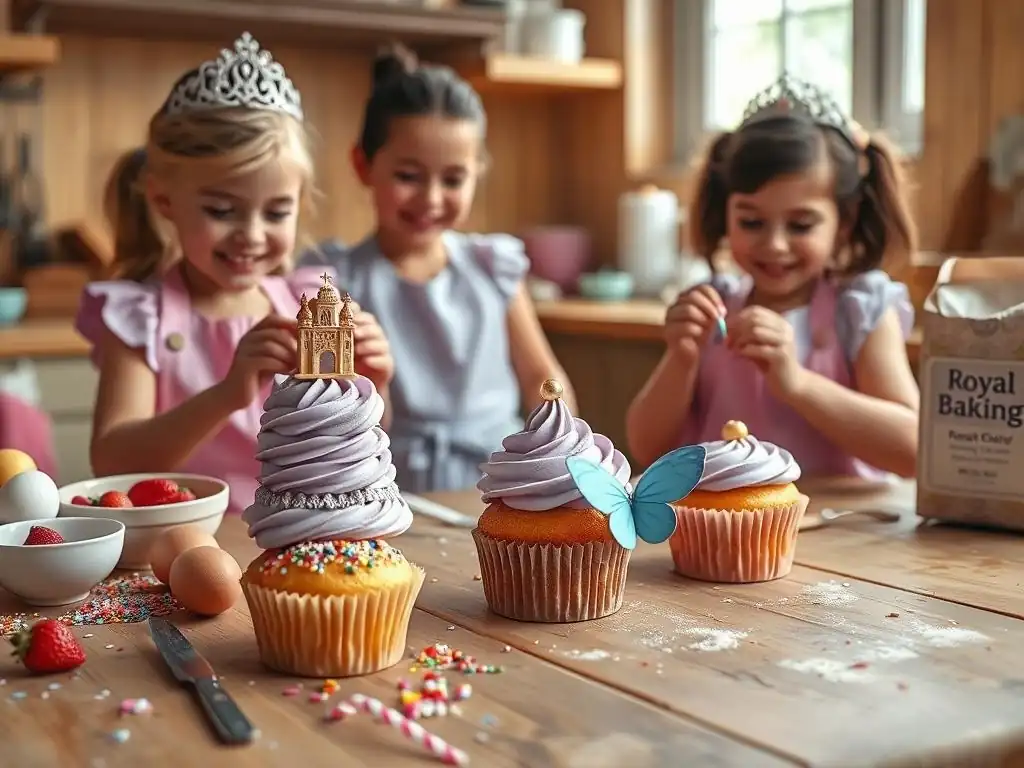
If your little princess and her friends are old enough, involving them in the baking and decorating process can be a fantastic pre-party activity. Choose simple tasks that are age-appropriate and safe.
Children can help measure dry ingredients, stir batter (with supervision), place cupcake liners in the tins, or arrange fruit on skewers. The decorating stage is usually the most popular part! Let them sprinkle jimmies on frosted cupcakes, place paper toppers, or press sprinkles into wet candy melts on the pretzel wands. It might get a little messy, but the joy and sense of accomplishment they feel will be priceless. For instance, a group of 4-5 children aged 5-7 could easily decorate 2 dozen pre-baked and frosted easy princess party cupcakes in about 30-45 minutes, adding their own unique flair.
Storing Your Princess Party Treats: Keeping them Fresh
Proper storage is essential to ensure your beautiful treats stay fresh and delicious until party time. Different treats require different storage methods.
Cupcakes and cookies are best stored in airtight containers at room temperature, unless they have a filling or frosting that requires refrigeration (like cream cheese frosting, though simple buttercream is fine at room temp for a day or two). Stack cookies carefully with parchment paper in between layers to prevent sticking. Cupcakes can be stored in single layers or in special cupcake carriers.
Pretzel wands should be stored in a cool, dry place in an airtight container, separated by parchment paper. Fruit skewers must be kept refrigerated until just before serving. Properly stored, most baked goods will remain fresh for 2-3 days.
Adaptations for Dietary Needs and Allergies
Hosting a party means considering all guests, especially those with dietary restrictions or allergies. Fortunately, many princess-themed treats can be adapted to accommodate common needs like gluten-free, dairy-free, or nut-free requirements.
Planning for these needs in advance ensures that every child can enjoy a magical treat safely. Often, simple ingredient swaps are all that's needed to make a recipe inclusive.
Gluten-Free Princess Party Treats
Making gluten-free treats is increasingly easy with the availability of good quality gluten-free flour blends. For easy princess party cupcakes or sugar cookies, you can often substitute the all-purpose flour cup-for-cup with a reputable gluten-free blend that contains xanthan gum.
When using a gluten-free blend in your classic vanilla cupcake recipe, the bake time might be slightly different, so keep an eye on them after 18 minutes. Ensure all other ingredients, like baking powder and extracts, are certified gluten-free if cross-contamination is a severe concern. Royal icing made with meringue powder is typically gluten-free, but always check ingredient labels on powdered sugar and meringue powder. Fruit skewers are naturally gluten-free.
Dairy-Free Princess Party Baking
Dairy allergies or intolerances can be accommodated by substituting dairy ingredients with plant-based alternatives. In baking, this primarily means swapping butter and milk.
For cupcakes and cookies, use a good quality dairy-free butter substitute (often found near regular butter) and a plant-based milk like almond, soy, oat, or coconut milk in the same quantities as the recipe calls for dairy butter and milk. For buttercream frosting, use dairy-free butter substitute and plant-based milk or cream. Ensure your powdered sugar is dairy-free (most are, but check). Candy melts for pretzel wands often contain dairy, but dairy-free options are available from specialty suppliers. Fruit skewers are naturally dairy-free.
Nut-Free Options for a Safe Celebration
Nut allergies are common and can be severe, making it crucial to provide safe options. The easiest way to ensure nut-free treats is to avoid using nuts or ingredients that may contain nuts or be processed in facilities with nuts.
Our classic vanilla cupcakes, simple buttercream, sugar cookies, and royal icing recipes, as written, do not contain nuts. However, it is vital to check the labels of all packaged ingredients (flour, sugar, baking powder, extracts, sprinkles, candy melts) for "may contain nuts" warnings. Use vanilla extract that is guaranteed nut-free. Prepare treats in a kitchen free from nut contamination, using clean utensils and baking sheets. Fruit skewers are naturally nut-free, but ensure no nuts were prepared on the same surfaces or stored nearby. When buying sprinkles or edible glitter, look for brands that are certified nut-free if possible.
Making Your Princess Party Treats Extra Special
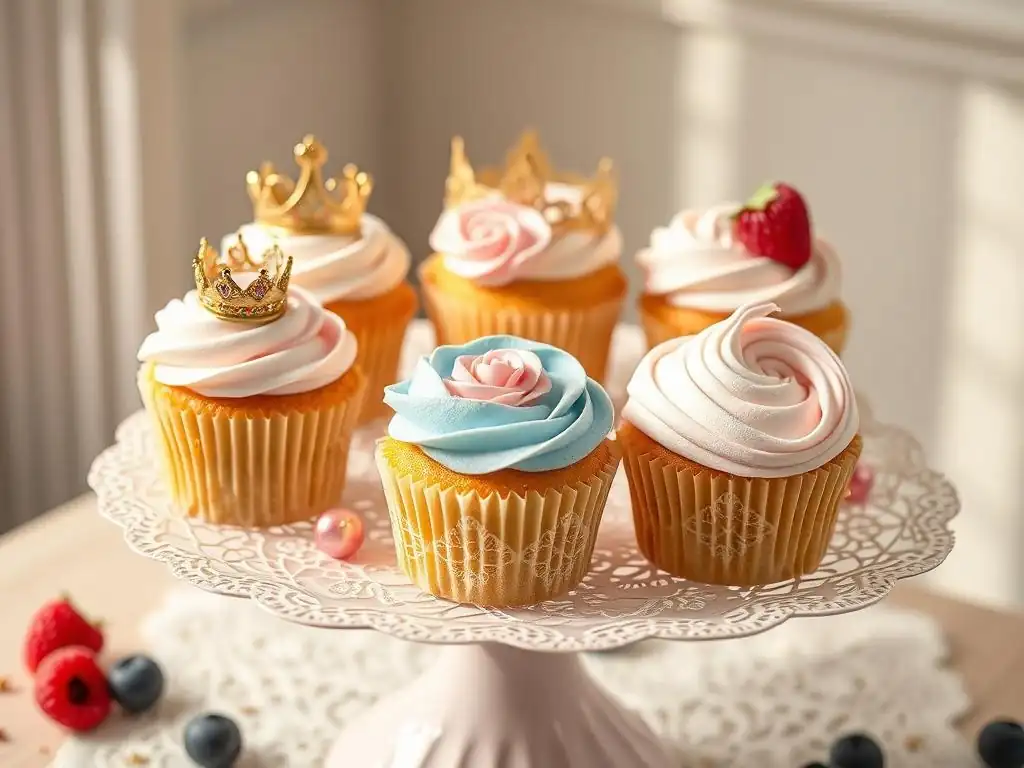
Adding those final touches is what transforms delicious baked goods into truly magical princess party treats. It's often the small details that make the biggest impact on the overall presentation and excitement level.
Think about color, sparkle, and how you will display your creations. These elements are relatively easy to incorporate but significantly enhance the royal theme.
Edible Glitter and Sprinkles: A Touch of Magic
As mentioned earlier, edible glitter is fantastic for sparkle. Use fine glitter for a subtle shimmer or larger flakes for more dramatic sparkle. Sprinkles come in countless varieties – jimmies, nonpareils, confetti, sugar pearls, and shaped sprinkles (like stars or hearts).
Combine different types of sprinkles for a custom princess mix. For example, mix pink jimmies, white nonpareils, silver edible glitter, and a few pearlized sugar pearls. Sprinkle generously over wet frosting or use a tiny bit of frosting or edible glue to attach them to dried royal icing decorations. A standard 4 oz bottle of jimmies contains thousands of sprinkles, enough for many batches of cupcakes or cookies.
Using Food Coloring: Creating Royal Colors
Gel food coloring is highly recommended over liquid food coloring for achieving vibrant, rich colors without adding too much moisture to your frosting or icing. A small drop of gel color goes a long way.
Focus on classic princess colors: various shades of pink, purple, blue, yellow, and perhaps some mint green or coral. You can create different shades by using more or less coloring. For example, to get a range of pinks, take a batch of white buttercream, add a tiny drop of pink gel color to a small portion for light pink, add another drop for medium pink, and so on. This allows you to create a beautiful gradient or mix of colors for your easy princess party cupcakes and other treats.
Presentation is Key: Displaying Your Treats Like a Pro
How you display your treats can be just as important as how they taste and look individually. A well-arranged dessert table creates a stunning focal point for the party.
Use cake stands of varying heights to add visual interest. Arrange cupcakes on a tiered stand. Place cookies on platters or in decorative bags tied with ribbon. Stand pretzel wands upright in jars or glasses filled with candies or sprinkles for stability. Use colorful tablecloths, backdrops, and banners that match your princess theme. Even simple paper doilies placed under cupcakes or on platters can add a touch of elegance. Think about creating zones on your table – the "Cupcake Castle," the "Wand Workshop," the "Cookie Kingdom," etc.
Conclusion: Baking Memories with Easy Princess Party Cupcakes
Creating magical treats for a princess party doesn't require complex techniques or expensive ingredients. With simple recipes, smart planning, and a sprinkle of creativity, you can bake a delightful spread that will enchant your little guests. From the star attraction, the easy princess party cupcakes, adorned with sparkle and royal icing, to whimsical pretzel wands and colorful fruit skewers, every treat contributes to the festive atmosphere.
Remember to involve the kids, prepare in advance, and most importantly, have fun! Baking for celebrations is about more than just the food; it's about creating joyful moments and lasting memories. At BakeWithEase, we hope these simple recipes and tips help you feel confident and inspired to bake a truly royal celebration.
Frequently Asked Questions
What makes these cupcakes "easy" for a princess party?
These cupcakes are designed with simplicity in mind, using easily accessible ingredients and straightforward instructions. The recipes minimize complicated baking techniques, making them perfect for busy parents or beginner bakers.
What are some decoration ideas for "princess party cupcakes" mentioned in the article?
The article likely suggests decorations such as edible glitter, princess-themed sprinkles, and simple frosting techniques like rosettes or swirls. These are decorations that are easy to achieve and add a touch of royalty.
Can I adapt the cupcake recipes for dietary restrictions, like gluten-free or vegan options?
Absolutely! The core recipes can often be adapted. Look for gluten-free flour substitutes or vegan egg replacements and dairy-free butter alternatives.
What are the key ingredients I need to have on hand to bake these "easy princess party cupcakes"?
You'll need baking essentials like flour, sugar, eggs (or substitutes), butter (or substitutes), baking powder/soda, and vanilla extract. Also, consider food coloring, sprinkles, and edible glitter for decorating.
How can I involve children in the baking process of these "princess party cupcakes"?
Kids can help with tasks like measuring ingredients, mixing the batter (with supervision), and decorating the cupcakes with sprinkles and frosting. It's a fun and engaging activity for a princess party!
Final Reflection: The Enduring Magic of a Princess Party
The simple joy of baking, especially when shared, transcends generations. Creating delightful treats for a princess party isn't just about following a recipe; it's about crafting memories and fostering a sense of wonder. These easy cupcake recipes, designed for even the most novice baker, prove that creating magical moments doesn't require culinary expertise.
The enduring appeal of princess-themed celebrations speaks volumes about our collective desire for enchantment and the power of imaginative play. It's a reminder of the simple pleasures of childhood, a time when dreams felt limitless and even the smallest details held immense significance. Fairy tales are more than true: not because they tell us that dragons exist, but because they tell us that dragons can be beaten.
- Neil Gaiman. This sentiment perfectly captures the spirit of a princess party – a celebration of courage, kindness, and the belief in the power of dreams.
Now, I invite you to consider the magic you can create. Don't be afraid to experiment with the recipes, add your own personal touch, and most importantly, enjoy the process. The next time you're planning a celebration, remember the power of simple treats to transform an ordinary gathering into an extraordinary experience. Let the joy of baking and the spirit of a princess party inspire you to create your own unique moments of wonder.
Unleash Your Inner Royal Baker!
Thanks for joining us on this sweet journey into princess-party perfection! We hope you're feeling inspired and ready to create some truly magical treats. Now it's time to put those amazing recipes into action.
- Bake the most enchanting cake (or cupcakes!) yet: Grab your ingredients and let's get baking! Use the recipes from the article as a starting point, but feel free to add your own creative flair.
- Share your royal creations: Post pictures of your finished masterpieces on social media and tag us – we'd love to see them!
- Challenge yourself: Try adapting one of the recipes to use a different flavour profile or decoration technique. What will you create?
Ready to transform your kitchen into a royal baking haven?