
Simple Tips for Baking HighAltitude Pumpkin Pie

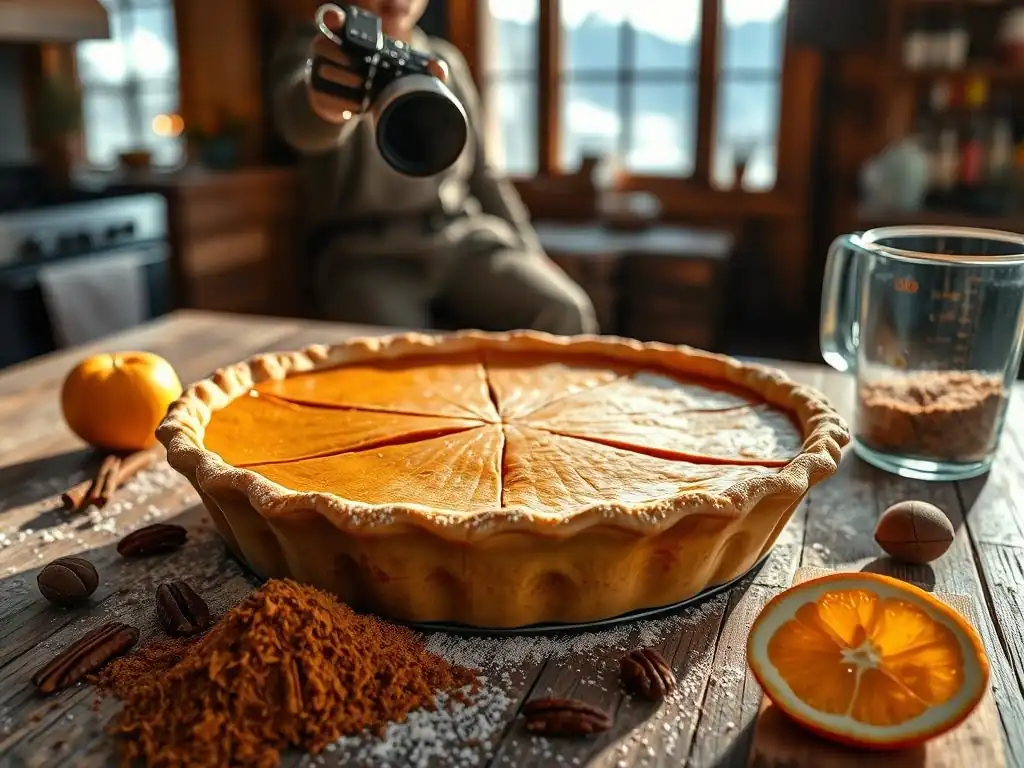
Welcome to BakeWithEase, your kitchen companion for turning baking dreams into delicious realities! Ever wondered why your High Altitude Pumpkin Pie turns out less than perfect? We've got you covered. Discover the secrets to achieving a perfectly set, flavorful pumpkin pie, even when baking at higher altitudes. Get ready to elevate your seasonal baking game – your journey to pumpkin pie perfection starts now!
- Simple Tips for Baking High-Altitude Chocolate Cake
- Understanding High-Altitude Baking and Chocolate Cake
- Essential Adjustments for High-Altitude Chocolate Cake Recipes
- High-Altitude Chocolate Cake Recipe: A Step-by-Step Guide
- Preventing a Collapsed High-Altitude Chocolate Cake
- Choosing the Right Chocolate for High-Altitude Cake
- High-Altitude Chocolate Cake Troubleshooting: Common Issues & Solutions
- Serving and Storing Your High-Altitude Chocolate Cake
-
Frequently Asked Questions
- How does high altitude affect pumpkin pie baking?
- What adjustments should I make to my pumpkin pie recipe at high altitude?
- Why is my high-altitude pumpkin pie cracking?
- What role does flour play in a high-altitude pumpkin pie recipe?
- Can I use a store-bought pie crust for high-altitude pumpkin pie?
- Final Reflection: The Sweet Success of High-Altitude Baking
- Unlock Your High-Altitude Baking Secrets!
Simple Tips for Baking High-Altitude Chocolate Cake
Understanding High-Altitude Baking and Chocolate Cake
Baking at high altitudes presents unique challenges compared to baking at sea level. The primary factors at play are lower atmospheric pressure, lower humidity, and increased evaporation. As elevation increases, air pressure decreases, causing leavening gases (like carbon dioxide from baking soda or powder) to expand more rapidly and significantly than they would at sea level. This can cause cakes to rise too quickly and then collapse.
Water also boils at a lower temperature at higher altitudes – for instance, at 5,000 feet (approx. 1,500 meters), water boils around 203°F (95°C) instead of 212°F (100°C). This affects how ingredients hydrate and how starches set during baking.
When baking chocolate cake at high altitude, these factors combine to create specific hurdles. Chocolate cakes often rely on precise ratios of fat, sugar, flour, and liquid, and the cocoa powder itself can affect the batter's structure and moisture absorption. The increased leavening expansion can lead to a fragile crumb structure that struggles to support itself. Additionally, the lower boiling point of water means liquids evaporate faster, potentially resulting in a dry cake if not properly adjusted. The goal is to create a batter that rises more slowly, sets more firmly, and retains adequate moisture despite the environmental conditions.
The Challenges of Baking Chocolate Cake at High Altitudes
Baking chocolate cake at high altitudes is particularly tricky because the rich ingredients, including cocoa powder and often melted chocolate, interact with the atmospheric conditions in complex ways. Cocoa powder absorbs moisture, which can exacerbate the drying effect of high altitude. Furthermore, the fat content from chocolate and butter can tenderize the crumb, making it more susceptible to collapse when combined with aggressive leavening expansion under lower pressure.
For example, a standard sea-level recipe baked at 7,000 feet (approx. 2,100 meters) without modification is highly likely to overflow the pan, collapse in the center, or have a coarse, crumbly texture.
The decreased air pressure also means that gases trapped in the batter expand more dramatically during baking. Imagine tiny balloons inflating inside your cake – at high altitude, these balloons get much bigger before the cake's structure has a chance to set. If the structure isn't strong enough, the balloons burst, and the cake sinks. This is why many high-altitude chocolate cakes end up with a dome that falls or a significant depression in the middle. Successfully baking a high-altitude chocolate cake requires counteracting these effects by adjusting the recipe's ingredients and the baking process itself.
Why Your Chocolate Cake Might Fail at High Altitude: Common Problems
One of the most common failures when baking chocolate cake at high altitude is a sunken or collapsed center. This happens because the cake rises too quickly due to reduced air pressure, and the cell structure stretches thin before the proteins (from flour and eggs) and starches have set properly in the lower-temperature baking environment (due to the lower boiling point of water). The fragile structure cannot support the expanded gases, and the cake deflates as it cools. A classic sign is a cake that looks beautiful and domed in the oven but sinks significantly upon removal.
Another frequent issue is a dry or crumbly texture. At high altitude, liquids evaporate faster from the batter during mixing and baking. If the recipe isn't adjusted, there simply isn't enough moisture left by the time the cake is done. Cocoa powder also contributes to dryness by absorbing liquid.
This results in a cake that lacks moisture, feels dense, and may fall apart easily. Other problems include tough texture (often due to too much flour or overmixing), gummy layers (sometimes from too much liquid that doesn't evaporate), or uneven rising. Understanding these common pitfalls is the first step to mastering high-altitude chocolate cake baking.
Essential Adjustments for High-Altitude Chocolate Cake Recipes
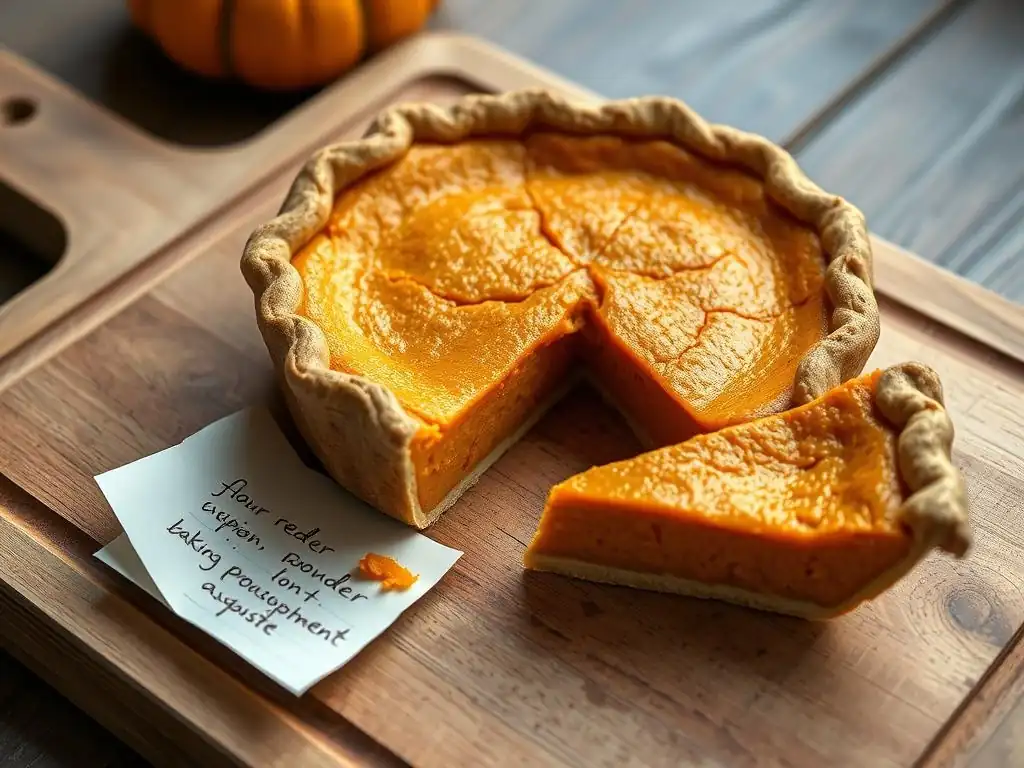
Successfully baking a high-altitude chocolate cake often requires modifying a standard sea-level recipe. The key adjustments typically involve reducing leavening agents, decreasing sugar, increasing liquid, and sometimes increasing flour or eggs slightly. These changes work together to slow down the rise, strengthen the cake's structure, and compensate for increased moisture loss. A general guideline for altitudes between 3,000 and 5,000 feet (approx. 900 to 1,500 meters) might involve reducing baking powder by 1/8 to 1/4 teaspoon per teaspoon called for, and for altitudes above 5,000 feet, reductions can be even more significant, potentially up to half the leavening.
Beyond leavening, adjusting sugar and liquid is critical for high-altitude chocolate cake. Sugar not only provides sweetness but also tenderizes the crumb and helps retain moisture. At high altitude, too much sugar weakens the structure and contributes to collapse. Reducing it slightly helps the structure set more firmly. Conversely, increasing liquid (like milk, buttermilk, or water) is necessary to combat the increased evaporation and ensure a moist final product. These adjustments are often made incrementally, as the exact amount needed can vary based on the specific recipe and altitude.
Reducing Sugar Content in Your High-Altitude Chocolate Cake
Reducing sugar is a crucial step when adapting a standard chocolate cake recipe for high altitude. Sugar attracts and holds moisture, which is beneficial at sea level, but at higher elevations, the increased evaporation means less moisture is available to be held. Excess sugar also interferes with the gluten development and protein setting that provide the cake's structure.
With lower air pressure causing leavening to expand more aggressively, a weaker structure due to too much sugar is more likely to collapse. A common starting point for adjustment is to reduce the sugar by 1 to 3 tablespoons per cup called for in the original recipe, especially at altitudes above 3,500 feet (approx. 1,000 meters).
For instance, if a recipe calls for 1.5 cups of sugar, you might try reducing it to 1.25 cups for baking chocolate cake at high altitude. This reduction helps create a stronger crumb structure that can better withstand the rapid expansion of gases during baking. While it slightly reduces sweetness, the primary goal is structural integrity. The exact amount of sugar reduction needed will depend on your specific altitude and the recipe's original sugar content. It's often best to start with a small reduction and adjust in subsequent bakes if the cake still collapses or is too tender.
Increasing Liquid in Your High-Altitude Chocolate Cake Batter
To counteract the accelerated evaporation at higher altitudes, increasing the liquid content in your chocolate cake batter is essential. Liquids like milk, buttermilk, water, or even coffee (which pairs wonderfully with chocolate) provide the necessary moisture for the cake's texture and also help dissolve sugar and baking powder, facilitating chemical reactions. Without enough liquid, the cake can turn out dry, dense, and crumbly. A general guideline for increasing liquid is to add 1 to 4 tablespoons per cup of liquid called for in the original recipe, depending on your altitude.
For example, if a sea-level recipe uses 1 cup of milk, you might increase it to 1 cup plus 2 tablespoons when baking that chocolate cake at 6,000 feet (approx. 1,800 meters). This extra moisture helps keep the batter hydrated as it bakes, leading to a moister, more tender crumb. The type of liquid can also make a difference; using buttermilk, for instance, adds both moisture and acidity, which can react with baking soda to provide additional, controlled leavening. Experimenting with small increases is key to finding the right balance for a perfectly moist high-altitude chocolate cake.
Adjusting Oven Temperature for High-Altitude Chocolate Cake Baking
Adjusting oven temperature is another critical step in baking chocolate cake at high altitude. While some sources suggest increasing the temperature, the most common and often effective adjustment is to increase the baking temperature slightly, typically by 15-25°F (about 8-14°C), and decrease the baking time. Baking at a slightly higher temperature helps the cake's structure set faster. This is important because the leavening is working more quickly at high altitude, so the cake needs to solidify before it over-expands and collapses.
For example, if a recipe calls for baking at 350°F (175°C) for 30-35 minutes, you might try baking your high-altitude chocolate cake at 365°F (185°C) or 375°F (190°C) and start checking for doneness around 25 minutes. The higher temperature helps create a firmer crust more quickly, providing support for the rapidly rising interior. However, be careful not to overbake, as the increased temperature can also lead to a drier cake if left in too long. Using an oven thermometer is highly recommended to ensure your oven is accurately calibrated at the adjusted temperature.
High-Altitude Chocolate Cake Recipe: A Step-by-Step Guide
Adapting a favorite chocolate cake recipe or finding one specifically designed for high altitude is key. This step-by-step guide outlines the general process, incorporating the necessary adjustments. Remember that altitudes vary, and you may need to fine-tune these steps based on your specific location. A good starting point for a basic high-altitude chocolate cake might involve slightly more flour, less sugar, less leavening, and more liquid than a standard recipe.
The process begins with gathering your ingredients, ensuring they are at room temperature where specified. Accurate measurement is paramount in high-altitude baking, so using a kitchen scale for dry ingredients like flour and sugar is highly recommended. Prepare your pans properly, as a collapsed cake can sometimes stick. Follow the mixing instructions carefully, being mindful of overmixing, which can develop too much gluten and result in a tough cake.
Ingredients for the Perfect High-Altitude Chocolate Cake
For a reliable high-altitude chocolate cake, the ingredient ratios are modified from a standard recipe. While exact quantities vary by recipe and altitude, here's a hypothetical example highlighting the typical adjustments compared to a sea-level version requiring, say, 2 cups flour, 1.5 cups sugar, 1 tsp baking soda, 1 tsp baking powder, and 1 cup milk:
- Flour: May be slightly increased to 2 cups + 2 tablespoons to strengthen structure.
- Sugar: Reduced to 1.25 cups to prevent collapse and dryness.
- Leavening: Baking soda potentially reduced to 3/4 tsp, baking powder to 3/4 tsp (adjust based on altitude and recipe).
- Liquid (e.g., milk, buttermilk, coffee): Increased to 1 cup + 2-4 tablespoons for moisture.
- Eggs: Sometimes increased by one egg to add structure and richness.
- Fat (butter/oil): Typically remains the same, providing moisture and tenderness.
- Cocoa Powder/Chocolate: Quantities usually remain the same, but ensure high quality for best flavor.
Using high-quality ingredients makes a difference, especially with chocolate. The fat content and flavor profile of cocoa powder and chocolate vary, impacting the final cake. For baking chocolate cake at high altitude, precise measurements are non-negotiable; even small errors can affect the delicate balance needed for success.
Preparing Your Cake Pans for High Altitude
Proper pan preparation is crucial for preventing your high-altitude chocolate cake from sticking or having its delicate structure compromised during removal. Grease your cake pans thoroughly with butter or baking spray, ensuring complete coverage on the bottom and sides. After greasing, dust the pans with flour or cocoa powder (using cocoa powder for chocolate cakes prevents white marks). Tap out any excess flour/cocoa. For extra insurance, you can line the bottoms of the pans with parchment paper after greasing. Cut the parchment to fit the exact size of the pan bottom.
This careful preparation ensures that the cake releases cleanly from the pan, which is particularly important for high-altitude cakes that might have a slightly more fragile structure. A cake that sticks can break apart, ruining its appearance and potentially affecting its texture. Taking the extra minute to grease and flour/cocoa the pans properly is a small step that can save you frustration later.
Making the Chocolate Cake Batter: High-Altitude Modifications
When mixing your high-altitude chocolate cake batter, follow the recipe's method (e.g., creaming method, reverse creaming, one-bowl method) but be mindful of the adjusted ingredient quantities. Pay special attention to the mixing time. Overmixing develops gluten, leading to a tough cake, which is undesirable at any altitude but can be particularly noticeable in a high-altitude cake where the structure is already being stressed by lower pressure. Mix just until the ingredients are combined and the batter is smooth.
If your recipe uses a hot liquid (like hot coffee or water with cocoa), add it carefully as instructed. This step helps bloom the cocoa powder, enhancing the chocolate flavor, and also contributes necessary moisture. Ensure all dry ingredients are fully incorporated without overbeating. The batter consistency might feel slightly different than a sea-level version due to the increased liquid and potentially increased flour, but it should still be pourable and relatively smooth.
Baking Your High-Altitude Chocolate Cake to Perfection
Preheat your oven to the adjusted higher temperature (e.g., 365-375°F / 185-190°C). Pour the batter evenly into the prepared pans, filling them typically about two-thirds to three-quarters full. Avoid overfilling, as the cake will still rise significantly. Place the pans in the center of the preheated oven, ensuring they are not touching each other or the oven walls for even heat circulation.
Start checking for doneness earlier than a sea-level recipe would indicate (e.g., 5-10 minutes before the original minimum time). The cake is done when a toothpick inserted into the center comes out clean or with a few moist crumbs attached. The edges should appear set and may start to pull slightly away from the sides of the pan. Baking time for a high-altitude chocolate cake will be shorter than at sea level due to the higher temperature.
Preventing a Collapsed High-Altitude Chocolate Cake
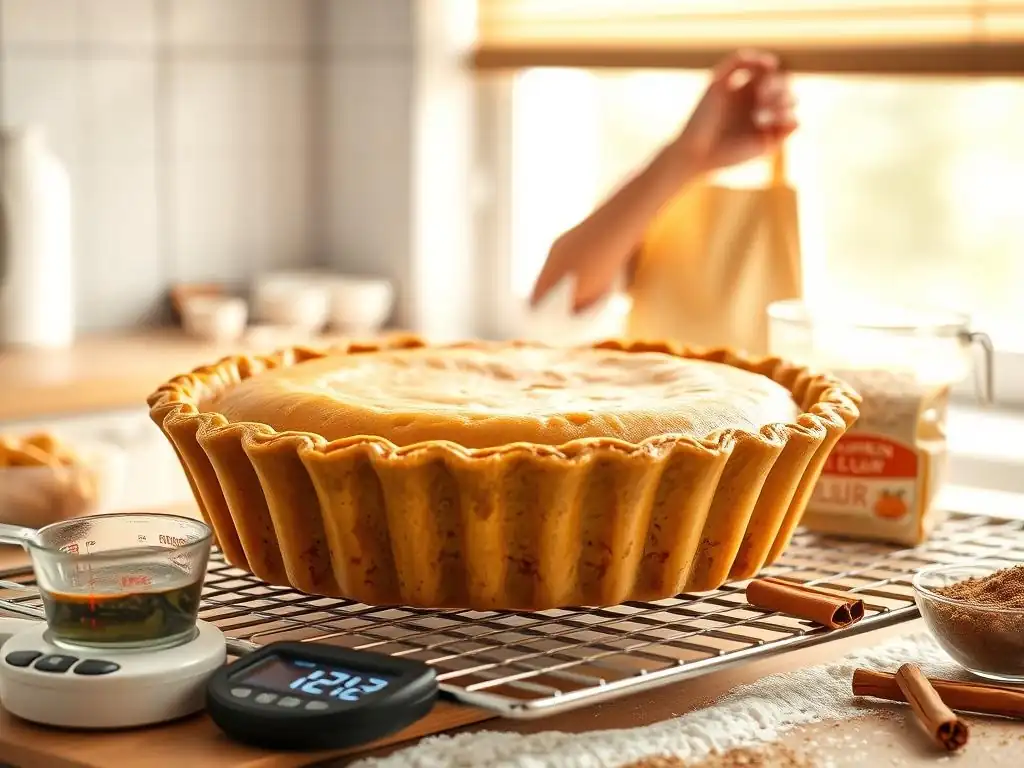
Preventing a collapsed high-altitude chocolate cake is the primary goal of most high-altitude baking adjustments. It requires a combination of recipe modifications and careful baking technique. The adjusted ingredient ratios (less leavening, less sugar, potentially more flour/eggs) are designed to create a sturdier batter that rises more slowly and sets more firmly. However, even with the right recipe, external factors and handling can still lead to a sunken cake.
Avoid opening the oven door frequently while the cake is baking, especially during the first two-thirds of the baking time. Sudden changes in temperature or drafts of cool air can disrupt the delicate structure of the rising cake, causing it to fall. Ensure your oven temperature is accurate using an oven thermometer, as inconsistent temperatures can also lead to uneven rising and collapse.
Tips for a Level and Stable Chocolate Cake
Beyond ingredient adjustments and oven temperature, several techniques can help achieve a level and stable high-altitude chocolate cake. Filling pans evenly is important; weigh the batter if necessary to ensure equal distribution between pans. This promotes uniform rising and baking. Some bakers also find that using cake strips (wet fabric strips wrapped around the outside of the pan) helps the cake bake more evenly, preventing the edges from setting too quickly and creating a dome that might later collapse.
Cooling the cake properly is also vital for stability. Immediately after removing the cake from the oven, let it cool in the pan on a wire rack for the amount of time specified in the recipe, typically 10-15 minutes. This allows the structure to stabilize further outside the intense heat of the oven but within the supportive confines of the pan. Attempting to remove the cake too soon can cause it to break or collapse.
The Importance of Gradual Cooling for High-Altitude Chocolate Cake
Gradual cooling is particularly important for high-altitude chocolate cake because its structure is more fragile than a sea-level cake. After the initial cooling period in the pan on a wire rack (as mentioned above), carefully invert the cake onto the wire rack to cool completely. Cooling on a wire rack allows air to circulate around the entire cake, preventing moisture from accumulating on the bottom, which can lead to a gummy layer or cause the cake to stick.
Allowing the cake to cool completely before frosting or cutting is non-negotiable. Warm cakes are structurally weaker, and frosting a warm cake will result in melted frosting and potential tearing of the cake layers. For a high-altitude chocolate cake, which is prone to collapse, this cooling period is essential for the internal structure to fully set and stabilize. It can take 1-2 hours for cake layers to cool completely to room temperature.
Choosing the Right Chocolate for High-Altitude Cake
The type and quality of chocolate you use significantly impact the flavor and sometimes the texture of your high-altitude chocolate cake. Different forms of chocolate – cocoa powder, baking bars, chocolate chips – behave differently when heated and mixed into batter. For rich chocolate flavor, using high-quality unsweetened cocoa powder or bittersweet/semisweet baking chocolate is often preferred. Dutch-process cocoa, which is treated to be less acidic, tends to result in a darker, smoother-flavored cake, while natural cocoa powder is more acidic and provides a sharper chocolate taste, reacting differently with leavening agents like baking soda.
When baking chocolate cake at high altitude, the choice of chocolate doesn't necessarily require a specific "high-altitude" type, but consistency and quality are key. Using a reliable brand ensures predictable results. If a recipe calls for melted chocolate, using baking bars (like unsweetened, bittersweet, or semisweet) rather than chocolate chips (which contain stabilizers to hold their shape) will generally yield a smoother, better-integrated chocolate flavor and texture in the cake.
Dark Chocolate vs. Milk Chocolate: Which is Best at High Altitude?
The choice between dark chocolate and milk chocolate for your high-altitude chocolate cake largely depends on the desired flavor profile and recipe requirements. Dark chocolate (including bittersweet and semisweet) contains a higher percentage of cocoa solids and less sugar than milk chocolate. This higher cocoa content contributes to a more intense chocolate flavor. Milk chocolate contains added milk solids and more sugar, resulting in a sweeter, creamier, and less intense chocolate taste.
For most classic high-altitude chocolate cake recipes seeking deep, rich flavor, dark chocolate or unsweetened cocoa powder is typically preferred. The lower sugar content of dark chocolate aligns well with the need to reduce sugar in high-altitude baking. While you can use milk chocolate, its higher sugar content might require further recipe adjustments to prevent structural issues. Ultimately, the "best" choice is subjective and depends on the recipe and your personal taste preference, but dark chocolate often provides a more robust chocolate flavor that stands up well in a baked cake.
Preparing Chocolate for High-Altitude Chocolate Cake
Properly preparing chocolate before adding it to your high-altitude chocolate cake batter is important for achieving a smooth, even texture and consistent flavor. If using baking bars, chop them into small, uniform pieces before melting. This helps the chocolate melt more evenly and quickly. Chocolate can be melted using a double boiler method (a heatproof bowl set over a pot of simmering water, ensuring the bottom of the bowl doesn't touch the water) or carefully in a microwave on low power, stirring frequently to prevent burning.
Ensure the melted chocolate is smooth and free of lumps before incorporating it into the batter. If the recipe calls for cocoa powder, whisk it together with the dry ingredients to ensure it's evenly distributed and free of clumps. Some recipes call for blooming cocoa powder by whisking it with hot liquid; this intensifies the chocolate flavor. Follow the recipe's specific instructions for when and how to add the chocolate component, as this affects the batter's consistency and final cake texture.
High-Altitude Chocolate Cake Troubleshooting: Common Issues & Solutions
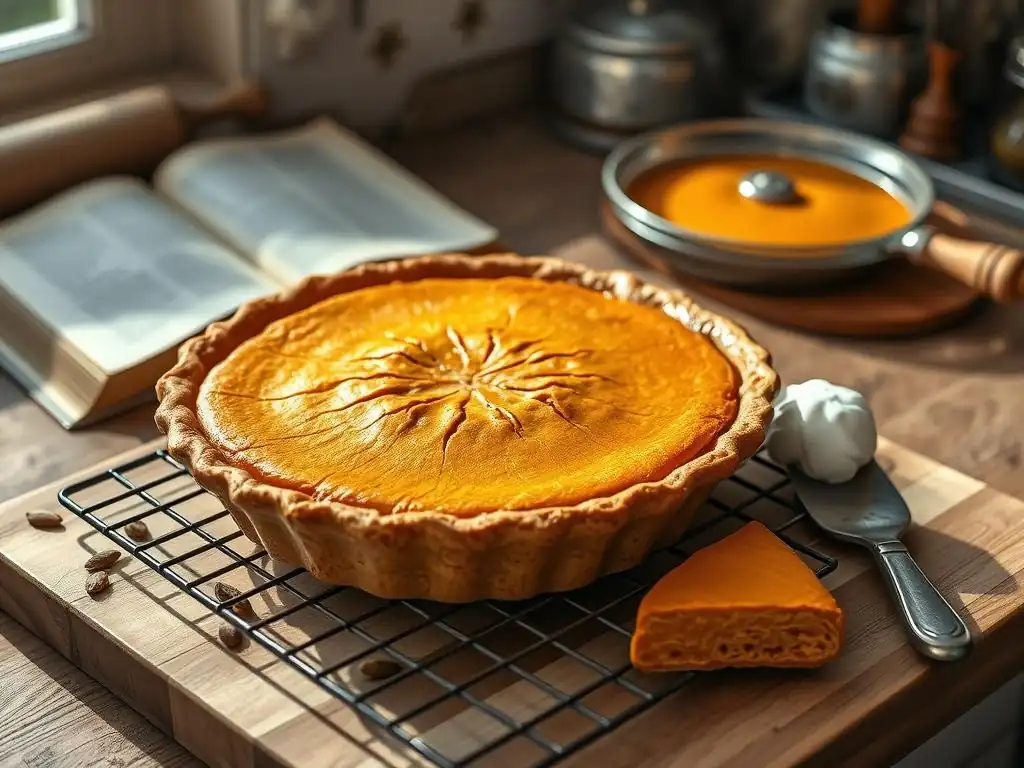
Even with adjustments, baking high-altitude chocolate cake can sometimes present challenges. Knowing how to troubleshoot common problems is key to improving your results over time. Issues like dryness, a sunken center, or a tough texture can be frustrating but are often fixable with further fine-tuning of your recipe and technique. Keep a baking journal to note the altitude, recipe used, adjustments made, baking time/temperature, and the outcome; this data is invaluable for making informed changes.
Remember that high-altitude baking is as much an art as a science, requiring patience and experimentation. What works perfectly at 5,000 feet might need slight modifications at 7,000 feet. Don't be discouraged by initial failures; each bake provides valuable information. Common problems often stem from the core high-altitude issues: excessive leavening action, rapid moisture loss, and slower setting of the cake structure.
Dry Cake Solutions for High-Altitude Baking
A dry high-altitude chocolate cake is a common frustration, directly linked to the increased evaporation at higher elevations. The primary solution is to increase the liquid content in your recipe. If you've already increased the liquid and your cake is still dry, consider adding another tablespoon or two in your next attempt. Ensure you are using the recommended amount of fat (butter or oil) in the recipe, as fat contributes significantly to moisture and tenderness.
Another potential cause of dryness is overbaking. Because high-altitude cakes bake faster at higher temperatures, they can go from perfectly done to dry very quickly. Start checking for doneness early and rely on the toothpick test rather than just the clock. Ensure your oven temperature is accurate; a too-hot oven can dry out a cake rapidly. Finally, make sure you are measuring your flour accurately, preferably by weight (1 cup all-purpose flour is typically around 120-125 grams). Too much flour will absorb excess moisture.
Sunken Center: Preventing Collapse in High-Altitude Chocolate Cake
A sunken center is perhaps the most classic sign of high-altitude baking woes. It indicates that the cake rose too quickly and the structure failed to set before collapsing. The most effective solutions involve reducing leavening agents (baking soda and/or baking powder) and potentially increasing structural ingredients like flour or eggs slightly. If you've already reduced leavening and the cake still sinks, try a slightly larger reduction next time.
Ensure your oven temperature is adjusted higher as recommended, as this helps the structure set faster. Avoid opening the oven door during baking. Also, consider reducing the sugar slightly more, as excess sugar weakens the structure. Sometimes, using a recipe specifically developed for high altitude is easier than trying to adapt a sea-level one, as the ingredient ratios are already balanced for the lower pressure environment.
Troubleshooting Other Common Chocolate Cake Problems
- Tough Texture: This is often caused by overmixing the batter, which develops too much gluten. Mix only until ingredients are just combined. Using a recipe with slightly less flour or fat might also help.
- Gummy Layer: A dense, sometimes wet layer at the bottom of the cake can result from too much liquid or not enough baking time for that amount of liquid to evaporate and the starches to set. Increase baking time slightly (checking for doneness carefully) or reduce liquid in the next bake. Ensure the cake cools completely on a wire rack.
- Crumbly Cake: This can be a sign of dryness (address by increasing liquid) or too little binder (like eggs). Ensure eggs are correctly sized if the recipe specifies.
- Uneven Rising: This can be due to uneven oven temperature (use an oven thermometer), uneven batter distribution in pans, or pans placed too close together in the oven.
Serving and Storing Your High-Altitude Chocolate Cake
Once your high-altitude chocolate cake is successfully baked and cooled, the next steps are serving and storage. Allow the cake to cool completely before frosting or decorating. This is especially important for layered cakes, as warm layers are difficult to handle and frost neatly. Using a high-altitude adapted frosting recipe is also recommended, as some frostings can be affected by altitude (e.g., boiled icings requiring different sugar syrup temperatures).
Enjoy your beautifully baked high-altitude chocolate cake! Share it with friends and family, or savor it yourself. The satisfaction of mastering high-altitude baking challenges, especially with a classic like chocolate cake, is immense.
Serving Suggestions for High-Altitude Chocolate Cake
A well-made high-altitude chocolate cake is delicious on its own, but various accompaniments can elevate the experience. A classic pairing is a simple chocolate ganache or a rich buttercream frosting. For something lighter, consider a whipped cream frosting or a dusting of powdered sugar. Fresh berries, such as raspberries or strawberries, add a lovely contrast in flavor and texture.
Serving a slice slightly warmed can enhance the chocolate flavor and create a wonderfully moist texture. A scoop of vanilla ice cream or a drizzle of chocolate sauce are also delightful additions. Don't be afraid to experiment with different frostings or toppings to find your favorite way to enjoy your high-altitude chocolate cake.
Proper Storage Techniques for High-Altitude Chocolate Cake
To keep your high-altitude chocolate cake fresh, proper storage is essential. If the cake is unfrosted, wrap individual layers or the whole cake tightly in plastic wrap, then in aluminum foil. Store at room temperature for up to 2-3 days. For longer storage, or if the cake is frosted with a perishable frosting (like cream cheese frosting), store it in an airtight container in the refrigerator for up to 5-7 days. Bring refrigerated cake to room temperature before serving for the best texture and flavor.
For even longer storage, high-altitude chocolate cake freezes beautifully. Wrap unfrosted layers or the whole unfrosted cake tightly in plastic wrap, then in aluminum foil or a freezer-safe bag. Frosted cake can also be frozen; flash freeze the cake on a baking sheet until the frosting is firm, then wrap tightly. Frozen cake can last for 2-3 months. Thaw overnight in the refrigerator, then bring to room temperature before serving.
Frequently Asked Questions
How does high altitude affect pumpkin pie baking?
High altitude baking often results in pies that puff up too much and then collapse or crack. This is due to the lower air pressure which causes liquids to evaporate faster and gases to expand more quickly.
What adjustments should I make to my pumpkin pie recipe at high altitude?
You'll generally need to reduce the sugar slightly, increase the liquid by a tablespoon or two, and slightly lower the oven temperature to prevent rapid browning.
Why is my high-altitude pumpkin pie cracking?
Cracking is often caused by rapid evaporation and expansion. Ensure you're using the adjusted recipe and consider a water bath to provide more even heat and humidity.
What role does flour play in a high-altitude pumpkin pie recipe?
A little extra flour can help provide structure and stability, preventing the pie from collapsing. However, be careful not to add too much, or the pie will become tough and dry.
Can I use a store-bought pie crust for high-altitude pumpkin pie?
Yes, you can, but be mindful of pre-baking if your recipe calls for it. The crust might cook faster at higher altitudes, so watch it closely to prevent burning.
Final Reflection: The Sweet Success of High-Altitude Baking
Mastering the art of high-altitude baking isn't just about following a recipe; it's about understanding the science behind the perfect pie. A seemingly simple task like baking a pumpkin pie transforms into a complex equation when battling the thinner air and lower boiling point of water at higher elevations. This article explored the crucial adjustments needed to achieve that coveted creamy, spiced perfection, proving that even the most challenging baking endeavors can be conquered with the right knowledge.
The enduring appeal of pumpkin pie, a quintessential autumnal treat, transcends geographical boundaries. Yet, for those of us living at higher altitudes, the struggle to achieve that perfect texture and flavor is a very real one. The frustration of a collapsed crust or a gummy filling is a familiar story for many. Baking is a labor of love, and sometimes, a little extra knowledge is all you need to transform a challenge into a triumph.
This quote speaks to the heart of this article – providing that extra knowledge to empower high-altitude bakers to confidently create their own delicious masterpieces.
Now, it's your turn. Consider the challenges you face in your own baking journey, whether it's high altitude or another unique obstacle. Don't let those challenges discourage you; instead, embrace them as opportunities to learn, adapt, and ultimately, to create something truly special. The next time you reach for that pumpkin pie recipe, remember the tips and techniques shared here, and let the sweet scent of success fill your kitchen. You've got this!
Unlock Your High-Altitude Baking Secrets!
Thanks for joining us on this delicious journey into high-altitude pumpkin pie perfection! You've now learned the key techniques to conquer altitude and create a pie that's both stunning and tasty. Ready to put your new skills to the test?
- Bake your dream pie: Gather your ingredients and follow the adjusted recipe to bake a show-stopping pumpkin pie that will impress your friends and family. Don't forget to adjust for altitude!
- Share your success: Tag us on social media (@BakeWithEase) with a photo of your masterpiece. Let's inspire other high-altitude bakers!
- Explore our other altitude-baking guides: Discover more helpful tips and tricks for baking various treats at higher elevations on our website (bakewithease.com).
What unique ingredient will you add to your next high-altitude pumpkin pie to make it extra special?