
Simple Classic Chocolate Cream Pie

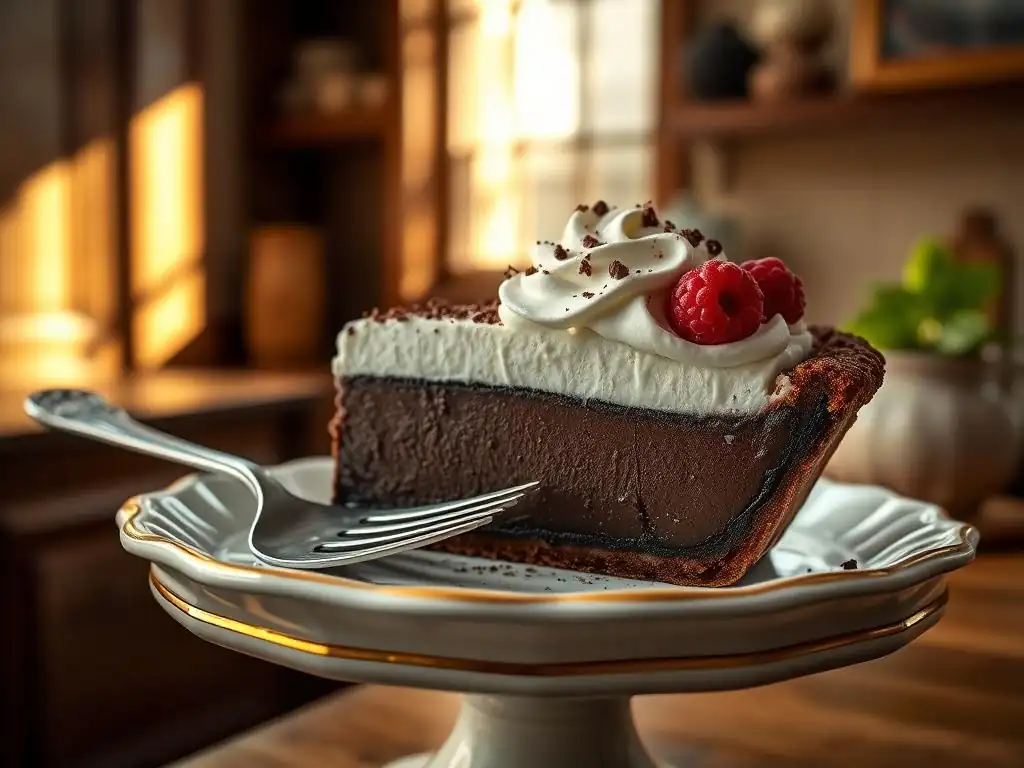
Welcome to BakeWithEase.com, your kitchen companion for all things baking! Ever dreamt of creating a perfectly decadent chocolate cream pie without the fuss? You've come to the right place. We'll guide you through crafting a simple, classic chocolate cream pie that's guaranteed to impress. Intrigued? Let's unlock the secrets to this delightful dessert, one easy step at a time!
- Simple Classic Chocolate Cream Pie: An Easy BakeWithEase Recipe
- Introduction
- What Makes This Chocolate Cream Pie So Easy?
- Ingredients
- Step-by-Step Instructions
- Variations and Customizations
- Tips for the Perfect Chocolate Cream Pie
- Troubleshooting Common Chocolate Pie Problems
- Enjoy Your Delicious & Easy Classic Chocolate Cream Pie!
-
Frequently Asked Questions
- What makes this chocolate cream pie recipe "easy"?
- Can I use a pre-made crust for this chocolate cream pie?
- What kind of chocolate is best for the filling?
- How do I prevent a skin from forming on top of the chocolate cream filling while it cools?
- How long does the chocolate cream pie need to chill before serving?
- Final Reflection: The Enduring Allure of a Simple Classic
- Unleash Your Inner Pastry Chef: Bake This Pie!
Simple Classic Chocolate Cream Pie: An Easy BakeWithEase Recipe
Introduction
Welcome to BakeWithEase, where we believe that delicious baking doesn't have to be complicated! Today, we're diving into a true comfort food classic: the easy classic chocolate cream pie. This dessert is a perennial favorite, known for its rich, smooth chocolate filling nestled in a tender crust, all topped with a cloud of whipped cream. While some chocolate cream pie recipes can seem daunting, we've simplified the process to ensure even novice bakers can achieve perfect results. Get ready to create a stunning and utterly satisfying pie that will impress everyone, including yourself!
Making a classic chocolate cream pie from scratch might sound like a big undertaking, but our approach focuses on straightforward techniques and common ingredients. You won't need any fancy equipment or hard-to-find items. Our goal is to make this beloved dessert accessible and enjoyable to bake, proving that an easy classic chocolate cream pie is well within your reach. Follow along, and you'll discover just how simple it is to bake this delightful treat.
What Makes This Chocolate Cream Pie So Easy?
Simplified Ingredients
One of the key factors that makes this recipe an easy classic chocolate cream pie is the use of readily available, simple ingredients. You likely have most of what you need in your pantry right now. We rely on basic pantry staples like granulated sugar, unsweetened cocoa powder, cornstarch (as a thickener), milk, butter, and vanilla extract. There are no complex or obscure items required, which simplifies both the shopping process and the execution of the recipe.
Using standard ingredients like cornstarch instead of more finicky thickeners ensures a smooth, stable filling without the risk of curdling often associated with egg-heavy custards cooked at too high a temperature. For instance, using about 1/4 cup of cornstarch for a standard 9-inch pie provides reliable thickening power when combined with roughly 2 cups of milk and heated correctly. This predictable result is crucial for an easy baking experience.
Streamlined Baking Process
Our recipe for this easy classic chocolate cream pie focuses on minimizing complex steps. The chocolate filling is cooked on the stovetop in a single saucepan – no double boilers or multiple bowls required. The ingredients are simply whisked together and heated until thickened, a process that typically takes only 8-12 minutes from start to finish once all ingredients are combined in the pan. This direct approach cuts down on preparation time and cleanup.
Unlike some recipes that require tempering eggs or precise temperature monitoring, our method uses cornstarch, which thickens predictably when heated to a simmer. This removes a common point of failure for beginner bakers. The entire cooking part of the filling is essentially a 'whisk and heat' operation, making it incredibly straightforward and contributing significantly to why this is such an easy classic chocolate cream pie recipe.
No-Bake Crust Option
To further enhance the ease of this classic chocolate cream pie, we offer a simple no-bake crust alternative. While a traditional pastry crust is wonderful, opting for a crushed cookie crust (like graham cracker or chocolate cookie crumbs mixed with melted butter) eliminates the need for rolling dough, chilling, and blind baking. This saves a significant amount of time and effort, making the overall process much faster and less intimidating.
A typical no-bake crust might involve combining about 1 ½ cups of finely crushed cookies with ¼ cup of melted butter and 1-2 tablespoons of sugar. This mixture is then simply pressed firmly into the pie plate. It sets beautifully in the refrigerator while you prepare the filling, requiring no oven time at all. This simple step makes the entire recipe feel much more accessible and truly earns its title as an easy classic chocolate cream pie.
Ingredients
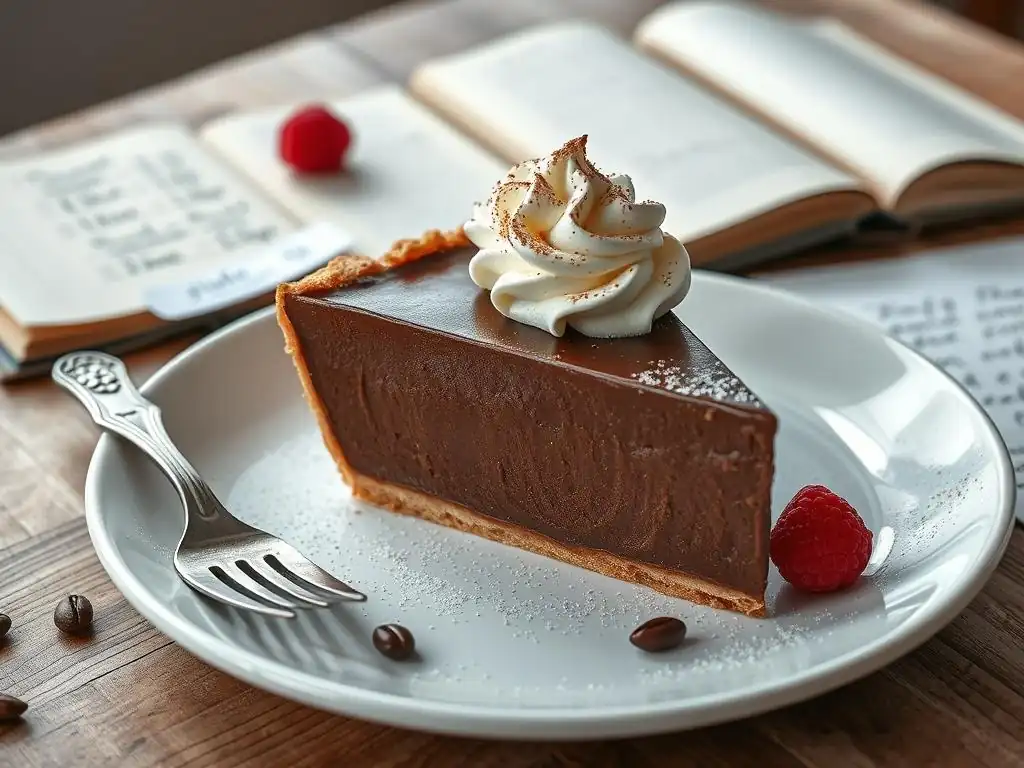
Chocolate Cream Filling Ingredients
To make the rich and delicious chocolate cream filling for your easy classic chocolate cream pie, you will need the following:
- ¾ cup granulated sugar
- ¼ cup unsweetened cocoa powder
- ¼ cup cornstarch
- ½ teaspoon salt
- 2 ½ cups whole milk (or 2% milk)
- 2 large egg yolks
- 2 tablespoons unsalted butter, cut into pieces
- 1 teaspoon vanilla extract
Pie Crust Ingredients (or No-Bake Alternative)
You have two easy options for the crust of your easy classic chocolate cream pie.
For a traditional baked pie crust:
- 1 pre-made 9-inch refrigerated pie crust (or your favorite homemade single crust recipe)
For a simple no-bake cookie crust:
- 1 ½ cups finely crushed graham cracker crumbs or chocolate cookie crumbs (from about 10-12 full graham crackers or 20-24 chocolate sandwich cookies, scraped of filling)
- ¼ cup granulated sugar
- ⅛ teaspoon salt
- ¼ cup unsalted butter, melted
Step-by-Step Instructions
Preparing the Pie Crust (or No-Bake Crust)
If using a pre-made refrigerated pie crust, carefully unroll it and fit it into a standard 9-inch pie plate. Crimp the edges decoratively as desired. For a crisp bottom crust that won't get soggy, it's highly recommended to blind bake the crust. Prick the bottom and sides with a fork, line with parchment paper or foil, fill with pie weights, dried beans, or rice, and bake in a preheated 375°F (190°C) oven for about 15 minutes. Remove the weights and paper/foil, and bake for another 5-10 minutes until lightly golden. Let cool completely before filling.
If opting for the no-bake cookie crust, combine the crushed crumbs, sugar, and salt in a medium bowl. Pour in the melted butter and stir until the crumbs are evenly moistened and resemble wet sand. Pour the mixture into a 9-inch pie plate and use the bottom of a glass or measuring cup to press the crumbs firmly and evenly onto the bottom and up the sides of the plate. Place the pressed crust in the refrigerator for at least 15-20 minutes to chill and set while you prepare the filling.
Making the Chocolate Cream Filling
In a medium saucepan, whisk together the sugar, cocoa powder, cornstarch, and salt until well combined and there are no lumps of dry ingredients. This dry whisking is important to prevent clumps later. In a separate bowl, whisk together the milk and egg yolks until smooth. Gradually pour the wet ingredients into the dry ingredients in the saucepan, whisking constantly until everything is fully incorporated and smooth.
Place the saucepan over medium heat and cook, whisking constantly, until the mixture thickens significantly and comes to a gentle simmer, about 8-12 minutes. It should be thick enough to coat the back of a spoon. Once thickened and simmering, continue to whisk and cook for one minute more to ensure the cornstarch is fully cooked and the filling is stable. Remove from heat and stir in the butter and vanilla extract until the butter is completely melted and incorporated and the filling is smooth and glossy.
Assembling the Chocolate Cream Pie
Once your chocolate cream filling is cooked and smooth, and your pie crust (baked and cooled, or no-bake and chilled) is ready, it's time to assemble your easy classic chocolate cream pie. Pour the hot chocolate filling directly into the prepared pie crust. Use a spatula to scrape all the delicious filling from the saucepan into the pie shell.
Gently spread the top of the filling with the spatula to create an even surface. To prevent a skin from forming on the filling as it cools, place a piece of plastic wrap directly onto the surface of the hot filling, pressing it down so it touches the entire top. This is a crucial step for achieving that perfectly smooth, creamy texture throughout.
Chilling and Setting the Pie
After the filling is poured into the crust and covered with plastic wrap, allow the pie to cool slightly at room temperature for about 20-30 minutes. This initial cooling helps prevent condensation from forming when it goes into the refrigerator. Once it's slightly cooled, transfer the pie to the refrigerator.
Chill the easy classic chocolate cream pie for at least 4 hours, or preferably until completely set, which can take up to 6 hours or longer. Adequate chilling time is essential for the filling to firm up properly, allowing you to slice clean portions. Rushing this step will result in a runny filling, so be patient! Once fully chilled, you can remove the plastic wrap and proceed with any desired toppings just before serving.
Variations and Customizations
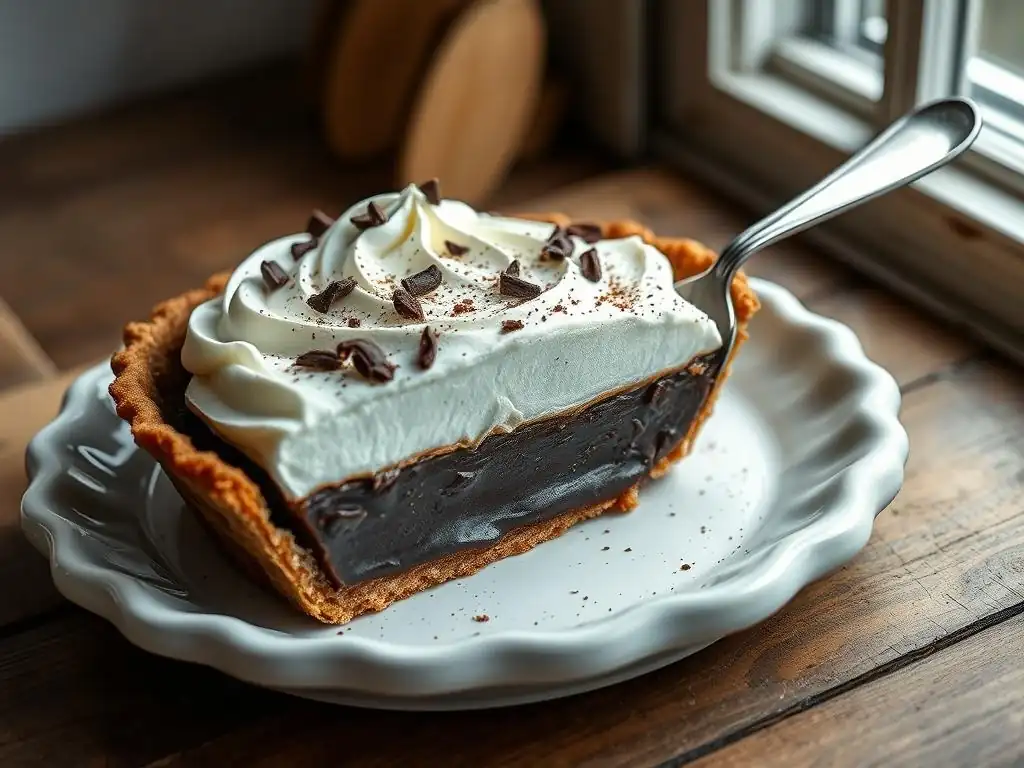
Adding a Whipped Cream Topping
A classic chocolate cream pie is arguably not complete without a generous topping of freshly whipped cream. You can easily make your own by whipping 1 ½ cups of cold heavy cream with ¼ cup of powdered sugar and 1 teaspoon of vanilla extract until stiff peaks form. Spread or pipe the whipped cream over the chilled pie just before serving.
Using fresh whipped cream adds a light, airy contrast to the rich, dense chocolate filling. For extra stability, especially if the pie will sit out for a little while, you can add a teaspoon of cornstarch or a packet of unflavored gelatin (prepared according to package directions for stabilizing whipped cream) to the heavy cream before whipping. This helps the peaks hold their shape longer.
Chocolate Shavings or Chocolate Curls
Adding chocolate shavings or curls provides an extra touch of chocolatey goodness and visual appeal to your easy classic chocolate cream pie. Once the whipped cream topping is in place, use a vegetable peeler or a sharp knife to scrape a bar of chocolate (semisweet or bittersweet works well) over the top.
For shavings, scrape the flat side of a chocolate bar. For curls, use a peeler along the edge of the bar. You can use approximately 1-2 ounces of chocolate for a beautiful finish. This simple garnish elevates the presentation and reinforces the delicious chocolate theme of the pie.
Adding a Hint of Coffee or Espresso
Chocolate and coffee are a match made in heaven! You can easily add a subtle coffee note to your easy classic chocolate cream pie filling to enhance the chocolate flavor. Simply add 1-2 teaspoons of instant espresso powder or strongly brewed coffee (reduced to a concentrated liquid) to the milk and egg yolk mixture before combining it with the dry ingredients.
Alternatively, you can add ½ to 1 teaspoon of coffee extract along with the vanilla extract at the end of the cooking process. Start with a small amount and taste test (carefully, it's hot!) to achieve your desired level of coffee flavor. This small addition can deepen the complexity of the chocolate without making the pie taste overtly like coffee.
Tips for the Perfect Chocolate Cream Pie
Avoiding a Soggy Crust
A common issue with cream pies is a soggy bottom crust, especially with a baked crust. If you are using a traditional baked crust, blind baking it thoroughly until it's lightly golden brown before adding the filling is the most effective way to prevent sogginess. Ensure the edges and bottom are cooked through, not just pale.
Another tip is to add the filling to the cooled baked crust. Pouring hot filling into a warm crust can create steam that leads to sogginess. If using a no-bake crust, ensure you press the crumbs firmly and evenly into the plate; this creates a dense layer that is less likely to absorb moisture quickly from the filling. Chilling the no-bake crust for at least 15-20 minutes before filling also helps.
Achieving a Smooth Chocolate Filling
Lumps in the filling can detract from the luxurious texture of an easy classic chocolate cream pie. To prevent lumps, start by thoroughly whisking together all the dry ingredients (sugar, cocoa, cornstarch, salt) before adding any liquid. This breaks up any clumps in the cocoa or cornstarch.
When adding the milk and egg mixture, pour it in gradually while whisking constantly until it's fully incorporated and smooth before heating. While cooking the filling over medium heat, whisk continuously, paying special attention to the bottom edges of the pan where thickening happens first. Once it thickens and simmers, cook and whisk for one more minute to ensure the cornstarch is fully activated, then remove from heat immediately to avoid scorching.
Storing Your Chocolate Cream Pie
Proper storage is key to keeping your easy classic chocolate cream pie fresh and delicious. Once the pie is completely chilled and set (at least 4-6 hours), cover it loosely with plastic wrap or aluminum foil. If you've added whipped cream, it's best to add it just before serving, as storing the pie with whipped cream can cause it to weep or collapse.
Store the covered pie in the refrigerator. A classic chocolate cream pie is best enjoyed within 3-4 days of baking. For optimal texture and flavor, keep it chilled until you're ready to slice and serve. Avoid leaving the pie at room temperature for more than two hours, as the dairy-based filling is perishable.
Troubleshooting Common Chocolate Pie Problems
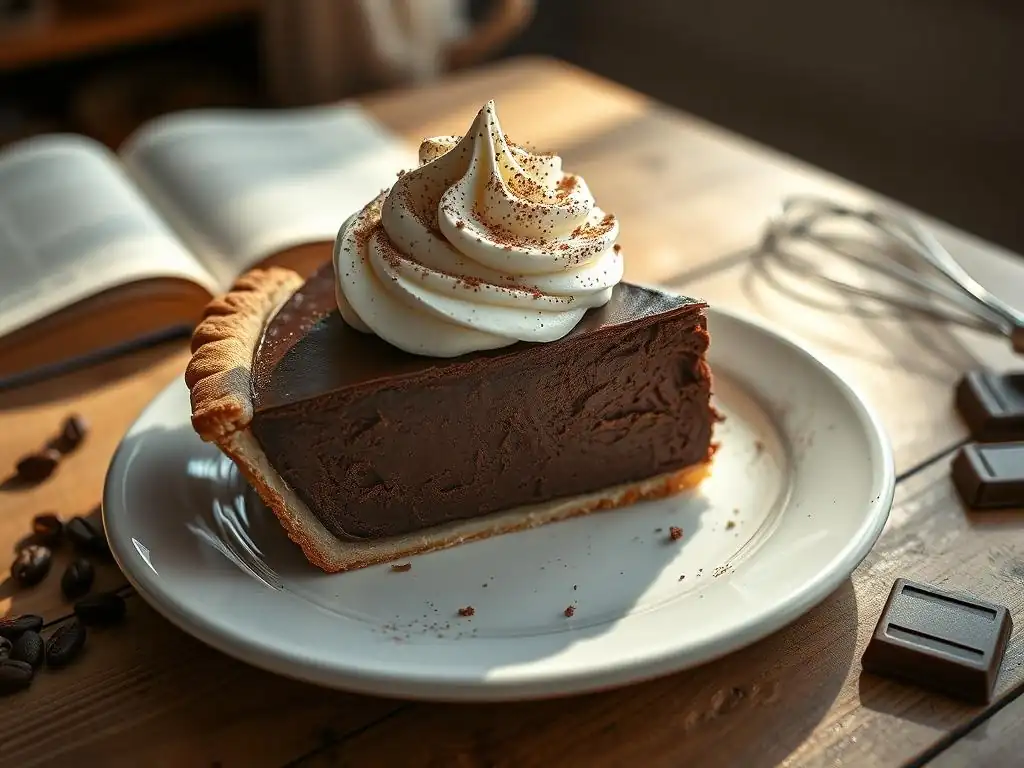
Dealing with a Lumpy Filling
If, despite your best efforts, your chocolate cream filling ends up with small lumps, don't despair! There's an easy fix before you pour it into the crust. Simply pass the hot filling through a fine-mesh sieve set over a bowl or directly over your prepared pie crust.
Using a spatula or the back of a spoon, gently press the filling through the sieve. This will catch any uncooked clumps of cornstarch or cocoa, resulting in a perfectly smooth and creamy filling. This step takes only a minute or two but makes a significant difference in the final texture of your easy classic chocolate cream pie.
Preventing Cracking While Cooling
Sometimes, as the chocolate filling cools, a crack might appear on the surface. This often happens if the pie cools too quickly or if a skin forms on the top. To prevent this, ensure you place plastic wrap directly onto the surface of the hot filling immediately after pouring it into the crust.
The plastic wrap prevents a skin from forming, which can cause tension and cracking as the filling contracts during cooling. Also, allow the pie to cool at room temperature for about 20-30 minutes before transferring it to the refrigerator. Avoid placing a hot pie directly into a cold fridge, as the rapid temperature change can sometimes contribute to cracking.
Fixing a Soggy Crust
If you've already baked your classic chocolate cream pie and discover the bottom crust is a bit soggy, there are limited options for a full "fix," but you can sometimes improve it slightly. One method is to place the pie (or just the slice you are serving) under a broiler for a very short time (literally seconds) to crisp the very top layer of the crust edge, being extremely careful not to burn the filling.
Alternatively, if you notice the issue before serving, you can try gently lifting the pie out of the pan (if using a loose-bottom pan) and placing it back in a low oven (around 300°F or 150°C) for 5-10 minutes, watching it closely. However, this risks melting the filling. The best approach remains prevention through proper blind baking or using a well-pressed no-bake crust from the start to ensure your easy classic chocolate cream pie has a perfect base.
Enjoy Your Delicious & Easy Classic Chocolate Cream Pie!
Frequently Asked Questions
What makes this chocolate cream pie recipe "easy"?
This recipe focuses on simple ingredients and a straightforward process. We've broken down each step to ensure even beginners can successfully bake a delicious pie.
Can I use a pre-made crust for this chocolate cream pie?
Yes, absolutely! Using a pre-made graham cracker or pastry crust is a great time-saver. Just ensure it's properly sized for your pie plate.
What kind of chocolate is best for the filling?
We recommend using semi-sweet chocolate chips for a balanced flavor. You can also use dark chocolate for a richer, more intense chocolate flavor.
How do I prevent a skin from forming on top of the chocolate cream filling while it cools?
Place a piece of plastic wrap directly on the surface of the filling while it cools. This creates a barrier and prevents a skin from forming.
How long does the chocolate cream pie need to chill before serving?
For the best results, chill the pie for at least 4 hours, or preferably overnight. This allows the filling to fully set and the flavors to meld.
Final Reflection: The Enduring Allure of a Simple Classic
The seemingly simple act of baking a chocolate cream pie transcends mere dessert; it's a connection to tradition, a celebration of comfort, and a testament to the enduring power of classic flavors. In a world obsessed with complex culinary creations, the ease and satisfaction of this recipe offer a refreshing counterpoint, reminding us that sometimes, the most rewarding experiences are the simplest. This recipe isn't just about creating a delicious pie; it's about reclaiming the joy of uncomplicated pleasures.
The enduring popularity of chocolate cream pie speaks volumes about our collective desire for comfort and nostalgia. It's a dessert that evokes memories of family gatherings, birthdays, and cherished moments. The rich, creamy texture and intensely chocolatey flavor provide a sense of warmth and satisfaction that resonates deeply. As the great Julia Child once said, Find something you're passionate about and keep tremendously interested in it.
For many, that passion is found in the simple act of baking, and this recipe provides the perfect vehicle for that passion.
This classic chocolate cream pie isn't just a recipe; it's an invitation. An invitation to slow down, to connect with the process of creation, and to share the fruits of your labor with loved ones. Consider this your permission slip to embrace simplicity, to savor the moment, and to experience the profound satisfaction of creating something delicious and meaningful. So, gather your ingredients, put on some music, and embark on this delightful culinary journey. You might be surprised by the joy it brings.
Unleash Your Inner Pastry Chef: Bake This Pie!
Thanks for joining us on this delicious journey into the world of classic chocolate cream pie! We hope you’ve gained some valuable tips and tricks to create a truly unforgettable dessert. Now it's time to put your newfound skills to the test!
- Bake your own masterpiece: Gather your ingredients and follow the recipe – we promise, it's easier than you think! Let us know how it turns out!
- Share your creation: Post a picture of your finished pie on social media using #BakeWithEaseChocolateCreamPie and tag us! We'd love to see your delicious creations.
- Explore more classic recipes: Dive into our recipe library for other timeless desserts that are just as satisfying to bake and share.
Ready to experience the joy of baking a perfect chocolate cream pie? What's your favorite part of the baking process?