
Mastering the Simple Berry Galette

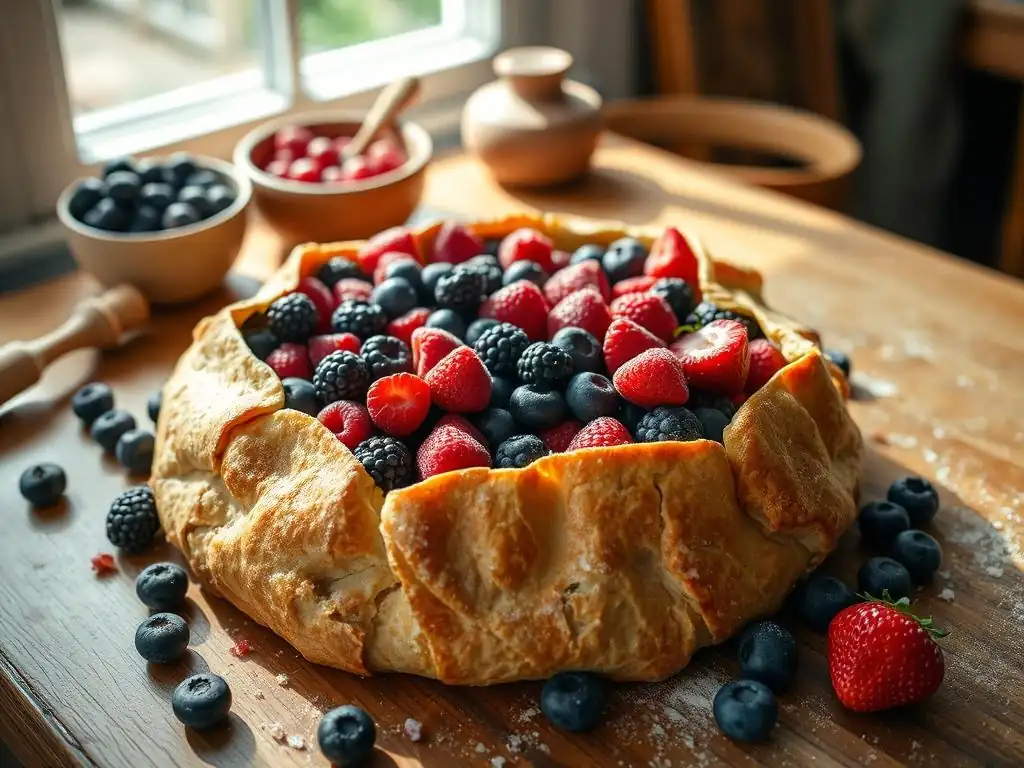
Welcome to BakeWithEase! Are you ready to unlock the secrets to effortlessly impressive baking? Forget complicated techniques and endless ingredient lists. Dive in and discover our Easy Berry Galette Recipe, a perfect entry point into the world of seasonal baking. This simple yet stunning treat will have you creating bakery-worthy masterpieces in no time. Intrigued? Let's get started and bake something beautiful!
- Mastering the Raspberry Galette: An Easy Recipe for Summer Baking
- BakeWithEase Presents: The Ultimate Easy Raspberry Galette Recipe
- Ingredients for Your Simple Raspberry Galette
- Step-by-Step Guide: How to Make an Easy Raspberry Galette
- Tips and Tricks for the Best Raspberry Galette
- Serving and Storing Your Raspberry Galette
- Troubleshooting Your Raspberry Galette: Common Issues and Solutions
- Easy Raspberry Galette Recipe: Printable Recipe Card
- Enjoy Your Homemade Raspberry Galette!
-
Frequently Asked Questions
- How easy is the Easy Berry Galette Recipe really?
- What kind of berries work best in the Easy Berry Galette Recipe?
- Can I make the Easy Berry Galette Recipe ahead of time?
- What if I don't have all the ingredients listed in the Easy Berry Galette Recipe?
- How do I prevent the bottom crust of the Easy Berry Galette Recipe from becoming soggy?
- Final Reflection: The Enduring Allure of the Simple Berry Galette
- Unleash Your Inner Pastry Chef!
Mastering the Raspberry Galette: An Easy Recipe for Summer Baking
BakeWithEase Presents: The Ultimate Easy Raspberry Galette Recipe
Welcome to the wonderful world of galettes! Think of a galette as the relaxed, free-form cousin of a pie. It’s less structured, more forgiving, and absolutely bursting with flavor, making it the perfect project for anyone looking for an easy raspberry galette recipe. This rustic charm means you don't need to worry about crimping perfect edges or blind baking a crust – simply fold and bake!
This particular recipe focuses on the vibrant, slightly tart sweetness of raspberries, a quintessential summer berry. Our goal is to guide you through creating a delicious dessert with minimal fuss. Whether you're a seasoned baker or just starting out, this easy raspberry galette is designed for success, proving that impressive results don't always require complex techniques.
Welcome to Summer Baking with Raspberries!
Summer brings an abundance of beautiful, ripe berries, and raspberries are often a highlight. Their peak season typically runs from late spring through summer, meaning you can find them at their freshest and most flavorful during these warmer months. Picking up a punnet of perfectly ripe raspberries from a local market or grocery store provides the ideal foundation for light, seasonal desserts. Their unique balance of sweetness and tang makes them incredibly versatile in baking, from muffins to tarts, but they truly shine in a simple, rustic preparation like a galette.
Using fresh, in-season raspberries elevates this easy raspberry galette from good to exceptional. The heat of the oven transforms the berries, concentrating their flavor and creating a luscious, bubbly filling. The simplicity of the galette form allows the natural beauty and taste of the raspberries to take center stage. Embracing seasonal ingredients like raspberries is a core principle at BakeWithEase, and this recipe is a perfect example of how focusing on fresh produce can lead to incredibly rewarding baking experiences, even for beginners.
Why This Easy Raspberry Galette Recipe is Perfect for Beginners
One of the biggest reasons this easy raspberry galette recipe is ideal for beginners is the forgiving nature of the dough and assembly. Unlike traditional double-crust pies that require precise rolling and crimping, a galette dough is simply rolled out into a rough circle (perfection not required! ), the filling is placed in the center, and the edges are folded casually over the fruit. Any cracks or unevenness simply add to its rustic appeal, removing the pressure to create a picture-perfect dessert on your first try.
Furthermore, the ingredient list for both the dough and the filling is straightforward, typically involving pantry staples you likely already have. The technique for the dough involves basic steps like cutting in butter and adding water, which are fundamental skills for many pastries. The filling requires little more than gently mixing fruit, sugar, and a thickener. This minimal complexity, combined with the galette's inherent charm, makes it an empowering recipe for novice bakers to tackle, resulting in a beautiful and delicious easy berry galette without the intimidation factor.
Ingredients for Your Simple Raspberry Galette
The Raspberry Selection: Choosing the Best Raspberries for Your Galette
Selecting the right raspberries is key to a flavorful galette. Look for berries that are plump, firm, and have a deep, consistent color – typically vibrant red for common varieties, or golden for others. Avoid berries that are mushy, bruised, or show any signs of mold, as these will quickly deteriorate and affect the texture and taste of your filling. A standard easy raspberry galette recipe often calls for about 3 to 4 cups of fresh raspberries, which is roughly equivalent to 1.5 to 2 standard 6-ounce containers often sold in grocery stores.
When you get your raspberries home, it's best to store them in a single layer in a shallow container lined with a paper towel, in the refrigerator. Wash them gently under cool water just before you plan to use them, as washing too early can introduce excess moisture and cause them to break down faster. While most red raspberry varieties work wonderfully, different types might offer subtle flavor nuances; for example, some heritage varieties might be slightly sweeter or tarter. For this easy raspberry galette, any good quality fresh raspberry will yield delicious results.
Galette Dough Ingredients: A Simple & Flaky Crust
The foundation of any great galette is a flaky, tender crust. The ingredients for this simple galette dough are minimal and classic: all-purpose flour, cold unsalted butter, a pinch of salt, and ice water. The ratio of flour to butter is crucial for achieving flakiness; a common starting point is around 1.5 cups of flour to 8 tablespoons (one stick) of very cold butter. A little sugar can also be added to the dough for a touch of sweetness that complements the fruit.
The key to a flaky crust lies in using cold butter. As the cold butter melts in the hot oven, it creates steam pockets within the dough layers, resulting in that desirable flaky texture. Using ice water further helps to keep the butter cold and prevents the gluten in the flour from developing too much, which could lead to a tough crust. This simple combination and technique are fundamental to creating the perfect base for your easy raspberry galette.
Other Essential Ingredients: Sugar, Butter, and Lemon Zest
Beyond the dough and the main fruit, a few other ingredients are essential for the raspberry filling and finishing touches. Sugar is needed to sweeten the raspberries and balance their tartness. The amount can vary depending on the sweetness of your berries and personal preference, but typically ranges from 1/4 to 1/2 cup for 3-4 cups of fruit. A little sugar can also be sprinkled on the crust before baking for added sparkle and crunch.
A thickener is critical to prevent your easy raspberry galette filling from becoming a runny mess. Cornstarch or tapioca starch are commonly used, usually 1 to 2 tablespoons per recipe, and they work by absorbing the fruit juices and creating a slightly thickened, jammy consistency as the galette bakes.
Small dots of cold butter (about 1-2 tablespoons total) are often placed over the filling just before folding the dough; these melt and contribute richness and moisture. Finally, a touch of lemon zest or a small splash of lemon juice (e.g., zest of half a lemon or 1 teaspoon juice) brightens the flavor of the raspberries beautifully, enhancing the overall taste profile of your easy berry galette.
Step-by-Step Guide: How to Make an Easy Raspberry Galette
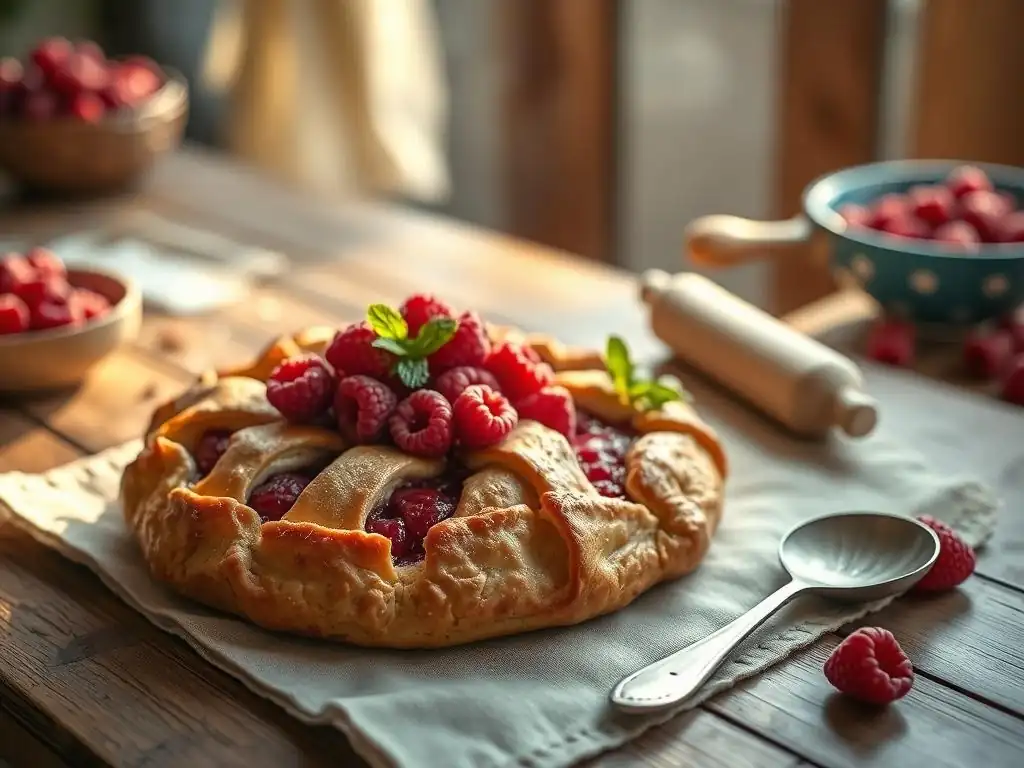
Preparing the Galette Dough: A Simple Crust Recipe
Making the dough for this easy raspberry galette is simpler than you might think. Start by whisking together the flour, salt, and any sugar you're adding in a medium bowl. Next, cut your very cold butter into small cubes (about 1/2 inch). Using a pastry blender, your fingertips, or a food processor, cut the butter into the dry ingredients until the mixture resembles coarse crumbs with some pea-sized pieces of butter still visible. These larger pieces are crucial for flakiness.
Gradually add ice water, one tablespoon at a time, mixing until the dough just begins to come together. You'll likely need between 4 to 6 tablespoons of water, but add only enough so that the dough is moist enough to hold together when squeezed, without being sticky. Turn the dough out onto a lightly floured surface, gather it into a disc, wrap it tightly in plastic wrap, and refrigerate for at least 30 minutes. Chilling is important for handling the dough and ensuring a flaky crust for your easy berry galette.
Making the Raspberry Filling: A Quick and Easy Mix
While the dough is chilling, prepare the simple raspberry filling. In a medium bowl, gently combine the fresh raspberries with the sugar, thickener (cornstarch or tapioca starch), and lemon zest or juice. Use a spoon or spatula to gently fold the ingredients together, being careful not to crush the delicate berries. The sugar will start to draw out juices from the raspberries, beginning the maceration process.
Let the mixture sit for about 5 to 10 minutes while you prepare your workspace for assembly. This brief rest allows the flavors to meld slightly and the thickener to begin dissolving in the juices, which helps prevent a runny filling later. This quick and easy step is all it takes to create the delicious heart of your raspberry galette.
Assembling the Galette: From Dough to Delight
Once your dough is chilled and your filling is ready, it's time to assemble your easy raspberry galette. Lightly flour a clean surface or a large piece of parchment paper. Roll out the dough disc into a rough circle, about 12 to 14 inches in diameter and roughly 1/8 inch thick. Don't worry about making it a perfect circle; the rustic shape is part of the galette's charm. If you rolled it on your surface, carefully transfer it to a baking sheet lined with parchment paper – the parchment makes cleanup and transfer much easier.
Pour the raspberry filling onto the center of the rolled-out dough, leaving a border of about 2 inches all around the edge. Dot the top of the filling with the small pieces of cold butter. Now, gently fold the edges of the dough up and over the filling, pleating the dough as you go around.
The center will remain open, showcasing the beautiful berries. Brush the folded crust with an egg wash (one egg beaten with a tablespoon of water or milk) or just milk for shine, and sprinkle with a tablespoon or two of sugar for a sweet, crunchy topping. Your easy raspberry galette is now ready for baking!
Baking Your Raspberry Galette: Achieving Golden Perfection
Preheat your oven to 375°F to 400°F (190°C to 200°C). The exact temperature can vary slightly depending on your oven and desired crust color, but a slightly higher temperature helps ensure a crispy bottom crust. Place the assembled galette on its baking sheet on the lower-middle rack of your preheated oven. Baking on a lower rack can help ensure the bottom crust cooks through properly and doesn't become soggy from the juicy berry filling.
Bake for approximately 40 to 55 minutes. You'll know your easy raspberry galette is done when the crust is deeply golden brown and the filling is visibly bubbly in the center. If the crust edges start to brown too quickly, you can loosely cover them with strips of aluminum foil. The bubbling indicates that the filling has reached a high enough temperature for the thickener to work effectively. Once baked, carefully slide the galette on the parchment paper onto a wire rack and let it cool for at least 15-20 minutes before slicing, allowing the filling to set slightly.
Tips and Tricks for the Best Raspberry Galette
Ensuring a Flaky Crust: Secrets to Success
Achieving that coveted flaky crust in your easy raspberry galette relies heavily on temperature and handling. As mentioned, using very cold butter cut into the flour is paramount. The goal is to have visible pieces of butter throughout the dough, ranging from pea-sized to slightly larger. These butter pieces melt during baking, releasing steam that lifts the dough layers, creating flakiness. If your kitchen is warm, consider chilling your flour and tools before starting.
Equally important is to avoid overworking the dough once you add the ice water. Mix only until the dough just comes together; it should look shaggy and not be completely smooth. Overmixing develops gluten, which leads to a tough, bread-like crust rather than a tender, flaky one. Chilling the dough for at least 30 minutes (or up to 2 days) before rolling is also essential, as it firms up the butter and relaxes the gluten, making the dough easier to roll and contributing to better flakiness in your finished easy berry galette.
Preventing a Soggy Bottom: Baking Tips for a Perfect Galette
A common challenge with juicy fruit fillings like raspberries is preventing a soggy bottom crust. Using an adequate amount of thickener (cornstarch, tapioca starch, or even flour) is the primary defense. Ensure you use the recommended 1-2 tablespoons per 3-4 cups of berries and mix it thoroughly with the sugar before adding to the fruit. This helps absorb excess liquid released by the berries as they heat up.
Baking at a sufficiently high temperature (375-400°F) helps the bottom crust cook and crisp up quickly before it can absorb too much moisture from the filling. Placing the galette on a preheated baking sheet or even a pizza stone or baking steel in the oven can also significantly help. These surfaces conduct heat efficiently to the bottom of the galette, promoting a crispier crust. Baking on the lower-middle rack of the oven also ensures direct heat reaches the bottom, contributing to a perfect, non-soggy base for your easy raspberry galette.
Raspberry Galette Variations: Adding Almond Extract
While a classic easy raspberry galette is delicious on its own, adding a touch of almond extract is a simple way to introduce a wonderful layer of flavor complexity that pairs beautifully with raspberries. Just a small amount, like 1/4 to 1/2 teaspoon added to the raspberry filling along with the sugar and thickener, can enhance the overall aroma and taste profile. Almond and berry flavors are a classic combination for a reason!
Other simple variations include incorporating a pinch of warm spices like cinnamon or cardamom (perhaps 1/4 teaspoon) into the filling, or grating a tiny amount of fresh nutmeg over the berries. For a more decadent twist, you could mix in a tablespoon of ground almonds or almond flour into the filling mixture, or sprinkle some sliced almonds over the exposed filling before baking. These small additions keep your easy berry galette repertoire exciting without adding significant complexity to the basic recipe.
Serving and Storing Your Raspberry Galette
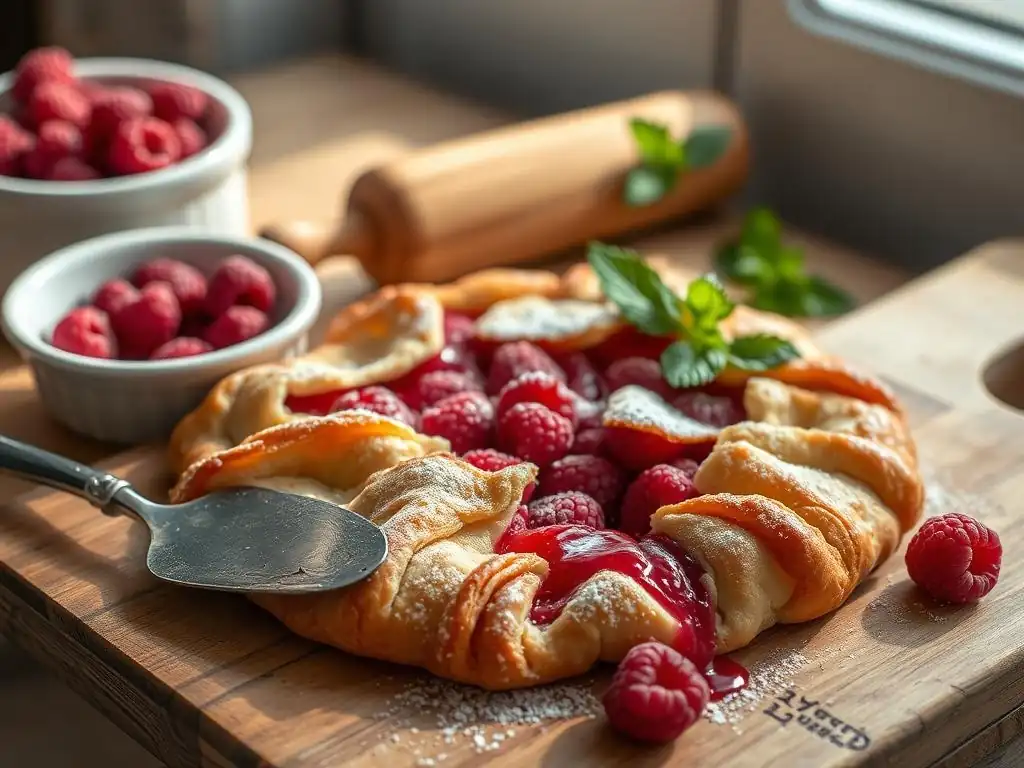
Serving Suggestions: Elevating Your Raspberry Galette Experience
Your freshly baked easy raspberry galette is a delight served warm or at room temperature. The warm, bubbly raspberry filling and flaky crust are incredibly satisfying on their own. However, adding a simple accompaniment can elevate the experience. A classic pairing is a scoop of good quality vanilla ice cream, which provides a cool, creamy contrast to the warm, tart berries.
Other popular options include a dollop of freshly whipped cream, perhaps lightly sweetened, or a spoonful of tangy crème fraîche. For a touch of elegance, you could dust the galette with powdered sugar just before serving or add a small sprig of fresh mint as a garnish. Whether simple or dressed up, this easy berry galette makes for a wonderful dessert for any occasion, from a casual weeknight treat to a summer gathering.
Storing Leftover Galette: Keeping it Fresh
If you happen to have any leftover easy raspberry galette (a rare occurrence! ), proper storage will help maintain its quality. Allow the galette to cool completely on a wire rack before storing. Once cooled, you can loosely cover the galette with plastic wrap or aluminum foil. For slightly longer storage or in warmer conditions, it's best to transfer the covered galette to the refrigerator.
Stored at room temperature, the galette is usually best enjoyed within 1 to 2 days. In the refrigerator, it will keep well for up to 3 to 4 days. While you can eat it cold, reheating leftovers in the oven is recommended to help recrisp the crust and warm the filling; a few minutes at 300-325°F (150-160°C) should do the trick. Microwaving is an option for speed, but it will soften the crust.
Troubleshooting Your Raspberry Galette: Common Issues and Solutions
My Galette Crust is Too Tough: Possible Causes and Fixes
A tough crust on your easy raspberry galette is usually a result of overworking the dough. When you mix the dough too much after adding water, you develop the gluten in the flour excessively, leading to a dense, chewy texture instead of a light, flaky one. The fix for this is to handle the dough as little as possible once the water is added; mix only until the dough just comes together in shaggy clumps.
Another cause can be insufficient chilling. If the butter melts into the dough before baking, you lose the key to flakiness. Ensure your butter and water are ice-cold and that you chill the dough for the recommended time (at least 30 minutes) before rolling. If the dough becomes too warm and soft while you're rolling it out, stop and pop it back in the refrigerator for 10-15 minutes to firm up again. Following these steps helps ensure your easy berry galette has a tender, flaky crust.
My Raspberry Filling is Too Runny: How to Thicken It
A runny filling is a common issue with juicy fruits like raspberries in a galette. The primary cause is usually not enough thickener (like cornstarch or tapioca starch) relative to the amount of juice released by the berries. For your next easy raspberry galette, try increasing the thickener amount slightly, perhaps from 1.5 tablespoons to 2 tablespoons per 3-4 cups of fruit. Ensure the thickener is whisked thoroughly with the sugar before adding it to the berries to help prevent clumps and ensure even distribution.
Sometimes, despite using enough thickener, the filling might still seem a bit loose, especially right out of the oven. Allowing the galette to cool for the recommended 15-20 minutes (or even longer) on a wire rack before slicing is crucial. As the galette cools, the thickener continues to set, and the filling will firm up considerably. If it's still too runny after cooling, it might indicate the thickener didn't reach a high enough temperature during baking to fully activate, which can sometimes happen if the oven temperature is too low or baking time is too short.
My Galette is Burning: Baking Adjustments and Prevention
If your easy raspberry galette is burning, especially around the edges of the crust, it could be due to your oven running hotter than the set temperature, or the galette being placed too close to a heating element. An oven thermometer can help verify your oven's actual temperature. If it's consistently running hot, adjust your oven temperature down by 10-20°F (5-10°C) for future bakes.
If the crust edges are browning too quickly while the center filling isn't quite done or bubbly, you can protect the edges by loosely covering them with strips of aluminum foil partway through the baking time. Ensure the galette is placed on the middle or lower-middle rack, as placing it too high can expose the top crust to excessive heat.
If the bottom is burning before the top is golden, try baking on a slightly higher rack or using a baking sheet lined with parchment paper to help insulate the bottom slightly. Adjusting these factors will help you achieve a perfectly baked easy berry galette.
Easy Raspberry Galette Recipe: Printable Recipe Card
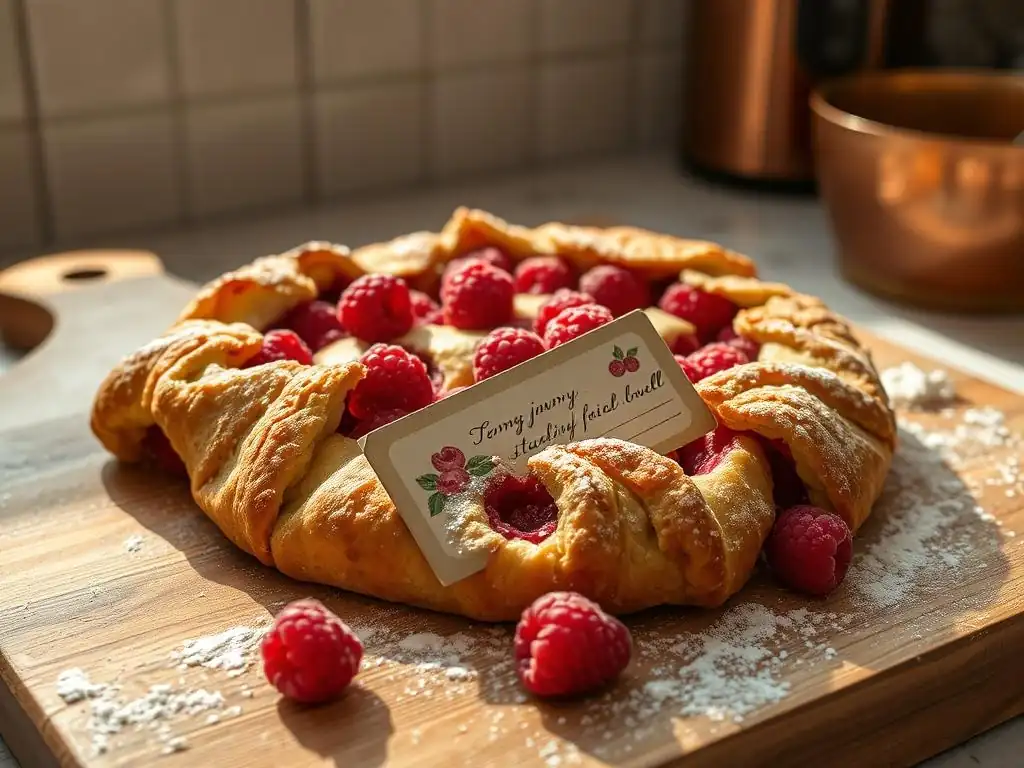
For your convenience, here is a summary of the key components of this easy raspberry galette recipe, perfect for jotting down or saving as a quick reference. This outline includes the essential ingredients and streamlined steps, designed to make your summer baking experience as smooth and enjoyable as possible. It distills the process into its core elements, highlighting the simplicity that makes this galette a go-to for beginners and experienced bakers alike.
This section serves as a handy guide, covering the simple dough preparation using cold butter and ice water, the quick assembly of the vibrant raspberry filling with sugar and thickener, the easy free-form folding technique, and the key baking temperature and time. It's your essential cheat sheet for mastering this delightful easy berry galette.
Enjoy Your Homemade Raspberry Galette!
You've done it! You've created a beautiful, rustic, and incredibly delicious easy raspberry galette. The aroma filling your kitchen is just the beginning of the reward. Cutting into the warm galette and seeing the bubbly, vibrant raspberry filling encased in a flaky, golden crust is truly satisfying. This simple dessert embodies the best of summer baking – fresh, flavorful, and unfussy.
Whether you're enjoying a slice on your own, sharing it with family, or bringing it to a gathering, this homemade galette is sure to impress. It's a testament to how simple ingredients and straightforward techniques can yield extraordinary results. Take a moment to appreciate your baking accomplishment and savor every bite of your delightful easy berry galette.
We love seeing what our community bakes! Your success with this easy raspberry galette recipe is what inspires us. We encourage you to take a photo of your finished galette and share it. Seeing your unique take on this recipe, from the golden crust to the perfectly bubbly filling, is incredibly rewarding for us and helps inspire other aspiring bakers in the BakeWithEase community.
Don't be shy – imperfections are part of the galette's charm! Every bake is a learning experience, and sharing your results, no matter how they turned out, is part of the fun. We can't wait to see the wonderful easy berry galettes you create. Happy baking!
Frequently Asked Questions
How easy is the Easy Berry Galette Recipe really?
The recipe is designed for bakers of all levels, focusing on simple techniques and readily available ingredients, making it genuinely easy. Even beginners can achieve great results.
What kind of berries work best in the Easy Berry Galette Recipe?
The recipe is versatile! You can use any combination of fresh or frozen berries you like, such as strawberries, blueberries, raspberries, or blackberries. Mixed berries are a great option!
Can I make the Easy Berry Galette Recipe ahead of time?
Yes, you can prepare the galette dough ahead of time and store it in the refrigerator for up to 2 days. You can also assemble the galette but bake it just before serving.
What if I don't have all the ingredients listed in the Easy Berry Galette Recipe?
The recipe is flexible. You can substitute ingredients like using a different type of flour or a different sweetener, but it may slightly affect the final result.
How do I prevent the bottom crust of the Easy Berry Galette Recipe from becoming soggy?
Ensure the oven is fully preheated and bake on the lowest rack. Also, consider using a baking stone or baking sheet to help the crust crisp up.
Final Reflection: The Enduring Allure of the Simple Berry Galette
The seemingly simple act of baking a berry galette speaks volumes about the power of uncomplicated pleasures in a complex world. It’s a testament to the fact that sometimes, the most satisfying creations come from the most straightforward recipes. This ease of execution, however, doesn't diminish the profound joy derived from the process and the final result.
The galette, with its rustic charm and inherently imperfect beauty, mirrors life itself. It's a reminder that striving for perfection can often overshadow the beauty found in imperfection. The best things in life are not perfect, they are real.
This sentiment perfectly encapsulates the spirit of the galette, and its enduring appeal lies in its ability to connect us to the simple, wholesome pleasures of baking and sharing. The act of gathering berries, preparing the dough, and assembling the galette becomes a meditative practice, a moment of mindful creation in an often frenetic world.
Now, I invite you to consider your own approach to baking, to cooking, and even to life itself. Will you embrace the simplicity and beauty of the imperfect? Will you find joy in the process, rather than solely focusing on the outcome? The next time you feel overwhelmed, remember the humble berry galette – a symbol of uncomplicated joy and a reminder that sometimes, the most rewarding experiences are the ones that are effortlessly beautiful. Go forth and bake!
Unleash Your Inner Pastry Chef!
Thanks for joining us on this delicious journey into the world of berry galettes! We hope you’ve gained the confidence to tackle this seemingly complex dessert. Now it's time to put your newfound skills to the test!
- Bake your masterpiece: Gather your ingredients and create your own stunning berry galette. Don't be afraid to experiment with different berries and flavors!
- Share your creation: Post a picture of your finished galette on social media and tag us @BakeWithEase – we’d love to see your baking brilliance!
- Explore other recipes: Dive deeper into our recipe collection and discover more easy-to-follow baking adventures on bakewithease.com.
What unique berry combination will you create for your next galette baking adventure?