
How to Make Flaky Christmas Pie Crust Every Time

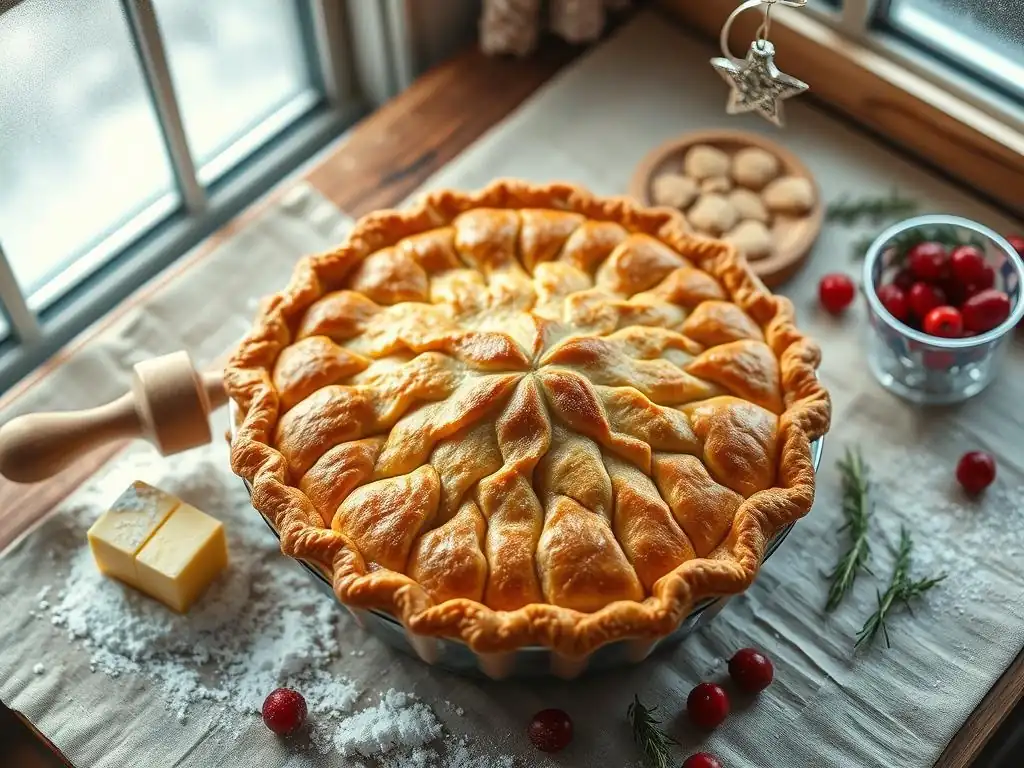
Welcome to BakeWithEase, your secret weapon for conquering the kitchen! Are you dreaming of a picture-perfect pie this Christmas? Our mission is to make baking effortless and enjoyable, starting with the cornerstone of any great pie: the crust. This season, don't settle for store-bought. Dive into our guide on creating a flaky Christmas pie crust recipe that will have everyone begging for seconds. But the secret to perfect pastry isn't just about the recipe... What if we told you there's a simple technique that guarantees a light and tender crust every single time? Read on to discover the secrets!
- How to Make Flaky Apple Pie Crust Every Time: A BakeWithEase Guide
- Introduction: Mastering the Perfect Flaky Pie Crust for Apple Pie
- Understanding the Science Behind a Flaky Pie Crust
- BakeWithEase's Foolproof Flaky Apple Pie Crust Recipe
- Rolling Out Your Apple Pie Crust: A Technique for Success
- Blind Baking Your Pie Crust: Preventing a Soggy Bottom
- Troubleshooting Common Pie Crust Problems
- Tips and Tricks for an Extra-Special Apple Pie Crust
- Storing Your Apple Pie Crust: Freshness is Key
- Conclusion: Enjoy Your Delicious, Flaky Apple Pie!
- Frequently Asked Questions
- Final Reflection: The Timeless Allure of a Perfectly Flaky Crust
- Unlock Your Inner Pastry Chef: Make Every Pie a Masterpiece!
How to Make Flaky Apple Pie Crust Every Time: A BakeWithEase Guide
Introduction: Mastering the Perfect Flaky Pie Crust for Apple Pie
Creating a truly flaky pie crust can sometimes feel like a baking mystery, but it's the foundation of any great pie, especially a classic apple pie for the holidays. A perfect crust isn't just about holding the filling; it's about adding a delicate, buttery texture that melts in your mouth, contrasting beautifully with the sweet, tender apples inside. For your festive baking this year, mastering a flaky Christmas pie crust recipe is a skill that will impress everyone at the table.
At BakeWithEase, we believe everyone can achieve baking success. This guide breaks down the process into simple, understandable steps, focusing on the key techniques that guarantee a light, airy, and wonderfully flaky result. Forget tough or crumbly crusts – we're here to help you unlock the secrets to a consistently perfect pastry base for your holiday apple pie. Get ready to bake with confidence and create a memorable dessert that tastes as good as it looks.
Understanding the Science Behind a Flaky Pie Crust
Achieving that coveted flaky texture in a pie crust isn't magic; it's science! Understanding the fundamental principles behind how ingredients interact is key to consistent success. The goal is to create layers of dough separated by tiny pockets of air or fat, which expand and crisp up during baking. This layered structure is what gives a flaky Christmas pie crust recipe its signature delicate quality.
Three primary factors influence flakiness: the temperature of your ingredients, how you incorporate fat, and the development of gluten. By controlling these elements, you can manipulate the dough to behave exactly as you want it to, resulting in a tender, multilayered crust that is the hallmark of a truly great homemade pie. Let's delve into each of these scientific pillars to understand their crucial roles.
The Role of Cold Ingredients in Flakiness
Keeping your ingredients, especially the fat and liquid, very cold is arguably the most critical step in achieving a flaky texture. When cold butter (or other solid fat) is cut into the flour, it remains in distinct, small pieces rather than being fully absorbed. As the pie bakes, these cold pieces of fat melt, releasing steam. This steam pushes apart the layers of dough surrounding the fat pockets, creating air pockets and separation – the essence of flakiness.
Using ice-cold water is equally important. Cold water helps keep the fat solid and inhibits gluten development. Gluten, a protein network formed when flour is mixed with water, can make crusts tough if overdeveloped. By using cold water and handling the dough minimally, you ensure the fat stays distinct and the gluten remains relaxed, both vital for a tender, flaky Christmas pie crust recipe. Many bakers aim for butter to be around 35-40°F (2-4°C) and water to contain ice chips before adding it.
Fat Distribution: Creating Layers of Flakiness
The way fat is incorporated into the flour dictates the structure of the baked crust. For flakiness, you want pea-sized to dime-sized pieces of cold fat distributed throughout the flour. These distinct pieces are what create the layers. If the fat is completely blended until the mixture resembles fine sand, you'll get a more tender, sandy texture (like shortcrust pastry) rather than a flaky one.
Imagine those small chunks of butter melting in the hot oven. They leave behind gaps where the butter once was. As water in the dough turns to steam, it gets trapped in these gaps and forces the thin layers of dough apart. The more distinct layers you have, separated by these steam pockets, the flakier the crust will be. This is why the technique of "cutting in" the fat is so important for a flaky Christmas pie crust recipe.
Gluten Development: The Enemy of Flaky Crust
Gluten is a protein network that develops when flour is mixed with water and agitated (like kneading). While essential for the structure of bread, excessive gluten development in pie crust leads to toughness. You want a tender, delicate crust, not a chewy one. Therefore, minimizing gluten development is crucial for flakiness.
Using a low-protein flour (like all-purpose flour, which typically has 10-12% protein) is a good start. Handling the dough gently and minimally after adding liquid prevents the gluten strands from strengthening. Over-mixing or over-working the dough allows the gluten network to become too tight and elastic, resulting in a tough, bread-like crust rather than a flaky Christmas pie crust recipe. The goal is just enough mixing to bring the dough together.
BakeWithEase's Foolproof Flaky Apple Pie Crust Recipe
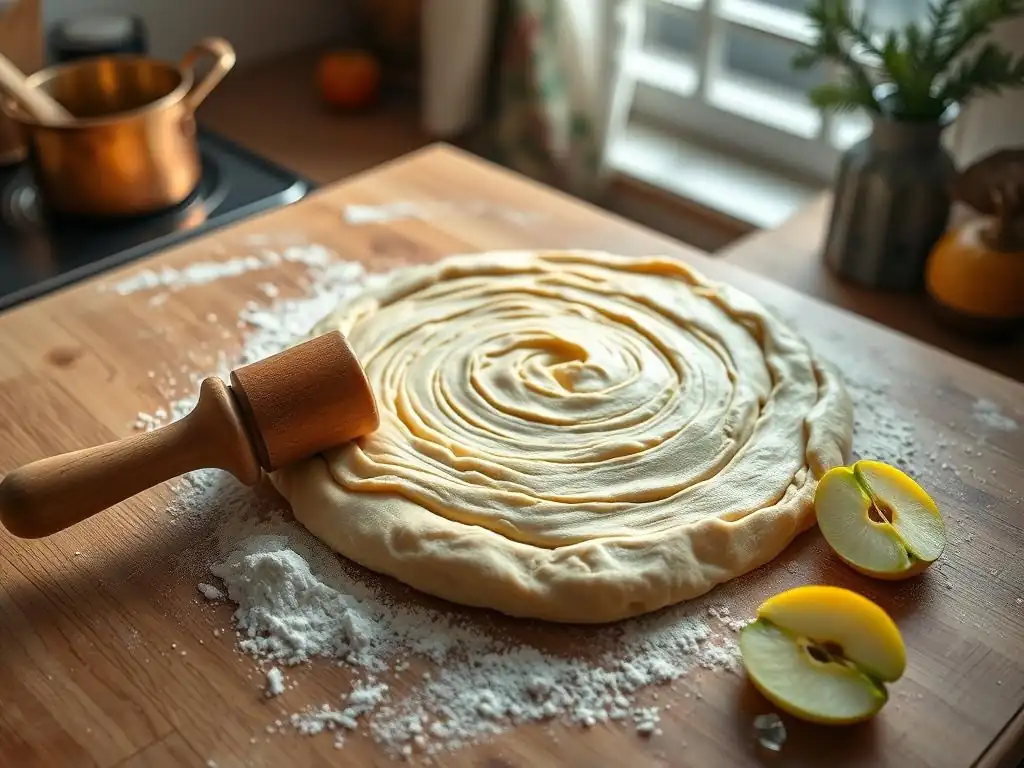
Ready to put science into practice? This BakeWithEase recipe is designed for simplicity and guaranteed flakiness, perfect for your holiday apple pie. We'll guide you through each step to ensure success, even if you're new to pie making. This base recipe provides the perfect foundation for a delicious and beautiful flaky Christmas pie crust recipe.
Remember the core principles: keep everything cold, handle the dough gently, and don't overwork it. Following these instructions precisely will result in two perfect crusts – one for the bottom and one for the top of a standard 9-inch pie dish. Let's gather our ingredients and get started on this festive baking project.
Ingredients for the Perfect Apple Pie Crust
Here's what you'll need for a double-crust 9-inch pie:
- 2 ½ cups (about 315g) all-purpose flour
- 1 teaspoon salt
- 1 cup (2 sticks or 227g) unsalted butter, very cold, cut into ½-inch cubes
- ½ cup (120ml) ice water, plus maybe a tablespoon or two more
Ensure your butter is straight from the refrigerator or even frozen briefly before cutting. The colder the butter, the better. Have your ice water ready in a measuring cup with a few ice cubes floating in it; you'll only use the water, not the ice. This simple list of ingredients, combined with the right technique, is all it takes to create a spectacular flaky Christmas pie crust recipe.
Step-by-Step Instructions for Apple Pie Crust Success
Follow these steps carefully for a beautiful, flaky result:
Step 1: Preparing the Dough - Keeping it Cold
Begin by whisking together the flour and salt in a large bowl. Ensure they are well combined. This initial step is straightforward but sets the stage for incorporating the cold fat evenly. Using a wide, shallow bowl can make the subsequent steps easier.
Add the very cold butter cubes to the flour mixture. The goal now is to cut the butter into the flour until it's in various sizes, from small pea-sized pieces to some slightly larger, about the size of a small bean or lentil. This variation in size contributes to different layers of flakiness.
Step 2: Cutting in the Fat - Achieving Pea-Sized Pieces
There are several methods for cutting in the fat. You can use a pastry blender, two forks, or even your fingertips. If using your hands, work quickly to avoid melting the butter with your body heat. The traditional method involves pressing the butter cubes into the flour until flattened, then scraping them up and repeating.
Continue cutting in the fat until the mixture resembles coarse meal with visible, distinct pieces of butter dispersed throughout. Avoid over-mixing to the point where the butter disappears completely into the flour; those visible pieces are essential for creating layers in your flaky Christmas pie crust recipe. This stage typically takes 3-5 minutes by hand or less with a food processor (using pulse mode).
Step 3: Adding the Liquid - Hydrating the Flour
Now, slowly add the ice water, one or two tablespoons at a time, sprinkling it evenly over the flour-fat mixture. Use a fork or your hands to gently mix the water in until the dough just begins to come together. You want the dough to be moist enough to hold together when squeezed, but not wet or sticky.
Add just enough water for the dough to form a shaggy mass. It's better to err on the side of slightly dry than too wet. You might not need all the water, or you might need a tiny bit more, depending on the humidity and your flour. Over-hydrating the dough will increase gluten development and make it tough, defeating the purpose of a flaky Christmas pie crust recipe.
Step 4: Forming the Dough - Gently Bringing it Together
Turn the shaggy dough mixture out onto a lightly floured surface. Gently gather the dough together and press it into a ball. Do not knead the dough! Kneading develops gluten, which is what we are trying to avoid for a flaky crust.
Once the dough is roughly together, divide it in half. Shape each half into a flattened disk, about an inch thick. Flattening the dough now makes it easier to roll out later. Wrap each disk tightly in plastic wrap.
Step 5: Chilling the Dough - Essential for Relaxing the Gluten
Chilling the dough is a non-negotiable step for a flaky pie crust. Place the wrapped dough disks in the refrigerator for at least 1 hour, but preferably 2 hours or even overnight. This chilling period serves two crucial purposes.
First, it allows the gluten to relax, preventing the crust from shrinking excessively during baking and ensuring tenderness. Second, it re-hardens the butter pieces, which is vital for creating those distinct layers during baking. Skipping this step will compromise the texture of your flaky Christmas pie crust recipe significantly. Chilled dough is also much easier to handle and roll out.
Rolling Out Your Apple Pie Crust: A Technique for Success
Rolling out pie dough can be intimidating, but with the right technique, it's manageable. The key is to work efficiently while keeping the dough cool and preventing it from sticking. Patience and a light touch are your best friends here.
Proper preparation of your workspace and the dough itself will make this process much smoother. You want an even thickness across the entire sheet of dough to ensure uniform baking. Let's get ready to transform that chilled disk into a perfect pie shell.
Preparing Your Work Surface and Dough
About 10-15 minutes before rolling, take one disk of dough out of the refrigerator to allow it to soften slightly, making it easier to roll without cracking excessively. While it rests, prepare your work surface. Clean your counter thoroughly and dust it lightly with flour. You can also use a pastry mat, which often has helpful measurement guides.
Lightly flour your rolling pin as well. Place the slightly softened dough disk in the center of your floured surface. Ensure both the surface and the dough are adequately floured to prevent sticking, but don't use excessive flour, as this can make the crust tough.
Rolling Technique: Achieving Even Thickness
Start rolling from the center of the dough disk outwards, applying even pressure. Rotate the dough frequently (about a quarter turn each time) and flip it over occasionally, re-flouring the surface and your rolling pin as needed. This helps maintain a round shape and prevents the dough from sticking in one spot.
Roll the dough into a circle about 12-13 inches in diameter for a standard 9-inch pie plate. Aim for a uniform thickness of about ⅛ inch. Uneven thickness will result in parts of the crust being undercooked or overcooked. Roll just until you reach the desired size; over-rolling can overwork the dough.
Transferring the Crust to Your Pie Plate: Avoiding Tears
Once rolled, the trickiest part can be getting the dough into the pie plate without tearing. Gently loosen the dough from the work surface using a bench scraper or spatula, ensuring it's not stuck.
One method is to lightly flour your rolling pin and loosely roll the dough circle around it. Then, position the rolling pin over one edge of your pie plate and gently unroll the dough into the plate, allowing it to settle into the corners. Alternatively, you can carefully fold the dough in half or quarters before transferring it. Gently unfold it in the pie plate, easing it into the contours without stretching it, as stretching can cause shrinkage during baking.
Crimping the Edges: Making it Festive
After fitting the bottom crust into the pie plate, trim any excess dough, leaving about a 1-inch overhang. For a single-crust pie or the bottom crust of a double-crust pie that will be blind-baked, you can simply fold the overhang under and crimp the edge.
For a double-crust apple pie, after adding the filling, place the top crust over the apples (either a full circle or lattice). Trim the top crust, leaving a similar overhang. Now, join the top and bottom crusts together. You can fold the edges under and crimp them decoratively using your fingers or a fork. For a festive flaky Christmas pie crust recipe, try shaping small cutouts from extra dough (like stars or leaves) to adorn the top before baking.
Blind Baking Your Pie Crust: Preventing a Soggy Bottom
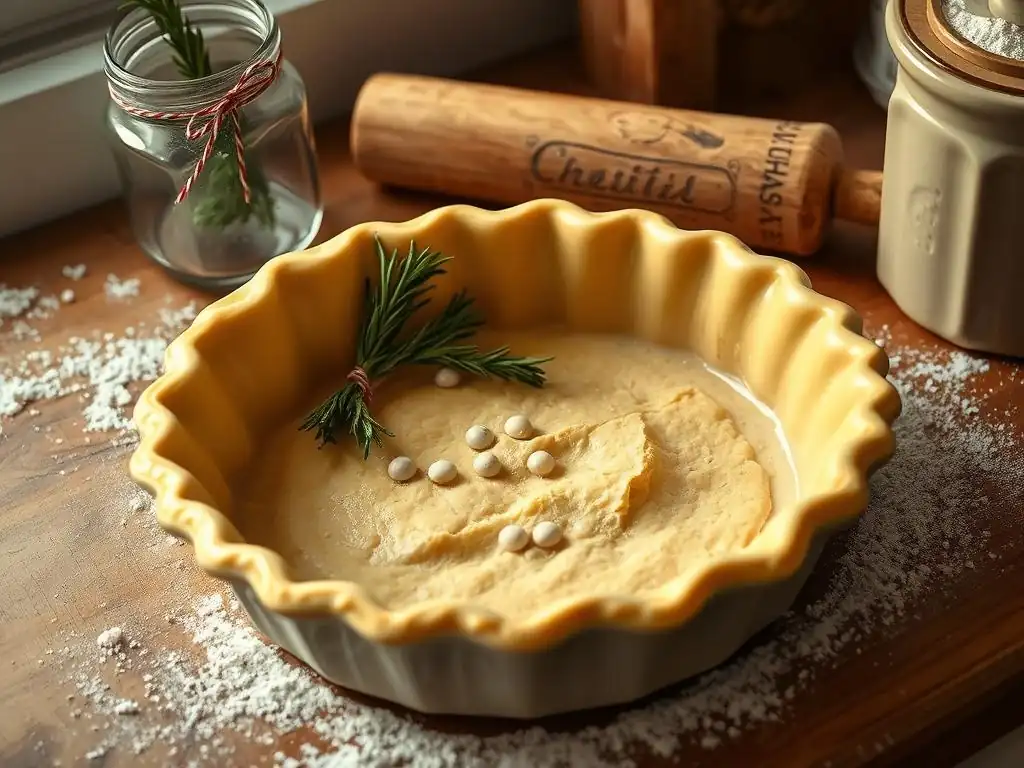
Blind baking, or pre-baking, the pie crust before adding the filling is often necessary, especially for wet fillings like many apple pie recipes, to prevent a soggy bottom crust. This step ensures the bottom crust is partially or fully cooked and set before the moisture from the filling has a chance to make it gummy.
Whether you need to blind bake fully or partially depends on the apple pie recipe you are using. A fully blind-baked crust is used for pies with fillings that don't require baking, while a partially blind-baked crust is used for fillings that will be baked with the crust, like most apple pies. For a truly successful flaky Christmas pie crust recipe supporting a juicy apple filling, blind baking is highly recommended.
Why Blind Baking is Necessary for Some Apple Pies
Apple pies are notorious for potentially producing a soggy bottom crust. This is because the apple filling releases a significant amount of moisture as it bakes. This liquid seeps into the raw bottom crust, preventing it from crisping up and resulting in an unpleasant, doughy layer.
Blind baking provides the bottom crust with a head start in the oven, allowing its structure to set and crisp up before the wet filling is added. A partially blind-baked crust bakes for a shorter time, just enough to set the dough but not brown it completely, before the filling is added and the pie finishes baking. This step is crucial for achieving that desired crisp, flaky base beneath your warm apple filling for your flaky Christmas pie crust recipe.
Preparing the Crust for Blind Baking: Docking and Weighing Down
After fitting the bottom crust into the pie plate and crimping the edges, you need to prepare it for blind baking. First, "dock" the bottom of the crust by pricking it all over with a fork. This allows steam to escape during baking, preventing the crust from puffing up.
Next, line the crust with parchment paper or aluminum foil, pressing it gently into the contours of the pie plate and up the sides. Fill the lined crust with pie weights, dried beans, or uncooked rice. These weights keep the crust from shrinking down the sides and the bottom from puffing up excessively during baking. Ensure the weights are distributed evenly, especially along the edges.
Baking Time and Temperature for a Perfectly Blind-Baked Crust
For a partially blind-baked crust (common for apple pie), bake the weighted crust in a preheated oven at 400°F (200°C) for about 15-20 minutes. The edges should look slightly golden, and the bottom should appear opaque and dry, but not browned.
Carefully remove the pie weights and the parchment or foil liner. Return the crust to the oven for another 5-10 minutes, or until the bottom is lightly golden and looks dry. Be vigilant during this second bake to prevent over-browning. The crust is now ready to be filled with your delicious apple mixture and baked into a beautiful flaky Christmas pie recipe.
Troubleshooting Common Pie Crust Problems
Even experienced bakers encounter issues with pie crust sometimes. Don't be discouraged if your first attempt isn't perfect. Understanding common problems and their solutions is part of the learning process. Here are some frequent challenges and how to tackle them when making your flaky Christmas pie crust recipe.
With a little practice and attention to detail, you can overcome these hurdles and consistently produce beautiful, flaky results. Remember, baking is a skill that improves with each attempt.
Problem: Tough Crust - Avoiding Over-Mixing
A tough pie crust is usually the result of overdeveloped gluten. This happens when the dough is mixed too much after the liquid is added, or if too much water was used, or if high-protein flour was used. The gluten strands become too strong and elastic.
To avoid a tough crust, use the recommended amount of ice water and mix only until the dough just comes together into a shaggy mass. Resist the urge to knead it or mix it until it's smooth. Handle the dough gently when shaping and rolling. If your dough feels very elastic and resists rolling, it might benefit from a short rest in the refrigerator (10-15 minutes) to allow the gluten to relax slightly.
Problem: Soggy Crust - Solutions for a Crispy Bottom
A soggy bottom crust is often due to moisture from the filling permeating an underbaked base. This is particularly common with juicy fruit pies like apple.
The primary solution is blind baking the bottom crust before adding the filling, as detailed above. Ensure your pie filling isn't excessively wet; drain excess liquid from fruit if necessary. Baking the pie at a sufficiently high temperature initially (like 425°F or 220°C for the first 15-20 minutes) can help set the bottom crust quickly. Baking the pie on a preheated baking stone or sheet pan can also transfer heat more efficiently to the bottom crust.
Problem: Shrinking Crust - Preventing Contraction During Baking
Crust shrinkage can make your pie look less appealing and can also lead to leaks. This is typically caused by insufficient chilling or overworking the dough. When dough isn't properly chilled, the gluten hasn't fully relaxed, and it contracts in the heat of the oven.
Ensure you chill the dough disks for the recommended time (at least 1-2 hours) before rolling. When rolling out the dough, handle it gently and avoid stretching it as you fit it into the pie plate. Letting the fitted crust rest in the refrigerator for 15-30 minutes before baking can also help relax the gluten and reduce shrinkage, ensuring your flaky Christmas pie crust recipe holds its shape.
Problem: Crumbly Crust - Adding More Moisture
If your dough is excessively crumbly and difficult to bring together or roll out without breaking, it likely needs more moisture. This happens when not enough liquid is added during the mixing phase.
When adding the ice water, add it gradually, mixing until the dough just comes together. If you find your dough is too dry and crumbly after chilling, you can try sprinkling a teaspoon or two of additional ice water over the surface before attempting to roll it, gently folding it in. Be cautious not to add too much at once; add just enough so the dough holds together when pressed.
Tips and Tricks for an Extra-Special Apple Pie Crust
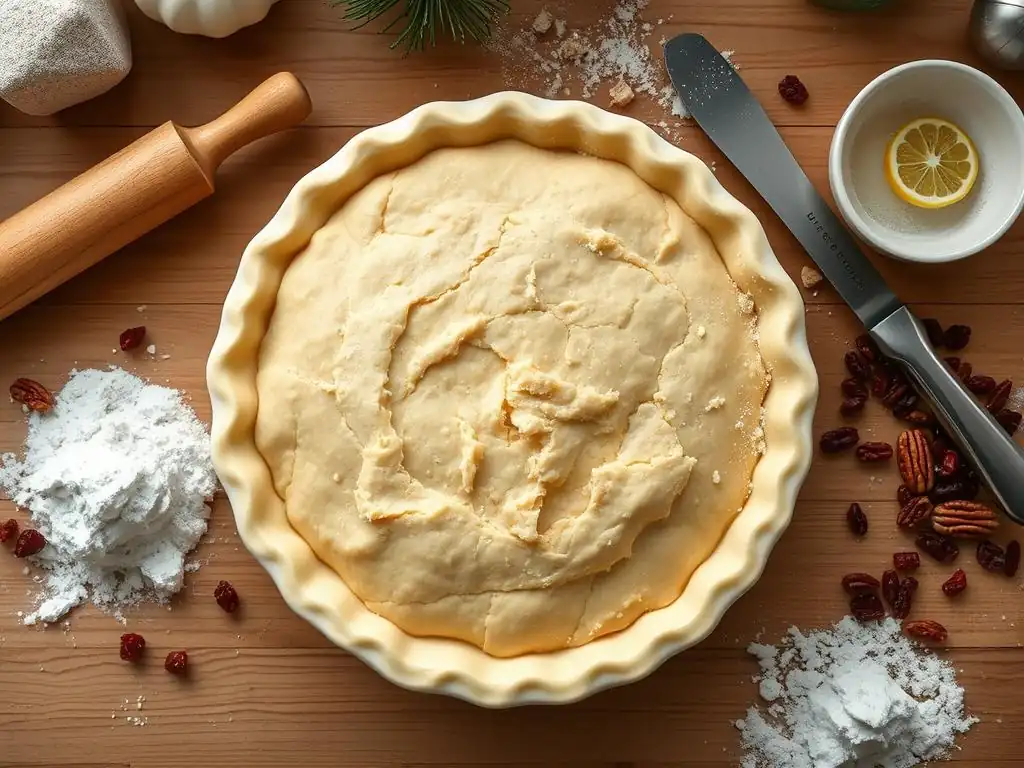
Beyond the basic technique, there are ways to elevate your flaky Christmas pie crust recipe and make it truly stand out. From subtle flavor enhancements to decorative finishes, these tips can add a personal touch to your holiday baking and impress your guests.
Experimenting with different fats or adding warm spices can transform a standard crust into something unique and festive. Don's be afraid to get creative with the finishing touches!
Using Different Fats for Unique Flavors
While unsalted butter is the standard for its flavor and flakiness, you can use a combination of fats to achieve different textures and tastes. Shortening, for example, is 100% fat (compared to butter's ~80%), has a higher melting point, and can contribute to very flaky layers. Using a blend of half butter and half shortening is a popular technique for maximizing flakiness and tenderness.
Lard is another traditional fat that yields exceptionally flaky and tender crusts due to its crystal structure and high melting point. High-quality leaf lard is particularly prized for pie crusts. Using a combination of butter for flavor and lard or shortening for structure can result in a truly spectacular flaky Christmas pie crust recipe with unique characteristics.
Adding Spices to Your Pie Crust for a Festive Touch
Infusing your pie crust with warm spices can add an extra layer of flavor that complements the apple filling perfectly and enhances the holiday theme. You can whisk ground spices into the flour mixture before cutting in the fat.
Consider adding ½ teaspoon of ground cinnamon, ¼ teaspoon of ground nutmeg, or a pinch of ground cloves or ginger to the dry ingredients. These spices pair beautifully with apples and add a subtle warmth to your flaky Christmas pie crust recipe. For a more pronounced flavor, you could even add a tiny pinch of cardamom or a dash of apple pie spice blend.
Making a Decorative Pie Crust
A beautiful pie crust adds to the festive appeal of your holiday dessert. Simple techniques like a classic fork crimp or finger crimp are lovely, but you can get more elaborate. After crimping, you can brush the crust with an egg wash (a beaten egg mixed with a tablespoon of water or milk) and sprinkle with coarse sugar for a golden, sparkling finish.
For a double-crust pie, instead of a full top crust, consider a lattice top or decorative cutouts made from extra dough using cookie cutters (think stars, holly leaves, or tiny Christmas trees). These decorative elements can be brushed with egg wash and baked directly on top of the filling or added towards the end of baking. A decorative flaky Christmas pie crust recipe is a showstopper!
Storing Your Apple Pie Crust: Freshness is Key
Proper storage is essential whether you're making your pie crust ahead of time or have leftovers. Storing the dough correctly maintains its texture and usability, ensuring your efforts result in a delicious pie when you're ready to bake.
Both unbaked dough and baked crusts require specific storage methods to maintain quality and prevent spoilage. Planning ahead by making your flaky Christmas pie crust recipe in advance can save time on baking day.
Storing Unbaked Pie Crust
Unbaked pie dough disks, tightly wrapped in plastic wrap, can be stored in the refrigerator for up to 3-4 days. Ensure the plastic wrap is sealed well to prevent the dough from drying out or absorbing refrigerator odors.
For longer storage, unbaked pie dough freezes beautifully. Wrap the plastic-wrapped disks tightly in a layer of aluminum foil or place them in a freezer-safe bag. Label with the date. Frozen dough can last for up to 2-3 months. Thaw frozen dough overnight in the refrigerator before rolling it out.
If you've blind-baked a crust and need to store it before filling, allow it to cool completely on a wire rack. Once cooled, you can store the baked shell, loosely covered, at room temperature for up to 1-2 days.
For longer storage, a fully baked crust can also be frozen. Once completely cool, wrap the pie plate containing the crust tightly in plastic wrap, then in aluminum foil. Freeze for up to 1 month. Thaw the frozen baked crust at room temperature before filling. While freezing is possible, a freshly baked flaky Christmas pie crust recipe is always best!
Conclusion: Enjoy Your Delicious, Flaky Apple Pie!
You've done it! By following these steps, you've mastered the art of making a truly flaky pie crust. This essential technique is the cornerstone of countless delicious desserts, and now you have the skills to create a perfect base for your holiday apple pie. Remember the key principles: cold ingredients, proper fat distribution, minimal handling, and adequate chilling.
Baking a pie from scratch, especially during the festive season, is a rewarding experience. The aroma of warm apples and buttery pastry filling your home is pure holiday magic. Now, go forth and bake your magnificent apple pie with your beautiful, flaky Christmas pie crust recipe. Share it with loved ones, and savor the moments. Happy baking from all of us at BakeWithEase!
Frequently Asked Questions
How do I achieve a truly flaky pie crust?
The secret to flakiness lies in keeping the ingredients cold. Use ice water and cold butter, and avoid overmixing the dough.
What type of fat works best for a flaky Christmas pie crust recipe?
A combination of butter and shortening often provides the best results. Butter contributes flavor, while shortening adds to the flakiness due to its higher fat content. Some recipes use all butter for superior flavor.
Can I make the pie crust dough ahead of time?
Yes, you can! In fact, it's often recommended. Wrap the dough tightly in plastic wrap and chill it in the refrigerator for at least 30 minutes (or up to 2 days) before rolling it out.
What is the best way to prevent the crust from shrinking during baking?
Avoid overworking the dough, and dock the bottom crust with a fork before baking to release steam. Also, consider using pie weights or dried beans to prevent the crust from puffing up during blind baking.
What if my pie crust dough is too sticky or dry?
If it's too sticky, add a tiny bit more flour, a tablespoon at a time. If it's too dry, add a teaspoon of ice water at a time, mixing until just combined. Be careful not to overwork the dough.
Final Reflection: The Timeless Allure of a Perfectly Flaky Crust
The pursuit of the perfect flaky Christmas pie crust transcends mere culinary skill; it's a quest for tradition, for comfort, and for the joy of sharing. This article has explored the intricacies of achieving that coveted flakiness, detailing techniques from chilling the fat to understanding the role of hydration. But the true magic lies not just in the method, but in the experience it creates.
The enduring appeal of homemade pie, especially during the holidays, speaks to something deeper than just a delicious dessert. It's a connection to generations past, a tangible representation of love and care poured into each carefully rolled-out layer. The best things in life are homemade,
a sentiment echoed across countless kitchens and family gatherings, perfectly encapsulates the heart of this endeavor. The process itself, from measuring ingredients to the satisfying crackle of the crust in the oven, becomes a meditative ritual, a moment of mindful creation amidst the holiday bustle.
So, as you prepare your own Christmas pies this year, remember the journey more than just the destination. Embrace the process, experiment with the techniques, and allow the creation of this simple yet profound dish to become a cherished tradition in your own home. Don't be afraid to let your own creativity shine through – perhaps adding a unique spice blend or a festive garnish. The perfect flaky crust is waiting for you; all it needs is your time, attention, and a touch of holiday spirit.
Unlock Your Inner Pastry Chef: Make Every Pie a Masterpiece!
Thanks for joining us on this flaky journey! You've just learned the secrets to consistently perfect pie crust – a skill that will impress your friends and family for years to come. Ready to put your new knowledge to the test?
- Bake your dream pie: Use the recipe and tips from this article to create your favorite pie, paying close attention to the chilling and rolling techniques. Don't be afraid to experiment with different fillings!
- Share your success (and failures!): Post a picture of your creation on social media and tag us – we love seeing your baking adventures!
- Challenge a friend to a pie-off: See who can create the flakiest crust – friendly competition always improves our baking skills!
What unique flavor combination will you try first in your perfectly flaky pie crust?