
Transporting Cakes for a Crowd: Foolproof Techniques

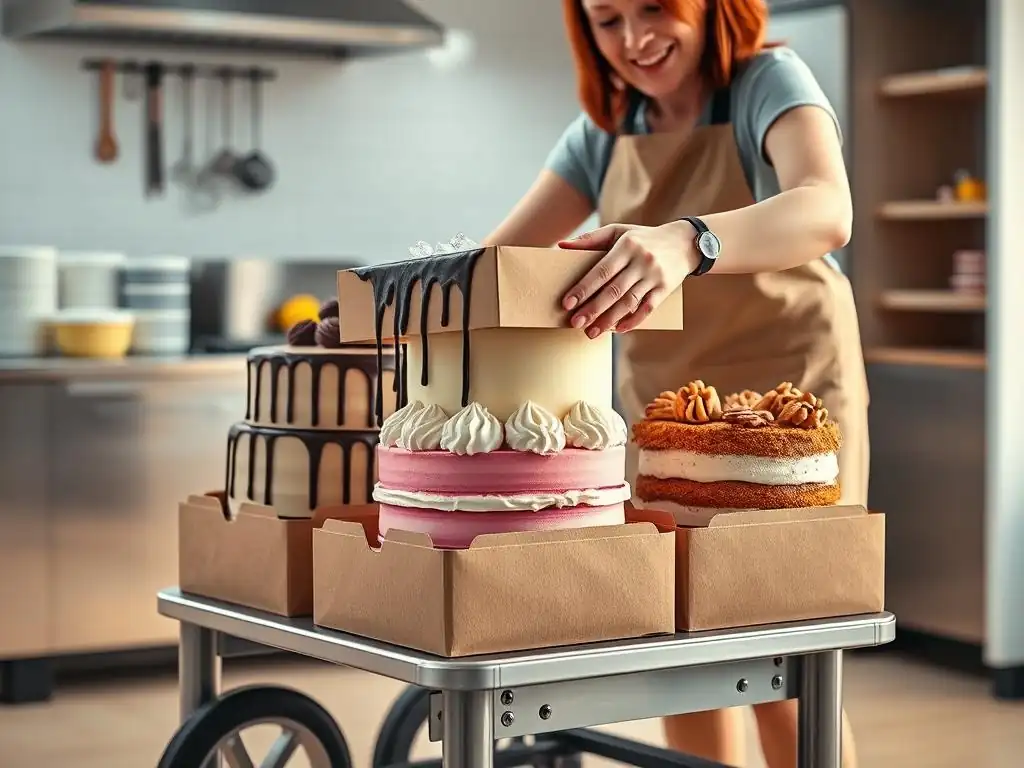
Welcome to BakeWithEase.com, where baking becomes an adventure, not a chore! Ever wondered how to get that perfectly frosted masterpiece to the party in one piece? You're in the right place. Discover foolproof strategies for easy cake transport tips, and learn how to keep your creations looking as stunning as they taste, even when baking for a crowd. Get ready to say goodbye to cake catastrophes and hello to stress-free celebrations! Intrigued? Let's dive in!
- Transporting Cakes for a Crowd: Foolproof Techniques for BakeWithEase.com
- Baking for Large Gatherings: Mastering Cake Transport Tips
- Why Cake Transportation Matters When Baking for a Crowd
- Choosing the Right Cake for Easy Transportation
- Essential Cake Transport Supplies and Equipment
- Step-by-Step Guide to Securing Your Cake for Transport
- Mastering Cake Transport Techniques for Different Scenarios
- Driving with Your Cake: Safe Driving Practices for Cake Transport
- Arriving at Your Destination: Unboxing and Final Touches
- Troubleshooting Common Cake Transport Problems
- Beyond the Basics: Advanced Cake Transport Tips
-
Frequently Asked Questions
- How can I safely transport a cake for a long distance?
- What's the best way to prevent a cake from sliding around during transportation?
- What type of container is ideal for transporting a tiered cake?
- How do I keep frosting from melting during cake transport, especially in warm weather?
- What are some quick fixes if a cake gets damaged during transport?
- Final Reflection: The Sweet Success of Safe Cake Transport
- Unlock Your Cake-Transporting Confidence!
Transporting Cakes for a Crowd: Foolproof Techniques for BakeWithEase.com
Baking for Large Gatherings: Mastering Cake Transport Tips
Transporting a beautifully baked and decorated cake, especially one destined for a large gathering, can feel like the most nerve-wracking part of the entire baking process. You've poured hours into mixing, baking, cooling, and decorating, and the last thing you want is for all that effort to be undone by a bumpy ride or a sudden stop.
Mastering cake transport tips is crucial to ensure your masterpiece arrives at its destination looking as perfect as when it left your kitchen. This guide focuses on providing easy cake transport tips that bakers of all levels can use to confidently move their creations.
Whether you're delivering a multi-tiered wedding cake or a simple sheet cake for a birthday party, successful transportation requires careful planning and the right techniques. From choosing the most stable cake design to securing it firmly in your vehicle, every step plays a vital role. We'll walk you through essential supplies, preparation steps, and specific strategies for different cake types and weather conditions, helping you become a pro at transporting cakes easily and safely.
Why Cake Transportation Matters When Baking for a Crowd
Preserving Your Cake's Perfection: The Importance of Safe Cake Transport
After investing time, ingredients, and skill into baking a cake, especially one for a significant event like a wedding or a large celebration, its safe arrival is paramount. Consider the average cost of ingredients for a multi-tiered cake, which can easily run into the hundreds of dollars, not to mention the value of your time, potentially dozens of hours for complex designs. Damage during transport doesn't just mean a visually unappealing dessert; it can mean structural failure, smudged decorations, or even a completely ruined cake that cannot be served, leading to significant disappointment and wasted resources.
Safe cake transport is the final, critical step that bridges the gap between your kitchen and the celebration. It's about protecting the structural integrity of the cake, maintaining the pristine condition of the frosting and decorations, and ensuring it looks exactly as you intended when it's unveiled. Even a seemingly minor issue, like a small smudge on the frosting or a slightly leaning tier, can detract from the overall impact of your carefully crafted dessert. Implementing easy cake transport tips is your insurance policy against such mishaps.
Avoiding Common Cake Transport Disasters: Tips for Stress-Free Travel
Many common cake transport disasters stem from inadequate preparation and improper handling. Imagine arriving at a venue only to find your cake has slid off its board, the delicate buttercream has melted into a puddle, or a sharp turn caused a tier to collapse. These scenarios are unfortunately common but largely preventable with the right approach and effective cake transport tips. For instance, not properly chilling a cake before transport is a leading cause of frosting damage and structural instability, particularly in warmer conditions.
Another frequent issue is using an unstable base or an oversized box that allows the cake to shift excessively during transit. Even the smoothest roads have bumps, and sudden stops or turns are inevitable. A cake that isn't securely fixed to its base and snugly boxed is vulnerable to these movements. By focusing on simple cake transport tips like choosing a sturdy cake board, securing the cake to the board, and using a correctly sized box, you dramatically reduce the risk of these frustrating and heartbreaking disasters, making the journey as stress-free as possible.
Choosing the Right Cake for Easy Transportation
Cake Design Considerations: Selecting Transport-Friendly Cake Shapes
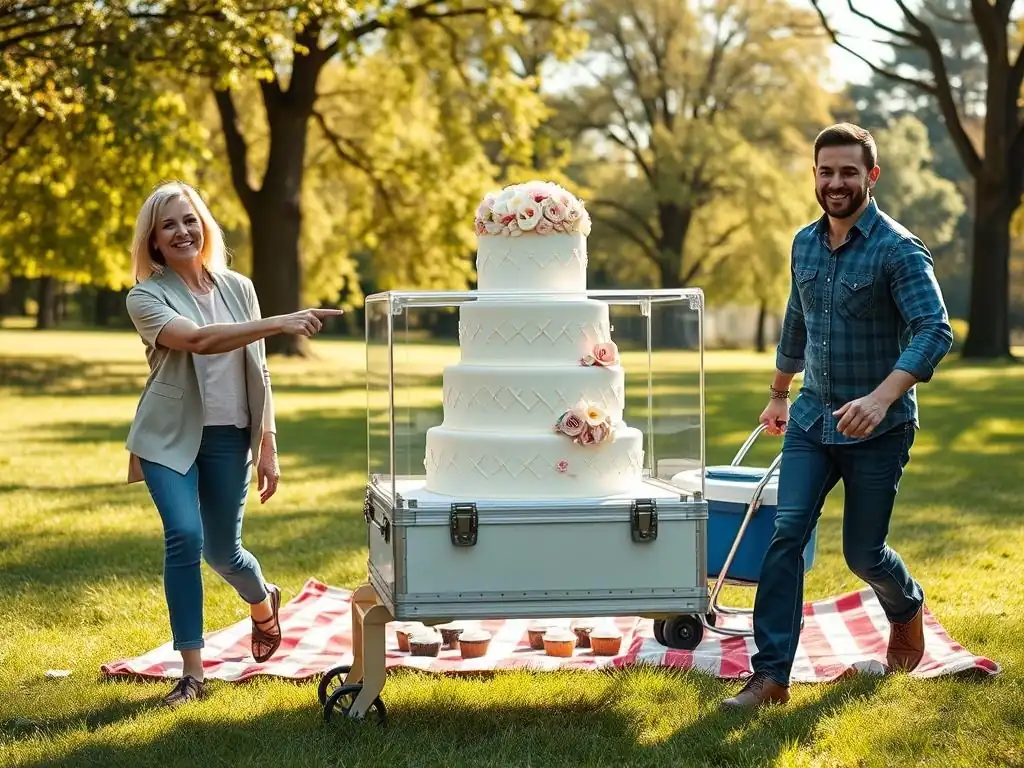
When planning a cake for a large gathering that requires transportation, the design significantly impacts how easy it is to move. Single-tier cakes, especially those baked in sturdy shapes like sheet pans (e.g., 9x13 inch or 11x15 inch) or standard rounds (e.g., 8-inch, 10-inch), are generally the easiest to transport. Their lower center of gravity and simpler structure make them inherently more stable than tall, multi-tiered creations. For very large crowds, a sheet cake is often the most practical choice for both baking and transport, as it sits flat and wide on a single board.
Tiered cakes introduce more complexity. While beautiful, their height and stacked structure increase the risk of leaning or collapse if not properly supported. Opting for fewer, larger tiers instead of many small ones can improve stability. Designs with internal supports (like dowels) are essential for tiered cakes. Cakes with significant overhangs or delicate extensions (like sugar flowers on wires) are also more prone to damage. When ease of transport is a priority for a large event, consider streamlined designs with robust shapes and minimal fragile elements extending outwards.
Cake Frosting Types: Which Frostings Travel Best?
The type of frosting used on your cake dramatically affects its resilience during transport, particularly in varying temperatures. Buttercream made primarily with butter (like American buttercream) is delicious but can soften and melt relatively quickly in warm conditions (above 75°F or 24°C). This can lead to bulges, smudges, and even structural issues as the frosting loses its firmness. If you anticipate warm transport conditions, chilling the cake thoroughly beforehand is absolutely essential when using butter-based frostings.
More stable frosting options include ganache (especially dark chocolate ganache, which sets firmly), Swiss or Italian meringue buttercreams (which tend to be more stable than American buttercream due to the cooked sugar syrup), and fondant. Fondant, while perhaps not everyone's favorite taste, provides a very sturdy outer shell that protects the cake and is highly resistant to temperature fluctuations compared to most buttercreams. Cream cheese frosting is notoriously soft and best used only for very short, cool transports. For maximum transport ease, especially over longer distances or in unpredictable weather, consider frostings known for their stability.
Dense Cakes vs. Delicate Cakes: Understanding Transport Stability
The cake itself plays a role in transport stability. Denser cakes, such as pound cake, fruit cake, or sturdy butter cakes, generally hold up better during transit than lighter, more delicate sponges like chiffon or angel food cake. A dense cake has a firmer crumb structure that is less likely to compress or crumble under its own weight or during minor jolts. This makes them more forgiving when handling and moving.
Delicate cakes, while wonderfully light and airy to eat, are more fragile. They can be more prone to cracking, collapsing, or shifting on their board if not handled with extreme care. If you're transporting a delicate cake, ensuring it is completely cooled, properly leveled, and handled minimally is crucial. Chilling is even more important for delicate cakes to firm up their structure as much as possible before the journey. For simple cake transport tips focusing on stability, starting with a sturdier cake recipe can make a significant difference.
Essential Cake Transport Supplies and Equipment
The Indispensable Cake Box: Choosing the Right Size and Material
A sturdy cake box is perhaps the most critical piece of equipment for safe cake transport. It protects the cake from external elements like dust, debris, and temperature fluctuations, while also providing a physical barrier against accidental bumps or pokes. The key is choosing a box that is the correct size for your cake. It should be just large enough to fit the cake and its board comfortably, with maybe an inch or two of clearance on all sides, but not so large that the cake can slide around excessively inside.
Cake boxes come in various materials, typically corrugated cardboard or plastic. Corrugated cardboard boxes are widely available, affordable, and offer good protection if sturdy. Look for boxes made from strong, thick cardboard. Plastic cake carriers, often with locking lids and sometimes with internal bases that secure the cake board, offer even greater protection and are reusable.
For tiered cakes, you may need special tall boxes or even separate boxes for each tier to stack at the venue. Measure your cake (including any decorations) and its board carefully before selecting a box. A box that's too small will smudge the frosting; one that's too big offers little support.
Cake Boards and Drums: Providing a Stable Base for Cake Transport
Every cake, whether single-tier or multi-tier, needs a stable base for transport. Cake boards are typically made of compressed cardboard. For most single-tier cakes and lighter creations, a standard single-thickness cake board is sufficient. However, for larger or heavier cakes, and especially for tiered cakes, you should use a thicker, stronger cake drum. Cake drums are usually about 1/2 inch thick and covered in foil (often silver or gold).
The cake board or drum should be at least 2-3 inches wider in diameter than the cake itself (or the bottom tier of a tiered cake). This provides space to handle the cake without touching the sides and allows room for a decorative border. More importantly, it provides a stable, rigid base that you can lift and secure within the box or vehicle without flexing, which could cause the cake to crack or lean. Securing the cake to this board is the next crucial step, as detailed later.
Securing Your Cake: Using Non-Slip Mats and Cake Dowels for Safe Travel
Preventing your cake from sliding around during transit is paramount. A simple yet highly effective tool for this is a non-slip mat, often made of silicone or rubber. Placing a piece of this mat on the floor of your car (trunk or passenger footwell) or on the seat before placing the boxed cake on top creates friction that prevents the box from shifting. You can also place a small piece under the cake board inside the box if there's too much clearance, though securing the cake to the board is the primary method.
For tiered cakes, internal support is non-negotiable. Cake dowels (either plastic or wooden) inserted into the lower tiers provide structural support for the tiers above. Without dowels, the weight of the upper tiers will compress and destabilize the tiers below, leading to leaning or collapse. The number and placement of dowels depend on the cake's size and weight, but typically involves inserting several dowels cut flush with the top of the frosted tier, positioned just inside where the next tier will sit. This internal support is key to successful tiered cake transport.
Protecting Your Cake: Using Bubble Wrap and Other Protective Materials
While the cake box is the primary protector, additional materials can offer cushioning and insulation. For single-tier cakes in boxes with some empty space, crumpled parchment paper or tissue paper can be gently placed around the sides inside the box to fill gaps and prevent shifting, without touching the cake itself. This is a simple but effective easy cake transport tip.
For tiered cakes, especially those transported in pieces to be assembled at the venue, bubble wrap or foam padding can be used to wrap the individual boxed tiers to protect them during transit. When securing a boxed cake in your car, you can use towels, blankets, or even pool noodles cut to size to wedge around the box and keep it firmly in place, preventing it from tipping or sliding. Ensure any protective material used outside the box does not put pressure on the box walls that could deform it and damage the cake inside.
Step-by-Step Guide to Securing Your Cake for Transport
Leveling and Chilling Your Cake: Preparation is Key
Proper preparation is the foundation of easy cake transport. First, ensure your cake layers are perfectly level before stacking and frosting. Uneven layers lead to an unstable cake structure that is prone to leaning. Use a cake leveler or a serrated knife to trim domes off the top of your cooled cake layers.
Once frosted and decorated (or at least crumb-coated), the cake must be thoroughly chilled. Refrigerate the cake uncovered for at least 2-4 hours, or preferably overnight, until the frosting is firm to the touch. This process, known as "crusting" the buttercream, significantly hardens the outer layer, making it much more resistant to smudging and damage during handling and transport. A cold, firm cake is exponentially more stable than a room-temperature one.
Placing the Cake on the Board: Centering for Stability
Choosing the right size cake board or drum is the first step, but correctly positioning the cake on it is equally important for stability. The cake should be centered precisely on the board. If it's off-center, the weight distribution will be uneven, increasing the likelihood of tilting or sliding, especially during turns or stops.
Use gentle hands or wide spatulas to lift the cake layer onto the board. For multiple layers, ensure each layer is centered on the one below it before adding frosting. For a finished cake, measure or visually estimate the center of the board and carefully lower the cake onto it. Ensure the cake is sitting flat and flush against the board across its entire base.
Securing the Cake to the Board: Using Frosting or Edible Glue
This is a crucial, often overlooked step in easy cake transport tips. Simply placing the cake on the board isn't enough; you need to adhere it securely. Before placing the first cake layer or the assembled cake onto the board, spread a dollop or a thin layer of frosting (the same type used on the cake) or a small amount of edible glue (like melted chocolate or piping gel) onto the center of the cake board where the cake will sit.
Then, carefully place the cake onto this adhesive layer. The frosting or glue will act like a cement, bonding the cake firmly to the board as it sets. This prevents the cake from sliding around on the board during movement, which is a major cause of damage. This simple technique adds significant stability for transport.
Boxing the Cake: Choosing the Right Box and Sealing it Properly
Once the cake is chilled and securely on its board, it's time to box it. Select a cake box that is slightly larger than the cake board but not excessively so. The height of the box should be sufficient to clear the tallest point of your cake, including any decorations, by at least an inch to prevent smudging the top.
Carefully slide the cake on its board into the box. If the box has an attached lid, fold it over and secure the corners. If it's a separate lid, place it squarely on top. For extra security, you can use a piece of tape to seal the box shut, especially along the bottom edge where the box meets the lid, ensuring the lid doesn't accidentally lift off during transit. Make sure the tape doesn't put pressure on the cake itself.
Mastering Cake Transport Techniques for Different Scenarios
Transporting Tiered Cakes: A Guide to Safe Stacking and Support
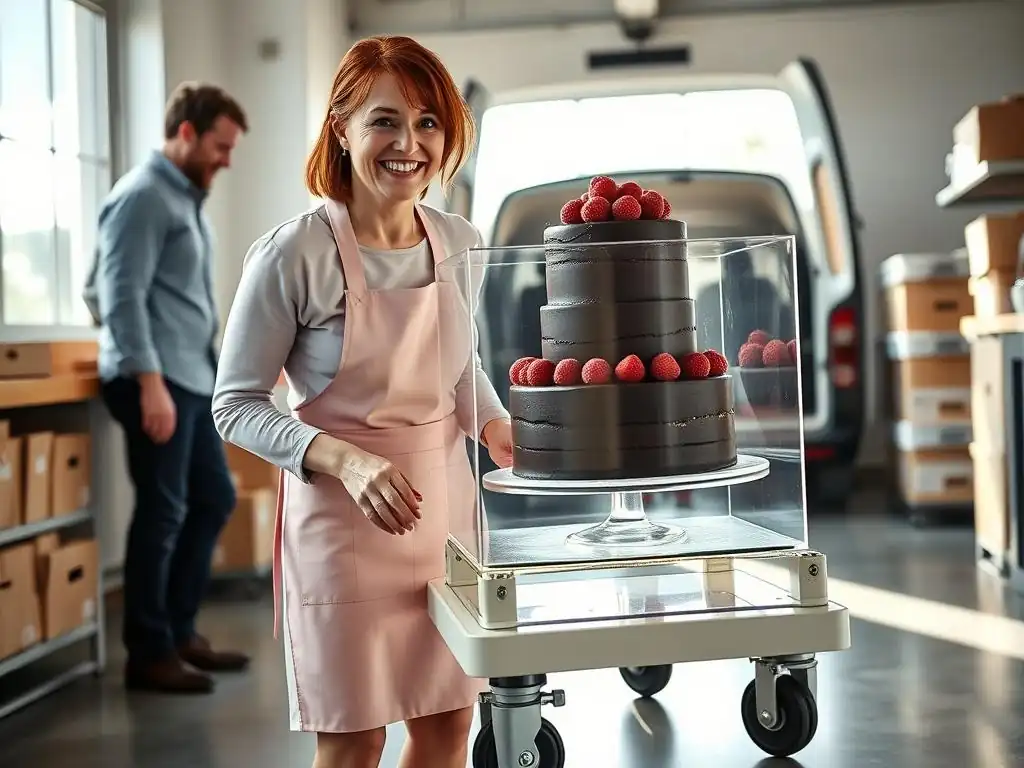
Transporting tiered cakes requires extra care due to their height and weight distribution. The most common method for larger or taller tiered cakes is to transport the tiers separately and assemble them at the venue. Each tier, baked on its own appropriately sized cake drum (matching the tier's diameter), should be chilled, potentially crumb-coated, and then boxed individually. For transport, these boxes are placed side-by-side, secured with non-slip mats and wedges.
If transporting a fully assembled tiered cake (usually only advisable for cakes with 2-3 tiers and robust internal support), ensure each tier has adequate doweling. The dowels in the lower tier must be strong enough and numerous enough to bear the weight of the tiers above. The cake drum of the bottom tier must be very sturdy (often reinforced). The cake is then placed in a tall, specially designed cake box or transported carefully without a box in certain professional setups, always on a non-slip surface in the vehicle.
Transporting Cupcakes and Mini Cakes: Preventing Tipping and Damage
Cupcakes and mini cakes, while smaller, present their own transport challenges, primarily preventing them from tipping over and smudging their delicate frosting swirls. Standard cupcake carriers are the best solution. These carriers have molded inserts with individual cavities that hold each cupcake firmly in place. Look for carriers with secure lids that snap or lock shut.
If you don't have a dedicated carrier, a sturdy box with DIY dividers can work. You can create a grid of cardboard strips inside a box to keep the cupcakes from shifting. Alternatively, place a small coil of non-slip mat material or even a ring of frosting on the bottom of a box before placing each cupcake to help it grip the surface. For transport, ensure the box is kept level and stable, avoiding sudden movements.
Transporting Cakes in Hot Weather: Keeping Your Cake Cool and Protected
Hot weather is arguably the biggest enemy of cake transport, especially for those with buttercream frosting. Temperatures above 75°F (24°C) can cause frosting to soften rapidly, leading to smudging, bulging, or even complete melting and structural failure. The first line of defense is thorough chilling of the cake before it leaves refrigeration.
For the journey, transport the cake in an air-conditioned vehicle. Place the cake box on a non-slip mat on the floor of the passenger seat or trunk, where it's usually cooler and more stable. Avoid placing the cake on a seat, as the angle can cause leaning.
For longer distances or very hot days, consider using insulated bags or boxes lined with ice packs (ensuring the ice packs don't directly touch the cake box to avoid condensation damage). Dry ice can be used for extended transport, but requires careful handling and ventilation. Aim to keep the cake's environment below 70°F (21°C).
Transporting Cakes in Cold Weather: Preventing Cracking and Damage
While less common than heat-related issues, cold weather can also pose a threat to cakes, particularly causing frosting and fondant to become very hard and potentially brittle. Extreme cold (below 40°F or 4°C) can cause chocolate decorations or hardened ganache to crack. Fondant can also become stiff and prone to breakage.
The main risk in cold weather is the transition from a warm indoor environment to the cold outdoors, and then back into a warm venue. Rapid temperature changes can cause condensation and cracking. To mitigate this, keep the cake covered and insulated during the move. Avoid placing the cake directly next to car heaters. Once at the venue, allow the cake to come to temperature gradually in its box before unboxing and serving. Don't place it immediately next to a heat source.
Driving with Your Cake: Safe Driving Practices for Cake Transport
Choosing the Right Vehicle: Considering Space and Suspension
The vehicle you use for cake transport can make a difference. A car with good suspension will provide a smoother ride, minimizing bumps and vibrations. A larger vehicle, like an SUV or minivan, often offers more flat, stable floor space than a small sedan. Avoid using trucks unless the cake can be secured inside the cab.
The key is finding a flat, level surface where the cake box can sit securely. The floor of the passenger side (front or back) or the floor of the trunk are often the best spots, provided they are clean and level. Avoid placing the cake directly on seats, which are often sloped and less stable. Ensure there's enough height clearance if the cake is tall.
Positioning the Cake in the Car: Avoiding Direct Sunlight and Heat
Once you've chosen the best spot in your vehicle, position the cake box carefully. Always place it on a non-slip mat. Ensure it is not directly in the path of sunlight coming through windows, as even on a cool day, direct sun can quickly heat up and melt frosting.
Ideally, wedge the box in place using sturdy items like towels, blankets, or even empty boxes. The goal is to prevent any movement during the drive. For tiered cakes or very large cakes, having a passenger hold the cake box steady is often the safest method, allowing them to anticipate bumps and support the cake manually.
Driving Slowly and Carefully: Minimizing Bumps and Shocks
This is perhaps the most straightforward but essential easy cake transport tip: drive like you have a precious, fragile cargo (because you do!). Accelerate and brake very slowly and smoothly. Take corners at a significantly reduced speed, avoiding sharp turns. Pay extra attention to the road ahead to anticipate bumps, potholes, or uneven surfaces.
If possible, plan your route to avoid roads known for being rough or congested. Allow plenty of extra time for the journey so you don't feel rushed, which can lead to careless driving. Think of yourself as a professional cake delivery service – slow, steady, and hyper-aware of every movement. Minimizing sudden shocks is paramount to preventing structural damage or frosting smudges.
Arriving at Your Destination: Unboxing and Final Touches
Carefully Unboxing Your Cake: Avoiding Smudging and Damage
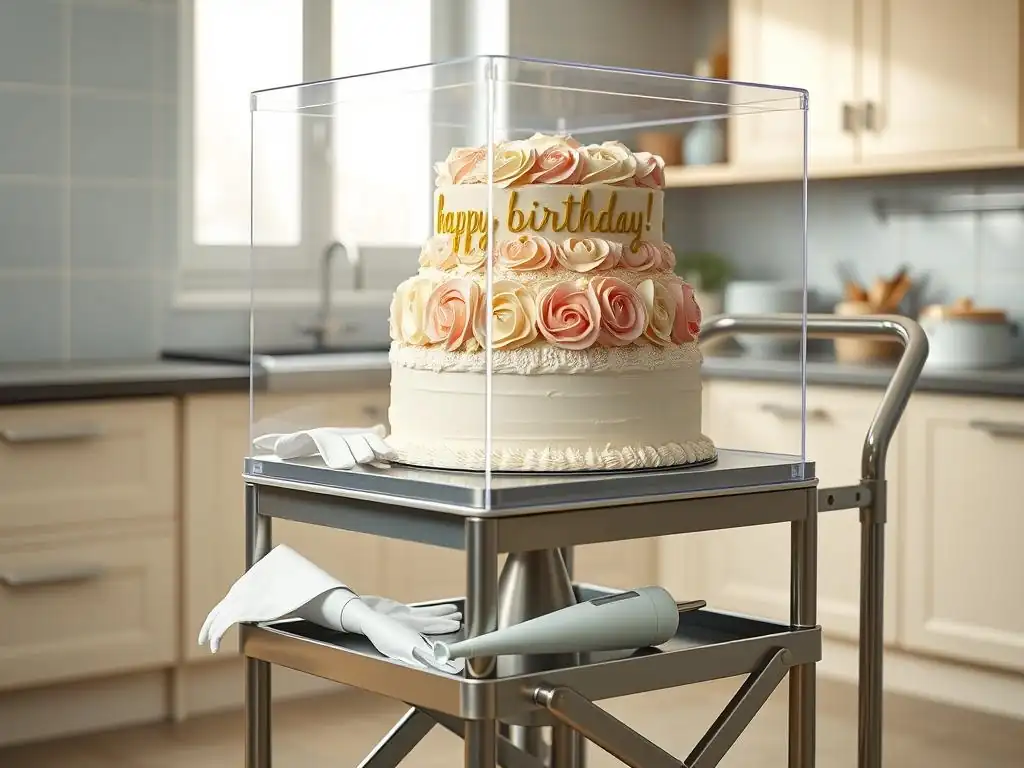
You've arrived! The transport is over, but the job isn't quite done. Unboxing the cake requires the same care as packing it. Before opening the box, ensure it is on a stable, flat surface at the venue. If the cake is heavy or large, have someone assist you.
Carefully unseal the box. If it's a top-loading box, gently lift the lid straight up to avoid hitting the top of the cake. If it's a side-loading box, slowly slide the cake out, supporting the board from underneath. Avoid dragging the cake board across the bottom of the box, which could cause friction and jostle the cake. Once out of the box, place the cake immediately on the designated display table.
Despite your best efforts and easy cake transport tips, minor imperfections can sometimes occur. A small smudge on the frosting, a slightly bent sugar flower, or a tiny crack can often be fixed discreetly at the venue. Keep a small cake repair kit handy, which might include a small offset spatula, a piping bag with extra frosting, a few spare decorations, and toothpicks.
For smudges, a warm, dry finger or a small spatula can sometimes smooth buttercream. Small cracks in fondant can sometimes be gently smoothed with a fingertip or a tiny amount of shortening. Bent decorations can often be repositioned. Address these issues quickly and calmly before the cake is put on full display. Most minor flaws are only noticeable to the baker unless pointed out.
Storing Your Cake at the Venue: Maintaining Freshness and Presentation
Once unboxed and on display, consider the storage conditions at the venue until it's time to serve. Ideally, the cake should be kept in a cool, stable environment, away from direct sunlight, heat sources (like radiators or hot kitchen equipment), and drafts. Refrigeration is best if available and the cake fits, though bringing it to room temperature for serving is usually desired for flavor and texture.
If refrigeration isn't possible, find the coolest spot in the room. For outdoor events, keep the cake covered and in the shade for as long as possible. Ensure the display table is sturdy and not in a high-traffic area where it could be accidentally bumped. Proper storage at the venue is the final step in ensuring your beautifully transported cake remains perfect until it's time to cut and enjoy.
Troubleshooting Common Cake Transport Problems
Cake Sliding on the Board: Solutions for a Shifting Cake
If you notice your cake has slightly shifted on its board upon arrival, it's likely because it wasn't properly secured to the board before boxing or the adhesive layer (frosting/glue) wasn't sufficient or wasn't allowed to set. If the shift is minor and the cake structure is intact, you may be able to gently nudge it back into place using spatulas, supporting the sides.
For a significant shift, especially with a heavy cake, attempting to move it back might cause more damage. In such cases, assess the stability. If it seems precarious, you might need to carefully remove the cake, clean the board, apply fresh adhesive, and re-center, though this is a risky maneuver at the venue. The best solution is prevention: always secure the cake to the board with a firm layer of frosting or edible glue before transport.
Frosting Damage During Transport: Repairing Smudges and Dents
Smudged or dented frosting is a common issue, often caused by the box being too small, bumping the cake, or the frosting being too soft (due to inadequate chilling or heat). If the damage is minor, you can often smooth buttercream using a small offset spatula dipped in warm water and dried, or even just a warm fingertip.
For more significant damage or if using fondant, repairs are trickier. Keep extra frosting or fondant on hand for patching. Small areas of damaged buttercream can be re-piped or smoothed. Fondant damage might require cutting out the affected area and patching with fresh fondant, blending the edges. If the damage is extensive, strategically placed decorations (like fresh flowers or fruit) can sometimes hide imperfections.
Cake Tilting or Leaning: Stabilizing an Unbalanced Cake
A tilting or leaning cake, particularly a tiered one, is usually a sign of insufficient internal support (dowels), uneven stacking, or the cake sliding on its board. If the lean is slight, you might be able to carefully insert extra dowels through the leaning tiers at the venue for added support, though this risks damaging the cake further.
For a severely leaning tiered cake, the safest option might be to carefully dismantle the tiers, trim any compressed areas, add adequate doweling, and restack. If the lean is due to sliding on the board, and the cake is still structurally sound, you might try to gently push it back, but this is difficult with a heavy cake. Prevention is key here: proper doweling for tiered cakes and securing the base cake to its board are essential to avoid leaning.
Beyond the Basics: Advanced Cake Transport Tips
Using Dry Ice for Extended Transport: Keeping Cakes Extra Cold
For transporting highly perishable cakes or those needing to travel long distances in warm conditions (e.g., over several hours), dry ice can be a valuable tool. Dry ice is frozen carbon dioxide and is significantly colder than regular ice (-109.3°F or -78.5°C). It sublimates (turns directly into gas) rather than melting into liquid, which helps keep the cake box dry.
Place the cake box inside a larger insulated container (like a Styrofoam cooler). Wrap the dry ice in newspaper or a towel and place it around the cake box, not directly on it, to prevent freezing the cake itself. Use approximately 5-10 pounds of dry ice for a several-hour trip. Caution: Dry ice requires careful handling (wear gloves) and adequate ventilation (transport in a well-ventilated vehicle) as the CO2 gas can be hazardous in enclosed spaces.
Hiring a Professional Cake Transporter: When to Outsource the Job
For extremely large, heavy, complex, or high-value cakes (like intricate wedding cakes), or when transporting over very long distances, hiring a professional cake transporter or asking the bakery for their delivery service is often the wisest choice. Professional services have specialized refrigerated vehicles, custom packaging solutions, and experienced staff trained in handling fragile cakes.
While this adds to the cost (professional delivery can range from $50 to $200+ depending on distance and complexity), it offers peace of mind and significantly reduces the risk of damage. If the cake's successful arrival is absolutely critical and the risks of DIY transport seem too high, outsourcing this final step is a smart investment. This is especially true for cakes weighing 50 pounds or more or those over 3-4 tiers tall.
Transporting Cakes with Delicate Sugar Decorations: Maintaining Intricate Designs
Cakes adorned with delicate sugar flowers, wafer paper elements, or intricate piping require extra precautions. These decorations are often brittle and easily damaged by bumps or contact. If possible, transport very fragile decorations separately and attach them at the venue using a little buttercream or edible glue.
If the decorations must be transported on the cake, ensure they are fully hardened (if applicable) before the journey. The cake box height must provide ample clearance above the tallest decoration. Wedge the cake box securely in the vehicle so there is absolutely no shifting. Drive even more slowly and cautiously than usual, avoiding any sudden movements. Consider placing a protective barrier (like a piece of cardboard taped to the inside of the box lid) above particularly vulnerable decorations if clearance is tight, just in case the box lid flexes slightly.
Frequently Asked Questions
How can I safely transport a cake for a long distance?
For long distances, ensure your cake is extremely chilled and consider freezing it lightly. Use a sturdy box and pack it tightly with padding to prevent shifting during transit.
What's the best way to prevent a cake from sliding around during transportation?
Use non-slip mats or damp paper towels underneath the cake board to create friction. Secure the cake box within your vehicle to minimize movement and prevent sudden stops.
What type of container is ideal for transporting a tiered cake?
A specially designed tiered cake box with internal supports is crucial. Transport each tier separately if possible, assembling on-site for maximum stability.
How do I keep frosting from melting during cake transport, especially in warm weather?
Keep the cake as cool as possible by using ice packs in the cake box (without directly touching the cake). Avoid direct sunlight and transport during cooler parts of the day.
What are some quick fixes if a cake gets damaged during transport?
For minor frosting smudges, use a warm spatula to smooth them out. If there's significant damage, strategically add extra frosting or decorations to cover the imperfections.
Final Reflection: The Sweet Success of Safe Cake Transport
The art of transporting a cake, once a daunting task fraught with potential disaster, is now within everyone's reach. Successfully moving a beautifully decorated cake from point A to point B, without a single crumb out of place, is a triumph celebrated not just by bakers, but by all who appreciate the joy of sharing delicious treats. This isn't just about avoiding a sugary catastrophe; it's about ensuring a memorable celebration.
The impact of mastering cake transport extends far beyond the individual baker. It's about fostering community and connection through shared experiences. Successfully delivering a stunning cake elevates the entire event, transforming a simple gathering into something truly special. It's about the pride in a job well done, the joy of seeing the recipient's delighted face, and the satisfaction of knowing you played a part in creating a cherished memory. A cake is a celebration of life, and its safe arrival is a testament to careful planning and execution.
Now, consider your next baking project. Will you let the fear of transport hold you back from sharing your culinary creations? I encourage you to embrace the techniques outlined in this article, to confidently carry your cake to its destination, and to experience the immense satisfaction of sharing your delicious handiwork with loved ones. Let your next cake transport be a resounding success, a testament to your skill and a symbol of the joy you bring to others.
Unlock Your Cake-Transporting Confidence!
Thanks for joining us on this delicious journey into cake transportation! We hope you’ve picked up some foolproof techniques to ensure your next masterpiece arrives safely and beautifully. Ready to put your new skills to the test?
- Master the Art of the Cake Stand: This is your secret weapon! Invest in a sturdy, non-slip cake stand for effortless transport and presentation.
- Share your cake-carrying triumphs (or challenges!) in the comments below – we’d love to hear your stories!
- Challenge yourself: Bake a showstopping cake this weekend and use these techniques to transport it for a special gathering.
What ingenious cake-carrying methods have you discovered? Let's share our best tips and tricks!