
Simple Steps to Make Ahead Your Party Baked Goods

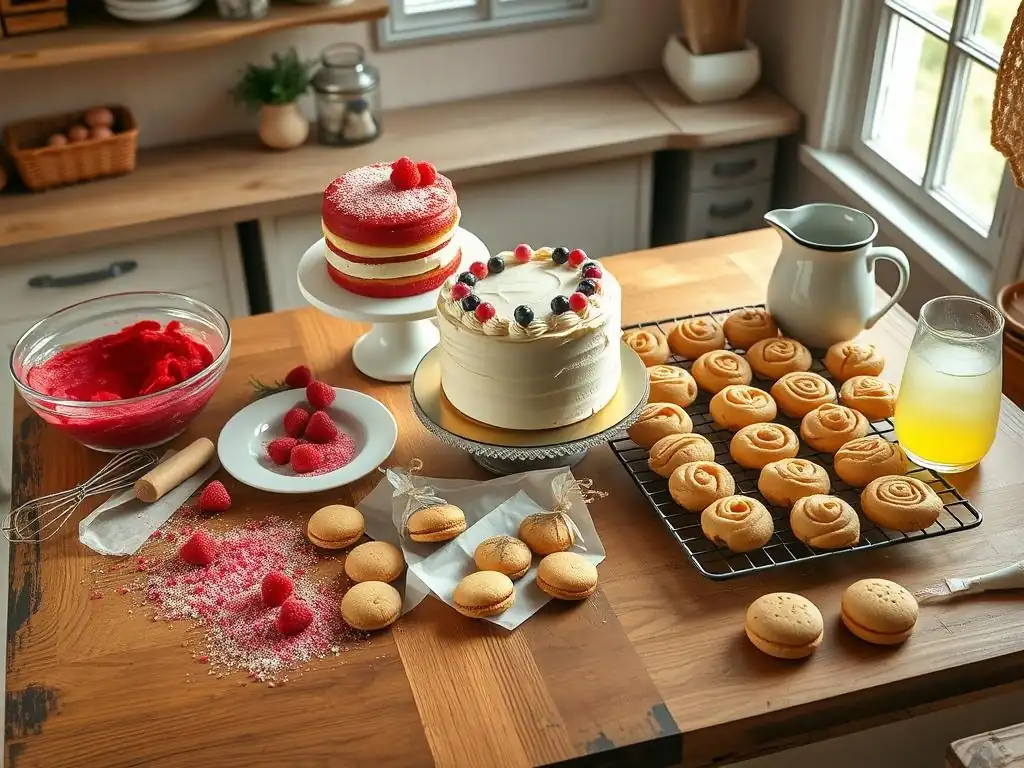
Welcome to BakeWithEase, your companion on the delightful journey of baking!
Are you dreaming of stress-free entertaining? Then you're in the right place! Discover our simple steps to easy party baked goods ahead and unlock the secret to effortlessly delicious gatherings. Imagine serving homemade treats with minimal fuss – we'll show you how. Ready to transform your next celebration? Dive in and let's get baking!
- Effortless Party Baking: A Guide to Make-Ahead Treats
- Streamline Your Celebration: Mastering Party Baking in Advance
- The Benefits of Make-Ahead Baked Goods for Parties
- Make-Ahead Party Baked Goods: A Comprehensive Guide
- Expert Make-Ahead Baking Tips for Party Success
- Sample Make-Ahead Party Baking Timeline
- Troubleshooting Common Make-Ahead Baking Issues
- Savor Your Party with Delicious, Effortlessly Prepared Baked Goods!
- Frequently Asked Questions
- Final Reflection: The Sweet Symphony of Prepared Party Treats
- Unleash Your Inner Baker: Get Baking Ahead of Time!
Effortless Party Baking: A Guide to Make-Ahead Treats
Streamline Your Celebration: Mastering Party Baking in Advance
Hosting a party should be a joyful experience, not a stressful marathon in the kitchen. One of the most effective ways to ensure you're relaxed and ready to mingle when guests arrive is by tackling your baking tasks ahead of time. Preparing easy party baked goods ahead allows you to spread out the work, manage your time effectively, and ensure everything is perfect when it's time to serve. This approach transforms baking from a last-minute rush into a calm, organized process, letting you focus on other party preparations or simply enjoy the anticipation.
This guide will walk you through the simple steps to successfully make ahead your party baked goods, from selecting the right recipes to perfect storage and last-minute touches. By planning and preparing in advance, you can eliminate pre-party kitchen chaos and greet your guests with confidence, knowing that delicious, homemade treats are ready and waiting. Embracing the make-ahead strategy is key to effortless party hosting and guarantees you get to savor your own celebration.
The Benefits of Make-Ahead Baked Goods for Parties
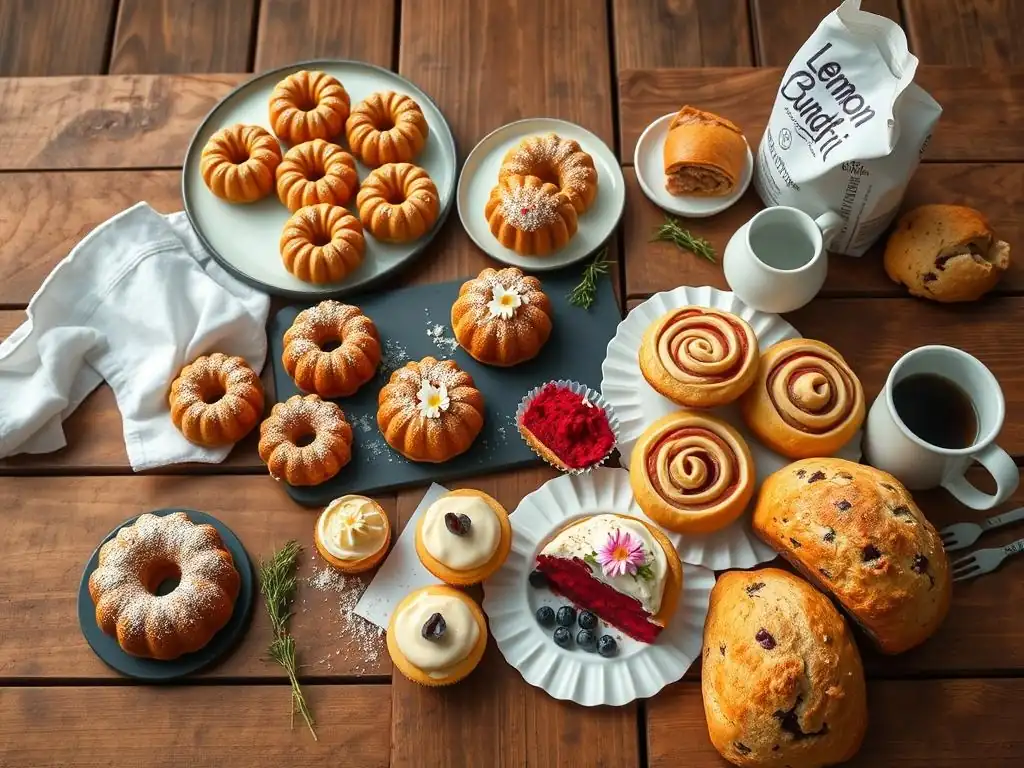
Minimize Stress and Maximize Enjoyment with Advance Preparation
Preparing easy party baked goods ahead of time dramatically reduces the pressure leading up to your event. Instead of juggling multiple dishes, decorations, and last-minute cleaning on the day of the party, you can complete your baking days, or even weeks, in advance. This allows you to break down the workload into manageable chunks. For instance, you might bake cookies on Tuesday, prepare a cake on Wednesday, and decorate on Friday for a Saturday party.
This segmented approach prevents the overwhelming feeling of having too much to do at once. It frees up valuable time on party day to focus on fresh items, final setup, and getting yourself ready. Imagine the difference between frantically pulling hot trays out of the oven as guests ring the doorbell versus calmly arranging pre-baked treats on a platter. Studies show that perceived control over tasks significantly reduces stress; having your baking done is a major win for your peace of mind.
Preserve Optimal Taste and Texture
Contrary to popular belief, many baked goods actually benefit from being made ahead. Cakes, for example, often develop deeper flavors and a moister crumb when allowed to sit for 24 hours before frosting. This resting period allows moisture to redistribute evenly throughout the cake layers. Cookies, especially those with spices or complex flavors, can also see their taste profiles deepen over a day or two.
Proper storage techniques, which we'll explore, are crucial for maintaining the desired texture. Freezing, when done correctly, can preserve the fresh taste and texture of many items for months, making it possible to bake far in advance. Defrosting properly ensures that cakes remain moist and tender, and cookies retain their intended chewiness or crispness. Some items, like unfrosted brownies or certain types of bread, freeze and thaw so well they taste as if they were just baked.
Create a Strategic Party Baking Schedule
Developing a make-ahead baking schedule is the cornerstone of stress-free party preparation. Start by listing all the baked goods you plan to serve. Then, for each item, determine how far in advance it can be made and stored effectively. For example, some cookies can be baked and frozen raw as dough balls for up to 3 months, while a frosted layer cake might be best made and frozen baked layers up to 2-3 weeks ahead, with frosting added closer to the date.
Consider the complexity of each item and allocate time accordingly. A simple batch of drop cookies might take an hour, while a multi-component pastry could require an afternoon. Factor in cooling times and potential defrosting periods. By mapping out which items to bake on which day leading up to the party, you create a clear plan of action. This strategic approach ensures that everything is ready on time, without last-minute panics, making it truly easy to have party baked goods ahead.
Make-Ahead Party Baked Goods: A Comprehensive Guide
Step 1: Selecting Suitable Recipes for Advance Preparation
Choosing the right recipes is the first critical step when planning to make ahead party baked goods. Not all recipes are created equal when it comes to holding up over time or surviving freezing and thawing. Look for recipes specifically noted as being freezer-friendly or those known to age well. Generally, dense cakes, sturdy cookies, and many types of bread are excellent candidates, while delicate pastries with fresh fruit or whipped cream fillings might be better made closer to the event.
Prioritize recipes that allow for components to be made separately and assembled later, or those where the finished product freezes and thaws without significant loss of quality. Reading recipe reviews can offer insights into how well a particular item holds up. Focusing on these types of recipes makes the entire process of preparing easy party baked goods ahead much smoother and more successful.
Crowd-Pleasing Cookie Recipes Ideal for Making Ahead
Many cookie recipes are perfect for making ahead, offering flexibility and convenience. Drop cookies like chocolate chip, oatmeal, or peanut butter cookies are excellent candidates. You can prepare the dough, scoop it into individual portions, and freeze the dough balls on a baking sheet. Once frozen solid (typically 1-2 hours), transfer the dough balls to an airtight container or freezer bag. These frozen dough balls can be stored for up to 3 months and baked directly from frozen, simply adding a minute or two to the baking time specified in the recipe.
Alternatively, you can bake the cookies completely, cool them thoroughly, and then freeze them in layers separated by parchment paper within an airtight container. Baked cookies can last in the freezer for 6-12 months, though quality is best within the first 3-6 months. Sugar cookies and shortbread also freeze exceptionally well, either as dough or baked. Avoid freezing cookies with delicate decorations or those that are meant to be extremely crisp, as moisture from freezing can affect texture.
Cakes That Maintain Quality When Baked in Advance
Denser cakes, such as pound cake, loaf cakes (like banana bread or lemon drizzle), and butter-based layer cakes, are excellent choices for making ahead. These types of cakes tend to remain moist and flavorful after freezing and thawing. Sponge cakes can also work, but they require more careful handling to avoid damage. Fruitcakes, known for their long shelf life, are perhaps the ultimate make-ahead cake, often improving with age over several weeks.
For layer cakes, it's often best to bake the layers, cool them completely, wrap them tightly in plastic wrap and then foil, and freeze them unfrosted. Cake layers can typically be frozen this way for 2-3 months. Thaw them wrapped in the refrigerator overnight or at room temperature for a few hours before unwrapping and frosting. This method prevents the frosting from getting damaged during freezing and allows you to apply a fresh, smooth layer just before serving, ensuring a beautiful presentation.
Breads and Pastries Perfect for Pre-Party Preparation
Many types of bread and certain pastries are also well-suited for making ahead. Yeast breads, such as dinner rolls, focaccia, or sandwich loaves, freeze beautifully after baking and cooling completely. Wrap them tightly in plastic wrap and then foil or place in freezer bags. Most baked breads can be frozen for 2-3 months. Thaw at room temperature or gently reheat in a low oven (around 300°F or 150°C) for 10-15 minutes to restore freshness.
Pastries like brownies and blondies are fantastic make-ahead options; they freeze exceptionally well, often becoming even chewier after thawing. Fruit pies can be frozen unbaked or baked. Freezing unbaked pies (wrapped tightly) allows you to bake them fresh on the day, which is ideal for a crisp crust. Baked pies can also be frozen (cooled completely and wrapped), though the bottom crust might be slightly less crisp upon thawing. Scones and muffins can be frozen baked or as dough/batter portions, offering flexibility.
Step 2: Baking and Cooling Techniques for Optimal Results
Proper baking is always important, but it's especially crucial when preparing easy party baked goods ahead. Slightly underbaking some items can sometimes help retain moisture during storage and thawing, but be careful not to underbake to the point of gumminess or food safety issues. Following recipe instructions closely for time and temperature is generally the best approach. Ensure your oven temperature is accurate by using an oven thermometer.
Equally important is the cooling process. Rushing cooling can trap steam, leading to soggy textures or making items difficult to handle and wrap properly for storage. Always cool baked goods completely before wrapping or storing them, especially if freezing. This step is non-negotiable for preserving quality when you make ahead party baked goods.
Precise Baking Techniques for Make-Ahead Treats
For cookies, ensuring they are baked just until the edges are set and the centers are still slightly soft (unless a crisp cookie is desired) helps them retain moisture during storage. Overbaked cookies will be dry from the start and won't improve over time. Using a timer is essential, and check for doneness at the minimum time specified in the recipe. For cakes, bake until a toothpick inserted into the center comes out clean or with just a few moist crumbs attached. Avoid opening the oven door frequently, as this can cause temperature fluctuations and uneven baking.
When baking items that will be frozen, such as bread or cake layers, consider using slightly less flour or a touch more fat than usual if experimenting, as this can sometimes aid in moisture retention through the freezing and thawing process. However, sticking to a reliable recipe is usually the safest bet. Baking on parchment paper or silicone mats ensures even heat distribution and prevents sticking, which is helpful when handling items that will be moved to storage containers.
The Critical Importance of Thoroughly Cooling Baked Goods
Cooling is a crucial step often underestimated in the make-ahead process. Baked goods continue to cook slightly from residual heat after being removed from the oven. Placing them on a wire rack allows air to circulate around the entire item, stopping the cooking process and allowing steam to escape. Cakes should typically cool in their pan for a specified time (often 10-15 minutes) before being inverted onto a wire rack to cool completely.
Cookies should transfer from the hot baking sheet to a wire rack within a few minutes to prevent overbaking on the hot pan. Breads should cool completely on a rack before slicing or storing. Attempting to wrap or store warm or hot baked goods, especially in airtight containers or freezer materials, will trap steam. This trapped moisture will condense, leading to soggy textures, potential ice crystal formation if freezing, and can even encourage mold growth. Allow items to reach room temperature, which can take several hours for large cakes or loaves of bread, before proceeding with storage.
Step 3: Storing Baked Goods to Maximize Freshness
Proper storage is perhaps the most vital component of successfully preparing easy party baked goods ahead. The goal is to protect your baked goods from air, moisture loss, and freezer burn. The right storage method depends on the type of baked good and how long you need to store it. Always use airtight containers, heavy-duty freezer bags, plastic wrap, and aluminum foil designed for freezing.
Labeling everything clearly with the contents and date is essential. This helps you keep track of what you have and ensures you use items within their optimal storage timeframe. Don't rely on memory – a simple label maker or piece of masking tape and a marker will save you confusion later. Effective storage techniques ensure your make-ahead party baked goods taste just as good on party day as they did when they came out of the oven.
Optimal Storage Solutions for Various Baked Goods
Cookies can be stored in airtight containers at room temperature for 3-4 days. For longer storage up to a week or two, they can be kept in the refrigerator. For extended storage (months), freezing is the best option. Layer cooled cookies in a rigid airtight container with parchment paper between layers to prevent sticking and crushing.
Cakes that are unfrosted can be wrapped tightly in plastic wrap, then foil, and stored at room temperature for 1-2 days, or in the refrigerator for up to a week. Frosted cakes are best stored in an airtight cake carrier or container in the refrigerator. Breads should be stored at room temperature in a bread box, plastic bag, or wrapped in foil for 2-3 days. Avoid refrigerating most breads, as it can dry them out quickly, unless they contain perishable fillings.
Effective Methods for Freezing Cookies, Cakes, and Breads
Freezing is the ultimate tool for making party baked goods ahead over a longer period. To freeze baked cookies, ensure they are completely cool. Place them in a single layer on a baking sheet lined with parchment paper and freeze until solid (about 1 hour). Then, transfer to an airtight container or freezer bag, placing parchment paper between layers. This flash-freezing prevents them from sticking together.
For cake layers, cool completely, wrap each layer individually and tightly in plastic wrap, then wrap again in aluminum foil or place in a freezer bag, removing as much air as possible. This double layer of protection is key to preventing freezer burn. For loaves of bread or rolls, cool completely, wrap tightly in plastic wrap, and then place in a freezer bag or wrap in foil. Ensure all items are labeled with the date. Most baked goods maintain good quality in the freezer for 2-3 months, though some can last longer.
Safe Defrosting and Reheating Procedures
Proper defrosting is crucial to maintaining the quality of your make-ahead party baked goods. The safest and often best way to thaw cakes and breads is slowly in the refrigerator. Remove the item from the freezer and place it, still wrapped, in the refrigerator overnight or for 24 hours for larger items. Keeping it wrapped during thawing prevents condensation from forming on the surface, which can lead to sogginess.
Cookies can often be thawed at room temperature within an hour or two. Keep them in their airtight container while thawing to manage condensation. Some baked goods, like muffins or scones, can be reheated gently from frozen in a low oven (around 300°F or 150°C) for 10-20 minutes, which can restore a fresh-baked texture. Bread loaves can also be refreshed in a similar manner after thawing. Avoid using the microwave for defrosting large baked goods, as it can result in uneven heating and tough spots.
Step 4: Decorating and Assembling Your Party Desserts
Once your make-ahead party baked goods are thawed and ready, the final step is decoration and assembly. This is often the most enjoyable part, allowing you to add the finishing touches that make your treats look festive and inviting. Planning for this final stage is key to presenting beautiful desserts without the stress of baking everything on the same day.
Have your decorating supplies ready – frosting, sprinkles, piping bags, edible glitter, etc. Ensure cakes are fully thawed and at the right temperature before attempting to frost them. Assembling items like trifles or layered desserts should typically be done closer to serving time to prevent sogginess, even if the components were made ahead.
Expert Cake Decorating After Freezing
If you froze unfrosted cake layers, ensure they are fully thawed before you begin decorating. Attempting to frost a partially frozen cake can lead to condensation under the frosting and a less smooth finish. Once thawed, level the layers if necessary and brush with a simple syrup (equal parts sugar and water, heated until sugar dissolves, then cooled) for extra moisture, especially around the edges.
Use a stable frosting like buttercream or ganache, which holds up well. Apply a crumb coat (a thin layer of frosting to trap crumbs), chill the cake until firm (about 20-30 minutes), and then apply the final layer of frosting. Decorations like fondant, sprinkles, or piped designs can then be added. If you froze a fully frosted cake, thaw it completely in the refrigerator before moving it to room temperature for a short time before serving. Some delicate decorations might be best added after thawing.
Incorporating Frosting and Fillings into Make-Ahead Pastries
For pastries like cupcakes or filled tarts, it's often best to bake the pastry shells or cupcakes ahead and freeze them unfrosted. Prepare fillings and frostings closer to the party date. Most frostings (buttercream, cream cheese frosting) can be made a few days ahead and stored in the refrigerator, then brought to room temperature and re-whipped before use. Fruit fillings can often be made a day or two in advance and stored in the refrigerator.
Fill and frost cupcakes or tart shells shortly before serving. This prevents the pastry from becoming soggy from the filling or the frosting from drying out or getting smudged during storage. For items like cream puffs or éclairs, the shells can be baked and frozen, but they should be filled with pastry cream or whipped cream just before serving for the best texture.
Assembling Cookies and Desserts for an Impressive Presentation
Many cookie recipes don't require further assembly after baking, but for those that do, like sandwich cookies or decorated sugar cookies, this step is done after thawing (if frozen). Sandwich cookies can be filled with buttercream or jam shortly before serving. Decorated sugar cookies can be iced with royal icing, which dries hard and is quite durable, allowing them to be stored (unstacked unless fully dried) for a few days after decorating.
Layered desserts like parfaits or trifles involve assembling components like cake cubes (baked ahead), pudding or mousse (made ahead), and fruit or whipped cream (often prepared closer to serving). Assemble these desserts in their final serving dishes a few hours before the party and keep them chilled. This ensures the layers are set and the textures are optimal. Planning the assembly process makes serving your easy party baked goods ahead look polished and professional.
Expert Make-Ahead Baking Tips for Party Success
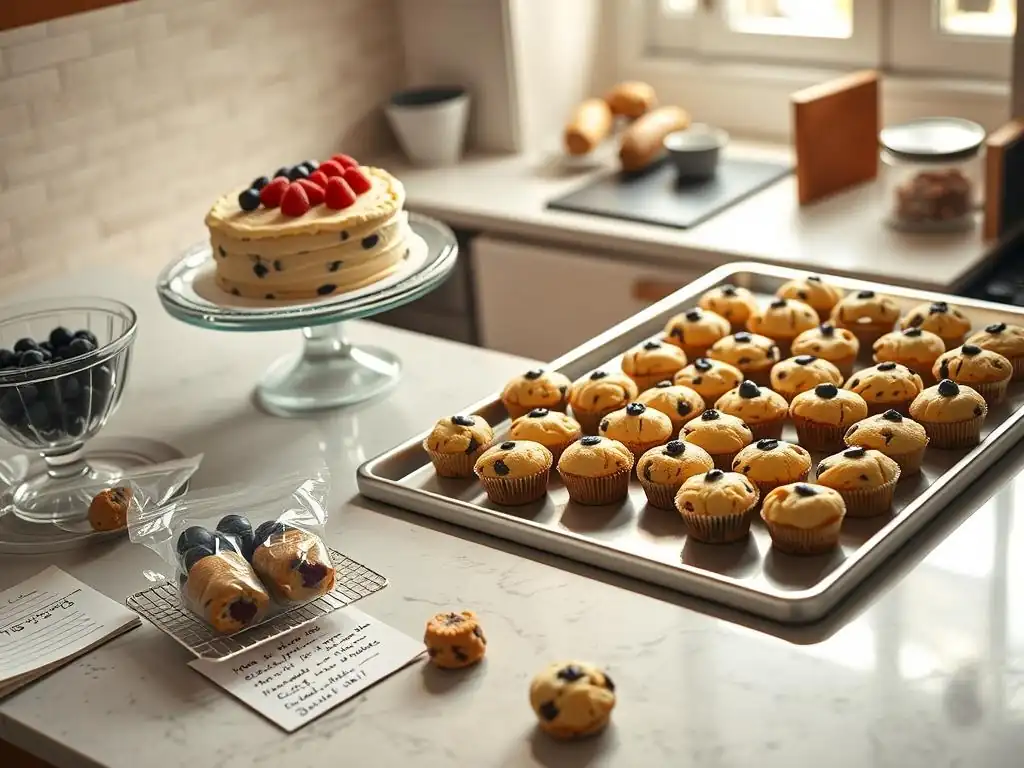
Here are a few extra tips to ensure your make-ahead party baked goods are absolutely perfect:
- Double-check your freezer space: Before you start baking batches of cookies and cakes, make sure you have enough room in your freezer for proper storage. Cramming items in can lead to damage or uneven freezing.
- Use quality ingredients: Starting with good quality ingredients makes a big difference in how well your baked goods taste after storage.
- Allow ample thawing time: Don't rush the thawing process. Give items the recommended time to defrost slowly and evenly for the best results.
- Test a small batch: If trying a new recipe for make-ahead, consider baking and freezing a small portion first to see how it holds up before committing to a large batch for the party.
Maintaining Cake Moisture: Brush with Simple Syrup Before Freezing
A common concern when freezing cake layers is losing moisture, which can result in a slightly dry texture upon thawing. An excellent technique to combat this is to brush the cooled cake layers with a simple syrup before wrapping them for freezing. Simple syrup is incredibly easy to make: just combine equal parts granulated sugar and water in a saucepan, heat it gently while stirring until the sugar is completely dissolved, and then let it cool completely.
Once the cake layers are fully cooled, use a pastry brush to lightly and evenly brush the tops and sides of each layer with the cooled simple syrup. The cake will absorb this moisture, helping it stay tender during the freezing and thawing process. Use a neutral-flavored syrup or infuse it with a complementary flavor like vanilla extract, lemon zest, or a liqueur depending on your cake recipe. This simple step makes a noticeable difference in the final texture of your make-ahead cake.
While proper storage is key to preventing cookie dryness, especially for softer cookies, adding a slice of plain white bread to the storage container can provide an extra layer of moisture protection. The bread slice, when placed in an airtight container with the cookies, will gradually release its moisture into the container's atmosphere. The cookies, being drier than the bread, will absorb this moisture, helping to keep them soft and chewy.
This method works best for cookies that you are storing at room temperature or in the refrigerator for a few days. Simply place a fresh slice of bread in the container with your cooled cookies, ensuring the container lid is tightly sealed. Replace the slice of bread every day or two as it dries out. This simple trick is a time-tested way to maintain the desired texture of easy party baked goods ahead, particularly for softer varieties like molasses or chocolate chip cookies.
Preserving Crust Crispness: Store Unfrosted Pastries in a Single Layer
For pastries where a crisp crust is essential, such as tarts, scones, or some types of cookies, careful storage is needed to prevent them from becoming soft or soggy. The best approach for storing these items, especially at room temperature or in the refrigerator for a short period (1-2 days), is in an airtight container but in a single layer if possible, or with parchment paper between layers if stacking is necessary.
More importantly, ensure they are completely cooled before storing. Any residual heat will create condensation inside the container, which quickly softens a crisp crust. If you are freezing these items, it's often best to freeze them unbaked (like pie crusts or scone dough) or bake them and freeze them unfrosted or unfilled, again ensuring they are fully cooled and wrapped extremely well to prevent moisture from the freezer from affecting the crust. Thawing should ideally happen in the refrigerator or at room temperature in their packaging to minimize condensation.
Sample Make-Ahead Party Baking Timeline
Planning is everything when preparing easy party baked goods ahead. Here is a sample timeline for baking for a party on Saturday, demonstrating how you can spread out the work over several days. This is just one example, and you can adjust it based on your specific recipes and how far in advance items can be stored or frozen.
Sample Schedule: Baking for a Saturday Party, Starting on Thursday
Here is a potential timeline for making ahead your party baked goods for a Saturday event:
- Thursday Morning:
- Bake cake layers (e.g., two 8-inch rounds).
- Cool cakes completely on wire racks (allow 2-3 hours).
- Wrap cooled cake layers tightly in plastic wrap, then foil, and freeze.
- Prepare cookie dough (e.g., chocolate chip).
- Scoop cookie dough into balls and place on a baking sheet.
- Freeze cookie dough balls (approx. 1-2 hours), then transfer to a freezer bag and return to freezer.
- Thursday Afternoon:
- Bake brownies or blondies.
- Cool completely in the pan, then transfer to a wire rack if slicing is needed before storage.
- Wrap cooled brownies tightly in plastic wrap, then foil, or place in an airtight container and refrigerate or freeze depending on recipe/desired storage time (can often be stored at room temp for 2-3 days).
- Prepare scone dough.
- Cut scones and place on a baking sheet.
- Freeze scones (approx. 1 hour), then transfer to a freezer bag and return to freezer (to be baked fresh on Saturday).
- Friday Morning:
- Move frozen cake layers from the freezer to the refrigerator to thaw overnight.
- Make frosting for the cake and store in an airtight container in the refrigerator.
- Prepare any fillings for pastries (e.g., pastry cream) and store in the refrigerator.
- Friday Afternoon:
- Thaw frozen baked cookies (if you chose to freeze baked cookies instead of dough) at room temperature in their container.
- Prepare any simple decorations for cookies or brownies (e.g., dusting with powdered sugar, simple glaze).
- Place thawed cookies/brownies in serving containers or on platters, covered lightly, ready for Saturday.
- Saturday Morning (Party Day!):
- Remove thawed cake layers and frosting from the refrigerator. Allow frosting to come to room temperature slightly and re-whip if needed.
- Assemble and frost the cake. Decorate as desired.
- Bake frozen scones directly from the freezer according to recipe instructions.
- Bake frozen cookie dough balls directly from the freezer according to recipe instructions.
- Fill pastries (like cream puffs or tarts) with pre-made fillings and add any delicate toppings (like whipped cream or fresh fruit).
- Arrange all baked goods on serving platters.
This timeline ensures that the bulk of the work is done before party day, leaving you with just assembly, decoration, and the simple joy of baking scones and cookies fresh in the morning! This truly makes for easy party baked goods ahead.
Troubleshooting Common Make-Ahead Baking Issues
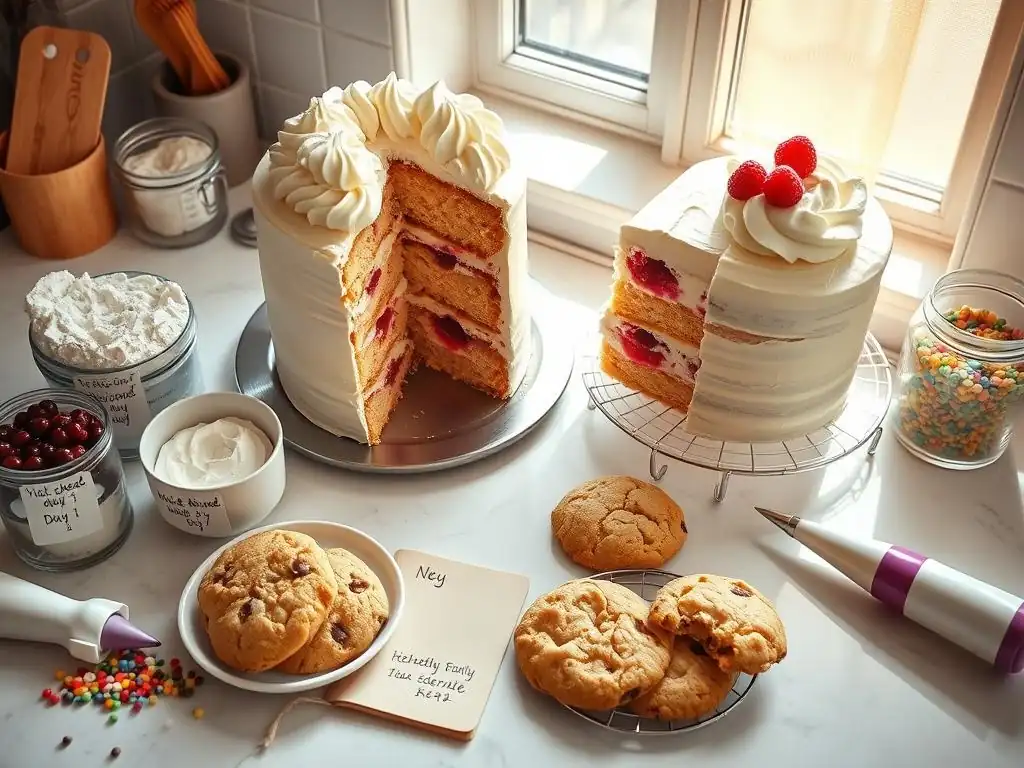
Even with careful planning, sometimes things don't go exactly as expected when making party baked goods ahead. Knowing how to troubleshoot common issues can save your delicious treats and ensure your party spread is a success. Most problems relate to texture changes that occur during freezing, thawing, or storage.
Addressing issues like dryness in cookies, sogginess in cakes, or cracked frosting requires understanding the cause, often related to moisture migration or temperature fluctuations. A calm approach and a few simple fixes can usually salvage your make-ahead creations and keep your party planning on track.
If you find your cookies are dry after thawing from the freezer, the most likely culprits are improper storage or initial overbaking. When freezing cookies, it is absolutely essential that they are stored in a truly airtight container or heavy-duty freezer bag. Air exposure is the primary cause of freezer burn, which dries out food and affects texture and flavor. Ensure all packaging is sealed tightly and consider using a double layer of protection (like wrapping tightly in plastic wrap before placing in a container).
Additionally, make sure you weren't overbaking the cookies in the first place. Cookies that are baked until very crisp will naturally be drier than those baked until just set. For cookies intended for freezing, slightly underbaking them (by 1-2 minutes) can help them retain moisture during storage and thawing. Always cool cookies completely before packaging for freezing, as residual heat creates moisture that can later lead to dryness.
Cake is Soggy After Defrosting: Defrost Slowly in the Refrigerator
Sogginess in a thawed cake is usually a result of rapid thawing or improper wrapping. Thawing cakes too quickly, especially at room temperature without proper wrapping, can cause excessive condensation to form on the surface as the cold cake meets warmer air. This moisture then gets absorbed into the cake crumb, making it soggy.
The best way to prevent this is to always thaw cakes slowly in the refrigerator. Keep the cake wrapped in its plastic wrap and foil packaging while it thaws in the fridge. This allows the condensation to form on the outside of the wrapping rather than directly on the cake surface. For a standard layer cake, this can take 24 hours or even longer for larger or denser cakes. Only unwrap the cake once it is fully thawed.
Frosting is Cracked on Make-Ahead Cake: Allow Cake to Fully Thaw Before Frosting
If you've frozen a fully frosted cake and the frosting appears cracked or damaged after thawing, it's often because the cake wasn't fully thawed before handling, or the frosting wasn't suitable for freezing. Temperature changes cause expansion and contraction, and if the cake is still partially frozen inside while the outside frosting thaws and becomes flexible, it can lead to cracks.
Ensure the cake is completely thawed in the refrigerator before moving it or attempting any touch-ups. Buttercream and ganache tend to freeze and thaw better than frostings made primarily with powdered sugar and milk, which can sometimes become grainy or cracked. If possible, it's often better to freeze unfrosted cake layers and apply fresh frosting after thawing, as detailed earlier. If cracks do appear, you can sometimes gently smooth them with an offset spatula dipped in warm water, or strategically cover them with decorations.
Savor Your Party with Delicious, Effortlessly Prepared Baked Goods!
Making ahead your party baked goods is a game-changer for stress-free entertaining. By selecting appropriate recipes, using proper baking and cooling techniques, and mastering storage and thawing, you can ensure your homemade treats are just as delicious and beautiful as if they were baked moments before the party started. Embracing the make-ahead approach allows you to enjoy the process of baking and, most importantly, to relax and enjoy the company of your guests on party day, knowing your easy party baked goods ahead are ready to delight everyone. Happy baking and happy hosting!
Frequently Asked Questions
How far in advance can I make party baked goods?
You can often prepare many party baked goods 1-3 days ahead, depending on the recipe. Some, like cookies or brownies, even benefit from sitting overnight to develop flavor and texture. Always check the specific recipe for storage instructions.
What types of baked goods are best for making ahead?
Cookies, brownies, bars, and some cakes (especially those with frosting) are excellent choices for making ahead. Items like scones or soufflés are best served fresh due to their texture and leavening.
How should I store party baked goods made in advance?
Proper storage is key to maintaining freshness. Most baked goods should be stored in an airtight container at room temperature. Cakes with frosting should be refrigerated.
Can I freeze party baked goods for even longer storage?
Yes! Many baked goods freeze exceptionally well. Wrap them tightly in plastic wrap and then foil or place them in a freezer-safe container. Allow them to thaw completely at room temperature before serving.
How can I revive slightly stale baked goods before my party?
A quick way to refresh slightly stale baked goods is to briefly warm them in a low oven (around 300°F or 150°C) for a few minutes. This helps rehydrate the starches and restore some moisture.
Final Reflection: The Sweet Symphony of Prepared Party Treats
The ability to enjoy a party without the last-minute baking frenzy is a modern marvel. Imagine: guests arriving, laughter filling the air, and you, the relaxed host, already surrounded by a tempting spread of delicious, homemade baked goods. This isn't a dream; it's the reality unlocked by mastering the art of make-ahead baking. This article has explored simple strategies to transform party preparation from a stressful sprint to a calm, enjoyable stroll.
The impact of this simple shift in approach extends far beyond the kitchen. It allows us to truly savor the moments of celebration, connecting with our guests rather than being confined to the oven. The joy of sharing homemade treats is amplified when the process leading up to it is less frantic and more fulfilling. The best things in life are the people we love, the places we've been, and the memories we've made along the way.
This sentiment rings especially true when those memories are enhanced by the ease and deliciousness of perfectly timed baked goods.
Now, consider your next gathering. Will you succumb to the pressure of last-minute baking, or will you embrace the freedom of preparation? I encourage you to experiment with even one of the make-ahead recipes discussed in this article. Feel the difference it makes, not just in the taste of your treats, but in the overall atmosphere of your party. Remember the power of planning; it's the secret ingredient to a truly memorable celebration.
Unleash Your Inner Baker: Get Baking Ahead of Time!
Thanks for taking the time to explore our tips on making ahead your party baked goods! We hope you’ve gained some valuable insights to help you stress less and enjoy your parties more. Now it's time to put those skills to the test!
- Dive into our recipe collection: We've curated a selection of our most popular make-ahead recipes, specifically designed for effortless party prep. Find your new favorite!
- Share your baking triumphs (or challenges!): Post a picture of your make-ahead masterpiece on social media using #BakeWithEase and inspire others!
- Challenge yourself: Try baking one item a week from our make-ahead selection. You might surprise yourself with how much you can achieve!
Ready to transform your party prep? What's the first delicious make-ahead treat you're going to conquer?