
Portioning Large Cakes and Desserts for Easy Serving

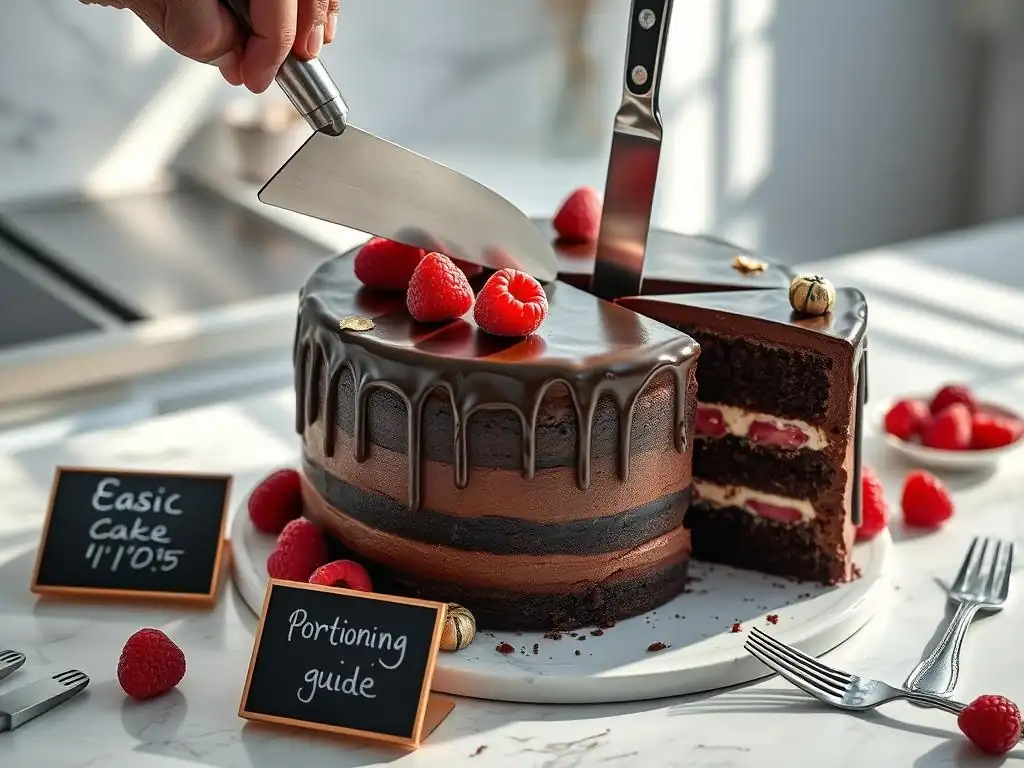
Welcome to BakeWithEase, your secret ingredient to unlocking baking confidence! Are you tired of uneven slices and dessert chaos? This week, we're tackling a common baking hurdle: achieving perfect portions every time. Discover our easy cake portioning guide and transform your next gathering into a stress-free celebration. Read on to learn our simple tips and tricks, and say goodbye to dessert serving dilemmas!
- Portioning Large Cakes and Desserts for Easy Serving: An Easy Cake Portioning Guide
- Baking for Large Gatherings: Simplify Cake Portioning with BakeWithEase
- Why Proper Cake Portioning Matters for Large Gatherings
- Essential Tools and Equipment for Easy Cake Portioning
- Step-by-Step Guide to Portioning Round Cakes
- Mastering Square and Rectangular Cake Portioning
- Portioning Different Types of Desserts
- Tips and Tricks for Easy Cake Portioning
- Advanced Cake Portioning Techniques for Special Occasions
- Troubleshooting Common Cake Portioning Problems
- Storing and Serving Pre-Portioned Cakes and Desserts
- The Ultimate Cake Portioning Guide: Enjoy Your Baking!
-
Frequently Asked Questions
- How do I determine the correct number of servings a cake will yield?
- What tools are most helpful for easy and accurate cake portioning?
- What's the best way to portion a cake with multiple layers and fillings?
- How can I prevent cake slices from sticking together when serving?
- What are some tips for portioning unusually shaped cakes or desserts?
- Final Reflection: Slicing Through the Sweetness – Mastering the Art of Cake Portioning
- Unleash Your Inner Cake Artist: Perfect Portions, Every Time!
Portioning Large Cakes and Desserts for Easy Serving: An Easy Cake Portioning Guide
Baking for Large Gatherings: Simplify Cake Portioning with BakeWithEase
When you're baking for a crowd, whether it's a wedding, a birthday party, or a large family dinner, the sheer size of the cake or dessert can be daunting. While the baking process itself is rewarding, the task of portioning can sometimes feel like the biggest challenge. Getting it right ensures everyone gets a fair share and the dessert looks just as good served as it did whole. This easy cake portioning guide is designed to take the stress out of serving, helping you slice large cakes and desserts efficiently and beautifully.
Mastering the art of portioning is a key skill for any baker scaling up their creations. It's not just about cutting; it's about planning, using the right tools, and applying simple techniques that make the process smooth and the results consistent. We'll walk you through everything from preparing your cake to making the final cuts, covering various shapes and types of desserts. By the end of this guide, you'll have the confidence to tackle any large dessert and portion it like a pro, making your large gathering baking truly easy and enjoyable.
Why Proper Cake Portioning Matters for Large Gatherings
Serving a large cake or dessert can be chaotic without a plan. Proper portioning isn't just about neatness; it has practical benefits that impact everything from guest satisfaction to minimizing food waste. It ensures that the effort you put into baking is reflected in the serving experience.
Ensuring Consistent Serving Sizes for Cakes and Desserts
Consistency is key when serving a large group. Guests appreciate receiving a portion that is comparable in size to others. Inconsistent slices can lead to some guests feeling short-changed while others receive overly large portions, potentially causing uneven consumption and satisfaction.
A well-defined portioning strategy, guided by an easy cake portioning guide, helps maintain uniformity. For instance, a standard wedding cake serving is often considered to be about 1 inch wide by 2 inches deep, and the height of the cake layers. For a large sheet cake (like an 18x24 inch), cutting into 2x2 inch squares yields 108 portions, while cutting into 1x2 inch portions doubles that to 216. Without a consistent approach, these numbers become unreliable, and the visual appeal of the serving platter is compromised. Consistent sizes also make it easier for servers to manage distribution efficiently.
Minimizing Waste and Maximizing Yield from Your Baking
Waste can be a significant issue with large cakes if not portioned correctly. Awkward cuts, crumbling slices, or misjudging the number of servings needed can lead to excess scraps or running out of dessert prematurely. Proper portioning helps you accurately estimate how many servings your cake will yield and execute the cuts to achieve that number with minimal loss.
By following an easy cake portioning guide and using accurate techniques, you can maximize the number of usable servings from your cake. For example, cutting a 14-inch round cake using a standard wedge method might yield around 62 servings, but a more efficient grid method (often used in professional settings) can yield slightly more or ensure every slice is a consistent size.
Precise cuts reduce crumbling and breakage, meaning fewer pieces end up as unusable scraps. This not only respects the ingredients and your effort but also makes the most of your investment, especially when baking for commercial purposes or events.
Enhancing the Presentation of Your Cakes and Desserts
The visual appeal of a served dessert is just as important as its taste, especially at events. Neatly portioned slices presented on a platter or plate elevate the overall dining experience and showcase the quality of your baking. Jagged, uneven, or crumbling slices can detract from even the most delicious cake.
An easy cake portioning guide emphasizes techniques that result in clean edges and uniform shapes. Using a hot knife for certain desserts, marking sections clearly before cutting, and employing smooth, decisive strokes all contribute to a professional look. Whether you're serving classic wedges of a layer cake or neat squares of a brownie slab, consistent, attractive portions make the dessert table look inviting and well-managed. This attention to detail reflects positively on the baker and the host, adding a touch of elegance to any large gathering.
Essential Tools and Equipment for Easy Cake Portioning
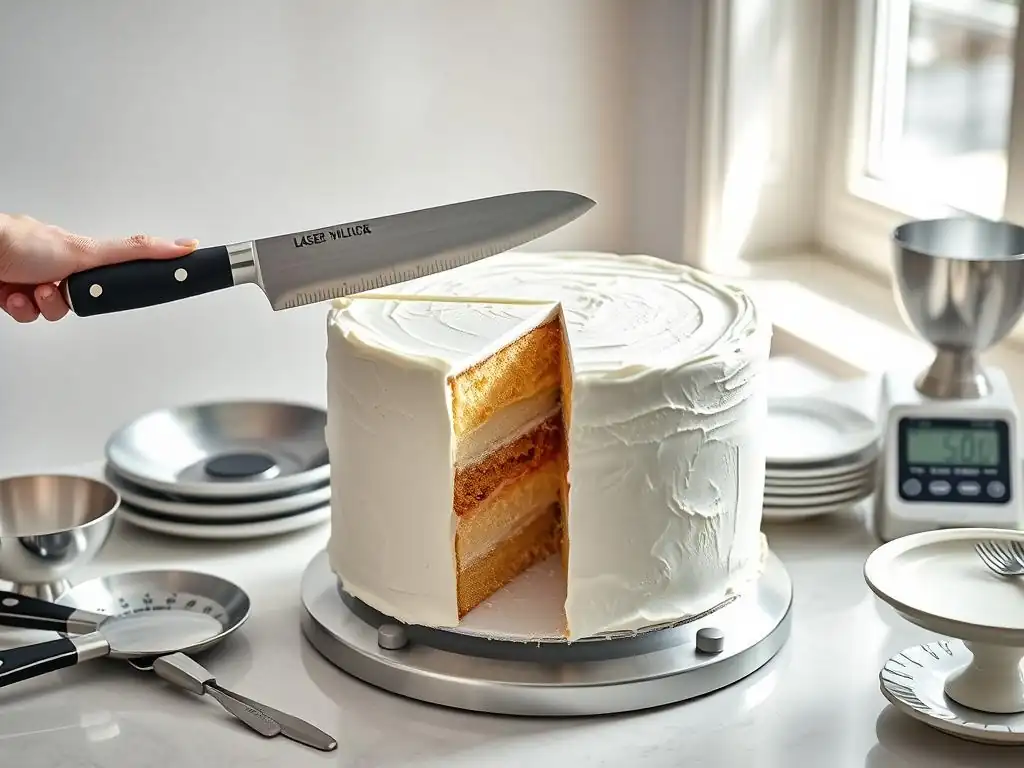
Having the right tools makes the process of portioning large cakes and desserts significantly easier and more effective. Investing in a few key items can transform a potentially messy task into a smooth, precise operation.
The Right Knives for Clean Cake Cuts
The type and sharpness of your knife are paramount for achieving clean, smooth cuts without dragging frosting or tearing cake layers. A long, serrated knife is often recommended for cutting sponge or layered cakes, as the teeth can gently saw through the cake without compressing it too much. A large chef's knife or a straight-edged slicing knife works well for dense cakes, cheesecakes, or bar desserts like brownies.
Ensure your knives are sharp. A dull knife will require more pressure, leading to squashed cake and messy slices. For very tall cakes or wide sheet cakes, a knife with a blade length greater than the cake's diameter or width is ideal to allow for a single, clean stroke. Using a clean knife for each cut, or wiping it clean between cuts, prevents flavor transfer and keeps slices looking pristine – a crucial tip in any easy cake portioning guide.
Cake Markers and Portioning Guides for Accuracy
Taking the guesswork out of dividing your cake is essential for consistent portion sizes. Cake markers and portioning guides are simple tools that help you visualize and mark where to cut before you even pick up your knife. Round cake markers, for example, have arms that extend from the center to the edge, allowing you to press gently and create faint indentations indicating equal sections (e.g., 8, 12, 16 portions).
For square or rectangular cakes, a ruler or measuring tape is indispensable. You can use it to mark out a grid pattern on the cake's surface using a toothpick or the tip of your knife. This ensures every square or rectangle is the same size, adhering strictly to your desired portion dimensions (e.g., 2x2 inches). These guides are fundamental in achieving uniform servings and are a cornerstone of an effective easy cake portioning guide, preventing the common issue of slices getting progressively smaller or larger.
Turntables for Smooth Cake Handling
While not strictly for cutting, a cake turntable significantly aids in portioning round cakes, especially large or multi-tiered ones. A sturdy turntable allows you to rotate the cake smoothly as you cut, maintaining a consistent angle and flow for each slice. This is particularly helpful when cutting from the center outwards, ensuring each wedge is uniform.
Using a turntable also reduces the need to physically move or handle the cake excessively, minimizing the risk of damage to the frosting or structure. It provides a stable base, allowing you to focus solely on making clean, precise cuts. For anyone frequently portioning round cakes for events, a good quality turntable is a worthwhile investment that complements the techniques found in any comprehensive easy cake portioning guide.
Step-by-Step Guide to Portioning Round Cakes
Portioning a large round cake might seem straightforward, but a systematic approach ensures neat, equal slices every time. This method works well for classic layer cakes and denser round cakes.
Finding the Center and Marking Equal Cake Sections
The first step is to identify the exact center of your cake. You can do this visually or by gently placing a round object (like a small cup or a clean, round cookie cutter) in the middle. Once you've found the center, you need to mark your desired number of portions. For a large cake yielding many servings, cutting traditional wedges from the center might not be the most efficient or easiest method for consistent sizes. A common professional technique involves cutting the cake into concentric rings first.
Imagine your round cake is a target. Cut a circle about 2-3 inches in from the outer edge using a long, sharp knife. Then, cut another circle closer to the center if the cake is very large. This creates rings of cake. You can then cut these rings into straight sections.
For instance, cut straight lines across the outermost ring, parallel to each other, about 1.5 to 2 inches apart. Repeat this for the inner rings. Alternatively, for traditional wedges, use a cake marker or gently score the top frosting with a knife or toothpick to indicate where each cut will go, ensuring equal angles from the center point. For example, to get 16 servings from a 10-inch cake, you'd divide it into 16 equal angles (360 degrees / 16 = 22.5 degrees per slice).
Cutting Even Cake Slices for a Professional Look
Once your sections are marked or your rings are cut, it's time to slice. For the ring method, cut straight lines across each ring. For example, in the outermost ring, make vertical cuts 1.5 inches apart. This yields rectangular portions. For the traditional wedge method, make a straight cut from the marked outer edge towards the center point. Rotate the cake (using a turntable if available) and make the next cut from the edge to the center, following your marks.
For clean cuts, dip your knife in hot water and wipe it dry between each slice. This is especially important for cakes with sticky frosting or ganache. Use a long, smooth stroke rather than a sawing motion, which can cause crumbling. For layered cakes, press down evenly through all layers. Lift the slice out carefully using a cake server or a large spatula. Following these steps, as outlined in this easy cake portioning guide, will ensure your slices are uniform and presentable.
Tips for Preventing Crumbling During Cutting
Crumbling is a common issue that can make your beautifully baked cake look messy when served. Several factors contribute to crumbling, including the type of cake, its temperature, and your cutting technique. A few simple steps can significantly reduce crumbs.
Firstly, ensure the cake is properly cooled, or even slightly chilled. A cake that is too warm will be more prone to crumbling and sticking to the knife. Chilling a frosted cake in the refrigerator for 20-30 minutes before cutting can firm up both the cake and the frosting, allowing for cleaner cuts. Secondly, use a sharp knife appropriate for the cake type (serrated for delicate sponges, straight for denser cakes).
As mentioned, dipping the knife in hot water and wiping it clean between cuts is highly effective, as the heat helps slice through the cake and frosting smoothly. Finally, use a decisive, downward motion rather than sawing back and forth. Practice makes perfect, but these tips from your easy cake portioning guide will give you a head start in achieving crumb-free slices.
Mastering Square and Rectangular Cake Portioning
Square and rectangular cakes, often in the form of sheet cakes or slab cakes, are popular choices for large gatherings due to their ease of baking and transport. Portioning them efficiently into neat squares or rectangles is relatively straightforward with the right approach.
Dividing Cakes into Rows and Columns for Precise Portions
The most effective method for portioning square or rectangular cakes is to divide them into a grid of rows and columns. This allows for highly consistent portion sizes and maximizes the yield from the cake area. Decide on your desired portion size (e.g., 2x2 inches, 1.5x3 inches).
Using a long ruler, gently score the top of the cake to mark your grid. Start by marking points along one edge for your first set of cuts (e.g., every 2 inches). Then, use the ruler to draw a straight line across the cake, connecting these points. Repeat across the cake to create your rows.
Then, turn the cake 90 degrees and repeat the process to create your columns. This visible grid acts as a guide for your knife, ensuring every square or rectangle is the intended size. This systematic approach is a core technique in any easy cake portioning guide for sheet cakes.
Using a Ruler for Accurate Cake Portioning
A ruler is your best friend when portioning square or rectangular cakes for accuracy. While scoring the top provides a visual guide, using the ruler alongside your knife during the actual cutting process can help maintain perfectly straight lines. Place the ruler parallel to your desired cut line and use it as a guide for the side of your knife blade as you slice down.
Ensure the ruler is clean before placing it on the cake surface. For extra precision, you can make faint marks along the edges of the cake using a toothpick or the tip of your knife at your desired intervals (e.g., every 2 inches along the length and width). Then, use the ruler to connect these marks with your knife cuts. This two-step process of marking and guiding with a ruler guarantees uniform portions, essential when aiming for a specific number of servings from a large cake, like a 12x18 inch sheet cake yielding 54 servings at 2x2 inches.
Strategies for Cutting Neat Cake Squares
Achieving neat, clean-edged squares from a sheet cake requires a combination of preparation and technique. Beyond marking the grid and using a ruler, consider the temperature of the cake and the tool you use. As with round cakes, chilling the cake slightly (30-60 minutes in the refrigerator) before cutting can firm up the structure and frosting, leading to cleaner cuts.
Use a long, sharp knife that can span the width or length of your cake section in a single stroke if possible. A large chef's knife or a long slicing knife works well. Dip the knife in hot water and wipe it completely dry before each cut – this is crucial for preventing the knife from dragging frosting and crumbs through the cake. Make a single, firm downward cut along your marked lines.
Avoid sawing motions. Lift the knife straight up after each cut. Gently separate the portions with an offset spatula or cake server before removing them from the pan to keep the edges sharp. These strategies are key components of a successful easy cake portioning guide for sheet cakes.
Portioning Different Types of Desserts
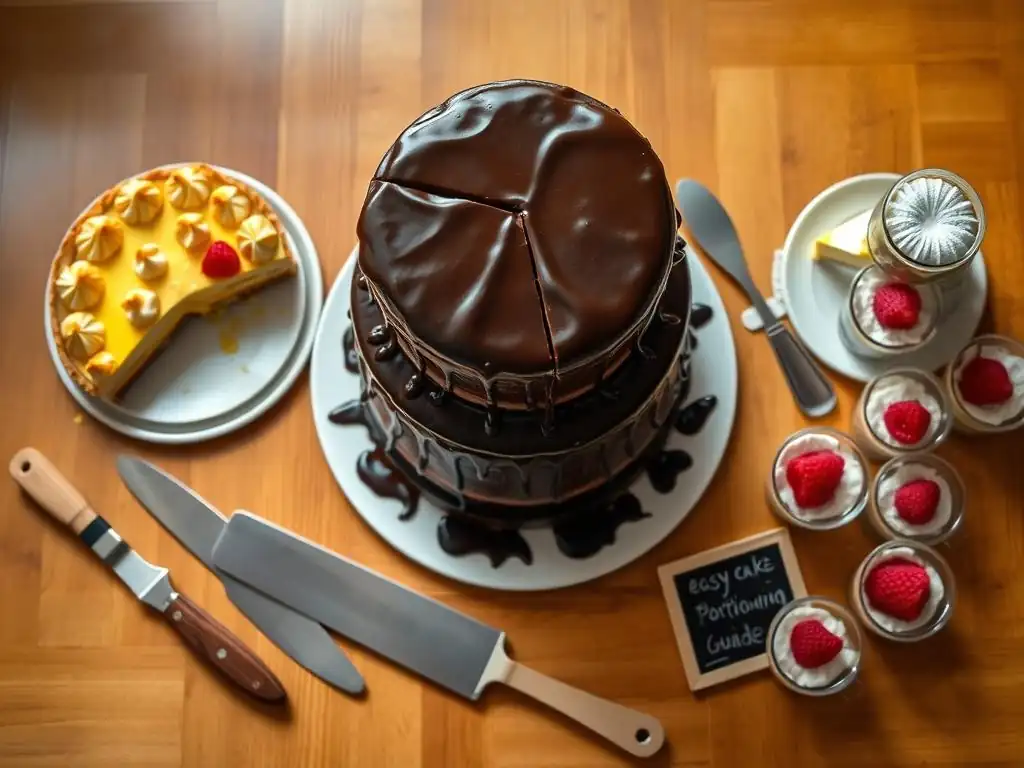
While cakes are common for large gatherings, other desserts like cheesecakes, brownies, and tarts also require careful portioning to look their best and serve easily. Each type presents unique challenges and requires specific techniques.
Portioning Cheesecakes: Techniques for Clean Slices
Cheesecakes, especially dense, creamy ones like New York-style, can be notoriously difficult to slice cleanly without the knife sticking and dragging the filling. The best technique involves using a sharp, straight-edged knife and employing heat. Prepare a tall container of hot water.
Dip your knife into the hot water, ensuring the entire blade is heated. Wipe the knife completely dry with a clean cloth immediately. The heat helps the blade glide through the dense cheesecake filling and crust without sticking. Make a single, firm cut.
After each cut, dip the knife back into the hot water and wipe it dry before making the next cut. This process is slower but yields beautifully smooth, clean slices. For cheesecakes with a crumb crust, be mindful not to press too hard, which can shatter the crust. Using an easy cake portioning guide for cheesecakes means prioritizing that hot-knife method.
Portioning Brownies and Bars: Achieving Uniform Pieces
Brownies, blondies, and other bar desserts are typically cut into squares or rectangles. Achieving uniform, neat pieces requires a similar grid-marking strategy as sheet cakes, but with a few specific considerations. Ensure the brownies are completely cooled, preferably chilled for at least an hour. Warm brownies will be soft and sticky, making clean cuts nearly impossible.
Use a large, sharp chef's knife. Mark your desired grid on the surface. Dip the knife in hot water and wipe dry between cuts, especially for fudgy or gooey bars. Make decisive, straight cuts.
Some bakers find it easiest to turn the entire slab of brownies out onto a cutting board lined with parchment paper (using the paper to lift it out of the pan) before cutting. This allows you to cut through the bars without the sides of the pan getting in the way. Cutting from edge to edge across the entire slab ensures straighter lines. This simple trick is often included in an easy cake portioning guide for bar desserts.
Portioning Tarts and Pies: Creating Appealing Portions
Portioning tarts and pies, especially those with delicate crusts or soft fillings, requires care to prevent the crust from breaking and the filling from oozing. For round tarts and pies, cutting into wedges is the standard method.
Use a sharp, serrated knife for pies with flaky crusts, as the serrations can cut through the layers without crushing them. For tarts with firmer, shortcrust pastry, a sharp, straight-edged knife works well. Dip the knife in hot water and wipe dry between cuts, particularly for fruit fillings or creamy textures. When cutting, make a decisive cut all the way through the crust and filling.
For easier serving and to prevent the slice from collapsing, make the cut, then leave the knife in place while you make the adjacent cut. Then, carefully remove the slice using a pie server or a wide spatula, supporting the bottom crust. Cutting a 9-inch pie typically yields 6 to 8 portions. For large rectangular tarts, use the grid method described for sheet cakes, adjusting the size of the rectangles based on the richness of the filling.
Tips and Tricks for Easy Cake Portioning
Beyond the basic techniques, a few insider tips can make your cake portioning even smoother and more successful, ensuring every slice looks perfect.
Chilling Cakes Before Cutting for Easier Handling
This is perhaps one of the most impactful tips for achieving clean cuts, especially with frosted or layered cakes. Allowing a cake to cool completely at room temperature is essential after baking, but a period of chilling in the refrigerator before cutting makes a significant difference.
Chilling firms up the cake's texture and, crucially, hardens the frosting or ganache. This provides stability, allowing your knife to slice through layers and frosting cleanly without dragging, tearing, or excessive crumbling. For best results, chill a frosted cake for at least 30-60 minutes. For unfrosted cakes or bar desserts, 1-2 hours might be beneficial. Don't freeze the cake solid unless the recipe specifies, as this can affect texture upon thawing, but a good chill is a cornerstone of any easy cake portioning guide.
Using Warm Water to Clean Your Knife Between Cuts
This simple step is a game-changer, particularly for cakes with sticky frostings, ganaches, or dense fillings like cheesecake. Dipping your knife in hot water and wiping it dry before each cut ensures a clean blade every time.
The heat warms the blade just enough to glide through sticky substances without them clinging and building up. Wiping it dry prevents water from getting onto the cake. This results in exceptionally clean edges on every slice, preventing the messy, smeared look that can happen when cutting multiple slices with a dirty knife. It might add a few extra seconds per slice, but the professional finish is well worth the minor effort and is a hallmark of careful cake portioning.
Storing Pre-Portioned Cake for Optimal Freshness
Sometimes you need to portion a cake in advance of an event. Proper storage is key to maintaining freshness and preventing the cut edges from drying out. Once the cake is portioned, the cut surfaces are exposed, making them vulnerable to air.
The best way to store pre-portioned cake depends on how soon it will be served. For serving within a few hours, cover the entire platter or tray of cake slices tightly with plastic wrap. For longer storage (up to 2-3 days), it's best to wrap individual slices.
Place each slice on a small square of parchment paper or plastic wrap, then wrap tightly with another layer of plastic wrap, ensuring all cut surfaces are covered. Store wrapped slices in an airtight container in the refrigerator. This method keeps the cake moist and prevents it from absorbing odors from the fridge, ensuring your easy cake portioning guide efforts result in delicious servings later.
Advanced Cake Portioning Techniques for Special Occasions
While the basic grid and wedge methods cover most needs, some occasions call for more decorative or specific portioning techniques. These methods can add an extra touch of elegance or handle complex cake structures.
Creating Decorative Cake Portions
Beyond standard squares or wedges, you can create more decorative shapes, especially from sheet cakes. Using cookie cutters is one way to produce unique shapes like hearts, stars, or circles from a firm sheet cake or brownie slab. Ensure the cake is well-chilled for this method.
Press the cookie cutter firmly down through the cake. You may need to use an offset spatula to help lift the shaped portion out cleanly. Note that this method often results in more scrap cake around the cutouts, which can be reserved for trifles, cake pops, or baker's treats.
Another decorative technique for round cakes is the "party square" cut, where you cut straight lines across the cake to form rows, then cut these rows into squares, similar to the ring method but starting the straight cuts closer to the center. This offers a different look than traditional wedges and is useful for packing into boxes.
Layered Cake Portioning for Elegant Presentation
Portioning tall, multi-layered cakes requires a slightly different approach than single-layer cakes to ensure each slice stands tall and stable. The key is to cut straight down through all layers in a single, decisive motion using a long knife.
For very tall cakes (four layers or more), some bakers recommend cutting the cake into strips about 2-3 inches wide first. Then, cut each strip into individual portions. This method is sometimes preferred over cutting wedges from the center, as it can be easier to keep the tall, narrow portions stable.
Using the hot-knife technique is particularly beneficial for tall layered cakes with generous amounts of frosting between layers. When serving, use a cake server that is wide enough to support the entire height and width of the slice to prevent it from tipping over as you transfer it from the cake stand to the plate.
Portioning Cakes with Fillings and Frostings
Cakes with soft fillings (like mousse, pastry cream, or fruit compotes) or delicate frostings (like whipped cream or meringue) present specific challenges during portioning. The filling can ooze, and the frosting can smear easily.
Chilling the cake thoroughly is absolutely essential when dealing with soft fillings and frostings. This helps firm them up. Use a very sharp knife and the hot-water-and-wipe method religiously between every single cut. For cakes with very fluid fillings, some bakers create a "dam" of frosting around the edge of the layer before filling to help contain it, which also assists during cutting.
When cutting, make a clean, swift cut down. For serving, use a server that can scoop and support the potentially less stable slice. These techniques are critical additions to any easy cake portioning guide focusing on delicate desserts.
Troubleshooting Common Cake Portioning Problems
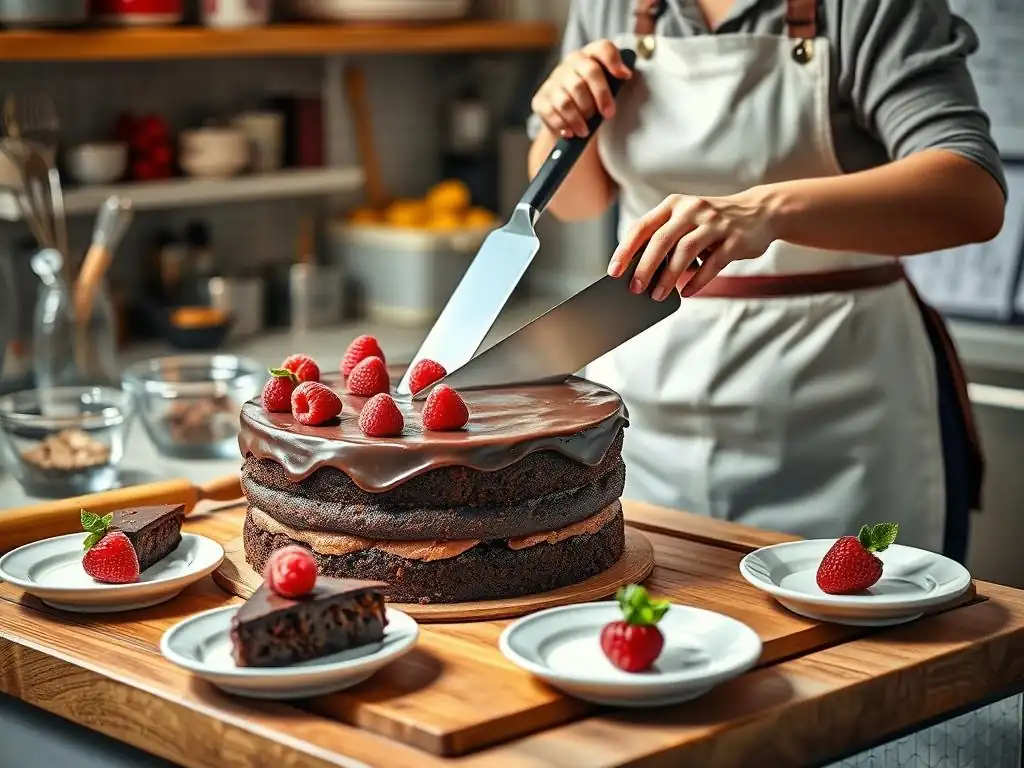
Even with the best tools and techniques, you might encounter issues when portioning large cakes. Knowing how to address common problems can save your cake and your sanity.
Dealing with Sticky Cakes and Desserts
Sticky cakes, whether due to a gooey filling, a rich ganache, or a dense, moist crumb, are a frequent challenge. The primary symptom is the knife dragging frosting and crumbs, resulting in messy slices.
The most effective solution, as highlighted throughout this easy cake portioning guide, is the hot-water-and-wipe method. Ensure the water is hot, and you wipe the blade completely dry after each dip. If the cake is particularly sticky, you might need to repeat this process more frequently. Additionally, ensure the cake is well-chilled; colder sticky substances are less likely to adhere to the knife. For extremely sticky surfaces, some professional bakers lightly spray their knife with a non-stick cooking spray (wiping off any excess) in addition to the hot water method, though hot water is usually sufficient for home baking.
Preventing Uneven Cake Slices
Uneven slices can occur for various reasons, including not marking the cake, not using a guide, or inconsistent cutting pressure or angle. The result is some guests getting significantly larger or smaller portions than others.
To prevent unevenness, always start by marking your cake sections, whether using a physical cake marker, scoring the surface with a toothpick and ruler, or using the grid method for square cakes. Use a straight, long knife and aim for a consistent angle and pressure for each cut. For round cakes, cutting from the center outwards and rotating the cake helps maintain symmetry. For square cakes, using a ruler as a guide alongside your knife ensures straight lines. Taking your time and being deliberate with each cut, rather than rushing, is key to achieving uniform portions.
Repairing Minor Cutting Mistakes
Sometimes, despite your best efforts, a slice might not come out perfectly – maybe a bit of frosting smeared, or a small piece of cake crumbled off. Minor mistakes can often be corrected or minimized.
If frosting smears on the top surface next to a cut, you can gently clean it up using a small offset spatula or the tip of a clean knife. For small crumbs, you can brush them away carefully with a pastry brush or a clean, dry cloth before removing the slice. If a slice breaks slightly as you lift it, try to piece it back together on the serving plate as discreetly as possible.
For portions that look significantly less appealing than others, you can place them towards the back of the serving platter or use them for taste-testing yourself! While you can't perfectly repair a major structural issue, these minor fixes help maintain the overall presentation of your perfectly portioned cake display.
Storing and Serving Pre-Portioned Cakes and Desserts
Once your large cake or dessert is perfectly portioned, the next steps are proper storage to maintain freshness and thoughtful serving to impress your guests.
Maintaining Cake Freshness After Portioning
The biggest challenge with pre-portioned cakes is preventing the cut surfaces from drying out. Exposure to air is the enemy of moist cake. As previously mentioned, the best strategy is to cover the cut surfaces as completely as possible.
For immediate serving (within a few hours), covering the entire platter or tray tightly with plastic wrap is sufficient. Ensure the wrap touches the surface of the cake where possible to create a barrier. For longer storage in the refrigerator (1-3 days), individual wrapping is superior. Wrap each slice tightly in plastic wrap, making sure the cut sides are fully sealed. Then, store the wrapped slices in an airtight container. This double protection minimizes air exposure and preserves the cake's moisture and flavor.
Creative Serving Ideas for Pre-Portioned Desserts
Serving pre-portioned desserts offers convenience and allows for creative presentation. Instead of guests cutting their own slices, you can arrange the portions beautifully on platters or individual plates.
Consider arranging slices of a round cake in concentric circles on a large, round platter, or in neat rows on a rectangular one. For square or rectangular portions like brownies or sheet cake, arrange them in a uniform grid pattern on a tray. You can garnish the platter with fresh berries, a dusting of powdered sugar, or a few edible flowers for added visual appeal.
For individual servings, place a slice on each plate and add a dollop of whipped cream, a scoop of ice cream, or a drizzle of sauce just before serving. This elevates the presentation and makes each guest feel special.
Best Practices for Transporting Portioned Cakes
Transporting a large, whole cake can be stressful, but transporting pre-portioned slices requires its own set of considerations to ensure they arrive intact and looking their best.
Use sturdy containers with tight-fitting lids. For individual slices, wrap them well and pack them snugly in a container so they don't shift during transit. For multiple slices on a platter or tray, ensure the platter fits snugly in a carrier or box, and cover it tightly with plastic wrap to prevent movement and drying. Place non-slip matting or a towel under the container in your vehicle to prevent sliding.
Keep the cakes level during transport. If it's a warm day, transport in an air-conditioned vehicle or use insulated carriers with ice packs (ensuring ice packs don't directly touch the cake packaging) to keep chilled desserts cool. Careful packing and stable transport are the final steps in executing a perfect easy cake portioning guide for your event.
The Ultimate Cake Portioning Guide: Enjoy Your Baking!
Mastering the art of portioning large cakes and desserts is a valuable skill that enhances the serving experience for any large gathering. By understanding why proper portioning is important, utilizing the right tools, and applying systematic techniques for different shapes and types of desserts, you can ensure every slice is consistent, neat, and appealing.
Remember the key takeaways from this easy cake portioning guide: chilling cakes before cutting, using a sharp knife (and potentially the hot-water-and-wipe method), marking your cuts beforehand, and employing the grid method for square/rectangular cakes and a structured approach for round cakes. With practice, you'll gain confidence in tackling even the largest of baked goods. So go forth, bake that magnificent cake, and portion it with ease and precision, ready to delight your guests with every perfect slice!
Frequently Asked Questions
How do I determine the correct number of servings a cake will yield?
The number of servings depends on the cake size and serving size. A general rule is using a 2-inch by 2-inch square for standard cake slices.
What tools are most helpful for easy and accurate cake portioning?
A cake marking wheel or a ruler and knife are essential. Icing spatulas and cake servers aid in clean and presentable serving.
What's the best way to portion a cake with multiple layers and fillings?
Ensure the cake is well-chilled before cutting for cleaner slices. A serrated knife is your best bet for cutting through layers and fillings.
How can I prevent cake slices from sticking together when serving?
Use parchment paper or wax paper between the slices if you're stacking them. Keep the cut slices covered to prevent drying out.
What are some tips for portioning unusually shaped cakes or desserts?
Divide the cake into geometric shapes like squares or triangles. Prioritize equal distribution of toppings and fillings in each portion.
Final Reflection: Slicing Through the Sweetness – Mastering the Art of Cake Portioning
The ability to effortlessly portion a large cake remains a surprisingly relevant skill in today's world, impacting everything from elegant celebrations to casual gatherings. A perfectly portioned cake isn't just about aesthetics; it's about ensuring everyone gets a fair and satisfying slice, minimizing waste, and maximizing enjoyment. This seemingly simple act speaks volumes about thoughtful planning and hospitality.
The art of cake portioning, while seemingly mundane, reflects a deeper cultural appreciation for sharing and celebration. It's a subtle yet powerful symbol of generosity and consideration. From childhood birthday parties to sophisticated wedding receptions, the act of carefully dividing a cake underscores the importance of community and togetherness. A cake is a celebration of life, and sharing it fairly is a celebration of community.
This simple act, often overlooked, speaks volumes about the intentionality behind the gathering itself.
Now, consider your own gatherings. Think about the next time you bake a large cake or prepare a decadent dessert. Will you approach it with the same care and precision you've learned here? I encourage you to embrace the art of portioning, not just as a practical skill, but as a way to enhance your celebrations and deepen your connections with others. Let the perfectly portioned slice be a symbol of your thoughtful hospitality and a testament to the joy of sharing sweet moments.
Unleash Your Inner Cake Artist: Perfect Portions, Every Time!
Thanks for diving into the world of perfectly portioned cakes and desserts! We hope you’ve gained some valuable tips and tricks to make serving your creations a breeze. Now it's time to put your newfound skills into action.
- Master the art of cake slicing: Practice your newly learned techniques on your next bake. Aim for consistent and visually appealing slices – your guests will appreciate the effort!
- Share your successes (and maybe even your failures!): Post a picture of your perfectly portioned masterpiece on social media and tag us @BakeWithEase – we'd love to see it!
- Challenge yourself: Try portioning a more complex dessert shape, like a sculpted cake or a tiered creation. Push your boundaries and see what you can achieve!
So, what delicious dessert are you ready to conquer with your newfound portioning prowess?