
Quick & Easy Christmas Refrigerator Cookies

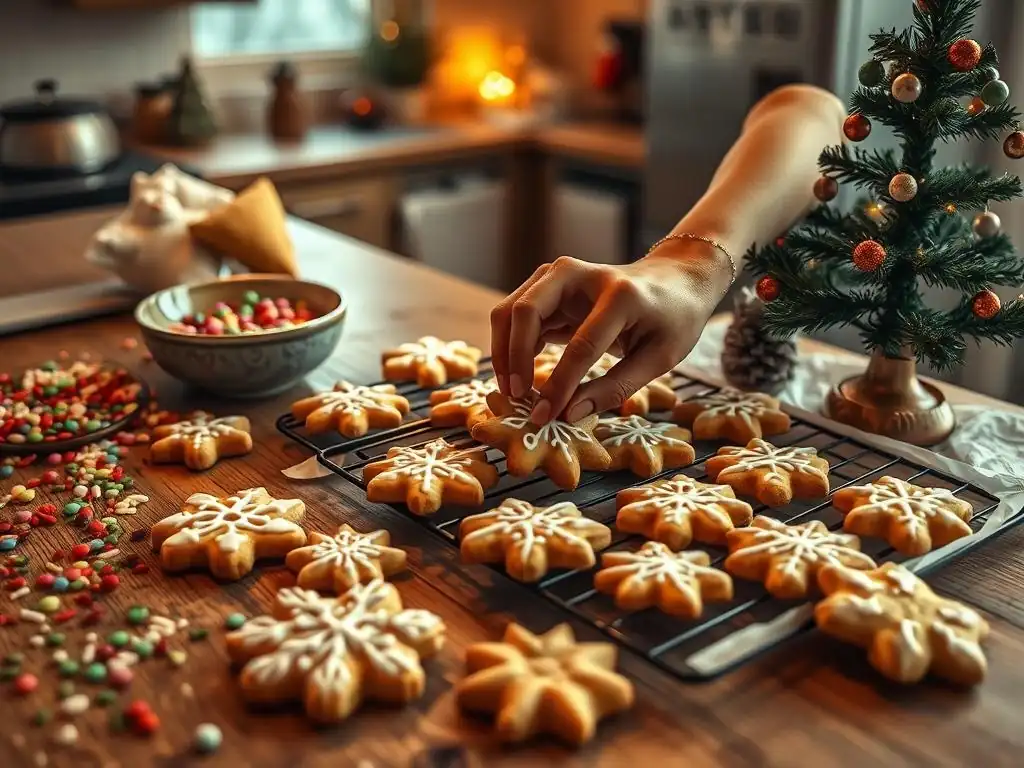
Welcome to BakeWithEase, your haven for all things baking! Ever dreamt of effortlessly creating delicious Christmas cookies without the fuss? Discover the secret to our Easy Christmas Refrigerator Cookie Recipe and unlock a world of festive flavors with minimal effort. Intrigued? Let's get baking, and prepare to be amazed at how simple holiday magic can be!
- Classic Peanut Butter Blossoms - BakeWithEase.com
- Introduction: The Timeless Appeal of Peanut Butter Blossoms
- The Definitive Peanut Butter Blossom Recipe
- Step-by-Step Guide: Baking Your Peanut Butter Blossoms
- Creative Peanut Butter Blossom Variations
- Decorating Your Peanut Butter Blossoms
- Tips and Tricks for Baking Perfect Peanut Butter Blossoms
- Make-Ahead Holiday Baking: Preparing Peanut Butter Blossoms in Advance
- Conclusion: Share the Joy of Homemade Peanut Butter Blossoms
-
Frequently Asked Questions
- What exactly are refrigerator cookies, and why are they considered "easy"?
- What makes this recipe particularly suitable for Christmas?
- Can I substitute ingredients in this Easy Christmas Refrigerator Cookie recipe?
- How long can the cookie dough be stored in the refrigerator before baking?
- What are some tips for preventing the cookies from spreading too much while baking?
- Final Reflection: The Sweet Simplicity of Christmas Baking
- Unleash Your Inner Baker: Festive Treats Await!
Classic Peanut Butter Blossoms - BakeWithEase.com
Introduction: The Timeless Appeal of Peanut Butter Blossoms
Rediscovering the Simplicity of Peanut Butter Blossoms
There's something truly comforting about a classic peanut butter blossom cookie. It’s a simple recipe, often one of the first many bakers try, yet it delivers a perfect combination of soft, chewy peanut butter cookie and rich chocolate. On BakeWithEase.com, we celebrate easy baking, and the peanut butter blossom fits this ethos perfectly.
Its straightforward ingredient list and minimal steps make it an ideal project for bakers of all levels, from absolute beginners to those looking for a quick win in the kitchen. Mastering this basic dough provides a fantastic foundation for understanding cookie dynamics, like creaming butter and sugar, and the role of leavening agents.
This cookie’s enduring popularity speaks volumes. It’s not just a recipe; it's often a cherished memory, perhaps from a childhood baking session or a holiday cookie swap. The simplicity is key – no fancy techniques or obscure ingredients required. A standard batch typically yields about 4 dozen cookies from common pantry staples like peanut butter, flour, sugar, eggs, and baking soda. This accessibility ensures that anyone, anywhere, can whip up a batch of these delightful treats with minimal fuss, proving that incredible flavor doesn't need to be complicated.
Why Peanut Butter Blossoms are a Holiday Staple
Peanut butter blossoms hold a special place in holiday baking traditions across many families. Their festive appearance, with the distinct chocolate "kiss" nestled in the center, makes them instantly recognizable on any holiday cookie platter. The combination of sweet peanut butter and milk chocolate is universally loved, appealing to both children and adults, making them a guaranteed crowd-pleaser at holiday gatherings. During the busy Christmas season, having a reliable, easy peanut butter blossom recipe is invaluable.
Beyond their taste and looks, these cookies are practical for holiday baking. The dough is forgiving and can often be made ahead of time, a crucial advantage when juggling multiple recipes. They bake relatively quickly, usually between 8 to 10 minutes per batch, allowing for efficient use of oven time during peak baking periods. Plus, they transport well, making them perfect for gifting neighbors, friends, or bringing to potlucks. It's estimated that millions of peanut butter blossoms are baked in the U.S. alone during the holiday season, a testament to their status as a beloved festive treat.
The Definitive Peanut Butter Blossom Recipe
Ingredients for Classic Peanut Butter Blossoms
Crafting the perfect classic peanut butter blossom starts with selecting the right ingredients. You'll need staples like 1/2 cup (1 stick) unsalted butter, softened; 1/2 cup granulated sugar; and 1/2 cup packed light brown sugar. The quality of your peanut butter is important – opt for a creamy variety, not natural-style peanut butter where the oil separates, as this can affect the dough's consistency.
About 1/2 cup of creamy peanut butter is standard. For structure, you'll use 1 large egg, 1 teaspoon vanilla extract, 1 and 3/4 cups all-purpose flour, 1 teaspoon baking soda, and 1/4 teaspoon salt. And, of course, you'll need about 48 chocolate kisses (standard size) for the iconic topping, plus approximately 1/4 cup of granulated sugar for rolling the dough balls.
Using softened butter is critical; it should be pliable enough to cream easily with the sugars but not melted. If your butter is too cold, it won't cream properly, leading to dense cookies. If it's too warm, the cookies might spread too much during baking.
Similarly, accurate measurement of flour is key – spooning flour into the measuring cup and leveling it off helps prevent adding too much, which results in dry, crumbly cookies. Using fresh baking soda ensures the cookies rise correctly and achieve that desired soft, slightly chewy texture. These seemingly small details in ingredient selection and measurement significantly impact the final outcome of your easy peanut butter blossom recipe.
Essential Baking Tools for Perfect Blossoms
Having the right tools makes baking peanut butter blossoms not only easier but also more consistent. A stand mixer or a good quality electric hand mixer is essential for creaming the butter and sugars effectively, incorporating air which contributes to the cookie's texture. You'll also need large mixing bowls – one for the wet ingredients and maybe a separate one for whisking together the dry ingredients before combining them. Measuring cups and spoons are non-negotiable for accuracy, ensuring the correct ratio of ingredients.
For shaping the cookies, a small cookie scoop (about 1 tablespoon size) is incredibly helpful for portioning dough evenly, leading to uniformly sized cookies that bake consistently. Baking sheets, preferably light-colored ones to prevent over-browning on the bottom, are necessary, lined with parchment paper or silicone baking mats for easy release and cleanup. A wire cooling rack is needed to cool the cookies properly after baking.
While not strictly essential for the dough itself, having a timer is crucial for monitoring baking time precisely, as even a minute or two can change a cookie from perfectly baked to overdone. These tools, while standard in most kitchens, are the backbone of a successful classic peanut butter blossom baking session.
Step-by-Step Guide: Baking Your Peanut Butter Blossoms
Mixing the Dough: Creaming for Success
The first step in creating your easy peanut butter blossom dough is creaming the wet ingredients. In a large bowl, beat the softened butter, granulated sugar, and brown sugar together until the mixture is light and fluffy. This process typically takes 2-3 minutes with an electric mixer on medium speed. Creaming isn't just about combining ingredients; it's about incorporating tiny air pockets into the butter and sugar matrix. These air pockets expand in the oven, contributing to the cookie's lift and tender texture. Scrape down the sides of the bowl periodically to ensure all the ingredients are fully integrated.
Once the butter and sugars are creamed, beat in the egg and vanilla extract until just combined. Avoid overmixing at this stage. In a separate medium bowl, whisk together the dry ingredients: the all-purpose flour, baking soda, and salt. Gradually add the dry ingredients to the wet ingredients, mixing on low speed until just combined.
Be careful not to overmix the dough once the flour is added; this can develop the gluten too much, resulting in tough cookies. The dough should come together but still be relatively soft. At this point, incorporating the creamy peanut butter ensures it's evenly distributed throughout the mixture, giving every bite that distinct peanut flavor.
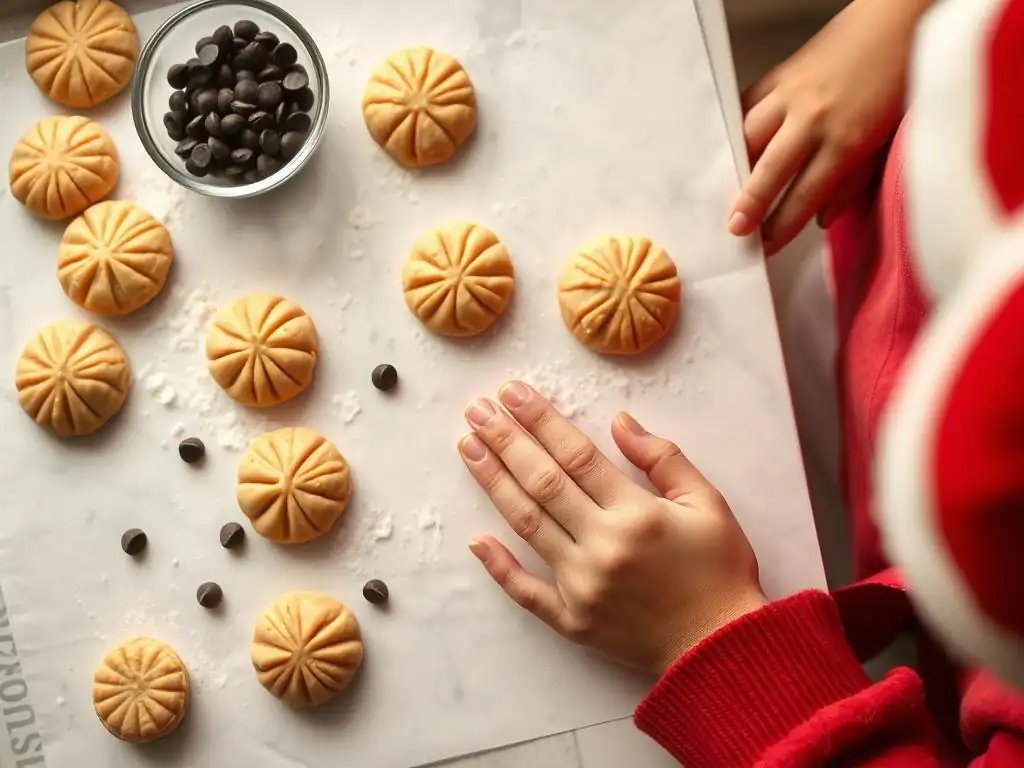
After the dough is mixed, it's time to shape your classic peanut butter cookies. Using a small cookie scoop (about 1 tablespoon) or your hands, roll the dough into balls approximately 1 inch in diameter. Uniform size is important for even baking, so try to keep them consistent. As a visual reference, a 1-inch ball is roughly the size of a large marble or a standard gumball. One batch of this easy peanut butter blossom recipe typically yields between 48 and 60 cookies, depending on the exact size of your dough balls.
Next, roll each dough ball in granulated sugar. Place about 1/4 cup of granulated sugar in a shallow dish or bowl. Drop the dough balls into the sugar, rolling them around to coat them completely.
The sugar coating serves a few purposes: it adds a pleasant sparkly texture and a touch of sweetness to the exterior, and it helps prevent the cookies from sticking to your hands or the baking sheet (though parchment paper is still recommended). Place the sugar-coated dough balls about 2 inches apart on prepared baking sheets. This spacing is crucial to prevent them from spreading into each other as they bake.
Baking to Perfection: Achieving the Ideal Texture
Baking peanut butter blossoms requires precise timing and temperature to achieve that perfect soft center and slightly crisp edge. Preheat your oven to 375°F (190°C). Place the baking sheet on the center rack of the preheated oven. Bake for 8 to 10 minutes. The cookies should look slightly puffed and the edges should be lightly golden brown. The center might still look a little soft or underbaked, but this is exactly what you want for that classic chewy texture. Overbaking will result in a dry, hard cookie.
Specific visual cues are key: look for the moment the edges just begin to set and turn a pale golden color. If you tap the edge gently, it should feel firm. The top surface should appear slightly cracked.
For many ovens, 9 minutes is often the sweet spot, but oven temperatures can vary, so it's wise to start checking around the 8-minute mark. Baking time can also depend on the size of your cookie balls and the thickness of your baking sheet. Removing them from the oven at the right time is the secret to a tender, melt-in-your-mouth easy peanut butter blossom.
Adding the Kiss: The Iconic Finishing Touch
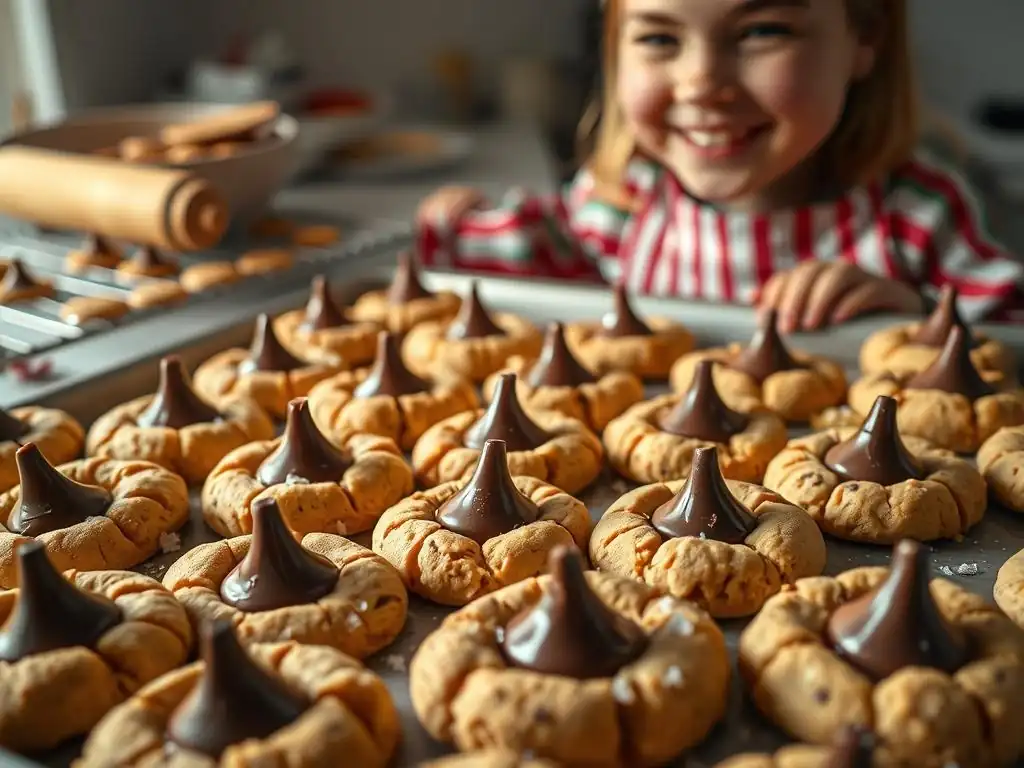
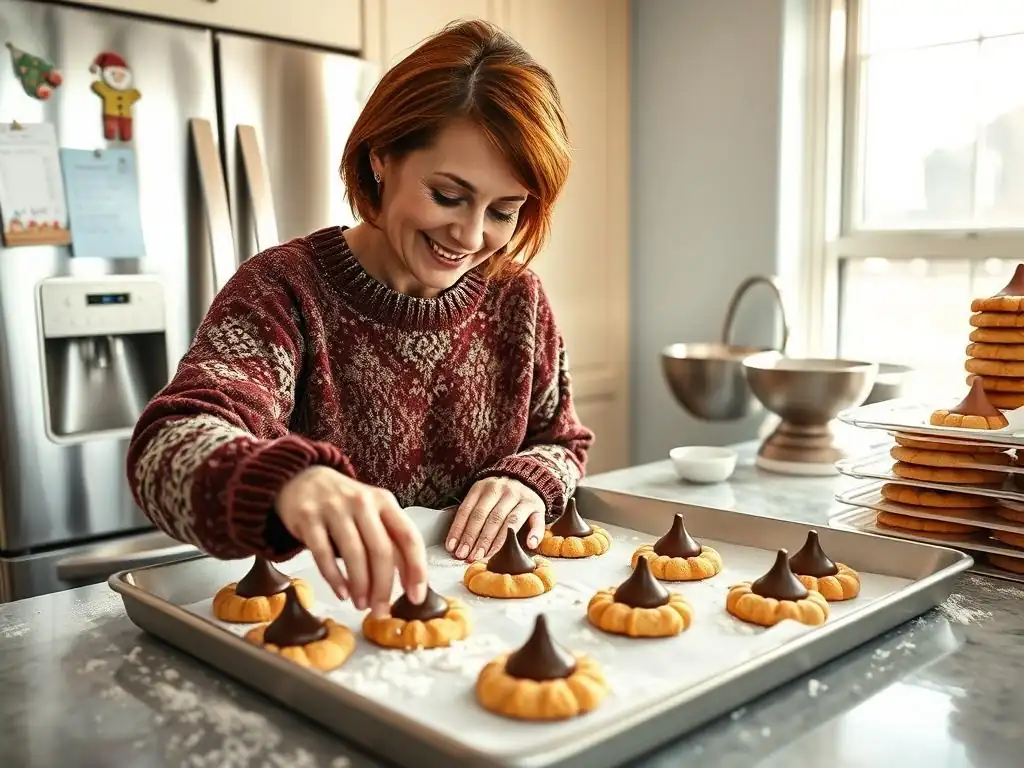
The moment the cookies come out of the oven is when the magic happens – adding the chocolate kiss. Immediately upon removing the baking sheet from the oven, gently press a chocolate kiss (unwrapped, of course!) into the center of each warm cookie. The heat from the cookie will slightly melt the bottom of the chocolate, helping it adhere and creating that characteristic "blossom" effect as the cookie slightly crumbles around the base of the chocolate.
It's crucial to do this step while the cookies are still hot and on the baking sheet. If you wait too long, the cookies will set, and the chocolate won't press in easily, potentially causing the cookie to break. Press the kiss down just enough so the base is nestled into the cookie, without pressing so hard that the cookie splits entirely.
Let the cookies sit on the baking sheet for another 5-10 minutes after adding the kisses to allow them to set slightly before transferring them to a wire rack to cool completely. This brief resting period on the sheet helps the cookies firm up and prevents them from breaking when moved.
Creative Peanut Butter Blossom Variations
Chocolate Peanut Butter Blossoms: A Decadent Twist
For chocolate lovers, transforming the classic peanut butter blossom into a chocolate version is a popular variation. This decadent twist involves incorporating cocoa powder into the dough itself. A common method is to replace a small amount of the all-purpose flour (say, 1/4 cup) with unsweetened cocoa powder, or simply add 1/4 to 1/2 cup of cocoa powder to the dry ingredients, slightly reducing the flour if needed to maintain dough consistency. The resulting dough will have a rich, dark color and a pronounced chocolate flavor that pairs wonderfully with the peanut butter.
When making chocolate peanut butter blossoms, consider using a different type of chocolate kiss or topping. While a milk chocolate kiss is classic, a dark chocolate kiss can enhance the overall richness. Alternatively, instead of a kiss, you could press a mini peanut butter cup into the center or drizzle melted chocolate over the cooled cookies. This variation adds another layer of flavor and texture, making an already delicious cookie even more indulgent. The baking time and temperature generally remain the same as the classic recipe, typically 8-10 minutes at 375°F (190°C).
Red Velvet Peanut Butter Blossoms: Festive and Flavorful
Bringing a touch of festive color and a hint of unique flavor, red velvet peanut butter blossoms are perfect for holiday platters. This variation adapts the dough by adding a small amount of cocoa powder (usually 1-2 tablespoons for subtle chocolate flavor), red food coloring (either liquid or gel, depending on desired intensity), and sometimes a tablespoon or two of buttermilk or vinegar to react with the cocoa and baking soda, enhancing the red hue and adding a slight tang characteristic of red velvet.
The amount of red food coloring needed can vary significantly; liquid coloring might require 1-2 teaspoons, while gel coloring is more concentrated, potentially needing only 1/2 teaspoon or less.
The key is achieving a vibrant red color without compromising the cookie's texture. Gel food coloring is often preferred as it adds less liquid to the dough. Rolling these red dough balls in granulated sugar before baking provides a beautiful contrast. The chocolate kiss pressed into the hot cookie remains the finishing touch. This variation offers a visually stunning cookie with a subtle chocolate-peanut butter flavor profile, making it a delightful and easy peanut butter blossom variation for Christmas or Valentine's Day. Baking time is consistent with the classic recipe.
Salted Caramel Peanut Butter Blossoms: A Sweet and Salty Delight
Combining the popular sweet and salty flavor profile, the salted caramel peanut butter blossom is a modern and incredibly delicious twist. This variation can be achieved in a few ways. One approach is to add caramel bits (like Kraft Caramel Bits or similar) directly into the cookie dough during the mixing stage. About 1/2 cup of caramel bits stirred into the dough after the dry ingredients are just combined works well. Another method is to use a caramel-filled chocolate candy instead of a standard chocolate kiss for the center.
A critical element of this variation is the salt. After pressing the caramel-filled candy or standard kiss into the hot cookie, sprinkle a pinch of flaky sea salt (like Maldon or别的品牌) over the warm chocolate. The flaky salt provides bursts of salinity that perfectly balance the sweetness of the caramel and chocolate and enhance the peanut butter flavor. This simple addition elevates the classic cookie to a gourmet level. Baking time remains 8-10 minutes at 375°F (190°C). This easy peanut butter blossom variation proves how simple additions can create complex and exciting flavors.
Decorating Your Peanut Butter Blossoms
Simple Sugar Coating Variations
While rolling peanut butter blossom dough in granulated sugar is traditional, there are simple variations that can change the look and taste. Instead of plain white granulated sugar, you could use turbinado sugar (also known as sugar in the raw). Its larger crystals provide a coarser, sparkling texture and a slightly different sweetness. Another option is to mix a small amount of spice, like 1/2 teaspoon of cinnamon or pumpkin pie spice, into the granulated sugar before rolling. This adds a subtle warmth and aroma to the cookie exterior, complementing the peanut butter flavor.
For holiday-specific decorating, consider using colored sanding sugars. Red and green sanding sugars are popular for Christmas. Simply roll the dough balls in the colored sugar just as you would with granulated sugar. This instantly adds a festive touch. You could even mix colors or roll half the batch in red and half in green. These simple sugar coating variations require no extra baking steps but significantly enhance the visual appeal and can subtly alter the flavor of your easy peanut butter blossom cookies.
Chocolate Drizzle Designs: Adding Elegance
Adding a chocolate drizzle is a simple yet elegant way to decorate cooled peanut butter blossoms, especially if you opted for a variation without a central chocolate kiss, or just want extra chocolate! Melt about 1/2 cup of chocolate chips (milk, dark, or white chocolate work well) in a microwave-safe bowl in 30-second intervals, stirring between each, until smooth. Alternatively, you can use a double boiler. Avoid overheating the chocolate, as it can seize.
Once melted, transfer the chocolate to a small Ziploc bag, snip off a tiny corner, and drizzle it back and forth over the cooled cookies in a random pattern. For more control, you can use a piping bag with a fine tip. Allow the chocolate drizzle to set completely at room temperature or in the refrigerator for a few minutes. This adds an extra layer of chocolate flavor and creates a more sophisticated look, making your classic peanut butter cookies look professionally decorated without much effort.
Festive Sprinkles: A Touch of Holiday Cheer
Sprinkles are an easy way to add instant festivity to your peanut butter blossoms, particularly for holiday baking. The best time to add sprinkles is immediately after pressing the chocolate kiss into the hot cookie, or if you're using a drizzle, while the melted chocolate is still wet. The residual heat from the cookie or the stickiness of the melted chocolate will help the sprinkles adhere.
Choose holiday-themed sprinkles like red and green jimmies, nonpareils, or festive shapes like stars or trees. You can sprinkle them around the base of the chocolate kiss or over the entire cookie surface before it cools completely. Another option is to roll the dough balls in sprinkles instead of sugar before baking, though some sprinkles might lose their color or shape in the oven depending on the type. Using sprinkles is a fun and easy step that makes your classic peanut butter cookies pop with holiday cheer, perfect for a Christmas cookie platter.
Tips and Tricks for Baking Perfect Peanut Butter Blossoms
One common issue when baking peanut butter blossoms is excessive spreading, resulting in flat, thin cookies instead of the desired slightly domed shape. Several factors contribute to this. First, ensure your butter is softened, not melted or overly warm, as described earlier in the ingredients section. Over-creaming the butter and sugar can also incorporate too much air, leading to collapse during baking. Secondly, accurately measure your flour; too little flour means the cookies lack structure. Using the spoon-and-level method for flour is crucial.
Crucially, chilling the dough is a highly effective way to prevent spreading. Refrigerating the dough for at least 30-60 minutes before rolling and baking helps solidify the fats, which melt more slowly in the oven, allowing the cookie to set before spreading too much. Baking on a cooler baking sheet (not placing dough on a sheet straight out of the oven from the previous batch) also helps.
Finally, ensuring your oven temperature is accurate is vital; an oven that isn't hot enough can cause cookies to spread before they set. Using an oven thermometer can help verify your oven's temperature.
Storing Your Peanut Butter Blossoms for Freshness
Proper storage is key to keeping your classic peanut butter cookies fresh and delicious. Once completely cooled, store peanut butter blossoms in an airtight container at room temperature. A plastic container with a tight-fitting lid or a cookie tin works well. Layering the cookies with parchment paper can help prevent them from sticking together, especially if the chocolate kisses are still slightly soft or prone to melting in warmer environments.
Stored properly at room temperature, peanut butter blossoms will maintain their quality for about 3-5 days. For longer storage, they can be kept in the refrigerator for up to a week. If you notice the chocolate kisses starting to look dull (a process called blooming), it's still safe to eat, but the texture might be slightly different. Avoid storing them next to highly aromatic foods, as cookies can absorb odors. Ensuring the container is truly airtight is the most important factor in maintaining their soft, chewy texture and preventing them from drying out.
Troubleshooting Common Peanut Butter Blossom Problems
Even with an easy peanut butter blossom recipe, issues can arise. If your cookies are too dry or crumbly, you likely added too much flour or didn't use enough wet ingredients (butter, sugar, egg). Ensure accurate measurements, especially for flour. If they spread too much and are too thin, review the tips for preventing flat cookies: chill the dough, check butter consistency, and verify oven temperature. Hard centers often result from overbaking; remember to remove them when the edges are set but the center still looks slightly soft.
If the chocolate kisses crack when pressed into the cookies, it might be because the cookies weren't hot enough when you added the kisses, or you pressed too hard. Ensure you add the kisses immediately after removing the sheet from the oven. If the dough is difficult to roll, it might be too warm; chilling it for 15-20 minutes can make it more manageable. By understanding the common culprits behind these issues – usually related to temperature, measurement, or timing – you can easily troubleshoot and achieve perfect results with your classic peanut butter cookies.
Tip about chilling the dough
Chilling the peanut butter blossom dough is a simple step that yields significant benefits, transforming a potentially finicky dough into one that's easy to handle and bakes beautifully. Refrigerating the dough for at least 30 minutes, and up to 2-3 days, allows the fats (butter and peanut butter) to firm up. This solidification is crucial because when the chilled dough enters the hot oven, the fats melt more slowly compared to room-temperature dough. This slower melting process provides structure to the cookie during the initial stages of baking, allowing the edges to set before the cookie spreads too much.
Beyond preventing excessive spread, chilling the dough also deepens the flavors. As the dough rests, the ingredients meld together, resulting in a richer, more pronounced peanut butter taste. It also contributes to a thicker, chewier cookie texture, which is highly desirable for a classic peanut butter blossom. While some "quick" versions of this easy peanut butter blossom recipe might skip the chilling step, incorporating it is a surefire way to improve both the structure and the flavor profile of your finished cookies, leading to consistently great results every time.
Make-Ahead Holiday Baking: Preparing Peanut Butter Blossoms in Advance
Planning Your Holiday Baking Schedule
Holiday baking can feel overwhelming with multiple types of cookies and treats to prepare. Incorporating make-ahead options for recipes like classic peanut butter blossoms is a smart strategy for managing your time and reducing stress during the busy season. You can prepare peanut butter blossom dough up to 2-3 days in advance and store it, tightly wrapped in plastic wrap, in the refrigerator. This allows you to break up the baking process; mix the dough one day, and bake the cookies the next.
Alternatively, you can form the dough balls and roll them in sugar, then place them on a baking sheet lined with parchment paper and freeze them until firm (about 1-2 hours). Once firm, transfer the frozen dough balls to a freezer-safe bag or container. These frozen dough balls can be stored for up to 3 months.
When you're ready to bake, simply place the frozen balls on a baking sheet (no need to thaw) and add 1-2 minutes to the standard baking time (so, 9-12 minutes at 375°F or 190°C). This flexibility in preparing the dough or pre-portioned balls makes peanut butter blossoms an excellent candidate for streamlined holiday baking.
Freezing Baked Blossoms for Later Enjoyment
Freezing baked peanut butter blossoms is another excellent way to get ahead on your holiday baking or simply ensure you have treats on hand whenever a craving strikes. Once the cookies have cooled completely and the chocolate kisses are fully set, arrange them in a single layer on a baking sheet and freeze for about 1-2 hours until solid. This prevents them from sticking together when stored.
After the initial freeze, transfer the solid cookies to a freezer-safe airtight container or freezer bag, placing parchment paper between layers to protect the chocolate kisses. Properly frozen, baked peanut butter blossoms can maintain their quality for up to 2-3 months. To thaw, simply remove the desired number of cookies from the freezer and let them sit at room temperature for about 30-60 minutes.
Avoid thawing in the microwave, as this can melt the chocolate unevenly. Freezing baked cookies means you can have fresh-tasting, easy peanut butter blossom cookies ready to enjoy or share on demand throughout the holiday season.
Simplify Holiday Baking with Make-Ahead Options
Utilizing make-ahead techniques for recipes like classic peanut butter blossoms significantly simplifies the overall holiday baking process. By preparing dough or freezing pre-portioned cookies, you spread the workload over several days or weeks, avoiding marathon baking sessions that can be exhausting. This approach allows you more time to focus on decorating, packaging, or simply enjoying the festive atmosphere.
For instance, you could dedicate one evening to mixing and chilling several batches of different cookie doughs, including your easy peanut butter blossom dough. A few days later, you could spend an afternoon just rolling and baking those chilled doughs. Or, bake all your cookies weeks in advance and simply pull them from the freezer as needed for parties or gifting. This level of preparation helps manage kitchen space, oven availability, and your own energy levels, making holiday baking feel much more like a joyful tradition and less like a chore.
The Perfect Homemade Holiday Treat
Classic peanut butter blossoms truly embody the spirit of homemade holiday treats. Their simple ingredients, straightforward process, and universally loved flavor make them accessible and enjoyable for everyone involved, from the baker to the recipient. On BakeWithEase.com, we champion recipes that bring joy without complexity, and this easy peanut butter blossom recipe fits that perfectly. The distinct look of the chocolate kiss nestled in the soft peanut butter cookie is instantly recognizable and evokes feelings of warmth and nostalgia, making them a welcome sight on any holiday table or gift box.
Baking a batch of these cookies is more than just following steps; it's creating something tangible and delicious to share. A standard batch of about 4-5 dozen cookies provides ample supply for gifting, cookie swaps, or enjoying with family. Wrapping a small cellophane bag filled with homemade peanut butter blossoms tied with a ribbon is a thoughtful and appreciated gesture during the holidays. They represent time, effort, and care, embodying the true meaning of a homemade gift.
Enjoying the Holidays with Delicious Peanut Butter Blossoms
Sharing delicious homemade treats like classic peanut butter blossoms is a cherished part of the holiday experience. Whether you're leaving a plate out for Santa, bringing them to a potluck, or simply enjoying them with a cup of hot cocoa by the fire, these cookies enhance the festive atmosphere. Their comforting flavor and tender texture make them an ideal accompaniment to holiday gatherings and quiet moments alike.
Having a reliable, easy peanut butter blossom recipe means you can easily whip up a batch whenever the mood strikes or unexpected guests arrive. They are a reminder that some of the best things in life, and in baking, are often the simplest. So go ahead, bake a batch (or two!) of these delightful classic peanut butter cookies and share the simple joy of homemade goodness with those you love this holiday season.
Frequently Asked Questions
Refrigerator cookies, also known as icebox cookies, are made from dough that's chilled in the refrigerator before baking. This chilling process makes the dough easier to handle and prevents spreading, contributing to their ease of preparation.
What makes this recipe particularly suitable for Christmas?
This recipe is Christmas-themed due to its adaptability for festive shapes using cookie cutters and the potential for using holiday-themed sprinkles and decorations. The chilled dough is also easily made ahead of time, perfect for busy holiday schedules.
Yes, substitutions are generally possible, but may affect the final texture or flavor. Consider swapping extracts for different flavors or using gluten-free flour for dietary needs. Always research appropriate ratios when substituting.
The cookie dough can typically be stored in the refrigerator for up to 3-5 days. Make sure to wrap it tightly in plastic wrap to prevent it from drying out and absorbing unwanted flavors.
Ensure the oven is preheated to the correct temperature and avoid over-greasing the baking sheet. Most importantly, make sure the dough is thoroughly chilled before slicing and baking to prevent excessive spreading.
Final Reflection: The Sweet Simplicity of Christmas Baking
The enduring appeal of easy Christmas recipes, especially refrigerator cookies, lies in their ability to bring joy and festive cheer without the stress of complicated procedures. These simple treats offer a delightful balance between deliciousness and accessibility, making them perfect for busy holiday seasons and novice bakers alike. The ease of preparation allows for more time spent with loved ones, creating memories that are just as sweet as the cookies themselves.
The tradition of baking Christmas cookies transcends mere culinary activity; it's a powerful symbol of togetherness, warmth, and the spirit of giving. It's a practice that connects generations, fostering a sense of belonging and shared experience. The best things in life are the people we love, the places we've been, and the memories we've made along the way.
This sentiment perfectly encapsulates the heart of holiday baking – the creation of lasting memories through simple acts of sharing and creating. The aroma of warm spices and the satisfaction of decorating cookies together are priceless gifts.
This Christmas, I encourage you to embrace the simplicity of these refrigerator cookies. Don't let the pressure of elaborate recipes overshadow the true meaning of the season. Choose the recipe that resonates with you, gather your loved ones, and create a sweet memory that will last a lifetime. Let the ease of preparation be a reminder to savor the moments, appreciate the company, and enjoy the simple pleasures that make the holidays truly special.
Unleash Your Inner Baker: Festive Treats Await!
Thanks for joining us on this sweet journey into Christmas cookie bliss! We hope you've gained some delicious inspiration and practical tips for creating unforgettable treats. Now, let's get those ovens fired up!
- Bake a batch of these amazing refrigerator cookies: Use the recipe you just learned and personalize them with your favorite festive sprinkles or candies. Don't forget to share pictures on social media using #BakeWithEaseChristmas!
- Try a creative twist: Experiment with different flavor extracts or fillings to make the cookies uniquely yours. What new flavor combination will you discover?
- Share this recipe with friends and family: Spread the holiday cheer and baking joy by sharing this article.
Ready to sprinkle some holiday magic into your kitchen? What’s your favorite Christmas cookie tradition?