
Easy Lemon Bar Bites: A Simple Twist for New Bakers

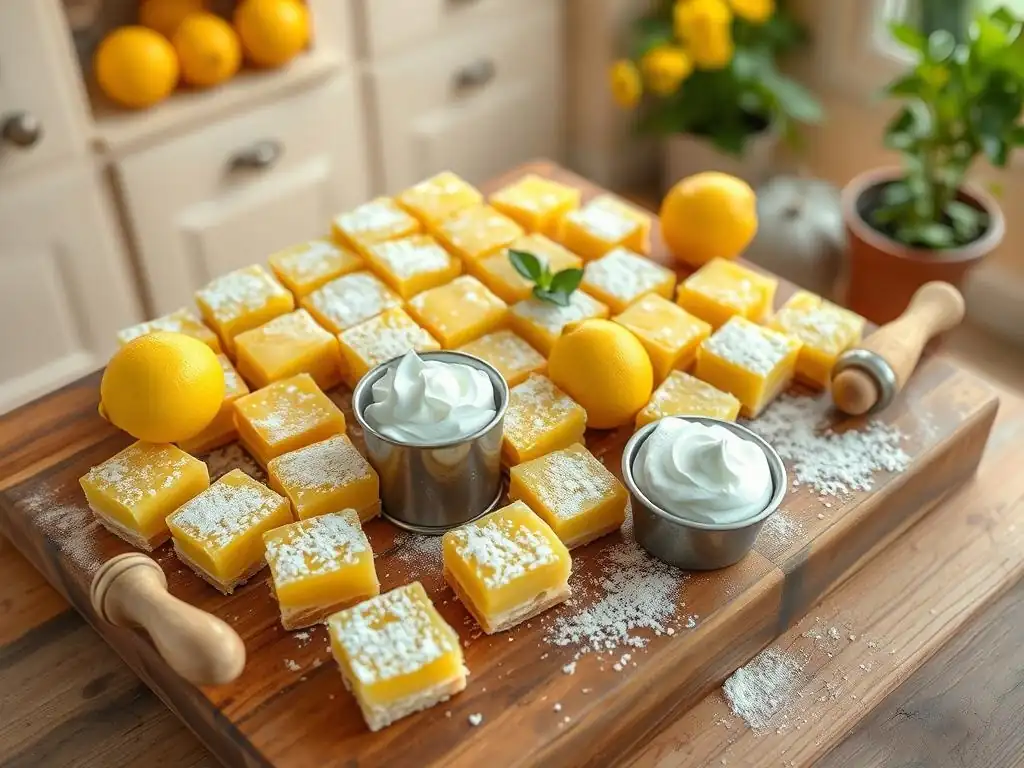
Welcome to BakeWithEase, your kitchen companion for conquering the sweet world of baking! Ever dreamed of creating sunshine in a bite? Our Easy Lemon Bar Bites are the perfect place to start. This beginner-friendly recipe unlocks the secrets to tangy, buttery perfection, proving that even novice bakers can whip up something truly extraordinary. Intrigued? Discover how simple ingredients and straightforward steps can lead to bakery-worthy results. Let’s get baking!
- Easy Lemon Bar Bites: A Simple Twist for New Bakers | BakeWithEase
- Introduction to Easy Lemon Bar Bites for Beginner Bakers
- Mastering the Easy Lemon Bar Recipe for Beginners
- Step-by-Step Guide: Baking Easy Lemon Bar Bites
- Baking Your Easy Lemon Bar Bites to Perfection
- Cooling, Cutting, and Serving Your Lemon Bar Treats
- Troubleshooting Common Lemon Bar Baking Issues
- Variations and Additions to Your Easy Lemon Bar Recipe
- Enjoying Your Homemade Lemon Bar Bites: A Beginner's Success
- Frequently Asked Questions
- Final Reflection: The Sweet Simplicity of Baking's First Steps
- Unlock Your Inner Baker: Lemon Bliss Awaits!
Easy Lemon Bar Bites: A Simple Twist for New Bakers | BakeWithEase
Introduction to Easy Lemon Bar Bites for Beginner Bakers
BakeWithEase Welcomes You to Simple Baking
Welcome to BakeWithEase, your friendly guide in the wonderful world of baking! We understand that stepping into the kitchen to bake for the first time can feel a little daunting, but we're here to show you just how rewarding and, yes, easy it can be. Our mission is to break down complex recipes into simple, manageable steps, using common ingredients you likely already have or can easily find. Think of us as your baking buddy, cheering you on from mixing bowl to cooling rack.
Our focus today is on a classic treat that's surprisingly forgiving for beginners: the lemon bar. By transforming the traditional full pan into cute, individual bites, we make the process even simpler, especially when it comes to cutting and serving. This particular recipe is tailored to introduce you to fundamental baking techniques without overwhelming you, setting the stage for future baking adventures. Get ready to create something delicious and impressive!
Why These Lemon Bar Bites Are Perfect for New Bakers
This easy lemon bar recipe for beginners is specifically designed with you in mind. Unlike some more intricate pastries, lemon bars rely on straightforward techniques like simple mixing and pressing, which are excellent foundational skills to master. The ingredients are minimal and typically found in any grocery store – flour, sugar, butter, eggs, and lemons are the stars here, requiring no special trips for obscure items.
Furthermore, making them as "bites" simplifies portioning and reduces the stress of cutting a large, potentially delicate dessert. If your cuts aren't perfectly straight, it's less noticeable in small squares! This recipe also offers a great opportunity to practice skills such as zesting citrus and understanding how egg-based fillings thicken in the oven. It's a low-stakes way to gain confidence before tackling more complex recipes, making it an ideal easy lemon bar recipe for beginners.
Mastering the Easy Lemon Bar Recipe for Beginners
Gathering Your Simple Lemon Bar Ingredients
For this easy lemon bar recipe beginners will love, you'll need a few pantry staples and some fresh citrus. For the buttery crust, you'll typically need about 1 cup of all-purpose flour, roughly 1/2 cup of cold unsalted butter cut into cubes, and approximately 1/4 cup of powdered sugar. The powdered sugar helps create a tender, melt-in-your-mouth texture for the base. Ensure your butter is cold; this is key to a good shortbread-style crust.
The vibrant lemon filling requires about 1 and 1/2 cups of granulated sugar, roughly 1/4 cup of all-purpose flour (this helps thicken the filling), a pinch of salt, the zest of 2-3 medium lemons (about 2 tablespoons), the juice of 2-3 medium lemons (about 1/2 cup), and 3-4 large eggs. Using both zest and juice is crucial for that bright, intense lemon flavor.
Sometimes, a little baking powder is added to the filling to give it a slight lift, maybe around 1/4 teaspoon. Having all your ingredients measured and ready before you start mixing, often called "mise en place," makes the baking process much smoother.
Essential Baking Tools for Your Lemon Bar Bites
You don't need a professional kitchen setup to make this easy lemon bar recipe for beginners. A standard 8x8 inch square baking pan is perfect for creating bites; this size yields about 16-25 squares depending on how you cut them. You'll also need parchment paper or foil to line the pan, making it easy to lift the cooled bars out for cutting and significantly simplifying cleanup.
For mixing, a couple of medium-sized mixing bowls will suffice – one for the crust ingredients and one for the filling. A fork or a pastry blender works well for cutting the cold butter into the dry crust ingredients. For the filling, a whisk is essential for smoothly combining the sugar, flour, lemon zest, juice, and eggs. Measuring cups and spoons are non-negotiable for accuracy, and a microplane zester is incredibly helpful for getting fine lemon zest without the bitter white pith.
Step-by-Step Guide: Baking Easy Lemon Bar Bites

Preparing the Crust: A Beginner's Guide
The crust for these easy lemon bar bites is a simple shortbread-style base, which is incredibly forgiving for new bakers. It requires minimal ingredients and straightforward mixing. The key is to handle the dough as little as possible to keep it tender. We'll combine dry ingredients first, then cut in cold butter until the mixture resembles coarse crumbs, almost like wet sand.
Once the ingredients are combined, the mixture is pressed firmly into the prepared baking pan. There's no rolling required! This simplicity makes it an ideal starting point for anyone learning the basics of baking. Getting the crust right is the first step to a successful batch of these delightful treats, and it's a skill you'll use in many other recipes.
Mixing the Crust Ingredients for Lemon Bars
Start by whisking together the 1 cup of all-purpose flour and 1/4 cup of powdered sugar in a medium bowl. Make sure there are no lumps in the powdered sugar. Next, add the 1/2 cup of cold butter cubes. Using a fork, pastry blender, or even your fingertips (working quickly so the butter stays cold), cut the butter into the dry ingredients until the mixture looks like coarse crumbs with some pea-sized pieces of butter still visible.
This cutting-in process is crucial because as the butter melts in the oven, it creates steam, which helps make the crust tender and flaky. If you overmix or use soft butter, the crust can become tough. Aim for a texture similar to that shown in many online tutorials or baking books – distinct small pieces of butter distributed throughout the flour mixture.
Pressing the Crust into the Pan
Once your crust mixture is ready, pour it into your 8x8 inch baking pan that has been lined with parchment paper or foil, leaving some overhang on the sides to act as handles. Gently press the mixture evenly across the bottom of the pan. You can use the bottom of a glass, a flat measuring cup, or your fingers to achieve a compact, level layer.
Ensure the edges are also pressed firmly so the crust holds its shape. Aim for an even thickness across the entire base, roughly 1/4 to 1/3 inch thick. A well-pressed crust will provide a sturdy foundation for the lemon filling and prevent it from seeping underneath during baking.
Creating the Lemon Filling: Simple and Delicious
The lemon filling is the star of these easy lemon bar bites, providing that signature tangy sweetness. It's essentially a thick, bright custard made with eggs, sugar, lemon juice, and zest, thickened slightly with flour. The process is incredibly simple – just whisk everything together!
The magic happens in the oven as the eggs cook and the flour helps set the mixture into a smooth, sliceable layer. Getting the right balance of sweet and tart is key, which is why using fresh lemons for both juice and zest is non-negotiable for the best flavor.
Combining the Lemon Filling Ingredients
In a separate medium bowl, whisk together the 1 and 1/2 cups of granulated sugar and the 1/4 cup of all-purpose flour. This step helps prevent the flour from clumping when added to the wet ingredients. Add the 2-3 tablespoons of fresh lemon zest and a pinch of salt to the sugar-flour mixture. Rubbing the zest into the sugar with your fingers can help release more of its fragrant oils.
Next, whisk in the 3-4 large eggs until well combined, about 1-2 minutes. Finally, add the 1/2 cup of fresh lemon juice and whisk until the mixture is smooth and uniform. Some recipes might suggest warming the juice slightly, but for this easy lemon bar recipe for beginners, simply whisking everything together at room temperature works perfectly fine and keeps things simple.
Pouring the Filling Over the Crust
Once your crust has been pressed into the pan, it's time to add the glorious lemon filling. Carefully pour the smooth lemon mixture directly over the prepared, unbaked crust in the pan. The filling will be relatively thin, so pour slowly and evenly to ensure it covers the entire surface.
Give the pan a gentle shake or tap it lightly on the counter to help the filling settle evenly and release any large air bubbles. The crust will bake simultaneously with the filling, creating a seamless layer of buttery crust topped with tangy lemon goodness.
Baking Your Easy Lemon Bar Bites to Perfection
Optimal Baking Time and Temperature
For this easy lemon bar recipe for beginners, a common baking temperature is around 350°F (175°C). Preheat your oven thoroughly before placing the pan inside. The total baking time will typically range from 25 to 35 minutes, depending on your oven and the thickness of your filling.
You'll know the lemon bars are done when the filling looks set and is no longer jiggly in the center when the pan is gently shaken. The edges of the filling might appear slightly firmer or even lightly golden, and the crust edges should be a lovely golden brown. Avoid overbaking, as this can lead to a tough filling or a cracked surface.
Tips for Achieving Golden-Brown Lemon Bars
Achieving that perfect golden-brown crust is a sign of deliciousness and proper baking. Ensure your oven is accurately preheated to 350°F (175°C). Placing the pan in the center rack usually provides the most even heat distribution. Keep an eye on the edges of the crust during the last 10-15 minutes of baking.
If the crust edges seem to be browning too quickly while the filling still needs more time, you can loosely tent the pan with aluminum foil. This protects the edges from direct heat while allowing the filling to continue cooking. A properly baked crust will be firm and hold its shape when cooled, providing a delightful contrast to the smooth, tangy filling.
Cooling, Cutting, and Serving Your Lemon Bar Treats
Allowing Your Lemon Bars to Cool Completely
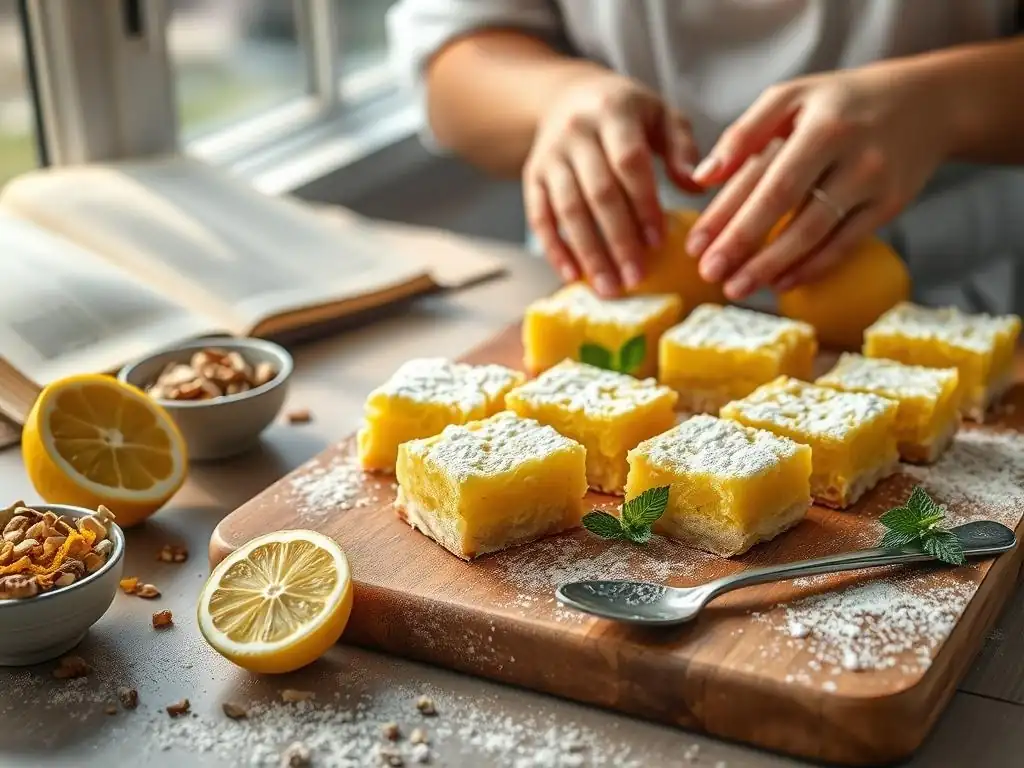
Patience is key when it comes to lemon bars, especially for new bakers! Once they are out of the oven, it is absolutely critical to let them cool completely before attempting to cut them. This means letting them cool at room temperature for at least 2-3 hours, or even better, refrigerating them for another 1-2 hours after they've mostly cooled on the counter.
Cooling allows the filling to fully set and firm up. If you try to cut them while they are still warm, the filling will be soft and gooey, resulting in messy, misshapen bars. A fully chilled lemon bar filling is firm and easy to cut cleanly, ensuring those perfect little bites.
Cutting Perfect Lemon Bar Bites
Cutting chilled lemon bars into neat bites is much easier than cutting them warm. Start by using the parchment paper or foil overhang to carefully lift the entire cooled and chilled slab out of the pan and onto a cutting board. This prevents scratching your pan and gives you more control.
Use a sharp knife for cutting. For the cleanest cuts, wipe the knife blade clean with a warm, damp cloth between each slice. This removes any sticky residue and ensures smooth edges. For bites, aim for small squares, perhaps 1.5 to 2 inches per side. You can first cut the large slab in half, then cut each half into smaller sections, and finally slice those sections into squares.
Serving and Storing Your Easy Lemon Bars
Once cut into individual bites, arrange your easy lemon bar treats on a serving platter. A dusting of powdered sugar over the top just before serving is a classic and beautiful finish. The bright yellow of the filling contrasted with the white powder is visually appealing and adds a touch more sweetness.
These lemon bar bites are best stored in an airtight container in the refrigerator due to the egg-based filling. They will keep well for 3-4 days. For longer storage, they can be frozen for up to 2-3 months; just layer them between sheets of parchment paper in a freezer-safe container. Thaw them in the refrigerator before serving.
Troubleshooting Common Lemon Bar Baking Issues
Avoiding a Soggy Lemon Bar Crust
A soggy crust is a common frustration, but it's usually avoidable. One primary cause is underbaking the crust initially, or not pressing it firmly enough into the pan. The crust needs to be slightly pre-baked or baked long enough with the filling to become firm and golden brown, providing a barrier against the moist filling.
Another factor can be too much butter in the crust mixture, which can make it greasy rather than crisp. Ensure you measure accurately. If you consistently get a soggy bottom, consider pre-baking the crust for about 10-15 minutes at 350°F (175°C) until it's lightly golden before pouring in the filling. This extra step creates a firmer base before the filling is added and baked.
Preventing a Cracked Lemon Bar Filling
A cracked filling, while not affecting the taste, can detract from the appearance of your easy lemon bar bites. This often happens when the bars are overbaked or cooled too rapidly. The filling expands slightly while baking and contracts as it cools; if it gets too firm in the oven or cools down too fast, it can split.
To prevent cracking, watch the baking time closely. Remove the bars from the oven as soon as the center is just set. Also, allow the bars to cool gradually on a wire rack at room temperature before refrigerating. Avoiding sudden temperature changes helps the filling contract slowly and evenly, resulting in a smooth, unblemished surface.
Variations and Additions to Your Easy Lemon Bar Recipe
Adding Berries to Your Lemon Bar Bites
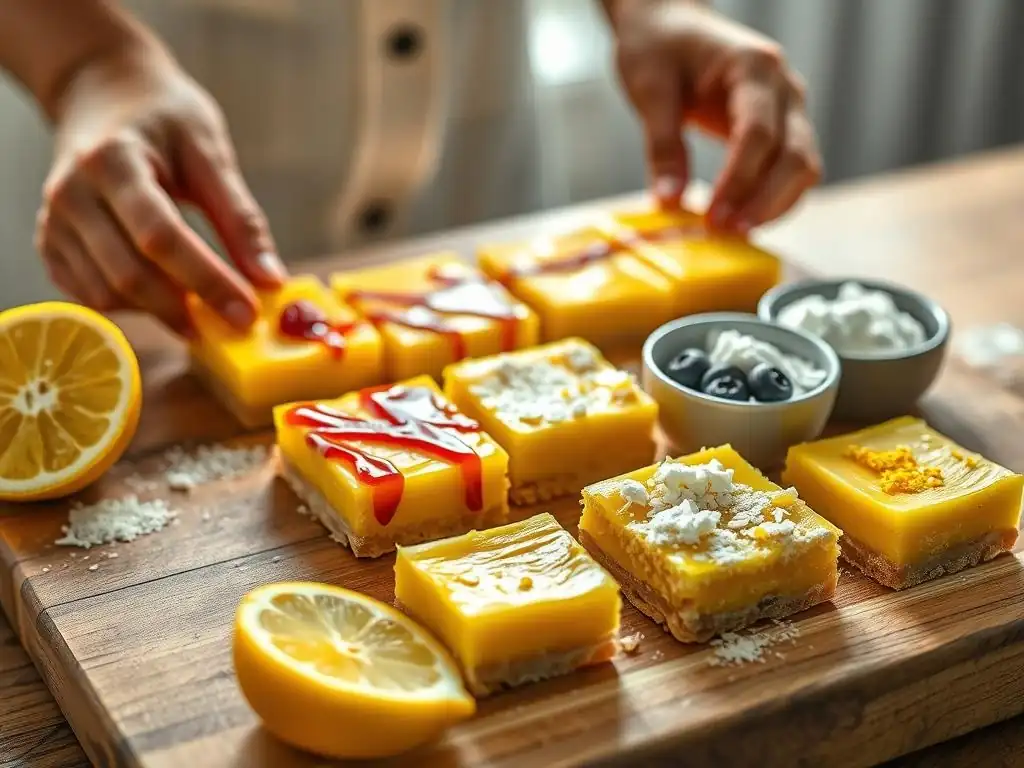
Adding fresh berries is a fantastic way to introduce new flavors and textures to your easy lemon bar recipe for beginners. Small berries like raspberries or blueberries work particularly well. You can gently scatter about 1/2 to 1 cup of fresh berries evenly over the unbaked crust before pouring the lemon filling over the top.
As the bars bake, the berries will soften slightly and release some of their juices, creating delightful pockets of fruity goodness within the tangy lemon filling. This simple addition not only enhances the flavor but also adds beautiful pops of color to your finished lemon bar bites.
Creating a Meringue Topping for Lemon Bars
For a more elegant twist on your easy lemon bar recipe, consider adding a light and fluffy meringue topping. While slightly more involved than the basic recipe, it's a great next step for beginners. A simple meringue is made by whisking egg whites with sugar until stiff peaks form. You might use the egg whites left over from using only yolks in the filling, or use extra egg whites.
After the lemon bars have baked and cooled slightly (but are still warm), spread or pipe the meringue over the filling, covering it completely. Then, briefly return the bars to a hot oven (around 400°F or 200°C) for just a few minutes, or use a kitchen torch, to brown the meringue peaks. Keep a close eye on it, as meringue can brown very quickly!
Enjoying Your Homemade Lemon Bar Bites: A Beginner's Success
Congratulations, you've successfully made delicious easy lemon bar bites! There's immense satisfaction in creating something sweet and tangy from simple ingredients. Baking is a skill that improves with practice, and tackling a recipe like this is a significant step. Don't hesitate to share your accomplishment!
Offer your homemade treats to friends, family, or coworkers. Baking is often about sharing joy through food, and these bright, cheerful bites are perfect for that. Gather feedback (positive or constructive!) and celebrate your success as a budding baker. Every successful bake builds confidence for the next challenge.
Explore More Beginner Baking Recipes on BakeWithEase
Now that you've conquered this easy lemon bar recipe for beginners, you're ready to explore further! BakeWithEase is filled with simple, step-by-step guides for all sorts of delicious baked goods suitable for new bakers. From classic chocolate chip cookies to simple loaf cakes and basic bread techniques, there's a whole world of baking waiting for you.
We encourage you to browse our categories like 'Beginner Baking Recipes', 'Cookie Bars & Brownies', and 'Simple Cakes'. Each recipe is designed to be accessible and fun, helping you build your skills one delicious bake at a time. Keep practicing, keep experimenting, and most importantly, keep enjoying the process!
Frequently Asked Questions
What makes this Easy Lemon Bar Bites recipe beginner-friendly?
This recipe focuses on simple steps and readily available ingredients, minimizing complexity. It also utilizes a pre-made crust option for even greater ease.
Can I substitute any ingredients in this lemon bar recipe?
While substitutions are possible, we recommend sticking to the recipe for best results, especially for beginners. However, you could try a different type of citrus for a unique flavor.
How do I prevent the lemon bar filling from cracking?
Avoid overbaking! Bake until the filling is just set and has a slight jiggle in the center. Let the lemon bars cool completely before cutting and serving.
How long will these Easy Lemon Bar Bites last?
Stored properly in an airtight container in the refrigerator, these lemon bars will last for up to 3-4 days. They can also be frozen for longer storage.
What are some tips for getting a clean cut when serving the lemon bars?
Ensure the bars are completely chilled before cutting. Use a sharp knife and consider wiping it clean between each cut for a perfect presentation.
Final Reflection: The Sweet Simplicity of Baking's First Steps
The joy of baking, especially for beginners, lies not in complex techniques, but in the satisfaction of creating something delicious and beautiful from simple ingredients. Mastering a recipe like these Easy Lemon Bar Bites unlocks a world of culinary possibilities, proving that even the most intimidated novice can achieve baking success. This isn't just about lemon bars; it's about building confidence in the kitchen.
These little lemon squares represent more than just a recipe; they symbolize the power of accessible culinary experiences. They've opened a door for many new bakers, proving that the seemingly daunting world of baking can be approachable and rewarding. As Julia Child famously said, Find something you're passionate about and keep tremendously interested in it.
These lemon bars, in their simplicity, can ignite that passion, fostering a love for baking that lasts a lifetime.
Now, it's your turn. Don't let the fear of failure hold you back. Try this recipe, adapt it to your liking, and discover the joy of creating something delicious with your own hands. Embrace the imperfections, celebrate the successes, and remember that every culinary journey begins with a single, perfectly baked lemon bar bite. What will you bake next?
Unlock Your Inner Baker: Lemon Bliss Awaits!
Thanks for joining us on this sweet journey! We hope you've gained the confidence to tackle these delightful lemon bar bites. Now it's time to put your new skills to the test.
- Bake a batch: Surprise your friends and family with these zesty treats! Don't be shy – the recipe is designed for success.
- Share your creation: Post a picture of your lemon bar bites on social media and tag us @BakeWithEase – we'd love to see your baking magic!
- Experiment with flavors: Try adding blueberries, raspberries, or even a hint of lavender to create your own unique lemon bar bite variations.
Ready to transform your kitchen into a lemon-scented paradise? What unique twist will you add to your lemon bar bites?