
Effortless Easter Sugar Cookies with Simple Decorating


Welcome to BakeWithEase, your guide to effortless baking!
Ready to elevate your Easter celebrations? Dive into our Easy Easter Sugar Cookie Recipe and discover how to create stunning, delicious treats with minimal fuss. We'll guide you through each step, from mixing the dough to simple decorating techniques, ensuring your cookies are the highlight of the holiday. Curious about the secret to perfectly shaped cookies and vibrant icing? Let's get baking!
- Effortless Easter Sugar Cookies with Simple Decorating - BakeWithEase.com
- The Easiest Easter Sugar Cookie Recipe You'll Ever Need
- Gathering Your Ingredients for Easy Easter Sugar Cookies
- Step-by-Step: Baking Your Easy Easter Sugar Cookies
- Decorating Made Simple: Easy Easter Sugar Cookie Icing Techniques
- Troubleshooting Your Easy Easter Sugar Cookies
- Storing Your Deliciously Decorated Easter Sugar Cookies
- More Easy Spring Baking Recipes from BakeWithEase
-
Frequently Asked Questions
- What makes this Easter sugar cookie recipe considered "easy"?
- Can I easily find the ingredients needed for this cookie recipe?
- What kind of decorating techniques are considered "simple" in this context?
- Is this recipe suitable for beginner bakers who have never made sugar cookies before?
- Does BakeWithEase offer other Easter-themed baking recipes besides sugar cookies?
- Final Reflection: The Sweetness of Simple Traditions
- Unleash Your Inner Easter Baker!
Bake Delicious Easter Treats with Minimal Effort
Creating festive treats for Easter doesn't have to be complicated or time-consuming. This easy Easter sugar cookie recipe is designed specifically for home bakers who want beautiful, delicious results without the fuss. We'll walk you through a straightforward process that yields perfectly shaped cookies ready for decorating, making it an ideal activity for families or anyone new to baking. The focus is on simplicity, from the dough preparation to the final touches of icing.
With this recipe, you can expect to bake approximately 24-30 cookies, depending on the size of your cookie cutters. The total active time for mixing and rolling is about 30-40 minutes, plus chilling time. This makes it a manageable project for a weekend afternoon or even a weeknight if you prepare the dough ahead of time. Our aim is to demystify sugar cookie baking, proving that an easy Easter sugar cookie recipe can deliver professional-looking results right from your own kitchen.
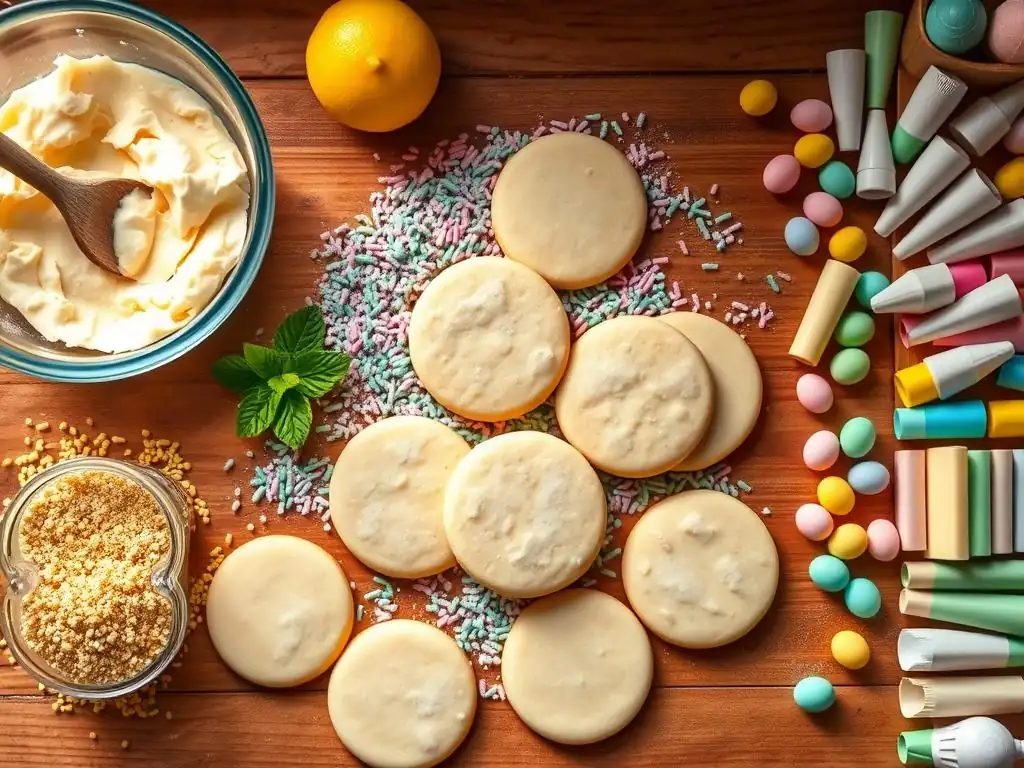
- 2 1/4 cups all-purpose flour
- 1 cup (2 sticks) unsalted butter, softened
- 1 cup granulated sugar
- 1 large egg
- 1 teaspoon vanilla extract
- 1/2 teaspoon baking powder
- 1/4 teaspoon salt
- 4 cups powdered sugar
- 5 tablespoons meringue powder
- 1/2 cup warm water
- Gel food coloring
Preparing the Dough: A Beginner-Friendly Guide
Start by creaming together the softened butter and granulated sugar in a large bowl using an electric mixer until the mixture is light and fluffy. This process incorporates air, which helps create a tender cookie. Scrape down the sides of the bowl to ensure everything is well combined. Next, beat in the large egg and vanilla extract until just incorporated. Overmixing after adding the egg can develop too much gluten, resulting in tough cookies.
In a separate medium bowl, whisk together the all-purpose flour, baking powder, and salt. Gradually add the dry ingredients to the wet ingredients, mixing on low speed until just combined. Be careful not to overmix the dough; you should see only a few streaks of dry flour remaining. The dough will be somewhat soft. Divide the dough into two equal portions, flatten each into a disk, wrap tightly in plastic wrap, and refrigerate for at least 30 minutes, or up to 2 days. Chilling is crucial for preventing the cookies from spreading excessively during baking.
Once the dough is properly chilled, flour your work surface and rolling pin lightly. Take one disk of dough out of the refrigerator. If it's too hard to roll immediately, let it sit at room temperature for just a few minutes until it's pliable but still cold. Roll the dough to an even thickness, ideally about 1/4 inch (about 6mm). Rolling too thin can lead to brittle cookies, while rolling too thick might result in underbaked centers.
Use your favorite Easter-themed cookie cutters – think bunnies, eggs, chicks, or flowers – to cut out shapes. Dip the edges of the cutters in flour between cuts to prevent sticking. Carefully transfer the cut-out shapes to baking sheets lined with parchment paper or silicone baking mats, spacing them about 1 inch apart. Gather the dough scraps, press them together gently, and reroll once or twice. For best results and minimal spread, you can place the cut cookies back in the refrigerator for another 10-15 minutes before baking, especially if your kitchen is warm.
Preheat your oven to 350°F (175°C). Baking at the correct temperature is key to achieving the perfect texture and preventing over-spreading. If your oven runs hot or cold, an oven thermometer can be a useful tool to ensure accuracy. Place the baking sheets with the chilled, cut-out cookies into the preheated oven.
Bake for 8 to 12 minutes, depending on the size and thickness of your cookies and the specific oven. You'll know they're ready when the edges are lightly golden brown. For a softer cookie, aim for just set centers and minimal browning. For a crispier cookie, bake a minute or two longer until more golden around the edges. Let the cookies cool on the baking sheets for 2-3 minutes before carefully transferring them to a wire rack to cool completely. Ensure the cookies are fully cooled before attempting to decorate them with icing.

Royal icing is the classic choice for decorating sugar cookies because it dries hard and smooth, allowing for stacking and detailed designs. To make the basic icing for this easy Easter sugar cookie recipe, combine the powdered sugar and meringue powder in a large bowl. Meringue powder is crucial as it contains dried egg whites and stabilizers that help the icing set properly.
Gradually add the warm water, mixing on low speed with an electric mixer until combined. Increase the speed to medium-high and beat for 5-7 minutes, or until the icing is thick, glossy, and holds stiff peaks. The consistency is key: for outlining cookies, you'll want a thicker icing (like toothpaste); for flooding (filling in the outlines), you'll need a thinner icing (like honey or syrup). You can adjust consistency by adding more powdered sugar for thickness or adding water very slowly (just a teaspoon at a time) for thinning. Divide the icing into separate bowls for coloring.
Once your cookies are baked and completely cooled, and your royal icing is ready, it's time for the fun part! For beginners, start with simple designs. Use a piping bag or a small squeeze bottle filled with slightly thicker icing to outline the cookie shapes. Let the outline dry for about 10-15 minutes. This dam prevents the thinner "flood" icing from running off the cookie.
Next, thin some of the colored icing with a bit more water until it's the right consistency for flooding. Use a squeeze bottle or a spoon to fill in the outlined area. A toothpick or scribe tool can help spread the icing evenly and pop any air bubbles.
While the flood icing is still wet, you can add sprinkles or edible glitter. Simple techniques like polka dots or stripes can also be achieved by piping dots or lines of a different color onto the wet flood icing. Allow the cookies to dry completely, ideally for several hours or overnight, before stacking.
Advanced Techniques: Wet-on-Wet Decorating for Intricate Designs
For those looking to try something a bit more advanced with their easy Easter sugar cookie recipe, the wet-on-wet technique is a great next step. This method involves piping designs onto flood icing while it is still wet, causing the colors to meld together and create a smooth, flat surface once dry. After flooding a cookie with your base color, immediately pipe dots, lines, or swirls of a contrasting color onto the wet surface.
Using a toothpick or scribe tool, quickly drag it through the wet icing to create patterns like hearts, marbling, or spiderwebs. For example, you could flood an egg-shaped cookie with white icing, then pipe concentric circles of pink and yellow, and drag a toothpick from the center outwards to create a flower pattern. The key is speed, as the base layer of icing will start to set quickly. Practice on a piece of parchment paper first to get a feel for the timing and technique before applying it to your beautiful Easter sugar cookies.
One common issue when making an easy Easter sugar cookie recipe is cookies spreading too much during baking, losing their defined shapes. This is often caused by the dough being too warm when it goes into the oven or insufficient chilling time. Ensure your dough is chilled for at least 30 minutes before rolling and cutting, and consider chilling the cut shapes on the baking sheet for another 10-15 minutes, especially if your kitchen is warm. Using cold butter (but softened) and not overmixing the dough also helps maintain shape.
Another problem can be tough or dry cookies. This typically happens from overmixing the dough after adding the flour, which develops too much gluten. Mix only until the dry ingredients are just incorporated. Overworking the dough when gathering scraps can also contribute to toughness. Try to reroll dough scraps only once or twice. If your cookies are crumbly, you might not have used enough butter or the butter wasn't properly softened and creamed with the sugar.
Achieving the right consistency for royal icing can be tricky, but it's essential for easy Easter cookie decorating. If your icing is too thick for flooding, it won't spread smoothly. Add water very gradually, a teaspoon at a time, mixing thoroughly after each addition, until it reaches the desired flow consistency (like honey). If your icing is too thin, it will run off the cookies or your outlines won't hold their shape. Add more powdered sugar, a tablespoon at a time, mixing until it thickens.
Another common problem is icing that dries with a dull finish or cratering (small holes or collapsed areas). Dullness can sometimes be caused by using too much water or high humidity. Cratering often occurs in flooded areas, especially large ones. It can be reduced by ensuring your icing is mixed long enough to incorporate air and by gently tapping the cookie after flooding to release air bubbles. Allowing cookies to dry completely in a low-humidity environment is also crucial for a smooth, shiny finish.

Once your easy Easter sugar cookies are fully decorated and the royal icing has completely dried (this can take 4-24 hours depending on humidity and icing thickness), it's time to store them. Properly stored, these cookies can stay fresh for up to two weeks. The key is to protect them from air and moisture, which can make them stale or cause the icing to become sticky.
Store the decorated cookies in an airtight container at room temperature. If you need to stack them, place a layer of parchment paper between each layer of cookies to prevent them from sticking together or damaging the delicate icing designs. Avoid refrigerating or freezing decorated cookies, as condensation can form on the icing and ruin the finish. Keep the container away from direct sunlight or heat sources, which can also affect the icing. Enjoy your beautiful and delicious easy Easter sugar cookies!
More Easy Spring Baking Recipes from BakeWithEase
Lemon Poppy Seed Muffins
Spring is the perfect time for bright, citrusy flavors, and our easy lemon poppy seed muffin recipe delivers just that. These muffins are incredibly simple to whip up, requiring just one bowl and about 20 minutes of baking time. The combination of tangy lemon zest and juice with the subtle crunch of poppy seeds creates a delightful texture and vibrant taste.
Our recipe uses standard pantry ingredients and yields about 12 fluffy muffins. We recommend using fresh lemon zest for the most intense flavor, approximately the zest of two medium lemons. A simple glaze made from powdered sugar and lemon juice can be drizzled over the cooled muffins for an extra burst of lemon goodness, making them a perfect addition to any spring brunch or a light afternoon snack.
Strawberry Rhubarb Crumble Bars
Another quintessential spring dessert is the strawberry rhubarb crumble bar. This recipe simplifies the classic pie into easy-to-eat bars with a buttery shortbread base and a crunchy crumble topping. The sweet-tart filling made from fresh strawberries and rhubarb is a harmonious blend of seasonal flavors.
This recipe typically uses about 2 cups of chopped rhubarb and 2 cups of sliced strawberries for the filling. The crumble topping is a simple mixture of flour, sugar, butter, and sometimes oats, baked until golden and crispy. These bars are relatively quick to assemble and bake in about 40-45 minutes. They are fantastic served warm with a scoop of vanilla ice cream or enjoyed at room temperature, making them a versatile and easy spring treat.
Frequently Asked Questions
This recipe is considered easy because it uses simple ingredients and provides step-by-step instructions suitable for bakers of all skill levels. It focuses on a straightforward baking process.
Yes, the recipe uses easily accessible ingredients commonly found in most grocery stores. The focus is on convenience and readily available items.
What kind of decorating techniques are considered "simple" in this context?
Simple decorating techniques include using pre-made frosting, sprinkles, or easy-to-create royal icing designs. The emphasis is on achieving a festive look without complex skills.
Absolutely! The recipe is specifically designed to be beginner-friendly with clear instructions and helpful tips to guide new bakers through the process successfully.
Yes, BakeWithEase offers a variety of Easter-themed recipes, including pastries, cakes, and other treats, all designed with ease and simplicity in mind.
Final Reflection: The Sweetness of Simple Traditions
The enduring appeal of homemade Easter cookies lies not in complexity, but in the joy of creation and sharing. In a world increasingly dominated by instant gratification, the act of baking – and especially the simple, achievable process outlined in this recipe – offers a powerful antidote to the frenetic pace of modern life. These aren't just cookies; they're a tangible connection to cherished memories and a chance to create new ones.
The influence of simple, heartfelt traditions like baking Easter cookies extends far beyond the kitchen. They foster a sense of community, bringing families and friends together around a shared activity. The process itself, from measuring ingredients to carefully decorating each cookie, becomes a meditative practice, a moment of mindful creation. The best things in life are the simple things.
This sentiment rings especially true when considering the lasting impact of these seemingly small gestures. The aroma of baking cookies, the shared laughter during decorating, and the final product itself become powerful symbols of connection and warmth.
Now, I invite you to consider the power of simple acts. This Easter, don't be afraid to embrace the ease and joy of creating these effortless sugar cookies. Let the process be a reminder to slow down, connect with loved ones, and savor the sweetness of shared moments. The memories you create, like the cookies themselves, will be treasured for years to come.
Unleash Your Inner Easter Baker!
Thanks for joining us on this sweet journey into effortless Easter cookie decorating! We hope you've gained some fun and easy techniques to create beautiful treats. Now it's time to put your new skills to the test!
- Bake a batch of your own Easter cookies today! Use the recipe and tips from the article as your guide, and don't be afraid to experiment with colors and designs.
- Share your creations! Post a picture on social media and tag us – we'd love to see your Easter cookie masterpieces!
- Try a surprising twist – experiment with different frosting flavors or add unique sprinkles to personalize your cookies.
Ready to transform your kitchen into a sugary Easter wonderland? What's your favorite Easter cookie decorating tip?