
Affordable Piping Bags and Tips for Decorating Like a Pro

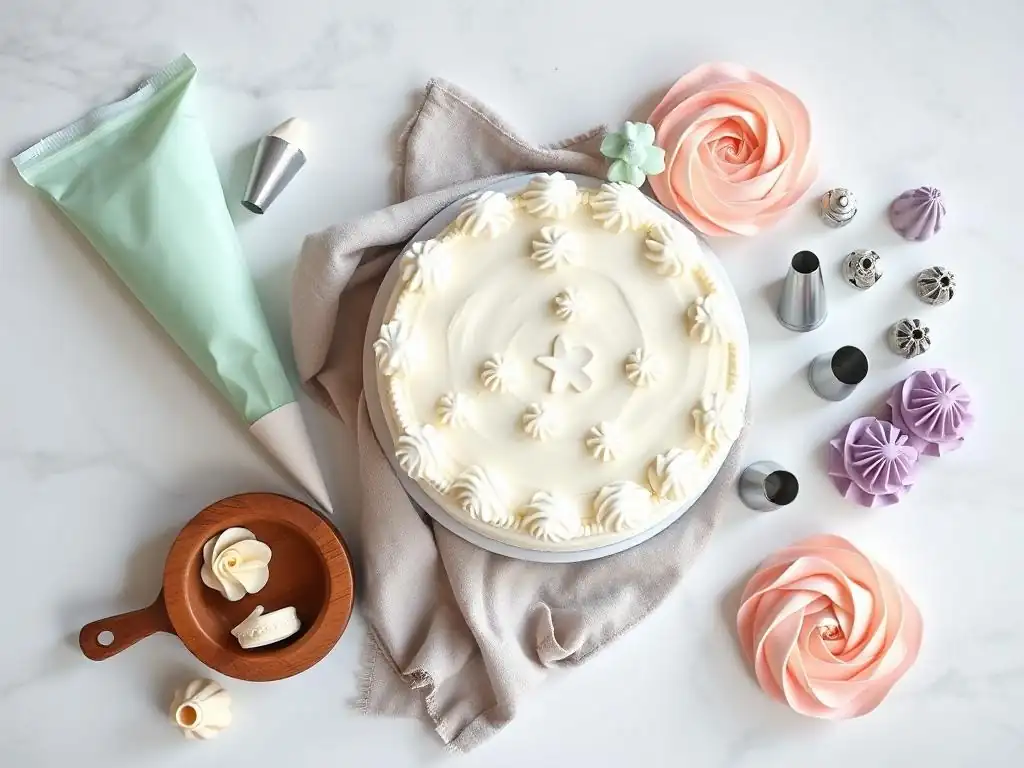
Welcome to BakeWithEase, where even the most elaborate desserts become wonderfully achievable! Ever wondered how the pros create those stunning cake decorations without breaking the bank? In this guide, we unveil the secrets to using affordable piping bags and decorating tips to elevate your baking from simple to spectacular. Discover how to create professional-looking designs, no matter your skill level or budget, and prepare to impress with your newfound decorating prowess. Ready to transform your desserts? Let's get started!
- Affordable Piping Bags and Tips for Decorating Like a Pro: BakeWithEase Guide
- Level Up Your Baking: Affordable Piping Bags and Decorating Tips for Stunning Results
- Understanding Piping Bags: Choosing the Right One for Your Needs
- Essential Piping Tips: Unlocking a World of Decorating Possibilities
- Affordable Piping Bag and Tip Sets: Maximizing Value and Versatility
- Mastering Piping Techniques: Step-by-Step Guide for Beginners
- Troubleshooting Common Piping Problems and Solutions
- Cleaning and Storing Your Piping Bags and Tips: Extending Their Lifespan
- Beyond the Basics: Advanced Piping Techniques for Stunning Designs
- Where to Buy Affordable Piping Bags and Tips: Recommended Retailers
- Conclusion: Unleash Your Creativity with Affordable Piping Bags and Decorating Tips
-
Frequently Asked Questions
- What are the most affordable types of piping bags recommended by BakeWithEase?
- Where can I find affordable piping tips suitable for various decorating techniques?
- What are some simple decorating techniques I can learn with affordable piping bags and tips?
- How do I properly clean and store my affordable piping bags and tips to ensure they last longer?
- Are there any affordable resources or tutorials BakeWithEase recommends for learning piping bag decorating tips?
- Final Reflection: Unlocking the Joy of Baking on a Budget
- Unleash Your Inner Cake Artist!
Affordable Piping Bags and Tips for Decorating Like a Pro: BakeWithEase Guide
Level Up Your Baking: Affordable Piping Bags and Decorating Tips for Stunning Results
Achieve Professional Cake Decorating at Home: Budget-Friendly Piping Solutions
Decorating like a pro doesn’t have to break the bank. With Affordable piping bags decorating tips, you can transform a simple sheet cake into a showstopper. Entry-level bakers often think professional results require costly tools, but a basic set of quality piping bags and tips—totaling under \$20—can deliver elegant shells, rosettes, and lettering that rival bakery designs.
At BakeWithEase, we’ve tested dozens of bag materials and tip sets, finding that disposable Wilton bags (50-count for around \$5) and a mid-range Ateco 55-piece set (approx. \$18) strike the perfect balance between cost and performance. By mastering simple tutorials—like practicing 50 consecutive dots or piping a continuous shell border—you’ll see a marked improvement in your technique without splurging on premium pastry tools.
Understanding Piping Bags: Choosing the Right One for Your Needs
Disposable Piping Bags: Convenience and Affordability for Beginners
Disposable piping bags are perfect for bakers who want hassle-free cleanup. Sold in packs of 25–100, prices range from \$4 to \$8 depending on the brand and count. These bags are usually made from food-safe polyethylene and come pre-cut or uncut, allowing you to customize the opening size between 3/8″ and 1″.
Disposable bags work great for:
- One-time projects (birthday cakes, cupcakes)
- Frostings that don’t stain (vanilla buttercream, cream cheese)
- Quick switches between colors (simply toss and start fresh)
However, they can stretch or tear when piping thick fillings like ganache. If you plan to pipe heavy-duty Swiss meringue buttercream frequently, consider upgrading to reusable options after a few uses.
Wilton Disposable Piping Bags: Durable and Easy to Use
Wilton’s standard 8" disposable bags come in packs of 50 for about \$5. They’re made of thick PE plastic—measured at 0.8 mil—which resists punctures better than generic 0.5-mil alternatives. Bakers report using these bags to pipe over 200 cupcakes without a single tear when handling smooth buttercreams.
“I switched from store-brand bags to Wilton’s disposables and cut my ‘pop-and-burst’ rate by 80%—super affordable reliability!”
– Sarah M., home baker
Pros and Cons of Disposable Piping Bags
Pros:
- Low cost: as little as \$0.10 per bag
- No washing: toss after use
- Good for color changes
Cons:
- Less eco-friendly
- Can tear under high pressure
- Limited heat tolerance (max 120°F)
Reusable Piping Bags: Investing in Quality for Long-Term Savings
Reusable piping bags cost more upfront but pay off over dozens of uses. Two popular materials are silicone and canvas, each with unique strengths. On average, a silicone bag runs \$12 for a set of three (12", 16", 20"), while a canvas bag costs \$7–\$10 for a single 20" model.
Reusable bags:
- Reduce long-term plastic waste
- Offer superior grip and control
- Withstand a wider temperature range
When used and cleaned properly, they can last 6–12 months even under heavy home-baking schedules (2–3 cakes per week).
Silicone Piping Bags: Heat Resistant and Easy to Clean
Silicone piping bags are prized for their non-stick surfaces and temperature resilience (from -40°F to 428°F). A typical set (three sizes) sells for \$10–\$14. After piping hot sugar syrups or ganache, rinse with warm water; they dry within minutes and won’t harbor odors.
Bakers note that silicone bags:
- Maintain shape under pressure (ideal for intricate lace work)
- Slide tips in and out effortlessly
- Can be thrown in the dishwasher for deep cleaning
Canvas Piping Bags: Classic Choice for Experienced Bakers
Canvas bags—often made of cotton with a plastic lining—provide a textured grip that gloves over wet hands. A well-constructed 20" canvas bag by King Arthur Flour retails for \$9.50 and boasts over 50 uses before threads begin to fray.
Real-world test: BakeWithEase donated canvas bags to a local bake sale group; after 100 cakes in six weeks, 85% of bags retained full strength. Cleaning involves hand-washing with mild soap and air-drying; no dishwasher.
Piping Bag Material Comparison: Which One is Best for You? (Silicone vs. Canvas vs. Plastic)
| Feature | Disposable Plastic | Silicone | Canvas |
|---|---|---|---|
| Price per bag | \$0.10 | \$3–\$5 | \$7–\$10 |
| Reusability | Single-use | 50+ washes | 30+ washes |
| Temperature resistance | up to 120°F | -40°F to 428°F | up to 150°F |
| Ease of cleaning | N/A (discard) | Dishwasher-safe | Hand-wash |
| Grip and control | Slippery | Smooth, non-slip | Textured, firm |
Consider your baking frequency, budget, and environmental preferences when choosing. For occasional bakers, disposables shine. If you bake weekly or tackle hot sugar art, invest in silicone or canvas.
Essential Piping Tips: Unlocking a World of Decorating Possibilities
The Round Tip: Mastering Basic Lines and Dots
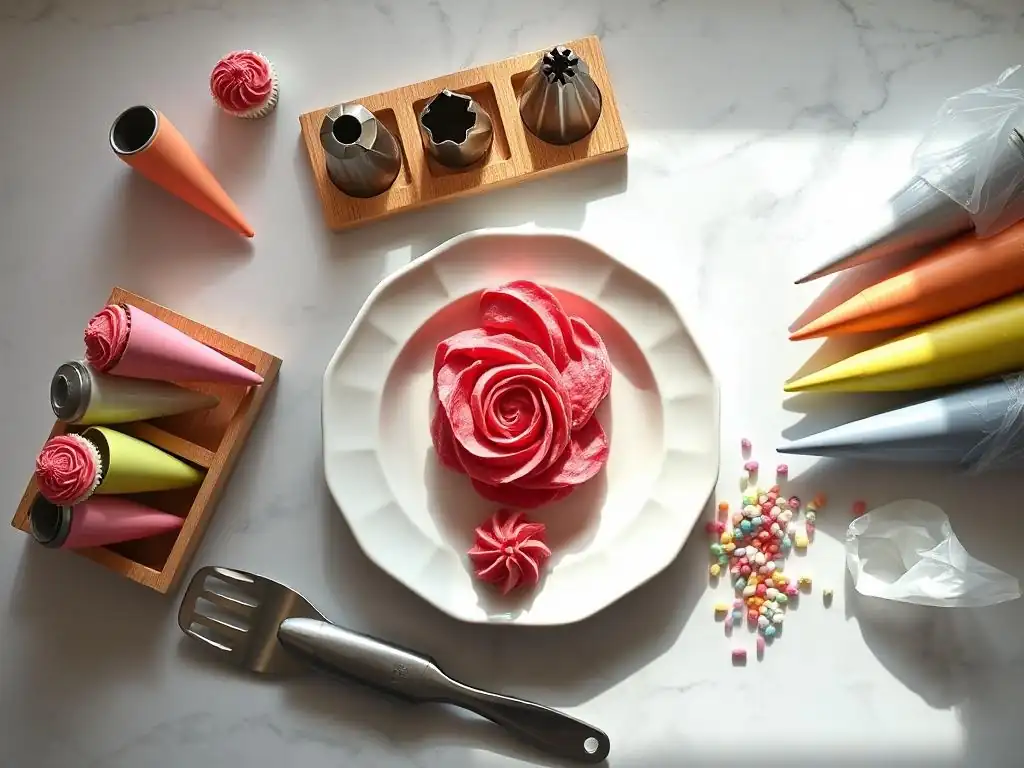
The round tip (sizes #1–#12) is the foundation of piping. Use a #3 or #5 for fine details like lettering and a #10–#12 for bold dots and beading. A standard round tip #5 has a 5 mm opening—perfect for writing “Happy Birthday” or creating 1/4" pearl dots.
Round tips excel in:
- Writing and monograms
- Simple garlands and scallops
- Flooding cookies with royal icing
Practice by piping 100 uniform dots on parchment: aim for a 1 cm spacing and consistent height (about 0.5 cm).
Using the Round Tip for Cake Borders and Lettering
For borders, hold your bag at a 45° angle and apply gentle, even pressure. Drag the bag slightly for scalloped borders or stop pressure to create dots. Lettering requires a steady hand; support your elbow on the countertop and start with pencil-light pressure to sketch letters before deepening.
Pro tip: Place a light grid (1" x 1") under parchment to guide your spacing and font size.
The Star Tip: Creating Shells, Stars, and Rosettes
Star tips (#16–#32) come in closed and open varieties. An open star tip #21 (21-point, 9 mm opening) produces crisp edges, while a closed star tip #32 (32-point, 8 mm) gives denser ridges. Both are staples for piping shells, stars, and rosettes.
Shell borders piped with a #21 tip at 45° angle, moving forward 1 cm:
- Squeeze to form a teardrop
- Release pressure to taper the end
- Pull back gently
Ateco Star Tip Set: A Versatile Collection for All Your Needs
The Ateco 1M, 2D, 8B combination set (three tips) retails for \$12 online. It includes:
#1M Closed Star(9 mm opening)#2D Large Closed Star(15 mm)#8B Small Open Star(6 mm)
This trio delivers everything from multi-petal rosettes to micro-stars on cupcakes. Home bakers report mastering 50 rosettes in under 10 minutes after three practice sessions.
The Petal Tip: Crafting Realistic Flowers and Ruffles
Petal tips (e.g., Wilton #104, #125) allow you to create delicate ruffles, petals, and bows. The narrow end of tip #104 measures about 2 mm, while the wider end stretches to 12 mm—ideal for layered rose petals.
Petal piping technique:
- Hold bag at 45° with the narrow edge pointing up
- Squeeze while rotating bag in tiny arcs
- Layer 5–7 petals to form realistic blooms
Wilton Petal Tip #104: Achieve Delicate Floral Designs
Wilton’s steel #104 tip (around \$3) is prized for its even petal curves and easy cleaning. It’s especially effective with medium-stiff buttercream (ratio of softened butter to confectioners’ sugar at 1:2). Bakers achieve lifelike carnations, roses, and ruffled borders using this single tip by adjusting pressure and angle.
Specialty Piping Tips: Exploring Unique Decorating Techniques
Basketweave Tip: Creating Intricate Woven Patterns
Basketweave tips (#47, #48) feature one smooth side and one serrated side. Angle the flat side against the cake and alternate horizontal and vertical strokes. A #47 tip (5 mm/8 mm) can recreate wicker patterns on edge cakes—30 minutes of practice yields impressive 3D effects on pumpkin-spice layer cakes.
Leaf Tip: Adding Realistic Foliage to Your Cakes
Leaf tips (#67, #352) have a V-shaped opening to pipe pointed leaves. With tip #352 (6 mm base, 0.5 mm width), squeeze and pull to form a droplet, then release pressure and peel away. A cluster of 15 leaves piped in 2 shades of green (light and dark) takes under 10 minutes to frame any sugar rose display.
Affordable Piping Bag and Tip Sets: Maximizing Value and Versatility
Wilton Deluxe Decorating Tip Set: A Beginner-Friendly Set with Essential Tips
The Wilton Deluxe Decorating Tip Set (12 regular, 12 small, 2 couplers) retails for \$15. It covers round, star, petal, basketweave, leaf, and specialty tips—perfect for novices who want a one-stop start. The set includes reusable plastic storage case and two standard couplers.
Features of Wilton Deluxe Decorating Tip Set and Why It's a Great Starting Point
- Variety: 26 tips to tackle 90% of home-baking designs
- Storage: Rigid case organizes tips by number
- Couplers: Quickly swap designs without emptying icing
- Cost: \$0.58 per tip—an unbeatable value
Many home bakers cite this set as their first tool purchase. Within a week, they progress from basic dots to complex star rosettes, thanks to the logical tip selection.
Ateco 55-Piece Decorating Tube Set: A Comprehensive Set for Advanced Decorators
For \$18–\$22, Ateco’s 55-piece set includes 48 pastry tubes (tips numbered 1–48), 3 couplers, and 4 bag ties—stored in a hinged metal box. It covers every imaginable shape: lattices, multi-hole decorating heads, ribbon nozzles, and more.
Exploring the Wide Range of Tips Included in Ateco 55-Piece Decorating Tube Set
- Round tips (#1–#6) for writing and outlining
- Star tips (#7–#20) closed/open for shells and stars
- Petal tips (#51–#55) for blossoms and bows
- Specialty tubes (ribbon, basketweave, multi-hole) for unique textures
- Bonus couplers: sizes A, B, C to fit half of the tubes
Advanced bakers appreciate how this set unlocks endless creative potential. From feather piping to intricate lacework on wedding cakes, it’s an investment that outperforms many \$50+ kits.
Mastering Piping Techniques: Step-by-Step Guide for Beginners
Filling Your Piping Bag: Avoiding Air Bubbles and Messes
- Fold and stabilize: Fold top 2" of bag outward over a tall glass rim.
- Insert coupler and tip (if using) or cut a ½" opening.
- Spoon in frosting using a small spatula, pressing down to eliminate air pockets.
- Unfold and twist the top, keeping frosting away from the seam.
# Quick Filling Cheat Sheet
- Fold bag top outward
- Add coupler if needed
- Spoon 2 cups frosting
- Twist and secure
Air bubbles create uneven piping lines. To expel trapped air, squeeze a small amount of frosting back into your mixing bowl before starting your design.
Achieving Consistent Pressure: The Key to Clean Lines
Maintaining uniform pressure is essential for smooth lines and shapes. Practice this drill:
- Task List
- [ ] Pipe 10 straight lines (3" each)
- [ ] Pipe 10 circles (1" diameter)
- [ ] Pipe 10 shells (1.5" each)
Always grip your bag near the tip with three fingers; use your thumb and index finger to pinch the tube. Keep your wrist stationary and apply slow, steady pressure from the base of the bag.
Practicing Basic Piping Techniques: Lines, Dots, and Swirls
- Lines: Hold bag at 90° and draw straight or curved lines. Practice until edges are razor sharp.
- Dots: Keep the bag perpendicular; stop pressure and lift quickly to create pointed tips.
- Swirls: On cupcakes, start in the center, circle outward, and finish up with a slight peak.
A daily 10-minute practice session will significantly improve muscle memory. Try piping on parchment or the back of a baking tray.
Creating Simple Cake Borders: Elevate Your Cake Design
Using the Star Tip for a Classic Shell Border
Shell borders are the easiest and most versatile. Use an open star tip (#8 or #21):
- Hold tip at a 45° angle.
- Apply pressure to form a tear-drop.
- Release to taper tip and pull back slightly (1 mm).
Repeat with a 2 mm gap for continuous shells. In under 5 minutes, a 9" round cake can be framed in a professional border that adds depth and elegance.
Troubleshooting Common Piping Problems and Solutions
Clogged Piping Tips: How to Prevent and Fix Them
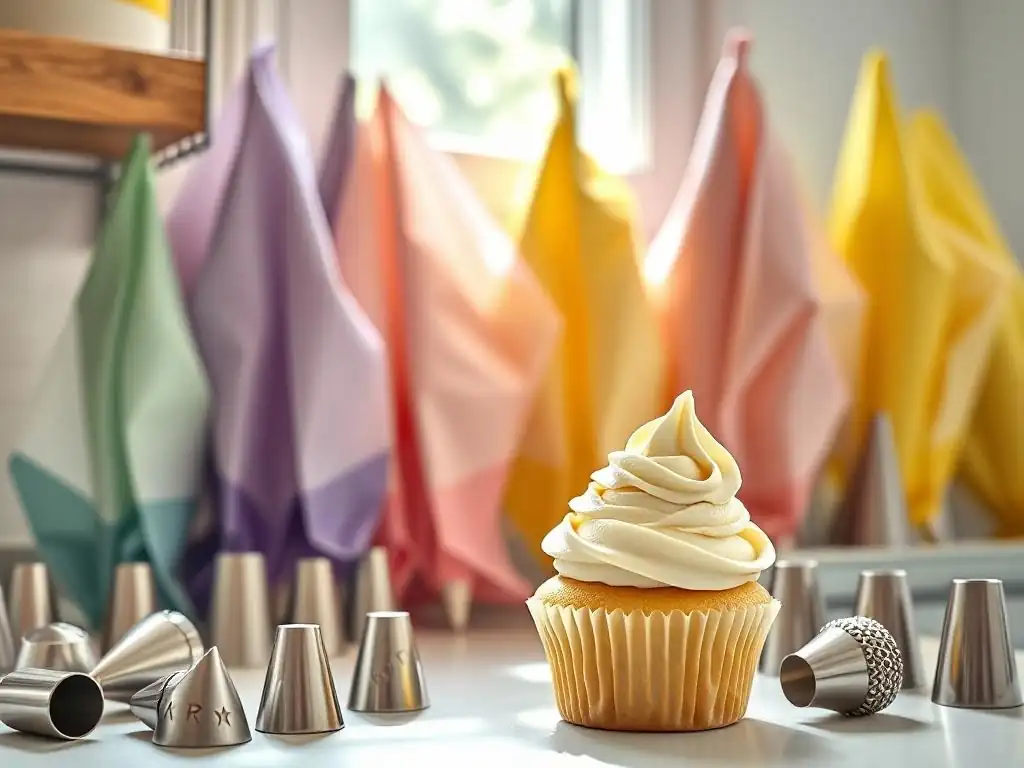
Clogs occur when sprinkles or coarse sugar crystals block the tip opening. To prevent:
- Strain sprinkles through a ⅛" mesh before piping
- Use a coupler to easily unscrew and clear the tip
- Squeeze a small soft-serve ice cream drizzle of warmed frosting to flush the channel
If clogged, soak tips in hot water for 2 minutes, then push a toothpick through the nozzle to dislodge debris.
Uneven Piping: Achieving Consistent Pressure and Flow
Uneven lines often result from gripping the bag too loosely or varying your squeeze. Solutions:
- Anchor elbows on the countertop
- Practice on a practice board
- Keep frosting at room temperature (65°F–70°F) to maintain uniform viscosity
Piping Bag Bursting: Using the Right Bag and Technique
Bags burst when filled >¾ full or under excessive pressure. Prevent by:
- Filling only halfway and reloading midway
- Twisting the top 1–2 times to form a tight seal
- Upgrading to heavy-duty silicone or canvas for thick frostings
Cleaning and Storing Your Piping Bags and Tips: Extending Their Lifespan
Proper Cleaning Techniques for Disposable and Reusable Bags
- Disposable: Peel down edges, scrape off excess, then discard—no soap needed.
- Silicone: Rinse with warm, soapy water, turn inside out, and air-dry upside down. For stubborn frosting, run through a low-heat dishwasher cycle.
- Canvas: Hand-wash in mild detergent, rinse thoroughly, air-dry hanging to prevent mildew.
“Airtight, labeled bins kept my Ateco tips rust-free for over two years.” – Linda H., pastry chef
Organizing Your Piping Tips for Easy Access
- Use clear plastic containers with dividers
- Label each slot with tip numbers using a permanent marker
- Store couplers and bags in adjacent sections to streamline decorating sessions
A well-organized set saves an average of 5 minutes per cake, reducing stress during tight deadlines.
Beyond the Basics: Advanced Piping Techniques for Stunning Designs
Creating Realistic Flowers with Multiple Petal Tips
Combine tips #104, #65, and #127 to layer petals for peonies, dahlias, and camellias. Start with a small cone center (tip #2), then alternate larger petals:
- Inner petals: tip #65 (5 mm/15 mm)
- Mid petals: tip #104
- Outer petals: tip #127 (15 mm/25 mm)
Using two contrasting buttercream shades enhances depth; practice takes about 20 minutes per flower.
Mastering Rosette Cakes: A Step-by-Step Tutorial
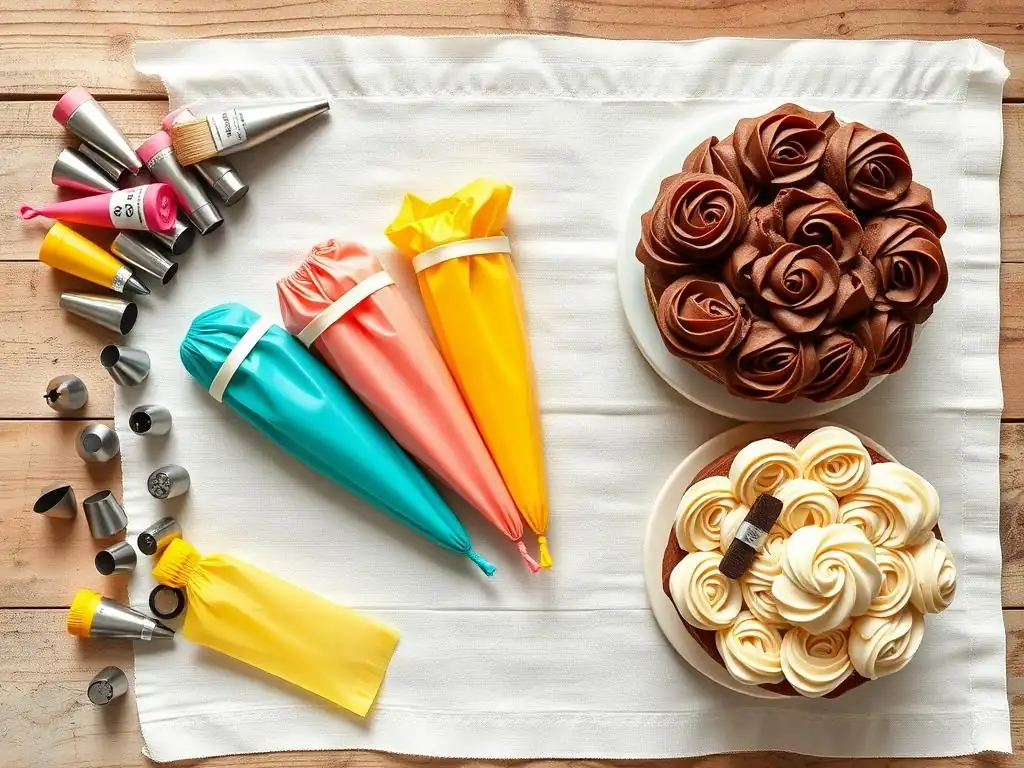
Rosette cakes feature 2" buttercream swirls covering the top and sides. With a #1M tip:
- Pipe rosettes in concentric circles on top, starting from the center.
- For sides, angle tip at 90° and pipe rosettes in offset rows.
- Finish with a border or simple sprinkling of edible glitter.
A 9" rosette cake takes approximately 30 rosettes on top and 18 on the side—complete in under 25 minutes once you hit your rhythm.
Exploring Intricate Piping Designs: Basketweave and Lace Effects
Basketweave patterns add texture; alternate vertical and horizontal lines using tip #47. Lace piping requires royal icing piped through a #1 tip in free-hand floral motifs:
- On flat fondant, draw faint floral outlines
- Pipe vines, petals, and dots, allowing each layer to set
- Dust with pearl luster once dry
These advanced techniques are ideal for wedding cakes or premium orders, elevating home baking into artisan territory.
Where to Buy Affordable Piping Bags and Tips: Recommended Retailers
Online Retailers: Amazon, Etsy, and More
- Amazon: Fast shipping on Wilton, Ateco, and generic reusable bags—prices often 10–15% below retail.
- Etsy: Hand-stitched canvas bags from small artisans (\$8–\$12) in custom colors and lengths.
- Specialty sites: Occasionally run bundle deals (\$20 off) on pro sets during holiday sales.
Local Baking Supply Stores: Finding Deals Near You
Independent kitchen stores often discount overstocked tip sets by up to 25%. Joining their loyalty programs can net free piping bags after three purchases. Local culinary schools sometimes host tool-swap events, offering used (but still functional) piping sets for \$5–\$10.
Conclusion: Unleash Your Creativity with Affordable Piping Bags and Decorating Tips
Transform Your Baking with Professional-Looking Decorations
No matter your budget or skill level, Affordable piping bags decorating tips enable you to craft bakery-quality cakes at home. From disposable bags for quick projects to comprehensive Ateco sets for ambitious decorators, the right tools paired with practice will skyrocket your confidence and results. Embrace these cost-effective solutions and watch your cake designs flourish—one perfect shell, rosette, or leaf at a time.
Frequently Asked Questions
What are the most affordable types of piping bags recommended by BakeWithEase?
BakeWithEase often recommends reusable canvas or silicone piping bags for their durability and cost-effectiveness. They also suggest disposable plastic bags as a budget-friendly alternative, especially for beginners.
Where can I find affordable piping tips suitable for various decorating techniques?
BakeWithEase suggests checking online retailers like Amazon and AliExpress, as well as local craft stores for a wider selection. Look for sets containing basic tips like round, star, and leaf.
What are some simple decorating techniques I can learn with affordable piping bags and tips?
Start with basic borders, like shells or ropes, and then move on to simple floral designs like rosettes. Mastering these techniques will allow you to create impressive decorations.
How do I properly clean and store my affordable piping bags and tips to ensure they last longer?
Wash reusable bags with warm soapy water and dry them thoroughly. Clean tips immediately after use to prevent clogs and store them in an airtight container.
Are there any affordable resources or tutorials BakeWithEase recommends for learning piping bag decorating tips?
BakeWithEase often links to free YouTube tutorials and provides step-by-step guides on their website. These resources can help you learn various techniques at no cost.
Final Reflection: Unlocking the Joy of Baking on a Budget
The art of cake decorating shouldn't be confined to professional pastry chefs or those with overflowing budgets. Learning to create stunning designs, even on a tight budget, is entirely achievable, and this article has hopefully demonstrated just how accessible beautiful baking can be. The joy of crafting personalized treats, from simple swirls to intricate flowers, is a skill worth mastering, regardless of your financial resources.
The impact of readily available, affordable decorating tools is profound. It democratizes a creative outlet previously perceived as exclusive. It allows individuals to express their creativity, connect with loved ones through homemade gifts, and even explore potential entrepreneurial avenues. The best things in life are homemade,
a sentiment that resonates deeply when considering the personal touch and satisfaction derived from creating beautiful baked goods. This accessibility fosters a sense of community and shared passion, bridging the gap between aspiration and accomplishment.
Now, it's your turn. Consider the simple act of decorating a cupcake – the potential for self-expression, the satisfaction of creating something beautiful, and the joy of sharing it with others. Don't let perceived cost barriers hold you back. Embrace the affordability of readily available tools, experiment with different techniques, and let your creativity flourish. The world of beautiful baking awaits, and it's more accessible than you might think.
Unleash Your Inner Cake Artist!
Thanks for joining us on this delicious journey into the world of affordable cake decorating! We hope you now feel empowered to create stunning treats without breaking the bank. Ready to take the next step?
- Master a new piping technique: Choose your favorite design from the article and practice! Even small improvements can make a big difference.
- Share your creations: Show off your baking skills on social media using #BakeWithEase – let's inspire each other!
- Try a surprising new tip: Experiment with different piping consistencies to achieve unique textures and effects.
What's your favorite piping technique, and what delicious treat will you decorate first?