
The Secrets to Preparing Your Cookie Surface for Advanced Decoration

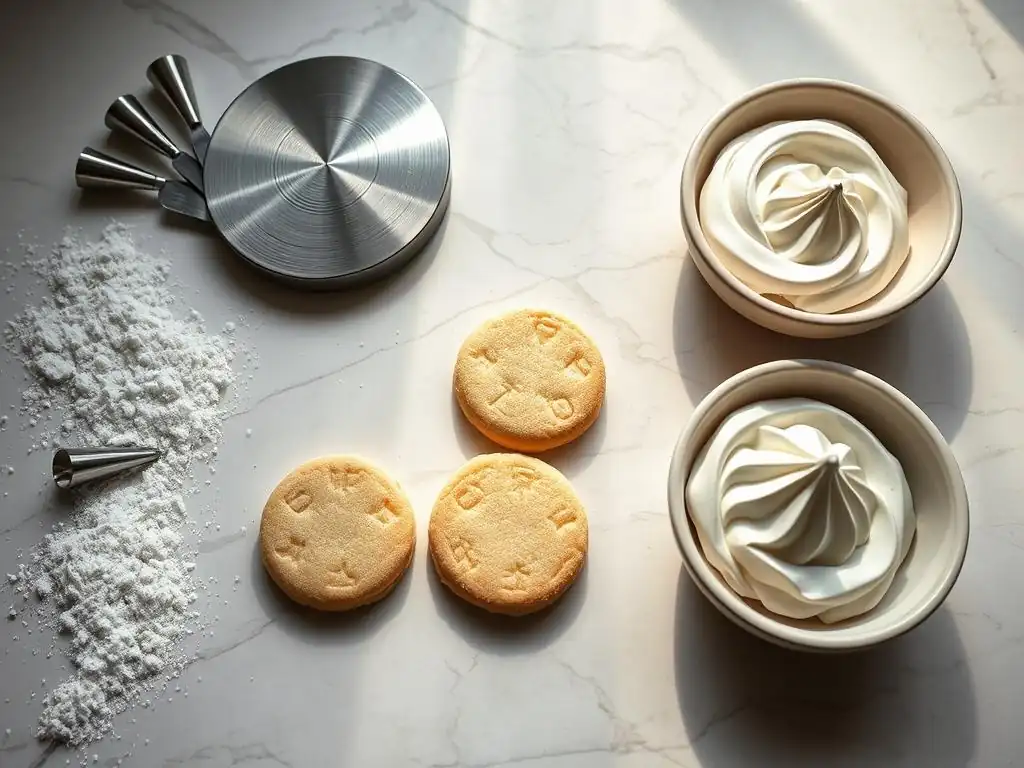
Welcome to BakeWithEase, where baking becomes an effortless delight!
Are you ready to transform your cookies from simple treats into stunning works of art? This week, we're diving deep into the secrets of successful cookie decorating surface preparation. Discover the crucial steps that will elevate your creations and prevent frustrating imperfections. Read on to unlock the techniques that professional bakers use to achieve flawless finishes – you might be surprised by what you learn!
- Achieving Flawless Royal Icing Cookies: Surface Preparation Secrets
- Sweet Canvas Academy Presents: Mastering Cookie Surface Preparation for Royal Icing
- Understanding the Importance of a Well-Prepared Cookie Surface for Royal Icing
- Essential Steps for Optimizing Your Cookie Decorating Surface
- Advanced Techniques for Royal Icing Surface Enhancement
- Troubleshooting Common Cookie Surface Preparation Issues
- Choosing the Right Tools for Cookie Surface Preparation
- Elevate Your Cookie Decorating with Perfect Surface Preparation
- Frequently Asked Questions
- Final Reflection: The Foundation of Flawless Cookie Art
- Unleash Your Inner Cookie Artist!
Welcome to BakeWithEase! If you've ever dreamed of creating stunning, smooth royal icing cookies, you know that the magic starts long before the icing bag comes out. The canvas – your cookie – needs to be perfect. Just like a painter needs a smooth surface, a cookie decorator relies on excellent cookie decorating surface preparation to achieve clean lines, vibrant colors, and a professional finish. Neglecting this crucial first step can lead to frustrating issues like uneven icing, craters, or colors bleeding, no matter how skilled you are with a piping bag.
This guide delves deep into the essential techniques and insider tips for optimizing your cookie decorating surface preparation. We'll cover everything from dough consistency and baking methods to cooling techniques and fixing minor flaws before you even think about mixing your royal icing. Mastering these fundamental steps is the bedrock upon which all beautiful cookie decorations are built. By focusing on creating the ideal foundation, you set yourself up for success and unlock the potential for truly advanced royal icing artistry.
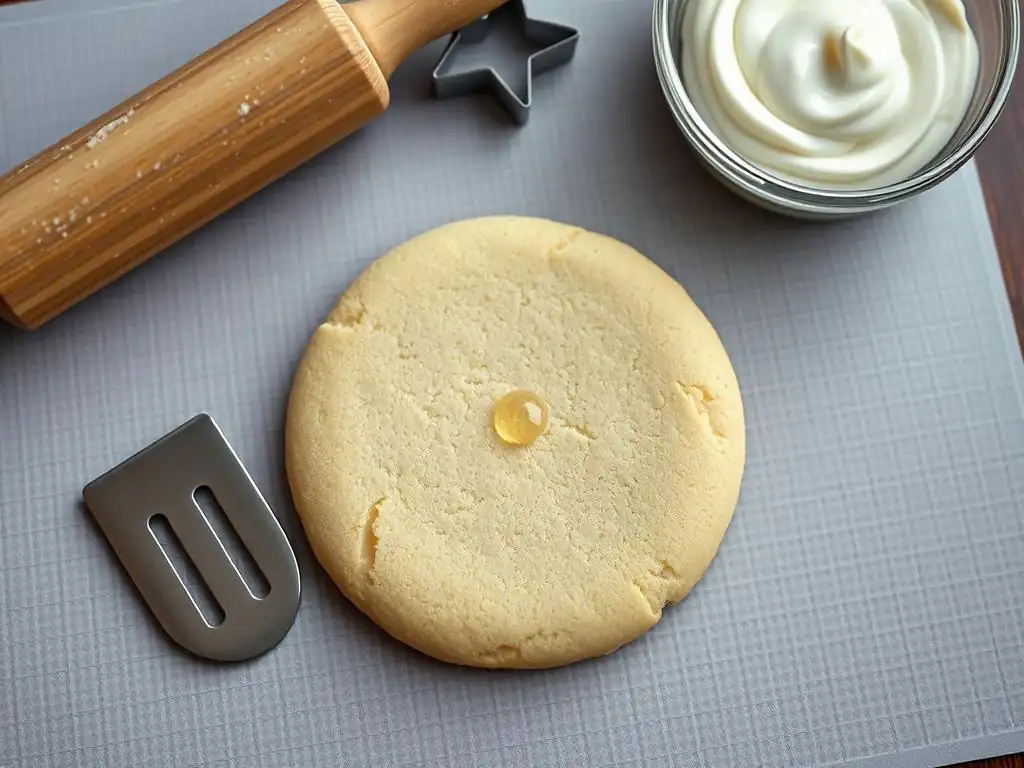
Proper cookie decorating surface preparation is the unsung hero of stunning royal icing work. A smooth, flat, and clean cookie surface provides the perfect base for flooding and detailing. When the surface is uneven or textured, the royal icing will settle inconsistently, leading to a bumpy or wavy finish that detracts from the overall design.
Imagine trying to pipe intricate lace details or fine lettering onto a surface riddled with bumps and cracks; the results will inevitably look messy and amateurish. The quality of your cookie decorating surface preparation directly correlates with the crispness and precision of your final design.
Furthermore, a well-prepared surface helps prevent common royal icing problems. For instance, grease spots on the cookie surface can cause the royal icing to separate or refuse to adhere properly, leading to "bald spots" or patchy flooding. Crumbs or tiny burnt bits embedded in the surface will create unsightly bumps under the smooth layer of icing. By taking the time to ensure your cookie surface preparation is meticulous, you minimize these potential pitfalls, allowing your royal icing to dry evenly and achieve that coveted smooth, matte, or glossy finish, depending on your technique.
The Impact of Surface Imperfections on Royal Icing Decoration
Surface imperfections are the nemeses of beautiful royal icing cookies. Even small flaws can significantly impact the final look. For example, a slight dome or uneven thickness in the cookie base will cause the flooded royal icing layer to pool thicker in some areas and thinner in others, resulting in an inconsistent sheen and drying time. This unevenness can lead to cracking or "elephant skin" texture as the icing dries, especially in the thicker sections. A dip or indentation, on the other hand, might require excessive icing to fill, extending drying time and potentially causing the icing to sink.
Grease bleed is another major issue caused by poor cookie decorating surface preparation, often stemming from dough with too much butter or insufficient chilling. If butter seeps to the surface during baking, it leaves an invisible residue. When royal icing is applied, particularly vibrant colors, this grease can cause the colors to spread or "bleed" into adjacent areas, ruining sharp lines and color blocking.
Pinholes or air pockets on the cookie surface, often from trapped air in the dough or improper handling, can become visible craters in the dried royal icing unless filled beforehand. Addressing these imperfections during the cookie decorating surface preparation phase is far easier and more effective than trying to fix them after the icing is applied.
The Role of Dough Consistency in Flatness
Dough consistency is paramount for achieving a flat cookie base suitable for cookie decorating surface preparation. A dough that is too soft or warm, often due to insufficient chilling or an imbalanced ratio of wet to dry ingredients, is prone to spreading excessively during baking. This spread can lead to thin, fragile edges and a raised center, or simply an overall uneven surface.
Conversely, a dough that is too dry might crumble and be difficult to roll evenly, resulting in varied thickness across the cookie. The ideal dough for cut-out cookies intended for decorating is firm yet pliable, holding its shape well when cut. Recipes often call for a slightly higher flour-to-fat ratio than chewy cookies to minimize spread.
Chilling the dough is a critical step in controlling consistency and preventing excessive spread. After mixing, the dough should typically be chilled for at least 1-2 hours, or until firm enough to roll without sticking excessively. Some decorators even chill the cut-out shapes again before baking.
This allows the fat to solidify, which helps the cookies maintain their shape and thickness during the initial stages of baking. The fat melts more slowly in a chilled dough, providing structure until the flour proteins set. Using chilled dough rolled to a consistent thickness (usually around 1/4 inch or 6mm for sturdy decorating cookies) is fundamental to achieving a uniformly flat cookie decorating surface preparation.
Baking Techniques for Preventing Cookie Warping
Beyond dough consistency, specific baking techniques are vital for preventing warping and ensuring a flat cookie decorating surface preparation. Overcrowding the baking sheet is a common mistake; cookies need adequate space (at least 1-2 inches apart) to bake evenly without affecting each other's heat distribution or spread. Baking at the correct temperature is also key.
While some recipes suggest higher temperatures for a quicker bake, a slightly lower temperature (like 325°F or 160°C) for a longer time can sometimes yield flatter cookies by allowing them to set more gently. Using a quality, light-colored baking sheet helps prevent the bottoms from browning or crisping too quickly, which can also contribute to warping.
Rotating the baking sheet halfway through the baking time is another simple yet effective technique. Ovens often have hot spots, and rotating ensures that all cookies on the sheet receive uniform heat, promoting even rising and preventing one side from setting faster than the other, which can cause tilting or warping. For ultimate flatness, some decorators place another flat baking sheet directly on top of the cookies for the last few minutes of baking or immediately after removing them from the oven.
The weight gently presses the cookies flat as they finish setting, resulting in an exceptionally smooth cookie decorating surface preparation. Ensure the cookies are not overbaked; they should be lightly golden around the edges but still pale in the center.
Preventing Condensation and Softening
Correct cooling is a non-negotiable step in cookie decorating surface preparation. Immediately after removing cookies from the oven, they are still pliable and susceptible to damage. Leaving them on the hot baking sheet for too long can lead to continued baking (carryover cooking) and can cause the bottoms to over-brown or even burn, affecting the cookie decorating surface preparation quality.
More importantly, as they cool on a hot surface, condensation can form underneath, making the cookies soft and potentially sticky, which is detrimental to applying royal icing. It's crucial to transfer cookies off the hot sheet relatively quickly, typically after allowing them to set on the sheet for just 1-2 minutes.
Once transferred, cookies should be placed on a cooling rack with good air circulation. Placing hot cookies directly onto a solid surface like a counter or plate traps heat and moisture underneath, guaranteeing condensation and a soft, compromised cookie decorating surface preparation. The goal is to allow heat to dissipate quickly and evenly from all sides. Ensure the cooling rack is clean and dry. Avoid stacking cookies before they are completely cool, as trapped heat and moisture between layers will also lead to condensation and sticking, potentially damaging the delicate surface needed for royal icing.
The Best Cooling Racks for Cookie Decorating
Choosing the right cooling rack contributes significantly to effective cookie decorating surface preparation. The best racks are made of sturdy wire, typically stainless steel or chrome-plated, and have a grid pattern that provides ample support while allowing maximum airflow. Racks with feet that elevate them several inches off the counter are preferable, as this allows air to circulate freely both above and below the cookies, speeding up the cooling process and minimizing condensation. Flimsy racks or those with too-wide gaps can cause smaller cookies to fall through or larger cookies to sag, affecting their flatness.
A cooling rack with a relatively tight grid is ideal for cookie decorating surface preparation, as it prevents the cookie edges from bending or breaking through the gaps while still allowing sufficient airflow. Some bakers even use two cooling racks: one with a wider grid for initial cooling off the hot sheet, followed by a rack with a tighter grid once the cookies are slightly firmer but still warm.
Ensure the racks are clean and free from grease or debris from previous uses, as these can transfer onto the cookie surface and interfere with royal icing adhesion. Allow cookies to cool completely, usually several hours or even overnight, before attempting any cookie decorating surface preparation steps or icing.
Step 3: Addressing Imperfections for a Smooth Finish
Removing Crumbs and Blemishes
Even with the best baking practices, cookies can sometimes have small crumbs, burnt bits, or rough edges that will show through royal icing. A crucial part of cookie decorating surface preparation is cleaning up these minor imperfections. Once the cookies are completely cool and firm, gently brush the surface and edges with a clean, dry pastry brush. This will remove any loose crumbs or flour residue that could otherwise get trapped under the icing, creating bumps. Pay special attention to the edges, as these can often have tiny rough spots from the cutting process or baking.
For more stubborn blemishes, like small bumps or slightly raised edges, a very fine-grit sanding sugar or a food-safe file can be used carefully. Use extreme caution with this method; the goal is to gently smooth, not to remove significant amounts of cookie. Lightly buffing the surface can help create a more uniform canvas for royal icing.
Alternatively, a sharp paring knife or exacto knife (used only for food) can carefully trim away any significant bumps or uneven edges. This meticulous cleaning step is vital for achieving a truly smooth cookie decorating surface preparation, ensuring your royal icing application is flawless.
Filling Small Holes
Occasionally, cookies might have small pinholes or divots on their surface, often caused by air bubbles in the dough or handling. These seemingly minor imperfections can become surprisingly prominent craters once royal icing is applied and dries, ruining the smooth finish. Addressing these holes as part of your cookie decorating surface preparation is simple but necessary. You can use a tiny amount of thick royal icing (piping consistency or slightly thicker) to carefully fill these small indentations before you apply your flood icing.
Using a toothpick or a scribe tool, place a small dot of the thick icing directly into the hole. Gently smooth it level with the surrounding cookie surface. You don't need much – just enough to fill the void. Allow this small patch of icing to dry completely, which usually takes less than an hour depending on humidity, before proceeding with your main royal icing flood coat. This pre-filling step ensures that your flood layer dries uniformly flat across the entire cookie, significantly improving the overall cookie decorating surface preparation and the final appearance of your decorated cookie.
Step 4: Creating a Smooth Royal Icing Flood
Preparing Royal Icing for a Smooth Base Coat
Once your cookie decorating surface preparation is complete – flat, cool, clean, and smooth – the next step for a flawless finish is applying the base flood layer of royal icing. The consistency of this icing is paramount. For flooding, royal icing needs to be thin enough to spread and self-level smoothly, but not so thin that it runs off the cookie or is transparent.
A commonly recommended consistency is often described as "10-second icing." This means that if you drizzle a line of icing back into the bowl, it should disappear and become smooth again within approximately 10 seconds. This consistency allows the icing to flow into all areas of the cookie surface while still having enough body to stay within the piped outline (if using one).
To prepare this consistency, start with your thicker, outline consistency royal icing and gradually add small amounts of water, stirring thoroughly after each addition. Use a spray bottle or a teaspoon for precise control. Mixing can introduce air bubbles, so after achieving the correct consistency, gently stir the icing with a spatula, pressing it against the sides of the bowl to help release trapped air.
Covering the bowl with damp paper towel or plastic wrap pressed directly onto the surface prevents a crust from forming while you work. Proper icing preparation is as crucial as the cookie decorating surface preparation itself for a smooth outcome.
Achieving the Right Consistency
Achieving the exact right consistency for your royal icing flood can take practice, as it's affected by factors like humidity, the type of meringue powder or egg white used, and even the brand of powdered sugar. The "10-second rule" is a good guideline, but it's also helpful to test the icing on a practice cookie or a piece of parchment paper.
Drizzle a small amount; if it holds a defined line for too long (more than 12-15 seconds), it's too thick and won't self-level properly, potentially leaving peaks or an uneven finish. If it disappears instantly (under 8 seconds), it's too thin, will run off the cookie, and may dry brittle or with a dull finish.
Adjust the consistency incrementally. If it's too thick, add a few drops of water. If it's too thin, add a teaspoon of powdered sugar or a tiny bit of thicker icing you saved. Stir gently to combine without whipping in more air.
For cookie decorating surface preparation where you need a very smooth base, some decorators prefer an 8-second consistency, while for larger areas or less detailed work, a 12-second consistency might be sufficient. Always test a small amount before flooding an entire batch of cookies. Remember that colored icing can sometimes behave differently due to the gel color affecting consistency, so adjust accordingly after coloring.
Advanced Techniques for Royal Icing Surface Enhancement
Using a Dehydrator for Quick Drying
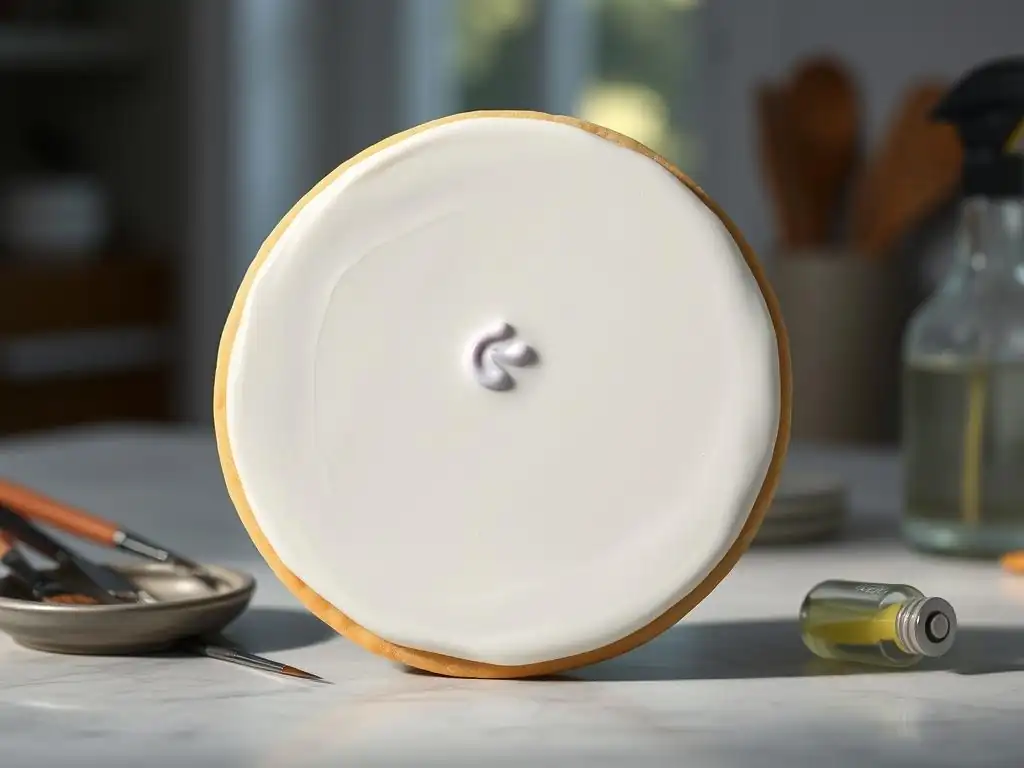
For serious cookie decorators focused on efficiency and achieving a perfectly smooth, glossy royal icing surface, a food dehydrator is an invaluable tool. Using a dehydrator for drying royal icing, especially the flood layer applied after cookie decorating surface preparation, significantly speeds up the process compared to air drying.
Instead of waiting 8-12 hours or even overnight for icing to fully set, a dehydrator can often dry the surface firm enough for the next layer of decoration in just 1-2 hours, and completely dry within 4-6 hours. This is particularly useful when layering colors or doing complex designs that require multiple drying stages.
The dehydrator works by circulating warm, dry air over the cookies. The ideal temperature for drying royal icing is generally low, around 95-105°F (35-40°C). Higher temperatures can cause the icing to crack or colors to fade.
Place the freshly flooded cookies (after your meticulous cookie decorating surface preparation) directly onto the dehydrator trays, ensuring they are not touching. This method not only speeds drying but also helps prevent common issues like color bleed (especially with dark colors next to white) and craters, as the surface sets quickly before air bubbles have a chance to pop and collapse. Using a dehydrator is a key advanced technique for optimizing the outcome of your cookie decorating surface preparation and subsequent icing work.
While royal icing flooding provides a solid base, achieving a perfectly uniform, streak-free color across the entire cookie surface can be challenging, especially with lighter colors or when trying to match specific shades. Airbrushing offers an advanced method to apply a thin, even layer of edible color directly onto the cookie or over a dried royal icing base. This technique allows for incredibly smooth, consistent color application that is difficult to replicate with standard icing methods. It's an excellent way to enhance the cookie decorating surface preparation, adding a flawless background before intricate details are added.
After your cookie decorating surface preparation is complete and the cookie is ready (either plain or with a dried flood layer), edible airbrush colors are loaded into the airbrush tool. Holding the airbrush a few inches away from the cookie, apply the color in smooth, even passes, overlapping slightly. Multiple thin coats are better than one thick coat to avoid drips or pooling.
Airbrushing is particularly effective for creating gradient effects or soft, blended colors that cannot be achieved with royal icing alone. It adds a layer of visual sophistication and ensures your cookie decorating surface preparation results in a base color that is truly uniform and professional-looking.
Creating Textured Effects with Royal Icing
Wet-on-Wet Technique
Beyond creating a smooth canvas with meticulous cookie decorating surface preparation, royal icing itself can be used to create stunning textured effects directly on the flood layer. The wet-on-wet technique is a popular advanced method where you apply wet royal icing onto a freshly flooded, still-wet royal icing base.
Because both layers are wet, the added icing sinks slightly into the base, creating a smooth, integrated design without raised lines. This technique allows for marbling, pulling lines through dots, creating swirls, and embedding dots or shapes that dry perfectly flat within the base layer, enhancing the cookie decorating surface preparation with integrated texture.
To perform the wet-on-wet technique, first flood your cookie (prepared with excellent cookie decorating surface preparation) with your base color of royal icing. While the base is still wet and glossy (within minutes of flooding), use a piping bag or scribe tool to add lines, dots, or shapes with a different color or consistency of wet royal icing. Immediately after applying the second color, you can use a scribe tool or toothpick to gently pull through the wet icing to create marbled or feathered patterns.
The key is speed; once the base layer starts to crust over, the wet-on-wet effect will not work correctly, and the added icing will sit on top instead of sinking in. Mastering the timing on your cookie decorating surface preparation and subsequent wet-on-wet application is crucial.
Dealing with Air Bubbles in Royal Icing
Air bubbles are a common frustration when working with royal icing, and they can ruin an otherwise perfect cookie decorating surface preparation by leaving unsightly pinholes or craters. They are often introduced during the mixing process, especially if the icing is whipped vigorously. To minimize bubbles, mix your royal icing on a low speed once the ingredients are combined.
After mixing, let the icing rest in a covered bowl for 10-15 minutes; this allows some bubbles to rise to the surface. Gently stirring the icing with a spatula, pressing it against the sides of the bowl, can also help coax bubbles out.
Once the icing is in the piping bag and you're ready to flood your perfectly prepared cookie decorating surface, tap the bag gently against your hand or the counter to encourage any remaining bubbles to rise to the tip. As you flood the cookie, use a scribe tool, toothpick, or even a pin to gently pop any visible bubbles while the icing is still wet.
Work quickly, moving the tool through the icing to smooth over the popped bubble area. For tiny pinholes that appear after flooding, a quick pass with a heat gun held a few inches away from the surface can sometimes make them disappear as the icing settles, but use sparingly to avoid melting the icing.
Preventing Craters
Craters in royal icing, those sunken areas or holes that appear as the icing dries, can be caused by several factors, including trapped air bubbles (as mentioned above) or icing that is too thin, especially in humid conditions. Ensuring your royal icing consistency is correct – not too thin – is the first line of defense against craters after your meticulous cookie decorating surface preparation. A consistency that is too watery doesn't have enough structure to hold its shape as it dries and can collapse.
Another common cause of craters is temperature and humidity fluctuations during drying. Rapid changes can affect how the icing sets. Drying cookies in a consistent environment, such as a room with climate control or using a dehydrator at a low temperature, significantly reduces the risk of craters.
Overworking the icing on the cookie surface with a scribe tool can also thin it out in places, making those areas prone to collapsing. Flood the area and then use the scribe tool primarily to guide the icing and pop bubbles, rather than spreading it extensively. Patience is also key; allow the flooded base ample time to dry completely before adding subsequent layers or details over your prepared cookie decorating surface.
Addressing Uneven Icing After Drying
Sometimes, despite your best efforts in cookie decorating surface preparation and careful flooding, the royal icing dries with an uneven surface, perhaps slightly wavy or with visible lines where the icing settled. This can happen if the icing consistency was slightly off, if the cookie surface wasn't perfectly flat, or if the drying conditions weren't ideal. Unfortunately, fixing uneven dried royal icing is difficult without re-icing the cookie. Prevention is truly the best approach here, emphasizing the importance of the initial cookie decorating surface preparation and correct icing consistency.
If the unevenness is minor, such as slight waves, you might be able to disguise it with subsequent layers of piping or airbrushing. For significant unevenness or bumps, the most effective, though time-consuming, solution is often to carefully scrape off the dried royal icing using a sharp, flat tool like an offset spatula or bench scraper (be very careful not to damage the cookie itself), clean the cookie surface again, and re-flood it.
This underscores why mastering the cookie decorating surface preparation and flooding technique upfront saves significant time and frustration in the long run. Practice on less critical cookies to perfect your technique before working on your most important pieces.
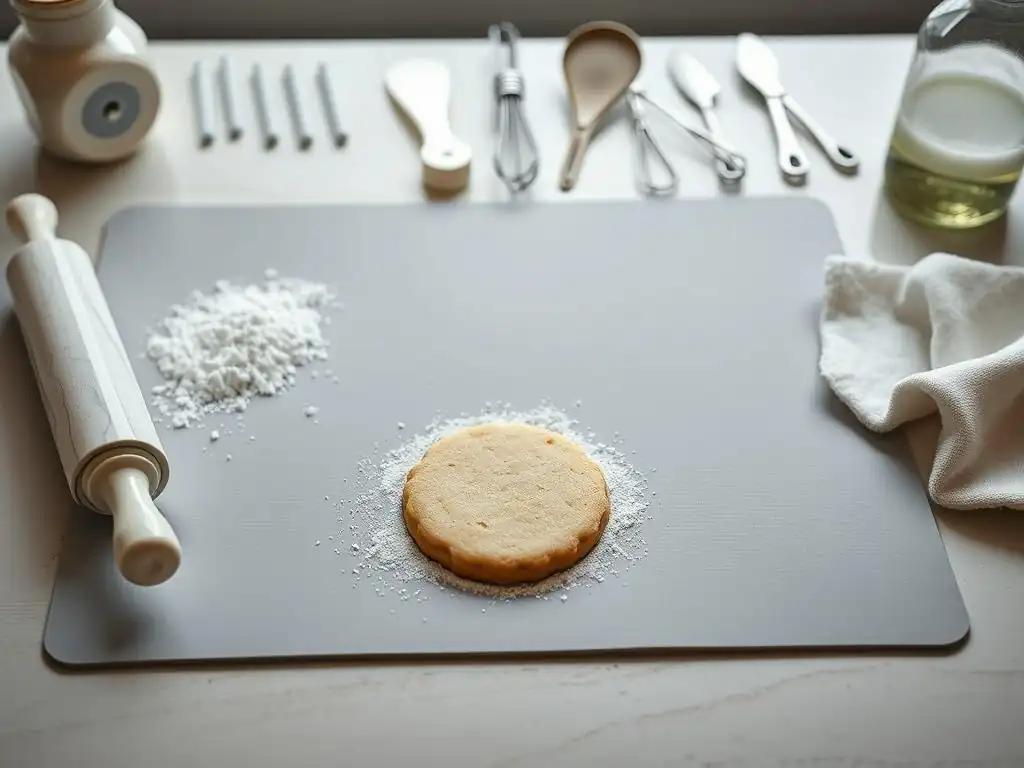
Having the right tools simplifies the process of achieving a perfect cookie decorating surface preparation. Beyond standard baking equipment like mixing bowls and measuring cups, several tools are particularly useful for this purpose. A good quality rolling pin with adjustable guides or rings is essential for rolling dough to a consistent thickness (e.g., 1/4 inch or 6mm), which is fundamental for flat cookies. Silicone baking mats or parchment paper are also crucial for lining baking sheets; they prevent sticking and contribute to even heat distribution, aiding in preventing warping.
A set of sturdy cooling racks with an appropriate grid size is non-negotiable for proper cooling and preventing condensation. For cleaning the cookie surface, a soft pastry brush is ideal for removing loose crumbs. A sharp paring knife or food-safe craft knife can be useful for carefully trimming rough edges or bumps before icing. While not strictly essential for beginners, a food dehydrator can be a game-changer for advanced decorators focused on rapid drying and achieving the smoothest possible finish after their initial cookie decorating surface preparation and flooding.
Recommended Products for Royal Icing Application
For the royal icing application phase following impeccable cookie decorating surface preparation, specific products enhance the process. High-quality meringue powder or paste is crucial for making stable royal icing that dries hard and smooth. Different brands can yield slightly different results, so it's worth experimenting to find one you prefer. Gel food coloring is highly recommended over liquid colors, as they are more concentrated and won't significantly alter the icing consistency, which is vital for achieving the right flood consistency.
Piping bags (either disposable or reusable) and a variety of piping tips, particularly round tips in various sizes (e.g., PME sizes 1, 1.5, 2, 3 or Wilton sizes 1, 2, 3), are necessary for outlining and flooding. Scribe tools or toothpicks are indispensable for guiding flood icing into corners, popping air bubbles, and performing wet-on-wet techniques. Small squeeze bottles with fine tips are an alternative to piping bags for flooding, offering good control.
For those using the airbrushing technique to enhance their cookie decorating surface preparation color, quality edible airbrush colors are required. Investing in good tools makes the entire process smoother and contributes significantly to the final outcome.
Mastering royal icing cookie decoration is a journey that begins with the fundamentals, and among the most critical is impeccable cookie decorating surface preparation. For beginners, simply focusing on baking flat cookies, cooling them correctly, and removing crumbs is a significant step towards better results. These basic steps prevent many common frustrations and make the initial flooding process much easier. A smooth, clean cookie provides a forgiving canvas, allowing new decorators to focus on practicing their outlining and flooding techniques without battling surface imperfections.
As you progress to more advanced techniques, such as intricate piping, layering, or airbrushing, the importance of a perfect cookie decorating surface preparation becomes even more pronounced. Fine details stand out beautifully on a smooth base, while imperfections can completely disrupt complex designs. Advanced decorators understand that the cookie itself is the foundation, and its quality directly impacts the ceiling of their artistic potential. Techniques like using a dehydrator or airbrushing build upon this solid base, allowing for sophisticated effects that require a flawless underlying cookie decorating surface.
Achieving a professional finish on your royal icing cookies boils down to attention to detail at every stage, starting with the initial cookie decorating surface preparation. Always ensure your dough is properly chilled and rolled to a consistent thickness. Bake cookies until just done, avoiding over-baking that can cause warping or excessive browning. Cool cookies completely and correctly on a wire rack to prevent condensation and maintain flatness. Before icing, take the time to meticulously clean off any crumbs or blemishes from the cookie decorating surface.
When mixing your royal icing, aim for the correct consistency for each step (outline vs. flood) and take measures to minimize air bubbles. Flood your cookies evenly and use a scribe tool to guide the icing and pop any visible bubbles promptly. Be patient during the drying process; allowing each layer to dry fully, ideally in a low-humidity environment or a dehydrator, is essential for preventing issues like bleeding or cracking. By consistently applying these principles of cookie decorating surface preparation and careful icing application, you will dramatically improve the quality and professionalism of your decorated cookies.
Happy Baking and Decorating!
Frequently Asked Questions
The most important step is ensuring your cookies are completely cooled after baking. This prevents the icing from melting and running, resulting in a cleaner, more professional finish.
A clean, flat surface is ideal. Consider using parchment paper or a silicone mat to prevent the cookies from sticking and make cleanup easier.
Handle your cookies gently! Ensuring they are baked evenly and cooled completely helps prevent crumbling. Avoid applying too much pressure while icing.
What if my royal icing is too thick or thin?
Adjust the consistency of your royal icing by adding small amounts of water to thin it or powdered sugar to thicken it. Aim for a pipeable consistency that holds its shape.
Chilling can help set the icing faster, especially in humid environments. However, avoid prolonged refrigeration as it can sometimes affect the cookie's texture.
The meticulous preparation of your cookie surface is not merely a preliminary step; it's the bedrock upon which stunning cookie art is built. A flawlessly smooth, perfectly dry surface ensures vibrant colors, crisp lines, and an overall professional finish that elevates your cookie decorating from hobby to masterpiece. Ignoring this crucial stage is akin to building a house on shifting sand – the final product, no matter how skillfully decorated, will ultimately suffer.
The impact of proper surface preparation extends far beyond the individual cookie; it influences the entire aesthetic of a batch, a collection, or even a whole baking business. The subtle differences between a perfectly prepped surface and one that's less than ideal are immediately apparent to the discerning eye. As the renowned pastry chef, Pierre Hermé, once said, Perfection is not an accident; it is the result of high intention, sincere effort, and intelligent execution.
This perfectly encapsulates the philosophy behind meticulous cookie surface preparation. It's a testament to the dedication and artistry involved in creating truly exceptional cookies.
Now, consider your own cookie decorating journey. What have you learned about the importance of preparation? What techniques have you found most effective in achieving that perfect, smooth surface? I encourage you to reflect on your own process, experiment with different methods, and strive for continuous improvement. Remember, the pursuit of perfection in cookie decorating, like any art form, is a journey, not a destination. Embrace the process, celebrate your successes, and learn from your challenges. The next cookie you decorate could be your masterpiece.
Thanks for taking the time to explore the art of perfectly prepared cookie surfaces! You've now got the knowledge to elevate your cookie decorating game. Ready to put your skills to the test?
- Master the perfect cookie surface: Practice the techniques you learned today on a fresh batch of cookies. Pay attention to detail and see the difference a well-prepared surface makes.
- Share your creations: Show us your stunning cookie art on social media – use #BakeWithEaseMasterpiece to inspire others!
- Experiment with new decorating techniques: Explore different icing consistencies and tools to discover your unique style.
What innovative decorating technique will you try first? Let's hear your thoughts in the comments below!