
Setting Up Your First Baking Station: Essential Tools Guide for Beginners

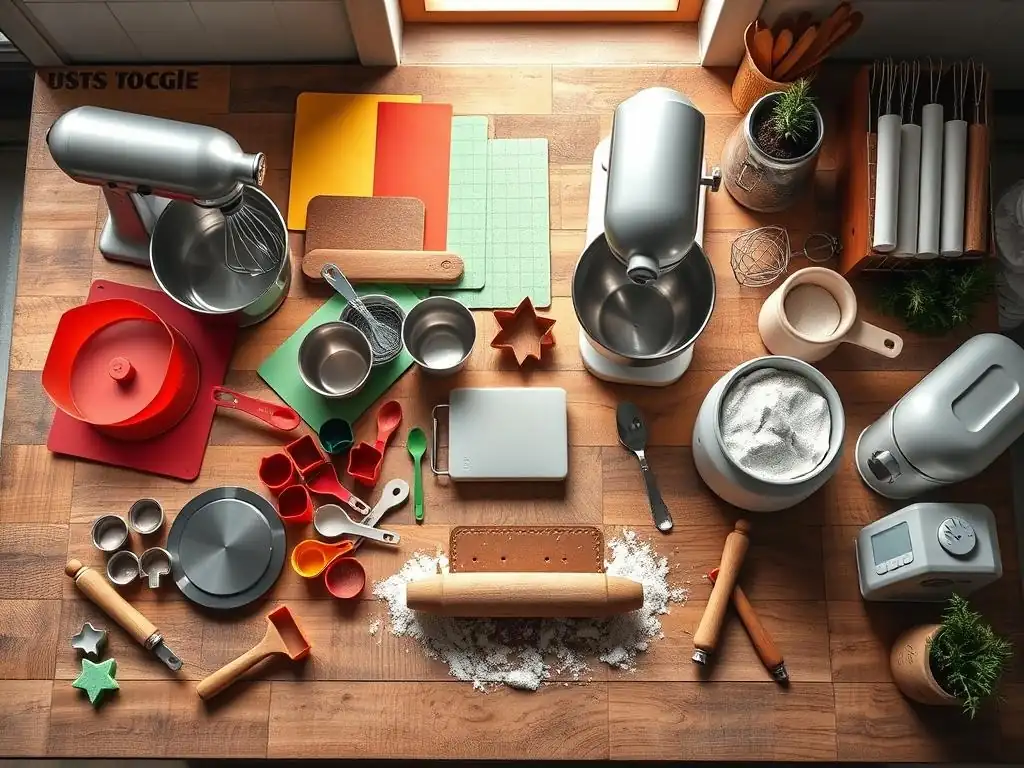
Welcome to BakeWithEase, your partner in creating delicious baked goods! Ever wondered what it really takes to set up a functional and inspiring baking space? This guide will demystify the process, focusing on the baking station tools beginners absolutely need. Get ready to transform your kitchen and unlock your baking potential – let's get started!
- Introduction to Baking Station Essentials for Beginners
-
Core Baking Tools for Beginners: Must-Haves
- Mixing Bowls: Selecting the Right Sizes and Materials for Baking
- Measuring Cups and Spoons: Achieving Accurate Baking Measurements
- Spatulas and Scrapers: Essential for Mixing and Folding Ingredients
- Whisks: Choosing the Right Whisk for Different Baking Tasks
- Baking Sheets: Understanding Different Types and Their Uses
- Cake Pans: Selecting Essential Cake Pan Shapes and Sizes
- Advanced Baking Tools: Stepping Up Your Baking Game
- Essential Baking Accessories for Beginners
- Setting Up Your Baking Station: Organization and Storage Tips
- Maintaining Your Baking Tools: Care and Cleaning
- Budget-Friendly Baking Station: Affordable Tool Options for Beginners
- Conclusion: Building a Foundation for Baking Success with Essential Tools
- Frequently Asked Questions
- Final Reflection: The Sweetness of Beginnings: Your Baking Journey Starts Here
- Unleash Your Inner Baker: Get Baking Today!
Introduction to Baking Station Essentials for Beginners
Why a Well-Equipped Baking Station Matters for New Bakers
Embarking on your baking journey is exciting, and having the right baking station tools beginners need is fundamental to turning simple ingredients into delicious treats. Think of your baking station as your command center. Just as a painter needs brushes and a canvas, a baker requires specific tools to measure accurately, mix effectively, and bake evenly. Without the proper equipment, even the simplest recipes can become frustrating challenges, leading to inconsistent results, burnt edges, or sunken cakes.
A well-stocked baking station simplifies every step of the process. It reduces guesswork, saves time, and dramatically improves your chances of success with each recipe you attempt. For beginners, this foundation is crucial for building confidence and developing essential baking skills. Having the right tools readily available means you can focus on learning techniques like creaming butter and sugar or folding delicate batters, rather than scrambling to find a substitute for a missing item or struggling with inadequate equipment.
BakeWithEase's Guide to Assembling Your First Baking Station
Welcome to BakeWithEase! We're thrilled to guide you through setting up your initial baking station, focusing on essential baking tools for beginners. Our goal is to help you acquire the core equipment that will enable you to tackle a wide range of beginner-friendly recipes, from classic chocolate chip cookies to simple muffins and basic cakes. You don't need a professional kitchen setup to start; a few key items can make a world of difference.
This guide will walk you through the must-have tools, some useful additions for when you're ready to expand, and practical tips for organizing and maintaining your new baking station. We'll discuss different types of tools, materials, and sizes, helping you make informed decisions without feeling overwhelmed. By the end of this guide, you'll have a clear understanding of the essential baking station tools beginners should prioritize to set themselves up for baking success.
Core Baking Tools for Beginners: Must-Haves
Mixing Bowls: Selecting the Right Sizes and Materials for Baking
Mixing bowls are the workhorses of any baking station. You'll use them for everything from whisking eggs and combining dry ingredients to mixing batters and doughs. For beginners, having a set of three bowls in varying sizes is a great starting point. A small bowl (around 1-2 quarts) is perfect for cracking eggs or melting butter, a medium bowl (3-4 quarts) is versatile for mixing cookie dough or cake batter, and a large bowl (5-6 quarts) is ideal for proofing bread dough or mixing larger batches.
When choosing materials, stainless steel, glass, and plastic are common options. Stainless steel is durable, lightweight, and easy to clean, and it doesn't retain odors. Glass bowls are excellent because you can see the ingredients mixing, and they work well for using a double boiler, but they can be heavy and breakable. Plastic bowls are often the most affordable and lightweight, but they can sometimes retain odors or stains over time. For a beginner baking station, a mix might be practical, perhaps a sturdy glass bowl for visibility and some lightweight stainless steel or plastic ones for general use.
Measuring Cups and Spoons: Achieving Accurate Baking Measurements
Precision is paramount in baking, and accurate measurements are non-negotiable. This is where reliable measuring cups and spoons come into play, serving as crucial baking station tools beginners must master. You'll need two types of measuring cups: dry measuring cups and liquid measuring cups. Dry cups, typically made of plastic or metal, come in sets (like 1/4, 1/3, 1/2, and 1 cup) and are designed to be leveled off for precise measurement of ingredients like flour, sugar, and oats.
Liquid measuring cups, usually made of glass or clear plastic, have a spout and markings along the side (in ounces, milliliters, cups). You measure liquids by placing the cup on a flat surface and reading the measurement at eye level. For measuring spoons, a set including 1/4 teaspoon, 1/2 teaspoon, 1 teaspoon, and 1 tablespoon is essential for spices, leavening agents like baking powder and baking soda, and extracts.
Look for sets where the measurements are clearly engraved or printed and won't wash off. Investing in accurate measuring tools from the start will save you from many potential baking pitfalls.
Spatulas and Scrapers: Essential for Mixing and Folding Ingredients
Spatulas and scrapers are incredibly versatile tools in your beginner baking station. A good set should include a rubber or silicone spatula and a bench scraper. Silicone spatulas are heat-resistant and flexible, making them perfect for scraping down the sides of mixing bowls, folding ingredients gently (like whipped egg whites into batter), and stirring hot custards or sauces. Their flexibility allows you to get every last bit of batter or dough out of the bowl, reducing waste.
A bench scraper, often a flat, rectangular piece of metal or plastic with a handle, is invaluable when working with dough. It's used to divide dough, scrape sticky dough from your work surface, and transfer chopped ingredients. It also helps keep your workspace clean. While a flexible spatula is essential for mixing and folding, a sturdy bench scraper is key for handling dough and maintaining a clean surface, proving their worth as indispensable baking station tools beginners will use constantly.
Whisks: Choosing the Right Whisk for Different Baking Tasks
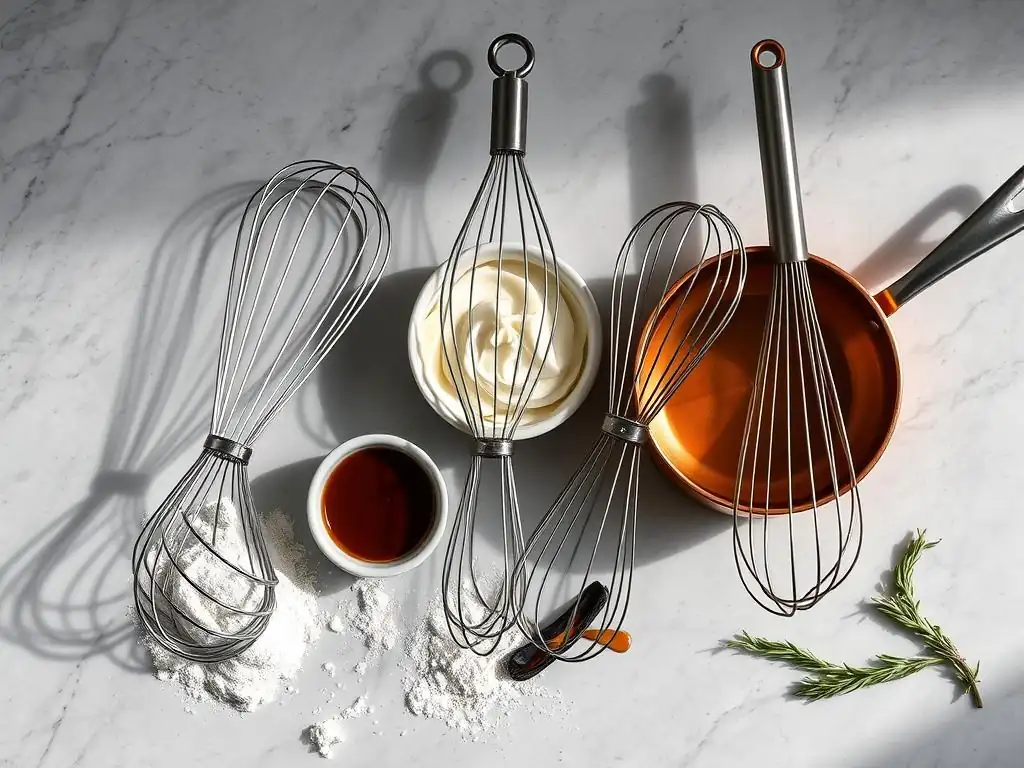
A whisk is used to incorporate air into ingredients or to combine dry ingredients evenly. For a beginner baking station, a balloon whisk is the most versatile option. Its many wires are arranged in a balloon shape, making it excellent for whipping egg whites or cream to incorporate a lot of air quickly, creating light and fluffy textures needed for meringues or whipped cream. It's also useful for smoothing out lumps in sauces or batters.
While there are other types of whisks, like French whisks (more cylindrical, good for thicker mixtures) or flat whisks (ideal for deglazing pans or making gravies), the balloon whisk is the best starting point for beginners. Look for one with a comfortable handle and wires that are sturdy but flexible. A medium-sized balloon whisk, around 10-12 inches long, will handle most tasks you encounter in beginner baking recipes.
Baking Sheets: Understanding Different Types and Their Uses
Baking sheets, also known as cookie sheets, are flat or rimmed metal pans used for baking cookies, pastries, scones, and more. For your beginner baking station, having at least two rimmed baking sheets is recommended. The rim prevents liquids from spilling over and helps contain cookies as they spread slightly. Aluminum baking sheets are popular because they conduct heat evenly and are relatively inexpensive. Look for heavy-gauge aluminum; thinner sheets can warp at high temperatures.
Dark-colored or non-stick baking sheets can cause baked goods to brown faster, which can be tricky for beginners. Light-colored aluminum is often preferred for even baking and consistent results, especially for cookies. A standard half-sheet size (approximately 18x13 inches) is versatile and fits most home ovens. Using parchment paper or silicone baking mats on your baking sheets (discussed later) will make cleanup easier and prevent sticking.
Cake Pans: Selecting Essential Cake Pan Shapes and Sizes
If you plan to bake cakes, having a few essential cake pans is necessary for your baking station. For beginners, two 8-inch or 9-inch round cake pans are a great start, allowing you to make classic layer cakes. A 9x13-inch rectangular pan is also incredibly versatile for sheet cakes, brownies, bar cookies, and even some savory dishes. These sizes are standard in many beginner baking recipes.
Most cake pans are made of aluminum or non-stick metal. Aluminum pans are generally preferred for even heating, leading to cakes with consistent texture and color. Non-stick pans are convenient for easy release, but some bakers find they can sometimes over-brown the edges. Regardless of material, always grease and flour cake pans thoroughly (or use parchment paper rounds) to ensure your cake releases cleanly. Having these basic shapes will open up a wide variety of beginner cake recipes.
Advanced Baking Tools: Stepping Up Your Baking Game
Stand Mixers vs. Hand Mixers: A Beginner's Guide
As you become more comfortable with your baking station tools beginners setup and start tackling more complex recipes, you might consider investing in a mixer. Hand mixers are more affordable and take up less storage space. They are perfectly capable of creaming butter and sugar, mixing cake batter, and whipping small amounts of cream or egg whites. A good quality hand mixer with a few speed settings and different attachments (whisks, dough hooks) can handle most tasks required in intermediate baking.
Stand mixers are a significant investment but are invaluable if you plan to bake frequently or make recipes involving kneading dough (like bread) or whipping large quantities. Their powerful motors and hands-free operation make tasks like kneading bread dough for 10 minutes or whipping meringue for 5-7 minutes much easier and more consistent than doing it by hand or with a hand mixer. For a beginner, a hand mixer is likely sufficient, but a stand mixer is a worthwhile upgrade if baking becomes a passion.
Rolling Pins: Choosing the Right Rolling Pin for Dough and Pastry
A rolling pin is essential for flattening dough for pies, tarts, cookies, and pastries. There are several types, but for a beginner baking station, a classic American-style rolling pin with handles or a French-style tapered rolling pin are good choices. The American style has a central cylinder with handles on the ends, making it easy to grip and apply even pressure. They are often made of wood, marble, or silicone-coated materials.
French rolling pins are simple tapered dowels without handles. You use the palms of your hands directly on the wood. Many bakers prefer the French pin because they feel it gives them more control and allows them to feel the thickness of the dough more directly. Wood is a common and effective material for both types, as it holds a light coating of flour well, preventing sticking. Choose a size that feels comfortable in your hands, typically between 12 and 20 inches long.
Pastry Blender or Cutter: Creating Flaky Pastry Dough
If pie crusts, biscuits, or scones are on your baking list, a pastry blender (or pastry cutter) is a useful addition to your baking station tools beginners collection. This tool, typically made of wires or blades attached to a handle, is used to cut cold butter or shortening into flour. The goal is to break the fat into small, pea-sized pieces distributed throughout the flour. This creates layers of fat within the dough, which melt during baking, producing flaky layers.
Cutting butter into flour can be done with forks or your fingertips, but a pastry blender makes the process much quicker, easier, and helps keep the butter cold, which is crucial for flakiness. Look for a sturdy one made of stainless steel wires or blades that won't bend easily. Using a pastry blender ensures that the fat is properly incorporated, leading to lighter, flakier results compared to overworking the dough with your hands, which can melt the butter.
Kitchen Scale: The Key to Precision Baking Measurements
While measuring cups are standard in many home kitchens, a kitchen scale is the gold standard for accuracy in baking measurements. Many professional bakers and serious hobbyists measure ingredients by weight rather than volume because it is far more precise. For example, a cup of flour can vary in weight by as much as 20% depending on how it's scooped and leveled. Using a scale eliminates this variability.
For beginner baking tools, a digital kitchen scale that can measure in grams and ounces is highly recommended. Many recipes now include weight measurements, especially for flour, sugar, and liquids. Measuring by weight ensures you are using the exact amount of each ingredient specified in the recipe, leading to more consistent and reliable results every time you bake. It's particularly helpful for sensitive recipes like macarons or sourdough bread.
Thermometers: Ensuring Accurate Baking Temperatures
Temperature plays a critical role in baking success, from the temperature of your ingredients to the temperature of your oven and the internal temperature of your baked goods. Having a few basic thermometers can significantly improve your results. An oven thermometer is essential because oven temperatures can vary significantly from the setting on the dial – sometimes by as much as 50°F (about 10°C)! Place one in your oven to know its actual temperature.
A quick-read digital thermometer is incredibly useful for checking the internal temperature of bread, cakes, or custards to ensure they are properly cooked. For instance, most lean bread is done when the internal temperature reaches around 200-210°F (93-99°C), while cakes are often done around 200-205°F (93-96°C). A simple candy or deep-fry thermometer is also necessary if you plan to make candies, caramels, or fry doughnuts, as these require reaching specific high temperatures.
Essential Baking Accessories for Beginners
Parchment Paper and Silicone Baking Mats: Preventing Sticking and Easy Cleanup
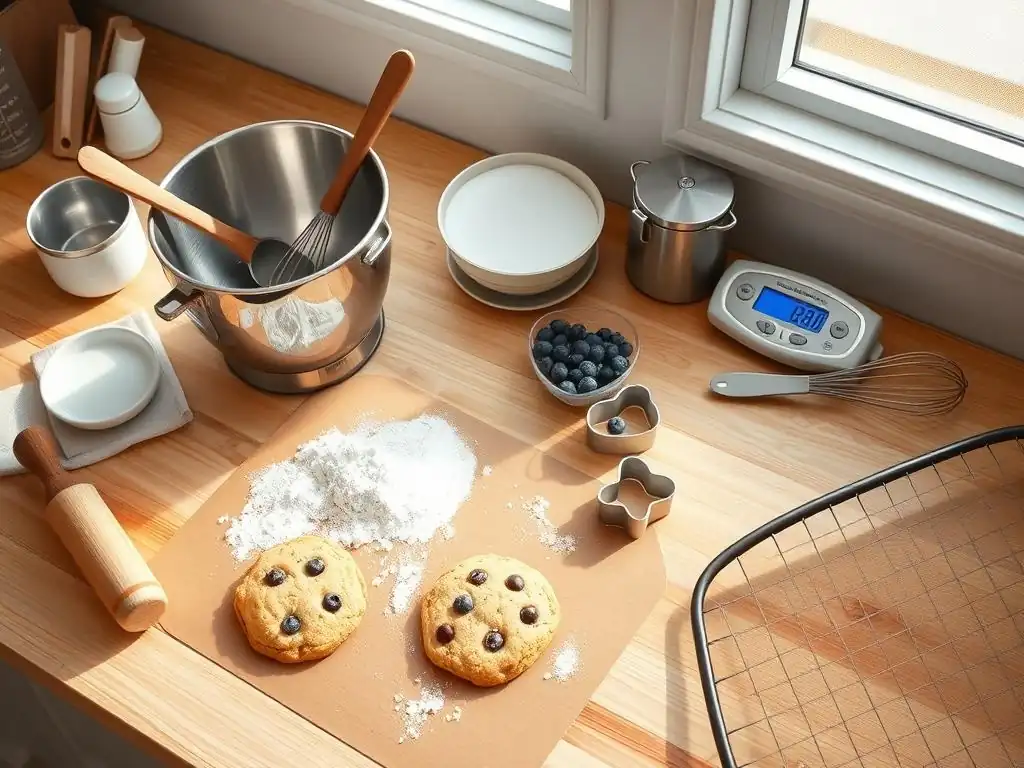
Parchment paper and silicone baking mats are absolute game-changers for any baking station, especially for beginners. They create a non-stick surface on your baking sheets or cake pans, ensuring that cookies slide off easily and cakes don't stick. This not only makes removing baked goods simple but also dramatically cuts down on cleanup time. You simply lift the paper or mat off the pan, and often, the pan requires minimal washing.
Parchment paper is disposable and can be cut to fit any pan shape. It's particularly useful for lining cake pans or creating packets for baking fish or vegetables en papillote. Silicone baking mats (like Silpat) are reusable, durable, and provide an excellent non-stick surface. They are ideal for cookies, pastries, and anything prone to sticking. Having both on hand offers flexibility, proving they are indispensable baking station tools beginners will rely on constantly.
Cooling Racks: Properly Cooling Baked Goods
Cooling racks are often overlooked but are essential for achieving the correct texture in your baked goods. Once items like cookies, cakes, or bread come out of the hot oven, they need to cool properly to stop the cooking process and allow steam to escape. Placing hot baked goods directly on a solid surface will trap heat and moisture, potentially leading to a soggy bottom or overcooked texture.
Transferring baked goods to a wire cooling rack allows air to circulate freely around all sides, promoting even cooling. For cookies, this helps them crisp up slightly as they cool. For cakes and bread, it prevents condensation from making the bottom wet. Look for sturdy wire racks with closely spaced wires so smaller items don't fall through. Having one or two cooling racks is a simple addition to your baking station that makes a big difference in the final outcome.
Sifters: Achieving Lighter and Fluffier Baked Goods
Sifting flour and other dry ingredients is a step found in many baking recipes, particularly for cakes and pastries where a light, tender crumb is desired. A sifter works by forcing ingredients through a fine mesh screen, which aerates them, breaks up lumps, and helps distribute leavening agents like baking powder and baking soda evenly. This results in a lighter texture in the finished product.
While you can whisk ingredients together as an alternative, a sifter provides superior aeration and ensures there are no hidden lumps of flour or baking powder. There are crank-style sifters and squeeze-handle sifters. Both work effectively; choose the style you find easiest to operate and clean. Adding a sifter to your baking station tools beginners collection can help you achieve that coveted light and fluffy texture in your baked goods.
Piping Bags and Tips: Basic Decorating for Beginners
Once you've mastered the basics, you might want to try your hand at decorating. Basic piping bags and tips are easy-to-use baking station tools beginners can use to add simple flair to cakes, cupcakes, and cookies. You don't need a vast collection to start. A few reusable or disposable piping bags and a basic set of tips (like a round tip for dots and lines, and a star tip for swirls) are sufficient for creating simple borders, writing messages, or piping frosting onto cupcakes.
Reusable piping bags are typically made of plastic or silicone and need to be washed after each use. Disposable bags are convenient but create more waste. Piping tips are small metal or plastic cones with different shaped openings. Start with just a couple of versatile tips and practice your technique with simple buttercreams. It's a fun way to make your baked goods look as good as they taste.
Setting Up Your Baking Station: Organization and Storage Tips
Creating a Dedicated Baking Space in Your Kitchen
Having a dedicated space for your baking station, even if it's just a section of your counter or a specific cupboard, can make baking much more efficient and enjoyable for beginners. Try to designate an area where you have enough counter space to measure, mix, and work with dough. Ideally, this space should be near your oven and potentially near your pantry for easy access to ingredients.
If counter space is limited, consider a portable island or cart that can be moved when needed. The goal is to create a workflow where your essential baking station tools beginners need are within easy reach, minimizing the need to search through drawers or cupboards scattered throughout the kitchen. This dedicated zone helps you get into a baking mindset and keeps everything you need centralized.
Organizing Your Baking Tools for Easy Access
Once you have your essential baking station tools beginners kit assembled, organizing them effectively is key. Store frequently used items like measuring cups and spoons, spatulas, and whisks in a drawer near your main work area or in a utensil crock on the counter. This ensures they are always readily available when you start a recipe.
Baking sheets and cooling racks can be stored vertically in a cupboard using tension rods or specialized organizers to save space and prevent them from getting scratched. Stack mixing bowls by size. Store smaller items like piping tips or cookie cutters in small containers or zip-top bags within a drawer to keep them from getting lost. A well-organized baking station saves time and frustration, allowing you to focus on the joy of baking.
- [ ] Group similar tools together (e.g., all measuring tools).
- [ ] Store frequently used items within easy reach.
- [ ] Use vertical storage for flat items like baking sheets.
- [ ] Utilize containers for small accessories.
Maximizing Storage Space for Baking Ingredients
Efficiently storing your baking ingredients is just as important as organizing your tools in your beginner baking station. Keep your most frequently used ingredients like flour, sugar, baking powder, and baking soda in airtight containers. This protects them from moisture, pests, and keeps them fresh. Clear containers are helpful so you can see what's inside and how much you have left.
Store these core ingredients near your baking space if possible. Less frequently used items like specialty flours, nuts, or extracts can be stored in a pantry. Labeling containers with the ingredient name and purchase date is a simple step that makes inventory easy and ensures you're using fresh ingredients. An organized pantry means less time searching and more time baking!
Maintaining Your Baking Tools: Care and Cleaning
Proper Cleaning Techniques for Different Baking Tools
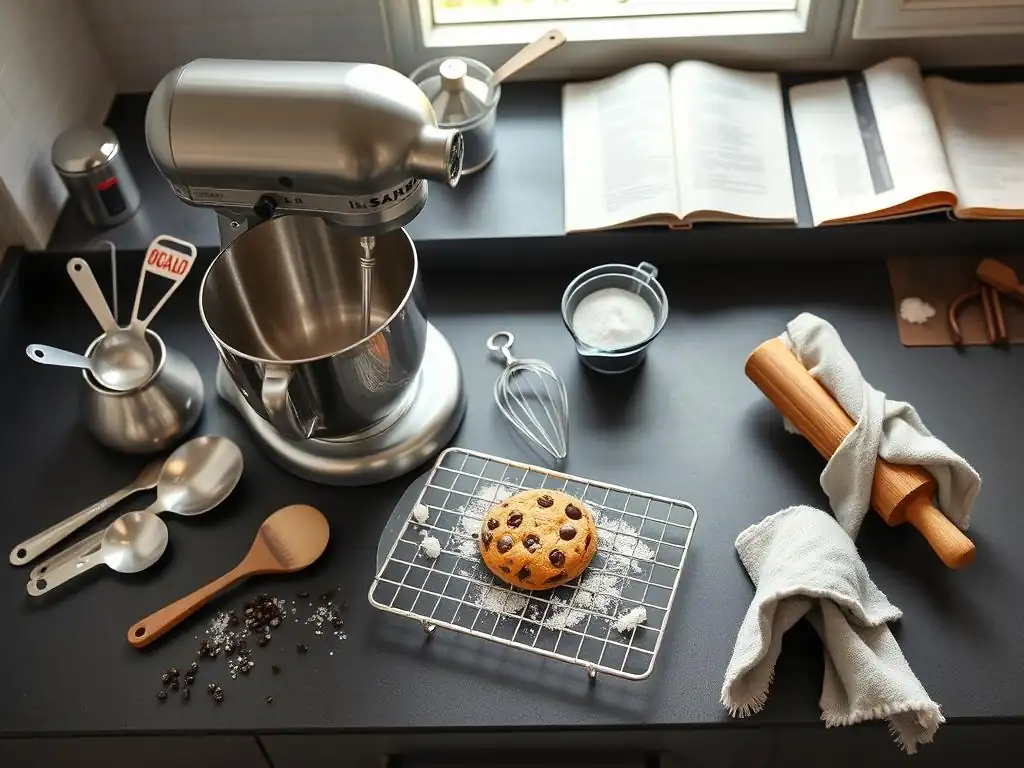
Properly cleaning your baking station tools beginners setup is essential for hygiene and extending their lifespan. Most metal and glass tools like stainless steel bowls, metal measuring cups/spoons, baking sheets (if not non-stick), and glass measuring cups can be washed with warm, soapy water or placed in the dishwasher. Avoid abrasive scrubbers on non-stick surfaces or delicate finishes.
Wooden tools, like rolling pins or wooden spoons, should not be soaked in water as this can cause them to crack or warp. Wash them quickly with warm, soapy water, rinse, and dry immediately. Silicone spatulas and mats are generally dishwasher safe or can be easily washed by hand. Refer to the manufacturer's instructions for specific care, but a general rule is to clean tools promptly after use before residue hardens.
Extending the Lifespan of Your Baking Equipment
Taking good care of your baking station tools beginners kit will ensure they last for years. Avoid using metal utensils on non-stick surfaces to prevent scratches. Store items properly – don't just toss everything into a drawer where sharp edges can damage other tools or coatings. For example, protect non-stick pans by placing paper towels between them when stacking.
Dry all tools thoroughly before storing them to prevent rust (especially on metal items) or mold (on wooden tools). Periodically check wooden tools for dryness and condition them with food-grade mineral oil if needed. By following these simple care and cleaning practices, your initial investment in baking tools will serve you well through countless baking adventures.
Budget-Friendly Baking Station: Affordable Tool Options for Beginners
Essential Tools on a Budget: Finding Quality Without Breaking the Bank
Setting up a functional baking station doesn't require spending a fortune, which is great news for beginners. You can find quality essential baking tools for beginners at very reasonable prices. Look for reputable brands that offer basic lines, or check kitchen supply stores and even large supermarkets. Often, basic sets of stainless steel measuring cups and spoons or plastic mixing bowls are quite affordable and perfectly adequate for starting out.
Instead of buying a full set of every gadget imaginable, focus on the core items discussed earlier: a few mixing bowls, accurate measuring tools, a couple of spatulas, a whisk, and two baking sheets. You can always add more specialized tools later as your skills and interests grow. Many budget-friendly options are surprisingly durable and effective for home baking.
DIY Baking Tool Alternatives: Creative Solutions for Cost-Conscious Bakers
If you're on a very tight budget, you might find you already have some items in your kitchen that can serve as temporary baking station tools beginners alternatives. For example, sturdy drinking glasses or coffee mugs can be used for measuring small amounts of liquid (if they have markings), though they won't be as precise as a dedicated liquid measuring cup. Any large bowl can serve as a mixing bowl.
While not ideal for precise work, you can use the back of a spoon to level dry ingredients if you don't have a straight edge. A dinner knife can sometimes substitute for a bench scraper for dividing dough (use caution!). While dedicated tools are always better for consistency and ease of use, these DIY alternatives can help you get started on your baking journey before you're able to invest in proper equipment.
> Remember: Baking is about passion and practice, not just expensive tools. Start simple!
Conclusion: Building a Foundation for Baking Success with Essential Tools
Investing in Quality Baking Tools for Long-Term Baking Enjoyment
Setting up your first baking station with the right essential baking tools for beginners is the critical first step towards a rewarding baking hobby. While you don't need every gadget on the market, investing in a few quality core pieces—like accurate measuring tools, sturdy mixing bowls, and reliable baking pans—will make a significant difference in your results and overall enjoyment. These foundational baking station tools beginners acquire will be the workhorses of your kitchen for years to come.
As you gain confidence and explore new recipes, you can gradually add more specialized tools to your collection. But starting with the essentials discussed in this guide ensures you have the capabilities to successfully tackle a wide range of beginner-friendly recipes. With the right tools, proper organization, and a little practice, you're well on your way to creating delicious baked goods and mastering the art of baking right in your own kitchen.
Frequently Asked Questions
What are the essential tools for a beginner's baking station?
To set up your baking station, beginners should have a mixing bowl, measuring cups, spatula, whisk, and a baking sheet. These tools will help you get started with a variety of simple recipes.
How can I organize my baking station efficiently?
To keep your baking station tidy, use containers to store dry ingredients, arrange tools within easy reach, and maintain a clean workspace. This organization will enhance your baking experience.
Are there any specific tools for baking different types of pastries?
Yes! For pastries, consider having a pastry cutter, rolling pin, and parchment paper on hand. These tools are essential for achieving the right texture and shape in your baked goods.
Where can I find easy-to-follow recipes for beginners?
You can explore a wide range of simple recipes on BakeWithEase.com. The site offers step-by-step guides that are perfect for beginners looking to master their baking skills.
How important are quality baking tools for beginners?
Investing in quality baking tools is essential for beginners. They not only improve your baking results but also make the process more enjoyable and efficient.
Final Reflection: The Sweetness of Beginnings: Your Baking Journey Starts Here
Building your first baking station is more than just acquiring tools; it's about cultivating a passion. It's about creating a space where creativity flourishes and the aroma of freshly baked goods fills your home, a sanctuary dedicated to the simple joy of baking. This journey, while starting with essential tools, ultimately leads to a deeper connection with the art of baking itself.
The impact of home baking is undeniable; it’s a comforting tradition passed down through generations, a source of connection, and a powerful expression of love. Baking is at once child's play and adult joy. And love, of course.
This quote perfectly encapsulates the experience, highlighting the simple pleasure and profound satisfaction found in creating something delicious with your own hands. The tools we've discussed are merely the gateway to this rewarding experience, enabling you to explore your creativity and share the fruits of your labor with loved ones.
Now, it's your turn. Don't just read about the perfect baking station; create it. Gather your essential tools, find your space, and let your imagination run wild. Embrace the occasional mishap, learn from each experience, and most importantly, enjoy the process. The journey of a thousand loaves begins with a single, perfectly mixed batter. So, what delicious creation will you bake first?
Unleash Your Inner Baker: Get Baking Today!
Thanks for joining us on this baking adventure! We hope you've found the essential tools guide helpful and are feeling inspired to create delicious treats. Now it's time to turn that inspiration into action!
- Start building your baking station: Begin with one or two tools from our list—a good mixing bowl and a sturdy spatula are excellent starting points. Gradually add more as you bake more often and discover your favorite techniques.
- Share your baking journey: Post a picture of your newly organized baking station on social media! Use #BakeWithEase to connect with other baking enthusiasts and inspire others to start their own baking journey.
- Explore our recipe collection (on bakewithease.com): Find a recipe that excites you and try it out! You'll be amazed at what you can create with just a few essential tools.
What's the first delicious recipe you're going to try out? Let us know in the comments below!