
Foolproof Chocolate Crinkle Cookies That Crack Perfectly

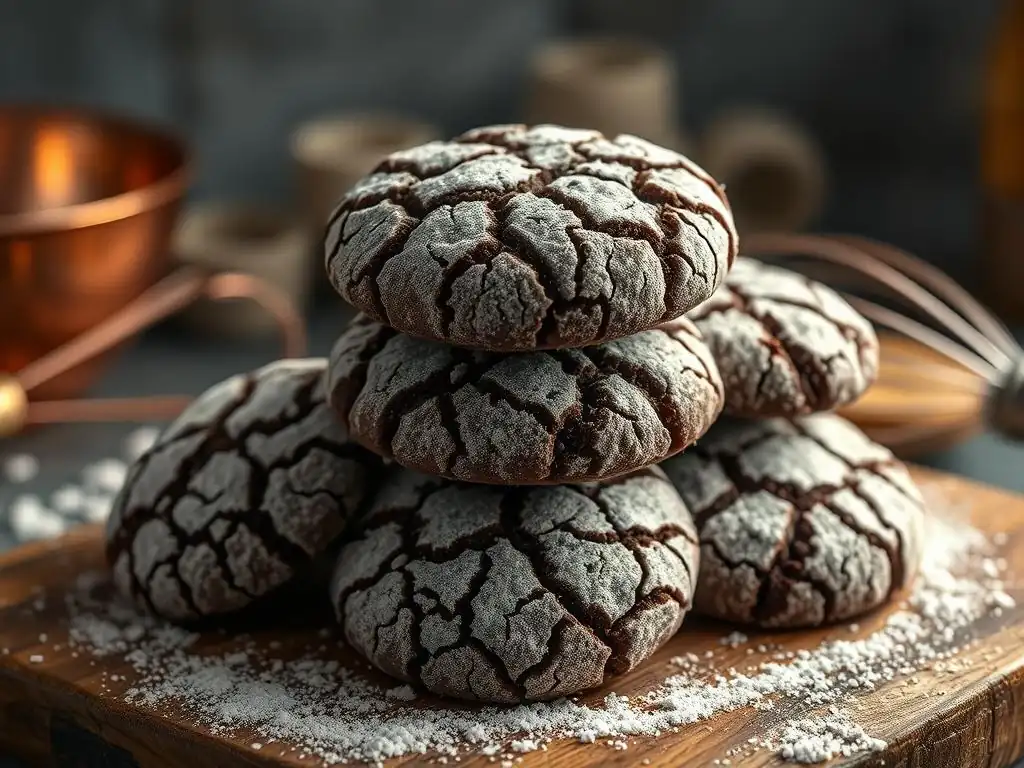
Welcome to BakeWithEase, your haven for all things baking! Are you ready to unlock the secret to the perfectly cracked surface and fudgy interior of a truly irresistible treat? Today, we're diving deep into crafting the perfect chocolate crinkle cookie recipe, a seemingly simple delight that often eludes even experienced bakers. Discover the foolproof techniques and insider tips that will guarantee these cookies are a showstopper every time. Intrigued? Let's get baking!
- Introduction: Achieving Crinkle Cookie Perfection with BakeWithEase
- The Secret to a Perfect Chocolate Crinkle Cookie Recipe: Key Ingredients
- Step-by-Step Guide: Baking Your Own Perfect Chocolate Crinkle Cookies
- Troubleshooting Common Crinkle Cookie Problems
- Variations and Add-ins for Your Chocolate Crinkle Cookies
- Storing Your Chocolate Crinkle Cookies: Keeping Them Fresh
- Conclusion: Bake Your Best Chocolate Crinkle Cookies Today
- Frequently Asked Questions
- Final Reflection: The Enduring Magic of the Perfect Crinkle
- Unlock Your Inner Baker: Perfect Crinkle Cookies Await!
Welcome, fellow baking enthusiasts, to your ultimate guide for mastering the perfect chocolate crinkle cookie recipe! These delightful treats are a holiday staple and a year-round favorite, known for their rich, fudgy centers and that signature snowy, cracked exterior. While they might look a bit magical, achieving those beautiful crinkles consistently is absolutely within your reach.
At BakeWithEase, we believe that baking should be a joyful and accessible experience for everyone. This article will break down the science and art behind crafting these stunning cookies, providing you with the knowledge and techniques needed to bake a batch of perfect chocolate crinkle cookies that look like they came straight from a professional bakery. Get ready to impress your friends and family with these delectable, visually appealing treats.
High-Quality Chocolate: The Foundation of Flavor
The depth and richness of your chocolate crinkle cookies depend heavily on the quality of the chocolate you use. While cocoa powder provides color and some flavor, melted chocolate contributes a luxurious, fudgy texture and a more complex taste profile. Using a good quality semi-sweet or dark chocolate (around 60-70% cacao) will elevate your cookies significantly.
Approximately 4-6 ounces (113-170 grams) of chopped baking chocolate or chocolate chips are typically called for in a standard recipe yielding about 2-3 dozen cookies. This amount ensures a prominent chocolate flavor that complements the cocoa powder. Avoid using compound chocolate or coatings, as they often contain vegetable oils instead of cocoa butter, which affects both flavor and texture, preventing that ideal fudgy bite.
Unsweetened Cocoa Powder: Deepening the Chocolate Intensity
Unsweetened cocoa powder is essential for achieving that deep, dark color and intense chocolate flavor characteristic of perfect chocolate crinkle cookies. There are two main types: natural cocoa powder and Dutch-process cocoa powder. Natural cocoa is acidic and reacts with baking soda, while Dutch-process cocoa is neutralized and creates a smoother, less bitter flavor.
For most perfect chocolate crinkle cookie recipe variations, a blend or specific type is recommended. Using about 3/4 cup (around 65-75 grams) of unsweetened cocoa powder alongside melted chocolate provides a robust chocolate backbone. Dutch-process cocoa often yields a darker color and a slightly more mellow flavor, which many bakers prefer for its richness without excessive bitterness.
Sugar's Role: Balancing Sweetness and Texture
Sugar in chocolate crinkle cookies does more than just provide sweetness; it plays a crucial role in texture and moisture retention. Granulated sugar contributes to spread and crispness around the edges, while brown sugar, if used, adds moisture and chewiness due to its molasses content. Powdered sugar is the key to the signature crackle effect.
A typical recipe might use around 1.5 to 2 cups (300-400 grams) of granulated sugar in the dough. This amount ensures the cookies are sweet enough to balance the intense chocolate. The generous coating of powdered sugar (often 1 to 1.5 cups, or 120-180 grams) is vital. As the cookie bakes and expands, the powdered sugar coating resists this expansion in places, causing the surface to crack and reveal the dark cookie beneath, creating that desirable contrast.
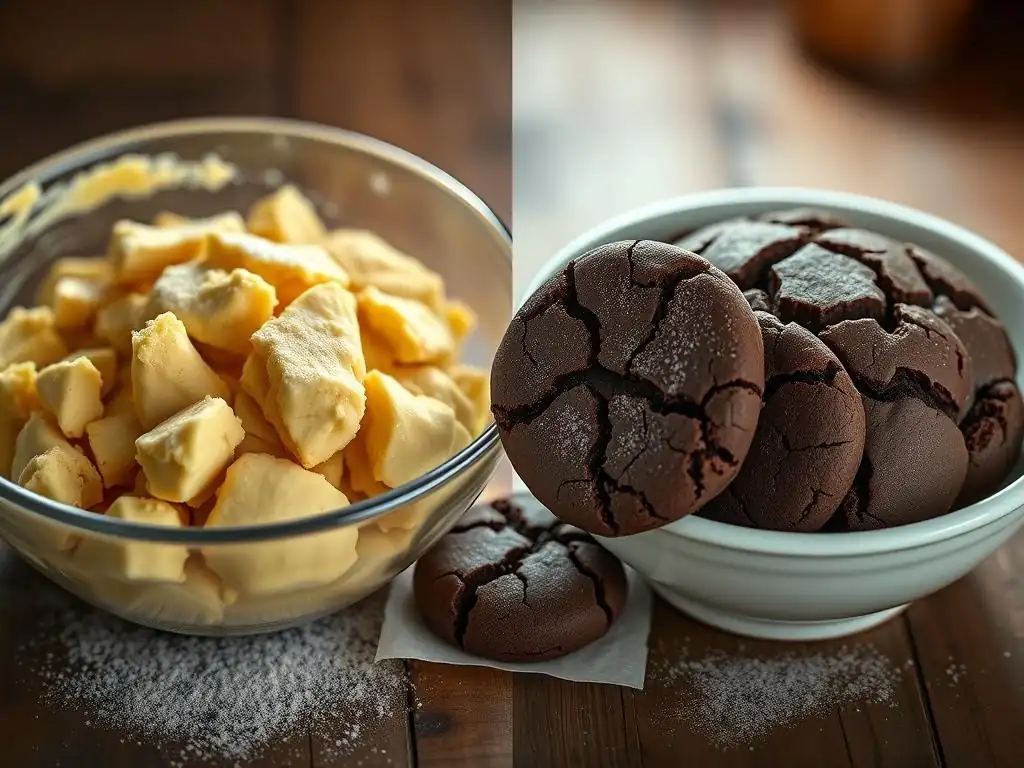
The type of fat used significantly impacts the texture of your perfect chocolate crinkle cookie recipe. Butter provides rich flavor and helps create structure through its melting and solidifying properties. It contributes to a slightly chewier texture and better flavor development during baking.
Many crinkle cookie recipes, however, rely on vegetable oil (like canola or sunflower oil) as the primary fat, often using around 1/2 to 3/4 cup (120-180 ml). Oil results in a softer, more tender cookie that stays moist for longer compared to butter-based cookies. The liquid nature of oil also helps the dough spread slightly more evenly during baking, which can contribute to the formation of uniform cracks. Some recipes even use a combination of melted butter and oil to get the best of both worlds – flavor and moisture.
Leavening Agents: Ensuring the Right Rise and Crack
Leavening agents, typically baking powder and/or baking soda, are critical for providing the lift needed in the dough. This lift, combined with the expansion during baking, is what ultimately causes the surface to crack, revealing the dark cookie beneath the powdered sugar coating.
A combination of about 1 teaspoon of baking powder and 1/2 teaspoon of baking soda is common. Baking powder provides a steady rise, while baking soda reacts with acidic ingredients (like natural cocoa powder or brown sugar, if used) to give an initial rapid lift. This controlled expansion is necessary for the powdered sugar coating to stretch and eventually break in that beautiful crinkle pattern. Without sufficient leavening, the cookies might be dense and fail to crack properly.
Melting the Chocolate and Butter: A Smooth Start
Begin by gently melting your chosen high-quality chocolate and butter (if using butter alongside or instead of oil). This can be done using a double boiler over simmering water or carefully in the microwave in 30-second intervals, stirring after each, until smooth. Aim for a temperature that allows the chocolate to be fully melted but not so hot that it cooks the other ingredients when combined. Let the mixture cool slightly before proceeding.
This initial step is crucial for achieving a smooth, homogenous dough. The melted chocolate and fat form the base, providing richness and moisture. Ensuring the mixture isn't too hot prevents curdling of eggs and allows for even incorporation of sugars and other wet ingredients without negatively impacting their structure or solubility.
Combining Dry Ingredients: Cocoa Powder, Flour, and Leavening
In a separate bowl, whisk together your all-purpose flour, unsweetened cocoa powder, baking powder, baking soda (if using both), and a pinch of salt. Sifting these ingredients together is highly recommended. Sifting helps to break up any lumps in the cocoa powder or flour and ensures that the leavening agents are evenly distributed throughout the mixture.
Properly combining and sifting the dry ingredients guarantees that the leavening will be consistent, leading to uniform rise and cracking. It also prevents pockets of unincorporated flour or cocoa powder, which could result in a less desirable texture in your perfect chocolate crinkle cookie recipe.
Mixing Wet and Dry: Achieving the Ideal Dough Consistency
Once the melted chocolate/fat mixture has cooled slightly, whisk in the sugars (granulated and/or brown), followed by the eggs one at a time, and any extracts like vanilla. Beat until the mixture is smooth and slightly thickened. Then, gradually add the sifted dry ingredients to the wet ingredients, mixing on low speed or by hand until just combined. Do not overmix.
The resulting dough should be quite soft and sticky, almost like a thick brownie batter. Overmixing develops gluten in the flour, which can lead to tougher cookies. Stopping mixing as soon as no dry streaks remain is key to achieving the tender, fudgy interior that makes a perfect chocolate crinkle cookie recipe so delightful.
Step 2: Chilling the Dough: The Key to Crinkling
Why Chilling is Essential for Perfect Cracks
Chilling the cookie dough is arguably the most critical step for achieving those beautiful, defined cracks. The cold temperature solidifies the fats in the dough, making it much easier to handle and roll into balls. More importantly, chilling prevents the cookies from spreading too quickly when they hit the hot oven.
When the cold, relatively firm dough is placed in the oven, the outside begins to warm and spread while the center remains cooler and holds its shape longer. This difference in expansion rates causes the outer layer, coated in powdered sugar, to crack as the interior pushes outwards. Without adequate chilling, the dough would spread too much before the crust sets, resulting in minimal or uneven cracking.
How Long to Chill for Optimal Results
For optimal results with your perfect chocolate crinkle cookie recipe, the dough should be chilled for a minimum of 2-4 hours. Ideally, chilling it for 8 hours or even overnight in the refrigerator yields the best texture and cracking potential. The dough should be firm enough to roll into balls without sticking excessively to your hands.
Store the dough wrapped tightly in plastic wrap or in an airtight container to prevent it from drying out or absorbing odors from the refrigerator. If chilled overnight, you might need to let it sit at room temperature for 5-10 minutes before rolling if it's too hard, but it should still be quite firm.
Rolling into Balls: Uniformity for Even Baking
Once the dough is sufficiently chilled and firm, scoop portions (about 1 tablespoon or roughly 30-35 grams each) and roll them into smooth balls between the palms of your hands. Aim for uniform size for even baking. If the dough becomes too soft while you're working, pop it back into the refrigerator for 10-15 minutes.
Uniformity is key for your perfect chocolate crinkle cookie recipe. Cookies of similar size will bake at the same rate, preventing some from being underbaked while others are overbaked. Using a cookie scoop can help ensure consistent portions, making this step faster and more accurate.
The Sugar Coating: Creating the Signature Crinkle Effect
This is where the magic happens! You will need two types of sugar for the coating: granulated sugar and a generous amount of powdered sugar. First, roll each dough ball in granulated sugar. This initial layer helps the powdered sugar adhere better and also contributes slightly to the texture.
Immediately after rolling in granulated sugar, roll the balls very generously in powdered sugar. Ensure the entire surface is thickly coated – you want them to look like snowballs. Don't be shy with the powdered sugar; a thick coating is essential for pronounced, beautiful cracks. Place the coated balls onto a baking sheet lined with parchment paper, spacing them about 2 inches apart.
Step 4: Baking to Perfection: Temperature and Timing
Oven Temperature: Finding the Sweet Spot
Baking temperature is crucial for achieving the desired texture and facilitating the cracking process. A standard temperature of 350°F (175°C) is typically recommended for perfect chocolate crinkle cookies. Ensure your oven is fully preheated using an oven thermometer, as inaccurate oven temperatures are a common cause of baking issues.
Baking at this moderate temperature allows the cookies to spread gradually and the leavening agents to work effectively, promoting the necessary expansion that causes the powdered sugar coating to crack. Too high a temperature can cause them to spread too quickly and burn the sugar coating before the inside is cooked.
Baking Time: Achieving a Soft, Chewy Center
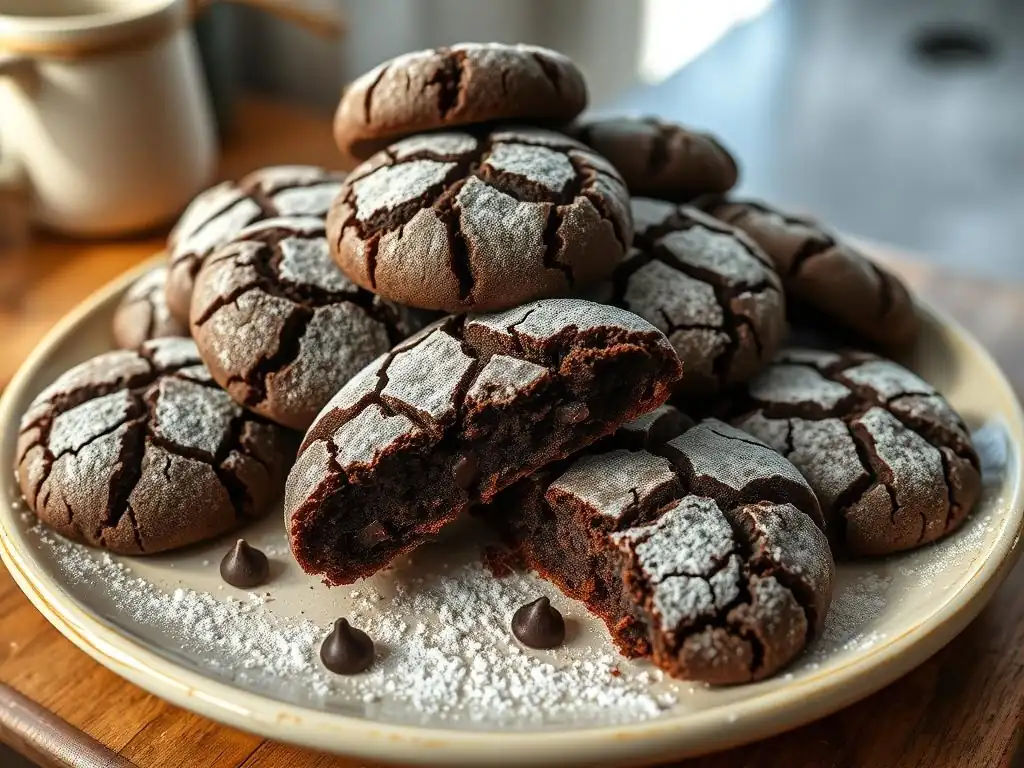
Bake the cookies for approximately 8-12 minutes. The exact time will depend on your oven and the size of your cookies. You'll know they are done when the edges are set but the centers still look slightly soft and puffy. The powdered sugar coating should be beautifully cracked, revealing the dark chocolate cookie beneath.
Do not wait for the cracks to look perfectly defined or for the cookie tops to look completely set in the oven. Perfect chocolate crinkle cookies are meant to be soft and fudgy inside. They will continue to set up slightly as they cool on the baking sheet for a few minutes before being transferred to a wire rack to cool completely. Underbaking slightly contributes to that wonderfully chewy texture.
Dough Too Wet: Adjusting the Liquid Ratio
One common reason cookies don't crack properly is that the dough is too wet. Excess liquid prevents the dough from holding its shape well in the oven, causing it to spread out rather than puffing up and cracking. This can happen if ingredients weren't measured precisely, especially wet ones like oil or eggs.
If your dough seems excessively sticky even after chilling, you might need to carefully incorporate a tablespoon or two more of flour or cocoa powder to firm it up before rolling and coating. For your next batch of perfect chocolate crinkle cookie recipe, ensure you use accurate measurements, preferably by weight, for all ingredients.
Oven Temperature Too Low: Ensuring Adequate Heat
If your oven temperature is too low, the cookies will spread slowly without developing enough internal steam and expansion to break through the powdered sugar coating. The sugar might also melt into the cookie surface rather than creating a distinct crackle.
Always use an oven thermometer to verify your oven's temperature. If it consistently bakes cooler than the set temperature, adjust accordingly or consider having it calibrated. Baking at the correct temperature, around 350°F (175°C), is vital for activating the leavening and ensuring proper structure development and cracking.
Insufficient Chilling Time: Patience is Key
As mentioned earlier, chilling is paramount. Dough that hasn't been chilled for long enough (less than 2-4 hours) will be too soft when placed in the hot oven. It will spread too quickly, and the powdered sugar will melt into the surface before the dough has a chance to expand and crack.
Ensure your dough is firm to the touch before you begin rolling and coating. If you're in a hurry, you can place the dough in the freezer for 30-45 minutes instead of the refrigerator, but be careful not to freeze it solid. Adequate chilling is a non-negotiable step for that signature perfect chocolate crinkle cookie recipe look.
Too Much Butter: Adjusting the Fat Content
Using too much fat, particularly butter or oil, can cause cookies to spread excessively thin. Fat melts rapidly in the oven, and if there's an imbalance with the dry ingredients (flour, cocoa), the structure won't hold up, leading to flat cookies.
If you suspect this is the issue, double-check your measurements for the fat component in your perfect chocolate crinkle cookie recipe. For future batches, try slightly reducing the amount of oil or melted butter by a tablespoon or two, or adding a touch more flour (about 1-2 tablespoons) to help absorb excess moisture from the fat.
Oven Temperature Too High: Reducing Spread
An oven that is too hot will cause the fat in the dough to melt too quickly before the flour and leavening agents have a chance to set the cookie's structure. This results in rapid, excessive spreading. The edges may also brown or burn before the center is cooked.
Again, verify your oven temperature with a thermometer. If it runs hot, reduce the set temperature by 15-25°F (10-15°C). Baking at a slightly lower, accurate temperature allows the cookies to set more gradually, controlling spread and promoting even baking.
Accurate Baking Time: Removing Cookies at the Right Moment
The most common culprit for dry chocolate crinkle cookies is simply baking them for too long. These cookies are designed to be soft and fudgy in the center. Even a minute or two extra in the oven can turn that delightful chewiness into a dry, crumbly texture.
Watch your cookies carefully towards the end of the suggested baking time (8-12 minutes). Look for the edges to appear set and the center to look slightly underbaked or still puffy. The cracks should be visible, but the surface shouldn't look completely dry or dull.
Remove the baking sheet from the oven and let the cookies cool on the sheet for 5-10 minutes. They will continue to cook slightly from the residual heat, firming up to the perfect consistency. Transferring them too early can cause them to break, while waiting too long makes them dry. This carryover cooking is essential for achieving the ideal soft center in your perfect chocolate crinkle cookie recipe.
Adding Extracts: Vanilla, Peppermint, and More
While vanilla extract is a standard addition that enhances the chocolate flavor, don't hesitate to experiment with other extracts to create unique flavor profiles for your perfect chocolate crinkle cookie recipe. Peppermint extract is a popular choice, adding a festive, refreshing twist that pairs wonderfully with chocolate.
Try adding 1/2 to 1 teaspoon of peppermint extract for a mint-chocolate experience. Almond extract can lend a subtle nutty note, while a touch of orange extract can brighten the rich chocolate flavor. Ensure you use high-quality extracts for the best results, adding them along with the other wet ingredients.
Chocolate Chips: Enhancing the Chocolate Flavor
For an extra boost of chocolatey goodness, stir in a handful of chocolate chips into the dough at the very end of mixing, just before chilling. Semi-sweet, milk chocolate, or even white chocolate chips can add pockets of melted chocolate throughout the cookie.
About 1/2 cup (around 85-100 grams) of chocolate chips is a good starting point. This addition makes the perfect chocolate crinkle cookie recipe even more decadent and adds another layer of texture to the soft, fudgy cookie base.
Nuts and Spices: Creating Unique Flavor Profiles
Introduce delightful crunch and warmth by adding finely chopped nuts or warm spices to your perfect chocolate crinkle cookie recipe dough. Walnuts, pecans, or hazelnuts (about 1/2 cup, or 50-60 grams) pair exceptionally well with chocolate. Toasting the nuts lightly before adding them can enhance their flavor.
Warm spices like cinnamon, a pinch of cayenne pepper (for a touch of heat), or even a hint of espresso powder (about 1-2 teaspoons) can deepen and complexify the chocolate flavor. Add spices to the dry ingredients and nuts towards the end of mixing.
Proper Storage Techniques: Maintaining Softness and Flavor
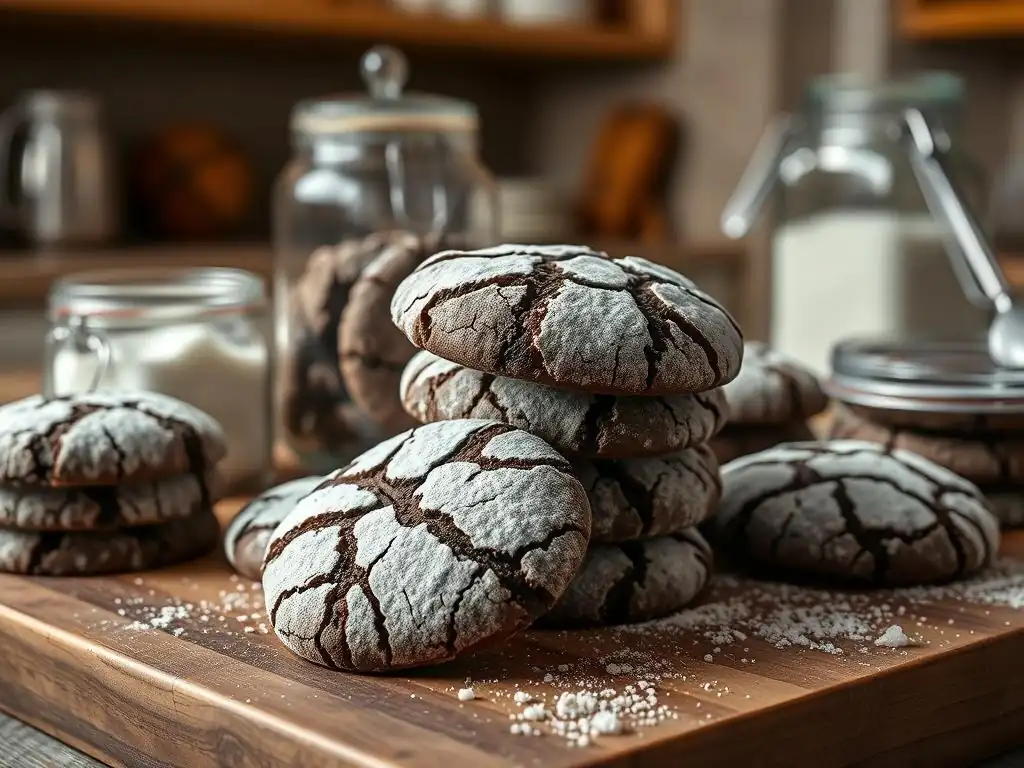
To keep your perfect chocolate crinkle cookies soft and fresh for as long as possible, proper storage is key. Once completely cooled, store them in an airtight container at room temperature. Layering them with parchment paper can prevent them from sticking together.
Stored correctly, these cookies will maintain their soft, fudgy texture and delicious flavor for 3-5 days. Avoid refrigerating them unless necessary, as the cold can dry them out and diminish their texture.
Freezing for Later: Extending the Shelf Life
Chocolate crinkle cookies freeze beautifully, allowing you to bake ahead or save some for later. You can freeze baked cookies or the unbaked dough balls.
- To freeze baked cookies: Once completely cooled, place them in a single layer on a baking sheet and freeze until solid (about 1-2 hours). Then transfer them to an airtight freezer-safe container or bag, layered with parchment paper. They will keep for up to 3 months. Thaw at room temperature.
- To freeze dough balls: Roll and coat the dough balls as usual, then place them on a baking sheet and freeze until solid. Transfer the frozen, coated balls to an airtight freezer-safe container or bag. They will keep for up to 3 months. Bake directly from frozen, adding a few minutes to the baking time (start checking around 10-14 minutes). This is a fantastic way to have fresh perfect chocolate crinkle cookies on demand!
You now have all the tools and knowledge to bake a truly perfect chocolate crinkle cookie recipe right in your own kitchen. From understanding the role of each ingredient to mastering the chilling and baking process, you're equipped to achieve those sought-after beautiful cracks and a wonderfully fudgy texture.
Remember the key steps: use quality chocolate and cocoa, chill the dough thoroughly, generously coat the balls in powdered sugar, and bake just until the edges are set. With a little practice and attention to detail, you'll be turning out batches of these delightful cookies that are sure to become a favorite. Happy baking, and enjoy sharing your perfect chocolate crinkle cookies!
Frequently Asked Questions
The key to perfect cracks is chilling the dough thoroughly. A minimum of two hours in the refrigerator, or even overnight, is crucial for proper crack formation during baking.
Using a high-quality Dutch-processed cocoa powder will give the cookies a richer, more intense chocolate flavor and a darker color. This contributes to a better looking and tasting cookie.
Can I use a stand mixer instead of mixing by hand?
Yes, a stand mixer can be used. Just be careful not to overmix the dough, which can result in tough cookies. Use the paddle attachment on low speed.
If the dough is too sticky, add a tablespoon or two of flour until it's easier to handle. Then, be sure to chill the dough longer before rolling into balls.
Store the cookies in an airtight container at room temperature. They will stay fresh for up to 3-4 days. You can also freeze the cookies for longer storage.
Final Reflection: The Enduring Magic of the Perfect Crinkle
The pursuit of the perfect chocolate crinkle cookie transcends mere baking; it's a quest for culinary comfort and the joy of sharing. These seemingly simple cookies, with their crackled exteriors and fudgy centers, represent a powerful connection to cherished memories and the simple pleasures of life. The precise balance of ingredients, the careful technique, and the anticipation of that first bite—all contribute to an experience far richer than just a sweet treat.
The enduring appeal of the chocolate crinkle cookie lies in its ability to evoke feelings of nostalgia and warmth. It's a recipe passed down through generations, adapted and perfected by countless home bakers. The satisfying crackle as you bite into one speaks to a deeper human desire for both sensory pleasure and the comforting familiarity of tradition. Baking is at once child's play and adult joy. And love, of course.
– Alma Flor Ada. This quote perfectly encapsulates the magic inherent in creating and sharing these delightful cookies.
Now, armed with this foolproof recipe, I invite you to embark on your own crinkle cookie journey. Don't be afraid to experiment, to adjust the recipe to your own taste, and most importantly, to share the results with those you love. The perfect chocolate crinkle cookie isn't just about achieving the ideal texture and taste; it's about the experience of creating something delicious and the joy of sharing it with others. Let the aroma fill your kitchen, and let the warmth of these cookies spread to your heart and those around you.
Thanks for joining us on this delicious journey to perfectly crinkled chocolate cookies! We hope you've gained the confidence to tackle this classic treat. Now it's time to put your new skills to the test!
- Bake a batch (or two!): Use our foolproof recipe to create a batch of these irresistible cookies. Share the joy with friends and family – they'll thank you!
- Experiment with flavors: Try adding nuts, spices, or different types of chocolate chips to personalize your recipe. What unique combination will you create?
- Share your creations: Snap a picture of your perfectly crinkled cookies and tag us on social media! Let's see your baking brilliance.
Ready to unleash your inner baker and create the most amazing chocolate crinkle cookies ever? What unique twist will you add to your next batch?