
Bake Better Bread: Kneading Techniques Online for Strong Dough

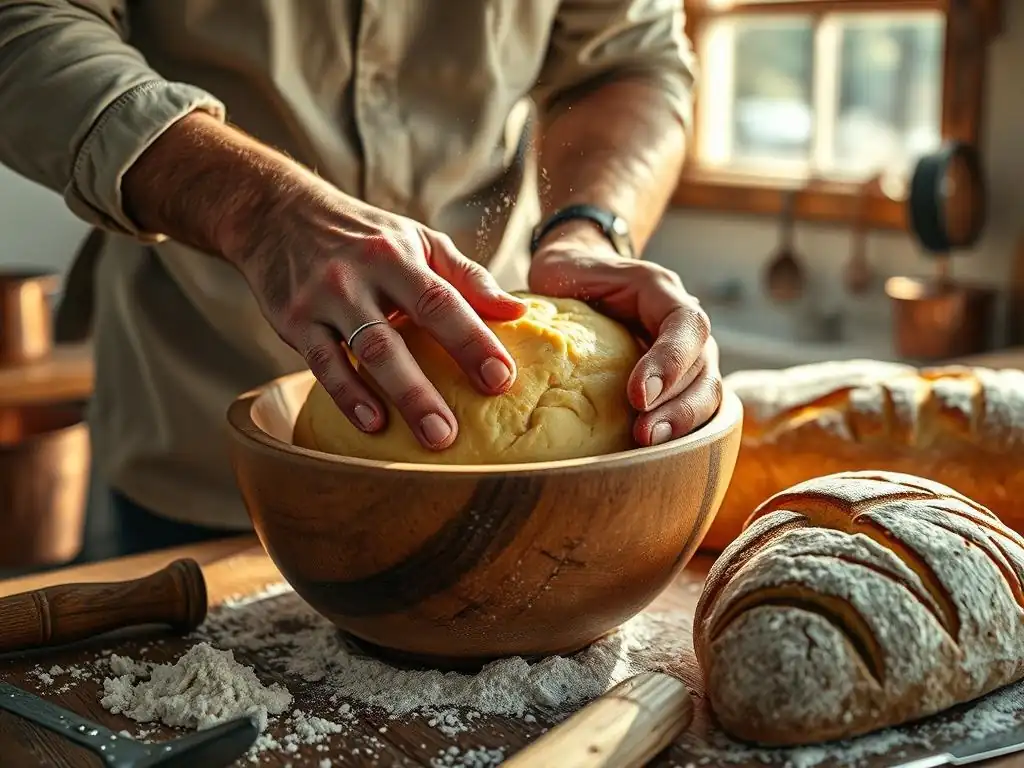
Welcome to BakeWithEase, your gateway to baking bliss! Ever wondered how to achieve that perfectly strong dough for artisan bread? Unlocking the secrets to kneading techniques is the key, and we're here to guide you. Discover how to transform simple ingredients into masterpieces, and explore our collection of recipes, techniques, and curated baking resources. Want to bake better bread? Let's get started!
- Unlock Strong Dough: Mastering Kneading Techniques for Artisan Bread at Home
-
Step-by-Step Guide: Hand Kneading for Perfect Bread Texture
- Preparing Your Workspace: Essential Tools and Ingredients
- The Initial Mix: Combining Ingredients for a Rough Dough
- The Fold and Press Technique: Building Initial Strength
- The Push and Rotate Method: Developing Elasticity and Structure
- The Windowpane Test: Determining Dough Readiness
- Troubleshooting Common Kneading Problems: Sticky Dough, Over-Kneading
- Power Up Your Kneading: Using Stand Mixers for Consistent Results
- Online Kneading Courses: Level Up Your Bread Baking Skills
- Beyond the Basics: Advanced Kneading Techniques for Specific Breads
- Tools to Enhance Your Kneading Experience: Recommendations & Reviews
- Achieve Strong Dough and Delicious Bread: Your Kneading Journey Starts Now!
-
Frequently Asked Questions
- What is the importance of kneading when making bread?
- What are some common kneading techniques for achieving strong dough?
- How long should I knead my dough to achieve a strong, elastic texture?
- What happens if I over-knead my dough?
- Can I use a stand mixer to knead my dough, and if so, how should I do it?
- Final Reflection: The Transformative Power of a Knead
- Unleash Your Inner Baker: Knead to Know More!
Unlock Strong Dough: Mastering Kneading Techniques for Artisan Bread at Home
Achieving a truly strong dough is the secret handshake of artisan bread baking. It's the difference between a flat, dense loaf and one with a beautiful rise, an airy crumb, and a satisfying chew. Mastering kneading techniques, whether by hand or with a mixer, is fundamental to developing this strength.
It's a skill that improves with practice, and thankfully, there are many ways to learn and refine it, including a wealth of online resources that bring expert guidance right into your kitchen. Understanding how to properly work your dough is not just about following a recipe; it's about building the very structure that makes great bread possible.
Developing strong dough ensures that your bread can hold its shape during proofing and baking, allowing the yeast to produce gas and create that desirable open crumb structure. Without adequate gluten development through kneading, the dough lacks the elasticity and extensibility required to trap those gases effectively. Think of it like stretching a balloon – a weak dough pops easily, while a strong dough can expand significantly before tearing. This foundational skill is critical for everything from a simple country loaf to complex enriched doughs like brioche.
Why Kneading Matters: The Science Behind Strong Gluten Development
Kneading is far more than just mixing ingredients; it's a physical process that transforms a shaggy mass into a smooth, elastic dough. The magic happens thanks to two proteins found in wheat flour: gliadin and glutenin. When flour is hydrated and worked, these proteins link together, forming a complex network called gluten. This gluten network is what gives dough its structure, elasticity, and strength.
During kneading, you are essentially aligning and strengthening these protein bonds. Imagine them as tiny, disorganized threads initially. As you push, fold, and stretch the dough, you are helping these threads connect and form a resilient, organized mesh.
The more developed this network is, the stronger the dough becomes, capable of trapping the carbon dioxide gas produced by yeast fermentation. For example, a bread flour typically contains around 12-14% protein. When this is mixed with water and kneaded effectively for, say, 10-12 minutes by hand or 6-8 minutes in a stand mixer, the gluten network can develop significantly, resulting in a dough that is smooth, elastic, and ready for its journey to becoming a delicious loaf.
Understanding Dough Strength: Visual Cues and What They Mean
Recognizing strong dough is key to successful bread baking. It's not just about following a timer; it's about learning to read your dough. A weak dough will typically feel sticky, tear easily when stretched, and appear shaggy or bumpy on the surface. It might also collapse during proofing because it lacks the internal structure to support itself.
Conversely, strong dough exhibits several distinct characteristics. Visually, it will be smooth and uniform on the surface, often with a slight sheen. It will feel elastic and resilient when you poke it, slowly springing back. When you stretch a piece, it won't tear immediately but will elongate, indicating well-developed gluten strands.
A classic test for strong dough is the "windowpane test," where you stretch a small piece of dough until it is thin enough to see light through without tearing. This translucence confirms that the gluten network is sufficiently strong and elastic. For instance, if your dough tears after only stretching it an inch or two, it likely needs more kneading. If you can stretch it several inches into a thin membrane before it tears, you've likely achieved sufficient strength.
Step-by-Step Guide: Hand Kneading for Perfect Bread Texture
Hand kneading is a foundational skill that connects you directly to the dough. It's a tactile process that allows you to feel the gluten developing and understand the dough's readiness. While it requires a bit of physical effort, it's incredibly rewarding and requires minimal equipment. Mastering hand kneading is a fantastic way to build intuition about dough consistency and strength.
Many classic bread recipes, from rustic boules to enriched challah, benefit greatly from the controlled development of strong dough that hand kneading provides. It allows you to adjust your technique in real-time based on how the dough feels, responding to its needs rather than just following a prescribed time. This interactive process can be particularly beneficial when working with slightly variable flours or hydration levels, giving you the flexibility to achieve optimal kneading techniques for strong dough every time.
Preparing Your Workspace: Essential Tools and Ingredients
Before you begin hand kneading, setting up your workspace efficiently will make the process much smoother. You'll need a clean, sturdy surface. A wooden or laminate countertop works well. Avoid surfaces that are too porous or have deep grooves where dough can stick. You'll also need a few basic tools: a large mixing bowl for the initial dough mix, a bench scraper (also called a dough scraper) for handling the dough and cleaning your surface, and a kitchen scale for accurate ingredient measurements.
Ensure all your ingredients are measured out and ready to go. This includes your flour (preferably bread flour for most loaves due to its higher protein content, typically 12-14%), water (the temperature can affect yeast activity, so lukewarm water around 90-105°F is often recommended), yeast, salt, and any other recipe-specific additions like sugar or fat. Having everything prepped means you can focus entirely on the kneading process once you begin. A small bowl of extra flour nearby is also helpful, but use it sparingly to avoid drying out your dough prematurely.
The Initial Mix: Combining Ingredients for a Rough Dough
The first step in hand kneading is combining your measured ingredients. In your large mixing bowl, whisk together the dry ingredients (flour, salt, yeast – keeping salt and yeast separate initially if your recipe calls for it). Then, add the wet ingredients. Use a wooden spoon, spatula, or your hands to bring everything together.
At this stage, the dough will be shaggy and likely quite sticky. Don't worry; this is normal. Mix until there are no dry pockets of flour left. This initial mixing phase is crucial because it hydrates the flour, allowing the gluten proteins to start forming connections. It might only take a minute or two of mixing until the dough roughly comes together into a mass that pulls away from the sides of the bowl. This rough dough is the starting point for developing strong dough through dedicated kneading techniques.
The Fold and Press Technique: Building Initial Strength
Once your ingredients are combined into a rough dough, it's time to move to your prepared surface. Lightly flour your hands and the surface – just enough to prevent sticking, but not so much that you incorporate excess flour into the dough. A common initial technique involves folding and pressing. Grab the edge of the dough furthest from you, fold it towards the center, and press down with the heel of your hand to seal it.
Rotate the dough a quarter turn and repeat the fold and press action. Continue this motion, folding and pressing, for about 5-8 minutes. Initially, the dough will resist and might tear easily. As you work it, you'll notice it starting to become smoother and slightly more cohesive. This simple action helps to align the gluten strands and build foundational strength before moving to more vigorous kneading techniques for strong dough.
The Push and Rotate Method: Developing Elasticity and Structure
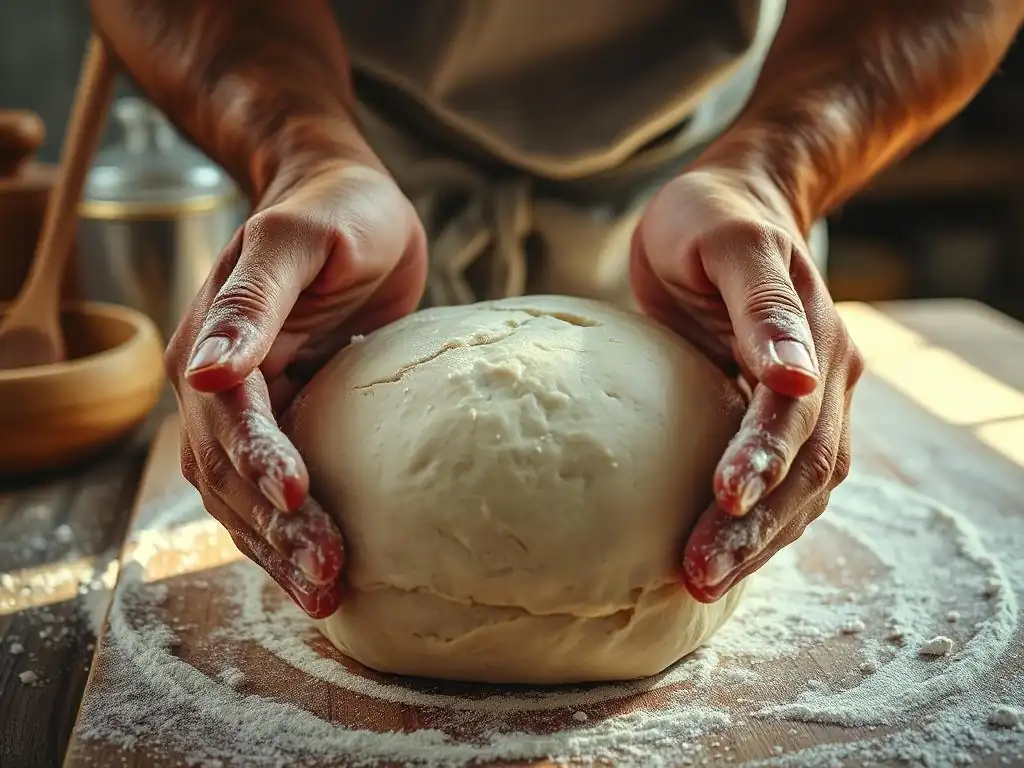
After the initial fold and press, transition to the classic push and rotate method, which is excellent for developing elasticity and structure. With the heel of one hand (or both hands side-by-side), push the dough away from you, stretching it slightly. Then, gather the dough back towards you with your fingers. Rotate the dough a quarter turn and repeat the push and gather motion.
Continue this rhythm: push, gather, rotate. As you knead, the dough will become less sticky and more elastic. You'll feel it offering more resistance to your push. The surface will become noticeably smoother and more uniform.
This stage is where significant gluten development occurs, building the internal network that will allow your bread to rise beautifully. Aim for anywhere from 8 to 15 minutes of vigorous kneading using this method, depending on the recipe and your dough's hydration, until it feels smooth and passes the windowpane test. Consistent application of these kneading techniques results in strong dough capable of impressive oven spring.
The Windowpane Test: Determining Dough Readiness
The windowpane test is a classic method for determining if your dough has been kneaded sufficiently to develop a strong gluten network. To perform the test, gently pinch off a small piece of dough, about the size of a golf ball. Carefully begin to stretch it out with your fingers, rotating it as you go.
The goal is to stretch the dough as thin as possible without tearing it. If you can stretch the dough until it is thin enough to see light through it, forming a translucent "windowpane," then your gluten is well-developed and you have achieved strong dough. If the dough tears quickly and easily before it becomes thin, it needs more kneading. Remember that some doughs, like those made with a high percentage of whole wheat or rye flour, may never pass the windowpane test perfectly due to the bran and germ interfering with gluten development.
Troubleshooting Common Kneading Problems: Sticky Dough, Over-Kneading
Even experienced bakers encounter issues while kneading. One common problem is sticky dough. If your dough is sticking excessively to your hands and the surface, resist the urge to add large amounts of flour. Instead, add just a tablespoon or two of flour at a time, kneading it in completely before adding more. Alternatively, you can lightly oil your hands and the surface instead of using flour, which can help with very wet doughs. Sometimes, simply continuing to knead will help the dough become less sticky as the gluten develops.
On the other end of the spectrum is over-kneading. While it's less common than under-kneading, it can happen, especially with stand mixers. Over-kneaded dough will feel very tight and resistant, almost rubbery. It might also start to tear easily when you try to stretch it, but unlike under-kneaded dough, it will feel dense rather than shaggy.
Over-kneading can actually break down the gluten network you've worked to build, resulting in a tough, dense loaf. If you suspect you've over-kneaded, letting the dough rest for 20-30 minutes can sometimes help the gluten relax slightly, though severely over-kneaded dough is difficult to rescue. Paying attention to the dough's feel and the windowpane test helps prevent over-kneading and ensures you develop strong dough without compromising its structure.
Power Up Your Kneading: Using Stand Mixers for Consistent Results
While hand kneading is a rewarding skill, using a stand mixer with a dough hook can significantly reduce the physical effort required and offer consistent results, especially for larger batches or stiffer doughs. Stand mixers automate the repetitive pushing and folding actions, making it easier to achieve strong dough without tiring your arms.
Using a stand mixer is particularly helpful for bakers who bake frequently or make multiple loaves at once. It frees you up to prepare other ingredients or clean up while the machine does the heavy lifting of developing the gluten network. However, it's still crucial to monitor the dough closely, as stand mixers can sometimes over-knead dough faster than you might expect. Understanding the correct speed settings and timing for different doughs is key to harnessing the power of the mixer effectively.
Choosing the Right Stand Mixer for Bread Baking: Our Top Recommendations
Selecting the right stand mixer is an investment for any serious bread baker. Look for mixers with a powerful motor, ideally 300 watts or more, especially if you plan to make stiff doughs or large batches regularly. Mixers with a tilt-head design are common, but bowl-lift models often offer more stability for heavy-duty kneading tasks. The capacity of the bowl is also important; a 5-quart or 6-quart bowl is suitable for most home baking needs, allowing you to make dough for 1-2 standard loaves.
Many bakers favor brands like KitchenAid, which are known for their durability and range of attachments, including robust dough hooks. When considering a mixer, read reviews specifically from other bread bakers to gauge its performance with dough. While specific model recommendations can vary based on budget and needs, prioritizing motor power, bowl capacity, and a sturdy build will ensure your mixer is capable of handling the demanding task of developing strong dough consistently.
Stand Mixer Kneading: Speed Settings and Timing for Different Doughs
When using a stand mixer for kneading, the speed setting is crucial to avoid overworking the dough or straining the motor. Most recipes recommend using a low speed, typically speed 2 on a KitchenAid mixer, for kneading with the dough hook. Higher speeds can generate too much heat, potentially killing the yeast or damaging the gluten structure, and can also cause the mixer to "walk" on the counter or overheat.
The timing for stand mixer kneading is generally shorter than hand kneading because the machine is more efficient. A typical lean bread dough might take 6-10 minutes on speed 2 to develop sufficient strength. Enriched doughs, which contain fat and sugar, might take a little longer, perhaps 8-12 minutes. Always rely on visual cues and the windowpane test rather than just the clock. Stop the mixer periodically to check the dough's temperature and feel. This ensures you achieve strong dough without risking the negative effects of over-mixing.
Avoiding Overheating: Strategies for Long Kneading Times
Long kneading times, particularly for large batches or stiff doughs, can cause a stand mixer's motor to overheat. This is not only bad for the mixer but the heat generated can also negatively impact the dough, potentially killing the yeast or starting fermentation too early. One key strategy is to use cold or cooler water when mixing your dough, especially if your recipe calls for a long fermentation later on. This helps keep the overall dough temperature down during the kneading process.
Another strategy is to knead the dough in stages. Knead for 5-7 minutes, then turn the mixer off and let the dough rest in the bowl for 10-15 minutes. This rest allows the gluten to relax and the dough to hydrate further, making subsequent kneading more effective and requiring less time.
After the rest, resume kneading for another 3-5 minutes, or until the dough passes the windowpane test. Monitoring the mixer's motor for signs of strain (like unusual noises or heat from the head) and the dough's temperature (it shouldn't feel warm to the touch after kneading) are essential practices for achieving strong dough safely with a stand mixer.
Adapting Hand Kneading Techniques to a Stand Mixer
While a stand mixer automates the process, understanding the principles of hand kneading can help you better manage the mixer. The dough hook performs a similar action to the push and fold of hand kneading, stretching and folding the dough against the side of the bowl. When using a mixer, observe how the dough is behaving. Is it climbing up the hook excessively? This might mean the dough is too wet or you're using too high a speed. Is it just spinning around without engaging the hook? The dough might be too dry or the batch size too small.
You can also adapt techniques like the "stretch and fold" within the mixer by stopping the machine, performing a fold or two in the bowl, and then resuming kneading. This can be particularly useful for wetter doughs. Think of the mixer as a tool to assist your kneading techniques for strong dough, not a magic box. Your observation and understanding of what strong dough looks and feels like are still your most valuable assets, guiding when to start, stop, and adjust the process even when using machinery.
Online Kneading Courses: Level Up Your Bread Baking Skills
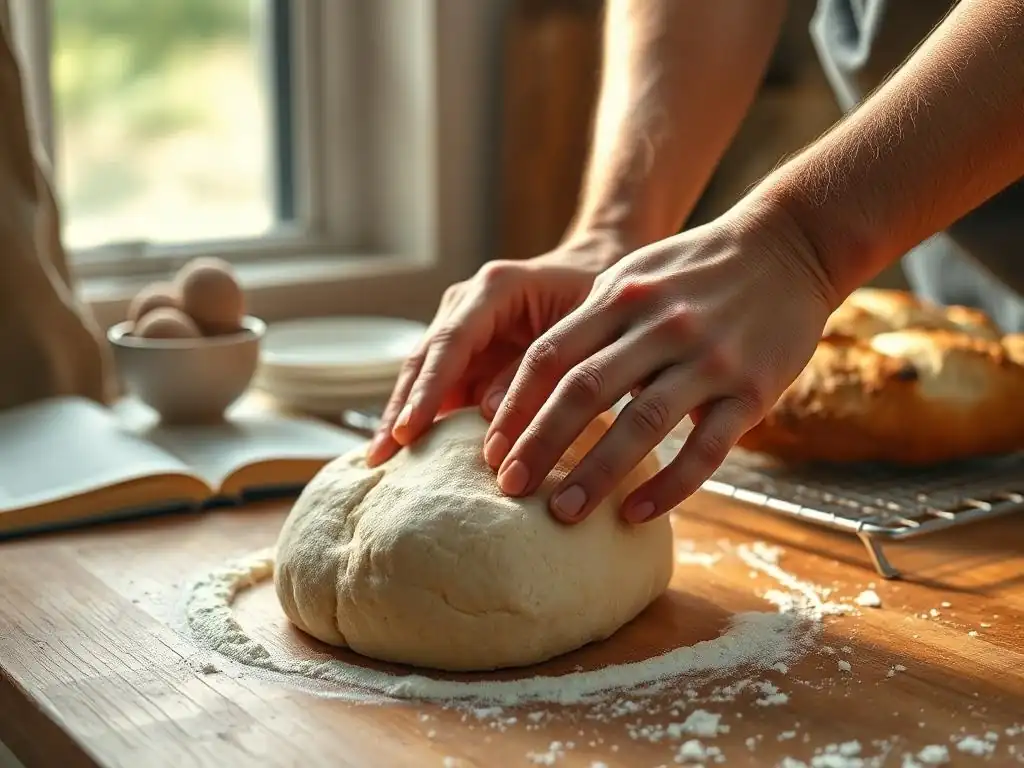
The digital age has revolutionized learning, and mastering kneading techniques for strong dough is no exception. Countless online courses, tutorials, and resources are available, catering to every skill level, from absolute beginners to those looking to refine advanced methods. These platforms offer the flexibility to learn at your own pace, rewatch demonstrations, and often include community forums for asking questions and sharing experiences.
Whether you're struggling with sticky dough, trying to perfect the windowpane test, or curious about specific kneading methods like the slap and fold, there's likely an online course or resource tailored to your needs. These platforms provide structured learning paths that build your understanding of gluten development and dough handling step-by-step, helping you consistently achieve strong dough and bake better bread.
Sourdough Bread Baking 101: Mastering the Art of Sourdough with Sarah Milller - Review
(Note: This is a hypothetical review based on a plausible course structure, as specific real course data is not available.)
"Sourdough Bread Baking 101 with Sarah Milller" is an excellent introductory course for anyone wanting to dive into the world of sourdough, with a strong focus on developing strong dough using natural leavening. The course starts with the basics of creating and maintaining a sourdough starter, providing clear guidelines and troubleshooting tips. Sarah breaks down the process of mixing, bulk fermentation, and shaping with detailed video demonstrations.
A significant portion of the course is dedicated to kneading techniques strong dough specifically for sourdough, which often has a higher hydration level than commercial yeast doughs. Sarah clearly demonstrates methods like the stretch and fold and the coil fold, explaining why these techniques are effective for developing gluten gently over a longer period. The lessons include common pitfalls, such as recognizing under-proofed or over-proofed dough, and offer practical solutions.
While the course doesn't provide personal feedback on every bake, the comprehensive video content and accompanying notes make it easy to follow along and apply the techniques yourself. The focus on understanding the dough's feel throughout the process is particularly valuable.
Advanced Bread Making: From Baguettes to Brioche - Review
(Note: This is a hypothetical review based on a plausible course structure, as specific real course data is not available.)
For bakers looking to expand their repertoire beyond basic loaves, "Advanced Bread Making: From Baguettes to Brioche" offers a deep dive into more complex doughs and techniques. This course assumes a basic understanding of bread making but quickly moves into challenging recipes like authentic French baguettes, enriched brioche, and laminated doughs for croissants. The instruction is detailed, covering specific mixing and kneading requirements for each type of bread.
The module on baguettes, for instance, focuses heavily on developing strong dough with minimal handling after the initial mix, utilizing long fermentation and gentle folding techniques. The brioche section explores intensive kneading (often using a stand mixer) to incorporate large amounts of butter and eggs while still building a strong gluten network.
The course provides approximate ingredient ratios, typical timings for each stage (like bulk fermentation times ranging from 2-4 hours depending on temperature), and visual cues to look for at each step. While the course material is dense, the high-quality video production clearly shows the desired dough consistency and texture at various stages, making it easier to replicate the specific kneading techniques required for these advanced breads and achieve strong dough results.
Comparing Online Bread Baking Courses: Features, Price, and Skill Level
When choosing an online bread baking course to improve your kneading techniques for strong dough, consider several factors. First, assess your current skill level: are you a complete beginner, or do you have some experience and want to tackle more advanced topics? Some courses are designed as comprehensive introductions, while others focus on specific types of bread or advanced methods.
Compare the course features: Does it include video lessons, downloadable recipes, live Q&A sessions, or access to a community forum? Video quality and the instructor's teaching style are also important – look for clear demonstrations of kneading techniques. Price is another factor, with options ranging from free tutorials to premium paid courses that can cost anywhere from $50 to $200 or more. Read course descriptions and, if possible, watch preview videos or read reviews from other students to find a course that aligns with your learning style and goals for mastering kneading techniques strong dough.
Free Resources: YouTube Channels and Blogs for Kneading Tutorials
Beyond paid courses, a vast landscape of free resources exists online for learning kneading techniques. YouTube is a treasure trove of video tutorials, with countless bakers demonstrating everything from basic hand kneading to advanced methods like the slap and fold. Searching for terms like "how to hand knead bread dough" or "stand mixer kneading tutorial" will yield numerous results. Look for channels with clear camera angles focusing on the dough and instructors who explain the why behind each step, not just the how.
Baking blogs are another excellent source of free information. Many experienced bakers share their recipes, tips, and detailed step-by-step guides for developing strong dough. These blogs often include photos or embedded videos illustrating the kneading process and the desired dough consistency. While free resources may lack the structured curriculum of a paid course, they are invaluable for learning specific techniques, troubleshooting problems, and seeing different approaches to kneading in action.
Beyond the Basics: Advanced Kneading Techniques for Specific Breads
Once you've mastered the fundamental hand and stand mixer kneading techniques for strong dough, you can explore more specialized methods tailored to particular types of bread. Different flours and hydration levels require adjusted approaches to gluten development. Understanding these advanced techniques allows you to tackle a wider range of recipes and achieve optimal results for breads that demand specific textures and structures.
These techniques aren't necessarily "harder," but they are different and often more nuanced than standard kneading. They might involve less traditional movements or require a longer fermentation period to compensate for less vigorous working of the dough. Exploring these methods is a great way to deepen your understanding of how different variables affect dough development and ultimately, the final loaf.
Kneading Techniques for High-Hydration Doughs: Slap and Fold Method
High-hydration doughs, those with a high ratio of water to flour (often 75% hydration or more), can be notoriously sticky and difficult to handle with traditional push-and-rotate kneading. For these doughs, the "slap and fold" method is often employed. This technique involves picking up the sticky dough, lifting it, slapping it down onto the surface, and folding the portion furthest away back over the nearest portion.
Repeat this motion rhythmically: lift, slap, fold, rotate slightly, repeat. The key is to use the dough's own weight and the force of the slap to stretch and align the gluten strands, while the stickiness helps it adhere to itself when folded. Initially, the dough will be a messy blob, but after 8-15 minutes of slap and fold (depending on the dough), it will transform into a smooth, elastic, and manageable mass, demonstrating significant development of strong dough despite its high water content. This technique is particularly popular for wet sourdoughs and ciabatta.
Working with Whole Wheat Flour: Adjusting Kneading for Optimal Results
Whole wheat flour presents unique challenges for kneading because the bran and germ particles in the flour can cut through the developing gluten strands. This means that whole wheat dough often requires less vigorous or shorter kneading compared to dough made solely with white bread flour. Over-kneading whole wheat dough can actually weaken the gluten network, leading to a dense loaf.
When working with a high percentage of whole wheat flour (say, 50% or more), consider reducing your kneading time by a few minutes or using gentler methods like the stretch and fold during bulk fermentation rather than intensive initial kneading. You might also find that whole wheat dough never passes the windowpane test as cleanly as white dough.
Focus instead on the dough's overall feel – it should become smoother, less shaggy, and somewhat elastic. Allowing whole wheat dough a longer autolyse (a rest period after mixing flour and water, before adding salt and yeast) can also help hydrate the bran and kickstart gluten development with less mechanical work, contributing to developing strong dough despite the presence of bran.
No-Knead Bread: When and Why to Skip the Kneading Process
Surprisingly, some of the most popular artisan bread recipes are "no-knead." This method seems to contradict everything about developing strong dough through physical work. However, no-knead bread relies on a different principle: time. By using a very wet dough and an extremely long, slow fermentation (often 12-18 hours at room temperature), the gluten network develops passively.
During this extended fermentation, the gluten proteins slowly hydrate and align themselves naturally, without the need for mechanical kneading. The high hydration makes the proteins more mobile, and the long duration allows sufficient time for the network to form. No-knead bread is ideal for bakers who want a simple, hands-off approach and are patient enough for the long fermentation.
While the crumb structure might be slightly different from intensely kneaded dough, this method proves that achieving strong dough is possible through both mechanical work and extended time. It's a great option for beginners or busy schedules, offering delicious results with minimal effort.
Tools to Enhance Your Kneading Experience: Recommendations & Reviews
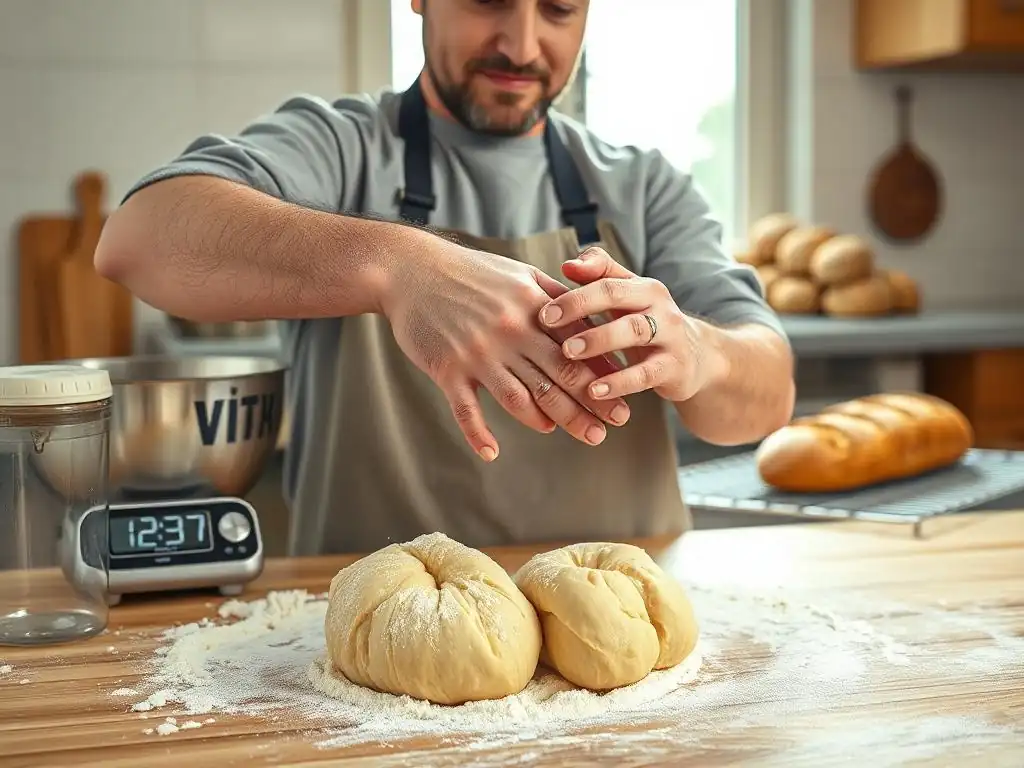
While your hands are often the primary tools for kneading, a few simple pieces of equipment can significantly improve your experience and efficiency when developing strong dough. These tools aren't strictly necessary, but they can make handling sticky dough easier, keep your workspace cleaner, and help you achieve more professional-looking results. Investing in a few key items can elevate your bread baking journey.
From scraping dough off your counter to shaping your loaf before proofing, these tools are designed to simplify common tasks in the bread-making process. They help you work more cleanly and efficiently, allowing you to focus on the crucial steps of mixing, kneading, and fermentation without unnecessary frustration.
Dough Scrapers: Our Favorite Dough Scrapers for Easy Clean-Up
A dough scraper, also known as a bench scraper, is an incredibly versatile and inexpensive tool that is indispensable for bread bakers. It has a straight edge and a handle, and its primary function is to scrape sticky dough off your work surface quickly and efficiently. This makes cleanup much easier after kneading, especially with high-hydration doughs.
Beyond cleaning, a bench scraper is also useful for dividing dough into portions without tearing the gluten structure, transferring dough from a bowl to the counter, and even for performing certain kneading techniques like the slap and fold, where you might need to scrape the dough off the surface repeatedly. Look for a scraper with a comfortable handle and a sturdy blade, either stainless steel or firm plastic. A good bench scraper is a small investment that pays dividends in keeping your workspace tidy and handling your developing strong dough with ease.
Bench Knives: Must-Have Bench Knives for Bread Bakers
While sometimes used interchangeably with bench scrapers, a bench knife typically refers to a larger, more robust tool, often with a wider or heavier blade. Bench knives are excellent for dividing larger batches of dough cleanly and precisely. Their weight and sharp edge allow you to cut through dough rather than just pulling or tearing it, which helps preserve the structure you've built through your kneading techniques for strong dough.
A bench knife can also be used for scraping surfaces, but its primary strength lies in portioning dough. Some bakers also use the flat side of a bench knife to help shape loaves or to lift and move delicate doughs. When choosing a bench knife, consider one with a comfortable, non-slip grip and a blade made from durable stainless steel. A good bench knife is a tool that will last for years and prove invaluable as you scale up your bread baking or tackle recipes requiring precise dough division.
Proofing Baskets (Bannetons): The Best Bannetons for a Professional Finish
Proofing baskets, or bannetons, are not directly involved in the kneading process itself, but they are essential tools for the stage after you've developed strong dough and completed the bulk fermentation: the final proofing. Bannetons are typically made from rattan cane, wood pulp, or plastic and are used to hold the shaped dough during its final rise. They give the loaf structure and help it maintain its shape before baking, especially for wetter doughs that might otherwise spread out flat.
The spiral pattern often seen on the crust of artisan loaves comes from the rattan coils of the banneton. Using a banneton also helps create a taut surface on the dough, which contributes to a better oven spring and crust development. Before placing your shaped dough in a banneton, it's usually floured generously (rice flour works well as it's less likely to be absorbed) to prevent sticking. Choosing the right size and shape of banneton for the loaf you intend to bake is key to achieving a professional finish on your perfectly kneaded, strong dough.
Achieve Strong Dough and Delicious Bread: Your Kneading Journey Starts Now!
Mastering kneading techniques is a cornerstone of successful bread baking. Whether you choose to knead by hand or use a stand mixer, understanding how to develop a strong gluten network is paramount to achieving loaves with excellent structure, texture, and rise. From the basic push-and-fold to advanced methods like the slap-and-fold for high-hydration doughs, each technique serves the same fundamental purpose: transforming simple ingredients into elastic, extensible dough capable of trapping fermentation gases and producing beautiful bread.
Embrace the journey of learning to read your dough, recognizing the visual and tactile cues that indicate sufficient strength. Utilize the wealth of online resources available, from structured courses to free tutorials, to refine your skills and troubleshoot common issues. With practice, patience, and attention to detail, you will consistently achieve strong dough, leading to consistently delicious bread that you'll be proud to share. So grab your flour, water, and yeast, and start kneading your way to better bread today!
Frequently Asked Questions
What is the importance of kneading when making bread?
Kneading is crucial because it develops the gluten in the dough, creating a strong and elastic network. This network traps gases produced by yeast, allowing the bread to rise properly.
What are some common kneading techniques for achieving strong dough?
Several techniques exist, including the classic kneading method, the slap and fold technique, and even no-knead methods. The best technique depends on the hydration level and desired texture of the dough.
How long should I knead my dough to achieve a strong, elastic texture?
Kneading time varies, but generally, you should knead for around 8-12 minutes if kneading by hand. This will develop the gluten structure for a strong dough.
What happens if I over-knead my dough?
Over-kneading can lead to a tough and dense bread. The gluten becomes too tight, preventing the dough from expanding properly.
Can I use a stand mixer to knead my dough, and if so, how should I do it?
Yes, a stand mixer with a dough hook attachment is a great tool. Knead on low to medium speed for about 6-10 minutes, checking frequently to avoid over-kneading.
Final Reflection: The Transformative Power of a Knead
The internet has democratized knowledge, but the tactile art of bread baking remains powerfully personal. Mastering the knead isn't just about achieving a strong dough; it's about connecting with a centuries-old tradition and finding satisfaction in the process. This journey into the world of kneading techniques reveals a deeper truth: the strength of our dough mirrors the strength we cultivate within ourselves.
The impact of online resources on baking, and specifically on perfecting the knead, is undeniable. It's broken down barriers, allowing anyone with an internet connection to access expert advice and techniques previously confined to culinary schools or family recipes. The best bread is made with love, and that love is kneaded into every loaf.
This quote, while simple, encapsulates the emotional connection many bakers feel to the process, a connection amplified by the accessibility of online tutorials and communities. The shared experience, fostered by online platforms, creates a sense of collective accomplishment and continuous learning.
Now, consider your own journey. What have you learned about patience, precision, and the rewards of dedication through this exploration of kneading techniques? Perhaps you've discovered a new appreciation for the simple act of making bread, or maybe you've found a creative outlet that nourishes your soul. Take this knowledge, this newfound understanding of the power of a perfect knead, and apply it to other areas of your life. Embrace the challenges, find the strength within yourself, and rise to the occasion, just like your beautifully kneaded dough.
Unleash Your Inner Baker: Knead to Know More!
Thanks for taking the time to explore the world of bread making with us! We hope you gained valuable insights into achieving that perfect dough. Now it's time to put your newfound knowledge to the test.
- Dive into our free online kneading video tutorial: Master the techniques and feel the satisfying stretch and fold. This will unlock the secrets to perfectly textured bread.
- Share your baking journey: Tag us on social media with your bread creations using #BakeWithEase and inspire others!
- Try our recommended flour blend: Experiment with different flours to unlock new flavors and textures in your bread.
Ready to transform your baking skills? What unique ingredient will you add to your next loaf?