
Tools for Taming Sticky Sourdough: Scrapers and More

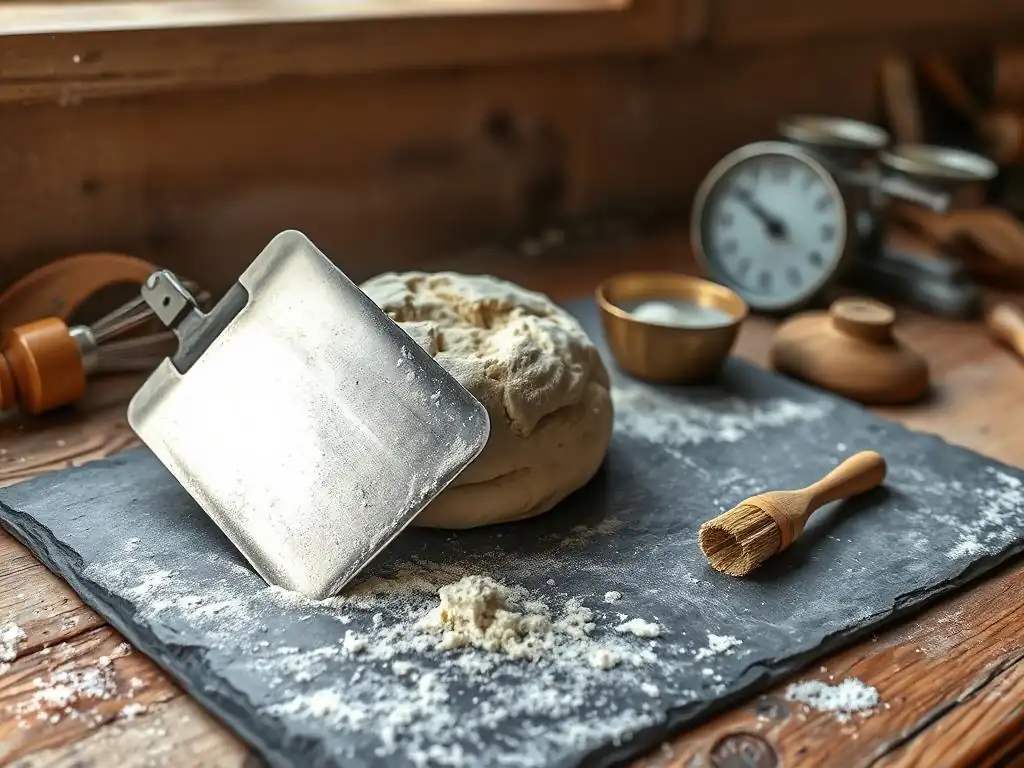
Welcome to BakeWithEase, where baking becomes a joy, not a chore! Ever struggled with that stubbornly sticky sourdough? This guide dives deep into essential tools, starting with sourdough scraper cleaning techniques and expanding to other must-have equipment. Discover how to tame even the stickiest dough and maintain your tools for years to come. Ready to make cleanup a breeze and elevate your sourdough game? Let's get baking!
- Tools for Taming Sticky Sourdough: Scrapers and More - BakeWithEase
- Understanding the Sticky Sourdough Challenge
- The Essential Sourdough Scraper: Your Dough's Best Friend
- Mastering Sourdough Scraper Cleaning Techniques: Keeping Your Tools Pristine
- Beyond the Scraper: Other Essential Tools for Handling Sticky Sourdough
- Pro Tips for Working with Sticky Sourdough
- Troubleshooting: Common Sourdough Stickiness Issues and Solutions
- Conclusion: Embrace the Stickiness with the Right Tools and Techniques
- Frequently Asked Questions
- Final Reflection: The Humble Scraper and the Ever-Evolving Dough
- Unleash Your Inner Sourdough Maestro!
Tools for Taming Sticky Sourdough: Scrapers and More - BakeWithEase
Understanding the Sticky Sourdough Challenge
Why is My Sourdough So Sticky? Factors Contributing to Dough Stickiness
Sticky sourdough dough is a common hurdle for many bakers, especially when working with high hydration recipes. Hydration refers to the ratio of water to flour in your dough. Sourdough often utilizes higher hydration levels (sometimes 75% water to 100% flour or even higher) compared to commercial yeast breads, which might be closer to 60-65%.
This higher water content makes the dough inherently wetter and, consequently, stickier. The gluten network, which provides structure, takes time to develop fully and absorb this moisture. In the early stages of mixing and bulk fermentation, before gluten is well-developed through folding or kneading, the dough will feel quite sticky and challenging to handle.
Another significant factor contributing to stickiness is the type of flour used. Different flours absorb water differently. A high-protein bread flour, for example, has a greater capacity to absorb water and develop a strong gluten structure, which can help manage stickiness compared to a lower-protein all-purpose flour.
The coarseness of the flour can also play a role; finely milled flours tend to hydrate faster but can sometimes result in a stickier dough if not handled correctly. Environmental factors, such as humidity in your kitchen, can also subtly affect how your dough feels and behaves, potentially increasing perceived stickiness. Understanding these variables is the first step to taming your dough.
The Importance of the Right Tools for Handling Hydrated Sourdough
Working with hydrated sourdough without the proper tools can be a frustrating experience. Attempting to handle a sticky, wet dough with just your hands can lead to more dough sticking to you than making it into a loaf. This not only wastes precious dough but also makes processes like stretching and folding, dividing, and shaping incredibly difficult and messy. The right tools act as extensions of your hands, providing non-stick surfaces and sharp edges that can cleanly cut and manipulate the dough without it adhering excessively.
Investing in a few key pieces of equipment can transform your sourdough baking journey from a sticky struggle into a manageable and even enjoyable process. Tools designed specifically for high-hydration dough minimize contact between your hands and the stickiest surfaces, allowing you to work more efficiently and maintain the dough's structure. They also help in portioning accurately and transferring delicate doughs without deflation. Having the right tools is fundamental to successfully handling and shaping those beautiful, open-crumb sourdough loaves.
The Essential Sourdough Scraper: Your Dough's Best Friend
What is a Sourdough Scraper and Why Do I Need One?
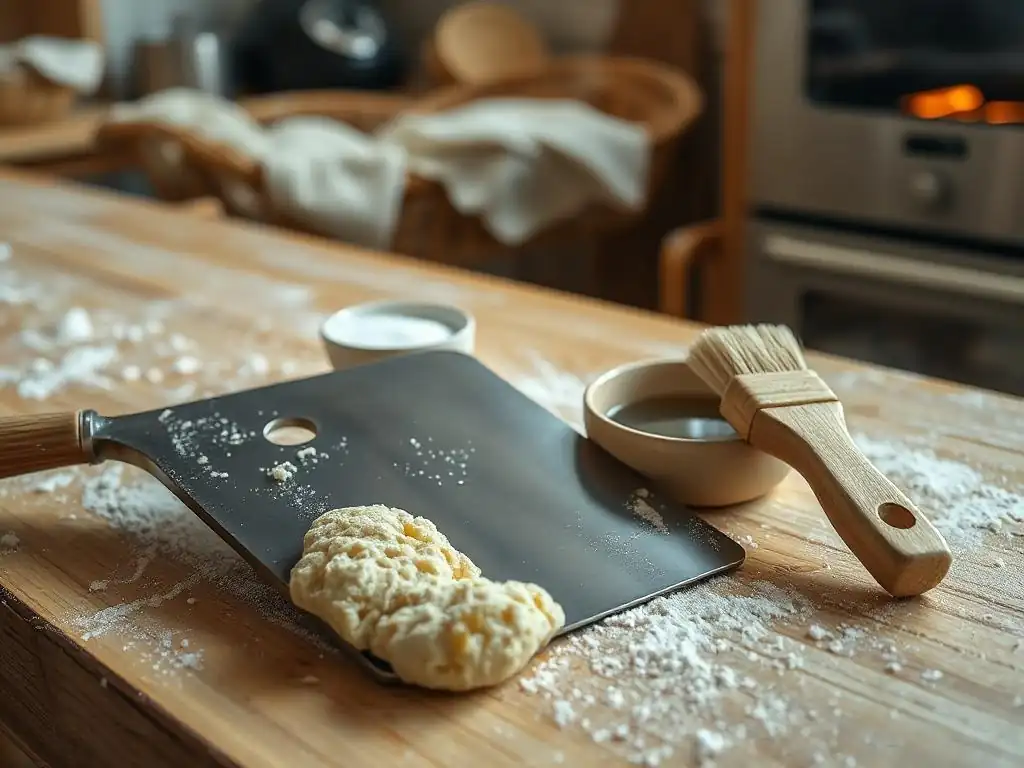
A sourdough scraper, often simply called a dough scraper or bench scraper, is a fundamental tool in any baker's arsenal, especially when dealing with sticky doughs like sourdough. At its core, it's a flat, rigid tool, typically made of stainless steel or sturdy plastic, with a straight edge. Its primary function is to gather, divide, and clean dough from work surfaces and bowls.
For sticky sourdough, it becomes indispensable because it allows you to manage the dough without it binding completely to your hands or the counter. You can use the straight edge to portion dough cleanly, scoop it up, or scrape dried bits off your work surface.
Beyond just scraping, this tool is vital for maintaining order and efficiency in your baking space. When you're doing stretch and folds or transferring dough, a scraper provides the leverage needed to release sticky sections from your counter or bowl. It's also perfect for dividing bulk fermented dough into smaller loaves or rolls, ensuring relatively equal portions. A good scraper is durable, easy to clean (we'll get to sourdough scraper cleaning techniques shortly! ), and provides a clean edge for working with dough that wants to stick to everything.
Bench Scraper vs. Bowl Scraper: Choosing the Right Scraper for Your Needs
When people talk about sourdough scrapers, they usually mean one of two types: the bench scraper or the bowl scraper. While both are designed to handle dough, their shapes and uses differ significantly, making both valuable for different tasks in sourdough baking.
Bench Scrapers: Perfect for Dividing and Shaping Dough
Bench scrapers are typically rectangular tools, often with a handle along one edge. They have a straight, rigid edge, usually made of stainless steel, though plastic versions exist. These are excellent for working on flat surfaces, like your counter or a large cutting board.
Use them to scrape up dough that's stuck to the bench, to divide a large mass of dough into smaller pieces with a clean cut, or to help lift and fold dough during shaping. The straight, firm edge is ideal for these tasks. A popular example is the OXO Good Grips Stainless Steel Multi-Purpose Scraper & Chopper, known for its comfortable handle and durable blade.
- Ideal for: Cutting dough into portions, scraping flat surfaces, lifting and manipulating dough during shaping.
- Material: Often stainless steel blade with a plastic or wood handle.
- Shape: Rectangular with a straight, firm edge.
Bowl Scrapers: Reaching Every Corner for Efficient Dough Removal
Bowl scrapers, on the other hand, are usually flexible, curved pieces of plastic or silicone. Their shape is designed to conform to the curves of a mixing bowl, allowing you to efficiently scrape every last bit of dough out. They are softer and more pliable than bench scrapers, making them less suitable for cutting dough but perfect for gathering sticky dough from the sides and bottom of your mixing bowl or transferring it gently. An Ateco Bowl Scraper, made of white flexible plastic, is a classic example, specifically designed to hug the contours of various bowl sizes.
- Ideal for: Scraping dough from bowls, gently folding ingredients, transferring dough.
- Material: Flexible plastic or silicone.
- Shape: Curved to fit bowls, often with a rounded edge.
Mastering Sourdough Scraper Cleaning Techniques: Keeping Your Tools Pristine
Effective sourdough scraper cleaning techniques are crucial not only for hygiene but also for maintaining your tools' performance. Dried sourdough can be incredibly tough to remove, and buildup can make your scraper less effective.
Immediate Cleaning: The Key to Preventing Stubborn Dough Build-Up
The single most effective sourdough scraper cleaning technique is immediate cleaning. As soon as you finish using your scraper, before the dough has a chance to dry and harden, scrape off as much excess dough as possible using another utensil or even the edge of your sink. Then, rinse the scraper under warm running water.
While the dough is still wet and pliable, it washes away easily. Letting dough sit on the scraper for even a short time, especially in a warm kitchen, allows it to dry out and adhere tenaciously to the surface, making later cleaning much more difficult. Making immediate rinsing a habit will save you significant scrubbing time in the long run.
Sourdough Scraper Cleaning Techniques: A Step-by-Step Guide
When immediate rinsing isn't quite enough, or if some dough has started to set, a slightly more involved process is needed. Here are standard sourdough scraper cleaning techniques:
Soaking in Warm, Soapy Water: Loosening Dried Dough
If dough has dried onto your scraper, the first step is often to loosen it. Fill your sink or a basin with warm water and a few drops of dish soap. Submerge the scraper completely and let it soak for 15-30 minutes, or even longer for very stubborn, dried-on dough. The warm, soapy water helps to rehydrate the dried dough particles, making them softer and easier to remove. This is a gentle yet effective method to start the cleaning process.
Using a Stiff Brush: Scrubbing Away Residue
After soaking, use a stiff-bristled brush to scrub the scraper. A dish brush with nylon bristles works well, as does a dedicated dough scraper brush if you have one. Pay particular attention to the edges and any areas where dough tends to accumulate. The combination of the soaking and the physical action of scrubbing should remove most of the remaining residue. Rinse thoroughly under running water to check your progress and wash away soap and loosened dough bits.
Dishwasher Safe? Checking Your Scraper's Cleaning Instructions
Many stainless steel and plastic bench and bowl scrapers are dishwasher safe. However, always check the manufacturer's instructions before putting your scraper in the dishwasher. High heat in dishwashers can sometimes damage plastic handles or cause stainless steel to pit or rust over time, especially if not dried properly. If your scraper has a wooden handle, it is almost certainly not dishwasher safe and should be hand-washed only to prevent the wood from cracking or warping. Dishwashing can be a convenient sourdough scraper cleaning technique, but only if the tool is designed for it.
Advanced Cleaning for Stubborn Dough: When Soaking Isn't Enough
Sometimes, despite immediate rinsing and standard cleaning, you might encounter particularly stubborn, hardened dough residue, especially in crevices or around handles. These situations call for more targeted sourdough scraper cleaning techniques.
Vinegar Soak: Dissolving Hardened Dough
For mineral deposits or extremely hard-to-remove dough residue, a vinegar soak can be effective. The acidity of vinegar can help break down stubborn organic matter. Mix a solution of equal parts white vinegar and warm water. Submerge the scraper in this solution and let it soak for an hour or two. Afterwards, proceed with scrubbing using a stiff brush and warm, soapy water. Remember to rinse very thoroughly after using vinegar to remove any lingering odor.
Baking Soda Paste: Tackling Persistent Residue
A paste made from baking soda and a little water is an excellent gentle abrasive for removing stubborn, dried-on dough without scratching stainless steel or plastic. Mix a few tablespoons of baking soda with just enough water to create a thick paste. Apply the paste directly to the areas with residue and let it sit for 10-15 minutes. Then, use your stiff brush or even a non-scratch scouring pad (like those designed for non-stick pans) to gently scrub the area. The baking soda helps lift the residue, and its mild abrasive nature assists the scrubbing action. Rinse clean afterwards.
Beyond the Scraper: Other Essential Tools for Handling Sticky Sourdough
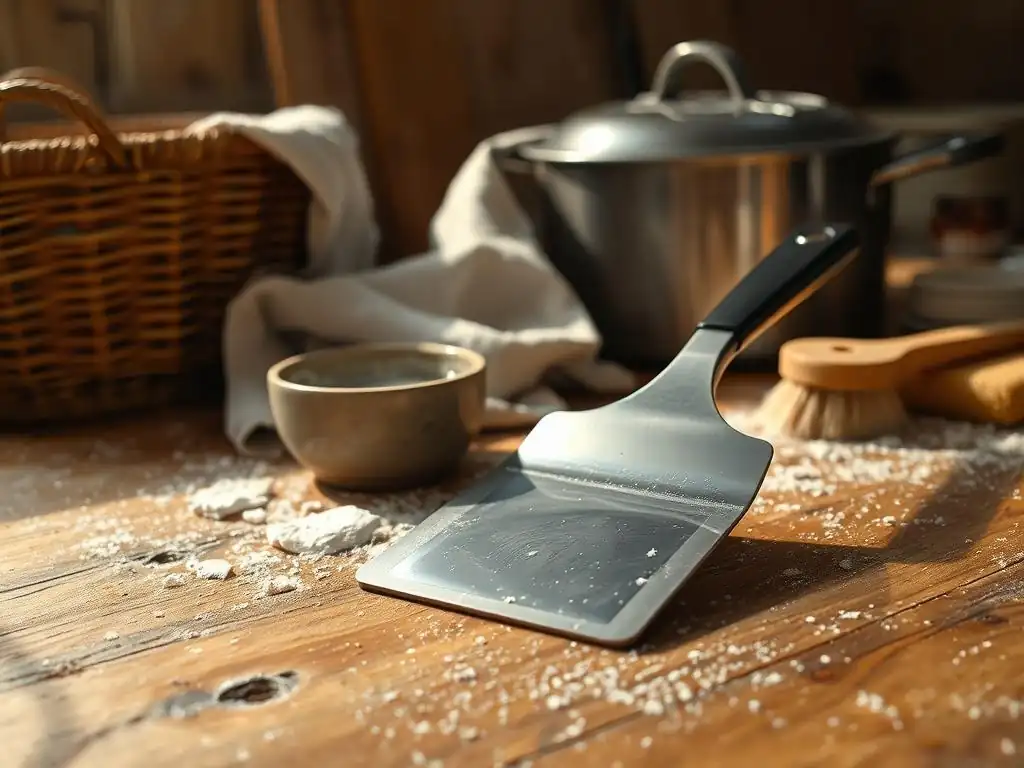
While the scraper is paramount, several other tools significantly ease the process of working with high-hydration, sticky sourdough.
Dough Whisk (or Danish Dough Whisk): Gentle Mixing for Hydrated Doughs
A dough whisk, often specifically a Danish dough whisk, is a peculiar-looking tool with a stiff wire head designed to mix doughs, particularly wet or sticky ones, more efficiently than a standard spoon or spatula. Its open structure cuts through the dough instead of pushing it around, preventing the dough from getting trapped and building up on the whisk.
This allows you to incorporate flour and water more easily at the initial mixing stage without overworking the dough or making it excessively sticky from handling. A Wire Monkey Original Danish Dough Whisk is a popular example, favored for its sturdy design and effectiveness in combining ingredients for high-hydration doughs.
- Benefit: Efficiently mixes wet doughs with less sticking compared to spoons or spatulas.
- Use: Initial mixing of flour and water (autolyse) and incorporating the starter and salt.
Silicone Baking Mat: A Non-Stick Surface for Kneading and Shaping
Working sticky sourdough on a floured counter can sometimes just result in a thick layer of paste. A silicone baking mat provides a naturally non-stick surface that minimizes the need for excessive flour, which can toughen your dough. These mats are great for light kneading, stretching and folding, or shaping your loaves. Dough is far less likely to adhere to silicone than to a standard countertop. A Silpat Premium Non-Stick Silicone Baking Mat is a widely recognized brand known for its durability and excellent non-stick properties, making it ideal for handling sticky dough without adding much extra flour.
- Benefit: Provides a non-stick work surface, reducing the need for excess flour.
- Use: Light kneading, stretching and folding, shaping, and even as a liner for baking.
Rice Flour: Preventing Sticking During Shaping
While a silicone mat helps, a little dusting of flour is often still necessary during shaping. Using rice flour (white or brown) instead of wheat flour is a fantastic trick for preventing sticky sourdough from adhering to your hands, tools, and banneton baskets. Rice flour is gluten-free, meaning it doesn't absorb moisture and integrate into the dough structure like wheat flour does.
Instead, it acts like tiny ball bearings, creating a barrier that prevents sticking without altering the dough's hydration or developing gluten on the surface. Bob's Red Mill Super Fine Rice Flour is a readily available option that works perfectly for this purpose.
- Benefit: Creates a non-stick barrier without integrating into the dough structure.
- Use: Dusting hands, work surfaces, bannetons, and dough during shaping.
Banneton Proofing Basket: Supporting the Dough During Proofing
After shaping, sticky sourdough needs support during its final proof to hold its shape before baking. A banneton proofing basket, typically made of rattan or cane, provides this support. The basket's structure helps the dough maintain tension and volume as it proofs.
When properly floured (often with rice flour for extra non-stick power), the dough releases cleanly from the basket, allowing for a smooth transfer to your baking vessel. A Bread Story Banneton Proofing Basket Set often includes a linen liner, which can also be used, though dusting the bare cane with rice flour is a popular method for achieving classic flour patterns on the crust.
- Benefit: Supports the dough during proofing, helping it hold shape and develop tension.
- Use: Final proofing of shaped sourdough loaves.
Pro Tips for Working with Sticky Sourdough
Handling sticky sourdough becomes much easier with practice and a few insider tips that experienced bakers rely on.
Hydration Levels: Finding the Right Balance
While high hydration is often desired for an open crumb, working with excessively high hydration (e.g., 90%+) can be challenging for beginners. Start with a more manageable hydration level, perhaps 70-75%, and gradually increase it as you become more comfortable handling wetter doughs. Understanding how your specific flour absorbs water is key; some flours perform better at higher hydration than others. Don't be afraid to slightly adjust hydration based on how the dough feels. If it's uncontrollably sticky, a touch less water in the next batch might be wise.
Dough Temperature: Maintaining Optimal Fermentation
Dough temperature plays a significant role in fermentation speed and dough behavior. A warmer dough ferments faster and can sometimes feel stickier as gluten develops rapidly. Aim for a consistent dough temperature, often between 75-80°F (24-27°C), during bulk fermentation. This range allows for good yeast and bacterial activity without making the dough excessively warm and difficult to handle. Cooler doughs (e.g., below 70°F/21°C) will ferment slower but might be slightly less sticky initially, though they require more time to build strength. Using a probe thermometer can help you monitor internal dough temperature.
Gentle Handling: Minimizing Gluten Development
Aggressive kneading or rough handling can sometimes make sticky sourdough even stickier by tearing the developing gluten strands. Instead of traditional kneading, sourdough often benefits from gentle stretching and folding techniques performed over several hours during bulk fermentation. These gentle movements build strength and tension in the dough gradually while minimizing sticking to your hands. Keep your hands slightly wet or dusted with rice flour when performing folds, and use your bench scraper to help lift and manage the dough on the counter.
Troubleshooting: Common Sourdough Stickiness Issues and Solutions
Even with the right tools and techniques, you might encounter persistent stickiness issues. Here's how to diagnose and fix some common problems.
Over-Proofing: Recognizing and Correcting Over-Proofed Dough
Over-proofed dough can become very sticky, slack, and difficult to shape. This happens when the fermentation goes on for too long, and the gluten structure starts to break down. Signs of over-proofing include a dough that feels very airy and fragile, doesn't hold its shape well when turned out of the proofing basket, and may even show signs of collapse. If your dough is over-proofed, handle it very gently. You might need to reshape it carefully and bake it immediately without a further proofing period. While the oven spring might be limited, you can still salvage the loaf.
Under-Proofing: Identifying and Adjusting Proofing Time
Under-proofed dough can also feel dense and overly sticky, lacking the airy structure needed for easy handling. It might resist stretching and folding, feeling tight and difficult to work with. If your dough feels heavy, dense, and tears easily rather than stretching, it might need more time to ferment and develop strength.
Allow the dough to continue its bulk fermentation or final proof in a warm spot until it shows signs of readiness, such as increased volume (often 30-50% increase during bulk) and a more pliable texture. The poke test (gently poking the dough; if the indentation slowly springs back halfway, it's likely ready) can be a helpful indicator.
Flour Strength: Choosing the Right Flour for Sourdough
The protein content and quality of your flour significantly impact how your sourdough behaves. Using a flour with insufficient protein (below 11-12%) can result in a weak gluten network that struggles to handle high hydration, leading to a very sticky, slack dough. Conversely, using a very strong bread flour (13%+ protein) can manage higher hydration more effectively, resulting in a less sticky dough that's easier to handle and shape.
Experiment with different bread flours to find one that gives you the best balance of hydration capacity and ease of handling. Some bakers even mix different flours (e.g., bread flour with a small percentage of whole wheat or rye for flavor) while considering their protein contents.
Conclusion: Embrace the Stickiness with the Right Tools and Techniques
Working with sticky sourdough can seem daunting at first, but with the right knowledge and tools, it becomes a rewarding part of the baking process. Understanding why sourdough is sticky – primarily due to high hydration and developing gluten – helps you approach it with patience and the appropriate strategies. The sourdough scraper, in its various forms, is an absolutely essential tool for managing this stickiness on your work surfaces and in your bowls.
Achieving Sourdough Success: Confidence with Every Bake.
Beyond the scraper, incorporating tools like a dough whisk, silicone mat, and using rice flour can further simplify handling wet dough. Mastering sourdough scraper cleaning techniques ensures your tools are always ready for the next bake, preventing frustration from dried-on dough.
By combining these tools with pro tips on hydration, temperature, and gentle handling, and knowing how to troubleshoot common issues like over or under-proofing and flour choice, you build confidence. Embrace the stickiness as a characteristic of well-hydrated dough and equip yourself with the right tools and sourdough scraper cleaning techniques to turn potential challenges into successful, delicious sourdough loaves every time you bake.
Frequently Asked Questions
What is the purpose of a sourdough scraper?
A sourdough scraper is primarily used for handling and shaping sticky sourdough dough. It also helps in cleaning bowls and work surfaces after mixing, minimizing dough waste.
What are the best materials for a sourdough scraper?
Both plastic and metal scrapers work well. Plastic scrapers are gentler on non-stick surfaces, while metal scrapers can be more durable and effective for removing dried dough.
How often should I clean my sourdough scraper?
Ideally, clean your scraper immediately after each use to prevent dough from hardening. This makes cleaning much easier and prevents bacterial growth.
What's the easiest way to clean a sticky sourdough scraper?
Soak the scraper in warm, soapy water for a few minutes to loosen the dough. Then, use a sponge or brush to scrub off the remaining residue.
Are there any special cleaning products needed for a sourdough scraper?
Generally, standard dish soap is sufficient. Avoid harsh chemicals or abrasive cleaners, as they can damage the scraper's surface, especially if it's plastic.
Final Reflection: The Humble Scraper and the Ever-Evolving Dough
The seemingly simple act of cleaning a sourdough scraper reveals a deeper truth about the craft itself: meticulous attention to detail is paramount to success. Ignoring this seemingly minor task can lead to bacterial imbalances, impacting the entire sourdough journey. This article highlighted the importance of proper cleaning techniques, not just for hygiene, but for nurturing the unique ecosystem within your sourdough starter and ultimately, the quality of your bread.
The impact of consistent, thorough cleaning extends beyond the individual baker. It influences the overall sustainability of the sourdough community, fostering a shared understanding of responsible practices and minimizing waste. The simple act of cleaning a tool becomes a mindful ritual, connecting us to the ancient art of bread making. Bread making is a journey, not a destination; each step, from starter care to the final bake, is a testament to patience and precision.
This quote, though not directly about cleaning, encapsulates the spirit of mindful baking that proper scraper maintenance embodies.
Now, consider your own baking practice. What small details do you often overlook? Take a moment to reflect on the tools you use and the rituals you employ. By paying close attention to the seemingly insignificant aspects of sourdough baking, like cleaning your scraper, you not only improve your bread-making skills but also cultivate a deeper appreciation for the process itself. Embrace the meticulousness, embrace the ritual, and embrace the delicious rewards that await.
Unleash Your Inner Sourdough Maestro!
Thanks for joining us on this sourdough journey! We hope you’ve gained valuable insights into conquering sticky dough and mastering those perfect loaves. Ready to put your new knowledge into action?
- Master the Scrape: Practice your scraper technique with your next sourdough batch. Notice the difference in your dough handling and shaping!
- Share Your Success: Show us your perfectly shaped sourdough creations! Tag us on social media with #BakeWithEaseSourdough.
- Explore the possibilities: Experiment with different scraper types and find your perfect match for different dough consistencies.
What innovative techniques will you try to elevate your sourdough game?