
Your First Stand Mixer? Simple & Dependable Picks for Getting Started

Welcome to BakeWithEase, where we believe everyone can create delicious baked goods! Are you ready to unlock the full potential of your stand mixer? Before you dive into that first batch of cookies or try your hand at a fluffy cake, explore our Easy Stand Mixer Beginner Tips to ensure a smooth and successful start. Discover the secrets to mastering your new machine and avoid common pitfalls – your baking adventure begins here!
- Easy Stand Mixer Beginner Tips: Finding the Right Fit for Your Kitchen
- Top Stand Mixers for Beginners: Simple & Dependable Options
- Beginner's Guide to Using Your New Stand Mixer
- Easy Stand Mixer Maintenance: Keeping Your Mixer in Tip-Top Shape
- Choosing the Right Stand Mixer: Key Considerations for New Bakers
- Easy Baking Recipes to Try with Your New Stand Mixer
- Where to Buy Your First Stand Mixer: Best Deals and Retailers
- Conclusion: Embracing the World of Baking with Your New Stand Mixer
-
Frequently Asked Questions
- What are the essential attachments that come with a stand mixer for a beginner?
- What is the best way to clean my stand mixer after baking?
- How do I choose the right speed setting on my stand mixer for different tasks?
- How can I prevent my stand mixer from "walking" or moving around on the counter while in use?
- What are some common mistakes beginners make when using a stand mixer, and how can I avoid them?
- Final Reflection: The Joy of Baking, Simply Started
- Unleash Your Inner Baker: Start Mixing!
Easy Stand Mixer Beginner Tips: Finding the Right Fit for Your Kitchen
When hunting for an easy stand mixer beginner tips guide, start by listing your top priorities: budget, counter space, mixing capacity, and included attachments. A 3.5-quart bowl might suit casual bakers whipping up cookie dough for a family of four, while a 5-quart bowl is ideal for larger batches or small-scale catering. Don’t forget to factor in storage space—some mixers stand nearly 14 inches tall and weigh upward of 20 pounds.
Next, consider the motor’s power and noise level. A mixer with at least 300 watts will handle most cake batters and bread doughs without stalling. Cheaper models often run at 250 watts and may struggle with heavy doughs. Jot down these details:
- Motor power (watts)
- Bowl capacity (quarts)
- Number of speed settings
- Weight and footprint (inches and pounds)
By organizing these factors in a simple spreadsheet or notebook, you’ll streamline your decision and ensure your new mixer feels like an extension of your kitchen.
Why a Stand Mixer is a Game Changer for Beginner Bakers
Stand mixers transform a 10-minute arm workout into a hands-free process, allowing you to multitask—clean up ingredients, measure out pans, or check a recipe on your tablet. For beginner bakers, this means less fatigue and more consistent results. Imagine never having to worry about under- or over-mixing cake batter again.
Beyond mixing, many stand mixers double as pasta makers, meat grinders, or spiralizers with optional attachments. This versatility turns a single investment into a multi-tool appliance. One home baker reported saving over $200 by skipping separate small appliances in favor of her stand mixer’s add-on attachments.
Understanding Stand Mixer Basics: A Quick Guide for New Bakers
Every stand mixer features three core parts: the motor housing (the “head”), the mixing bowl, and a set of attachments. Most models use a planetary mixing action, where the attachment spins in one direction while rotating around the bowl for complete coverage. Typical speed settings range from 1 (stir) to 10 (whip).
Blockquote
“Begin at the lowest speed when adding dry ingredients to avoid flour clouds, then gradually increase speed for smoother incorporation.” – BakeWithEase Tip
Speed controls often look like a sliding lever or a dial. A good rule of thumb:
1–2: Stir and combine dry ingredients
3–5: Cream butter and sugar, mix cookie dough
6–8: Whip cream, beat egg whites
9–10: Achieve glossy meringues and fluffy frostings
Top Stand Mixers for Beginners: Simple & Dependable Options
KitchenAid Artisan Mini Plus: Compact Power for New Bakers
Features of the KitchenAid Artisan Mini Plus: Beginner-Friendly Design
The KitchenAid Artisan Mini Plus sports a 3.5-quart stainless steel bowl and a 250-watt motor, perfect for cookie doughs, small cakes, and quick whipped cream. Its tilt‐head design makes bowl removal and attachment changes a breeze, especially for those just starting out. The mixer includes three basic tools:
- Flat beater for batters
- Dough hook for light doughs
- Wire whip for creams and meringues
This model weighs just 16 pounds and measures 14″ × 8.7″ × 14.1″, so it tucks neatly on a countertop or under an overhead cabinet.
Why the Artisan Mini Plus is Great for Small Kitchens and Small Batches
Small kitchens benefit from the Mini Plus’s compact footprint; it slides into a corner without commandeering your entire counter. A real‐world example: a Brooklyn apartment baker cut prep time in half, using the Artisan Mini Plus to mix cookie dough directly in her prep area while she preheated the oven at the other end of the room.
Batch sizes up to 2 dozen cookies or an 8-inch cake fit comfortably in the 3.5-quart bowl. If you bake for a household of two to four, this mixer delivers reliable performance without overkill.
Potential Drawbacks of the KitchenAid Artisan Mini Plus: Limited Batch Sizes
The 250-watt motor, while adequate for most tasks, may stall on heavy bread doughs or very thick mixtures. Users report maximum kneading capacity of 1½ pounds of dough—fine for artisan rolls but not enough for multiple loaves. Additionally, the smaller bowl size forces frequent recipe scaling, which can frustrate bakers hoping to make larger batches for events or holidays.
Hamilton Beach Electric Stand Mixer: A Budget-Friendly Starter
Hamilton Beach Stand Mixer Features: Simplicity and Affordability
Hamilton Beach’s entry‐level stand mixer usually retails around $70–$80. It offers a 4-quart bowl, a 270-watt motor, and three attachments: flat beater, whisk, and dough hook. Speeds range from stir to high, controlled by a front‐facing dial—familiar territory for users shifting from handheld mixers.
Designed with non‐slip feet and a lightweight body (~12 lbs), this unit emphasizes portability. It’s an ideal first mixer for someone testing the waters of stand mixing without committing a large sum.
Why Choose the Hamilton Beach Stand Mixer for Your First Mixer?
If your baking aspirations are mainly cookies, muffins, and light frosting, the Hamilton Beach model covers those basics. One household of four in Ohio shared they completed a dozen chocolate chip cookies in under 15 minutes from start to finish—with no hand cramps in sight.
The low entry cost also makes it a smart gift for teens or college students moving into their first apartment. With easy stand mixer beginner tips in hand, they can dive into baking without scary price tags.
Downsides of the Hamilton Beach Stand Mixer: Lower Power and Durability
With a 270-watt motor, expect slower performance on denser doughs. Some users report motor overheating after extended use, especially when kneading dough for more than 10 minutes. Plastic gear components also wear faster than the metal internals of higher-end mixers, so long-term durability may be an issue for daily bakers.
Cuisinart SM-50 Stand Mixer: A Step Up in Power and Features
Cuisinart SM-50’s Advantages: More Power and Versatility for Growing Bakers
At 500 watts and a 5.5-quart stainless steel bowl, the Cuisinart SM-50 brings pro-style power to the home kitchen. This mixer handles up to 3 pounds of dough per session, a 50% increase over entry models. It offers 12 speeds, a splashguard, and seven included attachments (including a citrus juicer and food grinder), making it a mini kitchen center.
A suburban baking blogger in Seattle uses the SM-50 to produce up to 10 loaves of sandwich bread per week, reporting no loss in power or speed despite consistent heavy‐duty use.
Who is the Cuisinart SM-50 Best Suited For? Beginners Ready to Expand Their Baking
If you’ve outgrown basic cookies and want to explore artisanal breads, fresh pasta, or homemade sausages, the SM-50 is a logical next step. It’s perfect for:
- Home bakers hosting weekly brunches
- Small‐batch caterers selling at farmers’ markets
- Families baking holiday breads and cakes in quantity
Those easy stand mixer beginner tips now apply to more advanced techniques and recipes.
Potential Cons of the Cuisinart SM-50: Higher Price and Larger Footprint
The SM-50 typically runs $200–$250, nearly three times the cost of budget models. Its weight (20 pounds) and dimensions (14″ × 9.5″ × 15″) demand a dedicated counter space. If you have a tiny kitchen or bake infrequently, the investment might not pay off immediately.
Beginner's Guide to Using Your New Stand Mixer
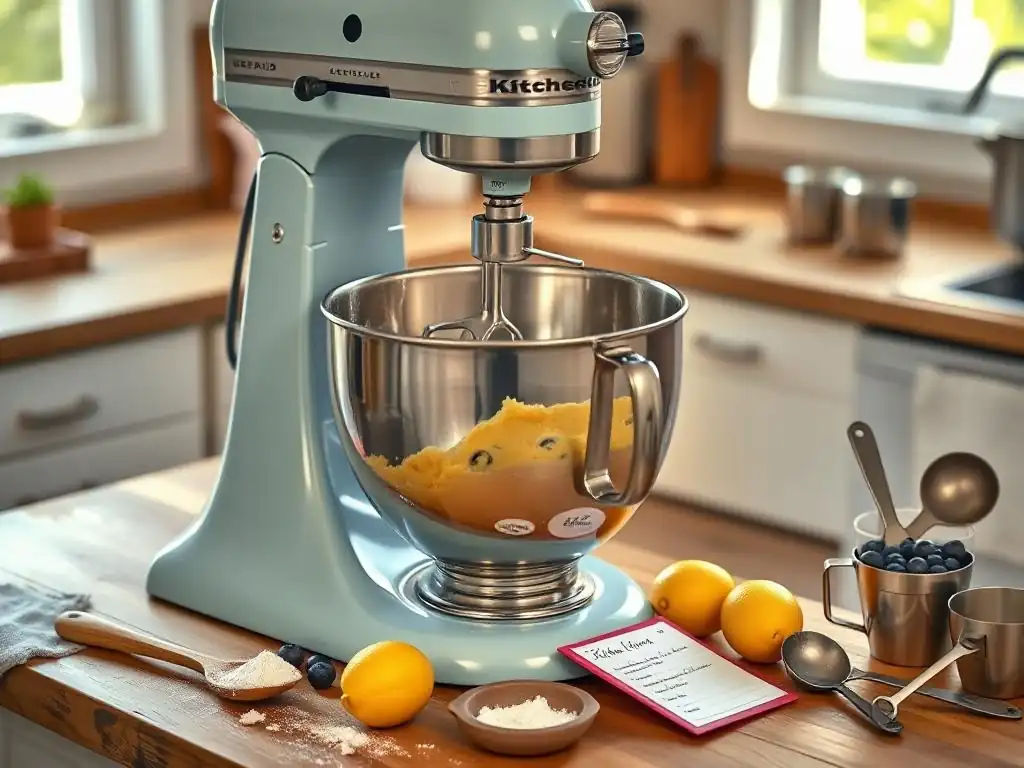
Assembling Your Stand Mixer: A Step-by-Step Guide
- Unbox carefully. Remove packaging foam and zip ties.
- Secure the bowl. For tilt-head mixers, push bowl into base and lock. For bowl-lift styles, tighten the knobs on each side.
- Attach tools. Align the flat beater or dough hook with the attachment hub and twist clockwise until it clicks.
- Plug in and test. Start at
speed 1for a 10-second dry run to ensure everything spins freely.
Even veteran bakers sometimes skip a step—take two minutes to confirm the bowl lock and attachment fit. This prevents wobble, splatter, or, worst case, the tool detaching during use.
Mastering Basic Stand Mixer Techniques: Mixing Doughs and Batters
When creaming butter and sugar, start at a low speed (2–3) for 15–20 seconds to combine, then ramp to medium (4–6) for another minute to incorporate air. For bread dough, mix at low speed (2) for 5 minutes, then switch to the dough hook on speed 4 for kneading—about 8–10 minutes total.
Blockquote
Always scrape down the sides of the bowl with a silicone spatula halfway through mixing to ensure even texture and prevent unmixed pockets.
Stand Mixer Attachments for Beginners: What You Really Need
Before splurging on every optional tool, master the essentials. Familiarize yourself with these three attachments first; they cover 90% of home baking tasks. Then, consider extras like pasta makers or meat grinders as your skill set grows.
The Dough Hook: Perfecting Bread Dough with Ease
The dough hook mimics hand kneading by folding and stretching gluten strands. With a 300-watt mixer, you can knead 2–3 pounds of dough in under 10 minutes, compared to 15–20 minutes by hand. A Chicago home baker trialed both methods and cut her kneading time by 60%.
The Flat Beater: Essential for Cakes, Cookies, and More
Flat beaters handle dense batters—think pound cakes, cookie doughs, and mashed potatoes. Their paddle shape ensures even mixing without overbeating. For a standard chocolate chip cookie, creaming butter and sugar on speed 4 for 2 minutes yields the perfect base.
The Wire Whisk: Achieving Fluffy Frostings and Meringues
The wire whisk attachment traps air between its loops, inflating whipped cream and egg whites to 2–3 times their original volume. On speed 8–9, a half-cup of heavy cream turns into stiff peaks in under 3 minutes. A pastry chef from New York swears by this for marathon cake-frosting sessions.
Easy Stand Mixer Maintenance: Keeping Your Mixer in Tip-Top Shape
Cleaning Your Stand Mixer: A Simple Routine
After each use:
- Unplug the mixer.
- Remove the bowl and attachments.
- Wash bowl and non-motorized parts in warm soapy water or dishwasher if safe.
- Wipe down the mixer head and base with a damp cloth.
For stubborn batter, let attachments soak in hot water for 10 minutes before scrubbing. Avoid submerging the motor housing—moisture can damage internal electrical components.
Troubleshooting Common Stand Mixer Issues for Beginners
If your mixer stalls under load:
- Reduce batch size by 25% and try again.
- Switch to a lower speed and gradually increase.
- Check the beater for tangles or dough buildup.
Should you hear unusual grinding or notice a burning smell, discontinue use immediately and inspect the gears. Many manufacturers offer replacement parts and simple DIY guides to restore performance.
Choosing the Right Stand Mixer: Key Considerations for New Bakers
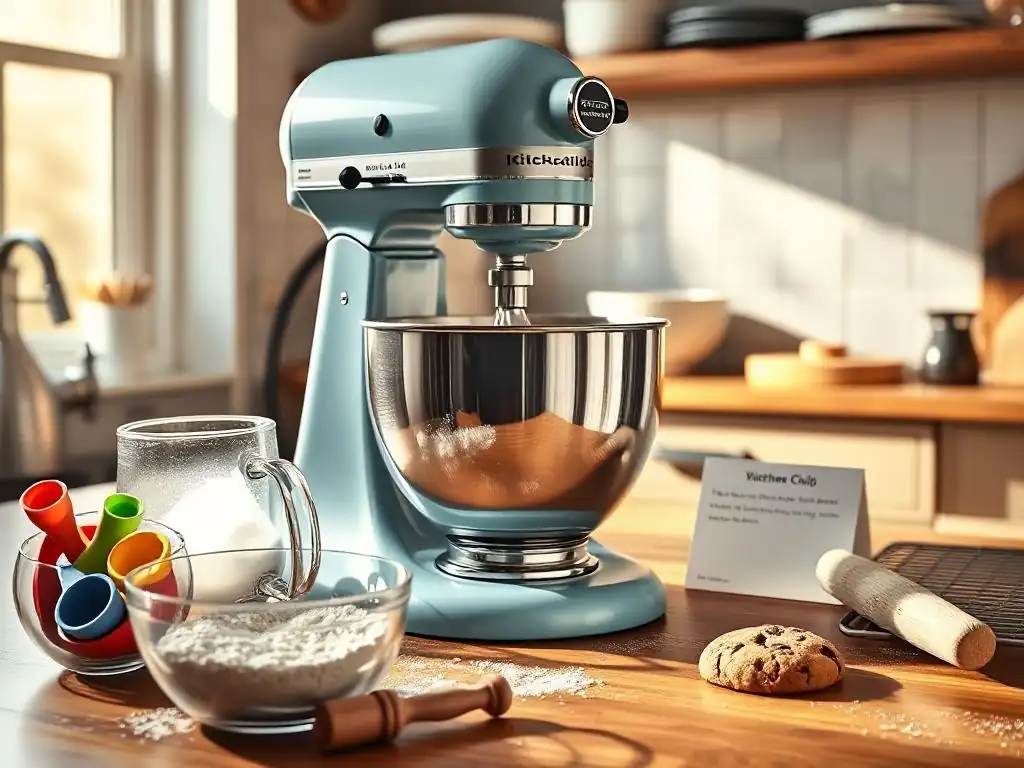
Bowl Size Matters: Matching Your Stand Mixer to Your Baking Needs
A 3.5-quart bowl easily produces 24 drop cookies or a single 9-inch cake; larger families or event bakers may need 5–6 quarts for double batches. Consider how often you host gatherings or bake for multiple recipients. If you frequently find yourself making three dozen cookies, a larger bowl reduces time spent in multiple mixing cycles.
Motor Power: Understanding What You Need for Different Recipes
For basic batters and light doughs, 300 watts suffice. Move to 400+ watts if you plan on:
- Fresh pasta dough
- Heavy bread doughs
- Nut butters or thick frostings
Stronger motors maintain consistent speed under load, avoiding slowdowns or overheating.
Tilt-Head vs. Bowl-Lift: Which Stand Mixer Style is Right for You?
Tilt-head mixers allow easy access to the bowl—ideal for smaller kitchens without extra clearance behind them. Bowl-lift mixers provide extra stability for heavy doughs, thanks to two arms that secure the bowl. If you bake dense artisan loaves, a bowl-lift model is worth the extra counter space and price premium.
Easy Baking Recipes to Try with Your New Stand Mixer
Use your flat beater attachment to cream 1 cup unsalted butter and 1 cup brown sugar on speed 4 for 2 minutes. Add two eggs, one at a time, mixing on speed 3. Gradually incorporate 2½ cups all-purpose flour, 1 teaspoon baking soda, and ½ teaspoon salt on speed 2. Fold in 1½ cups semisweet chocolate chips by hand. Bake scoops at 350°F for 10–12 minutes.
These cookies come out uniform in shape and texture thanks to consistent mixing—no overworked gluten or random burnt edges.
Simple Vanilla Cake: Perfecting the Basics with Your New Mixer
Pour 1½ cups sugar and 1 cup butter into your mixer bowl and cream on speed 5 for 3 minutes. Add three eggs, one by one, on speed 4. Alternate adding 3 cups flour (sifted) with 1 cup milk on speed 3, ending with flour. Stir in 2 teaspoons pure vanilla extract. Bake in two 8-inch pans at 350°F for 25–30 minutes.
The planetary mixing action ensures a light crumb and even rise, cutting down simultaneous mixing and hand-folding steps.
Easy Bread Dough: Mastering Bread Baking with Your Stand Mixer
Combine 3 cups bread flour, 1 teaspoon salt, and 2¼ teaspoons instant yeast in the bowl. Add 1¼ cups warm water and mix on speed 2 with the dough hook until a shaggy dough forms (about 2 minutes). Increase to speed 4 for 6–8 minutes until smooth. Let the dough rest in a greased bowl for 1 hour, punch down, shape, and bake at 375°F for 30 minutes.
Switching to the dough hook takes the guesswork out of kneading, yielding a consistent crumb and crust every time.
Where to Buy Your First Stand Mixer: Best Deals and Retailers
Comparing Prices and Finding the Best Deals on Stand Mixers: Amazon, Williams Sonoma, Target
- Amazon often features lightning deals and coupons—watch for 10–15% discounts on KitchenAid models.
- Williams Sonoma includes free in-store demos and occasional bundles (e.g., mixer + pasta attachment).
- Target offers RedCard holders an extra 5% off and the benefit of curbside pickup.
Check for seasonal sales (Black Friday, Prime Day) when prices can drop by up to 25% on mid-range mixers.
Buying Refurbished Stand Mixers: A Budget-Conscious Option?
Refurbished mixers from authorized dealers carry a 1-year warranty and cost 20–30% less than new units. Many are cosmetically perfect but classified as returned or overstock. If you don’t mind a slight ding on the paint, you can secure a high-end mixer like the Artisan 5-quart model at the price of a budget machine.
Conclusion: Embracing the World of Baking with Your New Stand Mixer
Your Baking Journey Starts Now: Enjoy the Process and Create Delicious Treats!
Equipped with these easy stand mixer beginner tips, you’re ready to tackle cookies, cakes, breads, and beyond. Embrace small successes—like the first loaf that springs perfectly or your initial batch of silky buttercream—and build confidence with each recipe you try.
Remember, the best mixer is one you’ll use regularly. Keep experimenting, maintain your appliance well, and watch your baking skills—and your enjoyment—rise to new heights. Happy baking!
Frequently Asked Questions
What are the essential attachments that come with a stand mixer for a beginner?
Most stand mixers come with a dough hook for kneading bread, a flat beater for general mixing, and a wire whisk for whipping cream or egg whites. These are the core components for most beginner recipes.
What is the best way to clean my stand mixer after baking?
Always unplug your stand mixer first! Most attachments are dishwasher safe, but the mixer body itself should be wiped down with a damp cloth. Avoid immersing the motor in water.
How do I choose the right speed setting on my stand mixer for different tasks?
Low speed is ideal for incorporating dry ingredients, medium speed is good for creaming butter and sugar, and high speed is best for whipping or aerating mixtures. Experiment to find what works best.
How can I prevent my stand mixer from "walking" or moving around on the counter while in use?
Ensure your stand mixer is placed on a stable, non-slip surface. Some mixers have rubber feet to help prevent movement. You can also purchase anti-slip mats designed for stand mixers.
What are some common mistakes beginners make when using a stand mixer, and how can I avoid them?
Overmixing is a common mistake, leading to tough baked goods. Also, be sure to scrape down the sides of the bowl regularly to ensure ingredients are evenly incorporated.
Final Reflection: The Joy of Baking, Simply Started
The humble stand mixer, once a luxury, is now a gateway to countless culinary adventures. Its accessibility has democratized baking, empowering home cooks to create delicious treats with ease. This shift is more than just a kitchen appliance trend; it's a testament to the enduring power of simple pleasures and the joy of creating something beautiful with your own hands.
The impact of the stand mixer extends beyond individual kitchens; it's woven into the fabric of our shared culinary culture. From viral baking challenges on social media to the comforting aroma of freshly baked goods filling homes, the stand mixer has become a symbol of creativity and connection. Baking is at once child's play and adult joy. And love, of course.
– This sentiment perfectly captures the essence of what a simple, dependable stand mixer can unlock for the beginner baker. It's not just about the perfect cake; it's about the process, the experimentation, and the satisfaction of sharing your creations.
Now, consider your own journey. What will your first stand mixer creation be? Don't be intimidated by the seemingly endless possibilities. Start small, choose a recipe that excites you, and embrace the learning process. The most important ingredient isn't flour or sugar; it's your willingness to experiment, to learn, and to find joy in the simple act of baking. Let the whirring of your stand mixer be the soundtrack to your culinary adventures – a symphony of delicious possibilities waiting to be explored.
Unleash Your Inner Baker: Start Mixing!
Thanks for taking the time to explore the world of stand mixers with us! We hope you found the perfect match for your baking journey. Now it's time to get baking!
- Order your chosen stand mixer today: Don't let that perfect recipe wait! Secure your new kitchen companion and start creating delicious memories.
- Share your excitement: Tell us which mixer you chose and what you plan to bake first! We love seeing your creations.
- Explore our recipe section: Find inspiration for your new stand mixer with our collection of delicious and easy-to-follow recipes.
What delectable treat will you bake first with your new stand mixer?