
From Dough Scraper to Bench Knife: Tools for Handling Sticky Dough

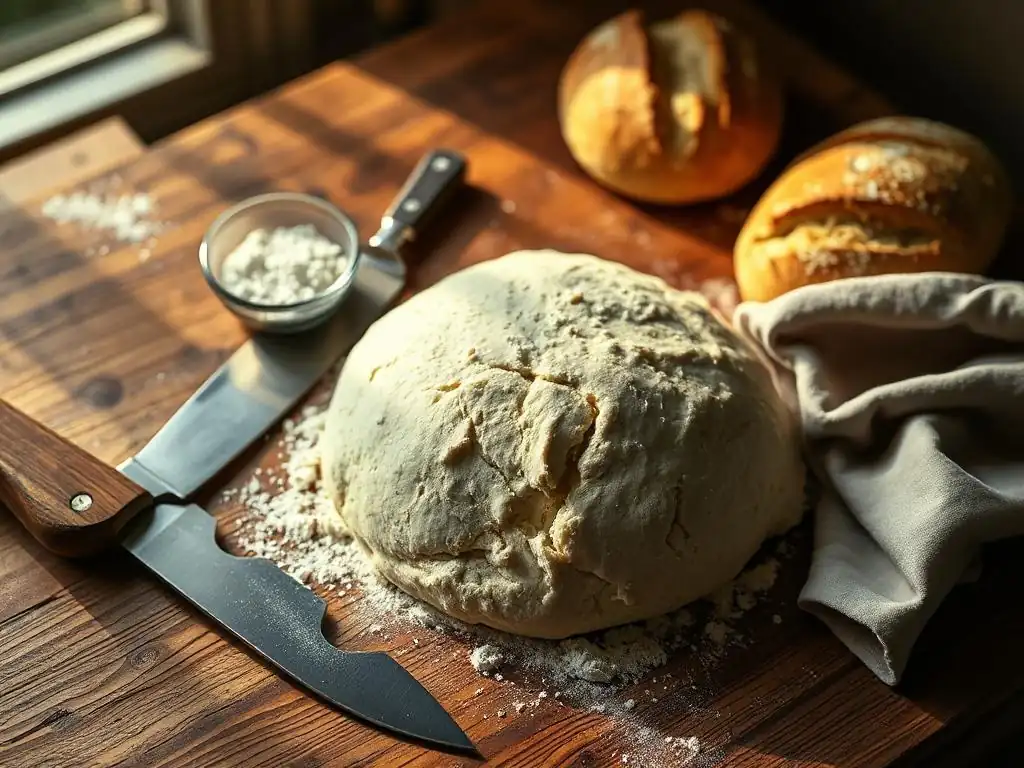
Welcome to BakeWithEase, your ultimate destination for mastering the delightful craft of baking! Whether you're just starting your baking journey or fine-tuning your sourdough skills, our resources are designed to empower you. In this article, we dive into the essential sticky dough handling tools that every baker should have in their arsenal. Curious about how a simple dough scraper or a versatile bench knife can transform your baking experience? Join us as we unravel the secrets behind these indispensable tools, ensuring you enjoy every moment of your baking adventure. Let's get started!
- Mastering Sticky Dough: Essential Baking Tools for a Smooth Experience
- The Dough Scraper: Your First Line of Defense Against Sticky Dough
- Bench Knives: A Baker's Best Friend for Sticky Dough
- Beyond Scrapers and Knives: Other Tools for Managing Sticky Dough
- Choosing the Right Sticky Dough Handling Tools for Your Baking Needs
- Sticky Dough Success Stories: Real Bakers, Real Tools
- Pro Tips for Working with Sticky Dough: Minimize the Mess, Maximize the Results
- Conclusion: Embrace Sticky Dough with the Right Tools and Techniques.
-
Frequently Asked Questions
- What are the best tools for handling sticky dough?
- Why is it important to use specific tools for sticky dough?
- How does a dough scraper help with sticky dough?
- Can I use regular knives instead of a bench knife for sticky dough?
- Are there any alternatives to professional tools for handling sticky dough?
- Final Reflection: The Art and Craft of Conquering Sticky Dough
- Unleash Your Inner Baker: Master Sticky Dough Today!
Mastering Sticky Dough: Essential Baking Tools for a Smooth Experience
Sticky dough can be one of the most challenging aspects of baking, especially when you're just starting out or venturing into high-hydration recipes like ciabatta or sourdough. It clings to your hands, your work surface, and seemingly everything else in your kitchen. Without the right sticky dough handling tools, what should be a joyful process can quickly become a frustrating mess. Understanding why dough gets sticky and having the proper equipment is key to turning tricky dough into beautifully baked goods.
This guide will walk you through the essential tools that can make working with sticky dough significantly easier and more efficient. We'll cover everything from the fundamental dough scraper and versatile bench knife to other helpful aids like silicone mats and strategic flour usage. Equipping yourself with these sticky dough handling tools will not only improve your results but also make the baking process much more enjoyable, transforming sticky challenges into satisfying successes.
Why Sticky Dough Needs Specialized Tools
Handling sticky dough by hand without any tools can be incredibly difficult. The high moisture content causes the gluten structure to develop a strong stickiness, adhering firmly to skin and surfaces. Attempting to knead, fold, or shape this type of dough with bare hands often results in more dough sticking to you than actually being worked, leading to a sticky, unmanageable situation and potentially underdeveloped gluten. Specialized tools provide non-stick or easy-release surfaces that allow you to manipulate the dough effectively without it constantly clinging.
Moreover, these tools enable specific techniques necessary for developing sticky dough, such as scraping, folding, and dividing. A dough scraper, for instance, allows you to quickly gather dough from a surface or bowl and perform stretch-and-fold maneuvers without getting your hands completely coated. A bench knife provides a firm edge for cleanly dividing portions of dough without tearing, which is crucial for maintaining the delicate structure built during fermentation. Using the right sticky dough handling tools protects your hands, your workspace, and the dough itself, ensuring a smoother process and better final product.
The Frustration of Working with Sticky Dough: A Baker's Dilemma
Every baker, from novice to experienced artisan, has likely encountered the sticky dough dilemma. Imagine trying to knead a high-hydration sourdough – as you attempt to fold it, the dough stretches and adheres stubbornly to your fingers, making it hard to get a clean release. Or perhaps you're trying to divide a batch of brioche dough; without a sharp, non-stick edge, it smears and squishes rather than cutting cleanly. This constant battle with stickiness can feel overwhelming, leading to frustration and sometimes even abandoning recipes that call for wet doughs.
This frustration often stems from trying to force sticky dough to behave like drier doughs. Standard techniques like heavy flouring might seem like a solution, but too much added flour can actually change the dough's hydration and texture, leading to a denser loaf. The key is not to eliminate the stickiness entirely, but to manage it using tools and techniques that work with the dough's properties. Effective sticky dough handling tools are designed precisely for this purpose, allowing you to manipulate the dough gently and efficiently, preserving its structure and achieving the desired results without the sticky struggle.
Understanding Dough Hydration and Stickiness
Dough stickiness is primarily determined by its hydration level, which is the ratio of water to flour by weight. A standard bread dough might have a hydration of 60-65%, meaning for every 100 grams of flour, there are 60-65 grams of water. Doughs with 70% hydration or higher are typically considered high-hydration and are significantly stickier. This is because there is more free water in the mixture that hasn't been fully absorbed by the flour's proteins (gluten) and starches.
While high hydration makes dough stickier, it also contributes to desirable characteristics in the final baked good, such as an open crumb structure, a lighter texture, and a crispier crust. The stickiness is a sign that the dough has enough water to fully hydrate the gluten, allowing it to develop strength and elasticity.
Therefore, instead of fearing sticky dough, bakers learn to manage it, recognizing that its stickiness is often a feature, not a flaw. The right sticky dough handling tools are essential for working with these wet doughs effectively, harnessing their potential rather than being hindered by their stickiness.
The Dough Scraper: Your First Line of Defense Against Sticky Dough
When facing a particularly sticky dough, the dough scraper is often the first tool a baker reaches for. Its simple design belies its incredible utility, making it an indispensable item for anyone working with wet or high-hydration doughs. It's a versatile aid for everything from initial mixing to final shaping, and its ability to cleanly separate dough from surfaces is unmatched.
Using a dough scraper allows you to perform tasks that would be messy and difficult with just your hands. You can scoop up ingredients, fold dough in the bowl or on the counter, divide portions, and clean your workspace with ease. For sticky dough handling, its primary benefit is providing a non-stick edge to lift, turn, and manipulate dough without it welding itself to your fingers. This saves time, reduces mess, and helps maintain the dough's structure.
What is a Dough Scraper and Why You Need One?
A dough scraper, sometimes called a bowl scraper or bowl spatula, is a flexible or rigid tool with a curved or straight edge, designed for scraping down bowls, gathering dough, and cleaning surfaces. While often simple, its design is optimized for interacting with dough. The curved edge is perfect for conforming to the shape of mixing bowls, ensuring you get every last bit of dough. The straight edge is invaluable for working on flat surfaces.
You need a dough scraper because it's one of the most effective sticky dough handling tools available. It allows you to perform essential tasks like the "stretch and fold" technique directly on your work surface with minimal mess. Instead of trying to lift and stretch a sticky mass with your hands, you can use the scraper to lift one side, stretch it over, and then use the scraper again to gather it.
This significantly reduces contact time between your hands and the dough, minimizing stickiness and frustration. It's also essential for scooping up dough that has spread out during proofing or shaping.
Types of Dough Scrapers: Plastic vs. Metal
Dough scrapers typically come in two main materials: plastic and metal. Plastic scrapers are usually flexible and have a curved edge, making them ideal for scraping dough from the sides of mixing bowls. Their flexibility allows them to adapt to the bowl's shape, ensuring efficient collection of ingredients or dough. They are generally lightweight, inexpensive, and gentle on bowl surfaces.
Metal dough scrapers, often made of stainless steel, are typically more rigid and have a straight, sharp edge. While less suitable for bowl scraping, they are superior for working on flat surfaces. Their rigidity provides better leverage for scraping sticky dough off counters and for dividing dough portions cleanly. A good metal scraper will have a comfortable handle and a durable blade that can withstand regular use. Both types are valuable sticky dough handling tools, and many bakers find it beneficial to have one of each for different tasks.
Using a Dough Scraper for Efficient Dough Handling: A Step-by-Step Guide
Using a dough scraper effectively for sticky dough handling involves a few key techniques:
- Gathering Dough: After mixing or kneading, use the straight edge of a metal scraper or the curved edge of a plastic one to scrape the dough cleanly from the bowl or work surface. Angle the scraper slightly and use firm, sweeping motions.
- Stretch and Fold: For wet doughs, perform stretch and folds on a lightly floured or wet surface. Use the scraper to lift one side of the dough, stretch it upwards, and fold it over the center. Repeat this process, rotating the bowl or dough as needed. The scraper prevents the dough from sticking to your hand as you lift and fold.
- Dividing Dough: On a lightly floured surface, use the sharp, straight edge of a metal scraper to cut through the dough cleanly. Press down firmly and quickly. This provides cleaner cuts than tearing by hand, crucial for maintaining dough structure.
- Cleaning Your Workspace: After shaping or dividing, use the scraper to quickly and easily remove sticky dough residue from your counter. This makes cleanup much faster and prevents dried dough from becoming a stubborn mess.
Practice makes perfect with these sticky dough handling tools. Start with slightly less sticky doughs and gradually work your way up to higher hydration levels as you become comfortable using the scraper.
Recommended Dough Scrapers: Characteristics for Effective Sticky Dough Handling
When choosing a dough scraper for sticky dough, look for specific features. For plastic scrapers used in bowls, flexibility and a comfortable grip are key. A good plastic scraper will conform well to the bowl's curve without being flimsy. For metal scrapers, which are excellent sticky dough handling tools on flat surfaces, opt for one made of durable stainless steel with a sharp, straight edge.
A measurement guide etched onto the blade can be a bonus for dividing dough accurately. Ensure the handle is ergonomic and provides a secure grip, especially important when working with slippery, sticky dough. A standard metal bench scraper is typically around 6 inches wide and 3-4 inches tall, a versatile size for most tasks.
Bench Knives: A Baker's Best Friend for Sticky Dough
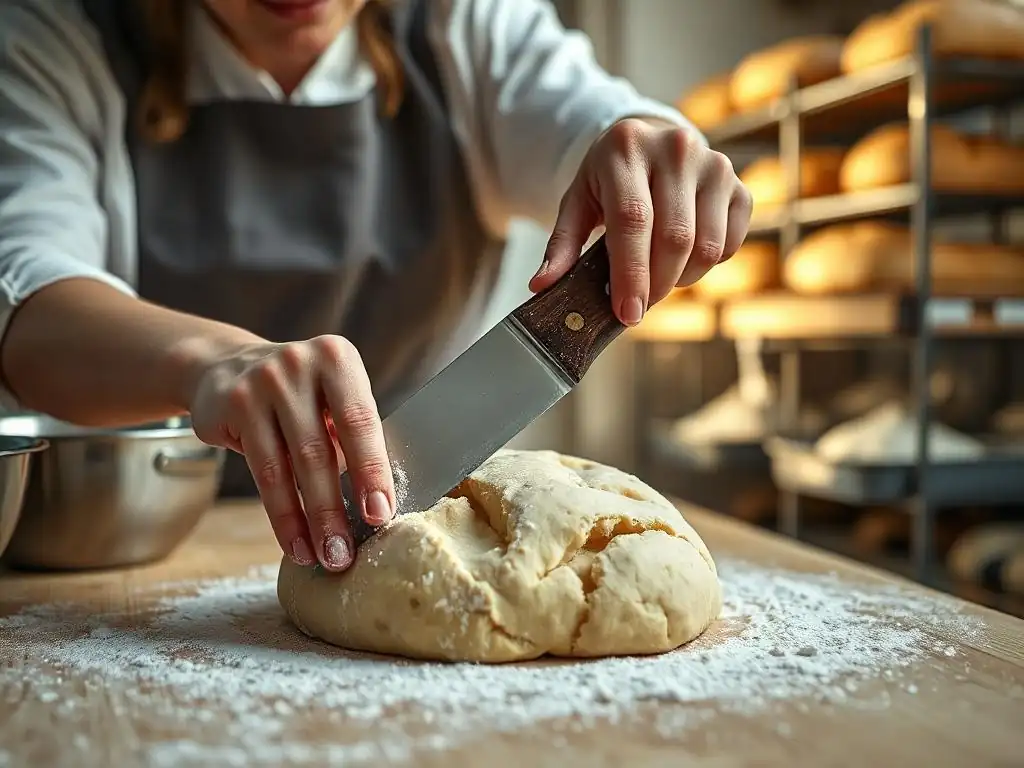
The bench knife, also frequently called a bench scraper (adding to the confusion with dough scrapers! ), is another essential tool in the baker's arsenal, particularly when dealing with sticky dough. While it shares some functions with a dough scraper, its rigid structure and sharp edge make it uniquely suited for certain tasks, elevating it beyond a simple scraping tool.
Think of a bench knife as the workhorse for flat-surface dough manipulation. It excels at dividing dough into precise portions, transferring fragile or sticky doughs, and even assisting with initial shaping. For sticky dough handling, its clean, non-stick edge allows you to work quickly and efficiently on your counter, minimizing the time the dough spends sticking to your hands or the surface.
Bench Knife vs. Dough Scraper: Understanding the Differences
While the terms are sometimes used interchangeably, there's a key distinction between a flexible dough scraper (often plastic) and a rigid bench knife (usually metal). A flexible dough scraper is primarily designed for conformity – scraping curved surfaces like bowls and gently folding dough. It's excellent for gathering every last bit of batter or dough.
A bench knife, on the other hand, is a rigid, flat metal blade, typically with a handle along the top edge. Its main purpose is cutting and dividing dough cleanly on a flat surface. It also serves as a sturdy tool for lifting and transferring dough portions. While a metal bench knife can also be used to scrape surfaces clean, its rigidity makes it less effective for scraping bowls compared to a flexible plastic scraper. Both are valuable sticky dough handling tools, but they serve slightly different primary functions.
The Versatility of a Bench Knife: More Than Just Dough Cutting
Beyond its primary role in dividing dough, a bench knife is surprisingly versatile. It's an excellent tool for scooping up chopped ingredients like nuts or chocolate chips and transferring them to a bowl. You can use the flat side to gently press down on dough to degas it slightly before shaping. For sticky dough handling, the wide, flat blade is perfect for lifting delicate portions, such as proofed rolls or shaped loaves, from your work surface without deflating them or having them stick and tear.
Some bakers even use the edge of a bench knife to chop herbs or loosen frozen food items from a cutting board. Its sturdy construction means it can handle more demanding tasks than a flexible scraper. Its straight edge is also useful for tidying the edges of shaped loaves or pushing errant dough pieces back into place during kneading or folding on a surface. This multi-functionality makes the bench knife a truly indispensable sticky dough handling tool.
How to Use a Bench Knife to Divide and Shape Sticky Dough
Using a bench knife effectively for sticky dough involves leveraging its sharp, straight edge and sturdy structure. To divide sticky dough, first ensure your work surface is lightly floured or wet, depending on your preferred technique. Gently scrape the dough from its proofing container onto the surface.
Use the bench knife's edge to press straight down through the dough, cutting cleanly into desired portions. Avoid sawing motions, as this can tear the gluten structure. For example, to divide a 1kg batch of focaccia dough into four equal pieces, you'd use the bench knife to make two perpendicular cuts, aiming for roughly 250g per piece (using a scale for accuracy is recommended).
For shaping, especially with very wet doughs like ciabatta, the bench knife can help. After the final proof, use the bench knife to gently lift the edges of the dough off the surface and fold them over, or use it to carefully slide under the dough to transfer it to a baking peel or tray.
Its non-stick metal surface (when clean) helps prevent the dough from adhering as you manipulate it. For instance, carefully sliding a bench knife under a proofed sticky baguette allows you to lift and transfer it to a baking sheet without it stretching or sticking excessively.
Beyond Scrapers and Knives: Other Tools for Managing Sticky Dough
While dough scrapers and bench knives are primary sticky dough handling tools, other aids can significantly improve your experience with wet doughs. These tools and techniques create non-stick environments or modify the dough's surface tension, making handling much less challenging and messy. Incorporating these into your process can be a game-changer, especially for bakers frequently working with high-hydration recipes.
From specialized mats to simple kitchen staples like oil, these additional aids complement your scrapers and knives, providing a layered approach to managing stickiness. They offer different levels of non-stick properties and can be used in various stages of the baking process, from initial mixing to final shaping and transferring.
Silicone Mats: Creating a Non-Stick Surface for Kneading and Shaping
Silicone baking mats are excellent sticky dough handling tools because they provide a naturally non-stick surface. Placing a silicone mat on your counter creates an ideal workspace for kneading, folding, and shaping sticky dough without the need for excessive flouring. The dough is far less likely to adhere to the silicone than directly to a wooden or laminate countertop.
Using a silicone mat is particularly helpful for techniques like the "slap and fold" method for wet doughs, where you repeatedly lift and slap the dough onto the surface. On a silicone mat, the dough releases much more easily, allowing for efficient gluten development with minimal mess. For instance, when working with a 75% hydration sourdough, kneading on a silicone mat drastically reduces the amount of dough that sticks to the surface compared to a traditional counter, making the process smoother and requiring less added flour.
Recommended Silicone Mat: Characteristics for Sticky Dough Handling
When selecting a silicone mat for sticky dough handling, look for one that is thick and durable, providing a stable surface that won't slide around on your counter. A good mat will lie flat and have reinforced edges. Size matters – choose a mat large enough to accommodate your typical batch size.
Many mats also feature useful measurements or guides printed on the surface, which can be helpful for portioning or shaping dough. Ensure it is made from food-grade silicone and is oven-safe if you plan to use it for baking as well, although its primary use for sticky dough is as a non-stick workspace.
Using Baking Sprays and Flour Strategically to Reduce Stickiness
While excessive flour can alter dough hydration, strategic use of flour or baking spray can be beneficial sticky dough handling tools. A very light dusting of flour on your hands or the edge of a bench knife can prevent immediate sticking. The key is light – just enough to create a thin barrier. Similarly, a quick spritz of baking spray (or other neutral oil spray) on a bowl, proofing basket, or even your hands can create a non-stick surface.
For example, spraying the inside of your proofing bowl with baking spray before adding sticky dough ensures it releases cleanly after rising. Lightly flouring the top of your dough before scoring helps the lame glide smoothly without sticking. The strategic application of these common kitchen items, used in conjunction with your main sticky dough handling tools, provides an extra layer of defense against the cling.
Recommended Baking Spray: Characteristics for Sticky Dough Handling
For sticky dough handling, a general-purpose non-stick baking spray is usually sufficient. Look for a spray that contains flour or is specifically labeled "non-stick." Canola or vegetable oil sprays also work well. The key is the aerosol format, which allows for a light, even coating. Avoid sprays with strong flavors if you don't want them to impart taste to your bread. Ensure the spray is suitable for cooking/baking temperatures if you plan to use it on pans or proofing baskets that go into a warm environment.
Oiled Hands: A Simple Yet Effective Technique for Handling Sticky Dough
Sometimes, the simplest techniques are the most effective sticky dough handling tools. Lightly oiling your hands before working with very sticky dough can drastically reduce its tendency to stick. Pour a small amount of neutral oil (like vegetable, canola, or olive oil) into your palm, rub your hands together, and then proceed with handling the dough.
This technique is particularly useful for initial mixing, performing stretch and folds directly in a bowl, or gently shaping very wet doughs like focaccia. The oil creates a barrier between your skin and the dough's surface tension, allowing you to manipulate it with less resistance. For example, when doing the first set of stretch and folds on a high-hydration dough, using oiled hands allows you to grab, stretch, and fold the dough more cleanly than with dry or wet hands. It's a quick, easy, and surprisingly effective method to add to your sticky dough handling repertoire.
Choosing the Right Sticky Dough Handling Tools for Your Baking Needs
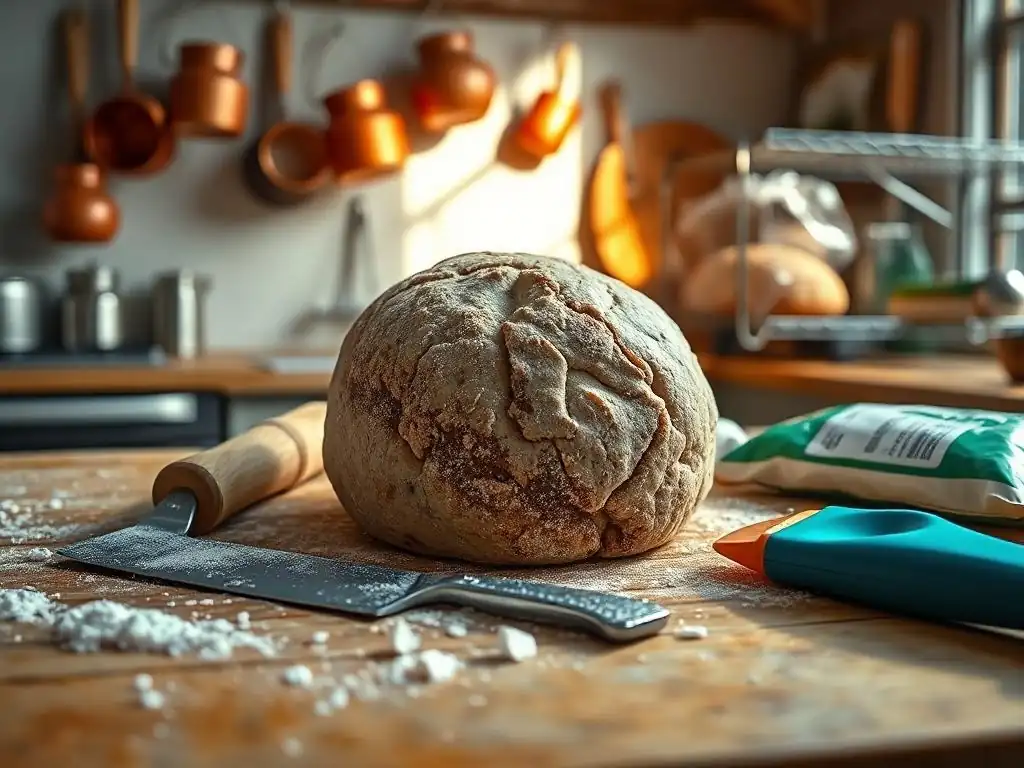
Selecting the best sticky dough handling tools depends on several factors unique to your baking style and the types of dough you work with most often. There's no single "right" set of tools; rather, it's about building a collection that suits your common tasks and challenges. Understanding your dough's properties and your own comfort level with different techniques will guide your choices.
Investing in a few quality sticky dough handling tools can make a significant difference in your baking success and enjoyment. It's not necessary to buy every tool available, but having the core pieces like a good bench knife and a flexible dough scraper will cover most situations.
Factors to Consider: Dough Hydration, Baking Style, and Budget
When choosing sticky dough handling tools, consider:
- Dough Hydration: If you frequently bake high-hydration doughs (70%+), tools like a sturdy metal bench knife and a silicone mat become almost essential. For drier doughs, a simple plastic scraper might suffice for most tasks.
- Baking Style: Do you prefer kneading by hand or using a mixer? Hand-kneaders often rely heavily on bench knives and scrapers for surface work. Do you bake large batches? A wider bench knife might be more efficient for dividing. Do you bake specific types of bread like ciabatta or focaccia that are notoriously sticky? Prioritize tools that excel with very wet doughs.
- Budget: Sticky dough handling tools range in price. You can find effective plastic scrapers for just a few dollars. Good quality stainless steel bench knives are also relatively inexpensive, typically ranging from $10-$30. Silicone mats vary more widely based on size and brand, but a basic reliable one can be found for under $20. Start with the essentials and add more specialized tools as your baking expands.
Building Your Sticky Dough Tool Kit: A Practical Approach
A practical approach to building your sticky dough handling tool kit starts with the basics. Begin with:
- One good flexible plastic dough scraper: Excellent for bowls and general scraping/folding.
- One sturdy metal bench knife: Indispensable for dividing, scraping surfaces, and lifting.
These two items are arguably the most crucial sticky dough handling tools. Once you have these, consider adding:
- A silicone baking mat: If you frequently work with very wet doughs or prefer kneading/folding on a non-stick surface.
- A spray bottle with water or oil: For wetting hands or surfaces to prevent sticking without adding flour.
This core set will equip you to handle a wide range of sticky dough situations effectively. You can always add more specialized tools later if needed.
The Importance of Proper Tool Maintenance for Longevity
Proper maintenance of your sticky dough handling tools is crucial for their longevity and effectiveness. Always clean dough scrapers and bench knives immediately after use. Dried dough is much harder to remove and can harbor bacteria. Wash metal tools by hand with warm, soapy water and dry them thoroughly to prevent rust, especially if they are not stainless steel. Plastic scrapers are often dishwasher safe, but check manufacturer instructions.
Silicone mats should be washed with warm, soapy water and can be air-dried or wiped clean. Avoid using sharp knives directly on silicone mats, as this can damage the surface. Keeping your sticky dough handling tools clean and in good condition ensures they are always ready for use and will last for many years of baking adventures.
Sticky Dough Success Stories: Real Bakers, Real Tools
Hearing how other bakers have overcome the sticky dough challenge using the right tools can be incredibly encouraging. These aren't just theoretical aids; they are practical implements that make a tangible difference in the kitchen. Let's look at a couple of common scenarios where specific sticky dough handling tools turn potential frustration into successful bakes.
These examples highlight how incorporating simple, effective tools into your workflow can dramatically improve your ability to handle even the most challenging doughs, leading to consistent and satisfying results. They demonstrate the power of choosing the right implement for the task at hand.
Case Study 1: Using a Bench Knife for Perfect Pizza Dough
Consider the common problem of sticky pizza dough. Often made with a hydration around 65-70%, it can be prone to sticking when dividing and shaping. A home baker frequently struggled with tearing their proofed pizza dough when trying to cut it into portions by hand or with a standard knife. The dough would stretch and stick to the blade, resulting in uneven pieces and deflated edges.
By incorporating a sturdy metal bench knife into their process, they found a solution. After the bulk ferment, they gently overturned the dough onto a lightly floured surface. Using the bench knife, they pressed down firmly and swiftly, cutting clean lines through the dough. The weight and sharpness of the bench knife blade sliced through the sticky mass without dragging or tearing. This resulted in perfectly portioned dough balls that were easier to shape into rounds, leading to consistently better crusts. The bench knife became their go-to sticky dough handling tool for pizza night.
Case Study 2: Mastering High-Hydration Ciabatta Dough with a Dough Scraper and Silicone Mat
Ciabatta is famous for its incredibly wet, sticky dough, often exceeding 80% hydration. A baker attempting their first ciabatta recipe found the dough almost impossible to handle – it stuck to everything, making stretch-and-folds a nightmare and shaping a sticky, shapeless mess. Traditional flouring didn't help much and seemed to toughen the crust.
They switched to using a combination of sticky dough handling tools: a flexible plastic dough scraper and a silicone mat. They placed the silicone mat on their counter and performed the stretch and folds directly on the mat, using the plastic scraper to lift and turn the dough. The dough released easily from the silicone, and the scraper allowed them to manipulate the wet mass without getting their hands completely coated.
For shaping, they used the scraper to gently nudge the dough into rough rectangles on the mat before transferring them. This combination transformed the process from a sticky struggle into a manageable task, enabling them to bake beautiful ciabatta with the characteristic open crumb.
Pro Tips for Working with Sticky Dough: Minimize the Mess, Maximize the Results
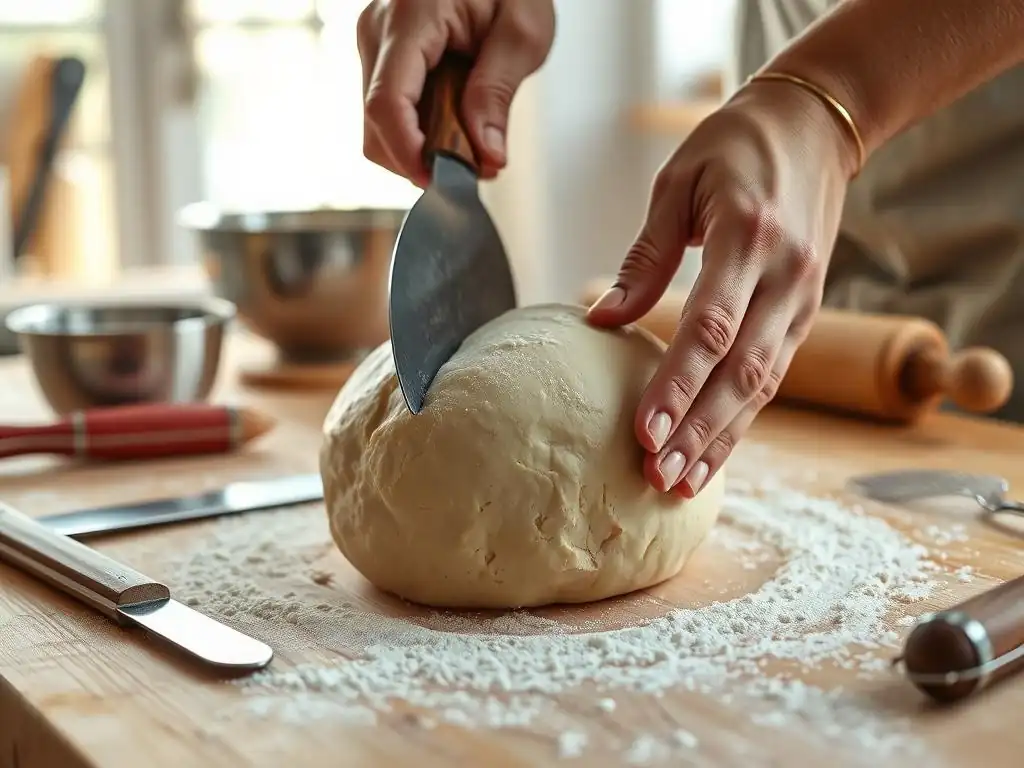
Beyond having the right sticky dough handling tools, employing certain techniques can further enhance your ability to work with wet doughs cleanly and efficiently. These pro tips are simple adjustments to your process that can make a big difference in managing stickiness and achieving great results.
These tips focus on controlling the environment (work surface), the dough itself (temperature), and your approach to handling. Combining these techniques with your sticky dough handling tools creates a powerful strategy for tackling even the most challenging recipes.
Keeping Your Work Surface Clean While Working with Sticky Dough
Maintaining a clean work surface is paramount when handling sticky dough. Before you even start, clear your counter and wipe it down. During the process, use your bench knife or dough scraper frequently to scrape up any dough that sticks. Don't let small bits accumulate and dry, as they become much harder to remove.
For instance, after dividing dough with a bench knife, use the same tool to scrape the sticky residue off the surface immediately. If working on a silicone mat, keep a damp cloth nearby to wipe the edges if necessary. A clean workspace makes it easier to maneuver the dough and prevents incorporating dried, tough bits into your final product. It also makes cleanup much faster and less daunting after the bake is done.
The Importance of Chilling Sticky Dough for Easier Handling
One of the most effective "non-tool" techniques for sticky dough handling is chilling the dough. Cold dough is significantly less sticky and much easier to handle and shape. The cold solidifies some of the fats and slows down gluten relaxation, making the dough firmer and more manageable.
If you're struggling to shape a particularly sticky dough, cover it and pop it in the refrigerator for 20-30 minutes. This brief chill time can make a world of difference, turning a frustrating, floppy mass into something you can actually work with. For example, trying to shape sticky brioche or cinnamon roll dough becomes much easier after a period in the fridge. The dough becomes firm enough to roll, cut, and handle without excessive sticking to your hands or the counter.
Hydration Level Adjustments: A Quick Guide to Troubleshooting Sticky Dough Issues
Sometimes, despite using the right sticky dough handling tools, the dough is just too wet to manage comfortably. While high hydration is often desired, slight adjustments can be made if you're consistently struggling. If a recipe calls for 80% hydration and you find it unworkable, try reducing the water by 5-10% (e.g., use 70-75% hydration instead). This small change can significantly reduce stickiness without drastically altering the final result.
Alternatively, if the dough feels too stiff and that's causing handling issues (dry dough can also be difficult! ), you can add a tiny bit more water, just a teaspoon at a time, until it reaches a consistency that feels more workable while still being sticky. Understanding how hydration affects stickiness allows you to troubleshoot and adapt recipes to your comfort level and the effectiveness of your sticky dough handling tools.
Conclusion: Embrace Sticky Dough with the Right Tools and Techniques.
Frequently Asked Questions
What are the best tools for handling sticky dough?
The best tools for handling sticky dough often include a dough scraper, a bench knife, and silicone mats. These tools help prevent the dough from sticking to your hands and work surfaces.
Why is it important to use specific tools for sticky dough?
Using specific tools for sticky dough minimizes stickiness and mess. It also allows for easier shaping and transferring of the dough, resulting in a better final product.
How does a dough scraper help with sticky dough?
A dough scraper is ideal for lifting and scraping sticky dough from bowls or countertops. Its flat edge allows you to effectively gather every last bit of dough, preventing waste.
Can I use regular knives instead of a bench knife for sticky dough?
While a regular knife can be used, a bench knife provides a sturdier and wider blade. This makes it easier to cut and portion sticky dough without dragging or tearing it.
Are there any alternatives to professional tools for handling sticky dough?
Yes, you can use plastic spatulas or even oiled hands as alternatives. However, professional tools offer greater efficiency and control when working with particularly sticky doughs.
Final Reflection: The Art and Craft of Conquering Sticky Dough
The struggle with sticky dough is far more than just a baking inconvenience; it's a fundamental challenge that tests the baker's skill and patience. Mastering this challenge, as we've explored through various tools and techniques, unlocks a world of creative possibilities and delicious results. From the simplest cookie to the most elaborate bread, the ability to handle sticky dough confidently is the cornerstone of baking success.
The journey from frustrated baker to confident dough-handler is a deeply satisfying one. It's a testament to the power of the right tools and the importance of understanding the properties of ingredients. This isn't just about efficiency; it's about the connection between the baker and their craft. As the renowned baker, Paul Hollywood, once said: Baking is a science, but it's also an art. It's about feeling the dough, understanding its needs, and responding accordingly.
This sentiment perfectly encapsulates the essence of mastering sticky dough – it's a tactile, intuitive process that rewards attention and practice.
Now, consider your own baking journey. What tools have you found most effective in tackling sticky dough? What techniques have you developed? More importantly, what new recipes are you now empowered to explore, armed with the knowledge and confidence gained from this exploration of dough-handling tools? Embrace the challenge, experiment with different approaches, and discover the joy of transforming sticky dough into culinary masterpieces. Your next baking adventure awaits.
Unleash Your Inner Baker: Master Sticky Dough Today!
Thanks for taking the time to explore the world of sticky dough with us! We hope you now feel more confident tackling those tricky recipes. Ready to put your newfound knowledge to the test?
- Embrace the perfect tool: Try out different bench knives or dough scrapers to find your favorite for handling sticky dough. Experiment with different materials and sizes to see what works best for you.
- Share your sticky success (or struggles!): Let's connect! Tell us about your experiences – what techniques work best for you, and which sticky doughs still give you trouble.
- Challenge a classic recipe: Find a recipe known for its sticky dough (think croissants!) and give it a go with your newly acquired expertise. Share the result!
What sticky dough challenge are you tackling next?