
Beginner Biscotti: Crispy Italian Cookies Made Simple

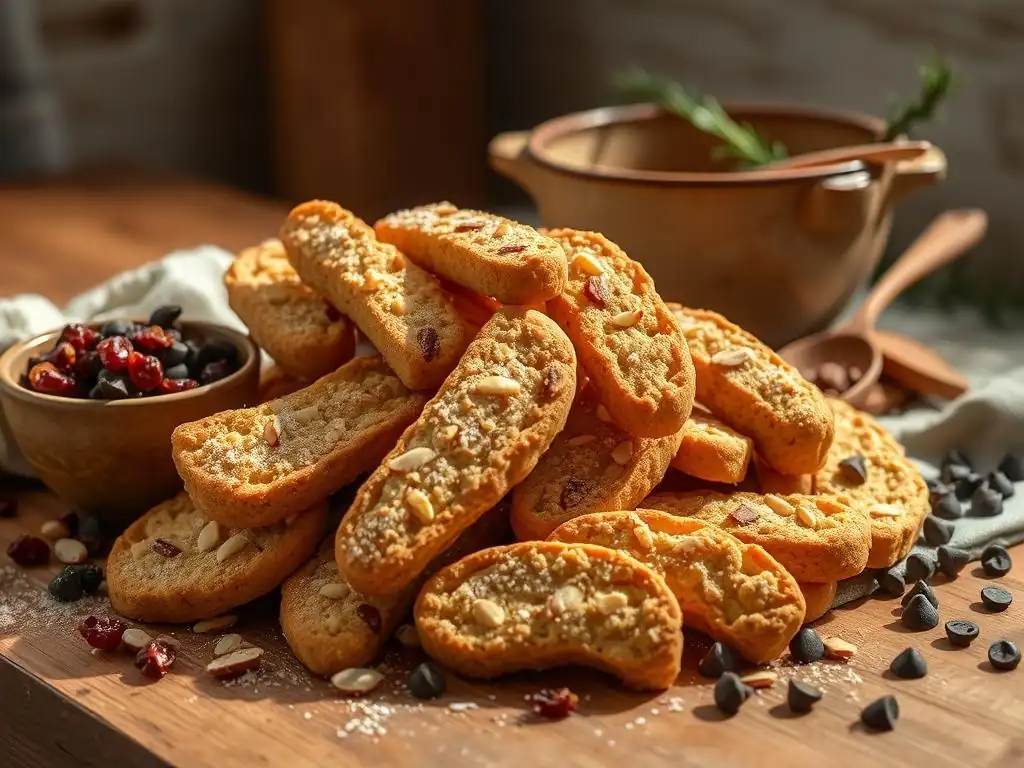
Welcome to BakeWithEase, your kitchen companion for all things baking! Ever dreamt of creating those perfectly crisp, twice-baked Italian delights? Our easy beginner biscotti recipe demystifies the process, showing you how to achieve bakery-worthy results with simple techniques and readily available ingredients. Intrigued? Discover the secrets to these delectable cookies and unlock a world of baking possibilities!
- Almond Anise Biscotti: A Classic Italian Treat
- Introduction to Biscotti Baking
- Almond Anise Biscotti Recipe: Step-by-Step Guide
- Making the Biscotti Dough: A Simple Method
- Shaping and Baking the First Time
- The Second Bake: Achieving Biscotti Crispness
- Cooling and Storing Your Biscotti
- Biscotti Variations & Flavor Ideas
- Troubleshooting Common Biscotti Baking Issues
- Serving Suggestions for Homemade Biscotti
- Conclusion: Enjoy Your Homemade Biscotti!
- Frequently Asked Questions
- Final Reflection: The Enduring Charm of Simple Baking
- Unleash Your Inner Biscotti Baker!
Almond Anise Biscotti: A Classic Italian Treat
Introduction to Biscotti Baking
Why This Almond Anise Biscotti Recipe is Perfect
This almond anise biscotti recipe is specifically designed for beginners, making the world of Italian cookie baking accessible and enjoyable. Unlike some traditional methods that can be intimidating, this approach breaks down each step into simple, manageable tasks. We focus on fundamental techniques that yield consistently delicious results, ensuring your first foray into biscotti is a success. The ingredients are common pantry staples, and the process avoids complex machinery or techniques, making it a true easy beginner biscotti recipe.
We understand that starting a new baking project can feel daunting, especially with multi-step recipes like biscotti. That's why this guide emphasizes clarity and simplicity. By following these instructions, you'll learn the core principles of biscotti making – from forming the dough log to achieving that signature crispness through the double bake – all while building confidence in your baking abilities. This is more than just a recipe; it's a friendly introduction to creating beautiful, crunchy cookies that taste wonderfully authentic.
Biscotti, meaning "twice-baked," are celebrated worldwide for their delightful crunch and versatility. Originating in Tuscany, Italy, these cookies were traditionally made for travelers due to their long shelf life, a direct benefit of the low moisture content achieved by the second bake. Their sturdy texture makes them perfect for dipping into coffee, tea, or a sweet wine like Vin Santo, softening slightly with each dip while retaining a satisfying bite.
Beyond their practical attributes, biscotti hold a special place in Italian culinary tradition and are enjoyed as a simple pleasure. They are less sweet than many other cookies, allowing the flavors of the nuts, seeds, or spices within to shine through. Learning to make this easy beginner biscotti recipe allows you to connect with this rich history and create a treat that is both elegant and comforting, perfect for sharing with friends and family or enjoying a quiet moment with your favorite hot beverage.
Almond Anise Biscotti Recipe: Step-by-Step Guide
Gathering Ingredients for Authentic Biscotti
To create this simple biscotti, you'll need a few key ingredients that contribute to its classic flavor and texture. You'll start with standard baking essentials like all-purpose flour, granulated sugar, and baking powder, which provide the structure and lift. Eggs are crucial for binding the dough and adding richness, typically around 2 large eggs for a standard batch yielding about 2 dozen cookies. A touch of butter or oil adds tenderness.
The signature flavors come from almonds and anise. You'll need whole or slivered almonds, roughly 1 cup (about 100-120 grams), toasted lightly to enhance their flavor. Anise seeds, approximately 1 to 2 teaspoons, provide that distinct, warm, slightly licorice-like note characteristic of traditional Italian biscotti. Vanilla extract, about a teaspoon, rounds out the flavors. Having all your ingredients measured and ready before you begin is a simple step that makes the easy beginner biscotti recipe even smoother.
Essential Tools for Biscotti Baking
You don't need a lot of fancy equipment to make delicious biscotti. The most essential tools include standard mixing bowls – one for dry ingredients and one for wet. A whisk and a wooden spoon or rubber spatula are sufficient for mixing; a stand mixer with a paddle attachment can also be used but isn't strictly necessary for this beginner biscotti recipe. You'll definitely need a sturdy baking sheet, preferably lined with parchment paper or a silicone baking mat to prevent sticking and ensure even browning.
For shaping and baking, a sharp knife or serrated knife is crucial for slicing the logs after the first bake to get clean cuts for the second bake. A cooling rack is also important for allowing the biscotti to cool completely after the second bake, ensuring maximum crispness. Having these basic tools ready will set you up for success and make the entire process of creating your simple biscotti straightforward and enjoyable.
Making the Biscotti Dough: A Simple Method
Combining Dry Ingredients for Even Texture
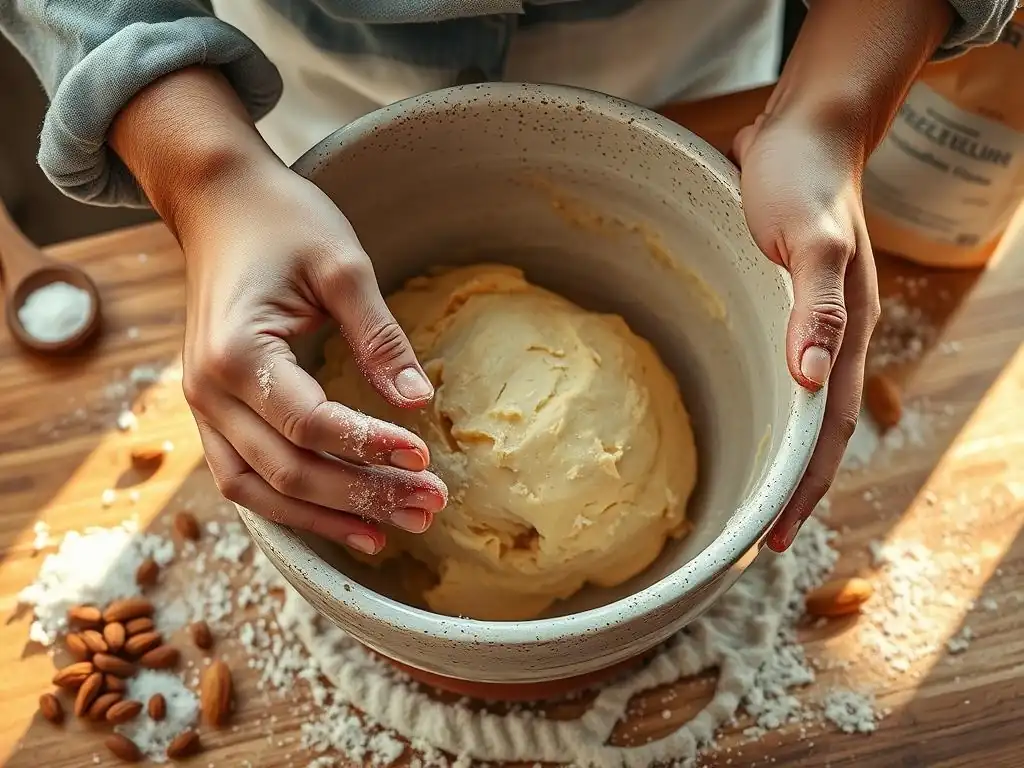
The first step in creating the dough for this easy beginner biscotti recipe involves whisking together the dry ingredients. In a medium bowl, combine your all-purpose flour, granulated sugar, and baking powder. Adding a pinch of salt is also essential, as it balances the sweetness and enhances the overall flavor profile of the cookies. Whisking these ingredients thoroughly ensures that the baking powder is evenly distributed throughout the flour.
Proper distribution of the baking powder is vital for achieving the correct slight lift in the dough logs during the first bake. This initial mixing step is quick but important for the final texture of your simple biscotti. Ensure there are no clumps of baking powder or salt, creating a uniform base before you introduce the wet ingredients.
Incorporating Wet Ingredients for the Perfect Dough
In a separate bowl, you'll combine the wet ingredients. This typically involves lightly beating the eggs and then whisking in the vanilla extract and any melted butter or oil specified in your recipe. Once combined, the wet ingredients are poured into the bowl with the dry ingredients. Using a wooden spoon or spatula, start mixing from the center outwards, gradually incorporating the flour mixture into the wet ingredients.
Continue mixing until a cohesive dough forms. It might seem dry at first, but keep mixing; the flour will absorb the moisture. The dough should come together into a shaggy mass that can be gently kneaded a few times within the bowl. Don't overmix, as this can develop the gluten too much, potentially leading to tough biscotti. The goal is a dough that holds together but isn't overly sticky – the ideal consistency for a simple biscotti dough.
Forming the Dough: Achieving the Right Consistency
Once the dough has come together, it's time to incorporate the flavor additions like toasted almonds and anise seeds. Turn the dough out onto a lightly floured surface. Gently knead in the nuts and seeds until they are evenly distributed throughout the dough. This usually takes just a minute or two of folding and pressing the dough.
The final consistency should be firm enough to handle without sticking excessively to your hands or the work surface, yet pliable enough to shape. If the dough feels too sticky, you can add a tablespoon of flour at a time, kneading it in until the dough is manageable. If it feels too dry and crumbly, a teaspoon of milk or water can help bring it together. Achieving this balanced consistency is key to easily forming the logs for the first bake of your easy beginner biscotti recipe.
Shaping and Baking the First Time
Forming the Biscotti Logs: A Simple Technique
After the dough is ready and the nuts/seeds are incorporated, divide it in half for easier handling. On your parchment-lined baking sheet, take one half of the dough and shape it into a log. Aim for a log that is approximately 8 to 10 inches (about 20-25 cm) long and about 2 to 3 inches (about 5-7 cm) wide. The height should be about 1/2 inch (about 1.5 cm). The exact dimensions aren't critical for this easy beginner biscotti recipe, but try to make the logs relatively uniform so they bake evenly.
You can shape the log simply by patting and molding the dough with your hands. If the dough is a little sticky, lightly flour your hands. Ensure the log is relatively flat on top, not completely round, as this makes slicing easier later. Repeat with the second half of the dough, placing the logs several inches apart on the baking sheet to allow for some spreading during the first bake.
The First Bake: Setting the Shape
The first bake is crucial for setting the shape of the biscotti logs and partially cooking the dough. Preheat your oven to a moderate temperature, typically around 350°F (175°C). Place the baking sheet with the formed logs in the preheated oven. Bake for approximately 20 to 25 minutes.
During this first bake, the logs will spread slightly and firm up. They should look lightly golden around the edges and feel firm to the touch. They won't be completely cooked through, and that's exactly what you want. This stage prepares the logs for slicing before the second bake, which is where the characteristic crispness of your simple biscotti is developed. Remove the baking sheet from the oven and let the logs cool on the sheet for about 10-15 minutes before slicing.
The Second Bake: Achieving Biscotti Crispness
Slicing the Biscotti Logs for Uniform Baking
Once the logs have cooled slightly from the first bake, but are still warm and firm enough to handle, it's time for slicing. Transfer one log to a cutting board. Using a sharp knife or a serrated knife (a serrated knife often works best for clean cuts through nuts), carefully slice the log into individual cookies. The thickness is a matter of preference, but aim for slices about 1/2 inch (about 1.5 cm) thick. Thinner slices will be crispier, while thicker ones will have a bit more chew.
Try to make your slices as uniform as possible so they bake evenly during the second bake. Hold the log gently but firmly as you slice. If the log is too hot, it might crumble; if it's too cool, it might be hard to slice cleanly. The 10-15 minute cooling period is usually just right for this easy beginner biscotti recipe. Repeat the slicing process with the second log.
Arranging Biscotti for Optimal Airflow
After slicing, arrange the individual biscotti slices back onto the baking sheet, this time laying them cut-side down. It's important to space the slices out slightly, leaving a small gap between each one. This allows hot air to circulate around each cookie during the second bake. Proper airflow is essential for drying out the biscotti and achieving that signature crisp, dry texture.
You might need to use two baking sheets depending on the yield of your simple biscotti batch. Don't overcrowd the pan; if the slices are too close together, they will steam rather than dry out, resulting in softer biscotti. Arranging them correctly ensures each cookie gets the necessary heat exposure for perfect crisping.
The Second Bake: Creating the Classic Crunch
Now for the second bake, which is where your biscotti get their name and their characteristic crunch. Return the baking sheet(s) with the sliced biscotti to the oven, which should still be at 350°F (175°C). Bake for approximately 10 to 15 minutes, then carefully flip each biscotti over and bake for another 10 to 15 minutes.
The goal of this second bake is to dry out the cookies until they are hard and crispy throughout. The exact time will vary depending on your oven and how thick you sliced the biscotti. Watch them carefully; they should turn a deeper golden brown and feel very firm and dry. Avoid burning them. Once they reach the desired level of crispness, remove the baking sheets from the oven. This double baking process is key to the success of this easy beginner biscotti recipe.
Cooling and Storing Your Biscotti
Cooling Biscotti Correctly
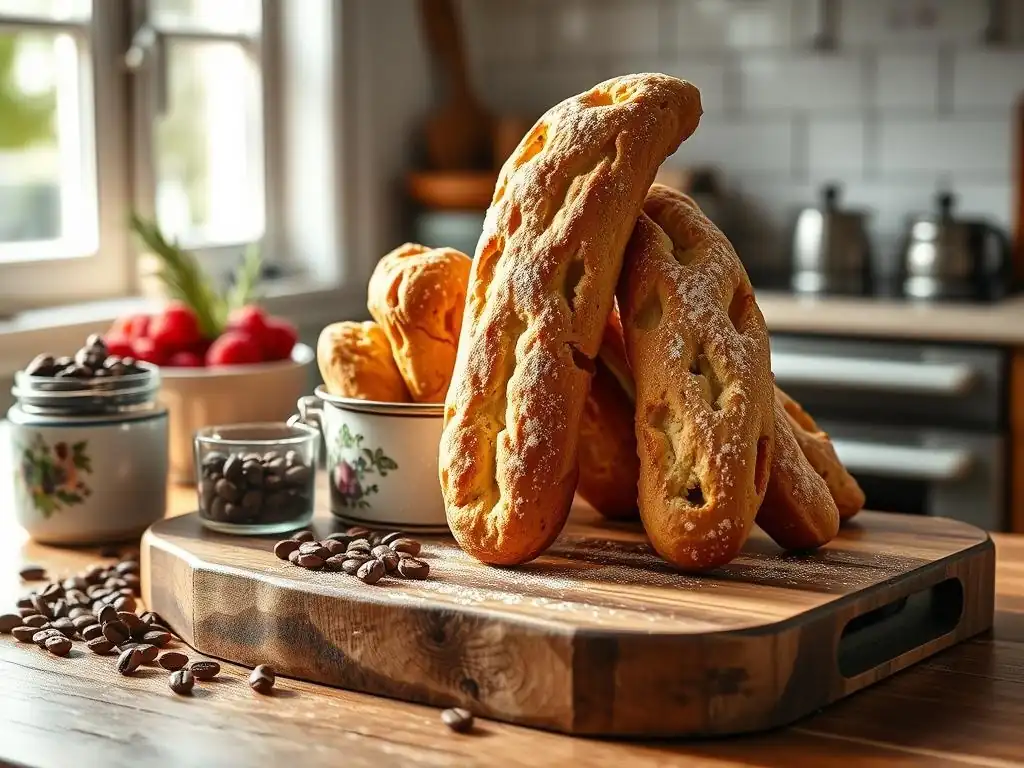
After the second bake, it's crucial to let your homemade biscotti cool completely. Transfer the hot biscotti from the baking sheet to a wire cooling rack immediately. Arranging them on a rack allows air to circulate around all sides of the cookies, preventing condensation which could make them soft.
Allow the biscotti to cool on the rack for at least 30 minutes, or until they are completely cool to the touch. As they cool, they will continue to crisp up and harden. Patience at this stage ensures you get that perfect, snappy texture from your simple biscotti. Trying to store them before they are fully cooled can trap moisture and compromise their crispness.
Storing for Lasting Freshness
One of the great advantages of biscotti is their excellent shelf life, thanks to the double baking process. Once your biscotti are completely cool, store them in an airtight container. A cookie tin or a glass jar with a tight-fitting lid works perfectly.
Store the container at room temperature in a cool, dry place away from direct sunlight. Properly stored, your homemade biscotti should remain fresh and crispy for up to 2-3 weeks. Avoid refrigerating them, as this can introduce moisture. Enjoying a simple biscotti even weeks after baking is a testament to this classic Italian method.
Biscotti Variations & Flavor Ideas
Adding Citrus Zest for Brightness
While almond and anise are classic, adding citrus zest can introduce a wonderful brightness to your easy beginner biscotti recipe. Finely grated zest from one orange or lemon can be added to the wet ingredients along with the vanilla extract. The oils in the zest infuse the dough with a fresh, aromatic flavor that pairs beautifully with almonds.
For a standard batch made with about 2-3 cups of flour, the zest of one medium citrus fruit is usually sufficient. Ensure you only grate the colored part of the peel, avoiding the bitter white pith. This simple addition transforms the flavor profile, offering a refreshing twist on the traditional simple biscotti.
Exploring Spice Combinations: Cinnamon, Cardamom, and More
Beyond anise, a variety of spices can elevate your beginner biscotti. Cinnamon is a natural pairing with almonds; try adding 1-2 teaspoons of ground cinnamon to the dry ingredients. Cardamom offers a warm, slightly exotic note, perhaps 1/2 to 1 teaspoon. Nutmeg or even a pinch of ground cloves can add depth.
- Cinnamon Almond Biscotti: Add 1.5 tsp ground cinnamon.
- Cardamom Orange Biscotti: Add 1 tsp ground cardamom and the zest of one orange.
- Ginger Spice Biscotti: Add 1 tsp ground ginger, 1/2 tsp cinnamon, 1/4 tsp cloves.
Experiment with different combinations, starting with smaller amounts and adjusting to your preference. These spice variations make your easy beginner biscotti recipe incredibly versatile.
Chocolate Dipped Biscotti: An Elegant Variation
For a touch of indulgence, dipping your cooled biscotti in melted chocolate is a popular and elegant variation. Use good quality melting chocolate or chocolate chips – about 6-8 ounces (170-225 grams) of semi-sweet, dark, or white chocolate. Melt the chocolate gently in a double boiler or microwave, stirring until smooth.
Dip one end or half of each cooled biscotti into the melted chocolate. Allow the excess chocolate to drip off, then place the dipped biscotti on a wire rack or parchment-lined tray to set. You can sprinkle with chopped nuts, sea salt, or sprinkles before the chocolate hardens. Once set, store them carefully in an airtight container. This simple step turns your simple biscotti into a special treat.
Other Biscotti Flavor Combinations
The possibilities for biscotti flavors are vast! Once you've mastered the basic easy beginner biscotti recipe, you can experiment with different nuts, dried fruits, or extracts.
- Nut Variations: Substitute or combine almonds with pistachios, hazelnuts, walnuts, or pecans. Toasting them first is key for flavor.
- Dried Fruit: Add chopped dried cranberries, cherries, apricots, or figs to the dough along with the nuts. About 1/2 cup (around 60-80 grams) usually works well.
- Extracts: Use almond extract instead of or in addition to vanilla for a stronger almond flavor, or try a little orange extract.
- Seeds: Poppy seeds or sesame seeds can add interesting texture and flavor.
- Chocolate Chips: Add mini chocolate chips (about 1/2 cup) to the dough for a chocolatey simple biscotti.
These variations keep your beginner biscotti recipe exciting and allow you to customize batches to different tastes and occasions.
Troubleshooting Common Biscotti Baking Issues
Biscotti Too Hard? Adjusting Baking Time
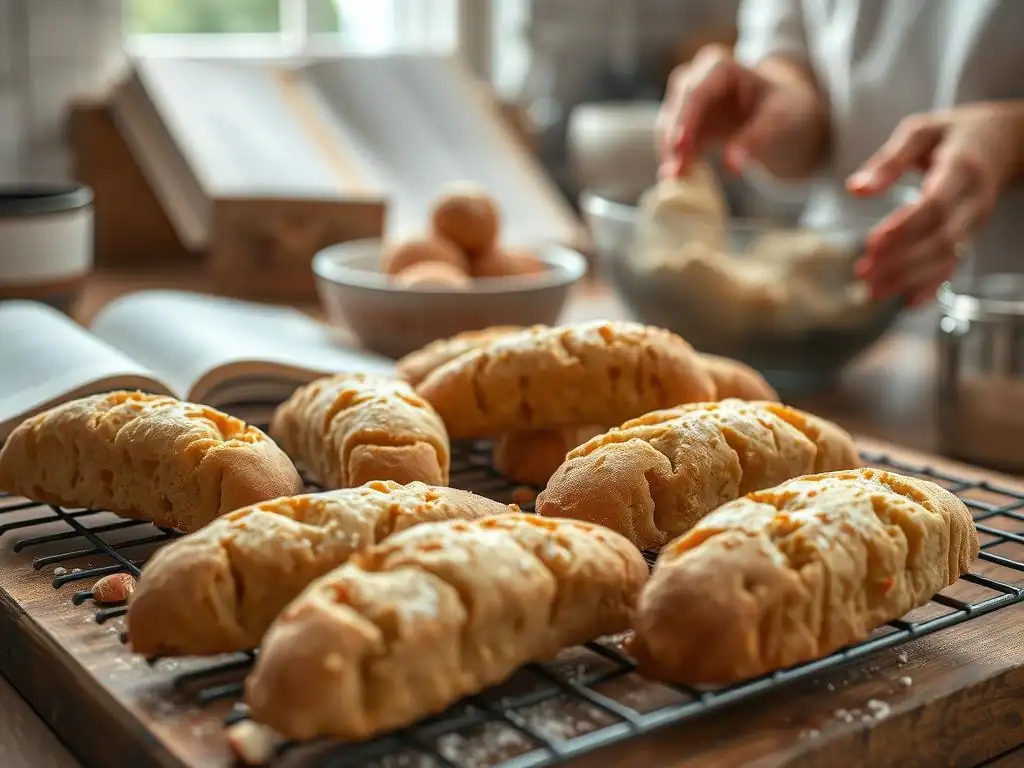
If your biscotti turn out excessively hard, like rocks, it's likely due to over-baking during the second bake. The goal is crispness, not concrete! For your next batch of easy beginner biscotti recipe, try reducing the time for the second bake by 5-10 minutes total (split between both sides). Keep a close eye on them during this stage.
Remember that biscotti continue to harden as they cool. They should feel very firm coming out of the oven, but not brittle. If they are already extremely hard when hot, they will be even harder when cooled. Note your oven's actual temperature (an oven thermometer can help) and consider if it runs hot.
Biscotti Too Soft? Ensuring Proper Drying
Conversely, if your biscotti are too soft or chewy in the center, they haven't been dried out enough during the second bake. This is a common issue for beginners. The second bake is specifically designed to reduce moisture content significantly.
To fix this for your current batch, you can place the cooled, soft biscotti back on a baking sheet and return them to a low oven (around 300°F or 150°C) for another 10-20 minutes, checking frequently. For your next simple biscotti batch, ensure you are baking them for the recommended time during the second bake, flipping them halfway through, and ensuring there is good airflow on the baking sheet.
Biscotti Spreading Too Much? Chilling the Dough
If your biscotti logs spread excessively during the first bake, resulting in flat cookies, the dough might have been too warm or contained too much moisture or fat relative to the flour. For your next easy beginner biscotti recipe, try chilling the shaped logs on the baking sheet in the refrigerator for 20-30 minutes before the first bake.
This chilling step solidifies the fat in the dough, helping the logs hold their shape better in the initial heat of the oven before the structure sets. Ensure you're measuring your ingredients accurately, particularly the flour. A slightly drier dough will also spread less.
Serving Suggestions for Homemade Biscotti
Biscotti with Coffee: A Traditional Pairing
The most classic way to enjoy your homemade easy beginner biscotti recipe is by dipping it into a hot cup of coffee. The sturdy texture of the biscotti makes it perfect for soaking up just enough liquid without falling apart. The flavors of almond and anise complement the richness of coffee beautifully.
Serve your simple biscotti alongside your morning espresso, afternoon cappuccino, or evening decaf. This simple ritual is a comforting way to savor the fruits of your baking efforts and a delightful start or end to your day.
Biscotti with Vin Santo: A Sweet Italian Tradition
In Tuscany, biscotti (often specifically called cantucci) are traditionally served after a meal with a small glass of Vin Santo, a sweet dessert wine. The biscotti are dipped into the wine, softening their texture and combining the nutty, sometimes citrusy cookie flavors with the rich, honeyed notes of the wine.
This elegant pairing is a wonderful way to enjoy your simple biscotti for a special occasion or to experience an authentic Italian custom. Offer both coffee and Vin Santo options when serving guests for a true taste of tradition.
Biscotti as a Gift: Thoughtful Packaging Ideas
Homemade biscotti make a lovely and thoughtful gift, especially since they keep so well. Once completely cooled and crispy, stack them neatly and tie them with a ribbon. You can place them in decorative tins, cellophane bags tied with festive ribbons, or even small boxes lined with parchment paper.
Consider pairing a box of your easy beginner biscotti recipe with a bag of quality coffee beans or a small bottle of Vin Santo for a complete gift package. Adding a handwritten tag with the flavor (e.g., "Almond Anise Biscotti") and storage instructions adds a personal touch. Sharing your simple biscotti is a wonderful way to spread baking joy.
Conclusion: Enjoy Your Homemade Biscotti!
Recap of the Almond Anise Biscotti Recipe
You've successfully navigated the steps to create delicious, crispy almond anise biscotti using this easy beginner biscotti recipe. We started by gathering simple ingredients and essential tools. We then learned how to combine the dry and wet ingredients to form a manageable dough, incorporating the classic flavors of almonds and anise.
The process involved shaping the dough into logs for the crucial first bake, which sets the structure. Finally, we mastered the second bake – slicing the cooled logs and baking the individual cookies again to achieve that signature dry, crispy texture, perfect for dipping. Cooling and proper storage ensure your simple biscotti stays fresh and enjoyable.
Encouragement for Home Bakers: Practice Makes Perfect
Congratulations on completing your first batch of homemade biscotti! Baking, especially learning a new type of cookie like biscotti, is a skill that improves with practice. Don't worry if your first batch isn't absolutely perfect. Perhaps they spread a little much, or one log was slightly more golden than the other.
Each attempt builds your intuition for dough consistency, baking times, and oven behavior. This easy beginner biscotti recipe provides a solid foundation. Feel confident to try variations, experiment with flavors, and bake more batches. Soon, you'll be effortlessly whipping up perfect, crispy simple biscotti to share and enjoy!
Frequently Asked Questions
What makes this biscotti recipe "beginner-friendly"?
This recipe focuses on simple techniques and uses easily accessible ingredients. It avoids complex steps, making it perfect for those new to baking biscotti.
How do I achieve the classic crispy texture of biscotti?
The key to crispiness is double baking. The first bake sets the shape, and the second, longer bake dries them out to achieve the desired crunchy texture.
What variations can I make to this easy biscotti recipe?
You can easily customize the recipe by adding different nuts, dried fruits, or extracts. Consider almonds, pistachios, cranberries, or orange zest for unique flavors.
Can I store these biscotti, and if so, for how long?
Yes! Biscotti store very well. Keep them in an airtight container at room temperature for up to two weeks for optimal freshness.
What are common mistakes beginners make when baking biscotti?
Overmixing the dough or not baking them long enough during the second bake are common pitfalls. Careful attention to baking times is crucial for perfectly crispy biscotti.
Final Reflection: The Enduring Charm of Simple Baking
The accessibility of baking, especially when approached with a beginner-friendly recipe like biscotti, offers a powerful antidote to the fast-paced modern world. The satisfying crunch of a perfectly baked biscotti, achieved with minimal effort, speaks volumes about the joy found in simple pleasures. It's a reminder that creating something delicious doesn't require complicated techniques or hours in the kitchen.
The enduring appeal of biscotti, beyond its delicious taste, lies in its ability to connect us to culinary traditions and the simple act of sharing. It's a recipe easily adaptable to personal preferences, allowing for creative exploration within a familiar framework. This resonates deeply with me, as baking has always been a source of comfort and connection. Baking is at once child's play and adult joy. And love, of course.
- Alma Flor Ada. This quote perfectly captures the essence of this simple yet rewarding baking experience.
Now, I invite you to embrace the simplicity of this biscotti recipe. Don't be intimidated by the idea of baking; instead, see it as an opportunity to unwind, to create something beautiful, and to share a taste of Italy with friends and family. The crisp, delightful crunch of your homemade biscotti awaits – a testament to the magic found in even the simplest of recipes. Try it, and discover the joy for yourself.
Unleash Your Inner Biscotti Baker!
Thanks for joining us on this delicious journey into the world of biscotti! We hope you've gained the confidence to tackle these crispy Italian treats. Ready to take your baking skills to the next level?
- Bake a batch of your own biscotti – Use our recipe as a springboard and experiment with different flavors! Think chocolate chunks, dried cranberries, or even a hint of citrus zest.
- Share your biscotti creations – Post a photo on social media and tag us @BakeWithEase (fictional social media handle). We'd love to see your baking masterpieces!
- Leave a comment below – What's your favorite biscotti flavor combination, or what new twist will you try?
What unique ingredient will you add to your next batch of biscotti to make it truly your own?