
The Easiest Way to Get Flaky Scones

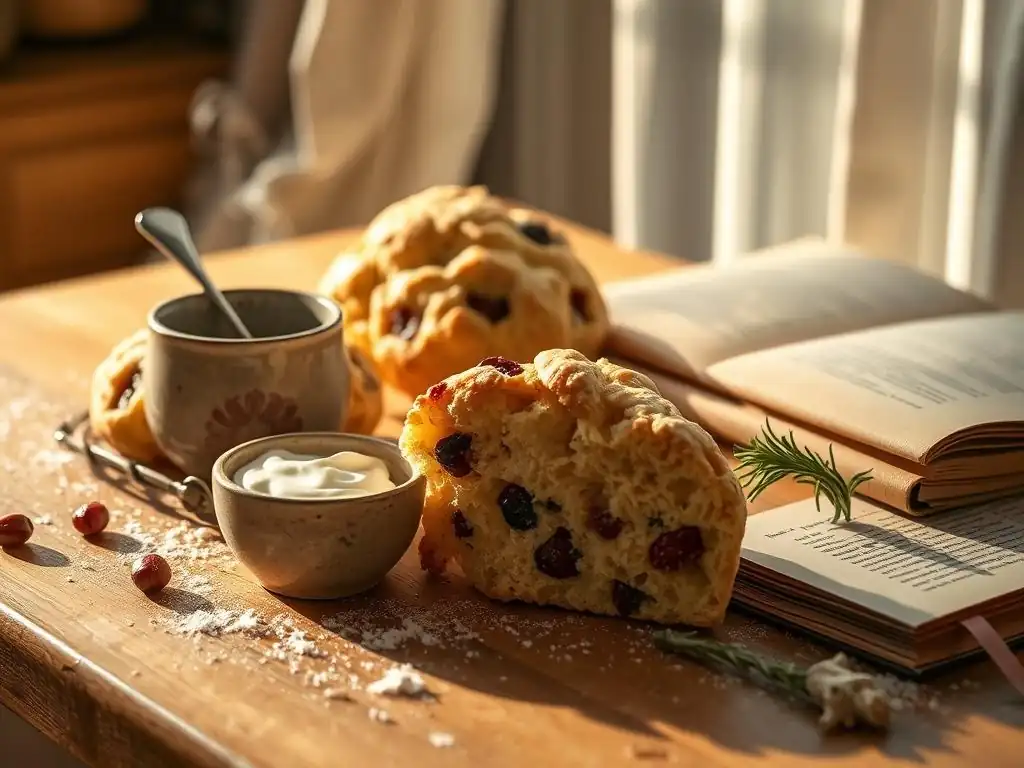
Welcome to BakeWithEase, your guide to effortless baking! Ever dreamt of perfectly flaky scones but felt intimidated? You're not alone. Discover our easy flaky scone recipe, designed to transform even the newest baker into a scone-baking pro. Uncover the secrets to achieving that coveted texture and flavor – are you ready to learn the simple techniques that will unlock scone perfection? Let's get baking!
- The Ultimate Guide to Perfect Blueberry Scones
- Baker's Corner: Mastering Flaky Blueberry Scones at Home
- Why Flaky Scones? The Secret to a Delicious Bake
- Mastering the Flaky Blueberry Scone Recipe: A Step-by-Step Guide
- Step 1: Preparing the Dough for Flaky Blueberry Scones
- Step 2: Shaping and Baking Your Scones
- Step 3: Achieving the Perfect Golden Brown Scone
- Tips and Tricks for the Best Flaky Blueberry Scones
- Variations on the Flaky Scone Recipe
- Troubleshooting Common Scone Baking Problems
- Serving and Storing Your Homemade Flaky Blueberry Scones
- Enjoy Your Flaky Blueberry Scone Recipe from Baker's Corner!
-
Frequently Asked Questions
- What is the key to achieving a truly flaky scone when using an easy recipe?
- My scones often turn out dry. What's the most common mistake in an easy flaky scone recipe that causes this?
- Can I substitute ingredients in an easy flaky scone recipe? For example, milk for cream?
- What's the best way to cut the butter into the flour for an easy flaky scone recipe if I don't have a pastry blender?
- How long should I bake my easy flaky scones for to ensure they are cooked through but not overbaked?
- Final Reflection: The Enduring Allure of the Perfect Flaky Scone
- Unlock Your Inner Baker: Master Flaky Scones Today!
The Ultimate Guide to Perfect Blueberry Scones
Baker's Corner: Mastering Flaky Blueberry Scones at Home
Welcome back to Baker's Corner! Today, we're diving into the wonderful world of scones, specifically focusing on how to achieve that coveted flaky texture that makes them so irresistible. Scones are a delightful treat, perfect for breakfast, brunch, or an afternoon tea, and mastering an easy flaky scone recipe is a rewarding step in any baker's journey. We'll walk you through the process, from understanding the science behind flakiness to the final golden-brown bake.
Creating truly flaky blueberry scones might seem daunting, but with the right techniques and a little patience, it's surprisingly achievable, even for beginners. This guide is designed to simplify the steps, ensuring you get consistently delicious results. Get ready to bake some of the best homemade scones you've ever tasted, bursting with juicy blueberries and that perfect light, airy crumb.
Why Flaky Scones? The Secret to a Delicious Bake
Understanding Scone Texture: From Crumbly to Flaky
Scone texture can vary widely, from dense and crumbly to light and beautifully flaky. The difference often lies in how the fat (butter) is incorporated into the dry ingredients. A crumbly scone typically results from butter being fully blended into the flour, creating a uniform, sand-like mixture. While still tasty, this lacks the characteristic layers that define a truly exceptional scone.
Achieving a flaky texture relies on leaving small pieces of cold butter intact within the dough. As the scones bake, these butter pieces melt, creating steam pockets that push the layers of dough apart. This process is what forms those distinct, buttery layers and gives the scone its light, airy structure. Mastering this technique is key to perfecting an easy flaky scone recipe.
The Appeal of a Light and Airy Scone
The appeal of a light and airy scone is undeniable. It's a textural delight that melts in your mouth, offering a stark contrast to heavier baked goods. This delicate structure allows the flavors, like sweet blueberries and rich butter, to shine without being weighed down. A flaky scone feels special, a testament to simple ingredients transformed through careful technique.
Beyond the texture, a light and airy scone provides the perfect canvas for toppings like clotted cream and jam, or simply a dusting of powdered sugar. It absorbs just the right amount of moisture without becoming soggy. For anyone looking for an easy flaky scone recipe, aiming for this light, layered outcome is the ultimate goal for a truly satisfying bake.
Mastering the Flaky Blueberry Scone Recipe: A Step-by-Step Guide
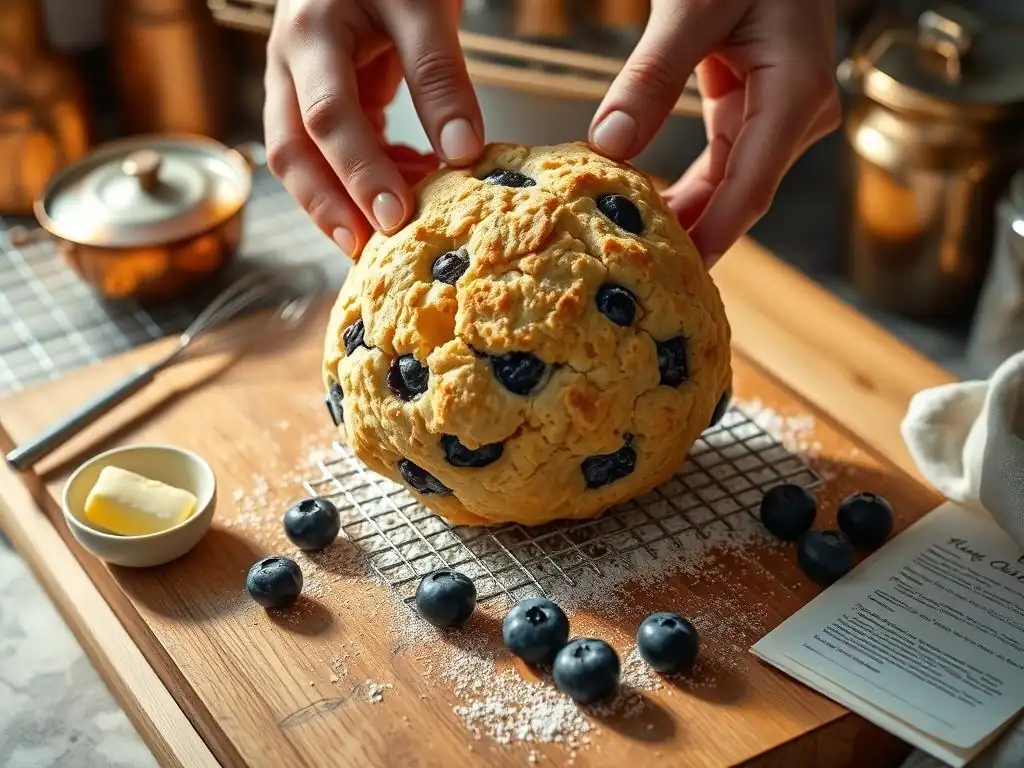
Making delicious flaky blueberry scones at home is a straightforward process when you break it down. This guide provides a reliable framework, ensuring you understand each crucial step. We'll start with gathering your ingredients and essential equipment, setting the stage for success with this easy flaky scone recipe.
Following these steps meticulously will help you avoid common pitfalls and achieve that perfect texture and flavor. From preparing the dough with cold ingredients to the final bake, each stage plays a vital role in creating scones that are light, tender, and bursting with blueberry goodness. Let's get started on your journey to mastering this delightful bake.
Ingredients for the Ultimate Flaky Blueberry Scones
Gathering your ingredients precisely is the first step towards a successful easy flaky scone recipe. Using the correct measurements ensures the right balance of wet and dry components, which is essential for texture and rise. Ensure all ingredients, especially the butter and cream, are very cold.
- 2 cups All-Purpose Flour
- 1/2 cup Granulated Sugar
- 2 1/2 tsp Baking Powder
- 1/4 tsp Baking Soda
- 1/2 tsp Salt
- 1/2 cup (1 stick) Cold Unsalted Butter, cut into cubes
- 3/4 cup Heavy Cream
- 1 tsp Vanilla Extract
- 1 cup Fresh Blueberries
Equipment You'll Need for Baking Flaky Blueberry Scones
Having the right tools makes the baking process much smoother and contributes to better results. For this easy flaky scone recipe, you don't need fancy equipment, just a few basic items commonly found in most kitchens.
- Large Mixing Bowl
- Pastry Blender or Food Processor
- Measuring Cups and Spoons
- Baking Sheet
- Parchment Paper
- Wire Rack
Step 1: Preparing the Dough for Flaky Blueberry Scones
The initial steps of mixing the dough are arguably the most critical for achieving flaky scones. It's all about how you handle the butter and wet ingredients. This stage sets the foundation for the texture, so pay close attention to temperature and mixing technique.
Getting this step right ensures that when your scones hit the hot oven, the cold butter will create those desirable steam pockets, resulting in beautiful layers. Don't rush this part; it's where the magic of an easy flaky scone recipe truly begins to happen.
The Cold Butter Secret: Achieving Maximum Flakiness
The cornerstone of a flaky scone is cold butter. Using butter straight from the refrigerator and keeping it cold throughout the mixing process is non-negotiable. When cold butter is cut into small pieces and mixed into the flour, it doesn't fully combine. Instead, it remains in distinct, tiny chunks.
During baking, these cold butter pieces melt slowly. As they melt, the water content in the butter turns into steam. This steam expands rapidly, forcing apart the layers of dough surrounding the butter pockets. This separation creates air pockets and layers, yielding that wonderfully flaky texture we're aiming for in our easy flaky scone recipe. Approximately 1/2 cup (one stick) of very cold butter is typically needed for this quantity of dry ingredients.
Cutting in the Butter: Techniques for Success
Cutting cold butter into the dry ingredients is the technique used to create those essential butter pieces. You can do this using a pastry blender, two forks, or even your fingertips (though work quickly to avoid warming the butter). The goal is to break the butter into pieces roughly the size of small peas or even smaller, like coarse meal.
Alternatively, a food processor can make this step very quick. Pulse the flour, sugar, baking powder, baking soda, and salt a few times, then add the cold butter cubes and pulse until the mixture resembles coarse crumbs with some pea-sized pieces remaining. This method is very efficient for an easy flaky scone recipe, just be careful not to over-process.
Adding the Wet Ingredients: Gentle Mixing is Key
Once the cold butter is cut into the dry ingredients, it's time to add the wet components: the cold heavy cream and vanilla extract. Pour the liquid into the center of the dry mixture. Use a fork or spatula to gently bring the dry ingredients into the wet, mixing just until everything is barely combined. The dough should look shaggy and a bit crumbly, not smooth.
It is absolutely crucial not to overmix at this stage. Overmixing develops the gluten in the flour, which leads to tough, dense scones instead of light and flaky ones. A few dry spots are perfectly fine; they will hydrate as the dough rests slightly. This gentle approach is vital for achieving the desired texture in your easy flaky scone recipe.
Step 2: Shaping and Baking Your Scones
With the dough prepared, the next steps involve shaping the scones and getting them ready for the oven. How you handle the dough now, and the temperature you bake at, significantly impact the final rise and flakiness. Patience and gentle handling are key during shaping.
Ensuring the oven is properly preheated and baking the scones at the correct temperature allows the butter to melt and create steam effectively, contributing to maximum lift and flakiness. Follow these steps for perfectly formed and ready-to-bake flaky blueberry scones.
Forming the Scone Dough: Avoiding Overworking
Turn the shaggy dough out onto a lightly floured surface. Gently pat or lightly roll the dough into a circle or rectangle about 3/4 to 1 inch thick. Avoid kneading the dough like bread dough; this will develop gluten and result in tough scones. The less you handle the dough, the better.
If using blueberries, gently scatter them over the dough and fold the dough over once or twice to incorporate them without crushing too many berries. Pat it back into the desired thickness. The goal is to bring the dough together just enough to shape it, maintaining those precious layers created by the cold butter. This gentle handling is essential for an easy flaky scone recipe.
Cutting Scones: Shapes and Sizes
Scones can be cut into various shapes. A common method is to cut the circle or rectangle into wedges using a knife or bench scraper. For a round shape, you can use a biscuit cutter (dipped in flour between cuts) or even the rim of a glass. Avoid twisting the cutter, as this can seal the edges and prevent the scones from rising properly.
For consistent baking time and even results, try to make your scones roughly the same size. Wedges from a 1-inch thick circle might yield 6-8 scones, while cutting squares or rounds might result in a similar number depending on size. Placing the cut scones onto a parchment-lined baking sheet is the next step.
Baking for Flakiness: Temperature and Time
Preheating your oven to a relatively high temperature, typically around 400°F (200°C), is crucial for baking flaky scones. The initial burst of high heat helps the butter melt quickly and produce steam, creating that characteristic lift and flakiness before the exterior sets.
Bake the scones for approximately 15-20 minutes. The exact time will vary depending on your oven and the size and thickness of your scones. They are ready when they have risen significantly and the tops and edges are golden brown. Baking at the right temperature for the correct duration is vital for a successful easy flaky scone recipe.
Step 3: Achieving the Perfect Golden Brown Scone
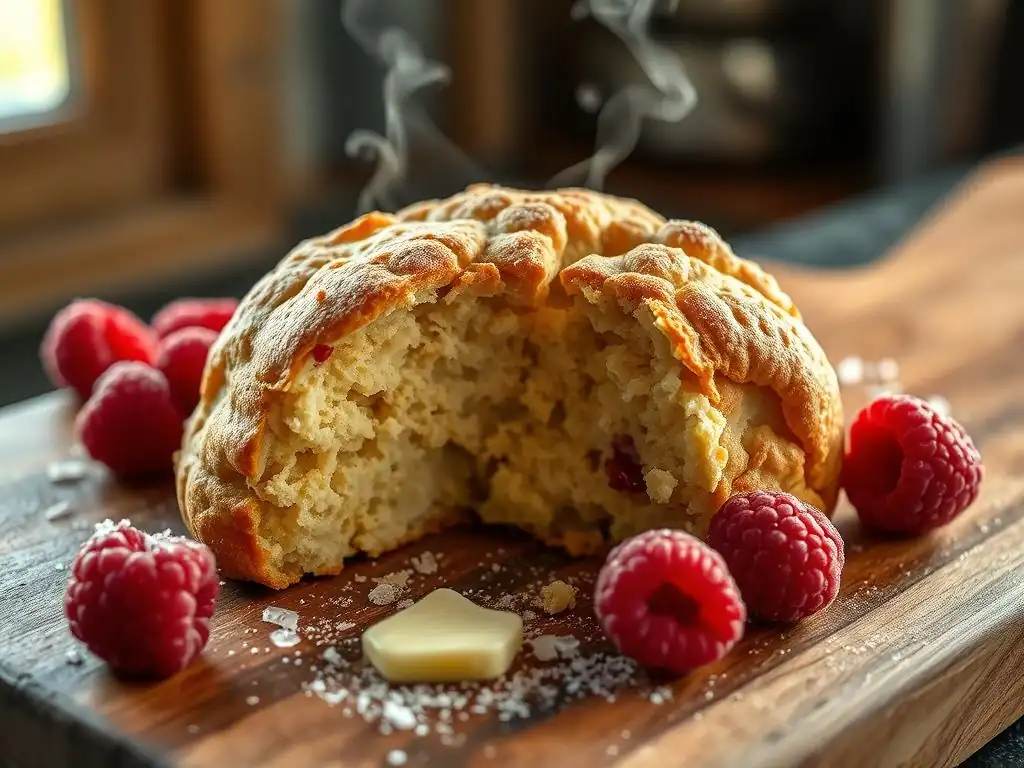
Once your scones are in the oven, a few final touches and careful monitoring ensure they bake up beautifully golden and maintain their flaky texture. The finish applied before baking and knowing when they are perfectly done are key indicators of a successful bake.
This final stage is about achieving aesthetic appeal alongside perfect texture. A golden-brown crust adds flavor and visual appeal, signaling that your easy flaky scone recipe has yielded delicious results, ready to be enjoyed.
Egg Wash or Milk Wash: Which is Best?
Applying a wash to the tops of your scones before baking contributes to a beautiful golden-brown crust and a slightly crisp exterior. An egg wash (one egg beaten with a tablespoon of water or milk) provides a richer, shinier finish.
A milk or cream wash offers a softer sheen and a slightly lighter color. Either option works well for this easy flaky scone recipe, depending on your preference for the final look. Brush the tops gently, avoiding drips down the sides, which can hinder the rise.
Monitoring Scone Doneness: Visual Cues
Knowing when your scones are done is primarily about visual cues. Look for a significant rise and a lovely golden-brown color across the tops and sides. They should also feel firm to the touch. If you tap the bottom of a scone, it should sound slightly hollow.
Avoid opening the oven door too frequently during the first 10-12 minutes of baking, as this can cause the oven temperature to drop and impact the rise. Trust the visual indicators – golden color and firm texture – to tell you when your flaky blueberry scones are ready to come out.
Cooling Your Scones: Preserving Flakiness
Once baked to perfection, carefully transfer the scones from the baking sheet to a wire rack to cool. Cooling on a wire rack allows air to circulate around the entire scone, preventing the bottom from becoming soggy from residual heat.
Allowing the scones to cool for at least 10-15 minutes before breaking into them is important. This allows the internal structure to set properly. While it's tempting to enjoy them piping hot, a slight cooling period helps preserve that desired flaky texture achieved with your easy flaky scone recipe.
Tips and Tricks for the Best Flaky Blueberry Scones
Beyond the basic steps, a few extra tips can elevate your scones from good to absolutely fantastic. These pointers focus on maintaining the integrity of your ingredients and dough throughout the process, ensuring maximum flakiness and flavor.
Incorporating these simple tricks into your routine will consistently produce superior results with your easy flaky scone recipe. They are small adjustments that make a big difference in the final outcome, ensuring light, tender, and delicious scones every time.
Ensuring Cold Ingredients: A Crucial Step
We've mentioned it before, but it bears repeating: all your cold ingredients should be genuinely cold. This includes the butter, heavy cream, and even the blueberries if using fresh ones that have been refrigerated. Warm ingredients, especially butter, will melt into the flour too quickly, preventing the formation of those crucial steam-creating pockets.
Consider chilling your mixing bowl and pastry blender in the refrigerator for 10-15 minutes before you start. If your kitchen is warm, work quickly or even pop the dough into the freezer for 5-10 minutes before cutting and baking. Maintaining cold temperatures is perhaps the single most crucial factor for a truly flaky texture in an easy flaky scone recipe.
Avoiding Overmixing: Protecting the Texture
Overmixing is the enemy of flaky scones. Once the wet ingredients are added, stop mixing as soon as the dry ingredients are mostly moistened and the dough just begins to come together in a shaggy mass. Resist the urge to mix until smooth or uniform.
Even during shaping, handle the dough as little as possible. Patting is better than kneading. Excessive mixing develops gluten strands, which makes the scones tough and bread-like, completely counteracting your efforts to achieve a light, flaky texture. Gentle handling is key to this easy flaky scone recipe.
Baking Sheet Placement: Optimizing Heat Distribution
For even baking and proper rise, place your baking sheet with scones on the middle rack of your preheated oven. This position typically provides the most consistent heat distribution, ensuring the scones bake evenly and develop a beautiful golden color without the bottoms burning or the tops browning too quickly.
If baking multiple batches, allow the oven to come back up to the full temperature of 400°F (200°C) between batches. Overcrowding the baking sheet can also impede proper heat circulation; leave about an inch or two of space between each scone to allow them room to expand. Proper placement contributes significantly to the success of your easy flaky scone recipe.
Variations on the Flaky Scone Recipe
While the classic blueberry scone is a delight, the beauty of an easy flaky scone recipe lies in its versatility. Once you've mastered the basic technique, you can easily adapt it to create a variety of delicious flavors and finishes.
Experimenting with different additions and glazes allows you to customize your scones to suit different occasions or personal preferences. These variations are simple ways to add a new dimension to your go-to flaky scone recipe.
Lemon Blueberry Scones: A Zesty Twist
Adding lemon zest is a fantastic way to brighten the flavor of blueberry scones. For a batch using 2 cups of flour, finely grate the zest of one large lemon into the dry ingredients along with the flour, sugar, and leavening agents. The oils in the zest infuse the dough with a wonderful citrus aroma and taste that perfectly complements the sweet blueberries.
Ensure the zest is finely grated to distribute the flavor evenly. This simple addition transforms the easy flaky scone recipe into a vibrant, more complex treat, offering a burst of sunshine with every bite.
Adding Glaze: A Sweet Finish
A simple glaze can add an extra layer of sweetness and moisture to your baked scones. A basic glaze can be made by whisking together about 1 cup of powdered sugar with 2-3 tablespoons of milk, cream, or lemon juice (for a lemon glaze) until smooth and pourable.
Drizzle the glaze over the cooled scones. Applying glaze while the scones are hot will cause it to melt and be absorbed, resulting in a less defined finish. Allow the glaze to set for about 15-20 minutes before serving. This sweet finish is a popular addition to an easy flaky scone recipe.
Different Berries: Experimenting with Flavors
The blueberry in this easy flaky scone recipe can easily be swapped for other fruits. Fresh or frozen (unthawed) raspberries, blackberries, or chopped strawberries work wonderfully. Use the same quantity, approximately 1 cup.
If using frozen berries, do not thaw them before adding them to the dough. Adding them frozen helps keep the dough cold. Handle the dough gently to avoid crushing the berries, especially with softer varieties like raspberries. This simple substitution allows for endless flavor possibilities with your flaky scone recipe.
Troubleshooting Common Scone Baking Problems
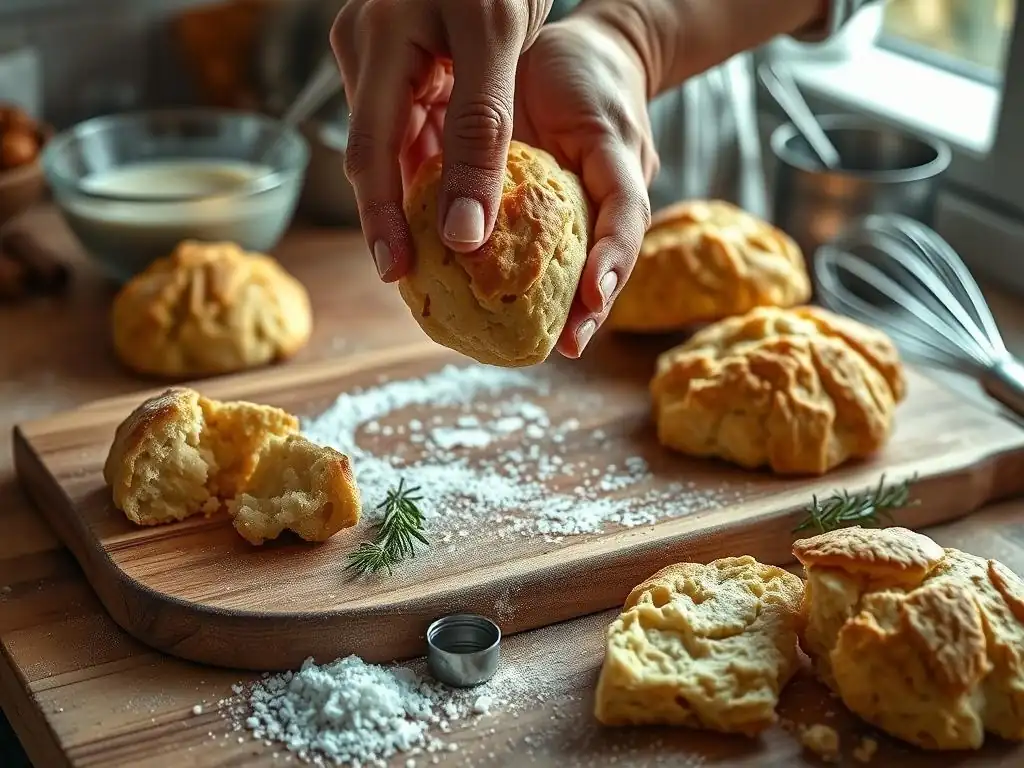
Even with a reliable easy flaky scone recipe, sometimes things don't go exactly as planned. Understanding common issues and how to address them can help you improve your technique and achieve perfect results consistently. Don't be discouraged by less-than-perfect batches; baking is a learning process!
Identifying the cause of a problem, like dry or flat scones, is the first step to fixing it. These troubleshooting tips will help you diagnose and correct common errors, ensuring your next batch of flaky blueberry scones is a success.
Dry Scones: Causes and Solutions
Dry scones are often a result of too much flour, not enough liquid, or overmixing the dough, which can overdevelop gluten and make the texture dense rather than moist and tender. Ensure you measure your flour correctly, preferably by weight (approximately 240-250 grams for 2 cups), or by spooning it lightly into the measuring cup and leveling it off.
If your dough feels too dry and crumbly even before baking, you may need to add a tiny bit more cold cream, just enough to bring the dough together. For future batches of your easy flaky scone recipe, double-check your liquid measurements and be extra careful not to overmix.
Flat Scones: Achieving Height and Rise
Flat scones can be caused by several factors: using expired leavening agents (baking powder/soda), butter that wasn't cold enough, overworking the dough (which inhibits rise), or not baking in a hot enough oven. Baking powder and baking soda lose potency over time, so ensure yours are fresh.
Make sure your butter is cut into distinct pieces and kept cold. Handle the dough minimally during mixing and shaping. And always preheat your oven fully to 400°F (200°C) before baking. Ensuring these conditions are met will help your easy flaky scone recipe achieve maximum height and a beautiful rise.
Tough Scones: Preventing Overdevelopment of Gluten
Tough scones are almost always a sign of overmixing the dough. When flour is mixed with liquid and agitated, gluten develops. While necessary for bread structure, too much gluten development makes scones heavy and tough instead of light and flaky.
To prevent tough scones, mix the dough just until the dry ingredients are moistened. The dough should look shaggy, not smooth. Avoid kneading. Use a light hand when patting out and shaping the dough. Following the gentle mixing instructions in your easy flaky scone recipe is crucial for preventing toughness.
Serving and Storing Your Homemade Flaky Blueberry Scones
Once your beautiful, flaky blueberry scones are baked and slightly cooled, the best part begins – enjoying them! Knowing the best ways to serve and store your homemade treats ensures you get to savor their deliciousness to the fullest.
Proper serving enhances the experience, while correct storage keeps them fresh for as long as possible. These final tips help you make the most of your successful easy flaky scone recipe.
Best Ways to Enjoy Freshly Baked Scones
Flaky blueberry scones are best enjoyed fresh from the oven, preferably warm. Classic accompaniments include clotted cream (or whipped cream if clotted cream isn't available) and your favorite jam or preserves. Simply split the scone horizontally and pile on the cream and jam.
They are also wonderful served simply with butter, or even plain, allowing the buttery, flaky texture and sweet blueberries to be the star. A cup of tea or coffee is the perfect pairing. Don't hesitate to enjoy your easy flaky scone recipe creation in your favorite way!
Properly Storing Scones to Maintain Freshness
Scones are definitely best eaten the day they are baked, as their texture is at its peak. However, if you have leftovers, store them at room temperature in an airtight container. This helps prevent them from drying out.
To refresh leftover scones, you can gently warm them in a toaster oven or a regular oven at a low temperature (around 300°F or 150°C) for about 5-10 minutes. Avoid microwaving, as this can make them tough. Stored properly, they should remain enjoyable for 1-2 days.
Enjoy Your Flaky Blueberry Scone Recipe from Baker's Corner!
Frequently Asked Questions
What is the key to achieving a truly flaky scone when using an easy recipe?
The secret lies in using cold ingredients, especially the butter. Keep everything chilled to prevent the butter from melting before baking, creating pockets of steam for flakiness.
My scones often turn out dry. What's the most common mistake in an easy flaky scone recipe that causes this?
Overmixing the dough is a major culprit. Aim for just combining the ingredients, leaving some imperfections. This prevents gluten development, leading to a tender, not dry, scone.
Can I substitute ingredients in an easy flaky scone recipe? For example, milk for cream?
While substitutions are possible, they can affect the texture. Cream contributes to richness and tenderness. Milk may result in a slightly less rich and potentially drier scone.
What's the best way to cut the butter into the flour for an easy flaky scone recipe if I don't have a pastry blender?
You can use a fork or your fingertips to cut the cold butter into the flour. Work quickly to prevent the butter from warming up too much.
How long should I bake my easy flaky scones for to ensure they are cooked through but not overbaked?
Bake until golden brown on top, typically around 15-20 minutes. A toothpick inserted into the center should come out clean or with a few moist crumbs attached, indicating doneness.
Final Reflection: The Enduring Allure of the Perfect Flaky Scone
The pursuit of the perfect flaky scone transcends mere baking; it's a testament to the simple joys of homemade goodness in a world increasingly dominated by convenience. This article explored the surprisingly straightforward techniques that unlock the secret to achieving that coveted, melt-in-your-mouth texture. We discovered that with a few key steps—from the right chilling time to the gentle handling of the dough—even the most novice baker can achieve professional-level results.
The impact of a perfectly executed scone recipe extends far beyond the individual experience. It's a connection to tradition, a shared pleasure enjoyed across generations, and a symbol of comfort and care. Baking is at once child's play and adult joy. And love, of course.
This quote perfectly encapsulates the emotional resonance of baking, and scones, with their delicate flakiness and buttery aroma, are a particularly potent example of this. The simple act of sharing a warm scone with loved ones creates lasting memories and fosters a sense of connection.
Now, I invite you to take what you've learned and embark on your own scone-baking journey. Don't be intimidated by the seemingly complex process; embrace the simplicity and the joy of creation. Experiment with different flavors, share your creations with others, and savor the satisfaction of achieving that perfect, flaky texture. The reward? More than just a delicious treat; it's a connection to something timeless, a moment of mindful creation, and a taste of pure happiness.
Unlock Your Inner Baker: Master Flaky Scones Today!
Thanks for taking the time to explore the secrets to perfectly flaky scones! We hope you've gained some valuable baking knowledge. Ready to put your new skills to the test?
- Bake a batch of scones using your favorite recipe (or ours!). Challenge yourself to achieve that ultimate flakiness.
- Share your baking triumphs (or even your funny fails!) on social media using #BakeWithEaseScones. Let's inspire each other!
- Consider experimenting with different flours or add-ins to further elevate your scone game. What unexpected flavor combination will you try?
Ready to conquer those flaky layers? What's your favorite scone topping – jam, clotted cream, or something totally unique?