
Easy Key Lime Pie Base for Beginners

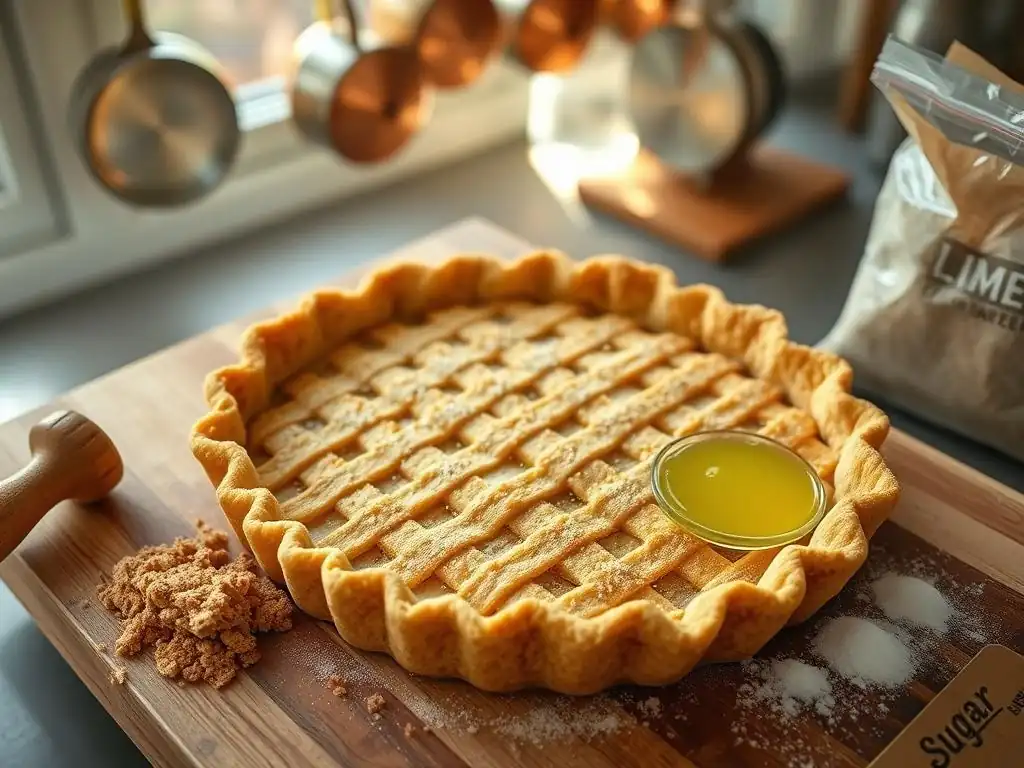
Welcome to BakeWithEase, your baking sanctuary! Ever dreamt of effortlessly creating the perfect key lime pie? Get ready to unveil the secrets to an easy key lime pie crust, even if you're just starting your baking journey. Discover a simple, foolproof recipe that will have you whipping up delicious pies in no time. Intrigued? Let's get baking!
- Perfect Graham Cracker Crust for Key Lime Pie
- Introduction to Simple Graham Cracker Crust
- Essential Ingredients for a Graham Cracker Crust
- Step-by-Step Guide to Making a Graham Cracker Crust
- Baking vs. No-Bake: Choosing the Right Method
- Tips and Tricks for a Perfect Crust
- Variations and Flavor Enhancements
- Storing the Crust
- Pairing with Key Lime Pie Filling
- Conclusion: Mastering the Graham Cracker Crust
-
Frequently Asked Questions
- How can I make an easy key lime pie crust if I'm a beginner baker?
- What are the key ingredients needed for an easy key lime pie crust?
- Can I use a pre-made graham cracker crust instead of making my own?
- What is the best way to prevent my key lime pie crust from becoming soggy?
- How long should I bake my easy key lime pie crust?
- Final Reflection: The Sweet Simplicity of a Perfect Crust
- Unleash Your Inner Baker!
Perfect Graham Cracker Crust for Key Lime Pie
Introduction to Simple Graham Cracker Crust
Making a delicious pie doesn't have to be complicated, especially when you start with a simple, reliable base. The graham cracker crust is a true champion for beginners, requiring minimal fuss and delivering maximum flavor and texture. It's the ideal foundation for many desserts, but it shines brightest when paired with a tangy key lime pie filling, creating that classic sweet and tart combination everyone loves. Learning this easy key lime pie crust is a fantastic first step into the world of pie making.
This particular recipe focuses on simplicity and consistent results. Unlike traditional pastry crusts that can be finicky with chilling times, rolling, and blind baking, a graham cracker crust involves just a few ingredients and straightforward steps. You'll be surprised how quickly you can assemble a professional-looking and tasting crust, ready for your favorite filling. It truly is one of the most approachable pie bases out there, making it perfect for your first attempt at an easy key lime pie.
Why This Recipe is Great for Beginners
This recipe is specifically designed with the novice baker in mind, eliminating common pitfalls associated with more complex crusts. You won't need to worry about developing gluten, chilling dough for hours, or achieving a perfectly flaky texture through lamination. The process is incredibly forgiving; if the crumbs aren't pressed perfectly the first time, you can easily redistribute them. This ease of handling makes it a low-stress starting point for anyone learning to bake pies.
Furthermore, the ingredients are readily available and inexpensive. Graham crackers, butter, and sugar are pantry staples for many, and the technique requires no special equipment beyond a bowl, a measuring cup, and a pie plate. This accessibility means you can try making an easy key lime pie crust anytime the craving strikes, without needing a trip to a specialty store or investing in new tools. It builds confidence by delivering a successful result with minimal effort.
A Foolproof Guide to a Delicious Pie Base
Following this guide provides a reliable method to achieve a perfectly structured and flavorful pie base every time. The ratio of butter to crumbs is crucial for binding the crust without making it greasy, and this recipe uses a tested proportion that works consistently. Whether you choose to bake the crust for extra crispness or opt for a no-bake version, the result will be a sturdy foundation that holds up beautifully to a creamy filling like key lime.
The simplicity of the steps ensures that errors are minimized. From crushing the crackers to pressing the mixture into the pan, each stage is straightforward. The goal is not just to create a crust, but a delicious and reliable one that complements your filling. This foolproof approach means less time troubleshooting and more time enjoying your homemade easy key lime pie.
Essential Ingredients for a Graham Cracker Crust
Creating the ideal graham cracker crust requires just a few key components, each playing a vital role in the final texture and flavor. The beauty lies in the simplicity and the way these ingredients interact to form a cohesive, crumbly, yet sturdy base. Using the right quality ingredients, even in this simple recipe, can make a noticeable difference in the outcome of your easy key lime pie crust.
The standard recipe calls for just three main ingredients: graham cracker crumbs, melted butter, and sugar. Sometimes a pinch of salt is added to balance the sweetness. That's it! This minimal ingredient list is another reason why this is considered an easy crust recipe, perfect for anyone starting their baking journey.
Graham Cracker Crumbs: The Foundation
Graham cracker crumbs form the literal and figurative foundation of this crust. You can buy pre-crushed crumbs, which are convenient, or crush whole graham crackers yourself. A standard 9-inch pie crust typically requires about 1 ½ cups of graham cracker crumbs, which is roughly equivalent to about 10-12 full graham cracker sheets (from a standard 14-ounce box, this might be about one sleeve). The texture of the crumbs should be fine, like coarse sand, but not turned into powder.
The crumbs provide the bulk and the signature flavor of the crust. Their slightly sweet, nutty profile pairs exceptionally well with tart fillings like key lime. Ensuring the crumbs are consistently sized helps the butter bind them together evenly, preventing crumbly spots and ensuring a uniform texture throughout your easy key lime pie crust.
Unsalted Butter: Binding and Flavor
Melted unsalted butter acts as the primary binding agent in a graham cracker crust. As the butter cools, it solidifies, holding the crumbs together to form a solid shape. Using unsalted butter is generally preferred in baking as it allows you to control the amount of salt in the recipe. Typically, a 9-inch crust uses about 6 to 8 tablespoons (which is ½ to ¾ of a standard stick) of melted butter. The exact amount can vary slightly depending on the dryness of your crumbs.
Beyond binding, the butter also contributes richness and flavor. When the crust is baked, the butter helps create a slightly toasted, golden-brown finish, enhancing the overall taste. Ensuring the butter is fully melted and thoroughly mixed with the crumbs is key to achieving a well-bound and evenly flavored easy key lime pie crust.
Granulated Sugar: Sweetness and Texture
Granulated sugar adds a touch of sweetness to the crust, complementing the inherent sweetness of the graham crackers. It also plays a small role in the texture, contributing to the slight crispness, especially if the crust is baked. The amount of sugar is relatively small compared to the crumbs, usually around 2 to 4 tablespoons for a standard crust.
The sugar helps to caramelize slightly when the crust is baked, deepening the flavor and color. While not strictly necessary for binding (the butter does most of the work), it balances the flavors and improves the overall palatability of the easy key lime pie crust. Adjusting the sugar slightly is possible, but sticking close to the recommended amount is best for a balanced taste.
Step-by-Step Guide to Making a Graham Cracker Crust
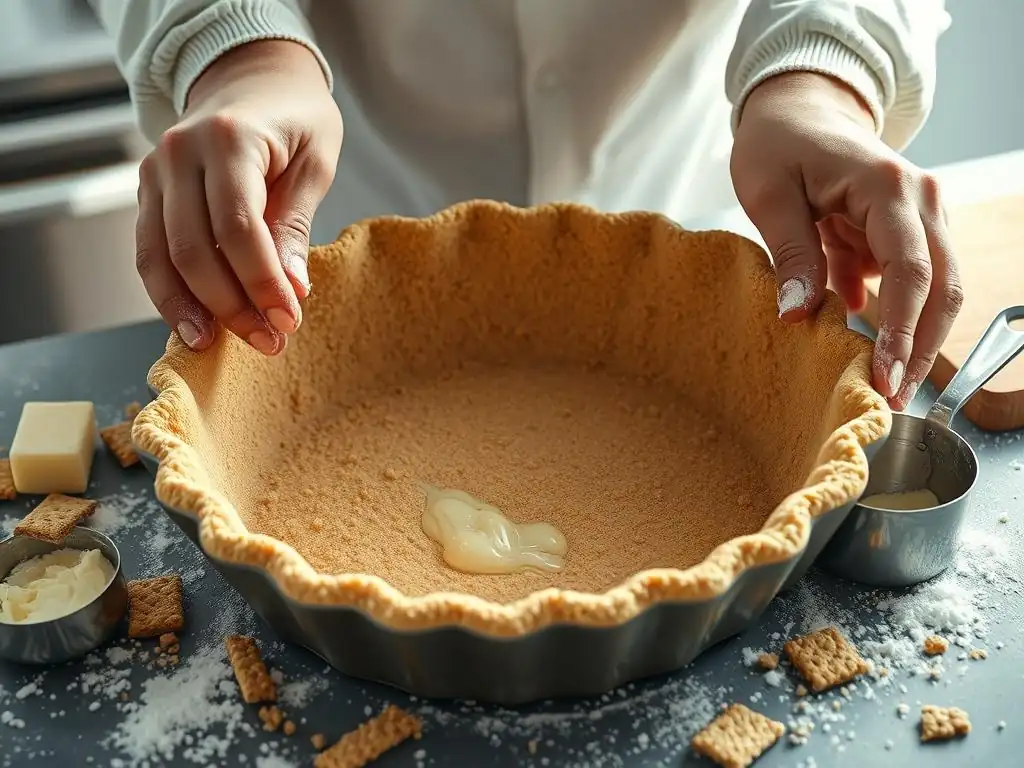
Making a graham cracker crust is incredibly straightforward, involving just a few simple steps. This process is quick and requires minimal equipment, making it perfect for beginners. Follow these steps closely, and you'll have a perfect base ready for your easy key lime pie filling in no time.
The process essentially involves combining the ingredients and shaping them in the pie plate. It's less about technique and more about careful mixing and firm pressing. Let's break it down step by step.
Step 1: Crushing the Graham Crackers
If you're starting with whole graham crackers, the first step is to crush them into fine crumbs. The easiest way to do this is using a food processor; pulse the crackers until they reach a fine, sand-like consistency. Be careful not to over-process them into a powder. If you don't have a food processor, you can place the crackers in a resealable plastic bag and crush them with a rolling pin or the bottom of a heavy glass until you achieve the desired texture. Aim for uniform crumbs for the best results.
Once crushed, measure out the required amount of crumbs, typically 1 ½ cups for a standard 9-inch pie plate. Any small pieces or large chunks should be crushed further to ensure consistency. This step is fundamental to getting the right texture for your easy key lime pie crust.
Step 2: Melting the Butter
While you're crushing the crackers, you can melt the butter. Place the specified amount of unsalted butter (usually 6-8 tablespoons) in a microwave-safe bowl or small saucepan. Heat it gently until it is completely melted and liquid. Be careful not to brown the butter unless the recipe specifically calls for it, as this can change the flavor.
Allow the melted butter to cool slightly for a minute or two before combining it with the crumbs. This prevents the heat from potentially altering the texture of the crumbs or sugar. Having the butter ready and slightly cooled ensures a smooth mixing process for your easy key lime pie crust mixture.
Step 3: Combining the Ingredients
In a medium bowl, combine the graham cracker crumbs and the granulated sugar (and salt, if using). Stir them together with a fork or whisk to distribute the sugar evenly throughout the crumbs. This ensures that every part of the crust has a consistent level of sweetness.
Next, pour the slightly cooled melted butter over the crumb mixture. Use a fork or a spoon to stir and toss the mixture until all the crumbs are moistened by the butter. The mixture should resemble wet sand or coarse meal and clump together slightly when you press a bit between your fingers. This is the binding stage that creates your easy key lime pie crust base.
Step 4: Pressing the Crust into the Pie Plate
Pour the moistened crumb mixture into your pie plate (a standard 9-inch pie plate works well). Now comes the important part: pressing the mixture firmly and evenly into the bottom and up the sides of the plate. You can use the bottom of a flat glass, a measuring cup, or your clean hands to press the crumbs down.
Start by pressing the crumbs firmly into the bottom of the plate, ensuring an even layer. Then, work your way up the sides, pressing the crumbs firmly against the edges. Aim for a uniform thickness throughout the crust, about ¼ inch thick. A well-pressed crust is crucial for holding its shape, especially when filled with a creamy mixture like key lime pie filling.
Step 5: Baking or Chilling the Crust
After pressing the crust firmly into the pie plate, you have two options: bake it or chill it. Baking the crust for about 8-10 minutes at 350°F (175°C) yields a firmer, slightly toasted crust with a deeper flavor. Allow it to cool completely before adding the filling. This is often preferred for baked fillings.
Alternatively, you can chill the crust in the refrigerator for at least 30-60 minutes. This allows the butter to solidify and bind the crumbs, creating a no-bake crust. This method is ideal for no-bake fillings, as it keeps the crust texture softer and doesn't require heating up the oven. Both methods result in a usable easy key lime pie crust, just with slightly different textures.
Baking vs. No-Bake: Choosing the Right Method
Deciding whether to bake or simply chill your graham cracker crust depends largely on the type of filling you plan to use and your desired final texture. Both methods are perfectly valid and produce a functional crust for your easy key lime pie, but they offer different benefits.
Consider the texture you prefer and the requirements of your filling recipe. Some recipes specify one method over the other, while others leave it up to your preference. Understanding the pros and cons of each helps you make the best choice for your specific dessert.
The Benefits of Baking
Baking a graham cracker crust provides several advantages. When baked at around 350°F (175°C) for 8-10 minutes, the crumbs toast slightly, enhancing their flavor and adding a subtle nutty depth. Baking also makes the crust firmer and more stable, which is particularly beneficial if your filling is dense or liquidy, as it helps prevent the bottom crust from becoming soggy.
A baked crust offers a pleasant crispness that provides a nice textural contrast to smooth, creamy fillings like traditional key lime pie. It creates a more robust structure that is less likely to crumble when sliced. If you're planning to bake your key lime pie filling, pre-baking the crust is often recommended for the best results.
The Convenience of No-Bake
The no-bake method is incredibly convenient and saves time and energy, as it skips the oven step entirely. After pressing the crumbs into the plate, simply chilling the crust in the refrigerator for 30-60 minutes is enough time for the melted butter to firm up and bind the crumbs together. This method is perfect when you want a quick dessert or are using a no-bake filling.
A no-bake crust tends to have a slightly softer, more tender texture compared to a baked one. While still sturdy enough to hold a filling, it might be a little more delicate when slicing. This method is ideal for chilled, unbaked fillings like many mousse or cream cheese-based pies, including some variations of easy key lime pie filling.
Tips and Tricks for a Perfect Crust
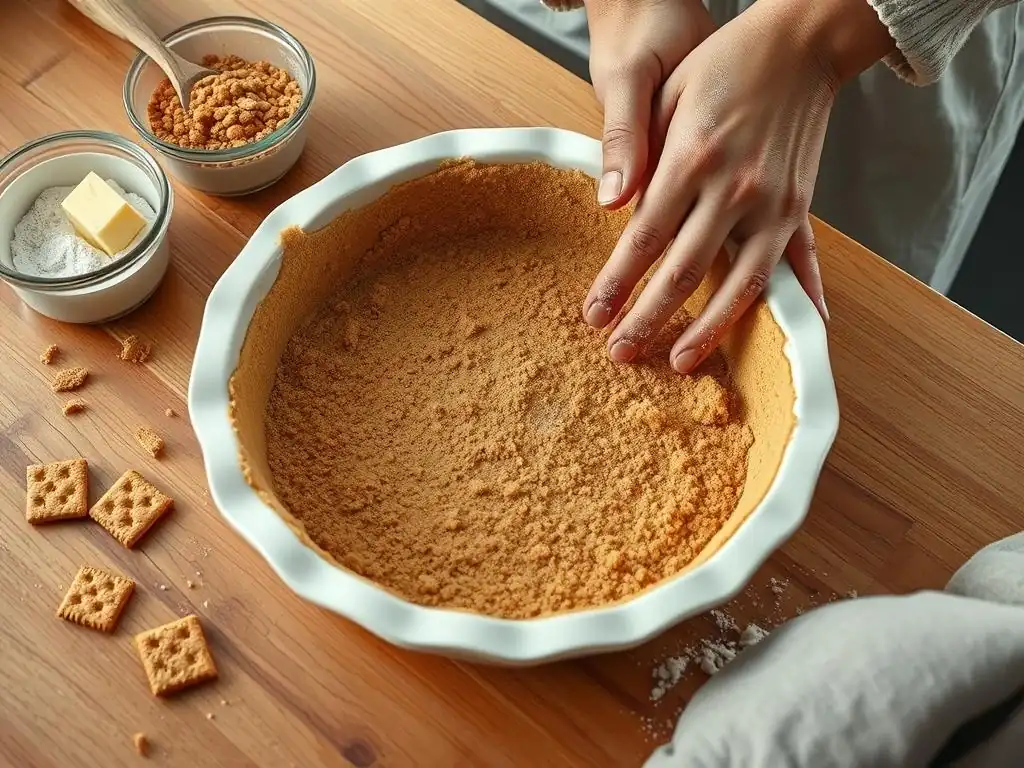
Even though making an easy key lime pie crust is simple, a few tips can help you achieve perfection. Paying attention to these details ensures your crust is uniformly thick, holds its shape, and provides the ideal base for your delicious pie.
These small adjustments can make a big difference in the final outcome, elevating a simple graham cracker crust from good to great.
Achieving Even Thickness
One common challenge is getting the crust to be uniformly thick on the bottom and up the sides of the pie plate. To achieve this, start by distributing the crumb mixture roughly evenly in the plate before you begin pressing. Use the bottom of a flat-bottomed glass or measuring cup to press the bottom crust firmly and evenly. Rotate the plate as you press to ensure consistent pressure.
For the sides, use the straight side of the glass or your fingers to press the crumbs firmly against the edge of the plate. Work your way around the perimeter, ensuring the thickness is consistent from the bottom edge all the way up the sides. An evenly thick crust bakes or chills uniformly and slices cleanly, making your easy key lime pie look and taste better.
Preventing a Soggy Crust
Preventing a soggy bottom crust is key, especially with moist fillings. If you are using a particularly wet filling or plan to refrigerate the pie for an extended period, pre-baking the crust is highly recommended. Baking creates a barrier that helps protect the crust from absorbing moisture from the filling. Ensure the baked crust is completely cool before adding the filling.
For no-bake crusts or particularly moist fillings, you can also consider brushing a thin layer of melted white chocolate or a whisked egg white onto the cooled, baked crust before adding the filling. Once set, this layer acts as a moisture barrier. While this adds an extra step, it's a reliable way to ensure your easy key lime pie crust stays firm.
Troubleshooting Common Problems
If your crust is too crumbly after mixing, it likely needs more butter. Add melted butter a tablespoon at a time, mixing until the crumbs hold together when squeezed. If it's too greasy, you might have used too much butter or the crumbs were too fine. Ensure crumbs are like coarse sand, not powder. If the crust shrinks when baked, ensure it's pressed very firmly into the plate, especially up the sides.
For a crust that won't set when chilled, make sure you've chilled it for at least 30-60 minutes. If your kitchen is very warm, it might need longer. If using a baked crust and it browns too quickly, you can loosely tent the edges with foil during the last few minutes of baking. These simple fixes can rescue your easy key lime pie crust.
Variations and Flavor Enhancements
While the classic graham cracker crust is perfect as is, you can easily customize it to add different flavors and textures. These simple variations allow you to tailor your easy key lime pie crust to your personal preferences or to complement specific fillings.
Experimenting with additions can add an exciting twist to this simple base, opening up new possibilities for your desserts.
Adding Cinnamon
A common and delicious variation is adding a touch of ground cinnamon to the crumb mixture. About ½ to 1 teaspoon of cinnamon per 1 ½ cups of graham cracker crumbs adds a warm, aromatic note that pairs wonderfully with the tangy key lime filling.
Simply whisk the cinnamon in with the dry crumbs and sugar before adding the melted butter. This subtle addition enhances the classic flavor profile without overpowering the key lime, making your easy key lime pie crust even more inviting.
Using Chocolate Graham Cracker Crumbs
For a richer, more decadent crust, substitute regular graham crackers with chocolate graham crackers. This creates a chocolatey base that is fantastic with key lime, offering a different dimension of flavor. The process is exactly the same as using regular graham crackers.
Chocolate graham cracker crust provides a deeper color and a pronounced chocolate flavor that complements the bright citrus of key lime beautifully. It's a simple swap that dramatically changes the character of your easy key lime pie crust.
Adding Chopped Nuts
For added texture and flavor, you can mix finely chopped nuts into the crumb mixture. Pecans, walnuts, or almonds work well. About ¼ to ½ cup of finely chopped nuts can be added to the 1 ½ cups of graham cracker crumbs. Toasting the nuts lightly before chopping can enhance their flavor even further.
Ensure the nuts are chopped very finely so they blend well with the crumbs and don't make the crust too difficult to press or cut. Adding nuts provides a delightful crunch and nutty flavor that can be a wonderful addition to your easy key lime pie crust.
Storing the Crust
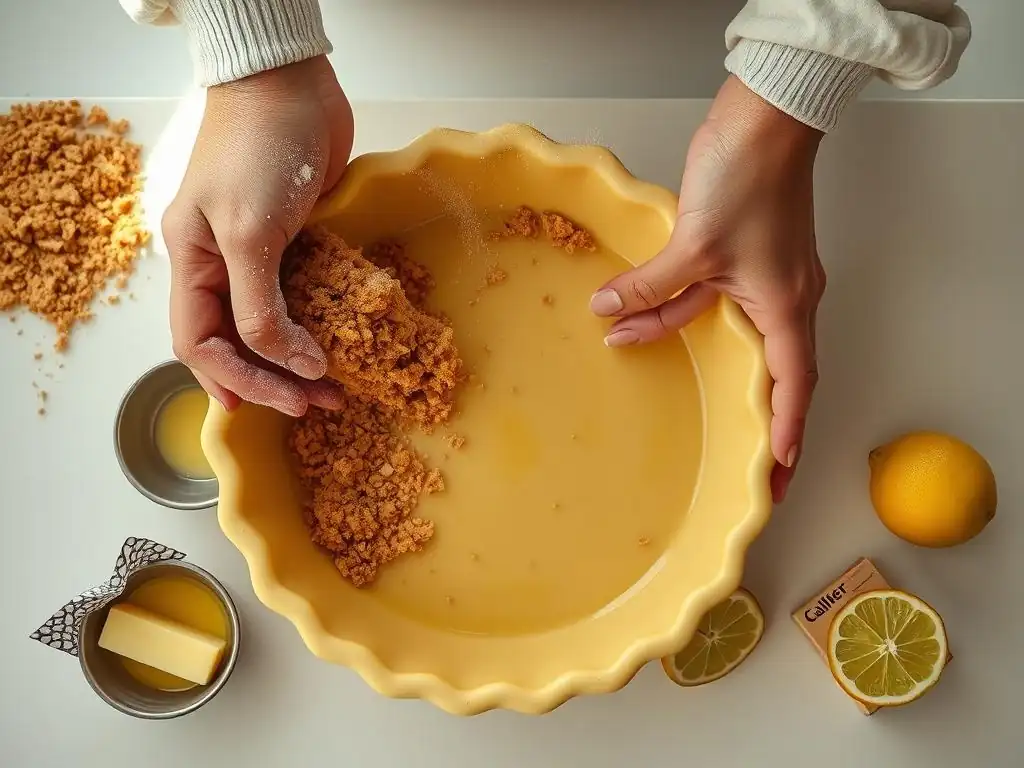
Proper storage is important whether you've baked your easy key lime pie crust or opted for the no-bake method. Storing the crust correctly ensures it stays fresh and maintains its texture until you're ready to add the filling.
You can prepare the crust ahead of time, which is a great way to break down the steps of making a pie and save time on the day you plan to serve it.
Storing Baked Crusts
After baking and cooling completely, a graham cracker crust can be stored at room temperature for up to 2 days. Cover the pie plate loosely with plastic wrap or aluminum foil to protect it from dust and moisture. Ensure it is fully cooled before covering to prevent condensation, which could make the crust soggy.
For longer storage, you can freeze a baked crust. Wrap the completely cooled crust tightly in plastic wrap, then wrap it again in aluminum foil or place it in a freezer bag. It can be frozen for up to 1-2 months. Thaw at room temperature before filling. Storing your easy key lime pie crust this way makes pie assembly much quicker later on.
A no-bake graham cracker crust, once pressed into the plate, should be stored in the refrigerator. Cover it loosely with plastic wrap. It can be stored in the refrigerator for up to 2-3 days before adding the filling. This allows the butter to remain firm and keep the crust bound.
Do not freeze a no-bake crust before adding the filling, as the texture can change upon thawing. The chilling process is sufficient for setting this type of easy key lime pie crust.
Pairing with Key Lime Pie Filling
The graham cracker crust is the classic partner for key lime pie filling, creating a perfect harmony of textures and flavors. The sweet, slightly crumbly base provides a wonderful contrast to the smooth, tangy, and often creamy key lime filling.
The simplicity of this easy key lime pie crust makes it the ideal canvas for the vibrant flavor of key lime.
Key Lime Pie Filling Recipe
While this article focuses on the crust, a classic key lime pie filling is typically made with key lime juice, sweetened condensed milk, and egg yolks. These ingredients are whisked together until thickened, then poured into the prepared graham cracker crust and either baked until set or chilled until firm, depending on the specific recipe.
The bright acidity of the key lime juice cuts through the richness of the sweetened condensed milk and the butter in the crust, creating that iconic, refreshing taste. This easy key lime pie crust is the perfect vehicle for this delightful filling.
Conclusion: Mastering the Graham Cracker Crust
Mastering the graham cracker crust is an excellent starting point for any beginner baker looking to make delicious pies, especially an easy key lime pie. This simple, three-ingredient base is forgiving, quick to prepare, and consistently delivers a tasty result. By following the steps outlined here, you can confidently create a perfect base every time.
Whether you choose to bake or chill your crust, understand the role of each ingredient, and utilize the tips for success, you'll find that making an easy key lime pie crust is truly within reach. This foundational skill opens the door to countless pie variations and provides the essential base for that beloved tangy, sweet key lime classic. Enjoy the process and the delicious results!
Frequently Asked Questions
How can I make an easy key lime pie crust if I'm a beginner baker?
Our website, BakeWithEase.com, offers recipes specifically designed for beginners, focusing on simple ingredients and straightforward instructions. Look for our "Easy Key Lime Pie Base for Beginners" article for a step-by-step guide.
What are the key ingredients needed for an easy key lime pie crust?
Typically, you'll need graham crackers, melted butter, and sugar. Some variations might include a pinch of salt. Check the full recipe for precise measurements and options.
Can I use a pre-made graham cracker crust instead of making my own?
Yes, using a pre-made crust is a perfectly acceptable shortcut, especially for beginners. It significantly reduces the preparation time and complexity.
What is the best way to prevent my key lime pie crust from becoming soggy?
Blind baking the crust before adding the filling can help prevent sogginess. Also, be sure to cool the crust completely before adding the key lime filling.
How long should I bake my easy key lime pie crust?
Baking times vary depending on the recipe and oven. Generally, you'll bake the crust for about 8-10 minutes at 350°F (175°C). Refer to the specific recipe on BakeWithEase.com for accurate baking times.
Final Reflection: The Sweet Simplicity of a Perfect Crust
The pursuit of the perfect key lime pie crust shouldn't be a daunting task; it's a journey into the heart of simple, delicious baking. This article aimed to demystify the process, providing a straightforward recipe and techniques accessible to even the most novice bakers. The ease of this recipe allows anyone to experience the joy of creating a truly delightful dessert.
The enduring appeal of key lime pie, and indeed, of all pies, lies in its ability to evoke feelings of comfort, nostalgia, and shared moments. It's a dessert that transcends generations, connecting us to family traditions and cherished memories. A pie is a love letter to the earth.
– While not directly about key lime pie, this quote speaks to the fundamental connection between simple ingredients and profound satisfaction. The ease of this crust recipe allows more people to experience this connection, to write their own love letters to the earth, one delicious slice at a time.
Now, I invite you to roll up your sleeves, gather your ingredients, and embark on your own key lime pie adventure. Don't be intimidated by the seemingly complex world of baking; this recipe proves that even the most classic desserts can be surprisingly accessible. Remember the joy of creating something delicious with your own hands, and share that joy with those you love. The perfect key lime pie crust is just the beginning of a wonderfully sweet experience.
Unleash Your Inner Baker!
Thank you for taking the time to explore our easy key lime pie base! We hope you’re feeling inspired and ready to bake something delicious. The joy of making desserts like this is just the beginning of your culinary adventure.
Now, let’s take that energy and put it into action:
- Try making your very own key lime pie! Use our base recipe as your guide and customize it with your favorite toppings or twists.
- Share your creation! Snap a photo of your pie and tag us on social media so we can celebrate your success together.
- Dive deeper into baking. Explore more of our beginner-friendly recipes to build your skills and confidence in the kitchen.
What unique ingredient will you add to your key lime pie to make it your own? We can’t wait to hear your creative ideas!