
Easy Custard Tart Base Recipe

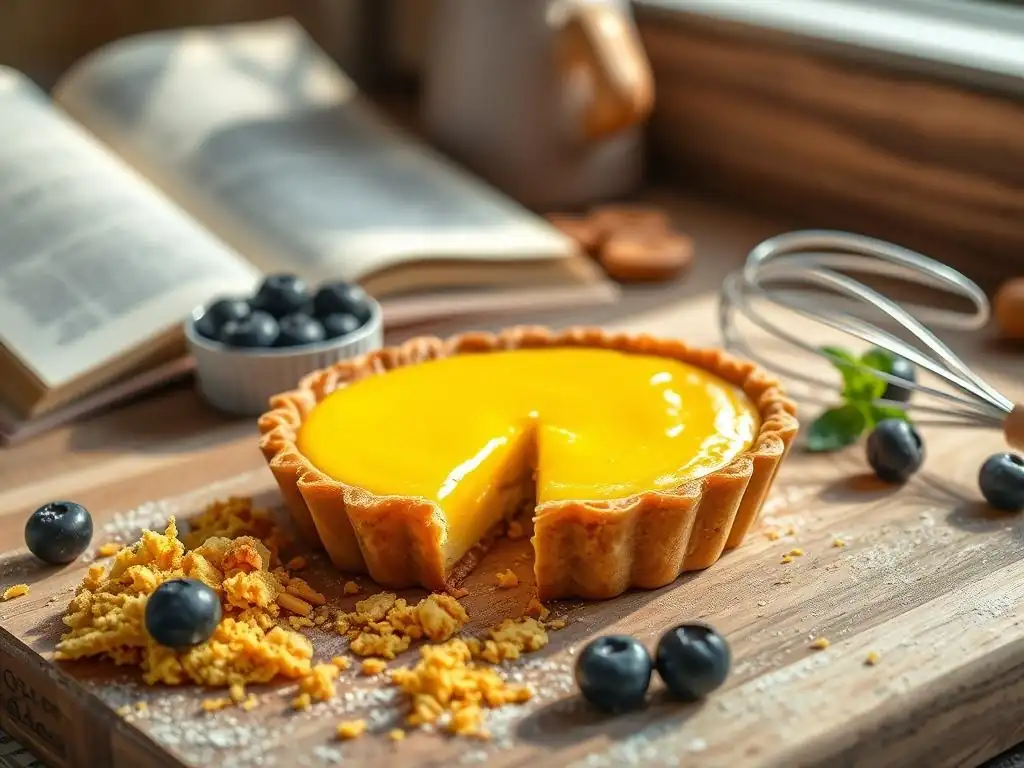
Welcome to BakeWithEase, your kitchen companion for all things baking! Ever dreamed of creating a picture-perfect custard tart, but felt intimidated by the pastry? Worry no more! This guide dives deep into a simple custard tart pastry recipe, perfect for beginners. Unlock the secrets to a flaky, golden crust and discover how easy it is to impress with your baking skills. Ready to master the art of the perfect pastry base? Let's get baking!
- Classic Shortcrust Pastry for Tarts: A Baker's Guide
- Introduction to the Perfect Tart Base
- Mastering Shortcrust Pastry: A Step-by-Step Guide
- Step-by-Step Instructions: Creating Your Tart Base
- Baking the Tart Shell
- Tips and Tricks for the Best Tart Pastry
- Serving and Storing Your Tart Base
- Variations on the Basic Tart Pastry Recipe
- Conclusion: Enjoy Your Homemade Tart
- Frequently Asked Questions
- Final Reflection: The Sweet Simplicity of a Perfect Crust
- Unleash Your Inner Pastry Chef!
Classic Shortcrust Pastry for Tarts: A Baker's Guide
Introduction to the Perfect Tart Base
Why Homemade Pastry Elevates Your Tarts
Creating your own pastry from scratch is a truly rewarding experience that significantly enhances the quality of your tarts. Unlike store-bought options, a homemade simple custard tart pastry recipe allows you complete control over the ingredients, ensuring freshness and the absence of preservatives or artificial flavors.
This control translates directly into a superior taste and texture, providing a rich, buttery foundation that perfectly complements any filling, from a delicate custard to a vibrant fruit medley. The satisfaction of serving a tart with a base you crafted yourself adds an extra layer of enjoyment to the baking process and the final dessert.
Furthermore, mastering a simple shortcrust pastry recipe builds fundamental baking skills that are applicable to countless other recipes. It teaches you the importance of temperature, the delicate balance of ingredients, and the technique of working with fat to achieve flakiness. Many bakers find that once they conquer this basic skill, their confidence grows, encouraging them to tackle more complex bakes. A well-made homemade tart base is not just a component of a dessert; it's a testament to your dedication and skill in the kitchen, offering a level of quality that pre-made options simply cannot match.
Achieving a Tender and Flaky Tart Crust
The hallmark of a great tart is a crust that is both tender and flaky – a delicate balance achieved through careful technique. Tenderness comes from minimizing gluten development; this is why using cold ingredients and handling the dough as little as possible are crucial steps. The fat (usually butter) coats the flour particles, preventing them from bonding excessively when liquid is added. This results in a crumbly, melt-in-your-mouth texture rather than a tough, bready one.
Flakiness, on the other hand, is created by incorporating cold pieces of fat into the flour. As the pastry bakes, these small pieces of fat melt, releasing steam. This steam pushes apart the layers of dough, forming distinct, airy pockets that give the crust its signature flaky layers. The size of the fat pieces matters; pea-sized chunks are often recommended for achieving optimal flakiness in a simple custard tart pastry recipe, ensuring there are enough pockets to create lift without making the dough too difficult to handle.
Mastering Shortcrust Pastry: A Step-by-Step Guide
Ingredients for Shortcrust Pastry
Key Ingredients for a Delicious Tart Base
The foundation of a classic shortcrust pastry for tarts relies on just a few simple ingredients, primarily flour, fat, and liquid, often with a touch of salt and sugar. All-purpose flour is the standard choice, providing enough structure without being overly strong. For fat, unsalted butter is highly recommended for its flavor and ability to create flakiness, though some recipes might incorporate a portion of shortening or lard for added tenderness or flakiness.
The ratio is typically around 2 parts flour to 1 part fat by weight. For example, 250 grams of flour might be combined with 125 grams of cold butter.
Cold liquid, usually ice water, is essential for binding the dough. The cold temperature helps keep the fat solid and prevents premature gluten development. Just enough liquid is added to bring the dough together, typically a few tablespoons (e.g., 3-5 tablespoons for the ratio above), but the exact amount can vary depending on the flour and humidity. A pinch of salt enhances the flavors, while a little sugar can add a subtle sweetness and aid in browning, especially for a simple custard tart pastry recipe.
Equipment Needed for Baking Your Tart Base
Essential Baking Tools for Tart Crust Success
Having the right tools can make the process of creating a simple custard tart pastry recipe much smoother and more successful. A large mixing bowl is necessary for combining the dry ingredients and incorporating the fat. A pastry blender, fork, or even your fingertips can be used to cut the cold butter into the flour until it resembles coarse meal with some pea-sized pieces. Avoid using a food processor if you're a beginner, as it can easily overwork the dough.
You'll also need a rolling pin to flatten the dough to the desired thickness, typically around 3-4 mm (about 1/8 inch). A tart pan, often with a removable bottom, is crucial for shaping and baking the crust. A 9-inch (23 cm) diameter pan is a common size for many tart recipes. Measuring cups and spoons are, of course, essential for accurate ingredient proportions. Finally, baking weights (like ceramic beans or dried beans/rice) and parchment paper are needed for blind baking the crust, preventing it from puffing up or shrinking during the initial bake.
Step-by-Step Instructions: Creating Your Tart Base
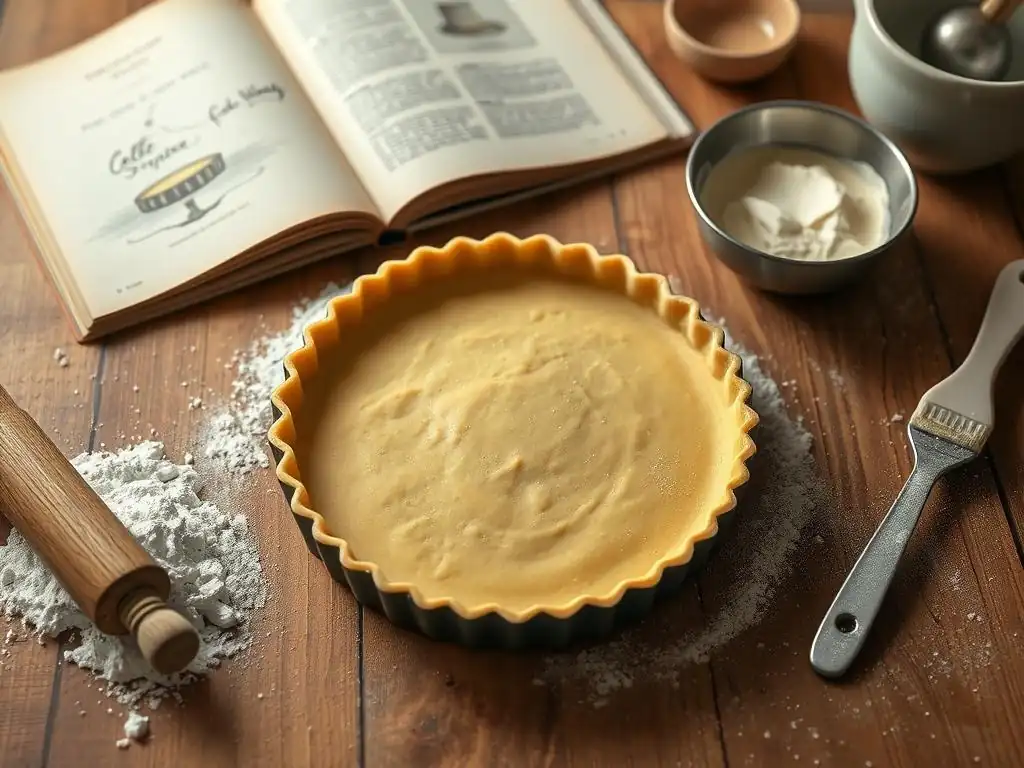
Step 1: Preparing the Dough
Combining Dry Ingredients for the Pastry
Begin by measuring your dry ingredients accurately. In a large mixing bowl, whisk together the all-purpose flour, a pinch of salt, and optionally a little sugar. For a standard 9-inch tart, you might start with approximately 250 grams of flour, 1/2 teaspoon of salt, and 1 tablespoon of sugar if using. Whisking ensures these ingredients are evenly distributed throughout the flour before the fat is added. This simple step helps create a consistent texture in your easy tart crust.
Ensure your work area is clean and ready. Some bakers like to chill their flour and tools slightly, especially in warm environments, to help keep the fat cold. This initial combination of dry ingredients is straightforward but lays the groundwork for successfully incorporating the fat in the next step, which is critical for achieving that desirable flaky texture in your simple custard tart pastry recipe.
Incorporating Butter for Flakiness
This is a vital step for developing flakiness. Take your very cold butter (cut into small cubes, about 1 cm or 1/2 inch) and add it to the dry ingredients. Using a pastry blender, fork, or your fingertips, work the butter into the flour mixture. The goal is to break down the butter pieces until they range in size from coarse meal to small peas. Avoid overworking the mixture; you should still see distinct pieces of butter.
The coldness of the butter is paramount. As you work it in, try to do so quickly to prevent it from melting from the heat of your hands. This process, often called "cutting in the butter," creates pockets of fat within the dough. When baked, these pockets melt, producing steam that separates the layers of dough, resulting in a light and flaky structure for your homemade tart base.
Step 2: Chilling the Dough
Why Chilling is Crucial for a Tender Crust
Chilling the dough is arguably one of the most critical steps in achieving a tender and manageable tart crust. After incorporating the butter and adding the liquid, the gluten in the flour begins to develop. Resting the dough in the refrigerator allows this gluten to relax. Relaxed gluten results in a dough that is easier to roll out without shrinking excessively and bakes into a more tender crust, avoiding toughness.
In addition to relaxing the gluten, chilling solidifies the fat (butter) pieces within the dough. This is essential for creating those flaky layers mentioned earlier. If the butter is warm and soft, it will just mix into the flour rather than remaining in distinct pieces. A minimum chilling time of 30 minutes is usually recommended, but longer (up to several days) can be beneficial. Aim for the dough to be firm but not rock hard before rolling.
Best Practices for Chilling Tart Dough
Once your dough has just come together (it should still look a bit shaggy, not smooth), gently gather it into a ball or disk. Flatten the ball into a disk about 1-2 inches thick. This shape makes it easier to roll out later. Wrap the disk tightly in plastic wrap, ensuring no air pockets. Flattening it also helps it chill faster and more evenly.
Place the wrapped dough disk in the refrigerator for at least 30 minutes, or ideally 1-2 hours. If you plan to chill it for longer than a few hours, you might want to place it in a resealable bag to prevent it from drying out or absorbing odors. If the dough becomes too hard after prolonged chilling, let it sit at room temperature for 10-15 minutes before rolling to make it pliable enough to work with.
Step 3: Rolling Out the Dough
Achieving the Perfect Thickness for Your Tart Base
Rolling out the dough requires a delicate touch to ensure it's even and not too thin or thick. The ideal thickness for a classic shortcrust pastry is typically around 3-4 mm (approximately 1/8 inch). If the dough is too thin, it can become brittle and break easily, especially when transferring it to the pan, and it might not hold up well to a wet filling. If it's too thick, the crust can be dense and doughy, overpowering the filling.
To achieve an even thickness, start rolling from the center outwards, rotating the dough frequently to prevent sticking and to maintain a circular shape. Lift and turn the dough often, adding just a light dusting of flour to your work surface and rolling pin as needed. Over-flouring can make the crust tough, so use it sparingly. Rolling the dough into a circle about 2-3 inches larger than your tart pan's diameter is a good target.
Tips for Rolling Out Dough Evenly
Rolling out dough can be tricky, but a few techniques can help. Ensure your work surface and rolling pin are lightly floured – just enough to prevent sticking. Start with your well-chilled dough disk; if it's too cold and hard, let it sit for a few minutes. Roll from the center outwards, applying even pressure. Rotate the dough frequently (every few rolls) and flip it over occasionally to prevent it from sticking to the surface and to ensure even thickness.
If the dough cracks around the edges as you roll, it might be too cold or dry. You can gently pinch the cracks together or let the dough warm slightly. If it becomes too soft or sticky, pause and pop it back in the fridge for 10-15 minutes. For a simple custard tart pastry recipe, a consistent thickness is key for even baking, so take your time and be patient with the process.
Step 4: Shaping the Dough in the Tart Pan
Gently Transferring the Dough to the Pan
Transferring the rolled-out dough into the tart pan without tearing it can be the trickiest part for beginners making an easy tart crust. One common method is to lightly flour your rolling pin and gently roll the dough loosely around it. Then, position the rolling pin over one edge of your tart pan and unroll the dough carefully over the pan, allowing it to drape into the corners.
Alternatively, you can gently fold the dough into quarters or halves before lifting it. Place the folded dough in the center of the tart pan and then unfold it, easing it into the pan's corners and up the sides. Whichever method you use, work gently to avoid stretching the dough, as stretching can cause it to shrink excessively during baking.
Crimping or Fluting the Edges for a Professional Look
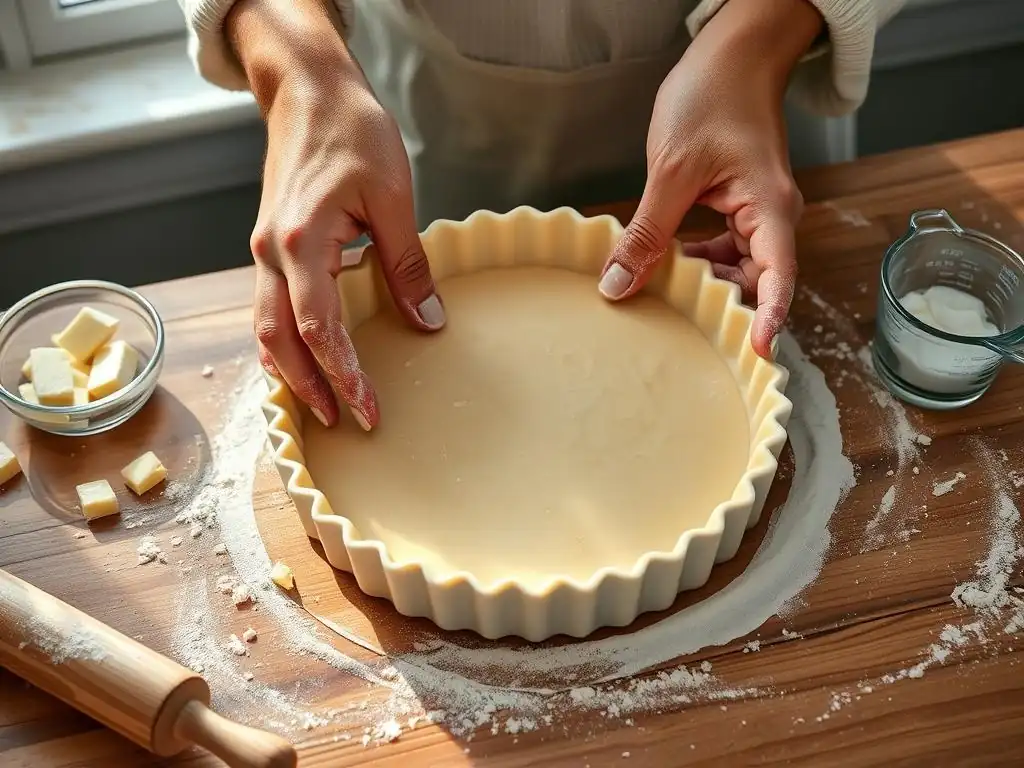
Once the dough is draped over the pan, gently press it into the bottom and up the sides, ensuring it fits snugly into the fluted edges (if your pan has them). Avoid pressing too hard, which can compress the dough and make it tough. Once the dough is neatly fitted, you can trim the excess pastry. Some bakers roll the rolling pin over the top edge of the pan to cut off the excess neatly.
For a classic look on your homemade tart base, you can finish the edge. If using a fluted pan, simply pressing the dough firmly into the flutes is often enough. For a more decorative edge, you can use your fingers to crimp the dough, creating a wavy pattern, or use a fork to press indentations around the rim. Trimming the excess dough allows you to create a clean, professional-looking edge for your simple custard tart pastry recipe.
Step 5: Pre-Baking the Tart Crust (Blind Baking)
Why Pre-Baking Prevents a Soggy Bottom
Blind baking is the process of partially or fully baking the tart crust before adding the filling. This is particularly important for wet fillings like custards, quiches, or fruit fillings that release a lot of moisture, as it prevents the dreaded "soggy bottom." Baking the crust first allows it to set and crisp up, creating a barrier that moisture from the filling cannot easily penetrate.
For a simple custard tart pastry recipe that will be baked again with the filling, a partial blind bake is often sufficient. This involves baking the crust until the edges are set but the bottom is still pale. For tarts with no-bake fillings (like fresh fruit or cream fillings), a full blind bake is necessary, where the crust is baked until golden brown and fully cooked.
How to Blind Bake a Tart Crust Successfully
After shaping the dough in the pan, it's crucial to chill it again for at least 15-30 minutes. This helps the pastry hold its shape during baking. Preheat your oven to a moderately hot temperature, typically around 190°C (375°F). Line the chilled pastry shell with parchment paper or aluminum foil, pressing it gently against the sides and into the corners. This prevents the dough from puffing up.
Fill the lined shell with baking weights. These can be ceramic baking beans specifically designed for the task, or simply dried beans or uncooked rice. Fill the weights right up to the top edge of the pastry; this supports the sides and prevents them from collapsing or shrinking down the pan. Bake for the time specified in your recipe (usually 15-20 minutes for a partial bake).
Using Baking Beans or Rice for Weight
Baking weights serve a simple but essential purpose during blind baking: they hold the parchment or foil liner firmly against the raw pastry dough. This pressure prevents the bottom of the crust from puffing up like a balloon and keeps the sides from slumping down the pan as the fat melts and the dough sets. Ceramic baking beans are reusable and designed for this purpose, conducting heat well to help bake the bottom crust.
If you don't have ceramic beans, dried beans (like kidney beans or chickpeas) or uncooked rice work perfectly well as an alternative. Simply fill the parchment-lined shell with enough beans or rice to fill it completely. Note that if you use dried beans or rice for baking weights, they are typically not suitable for cooking afterwards as the heat from the oven can make them brittle. Keep them in a container specifically for use as baking weights.
Baking the Tart Shell
Setting the Oven Temperature for a Golden Crust
The correct oven temperature is key to achieving a perfectly baked, golden tart shell. For blind baking (pre-baking the empty crust), a slightly higher temperature is often used initially to help the crust set quickly, such as 190°C (375°F). After the initial weight-supported bake, if the crust needs further baking without weights, the temperature might be slightly reduced to prevent over-browning of the edges while the bottom finishes cooking.
When baking a simple custard tart pastry recipe with the filling, the temperature might vary depending on the filling, but a common range is 160-180°C (325-350°F). This lower temperature is gentler on the filling (especially custards, which can curdle) while still allowing the pastry to finish baking and become golden brown and crisp. Always refer to the specific recipe you are using for the recommended temperature.
Monitoring the Crust During Baking
Keeping an eye on your tart crust as it bakes is important, as ovens can vary. During the blind bake, check after the initial time (e.g., 15-20 minutes). If you're doing a partial bake, the edges should look set and maybe lightly golden, but the bottom will still be pale. If you're doing a full blind bake, you'll remove the weights and liner and continue baking until the bottom is golden brown, which might take another 10-15 minutes.
When baking a filled tart, observe the edges of the crust. They should be turning a rich golden brown. The bottom crust is harder to see, but if the edges are golden and the filling is set, the base is likely done. If the edges start browning too quickly before the rest is done, you can gently shield them with thin strips of aluminum foil.
Achieving a Perfectly Baked Tart Base
A perfectly baked tart base for a simple custard tart pastry recipe is golden brown all over, including the bottom. It should be crisp and firm, not soft or doughy. For a blind-baked crust, you can often tell it's done by its color and feel; it should be firm to the touch. For a filled tart, the doneness of the crust is usually indicated by the doneness of the filling and the color of the exposed edges.
Ensuring the bottom crust is fully baked is crucial, especially for wet fillings. If doing a full blind bake, don't be afraid to let the bottom get properly golden after removing the weights. If baking with a filling, the residual heat and baking time should cook the bottom, but sometimes placing the tart pan directly on a hot baking stone or preheated baking sheet can help conduct heat more effectively to the base.
Tips and Tricks for the Best Tart Pastry
Preventing Dough Shrinkage During Baking
Shrinkage is a common issue with tart pastry. The main culprits are overworking the dough (developing too much gluten), not chilling the dough sufficiently, and stretching the dough when fitting it into the pan. To minimize shrinkage in your easy tart crust:
- Handle the dough minimally; mix just until it comes together.
- Ensure your butter and water are very cold.
- Chill the dough thoroughly (at least 30 minutes, preferably longer) after mixing and again after shaping it in the pan.
- When fitting the dough into the pan, press it gently into the corners and sides rather than stretching it. Leave a slight overhang (about 1/2 inch or 1 cm) when trimming, as it may shrink back slightly.
Troubleshooting Common Tart Crust Problems
- Tough Crust: Usually caused by overworking the dough or adding too much liquid, leading to excessive gluten development. Ensure ingredients are cold, handle minimally, and add just enough water.
- Crumbly Dough: Might be too dry (not enough liquid) or not chilled enough, making it hard to roll. Add a tiny bit more ice water if needed, or chill longer.
- Soggy Bottom: Happens when the crust isn't adequately pre-baked for a wet filling. Always blind bake for quiches, custards, or juicy fruit tarts.
- Edges Burning: The edges are thinner and bake faster. Shield them with foil strips if they start browning too quickly before the rest of the crust is done.
Ensuring a Flaky and Tender Tart Base
To consistently achieve a flaky and tender result for your simple custard tart pastry recipe:
- Start with very cold ingredients (butter, water, and even flour/tools if possible).
- Cut the cold fat into the flour until you have a mixture of coarse meal and pea-sized pieces.
- Add just enough ice water to bring the dough together; it should still look a bit shaggy.
- Handle the dough as little as possible to avoid developing gluten.
- Chill the dough thoroughly before rolling and again after shaping.
- Avoid stretching the dough when placing it in the pan.
- Blind bake as necessary for your specific tart filling.
Serving and Storing Your Tart Base
How to Cool the Tart Base Properly
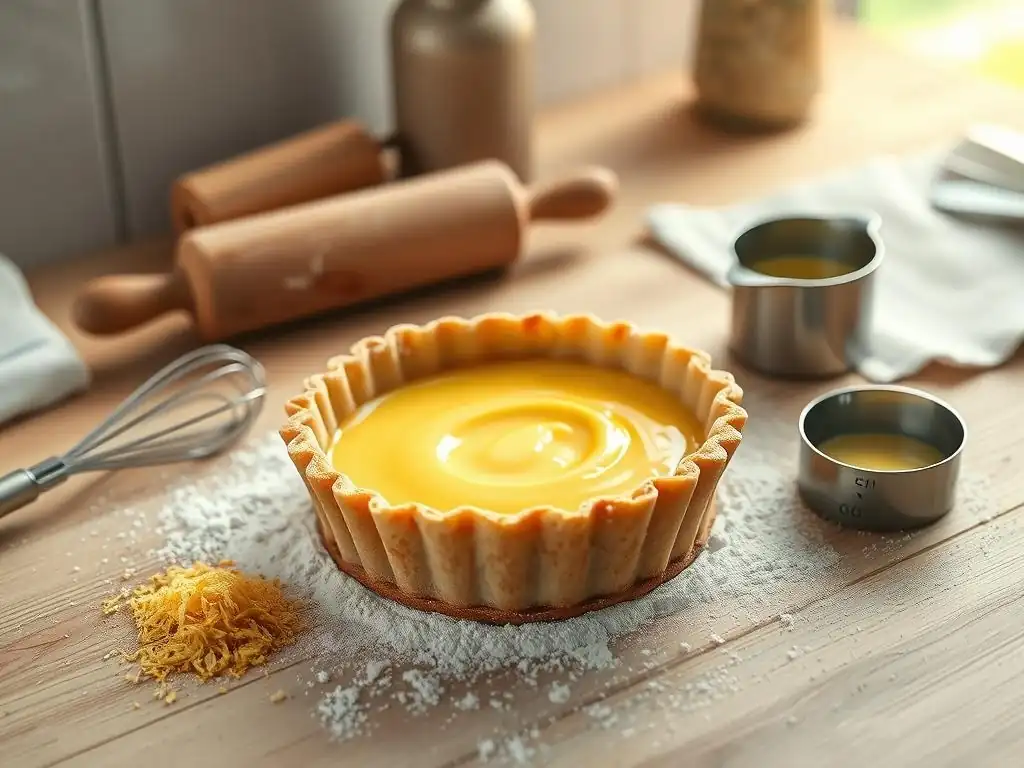
Once your tart base is baked, whether blind-baked or as part of a filled tart, proper cooling is important. For a blind-baked shell, remove it from the oven and place the tart pan on a wire rack immediately. This allows air to circulate around the bottom, preventing condensation which could make the bottom crust soggy. Let the shell cool completely in the pan before attempting to remove it or add a filling.
If you've baked a filled tart, let it cool on a wire rack as directed by the recipe. Custard tarts, for example, often need to cool for several hours or even chill in the refrigerator to allow the filling to set completely. Allowing the tart to cool fully ensures the filling is stable and the crust remains crisp.
Storage Recommendations for Freshness
A baked tart base, if fully blind-baked, can be stored for later use. Once completely cool, you can wrap it carefully in plastic wrap and then aluminum foil. It can be stored at room temperature for 1-2 days, or in the refrigerator for up to 3-4 days.
For longer storage, a fully baked tart shell freezes well. Cool completely, wrap tightly in plastic wrap and foil, and freeze for up to 1-2 months. Thaw overnight in the refrigerator before filling. An unbaked pastry dough disk can also be wrapped and refrigerated for 3-4 days or frozen for up to 3 months. Thaw frozen dough in the refrigerator before rolling.
Variations on the Basic Tart Pastry Recipe
Adding Flavors to Your Tart Crust
While a classic simple custard tart pastry recipe is delicious on its own, you can easily add flavor variations to complement your filling. Consider adding spices like cinnamon, nutmeg, or cardamom to the dry ingredients for a warm, aromatic crust. A pinch of ground ginger works wonderfully with fruit fillings.
For a citrusy note, you can add the finely grated zest of a lemon, orange, or lime to the flour mixture. Savory tarts benefit from additions like black pepper, dried herbs (such as thyme or rosemary), or a little grated hard cheese like Parmesan incorporated with the flour and butter. Approximately 1-2 teaspoons of spice or zest, or 2-3 tablespoons of grated cheese per 250g of flour, is a good starting point.
Exploring Different Flours for Unique Textures
The basic recipe uses all-purpose flour, but experimenting with other flours can create unique textures and flavors in your easy tart crust. Using a portion of whole wheat flour (perhaps replacing 50g of the all-purpose flour with whole wheat) will add a nuttier flavor and slightly denser, more rustic texture.
For a richer, more tender crust, you could try replacing a small amount of the all-purpose flour with pastry flour or even almond flour. For instance, substituting 25-50 grams of almond flour adds a lovely flavor and tenderness, though it might make the dough slightly more delicate to handle. Always ensure the total weight of flour remains consistent with the recipe's butter and liquid ratios.
Conclusion: Enjoy Your Homemade Tart
The Satisfaction of Baking a Perfect Tart Base
There's immense satisfaction in pulling a beautifully golden, crisp tart base from the oven, knowing you created it yourself. Mastering a simple custard tart pastry recipe is a fundamental skill that opens up a world of possibilities in baking. It’s a process that requires patience and attention to detail, but the reward—a flaky, tender crust ready to be filled—is well worth the effort. This homemade base is the perfect canvas for countless delicious creations, from sweet fruit tarts to savory quiches.
Each step, from cutting in the butter to blind baking, contributes to the final perfect texture. Don't be discouraged if your first attempt isn't flawless; practice makes perfect in pastry making. Embrace the process, learn from any mistakes, and soon you'll be confidently creating stunning tarts with a reliable, easy tart crust that will impress everyone.
Next Steps: Filling Your Tart with Delicious Fillings
Now that you have successfully created and baked your classic shortcrust pastry base, the exciting part begins: adding the filling! The beauty of a well-made tart shell is its versatility. For a simple custard tart pastry recipe, a classic vanilla or egg custard is a perfect match. Ensure your filling is prepared according to its specific recipe instructions and pour it into the cooled (or partially cooled, depending on the filling) baked tart shell.
Remember that different fillings require different baking times and temperatures, and some, like fresh fruit or pastry cream, are added to a fully blind-baked shell after it has cooled completely. Consult your specific filling recipe for instructions on how to finish baking (if needed) and cool the assembled tart. Enjoy the process of transforming your simple tart base into a complete, delicious dessert!
Frequently Asked Questions
What makes this custard tart base recipe "easy"?
This recipe focuses on simple techniques and easy-to-find ingredients, making it achievable even for beginner bakers. We prioritize clear instructions and minimal steps for a stress-free baking experience.
Can I use a different type of flour for the tart base?
While all-purpose flour is recommended, you could experiment. However, using other flours might alter the texture and structure of the tart base.
How do I prevent the tart base from shrinking during baking?
Blind baking with pie weights or dried beans is crucial. Also, ensure the dough is properly chilled before baking to prevent excessive shrinkage.
What kind of custard filling works best with this tart base?
This base is versatile and pairs well with various custards, from classic vanilla custard to more adventurous flavors like chocolate or lemon. The key is to ensure the custard is properly set.
How long can I store the baked custard tart?
A baked custard tart can usually be stored in the refrigerator for up to 3-4 days. Ensure it's properly covered to maintain its freshness and prevent the custard from drying out.
Final Reflection: The Sweet Simplicity of a Perfect Crust
The pursuit of the perfect custard tart begins, and often ends, with the pastry. This seemingly simple element holds the key to a truly exceptional dessert, a fact often overlooked in the rush to achieve the creamy custard filling. A flawlessly crisp, buttery base elevates the entire experience, transforming a good tart into a masterpiece.
The enduring appeal of baking lies in its ability to connect us to tradition, to simpler times, and to the comforting ritual of creating something delicious from scratch. The best things in life are simple,
a sentiment perfectly encapsulated in this humble pastry recipe. The ease with which this base can be made, despite its impressive results, speaks to the power of accessible recipes to empower home bakers and foster a sense of accomplishment in the kitchen. It's a testament to the enduring magic found in simple ingredients, carefully combined.
Now, I invite you to consider the possibilities. Don't just bake this tart; experience it. Reflect on the satisfaction of creating something beautiful and delicious with your own hands. Experiment with different fillings, explore variations on the crust, and share the joy of baking with those you love. The simple custard tart base is more than just a recipe; it's a gateway to culinary creativity and the enduring pleasure of homemade goodness.
Unleash Your Inner Pastry Chef!
Thanks for taking the time to explore this easy custard tart base recipe! We hope you gained valuable baking knowledge and are ready to create something delicious. Now it's time to put your new skills to the test.
- Bake your own masterpiece! Use this recipe to make a stunning custard tart, experimenting with your favorite fillings and toppings. Don't be afraid to get creative!
- Share your creation: Show off your baking prowess on social media using #BakeWithEaseCustardTart – we'd love to see your results!
- Explore more easy recipes: Visit BakeWithEase.com (this would be a link on the actual website) for more inspiration and delicious baking adventures.
Ready to transform your kitchen into a pastry paradise? What unique twist will you add to your custard tart?