
Beginner's Guide to Blind Baking

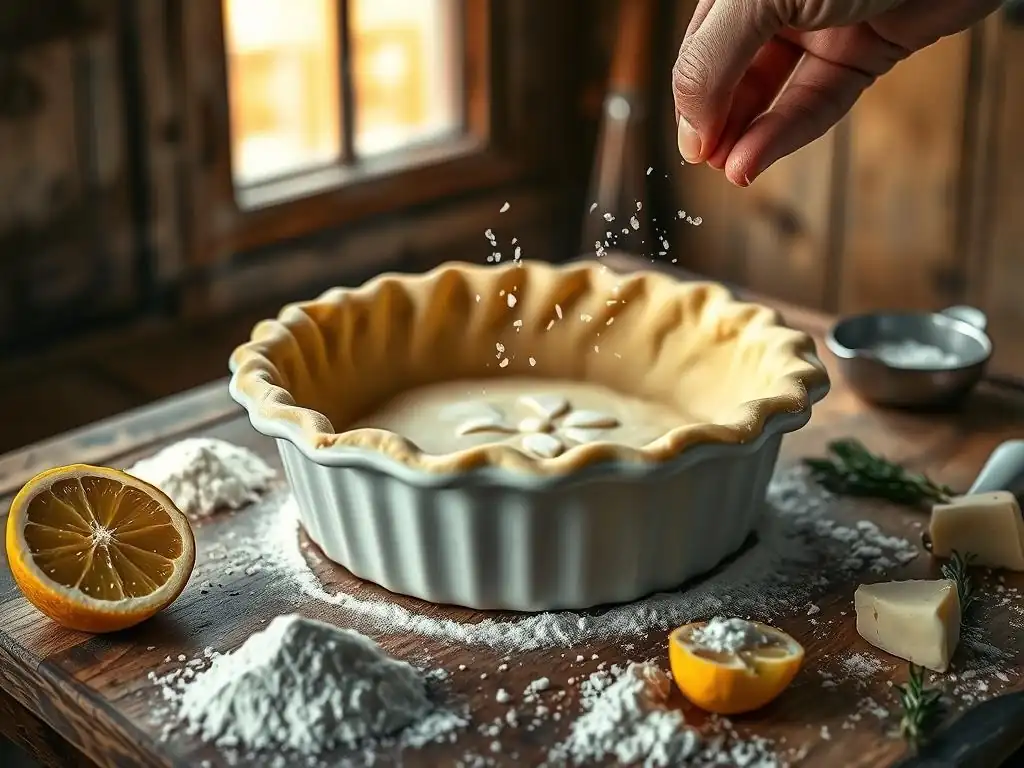
Welcome to BakeWithEase, your kitchen companion for unlocking the secrets of perfect baking! Ever wondered how to achieve that flawlessly crisp pie crust? This guide will demystify the art of blind baking pie crust, a technique essential for preventing soggy bottoms and creating show-stopping pies. Ready to elevate your pie game? Let's dive in!
- Beginner's Guide to Blind Baking: Achieve Perfect Pie Crusts
- What is Blind Baking and Why is it Important?
- Essential Equipment for Blind Baking
- Step-by-Step Guide to Blind Baking
- Troubleshooting Common Blind Baking Problems
- Tips and Tricks for a Perfect Blind Baked Pie Crust
- Blind Baking Variations: Different Techniques
- Recipes That Benefit from Blind Baking
- Storing Your Blind Baked Pie Crust
- Mastering the Art of Blind Baking: Your Key to Exceptional Pies
- Frequently Asked Questions
- Final Reflection: Mastering the Art of the Blind Bake
- Unleash Your Inner Pastry Chef: Master the Art of Blind Baking!
Beginner's Guide to Blind Baking: Achieve Perfect Pie Crusts
What is Blind Baking and Why is it Important?
Understanding the Purpose: Preventing Soggy Bottoms
Blind baking is a crucial technique in baking, especially when making pies with fillings that are either liquid-heavy (like quiches or custards) or require no baking at all (like fresh fruit tarts or certain cream pies). The primary purpose of blind baking a pie crust is to pre-cook the crust before adding the filling.
This ensures that the bottom crust becomes firm, golden, and flaky, preventing the dreaded "soggy bottom" that can ruin an otherwise perfect pie. Without blind baking, the moisture from the filling would soak into the raw dough during the baking process (or simply sit on it if the filling isn't baked), resulting in a soft, unappetizing layer instead of a crisp foundation.
Moreover, blind baking helps set the structure of the pie crust. It allows the gluten in the dough to firm up and hold its shape, preventing the sides from collapsing during the final baking with the filling. This is particularly important for pies with fillings that require a shorter baking time than the crust or no baking at all.
By blind baking the pie crust first, you ensure that both components—the crust and the filling—reach their optimal texture and doneness simultaneously, or that the crust is ready to support a filling that doesn't need oven time. Mastering the art of blind baking pie crust is fundamental for achieving professional-quality results in a wide variety of pie and tart recipes.
When to Blind Bake: Recipes Requiring a Pre-Baked Crust
Knowing when to blind bake your pie crust is key to successful baking. Generally, you'll need to blind bake the pie crust when the filling is either very wet and requires a long baking time (like a deep-dish apple pie where the apples release a lot of moisture) or when the filling is unbaked or requires a very short baking time (like a lemon meringue pie or a chocolate cream pie).
For instance, a quiche, with its liquid egg and cream mixture, absolutely requires a blind baked pie crust to prevent the bottom from becoming soggy. The crust needs a head start to develop strength and impermeability.
Another common scenario for blind baking a pie crust is when the filling doesn't get baked at all, such as in a fresh fruit tart with a pastry cream filling or a classic Key Lime Pie where only the filling sets, not truly bakes. In these cases, the crust needs to be fully cooked and cooled before the filling is added.
For pies with fillings that require moderate baking and aren't excessively wet (like a standard pumpkin pie), a partial blind bake might be sufficient or even unnecessary, depending on the specific recipe and your oven's performance. Always check your recipe's instructions, but understand that wet or no-bake fillings are the strongest indicators that blind baking your pie crust is essential.
Essential Equipment for Blind Baking
Pie Dish Selection: Choosing the Right Size and Material
Selecting the appropriate pie dish is the first step in achieving a perfectly blind baked pie crust. Standard pie dishes are typically 9 or 10 inches in diameter and can be made from various materials, each affecting how the crust bakes. Glass pie dishes are excellent because they conduct heat evenly and allow you to visually check the browning of the bottom crust, which is particularly helpful when blind baking.
Ceramic dishes also distribute heat well and retain heat, contributing to a nicely browned crust, but you can't see through them. Metal pie pans, especially aluminum or steel, heat up quickly and can result in a crisp crust, though stainless steel might not conduct heat as efficiently as others.
The size of the dish is also crucial. Most recipes are developed for a standard 9-inch pie plate. Using a dish that is significantly larger or smaller will affect the thickness of your crust and, consequently, the blind baking time.
For example, a thinner crust in a larger dish will blind bake faster. Ensure your dish is clean and lightly greased if your recipe calls for it, although many flaky pie crusts contain enough fat that greasing isn't strictly necessary for removal once baked. The material and size of your pie dish play a significant role in how evenly and thoroughly your blind baking pie crust turns out.
Baking Weights: Options for Keeping Your Crust Flat (Ceramic, Chain, Beans)
Baking weights are indispensable tools for blind baking a pie crust. Their purpose is to weigh down the bottom of the crust and press it against the pie dish during the initial baking phase. This prevents the dough from puffing up unevenly or bubbling, which can happen as steam is released from the butter and moisture in the dough. It also helps keep the sides of the crust from shrinking down the sides of the pan. Without weights, you'd likely end up with a misshapen crust with a raised bottom, making it difficult to fill neatly.
There are several common types of baking weights. Ceramic or porcelain baking beans are widely available and designed specifically for this task; they are reusable and effective. Another option is a metal baking chain, which conforms well to the shape of the crust.
Alternatively, you can use dried beans, rice, or even popcorn kernels as makeshift weights. While effective, these food items are typically not reusable for cooking after being used as weights because they can become hard and slightly toasted. Regardless of the type you choose, you'll need enough to completely fill the lined pie crust up to the edges to provide adequate pressure across the entire surface of the blind baking pie crust.
Parchment Paper: Creating a Barrier for Easy Removal
Parchment paper is an essential companion to baking weights when you're blind baking a pie crust. Its main function is to create a barrier between the raw pie dough and the baking weights. You line the pie crust with parchment paper before adding the weights. This prevents the weights from sticking to the dough as it bakes and makes their removal quick and effortless once the initial blind baking phase is complete. Trying to pick individual ceramic beans or grains of rice out of a partially baked crust would be tedious and could damage the delicate structure.
Using parchment paper also helps distribute the weight evenly across the surface of the blind baking pie crust. Simply cut a piece of parchment paper large enough to generously line the inside of the pie shell, allowing it to come up and over the edges of the crust. You can use a single large sheet or two overlapping sheets.
Once the crust is lined, pour your baking weights onto the parchment paper, ensuring they fill the crust right up to the top edge. This simple step is crucial for protecting your crust and simplifying the process of blind baking a pie crust effectively.
Step-by-Step Guide to Blind Baking
Step 1: Preparing Your Pie Dough
Rolling Out the Pie Dough Evenly
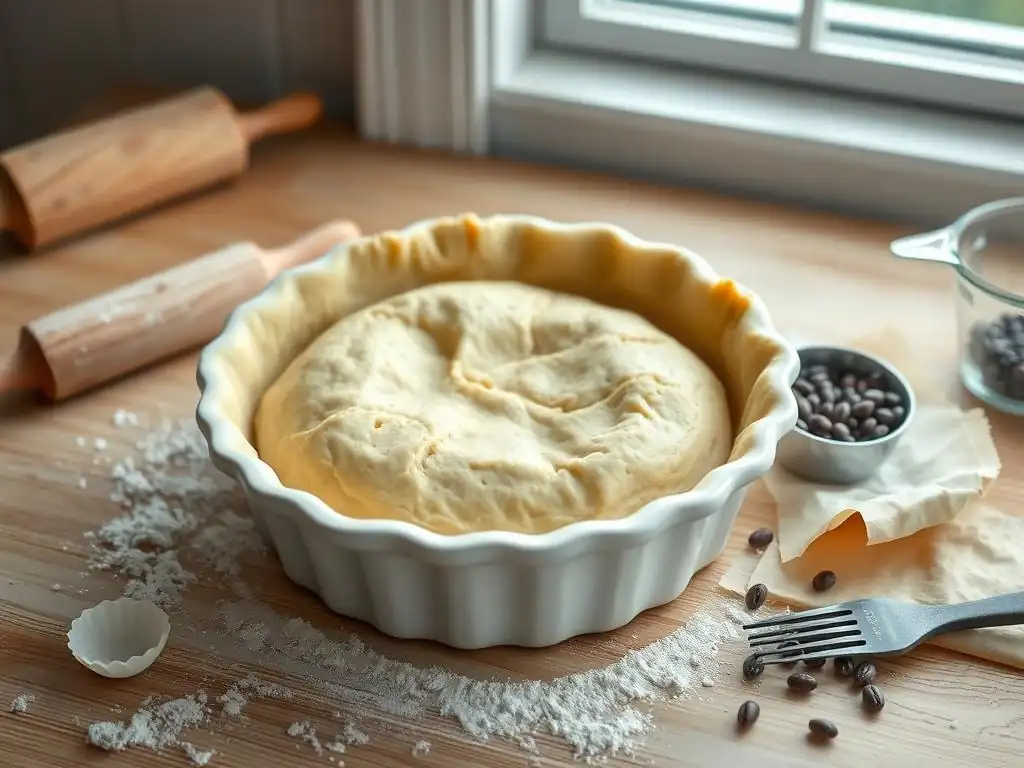
The first step in blind baking a pie crust is preparing your dough. Ensure your pie dough is well-chilled, as cold dough is easier to roll out and less likely to shrink excessively during baking. On a lightly floured surface, roll out your dough from the center outwards, rotating the dough occasionally to prevent sticking and to ensure an even thickness.
Aim for a circle that is about 1/8 to 1/4 inch thick and large enough to fit your pie dish with about an inch of overhang around the edges. An even thickness is vital for uniform blind baking; thin spots can burn while thicker areas remain underbaked.
Using just enough flour to prevent sticking is important; too much flour can make the dough tough. If the dough becomes too soft or sticky while rolling, briefly refrigerate it. Rolling the dough to the correct size is crucial for a successful blind baking pie crust, ensuring it fits the pan properly and leaves enough dough for crimping.
Transferring the Dough to the Pie Dish
Once your pie dough is rolled to the correct size and thickness, the next step is to carefully transfer it to your pie dish. The most common method is to gently roll the dough around your rolling pin, then unroll it over the pie dish. Alternatively, you can carefully fold the dough into quarters, lift it, and unfold it into the dish. Whichever method you choose, handle the dough gently to avoid stretching it, as stretching can lead to shrinkage during blind baking.
Ease the dough into the bottom and sides of the pie dish, pressing it gently so it fits snugly into the corners without stretching. Ensure there are no air pockets trapped between the dough and the dish. The overhang should extend over the rim of the pie plate, providing material for crimping and accounting for potential shrinkage. This careful transfer sets the stage for a properly fitted blind baking pie crust.
Crimping the Edges: Techniques for a Beautiful Finish
Crimping the edges of your pie crust serves both a functional and aesthetic purpose. Functionally, it helps secure the dough to the rim of the pie dish, further reducing shrinkage during blind baking. Aesthetically, it provides a beautiful, finished look to your blind baking pie crust. There are several techniques you can use. A simple method is to use the tines of a fork to press down around the entire rim of the dough, creating a rustic pattern.
For a more classic fluted edge, you can use your thumbs and forefingers. Place the index finger of one hand on the outside edge of the crust and use the thumb and index finger of your other hand to push the dough against the outside finger, creating a wave pattern. Work your way around the entire circumference of the pie. Ensure the crimped edge is firmly attached to the rim of the dish. Trim any excess dough if necessary before crimping. A well-crimped edge enhances the appearance of your blind baking pie crust and helps maintain its shape.
Step 2: Preventing Shrinkage and Bubbling
Docking the Dough: Piercing the Bottom with a Fork
Docking is a simple yet essential step in preparing a pie crust for blind baking. It involves gently pricking the bottom and sides of the pie dough all over with the tines of a fork. These small holes act as vents, allowing steam to escape from beneath the crust as it bakes. If the steam cannot escape, it can cause large bubbles to form in the bottom of the crust, leading to an uneven surface that is difficult to fill.
While docking helps prevent large bubbles, it doesn't completely prevent shrinkage or puffing, especially around the edges. That's where baking weights come in. Docking is typically done before lining the crust with parchment paper and adding weights. This step is quick but crucial for ensuring a flat, even bottom for your blind baking pie crust.
Lining the Crust: Using Parchment Paper
As mentioned earlier, lining the pie crust with parchment paper is a vital step before adding baking weights. Once the pie dough is fitted into the dish and docked, gently press a piece of parchment paper into the shell, making sure it conforms to the shape of the crust. The parchment should be large enough to extend well over the edges of the pie dish, creating "handles" that you can use later to lift out the weights.
The parchment paper protects the delicate dough from the direct contact with the weights and prevents them from sticking to the baking blind baking pie crust. It also helps distribute the pressure from the weights evenly across the surface. Wax paper is not a substitute for parchment paper in this step, as wax paper can melt at oven temperatures. Use genuine parchment paper for best results when preparing your blind baking pie crust.
Adding Baking Weights: Ensuring an Even Bake
With the pie crust properly lined with parchment paper, it's time to add the baking weights. Pour enough weights (ceramic beans, metal chain, dried beans, etc.) into the parchment-lined shell to completely fill the crust right up to the crimped edge. Ensure the weights are distributed evenly across the bottom and sides of the crust.
The weight of the beans or chain presses the dough against the pie dish, preventing it from puffing up or shrinking away from the sides during the initial blind baking period. This pressure is key to achieving a flat, even bottom and well-formed sides. Don't be shy with the weights; filling the crust completely is necessary for adequate support during the blind baking pie crust process.
Step 3: Blind Baking Temperatures and Times
Blind Baking at 375°F for 20 Minutes: A General Guideline
A common starting point for blind baking a pie crust is to bake it in a preheated oven at 375°F (190°C) for about 15-20 minutes with the weights in place. This initial bake sets the structure of the crust and partially cooks it. During this time, the edges should begin to look dry and slightly set, and the bottom should start to firm up underneath the parchment and weights.
The exact time can vary depending on your oven, the thickness of your crust, and the material of your pie dish. For instance, a darker metal pan might bake faster than a lighter ceramic one. The 20-minute guideline at 375°F is a good starting point for many standard blind baking pie crust recipes, ensuring the crust begins to stabilize before the weights are removed.
Adjusting Baking Time Based on Your Oven
Oven temperatures can vary significantly, even if the dial says it's preheated correctly. It's highly recommended to use an oven thermometer to verify the actual temperature inside your oven. If your oven runs hot, you might need to slightly reduce the temperature or shorten the blind baking time to prevent burning. Conversely, if it runs cool, you might need a few extra minutes.
Pay close attention to the appearance of the crust during this initial blind baking phase. The edges should look matte and set, not shiny or raw. After 15-20 minutes at 375°F, the crust should be firm enough to hold its shape when the weights are removed. Always check your specific recipe's recommended temperature and time, and be prepared to make slight adjustments based on your oven's performance to perfect your blind baking pie crust.
Step 4: Removing the Baking Weights and Finishing the Bake
Carefully Removing the Parchment Paper and Weights
After the initial blind baking time (around 15-20 minutes at 375°F), carefully remove the pie dish from the oven. Using the edges of the parchment paper as handles, gently lift the paper and the weights out of the partially baked crust. Be cautious as the weights will be hot. Set the weights aside to cool; they can be stored and reused for future blind baking projects.
At this point, the blind baking pie crust should be partially set, with the edges looking dry and the bottom firm enough to support itself. If any small bubbles formed despite docking, you can gently press them down with the back of a fork. This step transitions the blind baking process from setting the structure with weights to achieving the desired color and crispness.
Baking for Additional Time: Achieving a Golden Brown Crust
Once the weights and parchment are removed, return the pie crust to the oven to finish blind baking. The temperature might remain at 375°F or be slightly adjusted depending on the recipe. This second baking phase allows the bottom of the crust to brown and become fully crisp. This typically takes another 10-20 minutes.
Keep a close eye on the crust during this final stage. You want the entire blind baking pie crust, including the bottom and edges, to be a light golden brown color. This indicates it is fully cooked and crisp. If the edges start browning too quickly, you can loosely shield them with strips of aluminum foil. The goal is a uniformly golden and sturdy blind baked pie crust, ready to hold your filling without becoming soggy.
Troubleshooting Common Blind Baking Problems
Preventing a Shrinking Pie Crust
Shrinkage is a common issue when blind baking a pie crust, resulting in a crust that pulls away from the sides of the dish. The primary culprit is often working with dough that is too warm or has been overworked, developing too much gluten. To prevent shrinkage, ensure your dough is well-chilled before rolling and fitting it into the pan.
After fitting the dough and crimping the edges, chill the lined crust in the refrigerator for at least 30 minutes (or even freeze for 15 minutes) before blind baking. This allows the fat to firm up and the gluten to relax, helping the crust hold its shape better in the heat of the oven.
Additionally, ensure you are not stretching the dough as you fit it into the pie dish. Gently ease it in. Using enough baking weights to fill the crust completely up to the rim provides necessary support during the initial bake, further preventing the sides from collapsing. Proper chilling and using sufficient weights are key strategies for minimizing shrinkage when blind baking your pie crust.
Dealing with Bubbles in the Crust
While docking the dough helps reduce bubbling, sometimes stubborn air pockets still form during blind baking, especially if the dough wasn't docked sufficiently or unevenly. If you notice large bubbles puffing up the bottom of the crust during the initial blind baking with weights (though this is less common with weights), you can sometimes carefully press them down with a heatproof spatula.
More commonly, small bubbles might appear after the weights are removed for the final bake. If these bubbles are minor, they might flatten slightly as the crust finishes baking. For larger or persistent bubbles, you can gently pierce them with a fork or the tip of a sharp knife as soon as you remove the weights. This releases the trapped steam. Ensure the crust is partially set before doing this to avoid tearing. Proper docking before adding weights is the best preventative measure for a smooth blind baking pie crust bottom.
Ensuring Even Browning of the Pie Crust
Achieving a uniformly golden brown blind baked pie crust requires attention during the final baking stage. Uneven browning can occur if your oven has hot spots, if the crust thickness varies, or if the pie dish material isn't conducting heat evenly. To combat this, rotate the pie dish halfway through the final baking period. This helps expose all parts of the crust to the heat evenly.
If the edges of your blind baking pie crust are browning too quickly while the bottom is still pale, loosely cover the edges with strips of aluminum foil. This shields the edges from direct heat, allowing the bottom to catch up. Conversely, if the bottom is taking too long to brown after the edges are perfect, you can try carefully placing the pie dish on a baking steel or stone in the oven (if you have one) for better heat transfer to the bottom. Monitoring and adjusting are key to a beautifully colored blind baked pie crust.
Tips and Tricks for a Perfect Blind Baked Pie Crust
Using Cold Ingredients for a Flaky Crust
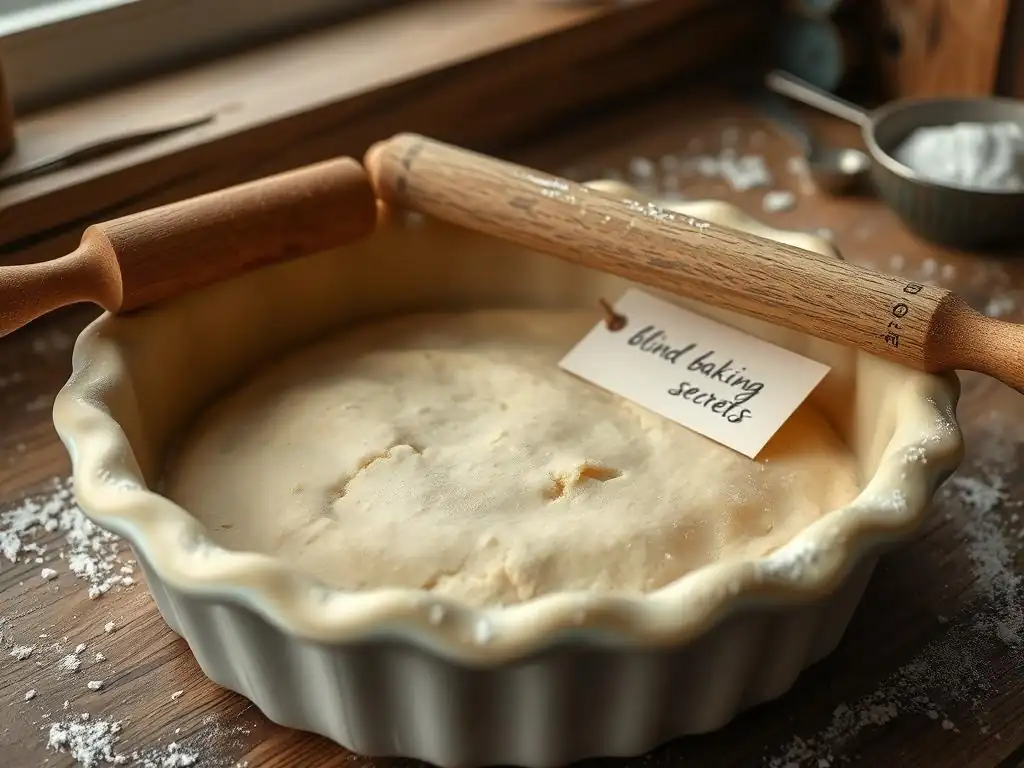
The foundation of a great blind baked pie crust is a flaky dough, and the secret to flakiness lies in using cold ingredients. Ensure your butter (or other fat) is very cold, cut into small pieces, and ideally, your water is ice cold. When cold fat is cut into the flour, it creates small pockets. As the crust bakes during blind baking, these fat pockets melt, creating steam that pushes apart the layers of dough, resulting in a light, flaky texture.
Working quickly and handling the dough as little as possible also helps keep the fat cold. If your kitchen is warm, you might even chill your flour beforehand. Using cold ingredients is perhaps the most critical factor in developing a tender, flaky texture for your blind baking pie crust, providing a delightful contrast to your filling.
Chilling the Dough Before Blind Baking
Chilling the pie dough at multiple stages is crucial for a successful blind baking pie crust. First, chill the dough after you've mixed it and formed it into a disc; this makes it easier to roll. Second, and perhaps most importantly for blind baking, chill the fitted and crimped pie crust in the dish for at least 30 minutes (or freeze for 15 minutes) before adding the parchment and weights and putting it in the oven.
This chilling period allows the gluten to relax, minimizing shrinkage, and ensures the fat is firm, which helps maintain the crust's shape and contributes to flakiness during the heat of blind baking. Skipping this chilling step is a common cause of a misshapen or shrunken blind baking pie crust.
Consider Using Pie Weights Alternatives if Needed: Metal Nuts and Bolts
While ceramic baking beans and chains are ideal, if you're in a pinch and need to blind bake a pie crust, common household items can serve as alternatives for weights. Dried beans (like kidney beans or chickpeas), rice, or even popcorn kernels can be used. Remember, once used for baking weights, these food items are generally not suitable for cooking afterwards.
Another unconventional but effective alternative can be clean metal nuts and bolts, provided they are thoroughly washed and wrapped securely in foil or placed inside a layer of parchment paper. Ensure they are clean and food-safe if you choose this route. The key is to have enough weight to fill the crust completely. While dedicated baking weights are convenient, don't let their absence stop you from blind baking your pie crust; improvisation is possible.
Blind Baking Variations: Different Techniques
Blind Baking Sweet Pie Crusts
Blind baking sweet pie crusts is typically done for fillings that are either not baked (like fresh fruit tarts or cream pies) or require a very short bake time (like lemon meringue). The process is largely the same as the general steps outlined: fit the dough, chill, dock, line with parchment, add weights, bake initially, remove weights/parchment, and finish baking until golden brown.
For sweet blind baked pie crusts, ensure the bottom is fully cooked and crisp, as it often supports a moist filling without further baking. Sometimes, after removing the weights, the crust is brushed with an egg wash (a mixture of egg yolk and a little water or milk) and returned to the oven for the final bake. This creates a beautiful sheen and helps seal the crust slightly, providing an extra barrier against moisture from the filling. Ensure the crust is fully cooled before adding unbaked fillings.
Blind Baking Savory Pie Crusts
Blind baking savory pie crusts is most commonly associated with quiches and other tarts that have wet, often eggy, fillings. The technique is identical to blind baking sweet crusts: fit, chill, dock, line, weight, initial bake, remove weights, and final bake. For savory fillings, it is absolutely critical that the blind baked pie crust is fully cooked and golden brown on the bottom before adding the filling.
A pale or underbaked bottom crust will inevitably become soggy when the liquid savory filling is added and baked. Pay close attention during the final baking phase after removing the weights, ensuring the bottom of the crust is as golden as the edges. A properly blind baked pie crust for a savory filling provides a sturdy, crisp base that can stand up to the moisture of ingredients like eggs, cream, cheese, and vegetables.
Recipes That Benefit from Blind Baking
Classic Quiche Lorraine
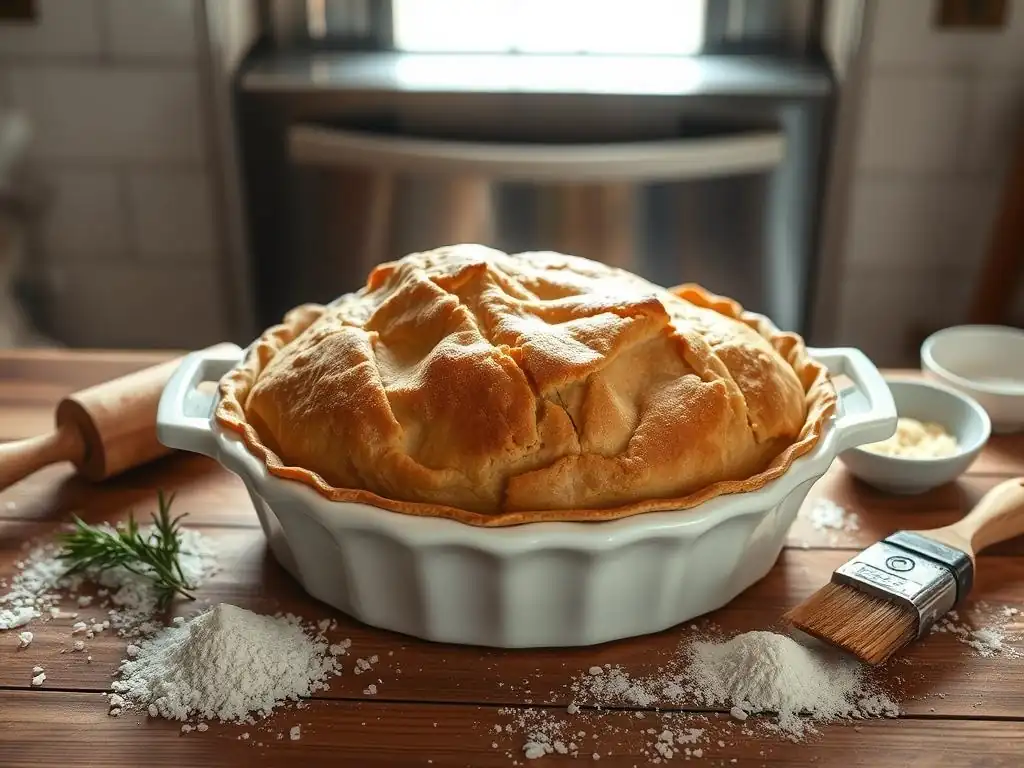
A quintessential example of a recipe requiring a blind baked pie crust is the classic Quiche Lorraine. This savory tart features a rich filling of eggs, cream, bacon, and sometimes cheese, which is poured into the crust and then baked. Because the filling is essentially a liquid custard before baking, it would quickly turn a raw crust into a soggy mess.
Blind baking the pie crust for a Quiche Lorraine provides a firm, pre-cooked base that can withstand the moisture of the filling during its relatively long baking time (often 30-45 minutes or more). The blind baked crust ensures that the finished quiche has a delightful contrast between the creamy filling and the crisp, flaky shell.
Key Lime Pie
Key Lime Pie is another prime candidate for blind baking a pie crust. Traditional Key Lime Pie fillings are made with condensed milk, egg yolks, and key lime juice. While the filling sets up, it doesn't undergo the kind of prolonged baking that would cook a raw crust sufficiently. Often, the filling is poured into the crust and simply chilled or briefly baked just to set the top.
Blind baking the pie crust fully before adding the Key Lime filling ensures that the base is perfectly cooked and crisp. Since the filling doesn't require significant oven time, the crust needs to be entirely ready to serve as a sturdy, flavorful container for the tangy, sweet filling.
Pecan Pie
Pecan pie, with its dense, syrupy filling, also greatly benefits from a blind baked pie crust, particularly a partial blind bake. The sugary filling is quite heavy and moist. If poured into a raw crust, the bottom can easily become underbaked or soggy before the filling sets.
Performing a partial blind bake (baking with weights for the initial 15-20 minutes, removing weights, but not fully browning the bottom) helps set the bottom crust and gives it a head start. This ensures that the bottom of the blind baking pie crust finishes baking at the same time as the viscous pecan filling sets, resulting in a pie with a perfectly cooked crust all the way through.
Storing Your Blind Baked Pie Crust
How to Store a Fully Baked Pie Crust
If you've fully blind baked a pie crust and need to store it before filling, ensure it is completely cooled first. Once cooled, you can store the blind baked pie crust at room temperature for 1-2 days. Place it gently in an airtight container or carefully wrap the entire pie dish in plastic wrap and then foil to protect it from moisture and air.
For longer storage, a fully blind baked pie crust can be frozen. Again, ensure it is completely cool. Wrap the dish tightly in plastic wrap, then in aluminum foil, or place it in a large freezer bag. A fully blind baked pie crust can be frozen for up to 1-2 months. Thaw it at room temperature before filling.
How to Store a Partially Baked Pie Crust
Storing a partially blind baked pie crust (where the weights were removed but the bottom wasn't fully browned) is less common, as this stage is usually immediately followed by the final bake. However, if necessary, let it cool completely. Wrap it very carefully in plastic wrap and then foil.
A partially blind baked pie crust is best stored in the refrigerator for up to 1-2 days. Freezing a partially baked crust is possible but can sometimes affect the texture. If freezing, wrap securely as described above and thaw in the refrigerator. You will need to finish blind baking it (browning the bottom) just before adding your filling. Always ensure the blind baking pie crust is completely cool before wrapping and storing to prevent condensation, which can make it soggy.
Mastering the Art of Blind Baking: Your Key to Exceptional Pies
Blind baking a pie crust is a fundamental technique that elevates your pie-making skills, transforming potentially soggy bottoms into crisp, golden foundations. By understanding the purpose, using the right equipment, following the step-by-step process, and knowing how to troubleshoot common issues, you can confidently blind bake a pie crust for any recipe.
Whether you're making a classic quiche, a vibrant fruit tart, or a rich pecan pie, a perfectly blind baked pie crust is your key to achieving exceptional results. Practice makes perfect, so don't be discouraged if your first attempt isn't flawless. With a little patience and attention to detail, you'll master the art of blind baking, opening up a world of delicious pie possibilities with beautifully cooked crusts every time.
Frequently Asked Questions
What exactly is blind baking a pie crust?
Blind baking is the process of pre-baking a pie crust before adding the filling. This prevents a soggy bottom and ensures a crisp crust.
Why is blind baking considered necessary for some pies?
It's crucial for pies with wet fillings that don't require much baking time, like lemon meringue or chocolate cream pies. Blind baking ensures the crust is fully cooked before the filling is added.
What materials do I need for blind baking a pie crust effectively?
You'll need pie weights (or dried beans/rice) and parchment paper or aluminum foil to weigh down the crust during baking. This prevents it from puffing up or shrinking.
Can I skip the pie weights when blind baking? What happens then?
Skipping the weights usually results in the crust puffing up unevenly and potentially shrinking. The crust may become misshapen and less stable for the filling.
How do I know when my pie crust is properly blind baked?
The crust should be lightly golden brown and firm to the touch. It should also sound hollow when tapped gently.
Final Reflection: Mastering the Art of the Blind Bake
The seemingly simple act of blind baking a pie crust is, in reality, a gateway to pastry perfection. A flawlessly blind-baked crust—crisp, golden, and structurally sound—elevates any pie from good to extraordinary. This guide has explored the nuances of this technique, from selecting the right flour to achieving that coveted even browning, and its impact extends far beyond the simple act of baking.
The journey of mastering blind baking is a microcosm of the larger culinary journey itself. It's about precision, patience, and a willingness to experiment. It's about understanding the fundamental principles of heat transfer and dough behavior, skills that translate to countless other baking endeavors. As Julia Child wisely said, A good cook is someone who can cook anything, even if it's just scrambled eggs.
Blind baking, while seemingly specific, embodies this broader culinary philosophy: a foundation of skill that unlocks a world of possibilities.
Now, consider your own baking journey. What seemingly small technique have you mastered that has unlocked a greater understanding of the craft? I encourage you to embrace the challenge of blind baking, not just as a recipe to follow, but as a stepping stone to a deeper appreciation for the art of baking. Experiment with different flours, chilling times, and weighting methods. The path to pastry perfection is paved with practice, and the rewards are well worth the effort. Go forth, and bake!
Unleash Your Inner Pastry Chef: Master the Art of Blind Baking!
Thanks for joining us on this baking journey! You've now got the confidence to tackle blind baking – a skill that opens up a world of delicious possibilities. Ready to put your newfound knowledge into practice?
- Bake your dream pie crust: Try out the techniques you just learned on your favorite pie recipe. We'd love to see your results!
- Share your success (or even your challenges!): Post a picture of your blind-baked masterpiece on social media and tag us @BakeWithEase – let’s celebrate your baking wins together.
- Explore our other guides: Discover more baking tips and recipes on our website, BakeWithEase.com, to continue expanding your culinary skills.
What incredible pie creation will you blind bake next?