
Easy Steps to Rerolling Pie Dough

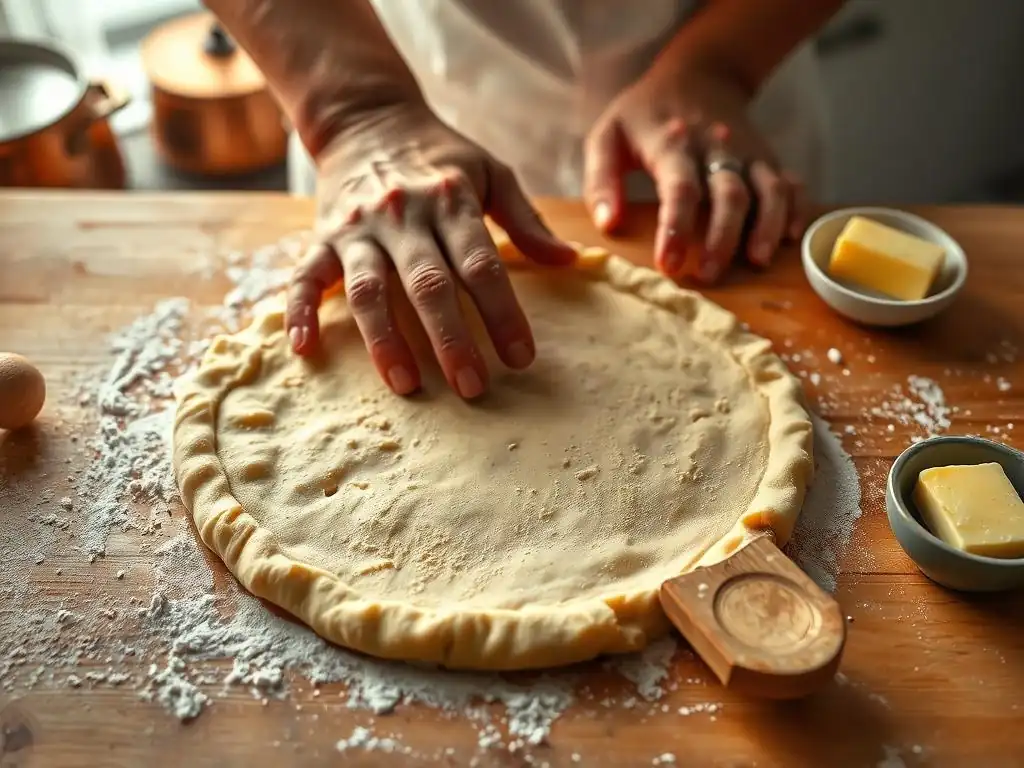
Welcome to BakeWithEase, your guide to effortless baking! Ever wondered if you can really salvage that pie dough after a misstep? Discover the secrets to rerolling pie dough easily and rescue your baking dreams. We'll show you simple, foolproof techniques that transform kitchen mishaps into delicious successes. Keep reading to learn how!
- Achieving Flaky Pie Crust: A Guide to Rerolling Dough
- Introduction: Maximizing Pie Dough Yield and Quality
- Step-by-Step Guide: Rerolling Pie Dough for Optimal Results
- Tips and Tricks for Rerolling Pie Dough Successfully
- Troubleshooting Common Rerolling Issues
- Recipes Utilizing Rerolled Pie Dough
- Conclusion: Mastering Pie Dough Rerolling for Delicious Results
-
Frequently Asked Questions
- How many times can I reroll pie dough before it becomes tough?
- What's the best way to keep pie dough cold when rerolling it?
- My pie dough keeps shrinking after rerolling and baking. Why is this happening?
- What kind of flour is best for rerolling pie dough easily?
- Can I add anything to the dough to make it easier to reroll?
- Final Reflection: Mastering the Humble Pie Crust
- Unleash Your Inner Pastry Chef: Master Your Dough!
Achieving Flaky Pie Crust: A Guide to Rerolling Dough
Introduction: Maximizing Pie Dough Yield and Quality
Baking a perfect pie often involves creating a beautiful, flaky crust. Sometimes, you might have scraps left over after lining your pie plate or cutting shapes for a lattice top. Don't discard these precious pieces! Learning the proper technique for rerolling pie dough is not only economical, minimizing waste, but it also allows you to maximize your yield for additional decorations, a second small tart, or fixing imperfections. Mastering this skill is a hallmark of becoming a more confident and efficient baker.
Understanding how to handle pie dough properly, especially when it comes to rerolling, is crucial for achieving that desired light and airy texture. Pie dough relies on layers of fat encapsulated by flour, which melt during baking to create steam, pushing the dough layers apart into flakes. Improper handling, particularly excessive kneading or warming, can melt the fat prematurely, develop too much gluten, and result in a tough, dense crust instead of a flaky one. This guide will walk you through the steps to reroll pie dough easily and effectively, preserving its delicate structure.
Why Rerolling Pie Dough Matters for Efficient Baking
Rerolling pie dough is an essential technique for any baker looking to reduce waste and get the most out of their ingredients. When you cut out the initial crust for your pie plate, you inevitably end up with trimmings around the edges.
These scraps still contain all the components for a delicious crust – flour, fat, and liquid – and can be gently combined and rerolled to form lattices, decorative cutouts, or even a small freeform tart like a galette. By effectively rerolling pie dough easily, you ensure that none of your carefully prepared dough goes to waste, making your baking process more cost-effective and sustainable.
Beyond just saving scraps, knowing how to handle dough for rerolling is also vital if you need to patch a tear, reinforce a thin spot, or create a double-crust pie where the top crust is made from a second portion of dough that might require trimming and reshaping. Proper rerolling preserves the delicate layers of fat within the dough that are responsible for flakiness. A well-rerolled piece of dough, handled with care, can yield results nearly as flaky as the original sheet, allowing you to create beautiful and complete pies without compromise.
Avoiding Common Pitfalls When Rerolling Pie Dough
Successfully rerolling pie dough requires careful attention to detail to prevent common issues that can ruin the texture. One of the most frequent mistakes is overworking the dough when combining the scraps. Simply pressing the scraps together and immediately attempting to roll them out can lead to a tough crust because the gluten develops rapidly with manipulation, especially if the dough is warm.
The key is to gently bring the scraps together without kneading them excessively, aiming to loosely form a cohesive mass rather than a smooth, elastic ball. This gentle handling minimizes gluten development, which is crucial for maintaining tenderness and flakiness.
Another significant pitfall is allowing the dough to become too warm during the rerolling process. Warm dough is sticky, difficult to handle, and the fat within it begins to soften or even melt. This melted fat can't create those wonderful steam pockets needed for flakiness.
Furthermore, warm dough encourages more gluten development as it's worked. To avoid this, work quickly in a cool environment and always rechill the dough after gathering the scraps and before attempting to reroll it. This allows the fat to firm up again and the gluten to relax, making the dough much easier to handle and ensuring a flakier final product.
Step-by-Step Guide: Rerolling Pie Dough for Optimal Results
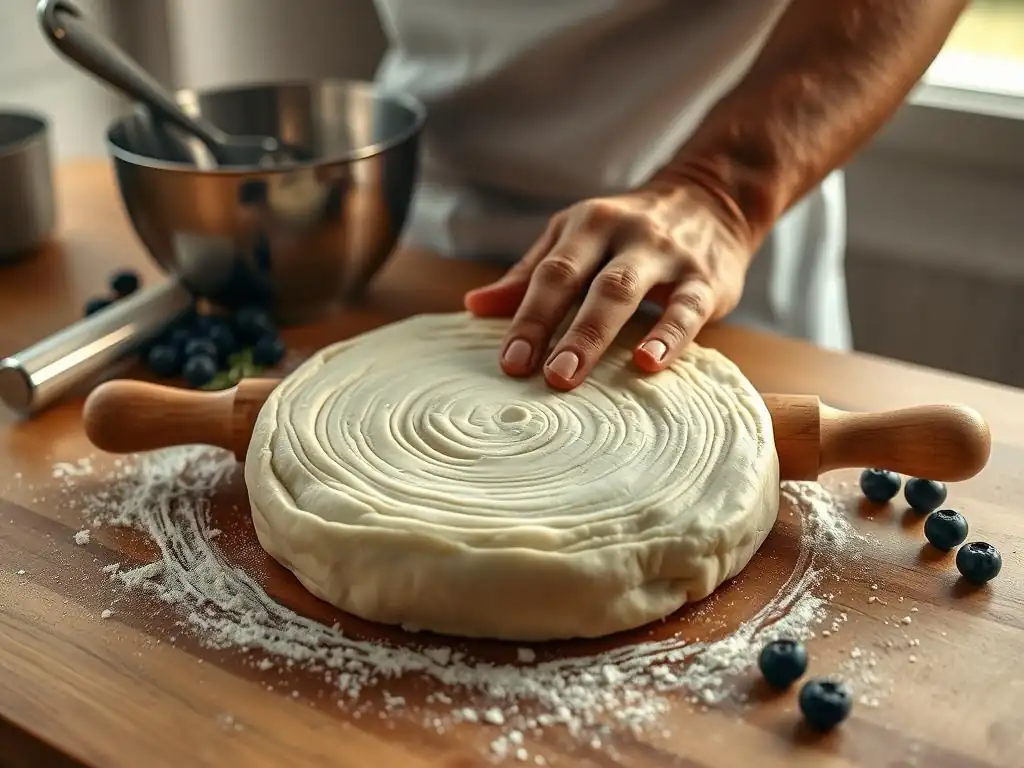
Step 1: Cold Dough is Key: Initial Chilling
Before you even think about rerolling pie dough scraps, ensure the original dough is properly chilled after its initial mixing and chilling period. This step is non-negotiable for achieving a flaky crust, whether it's the first roll or a subsequent one. Dough that has been chilled for the recommended time (usually at least 30 minutes, but ideally 1-2 hours or even overnight) is firm, the fat is solid, and the gluten has relaxed.
This makes it significantly easier to roll out without sticking and minimizes the risk of overworking, which leads to toughness. Trying to reroll warm, soft dough will result in a sticky mess that requires excessive flour, further compromising the texture.
Once you've cut your initial crust and have scraps, gently gather them together. Do not knead them into a smooth ball. Simply press them together loosely to form a rough disc or rectangle. Wrap this scrap dough tightly in plastic wrap and return it to the refrigerator.
This second chill is vital before attempting to reroll. The time spent chilling allows the fat, which may have softened slightly during the initial rolling and cutting, to firm up again. It also gives the gluten structure, which was disturbed by cutting and gathering, a chance to relax. A properly chilled scrap dough is the foundation for successfully rerolling pie dough easily.
The Science Behind Cold Pie Dough and Rerolling
The flakiness of pie dough is a direct result of the interaction between cold fat and flour. When you mix butter or shortening into flour, you create small pockets of fat coated in flour. During baking, the water in the fat turns to steam, which expands and pushes the layers of dough apart, creating distinct flakes.
If the fat is warm and soft before baking, it melts into the flour instead of staying in discrete pockets. This results in a more cookie-like or mealy texture rather than flaky layers. Keeping the dough cold ensures the fat remains solid and distributed in these crucial pockets.
Furthermore, the cold temperature inhibits rapid gluten development. Gluten is formed when water interacts with proteins in flour and is then agitated (like during mixing or rolling). While some gluten is necessary for structure, too much makes the dough elastic and tough. Rerolling scraps inherently involves handling the dough again, which can stimulate gluten formation. Chilling the dough slows down this process significantly. When the dough is cold, it's less elastic and less likely to spring back when rolled, making it easier to achieve an even thickness without excessive effort, thus minimizing overworking and subsequent toughness.
Determining the Ideal Chill Time for Pie Dough
After gathering your pie dough scraps into a rough shape, the ideal chill time before rerolling typically ranges from 30 minutes to an hour. The exact time can depend on the ambient temperature of your kitchen and the size of the dough mass. For a small amount of scraps formed into a thin disc, 30 minutes might be sufficient.
However, for a larger mass or if your kitchen is warm, chilling for 45-60 minutes is often better. You'll know the dough is ready when it feels firm and cold to the touch, but is still pliable enough to roll without cracking excessively at the edges.
Over-chilling is also possible, although less detrimental than under-chilling. Dough that has been chilled for several hours or overnight might be quite hard. In this case, let it sit at room temperature for 5-10 minutes to soften slightly before attempting to roll.
The goal is a dough that is cold enough to handle without sticking and for the fat to be firm, but not so hard that it requires excessive force to roll, which can also lead to toughness. A properly chilled disc is firm but yields slightly to pressure, indicating it's ready for you to start rerolling pie dough easily.
Step 2: Preparing Your Workspace: Lightly Flouring
A properly floured surface is essential for successfully rerolling pie dough easily and preventing it from sticking, which can cause tears and uneven thickness. Use a clean, dry surface – a large cutting board, a marble slab (ideal for keeping dough cool), or your countertop. The key word here is lightly flour. Applying too much flour can be just as problematic as not enough, as excess flour gets incorporated into the dough, making it dry and potentially tough. You want just enough flour to create a barrier between the dough and the surface.
To flour your surface effectively, sprinkle a small amount of flour (start with maybe 1-2 tablespoons) onto the center of your workspace. Use your hand to spread it into a thin, even layer, covering an area slightly larger than the anticipated size of your rolled-out dough. You can also lightly flour your rolling pin. Avoid dumping a large pile of flour and rolling the dough through it. This uneven application can result in patches of dry, floury dough. The goal is a very fine dusting that prevents adhesion without significantly altering the dough's hydration level.
Selecting the Best Flour for Dusting Pie Dough
When dusting your workspace and rolling pin for rerolling pie dough, the best flour to use is typically the same all-purpose flour you used to make the dough itself. Using the same type ensures consistency in gluten content and absorption properties. Avoid using specialty flours like bread flour, which has a higher protein content and could contribute to unwanted gluten development, or cake flour, which might be too fine and absorb moisture differently.
Some bakers prefer to use a small amount of rice flour for dusting. Rice flour is finer than wheat flour and, crucially, doesn't contain gluten. This means that any excess rice flour that gets incorporated into the dough during rolling won't contribute to toughness. However, all-purpose flour is perfectly adequate and the most common choice. Whichever flour you choose, remember that the principle of lightly dusting remains paramount to prevent a dry or tough crust.
Effective Flouring Techniques to Prevent Sticking
Effective flouring involves creating a thin, even layer on your surface and rolling pin. Don't pour a large amount of flour onto the surface; instead, take a small scoop (a tablespoon or two) and sprinkle it lightly across the area where you plan to roll. Then, use the palm of your hand to spread this flour into a thin, almost invisible film. You should be able to see the countertop surface through the flour.
As you roll, if you notice the dough starting to stick, lift it gently and add just a tiny bit more flour underneath that specific spot, spreading it thinly. You can also gently brush off any excess flour from the top surface of the dough with a dry pastry brush before folding or transferring it. A common mistake is to continuously add more and more flour every time the dough shows the slightest hint of sticking. This leads to a dry, floury crust. Work quickly, keep the dough cold, and use flour sparingly but strategically.
Step 3: Gentle Rerolling Techniques
Once your dough scraps are chilled and your surface is lightly floured, it's time to reroll. Remember, the goal is to work the dough as little as possible to preserve those flaky layers. Start by placing the chilled, roughly shaped dough disc on your floured surface. Begin rolling from the center outwards, rotating the dough periodically (about a quarter turn) to ensure it doesn't stick and to help it roll into an even shape. Use smooth, even pressure with your rolling pin, rather than pressing down hard.
Focus on rolling the dough to the desired thickness, typically around 1/8 inch (about 3mm). If the edges start to crack significantly, it might mean the dough is too cold or wasn't gathered gently enough initially. Let it sit for a minute or two to warm up slightly, or try to gently press the cracks together before rolling over them. Lift the dough occasionally to ensure it's not sticking, adding a tiny bit more flour underneath if necessary. Roll just until you reach the required size or thickness; stop as soon as you get there to avoid overworking.
Maintaining Dough Temperature for Flaky Layers
Keeping the dough cold is paramount throughout the rerolling process. As you roll, the friction from the rolling pin and the warmth from your hands (if touching the dough directly) can raise the temperature. If the dough becomes too soft or sticky while you're rolling, stop immediately. Gently slide it onto a baking sheet or cutting board, cover it loosely with plastic wrap, and return it to the refrigerator for 10-15 minutes to firm up again.
Working in a cool kitchen environment also helps significantly. Avoid rolling pie dough near a hot oven or in direct sunlight. If you have particularly warm hands, you might find it helpful to run them under cold water before handling the dough. The colder the dough stays, the less likely the fat is to melt prematurely, and the easier it will be to roll without excessive sticking or needing too much flour. This diligent temperature management is key to successfully rerolling pie dough easily while preserving flakiness.
Achieving Uniform Thickness During Rerolling
Rolling dough to a uniform thickness is important for even baking. If one part of the crust is significantly thicker than another, the thin part may burn while the thick part remains undercooked. When rerolling pie dough, start by rolling from the center outwards in multiple directions. Apply even pressure across the width of your rolling pin. Avoid just rolling back and forth in one direction, which can create an oval shape and uneven thickness.
Rotate the dough frequently (every roll or two) to help maintain a circular or even shape and to check for sticking. If you notice the dough is thicker on one side, focus your rolling efforts on that area. Some bakers find rolling pin guides (rings that slip onto the ends of the pin) helpful for maintaining a consistent thickness, typically set to 1/8 inch or 1/4 inch depending on the recipe. The goal is to achieve a sheet of dough that is consistently thin across its entire surface before cutting or transferring it.
Step 4: Repairing Tears and Handling Imperfections
Even with careful handling, tears and cracks can happen when rerolling pie dough, especially if the dough is a bit cold or dry. Don't panic! Most minor imperfections can be easily repaired. For small cracks around the edges, you can often just gently press the dough back together with your fingers before rolling over the area again. For larger tears within the body of the dough, you'll need to patch them.
To patch a tear, take a small piece of dough scrap (you might need to gather a few trimmings if you don't have a piece ready) and gently press it over the tear. Use a tiny bit of water on your finger to slightly moisten the edges of the tear and the patch piece if needed, which helps them adhere. Then, gently roll over the patched area with your rolling pin to smooth it into the surrounding dough.
Work carefully to blend the patch seamlessly without stretching or thinning the dough around it. A well-patched tear will often disappear during baking.
Patching Methods for Damaged Pie Dough
There are a couple of effective ways to patch damaged pie dough. For small holes or thin spots, simply press a piece of scrap dough onto the area. Use your finger to gently meld the edges of the patch into the surrounding dough. You can slightly overlap the patch onto the good dough. Then, lightly roll over the area with your rolling pin to smooth and flatten the patch so it's the same thickness as the rest of the dough.
For longer cracks or larger tears, you might need a strip of dough. Place the strip over the crack, ensuring it covers the entire length. Again, gently press the edges of the strip into the surrounding dough. You can use the rolling pin to help seal it. If the dough is very cold and not melding easily, allow it to warm up slightly for a minute or two, or use the minimal amount of water possible to help the edges stick. The key is to integrate the patch smoothly so it bakes evenly with the rest of the crust.
Addressing Cracks in Rerolled Pie Dough
Cracks, particularly around the edges, are a common issue when rerolling pie dough, especially if it's very cold or if the initial gathering of scraps wasn't gentle. If you see cracks forming as you start to roll, stop and assess the dough. If it feels very stiff and cold, let it sit at room temperature for 5-10 minutes to become slightly more pliable. Sometimes, simply letting the dough warm up a tiny bit is enough to prevent further cracking.
For existing cracks, you can try to gently press them together with your fingers. If they are persistent, you might need to use a patching method as described above, using a small piece of dough to fill the crack and rolling over it. Remember that cracks indicate the dough is under stress, often from being too cold or having too much gluten development. Working gently, allowing the dough to relax slightly, and ensuring it's at the right temperature are the best ways to prevent or minimize cracking when rerolling pie dough easily.
Step 5: The Importance of a Second Chill
After you have successfully rerolled your pie dough and cut out your desired shapes (like a top crust, lattice strips, or decorative cutouts), it is absolutely crucial to chill the dough again before baking. This second chill, often called "resting" the dough, serves multiple critical purposes that ensure a successful baked crust. Skipping this step is a common reason for crusts shrinking away from the edges of the pie plate or losing their shape in the oven.
Place the cut-out dough piece (on a baking sheet if it's a lattice or cutouts, or in/on the pie plate if it's a top crust) back into the refrigerator for at least 30 minutes, and ideally 60 minutes or longer. This chilling period allows the fat to firm up completely after being softened by the rolling process. More importantly, it allows the gluten structure, which was stretched and manipulated during rolling, to relax. Relaxed gluten won't contract as much in the heat of the oven, preventing shrinkage and helping the crust hold its shape.
Preventing Shrinkage with Proper Chilling
Shrinkage is a frustrating problem where the pie crust pulls away from the edges of the pie plate during baking. This is primarily caused by gluten development and the dough being elastic. When dough is rolled, the gluten strands are stretched. If the dough goes into the oven warm and without resting, these stretched gluten strands contract rapidly in the heat, pulling the dough inwards. This is why a proper chill is so important.
Chilling the dough after it's shaped and placed in the pie plate allows the gluten to relax and the dough to "set" in its final form. When it goes into the oven cold, the fat starts to melt and create steam before the gluten has a chance to contract significantly. This helps the crust maintain its size and shape against the edges of the plate or as free-standing decorations like lattice strips. Aim for at least 30-60 minutes of chilling post-shaping for best results in preventing shrinkage.
Optimal Chilling Practices Post-Rerolling
The optimal chilling time after rerolling and shaping depends on the dough's thickness and the kitchen's temperature, but a minimum of 30 minutes in the refrigerator is recommended. For best results, especially if you've handled the dough a lot or if your kitchen is warm, aim for 60 minutes or even longer. You can even chill the shaped dough overnight in the refrigerator, loosely covered.
If you're creating delicate shapes like lattice tops or cutouts, chilling them on a parchment-lined baking sheet makes them much easier to transfer to the pie later without stretching or distorting them. Ensure the dough is completely cold and firm before you attempt to move it. This final chill is a critical step in ensuring your rerolled pie dough bakes up as flaky and beautiful as the original crust.
Tips and Tricks for Rerolling Pie Dough Successfully
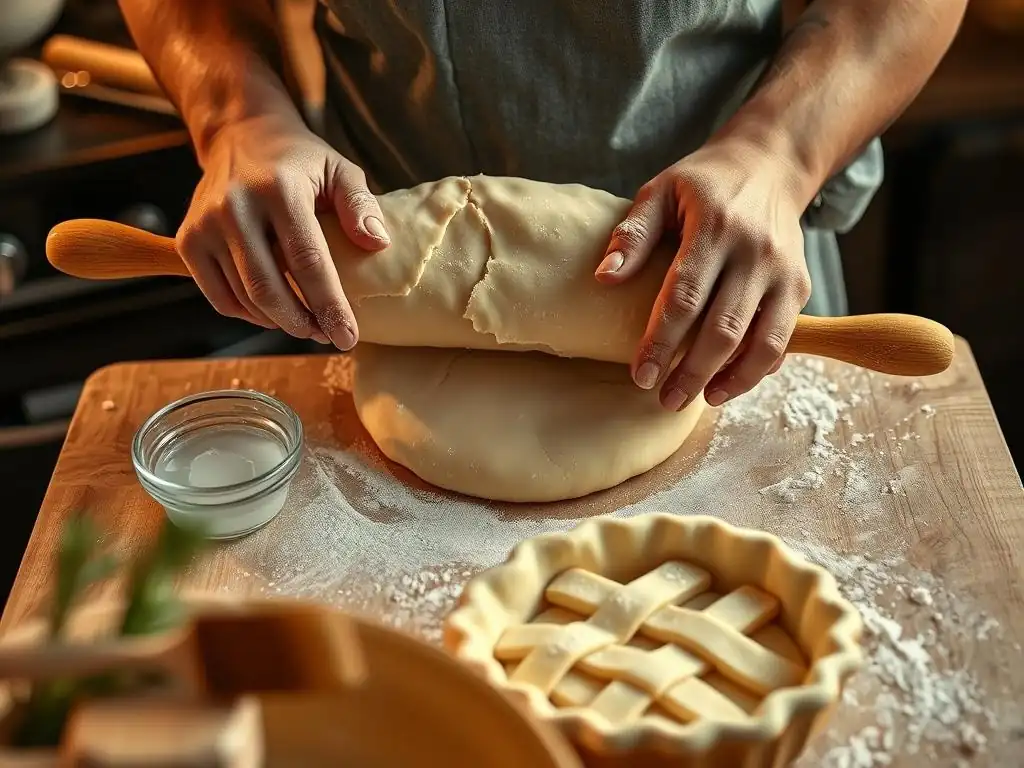
Pro Tip 1: Avoid Overworking the Dough
The single most important rule when rerolling pie dough is to handle it as little as possible. Every time you touch, knead, or roll the dough, you develop more gluten. While some gluten is needed for structure, too much makes the dough tough and elastic, leading to a dense, bread-like crust instead of a flaky one. When gathering scraps, gently press them together rather than kneading. When rolling, use smooth, even strokes and stop as soon as you reach the desired thickness.
Think of it like this: the first roll of dough is usually the most tender and flaky because it's been worked the least. Each subsequent reroll will slightly increase gluten development. By minimizing handling and rolling only as much as necessary, you preserve the delicate structure of the dough and ensure that even the rerolled portions contribute to a delicious, flaky crust.
Understanding Gluten Development in Pie Dough
Gluten is a protein network that forms when two proteins in wheat flour, glutenin and gliadin, combine with water and are then agitated. Kneading or excessive rolling develops these proteins into strong, elastic strands. In bread baking, this elasticity is desired to give structure and chewiness. However, in pie dough, excessive gluten development is the enemy of flakiness.
The fat in pie dough (butter or shortening) acts as a barrier, preventing water from fully hydrating the flour and thus limiting gluten formation. It also physically separates the flour particles. When you overwork pie dough, you break down these fat barriers, allowing more water-flour contact and increased gluten development. This results in a tough, elastic dough that shrinks when baked. Keeping ingredients cold and minimizing handling helps preserve the fat distribution and limits gluten formation, which is key to successfully rerolling pie dough easily.
Pro Tip 2: The Utility of a Dough Scraper
A bench scraper or dough scraper is an invaluable tool when working with pie dough, especially when rerolling. This flat, rectangular tool with a handle allows you to lift and move the dough without using your warm hands directly. This is crucial for keeping the dough cold and preventing sticking.
Use the scraper to gently lift the edges of the dough from the surface as you roll, ensuring it's not sticking. You can also use it to help gather scraps cleanly and to transfer the rolled dough onto a baking sheet or into a pie plate. Its straight edge is also useful for scraping up any stubborn bits of dough or flour from your workspace. Incorporating a dough scraper into your routine makes handling and rerolling pie dough easier and more efficient, minimizing direct contact and keeping the dough cool.
Leveraging a Dough Scraper for Easy Handling
Using a dough scraper helps maintain the cold temperature of the dough by reducing contact with your hands. Warm hands can quickly soften the fat in the dough, making it sticky and harder to work with. The scraper allows you to lift, nudge, and move the dough with minimal heat transfer.
It's also excellent for preventing sticking. If a section of your dough is starting to adhere to the surface, gently slide the thin edge of the scraper underneath it to release it. This is much better than trying to peel it up with your fingers, which can cause stretching or tearing. When you're finished rolling, slide the scraper under the entire sheet of dough to loosen it before attempting to fold or transfer it. This simple tool can significantly improve your ability to reroll pie dough easily and successfully.
Pro Tip 3: Minimizing Rerolling Frequency
While rerolling is a useful technique for utilizing scraps, it's best to minimize how many times you reroll the same piece of dough. Each time dough is gathered, pressed, and rolled, the gluten develops slightly more, and the fat layers are slightly disturbed. The first roll is always the best. A second roll (from scraps) is generally acceptable and can still yield a flaky crust if handled properly.
Attempting to reroll the same dough scraps multiple times (a third or fourth time) will almost certainly result in a tough crust, regardless of how carefully you handle it. The gluten will be too developed, and the fat will be too integrated.
Plan your cuts efficiently during the first roll to minimize scraps, and aim to use any rerolled dough for elements where texture might be slightly less critical than the main crust, such as decorative cutouts rather than the entire bottom crust of a pie. Limit rerolling to one time per batch of scraps for the best results when you reroll pie dough easily.
Preserving Pie Dough Texture Through Limited Rerolling
The delicate, flaky texture of pie dough relies on distinct layers of fat and flour. When you reroll dough, especially scraps that have already been handled, you inevitably start to break down these layers and further distribute the fat. While a single reroll, done gently and quickly with cold dough, can still produce a reasonably flaky result, repeated rerolling homogenizes the dough structure.
This homogenization means the fat is more evenly distributed within the flour, reducing the distinct pockets needed for steam expansion and flakiness. Furthermore, as mentioned, each reroll increases gluten development. Therefore, to preserve the best possible texture, aim to get what you need from the first roll, and limit rerolling to just one time per batch of scraps. This practice ensures that the rerolled portions of your crust remain tender and contribute positively to the overall pie experience.
Troubleshooting Common Rerolling Issues
Problem: Sticky Dough
One of the most common issues when rerolling pie dough is stickiness. This usually indicates the dough is too warm, either from being handled too much, spending too long at room temperature, or not being properly chilled after gathering the scraps. Warm dough means the fat is soft or melting, causing it to adhere to your surface and rolling pin.
Solution: Incremental Flour Addition
If your dough is sticky, your first instinct might be to add a lot of flour. While some flour is necessary, excessive amounts will dry out the dough and make it tough. Instead, stop rolling and gently slide the dough onto a baking sheet. Cover it and place it in the refrigerator for 15-30 minutes to firm up.
Once chilled, return it to your lightly floured surface. If it still shows slight stickiness, add flour incrementally and sparingly to the surface and your rolling pin, just enough to prevent sticking as you roll. Lift the dough frequently to ensure it's not adhering underneath, adding tiny amounts of flour only where needed.
Problem: Tough Dough
If your rerolled dough feels elastic, springs back when you roll it, and results in a hard or dense crust after baking, it's likely due to excessive gluten development. This happens when the dough is overworked, either during the initial mixing, when gathering scraps, or during the rerolling process itself. Using too much water initially can also contribute to toughness.
Solution: Minimize Gluten Development
Preventing tough dough starts from the moment you make it: use cold ingredients, cut the fat in properly (leaving some pea-sized pieces), and add just enough ice water to bring it together. When rerolling scraps, gather them gently into a cohesive mass without kneading. Always chill the dough thoroughly before rolling. When rolling, use smooth, even pressure and roll only until the desired thickness is achieved. Avoid stretching the dough. If the dough keeps springing back, cover it and let it rest in the refrigerator for 10-15 minutes to allow the gluten to relax before trying again.
Problem: Shrinkage During Baking
Shrinkage, where the pie crust pulls away from the edges of the pie plate or lattice strips contract significantly, is another common issue related to gluten elasticity. It occurs when the dough is rolled and then baked without sufficient time for the gluten to relax.
Solution: Proper Chilling and Gentle Handling
The most effective solution for preventing shrinkage is adequate chilling after the dough has been rolled and shaped (placed in the pie plate or cut for lattice). Chill the shaped dough in the refrigerator for at least 30-60 minutes before baking. This allows the stretched gluten strands to relax and the dough to set in its final shape.
Also, ensure you are handling the dough gently throughout the rolling process and avoid stretching it as you place it in the pie plate or arrange lattice strips. Trim excess dough after chilling the shaped crust in the plate for a secure edge.
Recipes Utilizing Rerolled Pie Dough
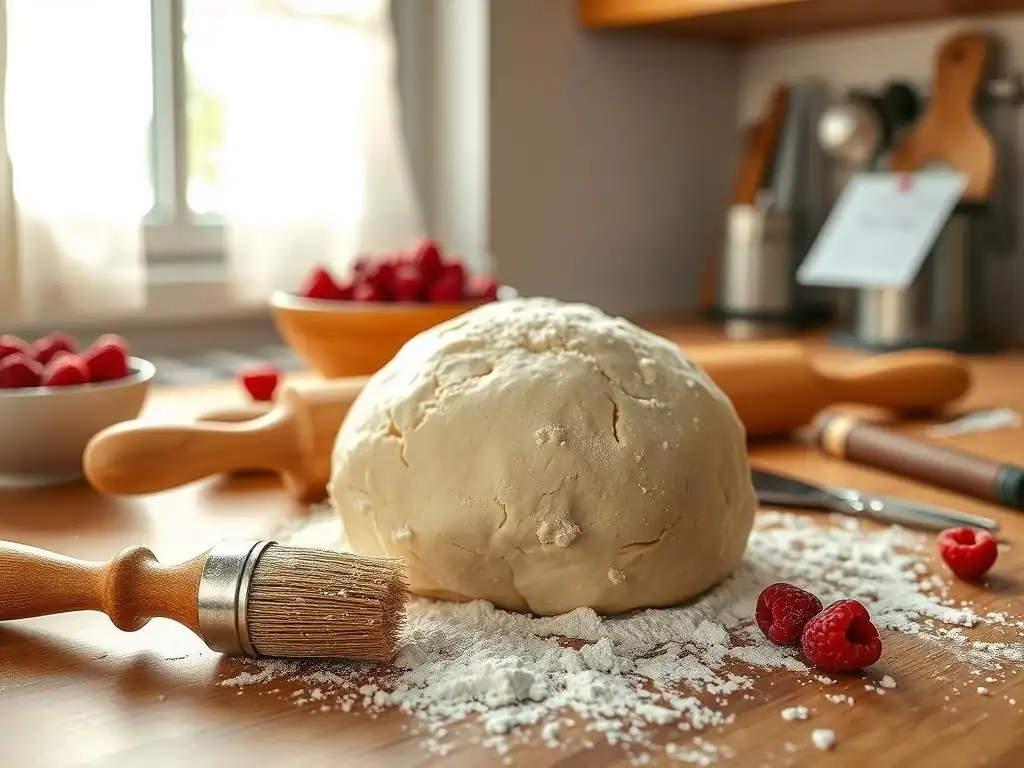
Rerolled pie dough is perfect for various applications where you need extra crust material or decorative elements.
Chicken Pot Pie
When making a double-crust chicken pot pie, you'll often trim excess dough from the bottom crust after lining the pie plate. These scraps are ideal for rerolling to create a decorative top crust or individual pastry shapes to place on top of a filling. Rerolling pie dough easily allows you to add a full top crust or charming cutouts like leaves or stars, maximizing the yield from your initial dough batch and adding a beautiful finish to a savory classic.
Apple Galette
An apple galette, or freeform tart, is a wonderful recipe that can utilize rerolled pie dough. If you have enough scraps from a larger pie, you can gather them, chill, and reroll into a rustic circle. Fill the center with sliced apples, fold the edges up and over the fruit, and bake. The slightly less uniform texture sometimes found in rerolled dough can actually enhance the rustic charm of a galette, making it a perfect candidate for using up those leftover bits while still creating a delicious dessert.
Conclusion: Mastering Pie Dough Rerolling for Delicious Results
Successfully rerolling pie dough is a valuable skill that enhances your baking efficiency and creativity. By following these simple steps – ensuring the dough is cold, using minimal flour, handling gently, and chilling again before baking – you can transform leftover scraps into usable, flaky crust for lattices, decorations, or smaller bakes. Remember the key principles: keep it cold, work it minimally, and chill it sufficiently.
Enjoying the Benefits of Perfectly Rerolled Pie Dough
Mastering the art of rerolling pie dough easily means less waste and more delicious possibilities. You'll confidently be able to tackle double-crust pies, elaborate lattice tops, or simply use up every last bit of your homemade dough for mini tarts or decorative elements. The effort put into gentle handling and proper chilling pays off in a beautifully flaky, tender crust that complements any sweet or savory filling. So, next time you have pie dough scraps, don't toss them – reroll them and enjoy the satisfying results!
Frequently Asked Questions
How many times can I reroll pie dough before it becomes tough?
You should aim to reroll pie dough no more than twice. Overworking the dough develops the gluten, leading to a tough and less flaky crust.
What's the best way to keep pie dough cold when rerolling it?
Keep the dough cold by chilling it in the refrigerator for at least 30 minutes between rerolling attempts. This prevents the butter from melting, which is crucial for a flaky crust.
My pie dough keeps shrinking after rerolling and baking. Why is this happening?
This is likely due to gluten development from overworking the dough during rerolling. Ensure you're not pressing down too hard and let the dough rest adequately after each roll.
What kind of flour is best for rerolling pie dough easily?
All-purpose flour is generally suitable. However, using pastry flour or adding a small amount of cake flour can result in a more tender and easily manageable dough for rerolling.
Can I add anything to the dough to make it easier to reroll?
Adding a tablespoon or two of vinegar or vodka to the dough can inhibit gluten development, making it more pliable and easier to reroll without becoming tough.
Final Reflection: Mastering the Humble Pie Crust
The art of rerolling pie dough, once a daunting task for many home bakers, is now within everyone's reach. This simple skill, often overlooked, can elevate a homemade pie from good to truly exceptional, saving time and reducing frustration in the kitchen. Mastering this technique isn't just about avoiding a cracked crust; it's about embracing the process and finding joy in the details.
The impact of perfecting this seemingly small skill extends far beyond the kitchen table. It's a testament to the power of patience and precision, qualities that translate to many other aspects of life. The gentle handling of the dough, the careful attention to temperature, and the satisfaction of a perfectly formed crust all contribute to a sense of accomplishment that goes beyond the delicious final product. As Julia Child once wisely said, Find something you're passionate about and keep tremendously interested in it.
For me, that passion is found in the simple act of creating something beautiful and delicious from humble ingredients, and rerolling pie dough is a key part of that process.
Now, it's your turn. Don't be intimidated by the prospect of a slightly misshapen crust. Embrace the opportunity to learn, to experiment, and to perfect your own technique. The next time you find yourself with a slightly imperfect pie crust, remember the easy steps outlined in this article. Take a deep breath, gather your courage, and reroll that dough. The delicious reward, and the sense of accomplishment, will be well worth the effort. You might even surprise yourself with how much you enjoy the process!
Unleash Your Inner Pastry Chef: Master Your Dough!
Thanks for joining us on this baking adventure! We hope you now feel confident and empowered in your pie-making skills. Ready to put your newfound knowledge into practice?
- Tackle that tricky pie crust: Try rerolling your dough today – you’ll be amazed at the difference a little extra care makes! Aim for a perfect, even circle this time.
- Share your baking triumphs (and challenges!): We'd love to see your pie creations! Post pictures on social media and tag us – let's inspire each other.
- Experiment with different flours: Challenge yourself to try a new type of flour next time for an exciting twist on texture and flavor.
What unexpected flavor combination will you try in your next pie masterpiece?