
Your GoTo Easy Pie Crust Recipe

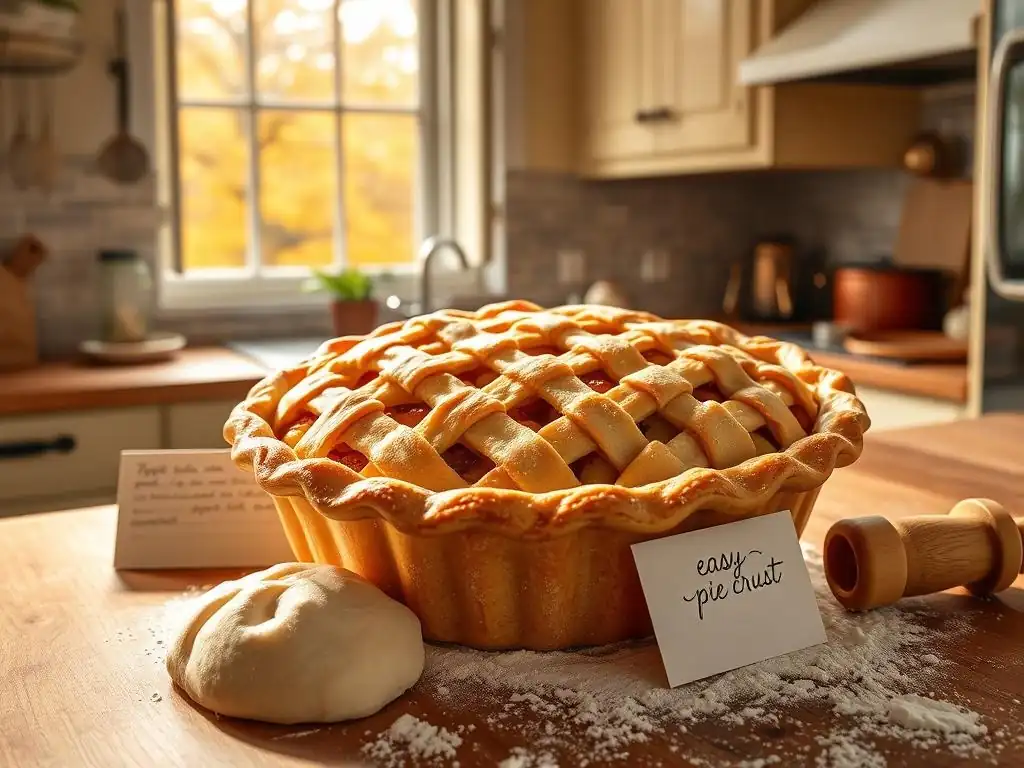
Welcome to BakeWithEase, your ultimate destination for mastering the delightful world of baking! Whether you're just starting out or honing your skills, we provide you with simple recipes, expert techniques, and invaluable tips tailored for bakers of all levels. Today, we invite you to dive into our featured article: the Easy Homemade Pie Crust Recipe. This straightforward guide will transform your baking experience, making it easier than ever to create flaky, delicious crusts that will impress everyone at your table. Curious how to achieve the perfect pie crust? Let’s get baking!
- Classic All-Butter Pie Crust Recipe
- Introduction to Delicious Pie Crust Baking
- Mastering the All-Butter Pie Crust Recipe: A Step-by-Step Guide
- Rolling Out Your Pie Crust: Tips and Tricks
- Blind Baking Your Pie Crust: Preventing a Soggy Bottom
- Troubleshooting Common Pie Crust Problems
- Variations on the All-Butter Pie Crust Recipe
- Storing Your Homemade Pie Crust
- Serving Suggestions and Pie Filling Ideas
- Conclusion: Enjoying Your Homemade Pie Crust Success
- Frequently Asked Questions
- Final Reflection: The Timeless Art of Easy Homemade Pie Crust
- Unleash Your Inner Baker: Make the Perfect Pie Crust Today!
Classic All-Butter Pie Crust Recipe
Introduction to Delicious Pie Crust Baking
Baking a perfect pie starts with a fantastic crust. While store-bought options exist, there's a unique satisfaction and superior flavor that comes from an easy homemade pie crust recipe made from scratch. Many home bakers find pie crust intimidating, picturing tough dough or a soggy bottom. However, with the right techniques and a simple recipe, achieving a flaky, golden crust is absolutely within reach for bakers of all skill levels. This guide will walk you through creating a classic all-butter pie crust that is both easy to make and incredibly delicious.
This particular easy homemade pie crust recipe focuses on simplicity without sacrificing quality. By using cold butter and minimal handling, we maximize flakiness and tenderness, resulting in a crust that's sturdy enough to hold generous fillings yet melts in your mouth with every bite. Forget the fear of pie dough; this recipe breaks down each step, making the process approachable and enjoyable. Whether you're a seasoned pro or just beginning your baking journey, you'll find this method reliable and rewarding, paving the way for countless successful pies.
Why This All-Butter Pie Crust Recipe is a Game Changer
This specific easy homemade pie crust recipe stands out because it relies solely on butter, offering unparalleled flavor and flakiness compared to shortening-based crusts. Butter contributes distinct layers as it melts during baking, creating those desirable air pockets that define a truly flaky crust. Furthermore, the simplicity of the ingredients – just flour, salt, butter, and water – means you likely have everything you need in your pantry right now, eliminating the need for special trips to the grocery store. It's a foundational recipe that builds confidence and delivers consistent, delicious results.
Beyond the superior taste and texture, this method is designed to be forgiving. It emphasizes techniques like keeping ingredients cold and avoiding overworking the dough, which are critical for success but explained in an accessible way. Many common pie crust pitfalls, such as toughness or shrinkage, are directly addressed through clear instructions and tips within the steps. This makes it an excellent entry point for anyone looking to master the art of pie baking with an easy homemade pie crust recipe they can trust and return to time and time again.
Promise: Simple Baking, Delicious Results
Our promise with this easy homemade pie crust recipe is straightforward: we'll guide you through a process that is simple enough for beginners yet yields a result that tastes professional and utterly delicious. You don't need fancy equipment or years of experience to create a beautiful, flaky pie crust. By following our detailed steps and understanding the 'why' behind each action, you will gain the confidence to tackle pie baking head-on. This recipe is designed to demystify pie crust, transforming it from a dreaded task into an enjoyable part of your baking repertoire.
The delicious results speak for themselves. Imagine a pie with a golden-brown crust that shatters slightly when you slice into it, revealing layers of buttery goodness. This is the outcome you can expect from this easy homemade pie crust recipe. It provides the perfect foundation for any sweet or savory filling, elevating your pies from good to spectacular. We believe that baking should be accessible and rewarding, and this recipe is a testament to that philosophy, empowering you to create memorable desserts and dishes with ease.
Mastering the All-Butter Pie Crust Recipe: A Step-by-Step Guide
Creating a perfect all-butter pie crust is less about magic and more about technique and understanding your ingredients. This guide breaks down the process into manageable steps, ensuring that even first-time bakers can achieve a flaky and tender result. We'll focus on keeping everything cold, working efficiently, and handling the dough gently – key principles for success with any easy homemade pie crust recipe.
Each step is designed to build upon the last, leading you smoothly from a pile of ingredients to a perfectly chilled dough disc ready for rolling. Pay close attention to the texture changes as you progress through the steps, as these are your indicators that you're on the right track. This systematic approach takes the guesswork out of pie crust making, allowing you to bake with confidence and creativity.
Gathering Your Ingredients for the Perfect Pie Crust
Success with an easy homemade pie crust recipe begins with having the right ingredients measured and prepared. Accuracy in measurement is crucial, especially for the flour and liquid, as too much or too little can drastically alter the dough's consistency and the final crust's texture. Using high-quality, fresh ingredients also makes a difference in flavor. Before you start, ensure you have all items ready to go, especially the butter and water, which need to be very cold.
Having your workspace prepped is also part of gathering ingredients. Clear a space, gather your tools (like a pastry blender, fork, or food processor, and measuring cups/spoons), and make sure you have room to work the dough. This preparation phase, while simple, sets you up for a smooth and efficient baking process, reducing stress and increasing your chances of achieving a perfect, easy homemade pie crust recipe outcome.
Essential Ingredients for a Flaky Pie Crust: All-Purpose Flour, Salt, Unsalted Butter, Ice Water
The core of a flaky pie crust relies on just four essential ingredients: all-purpose flour, salt, unsalted butter, and ice water. All-purpose flour provides the structure; about 1.5 to 2 cups is typical for a single crust. Salt is crucial for flavor, balancing the richness of the butter; a teaspoon is usually sufficient. Unsalted butter is preferred because it allows you to control the salt level, and it's the star for flakiness and flavor. You'll need about 1/2 cup (1 stick or 113 grams) of very cold, cubed unsalted butter for a single crust.
Finally, ice water is the binding agent. The 'ice' part is critical because cold water helps keep the butter solid, promoting flakiness. You'll typically need between 4 to 6 tablespoons of ice water, but the exact amount can vary based on the flour and humidity. Having a glass of ice water ready and adding it tablespoon by tablespoon is key to achieving the right consistency without overhydrating the dough. These simple components, when handled correctly, combine to create a truly magnificent crust.
Understanding Ingredient Ratios for Optimal Texture
Understanding the ratio between flour, fat (butter), and liquid (ice water) is fundamental to achieving optimal texture in an easy homemade pie crust recipe. A common ratio by weight is roughly 3 parts flour, 2 parts fat, and 1 part liquid, though volume measurements are more common in home recipes. For example, using 1.5 cups (about 180g) flour, 1/2 cup (113g) butter, and 4-6 tablespoons (60-90ml) ice water aligns reasonably well with this principle. The relatively high fat content is what contributes significantly to flakiness.
The amount of water is the most variable component and requires careful addition. Too little water results in a dry, crumbly dough that's hard to roll and can crack excessively. Too much water develops too much gluten, leading to a tough, dense crust. The goal is to add just enough water for the dough to hold together when gently squeezed, but no more. Paying attention to the dough's feel and adding water gradually is more important than hitting an exact liquid measurement listed in a recipe, as environmental factors play a role.
Step-by-Step Instructions: Making Your Pie Crust Dough
Follow these steps precisely to create a perfect, easy homemade pie crust recipe dough. Working quickly to keep ingredients cold is important throughout this process. Don't be afraid to pause and chill ingredients if they start to warm up.
- [ ] Gather and measure all ingredients. Cube the very cold butter into small pieces (about 1/2 inch or 1 cm cubes). Have your ice water ready.
- [ ] Combine dry ingredients.
- [ ] Cut in the cold butter.
- [ ] Add ice water gradually.
- [ ] Form the dough.
- [ ] Chill the dough.
Step 1: Combining Dry Ingredients
In a medium mixing bowl, whisk together the all-purpose flour and salt. For a typical single crust using 1.5 cups of flour, you'd add about 1 teaspoon of salt. Whisking ensures the salt is evenly distributed throughout the flour, which is important for consistent flavor in every bite of your easy homemade pie crust recipe. This step is simple but essential for the foundation of your dough.
You can use a fork or a whisk for this step. Make sure there are no clumps of salt. Some bakers like to use a fine mesh sieve to sift the flour first, which can help make the flour lighter and more consistent, although it's not strictly necessary for a good crust. Just ensure the two dry ingredients are well incorporated before moving on.
Step 2: Cutting in the Cold Butter
Add the very cold, cubed unsalted butter to the flour mixture. The goal here is to break the butter into smaller pieces within the flour, creating varying sizes from pea-sized to lima bean-sized, with some smaller bits resembling coarse meal. These pieces of cold butter are what create the flaky layers as they melt and release steam during baking. You can use a pastry blender, two forks, or even your fingertips to cut the butter into the flour. Avoid using your warm hands for too long, as this can melt the butter.
If using a food processor, pulse the flour, salt, and cold butter together a few times until the butter is cut in. Be careful not to over-process into a fine, uniform mixture; you still want visible pieces of butter. The mixture should look like coarse crumbs with some larger, flat pieces of butter scattered throughout. This texture is key to the flakiness of your easy homemade pie crust recipe.
Step 3: Adding Ice Water for Perfect Hydration
Sprinkle the ice water over the flour and butter mixture, starting with about 4 tablespoons for a single crust recipe. Use a fork or your hands to gently mix the water into the dry ingredients until the dough just barely comes together. The key is to add just enough water so that when you squeeze a handful of the mixture, it holds its shape without being sticky or overly wet. If it's still too dry and crumbly, add more ice water, one tablespoon at a time, mixing after each addition, until the desired consistency is reached.
Avoid pouring in too much water at once. It's much easier to add more water than to correct dough that is too wet. Overmixing at this stage will develop too much gluten, resulting in a tough crust. Stop mixing as soon as the dough is cohesive enough to form a ball. You should still see some visible pieces of butter; this is a good sign!
Step 4: Forming the Dough into a Disc
Turn the shaggy dough mixture out onto a clean, lightly floured surface. Gently gather the dough together and press it into a flattened disc shape. Avoid kneading the dough like bread dough; this will develop gluten and make the crust tough. The goal is simply to bring the mixture together into a cohesive mass that is easy to roll later. If making a double-crust pie, divide the dough in half before forming two discs.
The disc shape is important because it makes rolling out the dough much easier and more uniform later on. Aim for a disc that is relatively smooth around the edges but doesn't need to be perfectly round. If the dough feels warm or sticky at this point, it indicates the butter is melting, and it needs chilling immediately.
Step 5: Chilling the Dough: The Secret to Flaky Pie Crust
Wrap the dough disc tightly in plastic wrap, ensuring it's well sealed to prevent drying out. Refrigerate the dough for at least 1 hour, and preferably 2 hours, before rolling. This chilling step is absolutely crucial for an easy homemade pie crust recipe. It allows the gluten to relax (preventing shrinkage and toughness) and, more importantly, firms up the butter pieces.
Chilling the butter ensures it stays solid while you roll out the dough. During baking, these cold butter pieces will melt and create steam, which pushes the layers of dough apart, resulting in that signature flakiness. Skipping or shortening the chilling time is one of the most common mistakes leading to a less-than-flaky crust. Chilling also makes the dough much easier to handle and roll without sticking.
Rolling Out Your Pie Crust: Tips and Tricks
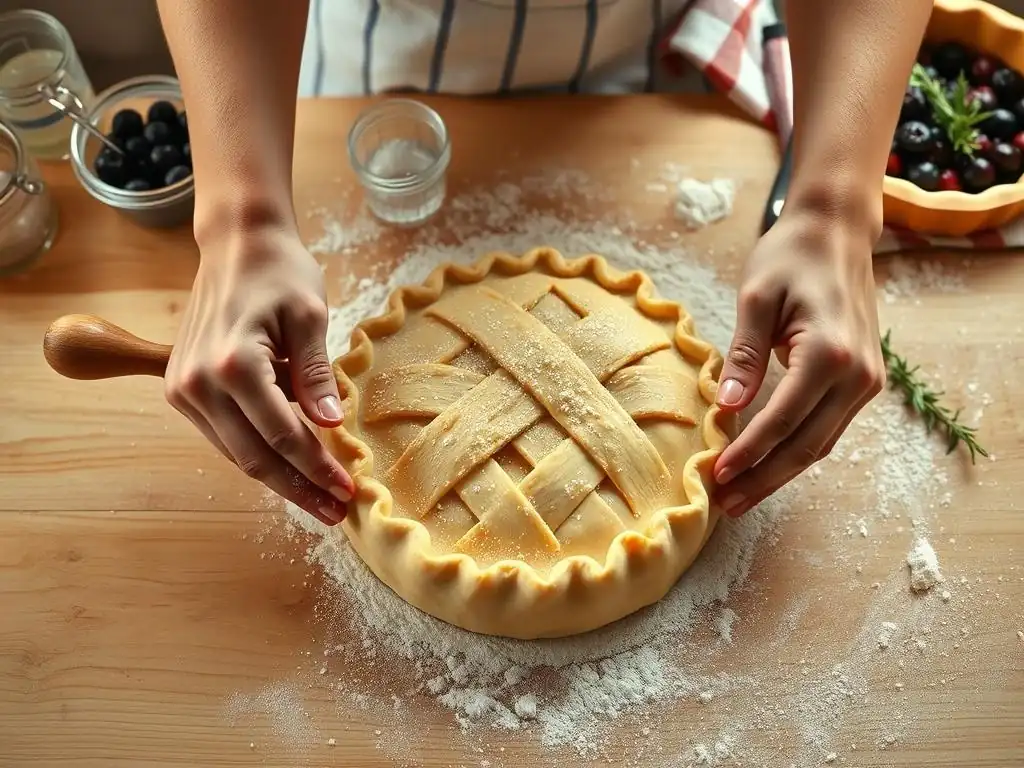
Once your dough is properly chilled, the next step in your easy homemade pie crust recipe journey is rolling it out. This can sometimes feel intimidating, but with a few simple techniques, you can achieve a perfectly sized and shaped crust ready for your pie plate. The key is to work on a clean, lightly floured surface and roll evenly from the center outwards.
Don't be afraid to lift and rotate the dough as you roll to prevent sticking and ensure it's rolling into a relatively even circle. If the dough starts to crack excessively, it might be too cold; let it sit at room temperature for just a couple of minutes before continuing. Patience and gentle handling are your best friends during this stage.
Preparing Your Work Surface for Rolling
Before you begin rolling your chilled pie dough for your easy homemade pie crust recipe, prepare your work surface. You'll need a clean, flat area, such as a countertop, pastry board, or large cutting board. Lightly flour the surface. The amount of flour needed depends on the humidity and your dough consistency, but start with a sprinkle and add more only if the dough begins to stick. Too much flour can make the crust tough.
Some bakers prefer to roll the dough between two sheets of parchment paper or plastic wrap. This method minimizes the need for added flour and can make transferring the dough easier, especially for beginners. If using this method, lightly flour the dough disc itself before placing it between the sheets. Choose the method that feels most comfortable and effective for you.
Achieving the Perfect Thickness for Your Pie Crust
The ideal thickness for a standard pie crust in an easy homemade pie crust recipe is typically about 1/8 inch (about 3 mm). This thickness provides enough structure to hold the filling without being overly thick or doughy, and it bakes evenly to a golden-brown crispness. As you roll, aim for an even thickness across the entire circle to ensure consistent baking.
Use a rolling pin and start from the center of the dough disc, rolling outwards in different directions. Rotate the dough occasionally to help it roll into a circular shape and check for sticking. Measure the diameter as you roll; you'll need a circle about 12 inches (about 30 cm) in diameter for a standard 9-inch pie plate to allow enough overhang for crimping.
Transferring the Rolled Dough to Your Pie Plate
Once your dough is rolled to the correct size and thickness for your easy homemade pie crust recipe, it's time to transfer it to the pie plate. The easiest way to do this is to gently roll the dough loosely around your rolling pin. Then, position the rolling pin over one edge of your pie plate and gently unroll the dough over the plate, allowing it to settle into the bottom and up the sides.
Alternatively, if you rolled the dough between parchment or plastic wrap, you can peel off the top layer, invert the dough (still on the bottom layer) over the pie plate, center it, and then peel off the remaining paper/plastic. Gently ease the dough into the contours of the plate without stretching it, which can cause shrinkage during baking. Trim the edges, leaving about a 1-inch overhang, and crimp or flute the edges as desired.
Blind Baking Your Pie Crust: Preventing a Soggy Bottom
Blind baking is a technique used in an easy homemade pie crust recipe when the pie filling is unbaked, very wet, or requires a shorter baking time than the crust. It involves partially or fully baking the pie crust before adding the filling. This step is crucial for preventing a "soggy bottom," ensuring your crust is perfectly cooked and crisp all the way through, even under a moist filling.
While it adds an extra step, blind baking significantly improves the texture of many pies, particularly those with custard, pudding, or fresh fruit fillings that aren't baked in the shell. It creates a barrier that the liquid filling cannot penetrate, ensuring your easy homemade pie crust recipe results in a delightful crunch rather than a gummy mess.
When and Why to Blind Bake Your Pie Crust
You should consider blind baking your easy homemade pie crust recipe in several situations. Any pie with a filling that isn't baked, like a no-bake cheesecake, chocolate pudding pie, or a fresh fruit tart, requires a fully blind-baked crust. For fillings that are baked but very wet, such as quiches, custard pies, or pecan pie, a partial blind bake is often recommended to give the bottom crust a head start and prevent it from becoming soggy.
The "why" is simple: moisture control. Pie crust dough contains flour, which absorbs liquid. When a wet filling is added to an unbaked or underbaked crust, the liquid from the filling can migrate into the bottom crust, causing it to steam instead of bake properly. Blind baking sets the crust's structure and creates a barrier, ensuring a crisp, flaky bottom layer that perfectly complements your filling.
The Blind Baking Process: Step-by-Step Instructions
After fitting your easy homemade pie crust recipe dough into the pie plate and crimping the edges, chill the lined pie plate for at least 30 minutes. This helps the crust hold its shape during baking. Preheat your oven to a relatively high temperature, typically between 375°F and 400°F (190°C to 200°C). Line the chilled crust with parchment paper or aluminum foil, pressing it gently into the sides and bottom.
Fill the lined crust with pie weights, dried beans, or uncooked rice. These weights prevent the crust from puffing up and shrinking away from the sides during baking. Ensure the weights are distributed evenly, covering the bottom and extending slightly up the sides.
Using Pie Weights or Dried Beans
Pie weights are ceramic or metal beads specifically designed for blind baking. They are reusable and distribute heat evenly. If you don't have pie weights, dried beans (like navy or kidney beans) or uncooked rice work equally well as a substitute for your easy homemade pie crust recipe. You'll need enough to fill the crust almost to the top of the crimped edge – typically 1 to 2 pounds (about 450-900 grams) for a 9-inch pie plate.
Spread the weights evenly over the parchment or foil lining the crust. The goal is to support the crust's structure as it bakes. Once the crust is lined and filled with weights, it's ready for the oven. Bake as directed for your specific recipe (partial or full blind bake).
Troubleshooting Common Pie Crust Problems
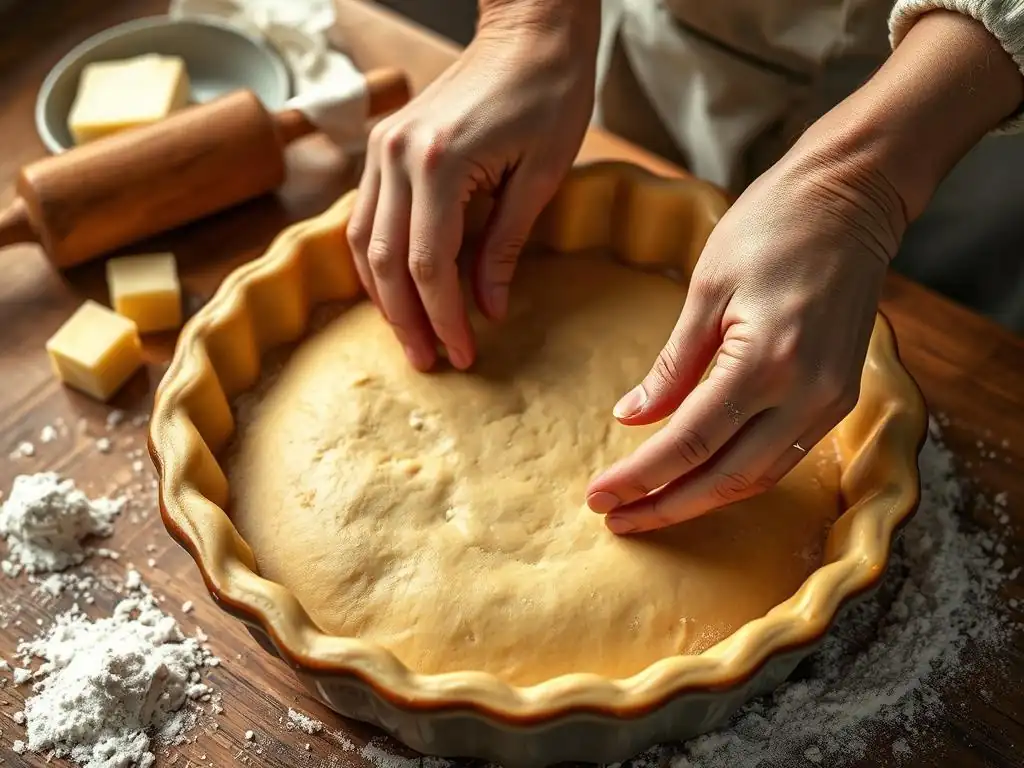
Even with an easy homemade pie crust recipe, sometimes things don't go exactly as planned. Understanding common issues and how to address them can save your pie and improve your technique for next time. Most problems stem from handling the dough temperature or overworking it.
Don't get discouraged if your first few attempts aren't perfect. Baking is a skill that improves with practice. Identifying what went wrong is the first step to fixing it and achieving consistently great results with your easy homemade pie crust recipe.
Dealing with a Sticky Dough
If your easy homemade pie crust recipe dough feels too sticky to handle or roll, it's likely too warm or has too much liquid. The best solution is to chill it down. Wrap the dough tightly in plastic wrap and refrigerate it for at least 30-60 minutes. Cold dough is much easier to handle and less likely to stick.
When rolling sticky dough, be generous (but not excessive) with the flour on your work surface and rolling pin. Lift and rotate the dough frequently to prevent it from welding itself to the counter. If it's still difficult, try rolling it between two sheets of parchment paper, which eliminates direct contact with the surface.
Preventing a Tough Pie Crust
A tough pie crust is usually the result of overworking the dough, which develops too much gluten. When making your easy homemade pie crust recipe, mix the dough only until it just comes together. Avoid kneading or excessive handling. Another cause can be adding too much water, which also promotes gluten development.
Ensure your butter is very cold and cut into the flour properly, as this inhibits gluten formation. Also, allowing the dough to chill properly before rolling relaxes the gluten. If you suspect you've overworked the dough, a longer chilling time (up to 24-48 hours) can sometimes help the gluten relax further, resulting in a slightly more tender crust.
Repairing Cracks in Your Pie Crust
Cracks can appear in your easy homemade pie crust recipe dough during rolling if it's too cold, too dry, or if you're forcing it. If you encounter cracks while rolling, gently press the edges of the crack together with your fingers. You can also patch small cracks by moistening the area slightly with a drop of ice water and pressing a small piece of dough from the edge onto the crack, smoothing it with your fingers.
If the dough is cracking excessively and feels stiff, let it sit at room temperature for 5-10 minutes to warm up slightly before continuing to roll. Once the dough is in the pie plate, you can easily repair any tears or cracks that occur while fitting it by pressing the edges together or using scraps of dough as patches, blending them in with your fingers.
Variations on the All-Butter Pie Crust Recipe
While the classic all-butter easy homemade pie crust recipe is fantastic on its own, it also serves as a versatile base for delicious variations. By making small additions or substitutions, you can tailor your crust to complement specific fillings, enhancing the overall flavor profile of your pie.
Experimenting with variations is a great way to personalize your baking and discover new favorite combinations. Whether you're baking a sweet dessert pie or a savory tart, a slight modification to your basic crust can make a big difference.
Adding Sugar for a Sweet Crust
For sweet dessert pies, adding a tablespoon or two of granulated sugar to the dry ingredients of your easy homemade pie crust recipe can enhance the flavor and promote browning. For a single crust, start with 1 to 2 tablespoons of sugar mixed in with the flour and salt. This small amount won't make the crust overly sweet but will give it a hint of sweetness that pairs wonderfully with fruit or cream fillings.
Be mindful that sugar can make the crust brown faster, so you might need to tent the edges with foil during baking if they start to get too dark before the rest of the pie is done. A slightly sweetened crust is particularly good for apple, cherry, or berry pies, adding an extra layer of flavor complexity.
Using Different Flours for Texture
You can experiment with substituting a portion of the all-purpose flour in your easy homemade pie crust recipe with other types of flour to alter the texture and flavor. For example, replacing up to half of the all-purpose flour with pastry flour or cake flour (which have lower protein content) can result in a more tender, delicate crust. Using whole wheat flour (replacing up to one-third) will add a nutty flavor and slightly denser texture, often preferred for savory pies.
Consider flours like spelt or rye for distinct flavors, again substituting a portion of the all-purpose flour. Keep in mind that different flours absorb liquid differently, so you might need to slightly adjust the amount of ice water used. Start by adding the water gradually and observe the dough consistency carefully.
Incorporating Herbs for Savory Pies
For savory tarts and quiches, adding finely chopped fresh herbs or dried herbs to your easy homemade pie crust recipe creates a flavorful base that complements fillings like cheese, vegetables, or meat. Mix 1 to 2 tablespoons of finely chopped fresh herbs (like rosemary, thyme, or chives) or 1 to 2 teaspoons of dried herbs into the dry ingredients.
Spices like black pepper, garlic powder, or onion powder can also be added for extra savory depth. This herbal variation works beautifully with quiche Lorraine, spinach and feta pie, or a savory vegetable tart. The herbs infuse the crust with aroma and flavor, making it more than just a vessel for the filling.
Storing Your Homemade Pie Crust
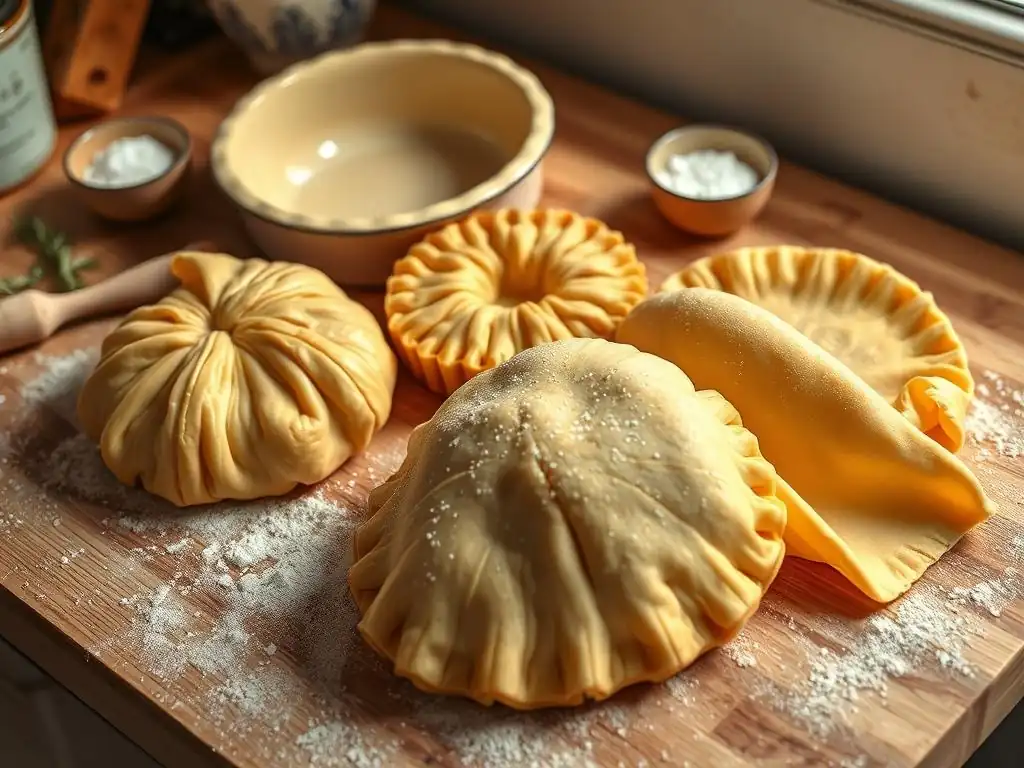
Making your easy homemade pie crust recipe dough ahead of time is a great way to streamline your baking process. Properly storing the dough ensures it stays fresh and ready to roll when you need it. Both refrigeration and freezing are excellent options, depending on when you plan to use the dough.
Proper wrapping is key to prevent the dough from drying out or absorbing odors from the refrigerator or freezer. A well-wrapped dough disc can wait patiently until you're ready to bake your delicious pie.
Properly Wrapping and Refrigerating Pie Crust Dough
To store your easy homemade pie crust recipe dough in the refrigerator, wrap the disc tightly in plastic wrap. Ensure there are no air gaps, as exposure to air will dry out the dough and can lead to oxidation, affecting the flavor. A double layer of plastic wrap provides extra protection.
Refrigerated pie dough can be stored for up to 2-3 days. Chilling for at least 1-2 hours is necessary before rolling, but longer chilling times (up to 2 days) can sometimes make the dough even easier to handle and potentially more tender as the gluten fully relaxes. Allow the dough to sit at room temperature for 10-20 minutes before rolling if it's too hard straight from the fridge.
Freezing Pie Crust for Later Use
Freezing your easy homemade pie crust recipe dough is perfect if you want to prepare ahead or save dough for future baking projects. After forming the disc(s) and wrapping tightly in plastic wrap, add an extra layer of protection, such as aluminum foil or placing the wrapped disc in a freezer-safe zip-top bag. Label the package with the date.
Frozen pie dough can be stored for up to 3-4 months. To use frozen dough, transfer it to the refrigerator and let it thaw overnight. Do not attempt to thaw it at room temperature, as this can cause the butter to melt unevenly. Once thawed, the dough can be rolled out as usual. If you're short on time, you can sometimes roll out the dough before freezing it by shaping it into the pie plate, then wrapping and freezing the entire plate.
Serving Suggestions and Pie Filling Ideas
A beautifully baked pie crust from your easy homemade pie crust recipe is the perfect foundation for countless delicious fillings. The versatility of this classic crust means it pairs well with both sweet and savory options, making it a staple in any baker's repertoire.
Choosing the right filling allows your golden, flaky crust to shine. Whether you prefer classic fruit pies, creamy custards, or hearty savory options, your homemade crust elevates the entire dish.
Pair Your Pie Crust with Apple Pie Filling
One of the most classic and beloved pairings for an easy homemade pie crust recipe is a simple apple pie filling. A mixture of sliced apples (like Granny Smith, Honeycrisp, or Fuji), sugar (about 1/2 cup), spices (cinnamon, nutmeg, a pinch of clove), a thickener (2 tablespoons flour or cornstarch), and a squeeze of lemon juice creates a bubbly, flavorful filling.
The crispness and buttery flavor of the all-butter crust provide a wonderful contrast to the soft, sweet-tart apples. For a double-crust apple pie, you'll need two batches of this easy homemade pie crust recipe dough – one for the bottom and one for the top (either a solid top crust or a lattice). Bake at around 425°F (220°C) for 15 minutes, then reduce the temperature to 375°F (190°C) and bake for another 35-45 minutes, or until the crust is golden and the filling is bubbling.
Creating the Perfect Pie for Any Occasion
Your easy homemade pie crust recipe is incredibly versatile, allowing you to create the perfect pie for any occasion. For a summer gathering, consider a fresh berry pie (partially blind bake the crust) or a creamy lemon meringue pie (fully blind bake). For fall holidays, pumpkin pie or pecan pie are excellent choices (both benefit from a partial blind bake).
Savory options are equally delightful. A spinach and cheese quiche or a chicken pot pie (using two crusts) are hearty and satisfying meals. The flaky, buttery crust stands up well to rich, savory fillings. With this reliable recipe, the possibilities are nearly endless, limited only by your imagination and the ingredients you have on hand.
Conclusion: Enjoying Your Homemade Pie Crust Success
You've successfully navigated the steps to creating a classic, flaky, easy homemade pie crust recipe using simple ingredients and techniques. From gathering your cold ingredients to mastering the art of rolling and blind baking, you now possess the foundational skills for countless delicious pies. This recipe is designed to be forgiving and repeatable, encouraging you to bake often and refine your skills.
Embrace the process, learn from any imperfections, and most importantly, enjoy the incredible taste and texture of a pie made with a crust you created yourself. The aroma of a baking pie with a golden, buttery crust is one of the most rewarding experiences in the kitchen.
Empowering You to Bake with Confidence
Our goal with this easy homemade pie crust recipe guide is to empower you to approach pie baking with confidence and enthusiasm. By breaking down each step and explaining the 'why' behind the techniques, we hope to have demystified what many consider a challenging baking task. Remember that cold butter and gentle handling are your key allies in achieving flakiness.
With practice, you'll find this process becomes intuitive, allowing you to whip up a batch of dough whenever the pie craving strikes. This easy homemade pie crust recipe is more than just instructions; it's a gateway to creating cherished memories around delicious, homemade pies for years to come. Happy baking!
Frequently Asked Questions
What makes this pie crust recipe "easy"?
This recipe prioritizes simple ingredients and a straightforward mixing method, avoiding complicated techniques that can intimidate beginner bakers. It also uses readily available ingredients.
Can I use this pie crust recipe for both sweet and savory pies?
Yes, absolutely! The recipe is designed to be versatile. For a sweeter pie, you can add a small amount of sugar; for a savory pie, consider adding herbs or spices.
What kind of fat works best for an easy homemade pie crust?
We recommend using cold unsalted butter for the best flavor and flakiness. Shortening can also be used, or a combination of both, for a different texture.
How do I prevent my pie crust from shrinking during baking?
Ensure you chill the dough thoroughly before rolling and baking. Also, avoid overworking the dough and use pie weights during blind baking, if necessary.
What's the secret to a flaky pie crust?
The key is to keep the butter cold and to avoid overmixing the dough. This creates small pockets of butter that melt during baking, creating flaky layers.
Final Reflection: The Timeless Art of Easy Homemade Pie Crust
The joy of creating a perfect pie crust is more relevant today than ever, as we seek comfort and connection through food in our fast-paced lives. In a world where convenience often overshadows tradition, the act of making an easy homemade pie crust serves as a reminder of the simple pleasures that can bring us together. Baking not only nourishes our bodies but also our souls, creating cherished memories that last a lifetime.
The influence of homemade pie crusts extends beyond the kitchen; it resonates within our cultural fabric, evoking nostalgia and a sense of belonging. As we gather around the table, sharing stories and laughter over a slice of pie, we reinforce the bonds of family and friendship. Food is not just about sustenance; it’s about creating connections and celebrating life.
This sentiment encapsulates the essence of why we cherish recipes like the easy homemade pie crust, as they allow us to honor our heritage while embracing the present.
As you embark on your own baking journey, I invite you to reflect on the significance of the simple act of making pie crust. Consider how this recipe can inspire you to create not just delicious desserts, but also lasting memories with loved ones. Let the warmth of your kitchen and the aroma of freshly baked pie fill your home, reminding you that the most meaningful moments often arise from the simplest of traditions. Embrace the art of baking, and let your easy homemade pie crust be a canvas for love, creativity, and connection.
Unleash Your Inner Baker: Make the Perfect Pie Crust Today!
Thanks for taking the time to explore our foolproof pie crust recipe! We hope you’ve gained the confidence to tackle even the flakiest, most delicious crusts. Now it's time to put your newfound skills to the test.
- Bake your dream pie: Grab your ingredients and whip up that perfect pie crust. We're confident you’ll love the results! Let your creativity run wild with your favorite fillings.
- Share your masterpiece: Post a picture of your beautiful pie on social media and tag us @BakeWithEase! We love seeing your creations.
- Try a new filling challenge: Explore a completely new pie filling – challenge yourself to think outside the apple pie box!
Ready to share your baking journey? What delicious flavor combination will you conquer first?