
NoFuss Basic Tart Shell Recipe

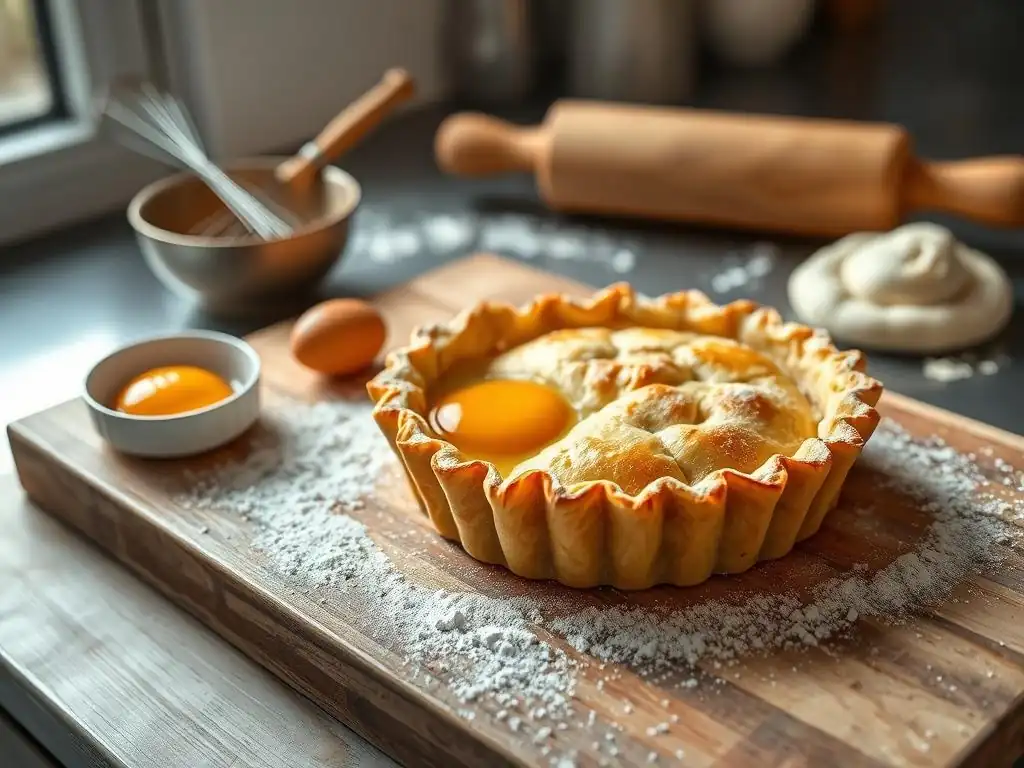
Welcome to BakeWithEase, your trusted guide to creating delicious baked goods! Ever dreamed of effortlessly crafting a beautiful tart? You're in the right place. Discover the secrets to an easy nofuss tart shell that's guaranteed to impress, even if you're just starting your baking journey. Intrigued? Read on to unlock the secrets and bake your way to success!
- Classic Shortcrust Pastry Recipe: A Baker's Guide
- Introduction to Shortcrust Pastry
- Preparing Your Shortcrust Pastry: Ingredients & Equipment
-
Step-by-Step Guide to Making Perfect Shortcrust Pastry
- Step 1: Combining Dry Ingredients
- Step 2: Cutting in the Butter: Achieving a Flaky Texture
- Step 3: Adding Water and Forming the Dough
- Step 4: Chilling the Dough: Preventing Shrinkage
- Step 5: Rolling Out the Dough: Maintaining Even Thickness
- Step 6: Fitting the Dough into the Tart Pan: Avoiding Tears
- Step 7: Blind Baking the Pastry: Preventing a Soggy Base
- Troubleshooting Common Pastry Problems
- Tips for Flawless Shortcrust Pastry
- Storing Your Baked Pastry: Maintaining Freshness
- Recipe Variations and Serving Suggestions
- Expanding Your Baking Skills
-
Frequently Asked Questions
- How does this recipe make a tart shell "no-fuss" compared to other recipes?
- Can I use different types of flour for this "Easy no-fuss tart shell" recipe?
- What's the best way to prevent the tart shell from shrinking during baking?
- Can I make this "Easy no-fuss tart shell" recipe ahead of time?
- What kind of fillings work best with this "Easy no-fuss tart shell" recipe?
- Final Reflection: The Unexpected Joy of a Simple Tart Shell
- Unleash Your Inner Pastry Chef!
Classic Shortcrust Pastry Recipe: A Baker's Guide
Introduction to Shortcrust Pastry
Why This Recipe is Ideal for Beginners
This classic shortcrust pastry recipe is specifically designed with the new baker in mind, making it an incredibly easy nofuss tart shell option. We break down each step into simple, manageable actions, eliminating the intimidation often associated with pastry making. Unlike some finicky doughs, shortcrust is relatively forgiving, allowing you to learn the fundamental techniques like cutting in butter and chilling dough without needing years of experience. Our focus is on demystifying the process, ensuring your first attempt yields a successful, flaky result.
Many beginner recipes assume prior knowledge, but this guide starts from square one. We explain why each step is important – why cold butter is crucial for flakiness, why chilling prevents shrinkage, and how to handle the dough gently. This foundational understanding builds confidence and makes this a truly easy nofuss tart shell recipe that you can replicate for countless sweet and savory fillings. Think of it as your first step towards mastering a fundamental baking skill.
A Commitment to Reliable Baking Recipes
At BakeWithEase.com, our core mission is to provide baking recipes that work, every single time, especially for those just starting their baking journey. This classic shortcrust pastry is a cornerstone of that commitment. We've tested and refined this formula extensively to ensure its reliability, offering a simple tart shell that consistently delivers a tender, flaky texture without unnecessary complications. You won't find obscure ingredients or complex techniques here; just straightforward instructions for a dependable outcome.
We understand the frustration of a recipe that fails, particularly when you're investing time and ingredients as a beginner. That's why this easy nofuss tart shell recipe is a perfect example of our approach – it's robust enough to handle slight variations in technique while still producing a beautiful result. Trust in this recipe as a foundation, knowing it has been developed to help you succeed and build confidence in your baking abilities.
Preparing Your Shortcrust Pastry: Ingredients & Equipment
Essential Ingredients
All-Purpose Flour, Unsalted Butter, Granulated Sugar, Salt, Ice Water
All-Purpose Flour: Use standard all-purpose flour. Approximately 1 ¼ cups (about 150 grams) is a good starting point for a standard 9-inch tart shell. Ensure it's not self-rising flour. The protein content in all-purpose flour provides enough structure without making the pastry tough, contributing to an easy tart shell.
Unsalted Butter: Cold, unsalted butter is non-negotiable for flaky pastry. You'll need about ½ cup (1 stick or 113 grams), cut into small cubes. Unsalted butter allows you to control the salt level yourself, and keeping it very cold is key to creating those pockets of fat that result in flakiness when baked.
Granulated Sugar: A small amount of granulated sugar (about 1 tablespoon) adds a touch of sweetness and aids in browning for a sweet tart shell. For a savory tart shell, you can omit or reduce the sugar.
Salt: Just a pinch (about ¼ teaspoon) enhances the flavor of the pastry. Salt balances the sweetness and brings out the richness of the butter.
Ice Water: Crucially, you need very cold water. Approximately 2-4 tablespoons will be needed, but the exact amount can vary depending on the humidity and flour. Using ice water helps keep the butter cold and prevents the dough from becoming sticky or tough.
Equipment Needed
Tart Pan, Mixing Bowls, Pastry Blender, Rolling Pin
Tart Pan: A standard 9-inch tart pan with a removable bottom is ideal for making a classic tart shell. The removable bottom makes serving incredibly easy.
Mixing Bowls: You'll need a medium-sized mixing bowl to combine your dry ingredients and work the butter into the flour.
Pastry Blender: While you can use forks or your fingertips, a pastry blender is an excellent tool for cutting cold butter into the flour evenly and efficiently, helping achieve the correct crumb texture for a flaky easy nofuss tart shell.
Rolling Pin: A good rolling pin is essential for rolling out the dough to an even thickness before fitting it into the tart pan.
Step-by-Step Guide to Making Perfect Shortcrust Pastry
Step 1: Combining Dry Ingredients
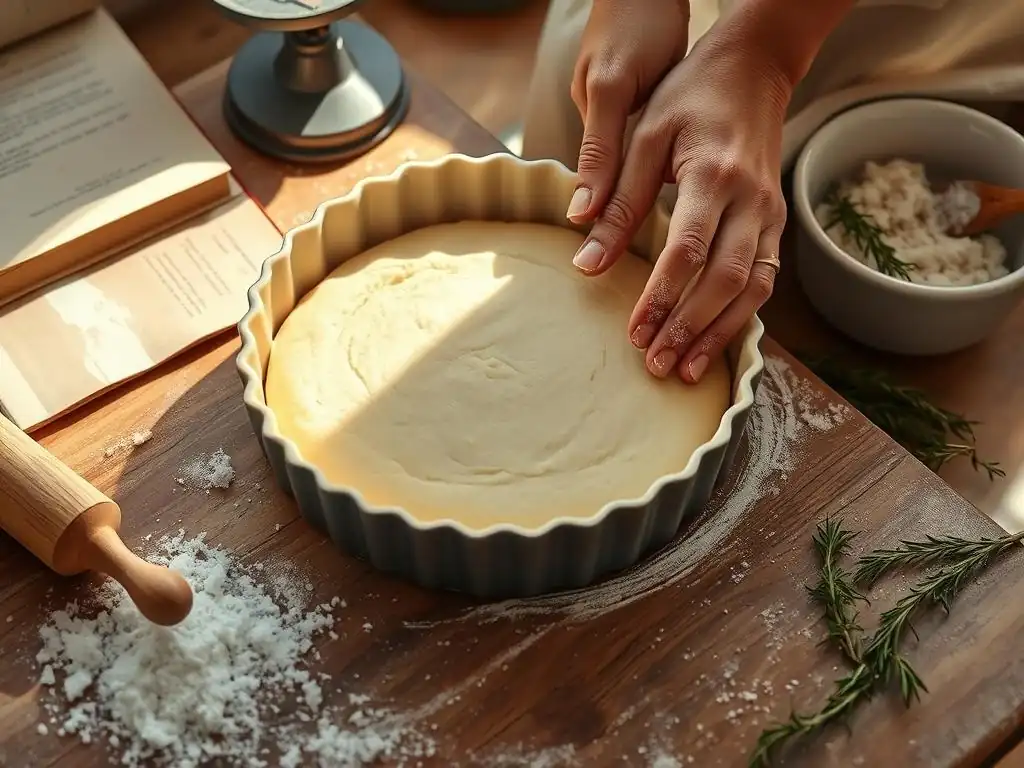
Begin by whisking together your dry ingredients in a medium mixing bowl. Combine 1 ¼ cups (150g) of all-purpose flour, 1 tablespoon of granulated sugar (if making a sweet crust), and ¼ teaspoon of salt. Use a whisk to ensure these ingredients are thoroughly mixed and aerated. This simple step prevents pockets of salt or sugar in your final crust and helps distribute the leavening from the air incorporated, contributing to a tender simple tart shell.
Ensuring the dry ingredients are well combined creates a uniform base before you introduce the fat. This also makes it easier to gauge the texture later when you cut in the butter. A properly mixed dry base is the first fundamental step towards a successful, easy tart shell that bakes evenly and has consistent flavor throughout.
Step 2: Cutting in the Butter: Achieving a Flaky Texture
The goal of cutting in butter is to create small, dispersed pieces of cold butter throughout the flour mixture. These pieces will melt during baking, creating steam that lifts the layers of dough, resulting in a flaky texture. Add the cold, cubed ½ cup (113g) of unsalted butter to your dry ingredients. Use a pastry blender, forks, or your fingertips to work the butter into the flour until the mixture resembles coarse crumbs with some larger pea-sized pieces of butter still visible. Avoid overworking the mixture; you want distinct pieces of butter, not a smooth paste.
Maintaining Cold Butter Temperature
Maintaining the butter's cold temperature is absolutely critical for achieving that desired flaky easy tart shell texture. If the butter melts and incorporates too fully into the flour before baking, you'll end up with a tough, dense crust instead of a light and airy one. Ensure your butter is straight from the refrigerator and work quickly. If your kitchen is warm or your hands are hot, consider chilling the flour and bowl beforehand or periodically chilling the mixture during this step for a few minutes.
Working with cold butter requires speed and minimal handling. The warmth of your hands can quickly melt the fat. Aim for a texture that looks like small pebbles mixed with sand. These distinct pieces of cold butter are the secret to steam creation and layer separation during baking, making this simple tart shell genuinely flaky.
Step 3: Adding Water and Forming the Dough
Now it's time to bring the mixture together into a dough using ice water. Add 2 tablespoons of ice water to the butter-flour mixture. Stir gently with a fork until the dough just begins to come together. If it still looks very dry and crumbly, add more ice water, one teaspoon at a time, mixing after each addition, just until the dough forms a cohesive mass. Be careful not to add too much water, as this can make the pastry tough.
The key here is minimal mixing. You want the dough to be shaggy and just hold together when you pinch a piece. Overmixing develops gluten, which leads to a tough crust. Once the dough just comes together, turn it out onto a lightly floured surface and gently bring it together into a disc shape. Do not knead it like bread dough. This gentle handling is crucial for an easy nofuss tart shell that remains tender after baking.
Step 4: Chilling the Dough: Preventing Shrinkage
After forming the disc, wrap the dough tightly in plastic wrap and flatten it slightly. Refrigerate the dough for at least 30 minutes, but preferably for 1-2 hours. This chilling step is vital for several reasons. Firstly, it allows the gluten developed during mixing to relax, which prevents the pastry from shrinking excessively when baked. Secondly, it firms up the butter, making the dough easier to roll out without sticking and maintaining those crucial cold butter pockets for flakiness.
Chilling the dough also makes handling much easier. A cold dough is less sticky and holds its shape better as you roll it. Skipping this step is one of the most common reasons for pastry failure, leading to a tough, shrunken crust. A well-chilled dough is the secret to a smooth, controlled rolling process and a stable easy nofuss tart shell.
Step 5: Rolling Out the Dough: Maintaining Even Thickness
On a lightly floured surface, place your chilled dough disc. Lightly flour your rolling pin as well. Begin rolling the dough from the center outwards, rotating the dough periodically and adding a little more flour underneath or on top if it starts to stick. Roll the dough into a circle or square (depending on your tart pan shape) that is about 1/8 to 1/4 inch (3-6mm) thick and large enough to fit your tart pan with some overhang. Aim for an even thickness across the entire sheet of dough.
An even thickness is important for even baking. If parts of the crust are much thicker than others, they may remain undercooked while thinner parts burn. If the dough becomes too soft while rolling, pause and pop it back into the refrigerator for 10-15 minutes to firm up before continuing. This control is part of making a truly easy tart shell.
Step 6: Fitting the Dough into the Tart Pan: Avoiding Tears
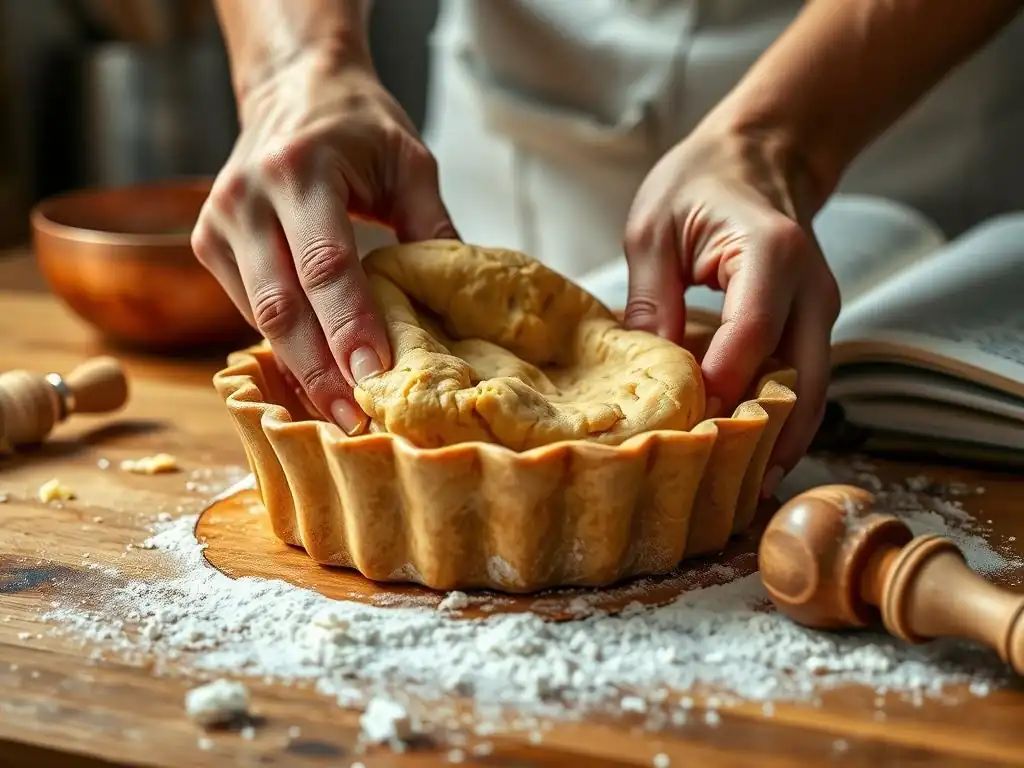
Carefully transfer the rolled dough into your tart pan. The easiest way is often to gently roll the dough around your rolling pin and then unroll it over the pan. Alternatively, you can fold the dough into quarters and unfold it into the pan. Gently press the dough into the bottom and up the sides of the pan, ensuring it sits snugly in the corners. Avoid stretching the dough, as stretching can cause it to shrink back during baking.
Trim the excess dough from the edges. You can roll your rolling pin over the top of the pan to neatly cut off the excess, or use a sharp knife. Patch any small tears or holes with scraps of dough, moistening the edges slightly with water if needed to help them adhere. This careful handling ensures a perfect easy nofuss tart shell shape.
Step 7: Blind Baking the Pastry: Preventing a Soggy Base
For most tart recipes, especially those with wet fillings like quiches or custards, you need to "blind bake" the pastry shell. This means partially or fully baking the crust before adding the filling. Blind baking prevents the bottom crust from becoming soggy. Prick the bottom of the pastry all over with a fork (this allows steam to escape and prevents puffing).
Using Pie Weights or Dried Beans for Blind Baking
To prevent the sides from collapsing and the bottom from puffing up excessively during blind baking, line the chilled pastry shell with parchment paper or aluminum foil and fill it with pie weights, dried beans, or uncooked rice. Ensure the weights fill the pan right up to the edges to support the sides.
Adjusting Baking Time for Different Crusts
For a partially baked crust (for fillings that require significant baking time), bake in a preheated oven at around 375°F (190°C) for 15-20 minutes, until the edges are lightly golden. Remove the weights and parchment, then bake for another 5-10 minutes until the bottom looks dry. For a fully baked crust (for no-bake or pre-cooked fillings), after removing the weights, bake for an additional 10-15 minutes, or until the crust is golden brown all over. This careful blind baking results in a sturdy, easy nofuss tart shell base ready for any filling.
Troubleshooting Common Pastry Problems
Pastry Shrinkage Solutions
Excessive shrinkage is a common issue with pastry dough and often results in a smaller, thicker crust than intended. The primary cause is usually insufficient chilling time or overworking/stretching the dough when fitting it into the pan. Gluten develops when flour is mixed with water, and if this gluten isn't allowed to relax through chilling, it contracts during baking. Stretching the dough forcefully into the pan also creates tension that the gluten will try to release in the heat, causing shrinkage.
To prevent shrinkage, ensure your dough is chilled for at least 30 minutes, ideally 1-2 hours, before rolling. When fitting the dough into the tart pan, gently press it into the corners rather than stretching it. Leave a slight overhang of dough (about ½ inch) when trimming, as this can also help mitigate shrinkage. If shrinkage is still a persistent problem, consider double-chilling the dough: chill the disc, roll it out, fit it into the pan, and then chill the lined pan for another 15-30 minutes before blind baking.
Addressing Hard or Dry Pastry
A hard or dry pastry crust typically indicates too much flour, too little fat, or overmixing the dough. Adding too much flour during the initial mixing or during rolling makes the dough dry and crumbly, preventing it from coming together properly and leading to a tough texture. Similarly, if there isn't enough fat (butter) relative to the flour, the dough will be dry and lack tenderness. Overmixing develops gluten excessively, resulting in a tough, bread-like texture rather than a tender, flaky one.
Ensure you measure your flour accurately, ideally by weight (150g for 1 ¼ cups). Use the specified amount of butter (113g or ½ cup) and make sure it's properly cut in. When adding water, add it sparingly, just until the dough comes together, avoiding adding more than needed.
Handle the dough gently and mix minimally once the water is added. If the dough feels very dry and crumbly before adding water, you may need slightly more butter next time. If it feels dry after adding the recommended water, you might need a tiny bit more liquid, added teaspoon by teaspoon.
Repairing Cracked Pastry
Cracks in pastry can occur while rolling, transferring, or fitting the dough into the pan, especially if the dough is too cold, too dry, or handled roughly. A crack doesn't mean your easy nofuss tart shell is ruined! Small cracks can be easily repaired.
To repair a crack, simply moisten the edges of the crack slightly with a tiny bit of cold water using your fingertip. Then, take a small piece of dough scrap and press it gently over the crack, smoothing it with your finger or the back of a spoon to blend it into the surrounding pastry.
If the dough is very cold and stiff, let it sit at room temperature for just a minute or two to become slightly more pliable before attempting repairs. For larger tears, you might need a slightly larger patch, ensuring it's pressed firmly to seal the gap.
Tips for Flawless Shortcrust Pastry
Flour Type Considerations
While all-purpose flour is the standard and recommended choice for this easy nofuss tart shell recipe, the type of flour can slightly affect the outcome. Different brands of all-purpose flour have slightly varying protein levels, which can influence gluten development and the amount of water needed. A flour with a slightly lower protein content might result in a more tender crust, while a higher protein flour could require a bit more careful handling to avoid toughness.
Using pastry flour, which has a lower protein content than all-purpose, would result in an even more tender and delicate crust. However, it can also be more difficult to handle as it's less elastic. For a beginner-friendly, reliable outcome, stick with standard all-purpose flour as specified in this simple tart shell recipe. Measuring by weight (150g) is also more consistent than volume (1 ¼ cups) regardless of flour brand.
Sugar Variations: Adjusting Sweetness
The amount of sugar in a shortcrust pastry recipe dictates whether it's primarily a sweet tart shell or a base for savory fillings. This recipe uses 1 tablespoon of sugar, which provides a subtle sweetness suitable for most fruit or cream fillings without being overly sweet. If you are making a savory tart, such as a quiche or vegetable tart, you can reduce the sugar to just 1 teaspoon or omit it entirely.
Conversely, if you desire a sweeter crust, perhaps for a very tart fruit filling, you can increase the sugar slightly, up to 2 tablespoons. However, adding too much sugar can make the dough more difficult to handle and can affect the texture, making it less flaky. Experimenting with sugar levels is an easy way to customize this basic tart shell for different applications.
Flavor Enhancements: Extracts and Spices
Beyond the basic ingredients, you can easily add flavor enhancements to your shortcrust pastry to complement your filling. For a sweet tart shell, consider adding ¼ to ½ teaspoon of pure vanilla extract to the ice water before adding it to the dry ingredients. Other extracts like almond, lemon, or orange can also be used in small amounts.
Spices can also add wonderful depth. A pinch of cinnamon, nutmeg, or cardamom mixed with the dry ingredients works well for fruit tarts. For savory applications, consider adding a pinch of black pepper, dried herbs (like thyme or rosemary, finely crushed), or even a tiny amount of cayenne pepper for a subtle kick. Add these enhancements along with the dry ingredients in Step 1 to ensure they are evenly distributed throughout your easy tart shell.
Storing Your Baked Pastry: Maintaining Freshness
Storing Unbaked Pastry Dough
Unbaked shortcrust pastry dough can be made ahead of time, which is incredibly convenient for preparing an easy nofuss tart shell. Once you've formed the dough into a disc and wrapped it tightly in plastic wrap (after Step 3 or Step 4), it can be stored in the refrigerator for up to 2-3 days. Ensure it's well-wrapped to prevent it from drying out or absorbing odors from the fridge.
If you need to store the dough for longer, it freezes beautifully. Wrap the disc tightly in plastic wrap, then wrap it again in aluminum foil or place it in a freezer-safe bag. Frozen dough can last for up to 2-3 months. When ready to use, thaw the dough overnight in the refrigerator before rolling it out. You may need to let it sit at room temperature for 10-15 minutes before rolling if it's still too stiff.
Storing Baked Pastry Shells
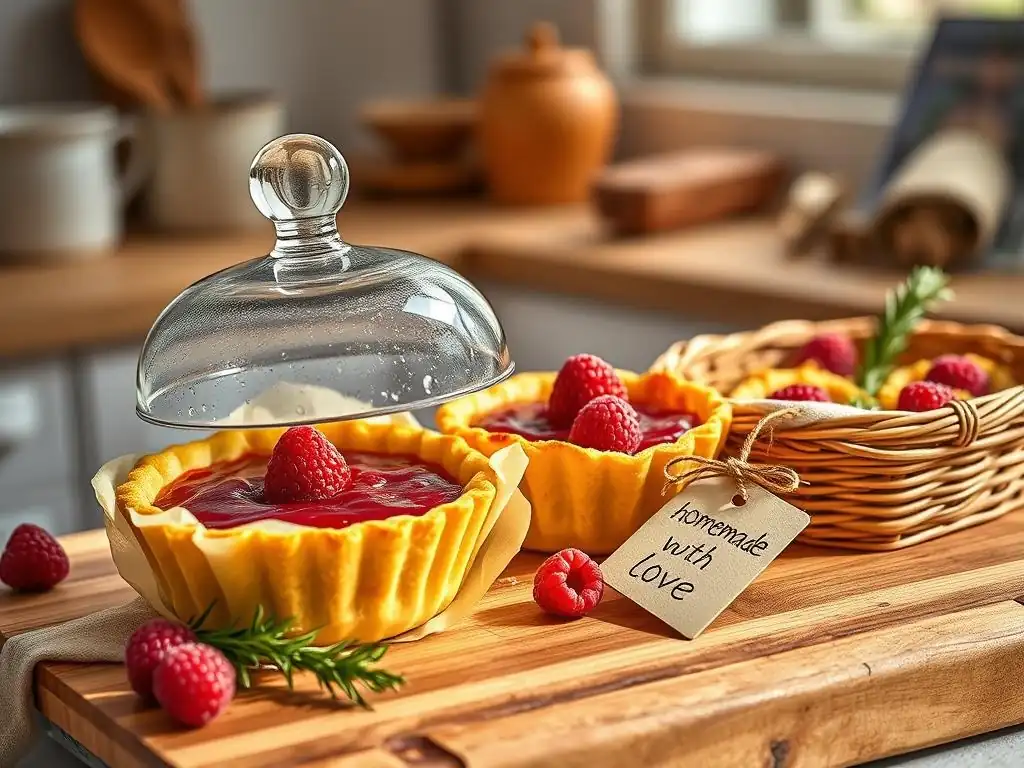
Fully baked shortcrust pastry shells can also be stored ahead of time, providing a ready-made easy tart shell for last-minute fillings. Allow the baked shell to cool completely in the tart pan on a wire rack. Once cooled, you can store the shell, still in its pan, wrapped loosely in plastic wrap at room temperature for 1-2 days.
For longer storage, especially if you've used a tart pan with a removable bottom, you can gently remove the shell from the pan once fully cooled. Wrap the cooled shell carefully in plastic wrap, then in aluminum foil, or place it in a rigid container to protect it from breakage. Baked shells can be frozen for up to 1-2 months. Thaw at room temperature before filling. Note that freezing can slightly affect the crispness, but it remains a convenient option.
Recipe Variations and Serving Suggestions
Sweet Pastry Recipe Ideas
This easy nofuss tart shell is the perfect base for a myriad of sweet fillings. Consider classic options like a fresh fruit tart filled with pastry cream and topped with berries, a rich chocolate ganache tart, or a tangy lemon curd tart. The simple tart shell provides a sturdy yet tender contrast to creamy or fruity fillings.
You can also adapt the recipe slightly for specific sweet applications. For instance, adding almond flour (replacing a small amount of the all-purpose flour, perhaps 1/4 cup) results in a pâte sablée style crust, which is richer and more cookie-like, perfect for fillings like frangipane. Incorporating citrus zest into the dry ingredients adds a bright note ideal for lemon or lime tarts.
Savory Pastry Recipe Ideas
Don't limit your easy tart shell use to desserts! This basic tart shell recipe is equally fantastic for savory tarts and quiches. Simply reduce or omit the sugar (using 1 teaspoon or none) and ensure you blind bake the crust fully before adding wet savory fillings.
Popular savory uses include classic Quiche Lorraine (bacon and cheese), spinach and feta tart, mushroom and Gruyère tart, or even a simple roasted vegetable tart. The sturdy nature of this simple tart shell holds up well to substantial savory fillings. Consider adding a pinch of black pepper or dried herbs to the dough itself for extra savory flavor.
Filling Pairing Suggestions
Choosing the right filling for your easy nofuss tart shell depends on whether you made a sweet or savory version. For sweet shells, consider pairings like:
- Creamy: Pastry cream, diplomat cream, chocolate ganache, lemon curd, cheesecake filling.
- Fruity: Fresh berries, sliced apples (baked), poached pears, cherry filling, plum filling.
- Nutty: Frangipane (almond cream), pecan pie filling (though this is more pie-like).
For savory shells (with reduced/no sugar), excellent pairings include:
- Eggy/Custardy: Quiche fillings (eggs, cream, cheese, vegetables, meats).
- Vegetable-based: Roasted vegetables (like peppers, zucchini, onions), spinach and ricotta, mushroom duxelles.
- Meat/Fish: Bacon (for quiche), smoked salmon, chicken and mushroom.
The robust structure of this simple tart shell makes it versatile for almost any filling you can dream up.
Expanding Your Baking Skills
Exploring Other Beginner Baking Recipes
Mastering this easy nofuss tart shell is a significant step in your baking journey! Now that you're comfortable with basic pastry techniques, you can confidently explore other beginner-friendly baking recipes on BakeWithEase.com. Try your hand at simple cookie recipes, basic muffin batters, or straightforward cake recipes. Each new recipe builds on fundamental skills like accurate measuring, mixing techniques, and understanding oven temperatures.
Consider recipes that utilize similar techniques, like scone making (which also involves cutting in butter) or simple bread recipes (which introduce yeast and kneading, a different dough handling approach). Gradually expanding your repertoire with reliable, step-by-step guides will solidify your baking confidence and skill set.
Perfecting Pie Crust Techniques
While this recipe focuses on a tart shell, the techniques are very similar to making a classic pie crust. The main difference is often the ratio of fat to flour and the handling for a double-crust pie versus a single tart shell. Practicing this simple tart shell recipe repeatedly will hone your skills in cutting in butter, knowing when the dough has enough water, and handling the dough gently.
Once you feel completely comfortable with this easy tart shell, challenge yourself with a double-crust pie recipe. You'll apply the same principles but learn how to roll out larger pieces of dough and crimp edges. Perfecting pie crust is often seen as a benchmark for bakers, and starting with this reliable nofuss tart shell is an excellent foundation. Keep practicing, and you'll achieve flaky, tender crusts every time!
Frequently Asked Questions
How does this recipe make a tart shell "no-fuss" compared to other recipes?
This recipe prioritizes simplicity by using minimal ingredients and a straightforward pressing technique instead of intricate rolling. It also aims to reduce chilling time for faster results.
Can I use different types of flour for this "Easy no-fuss tart shell" recipe?
While all-purpose flour is recommended, you can experiment with whole wheat or gluten-free blends. However, be aware that this may alter the texture and structure of the final tart shell. The liquid ratio might need adjustment too.
What's the best way to prevent the tart shell from shrinking during baking?
Proper docking (piercing the bottom with a fork) is crucial to prevent puffing and shrinking. Also, using pie weights or dried beans during blind baking helps maintain the shell's shape.
Can I make this "Easy no-fuss tart shell" recipe ahead of time?
Absolutely! The unbaked tart shell can be stored in the refrigerator for up to 2 days or frozen for longer storage. Just wrap it tightly in plastic wrap before storing.
What kind of fillings work best with this "Easy no-fuss tart shell" recipe?
This tart shell is versatile and pairs well with sweet and savory fillings. Consider fruit tarts, chocolate ganache tarts, quiches, or even creamy cheese tarts. The sturdiness of the crust makes it ideal for various fillings.
Final Reflection: The Unexpected Joy of a Simple Tart Shell
The ease of making a perfect tart shell shouldn't be underestimated; it's the gateway to countless culinary adventures, unlocking creativity in the kitchen for even the busiest among us. This seemingly small feat – mastering a no-fuss tart shell – opens doors to spontaneous desserts, elegant dinner parties, and the simple pleasure of homemade goodness. It's a skill that transcends mere baking; it's about empowerment and the joy of creating something beautiful from simple ingredients.
The impact of a readily available, reliable tart shell recipe extends far beyond the individual baker. It fosters a sense of accomplishment and encourages experimentation. The ability to whip up a delicious tart shell quickly allows for more focus on the fillings, leading to a wider range of flavor combinations and creative expression. It's about reclaiming the kitchen as a space for joy and self-expression, not just a place for chores. The simplest things are often the most beautiful.
This rings true in baking, where a perfectly crisp, buttery tart shell provides the ideal canvas for culinary artistry.
Now, I invite you to consider the possibilities. Don't let the fear of a complicated recipe hold you back. Try this no-fuss tart shell recipe. Embrace the simplicity, the satisfaction of creating something delicious from scratch, and the joy of sharing your creations with loved ones. Let this be your starting point for countless culinary adventures, proving that even the most seemingly basic recipes can unlock a world of flavor and creativity. The perfect tart shell awaits – go make it!
Unleash Your Inner Pastry Chef!
Thanks for taking the time to explore this no-fuss tart shell recipe! We hope you found it as easy and rewarding as we did. Now it's time to put your newfound skills to the test.
- Bake your dream tart: Grab those ingredients and whip up your very own perfect tart shell. Don't be afraid to experiment with different fillings!
- Share your creation: Snap a picture of your masterpiece and share it on social media – tag us @BakeWithEase so we can see your delicious results!
- Explore our other recipes: Discover more simple yet impressive baking recipes on our website for more baking inspiration.
Ready to transform your kitchen into a bakery? What unique twist will you add to your tart?