
Beginner's Cream Pie Base

Welcome to BakeWithEase, your ultimate destination for unlocking the secrets of baking with simplicity and joy! Whether you're a novice eager to whip up your first dessert or an experienced baker looking to refine your skills, we have something for everyone. Dive into our Beginner's Cream Pie Base and discover the magic of creating an Easy cream pie filling recipe that will impress your family and friends. With our step-by-step guides and straightforward tips, you'll be crafting delightful cream pies in no time. Ready to embark on your baking journey? Let’s get started!
- Classic Vanilla Cream Pie: A Simple Delight
- Introduction to Vanilla Cream Pie Filling
- Understanding the Essential Ingredients for Vanilla Cream Pie
- Step-by-Step: Making Your Vanilla Cream Pie Base from Scratch
- Assembling Your Vanilla Cream Pie
- Flavor Variations and Add-Ins for Your Cream Pie Filling
- Tips and Tricks for a Foolproof Vanilla Cream Pie Base
- Serving and Enjoying Your Homemade Vanilla Cream Pie
- Conclusion: Mastering the Art of the Easy Vanilla Cream Pie Filling Recipe
-
Frequently Asked Questions
- What makes this cream pie filling recipe "easy"?
- Can I adapt this "Beginner's Cream Pie Base" recipe for different flavors?
- What if my cream pie filling is too runny?
- How long does this cream pie filling need to chill before serving?
- What kind of pie crust works best with this "Easy cream pie filling recipe"?
- Final Reflection: The Sweet Simplicity of a Perfect Pie
- Unlock Your Inner Pastry Chef: Make Cream Pie Magic!
Classic Vanilla Cream Pie: A Simple Delight
Introduction to Vanilla Cream Pie Filling
Why Master a Vanilla Cream Pie Recipe?
Mastering a simple vanilla cream pie recipe is a fantastic entry point into the world of classic desserts. It's a foundational skill that builds confidence for tackling more complex fillings later. This particular filling, often called a pastry cream or crème pâtissière, is incredibly versatile and can be adapted for countless applications beyond just pie, like éclairs, fruit tarts, or even as a standalone pudding. Learning this easy cream pie filling recipe provides a solid base for understanding how heat and thickeners interact with dairy and sugar to create a smooth, rich texture.
Beyond its versatility, a homemade vanilla cream pie filling offers unparalleled freshness and flavor compared to store-bought options. You control the quality of ingredients, ensuring pure vanilla flavor without artificial additives. The satisfaction of creating something so delicious from scratch is immense, and the process itself is relatively quick, often taking less than 20 minutes of active cooking time. This makes it an ideal recipe for busy weeknights or when you need a reliable dessert that impresses without requiring hours in the kitchen.
A Guide to Perfect Vanilla Cream Pie
Creating a perfect vanilla cream pie hinges on a few key steps, primarily focusing on the filling's consistency and flavor. The journey begins with understanding the role each ingredient plays – from the dairy providing richness to the thickener ensuring it sets properly. Precise measurements are crucial here, especially for the cornstarch, as too little results in a runny filling and too much can make it gluey. For a standard 9-inch pie, you'll typically use around 1/2 cup of cornstarch to thicken about 3 cups of milk and sugar.
The cooking process is where the magic happens, transforming a liquid mixture into a luscious cream. This involves tempering the eggs (if using, though some easy cream pie filling recipes rely solely on cornstarch) and cooking the mixture gently over medium heat, stirring constantly. Bringing it to a boil for just 1-2 minutes is essential to activate the thickening power of the cornstarch fully. Finally, proper cooling is non-negotiable; the filling needs ample time, usually at least 4 hours in the refrigerator, to set firmly enough to slice cleanly.
Understanding the Essential Ingredients for Vanilla Cream Pie
The Role of Whole Milk in Your Pie Filling
Whole milk is the primary liquid base for a classic vanilla cream pie filling, contributing significantly to its rich, creamy texture and flavor. Its higher fat content, typically around 3.5%, provides a luxurious mouthfeel that lower-fat milks simply can't replicate. This fat also helps carry the vanilla flavor throughout the filling, resulting in a more satisfying taste experience. While you can make cream pie with 2% or even skim milk, the final result will be less decadent and may not set quite as firmly or smoothly.
Using fresh whole milk is recommended for the best results. Avoid using milk that is nearing its expiration date, as this can sometimes affect the flavor or the way the proteins react during cooking. For an even richer filling, some recipes suggest substituting a portion of the milk with heavy cream or half-and-half. For instance, replacing 1 cup of whole milk with 1 cup of heavy cream in a standard 3-cup recipe adds extra richness, though it slightly increases the calorie count.
Granulated Sugar: Sweetening Your Vanilla Cream Pie Base
Granulated sugar serves as the main sweetener in this easy cream pie filling recipe, balancing the richness of the dairy and enhancing the vanilla flavor. The amount of sugar is a matter of personal preference, but a typical recipe for a 9-inch pie filling uses between 1/2 cup and 3/4 cup of granulated sugar. Using too little sugar can result in a bland or overly starchy-tasting filling, especially if you rely heavily on cornstarch.
Beyond sweetness, sugar also plays a subtle role in the texture. It interacts with the proteins in the milk and the starch, contributing to a smoother consistency. While other sweeteners like brown sugar or maple syrup could technically be used, granulated sugar is preferred for a classic vanilla flavor profile as it imparts no competing flavors. Ensuring the sugar is fully dissolved during the cooking process is important to prevent a grainy texture in the final set filling.
Thickening Agent: Cornstarch for Smooth Texture
Cornstarch is the go-to thickener for many easy cream pie filling recipes, providing a smooth, glossy, and relatively stable set. Unlike flour, cornstarch creates a more translucent and less cloudy filling. Its thickening power is activated when heated to a boil, typically requiring about 1-2 tablespoons per cup of liquid for a pudding-like consistency, or slightly more for a firm pie filling. For a standard 9-inch pie filling using 3 cups of liquid, you'll likely use around 6-8 tablespoons (1/2 cup) of cornstarch.
It's crucial to whisk the cornstarch thoroughly into a small amount of cold liquid (like milk or water) before adding it to the hot mixture. This step, known as creating a slurry, prevents the cornstarch from clumping when it hits the heat. Cook the filling after adding the cornstarch slurry until it reaches a full boil and thickens significantly. Boiling for at least one minute ensures the starch molecules fully swell and gelatinize, guaranteeing a proper set. Undercooking is a common cause of runny cream pie filling.
Flavor Enhancer: Vanilla Extract for Classic Flavor
Vanilla extract is the star flavor component in a classic vanilla cream pie filling, providing that comforting, familiar taste. High-quality pure vanilla extract is highly recommended over imitation vanilla for a more complex and authentic flavor. The amount used typically ranges from 1 to 2 teaspoons for a standard pie filling recipe. Adding the vanilla after the filling has been cooked and removed from the heat is essential, as prolonged heating can cause the delicate flavor compounds to evaporate.
For an extra boost of vanilla flavor, consider using a vanilla bean or vanilla bean paste. If using a vanilla bean, split it lengthwise, scrape out the seeds, and steep the bean and seeds in the milk while it heats. Remove the bean before adding the cornstarch slurry. Vanilla bean paste provides visible flecks of vanilla bean, adding visual appeal as well as intense flavor. Experimenting with different types of vanilla extract (like Madagascar, Mexican, or Tahitian) can also introduce subtle variations to your easy cream pie filling recipe.
Step-by-Step: Making Your Vanilla Cream Pie Base from Scratch
Preparing Your Ingredients for a Smooth Vanilla Cream Pie
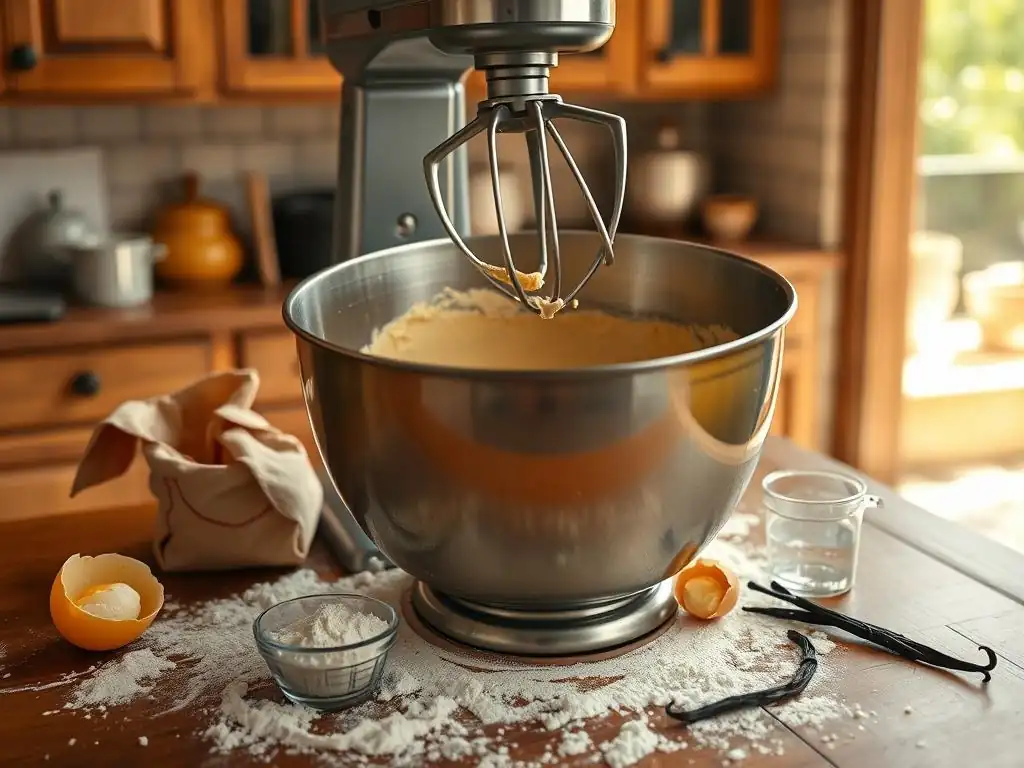
Before you even turn on the stove, having all your ingredients measured out and ready is key to a smooth cooking process for your easy cream pie filling recipe. This mise en place approach prevents frantic searching mid-cook, which can lead to scorching or lumps. You'll need to measure your milk, sugar, cornstarch, and have your vanilla extract within reach. If your recipe calls for eggs, have them whisked and ready.
A crucial preparation step for the cornstarch is making a slurry. In a small bowl, whisk the measured cornstarch with about 1/2 cup of the cold milk from your total amount until it is completely smooth and there are no lumps. Set this aside. Having this slurry ready means you can quickly incorporate the thickener into the hot milk mixture without risking clumps forming, which are notoriously difficult to get rid of once they appear.
Combining and Cooking the Cream Pie Filling Mixture
Start by heating the bulk of your milk (minus the amount used for the slurry) and the sugar in a medium saucepan over medium heat. Stir occasionally to help the sugar dissolve. Bring this mixture just to a simmer – look for small bubbles appearing around the edges of the pan, but don't let it boil vigorously yet. Once simmering, slowly whisk in the cornstarch slurry.
Immediately after adding the slurry, you'll notice the mixture starting to thicken. Continue whisking constantly, paying special attention to the bottom and corners of the pan where the mixture is most likely to stick and scorch. Bring the filling to a full, rolling boil. Once it reaches a boil, continue boiling and whisking for 1 to 2 minutes. This boiling time is critical to ensure the cornstarch fully activates and the filling reaches its maximum thickness potential. Don't shortchange this step!
Achieving the Right Consistency: Troubleshooting Thin Filling
If, after boiling for 1-2 minutes, your easy cream pie filling recipe still seems too thin, there are a couple of common culprits. The most frequent issue is not boiling the mixture long enough after adding the cornstarch. Cornstarch requires sustained heat at a boil to achieve its full thickening power. Try bringing it back to a boil and continue whisking vigorously for another minute.
Another possibility is inaccurate measurement of the cornstarch, or the cornstarch itself might be old and have lost some potency. If you've boiled sufficiently and it's still too thin, you can try adding a little more cornstarch slurry. Mix 1-2 tablespoons of cornstarch with an equal amount of cold milk or water, whisk until smooth, and slowly whisk this into the simmering filling. Bring it back to a boil and cook for another minute, whisking constantly. Be cautious not to add too much, as excess cornstarch can give the filling a pasty or gluey texture.
Cooling and Setting Your Vanilla Cream Pie Base
Once cooked to the desired thickness, immediately remove the filling from the heat and stir in the vanilla extract (and butter, if your recipe calls for it). To prevent a skin from forming on the surface as it cools, press a piece of plastic wrap directly onto the surface of the hot filling. Ensure the plastic wrap touches every part of the surface to create a seal.
Allow the filling to cool slightly at room temperature for about 15-20 minutes before pouring it into your prepared pie crust. This initial cooling helps it set slightly before being transferred. After pouring into the crust, the pie must be refrigerated for a minimum of 4 hours, though overnight is often best for a perfectly set filling that slices cleanly. The cold temperature allows the starch molecules to fully gel and firm up, transforming the pourable cream into a sliceable pie filling.
Assembling Your Vanilla Cream Pie
Choosing the Right Pie Crust: Graham Cracker Crust
While a flaky pastry crust is delicious, a graham cracker crust is an exceptionally popular choice for a classic vanilla cream pie, especially for an easy cream pie filling recipe. Its slightly sweet, crisp texture provides a wonderful contrast to the smooth, rich filling. Graham cracker crusts are also no-bake, making the assembly process quicker and simpler. A standard 9-inch graham cracker crust typically requires about 1 ½ cups of graham cracker crumbs mixed with ¼ cup sugar and ½ cup melted butter.
You can use a store-bought graham cracker crust for ultimate ease, or make your own by crushing graham crackers (a food processor works wonders), mixing with sugar and melted butter, and pressing the mixture firmly into a pie plate. Chill the crust for at least 30 minutes (or bake for 8-10 minutes at 350°F/175°C for a sturdier crust) before adding the filling. This chilling or baking step helps the crust hold its shape and prevents it from becoming soggy from the moisture in the filling.
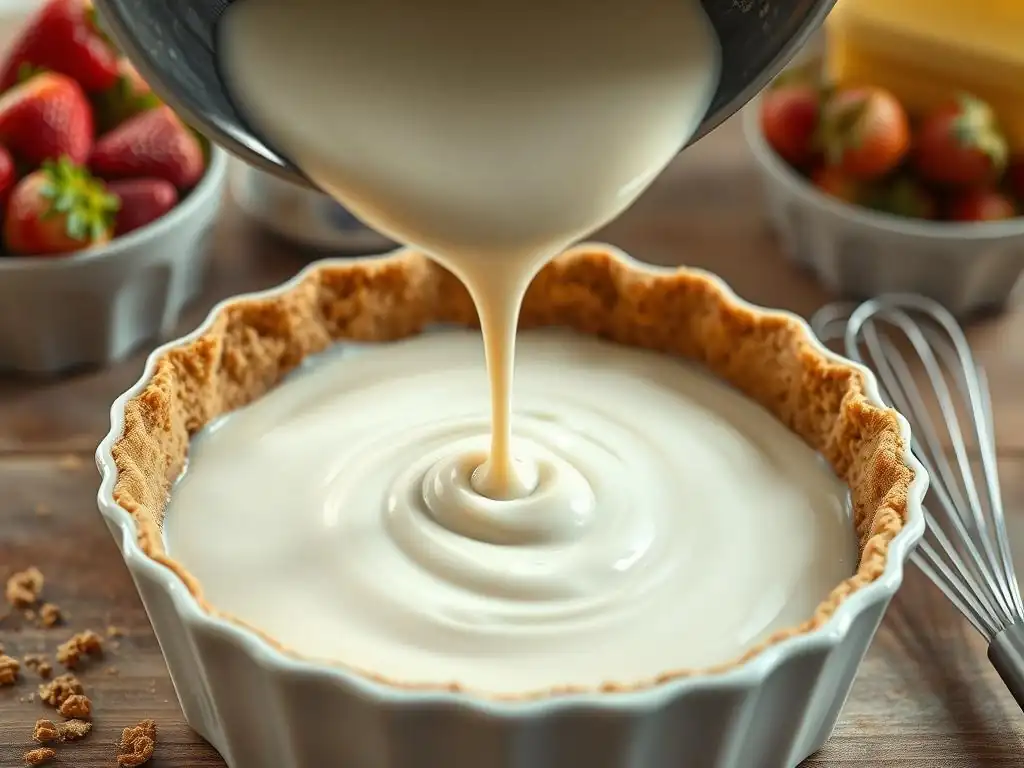
Pouring and Spreading the Cream Filling Evenly
Once your easy cream pie filling recipe is cooked and has cooled slightly (with the plastic wrap removed), it's time to pour it into your prepared, chilled pie crust. Gently lift the plastic wrap and give the filling a quick whisk to ensure it's smooth. Pour the warm (but not hot) filling directly into the center of the crust, allowing it to spread naturally towards the edges.
Use an offset spatula or the back of a spoon to gently spread the filling evenly to the edges of the crust, ensuring the surface is smooth and level. Avoid overworking the filling once it's in the crust. Aim for a smooth, uniform layer that fills the crust completely but doesn't overflow. This sets the stage for a beautiful presentation once the pie is chilled and garnished.
Refrigerating for Optimal Setting Time (at Least 4 Hours)
After the filling is poured into the crust and smoothed, the most crucial step for achieving a sliceable pie is proper chilling. Cover the pie loosely with plastic wrap or foil, being careful not to let the covering touch the surface of the filling initially if it's still quite warm, as this can create condensation. Once it's cooled down a bit, ensure the cover isn't pressing into the filling.
Place the pie in the refrigerator and let it chill for a minimum of 4 hours. This extended chilling time allows the cornstarch molecules to complete their gelling process, transforming the liquid filling into a firm, sliceable custard. While 4 hours is the minimum, chilling the pie overnight (8+ hours) is highly recommended for the best possible set and cleanest slices. Patience is key here for a successful vanilla cream pie.
Flavor Variations and Add-Ins for Your Cream Pie Filling
Adding a Hint of Almond Extract
While vanilla is the classic flavor, adding just a small amount of almond extract can introduce a subtle, delightful complexity to your easy cream pie filling recipe. Almond and vanilla flavors pair beautifully together. Start with a very small amount, perhaps ¼ to ½ teaspoon for a full pie filling, as almond extract can be quite potent.
Add the almond extract at the same time you add the vanilla extract – after the filling has been cooked and removed from the heat. Stir it in thoroughly to distribute the flavor evenly. This simple addition transforms the classic vanilla into a slightly more nuanced cream, perfect for those who enjoy nutty undertones in their desserts.
Swirling in Caramel Sauce
Introducing swirls of caramel sauce is a fantastic way to add another layer of flavor and visual appeal to your vanilla cream pie filling. You can use your favorite homemade caramel sauce or a good quality store-bought version. After pouring the vanilla filling into the pie crust and smoothing the top, gently drizzle spoonfuls of caramel sauce over the surface.
Using a knife or a skewer, gently swirl the caramel into the vanilla filling. Be careful not to over-swirl, as you want distinct ribbons of caramel rather than a muddy color. Just a few gentle passes are usually enough. The caramel will set slightly as the pie chills, creating beautiful patterns and bursts of sweet, buttery flavor throughout the creamy vanilla base.
Topping with Fresh Berries
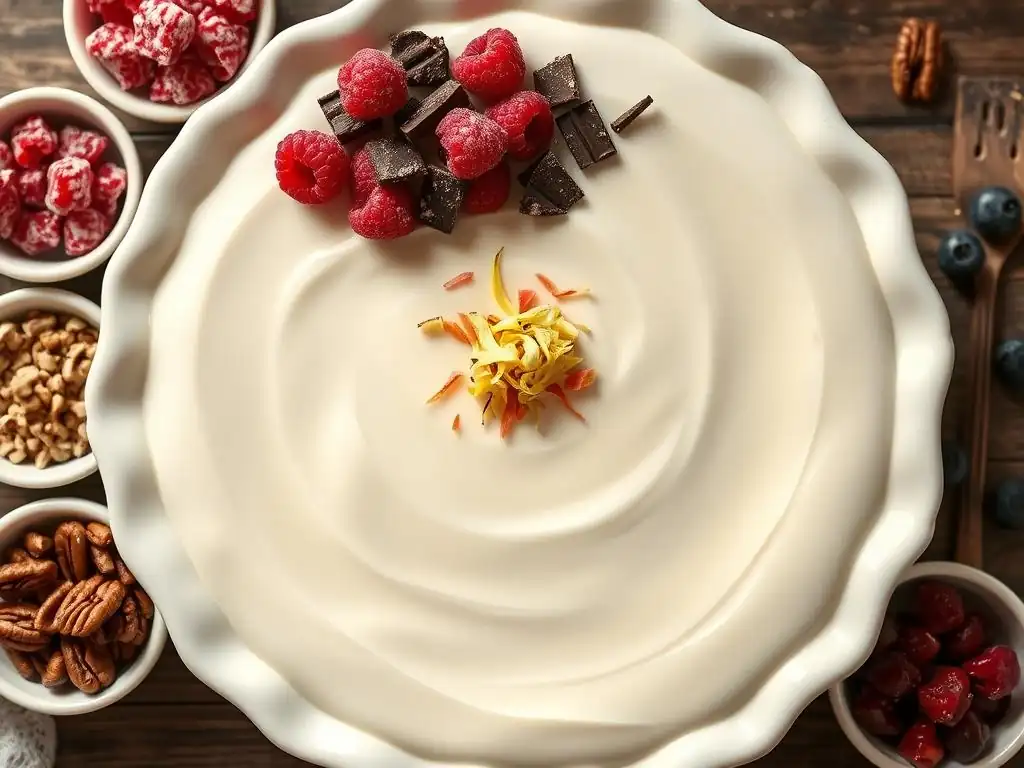
Once your vanilla cream pie filling has set firmly in the refrigerator, topping it with fresh berries adds a burst of freshness, color, and acidity that beautifully complements the rich, sweet cream. Strawberries, blueberries, raspberries, or a mix of seasonal berries work wonderfully. Wash and dry the berries thoroughly before arranging them on top of the pie.
Arrange the berries just before serving to keep them looking their best. You can create simple patterns or just scatter them artfully over the surface. The vibrant colors of the berries make for a stunning presentation, and their slight tartness cuts through the richness of the easy cream pie filling recipe, creating a balanced and refreshing dessert experience.
Tips and Tricks for a Foolproof Vanilla Cream Pie Base
Preventing a Lumpy Cream Pie Filling (Whisk Constantly)
Lumps are the nemesis of a smooth cream pie filling, but they are easily avoided with proper technique. The absolute best defense against lumps when making your easy cream pie filling recipe is constant, vigorous whisking, especially after adding the cornstarch slurry and while the mixture comes to a boil and cooks. Pay attention to the edges and bottom of the pan.
Ensure your cornstarch is fully dissolved in the cold liquid slurry before adding it to the hot milk. Any undissolved bits will instantly form lumps. If you do end up with a few small lumps, you can try pressing the finished filling through a fine-mesh sieve while it's still warm before pouring it into the crust. This extra step takes a minute but guarantees a silky smooth texture.
Storing Your Cream Pie Properly (Refrigerated, Covered)
Due to its dairy-based filling, a vanilla cream pie must be stored in the refrigerator at all times. Once the pie is fully chilled and set, cover it loosely but completely with plastic wrap or aluminum foil. Ensure the covering doesn't press down onto the filling's surface, especially if you've added toppings like whipped cream.
Proper storage prevents the filling from absorbing odors from the refrigerator and keeps the surface from drying out or forming a skin. A well-wrapped cream pie can typically be stored in the refrigerator for 3-4 days. For the best texture and flavor, it's ideal to consume it within 2-3 days of making it.
Common Cream Pie Mistakes and How to Avoid Them (Don't Overcook)
One common mistake when making an easy cream pie filling recipe is overcooking it after it has thickened and boiled for the required minute or two. While boiling is necessary to activate the cornstarch, prolonged cooking at a boil can cause the starch structure to break down, potentially leading to a thinner filling once cooled. Cook just until it's visibly thickened and has boiled for the recommended time, then remove from heat.
Another mistake is not chilling the pie long enough. Removing it from the refrigerator too soon will result in a soft, runny filling that doesn't hold its shape when sliced. Always allow the minimum chilling time, preferably longer. Finally, ensure your ingredients, especially the cornstarch, are fresh. Old cornstarch can lose its thickening power, leading to a disappointing result.
Serving and Enjoying Your Homemade Vanilla Cream Pie
Garnishing Ideas for a Beautiful Presentation (Whipped Cream and Chocolate Shavings)
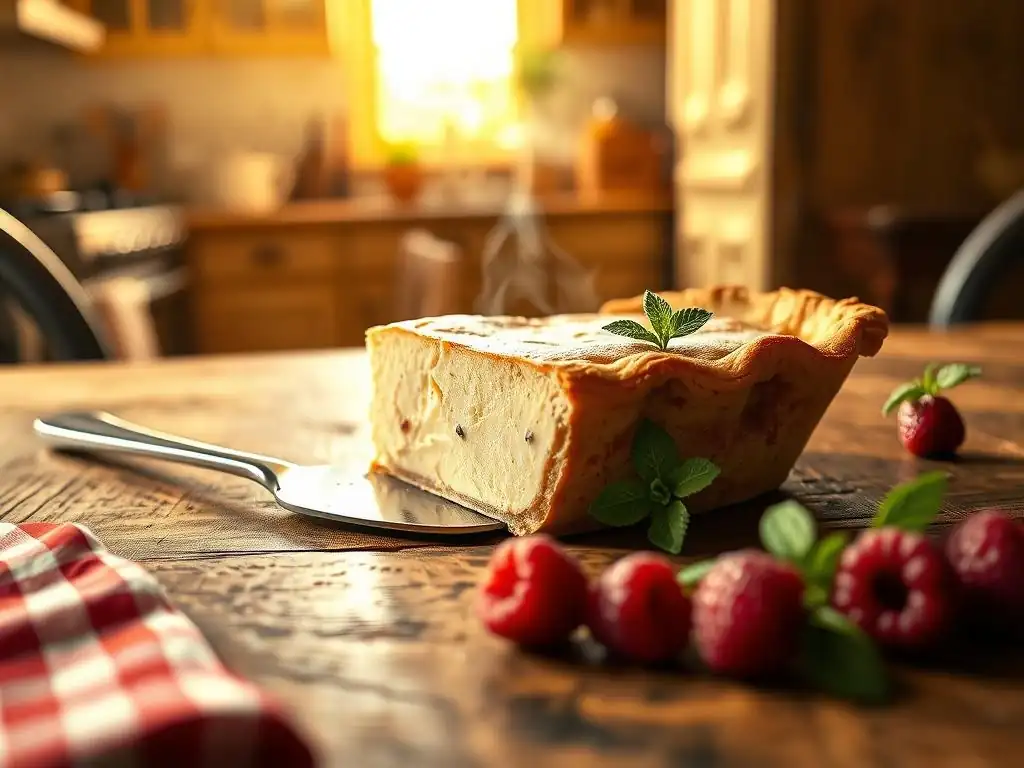
Elevating your vanilla cream pie from delicious to visually stunning is easy with simple garnishes. A classic and ever-popular topping is freshly whipped cream. Whip cold heavy cream with a little powdered sugar and a splash of vanilla extract until soft or stiff peaks form, depending on your preference. Pipe or dollop generous amounts of whipped cream over the chilled pie just before serving.
For an extra touch of elegance and flavor, sprinkle chocolate shavings or curls over the whipped cream. Use a vegetable peeler or sharp knife to shave a bar of chocolate. Toasted nuts, a dusting of cocoa powder, or a drizzle of melted chocolate are other simple yet effective garnishes that complement the rich, creamy base of your easy cream pie filling recipe.
Pairing Your Cream Pie with Other Desserts (Coffee or Tea)
Vanilla cream pie is a rich and satisfying dessert on its own, but it pairs beautifully with simple beverages. A hot cup of coffee, whether black or with a splash of milk, provides a slightly bitter contrast that cuts through the sweetness and richness of the pie. Similarly, a cup of hot tea, such as a classic black tea or even a herbal blend, offers a warm, comforting pairing.
For a more elaborate pairing, consider serving small pieces of the pie alongside a fresh fruit salad or a scoop of sorbet. The lightness and acidity of the fruit or sorbet provide a refreshing counterpoint to the decadent creaminess of the pie. However you choose to enjoy it, a slice of homemade vanilla cream pie is a truly delightful experience.
Conclusion: Mastering the Art of the Easy Vanilla Cream Pie Filling Recipe
Frequently Asked Questions
What makes this cream pie filling recipe "easy"?
This recipe focuses on simple ingredients and straightforward instructions, making it perfect for beginners. You'll avoid complex techniques and achieve a delicious result.
Can I adapt this "Beginner's Cream Pie Base" recipe for different flavors?
Yes! The base recipe is designed to be versatile. You can easily add extracts like vanilla or almond, or fold in fruits or chocolate shavings for different flavor profiles.
What if my cream pie filling is too runny?
If your filling is too runny, try gently heating it on the stovetop with a small amount of cornstarch slurry (cornstarch mixed with cold water) until it thickens. Be careful not to overcook it.
How long does this cream pie filling need to chill before serving?
For the best texture and flavor, chill the cream pie filling for at least 4 hours or preferably overnight. This allows the filling to fully set and the flavors to meld.
What kind of pie crust works best with this "Easy cream pie filling recipe"?
A pre-made graham cracker crust is a quick and easy option. Alternatively, you can use a homemade shortcrust pastry or blind-baked pie crust for a more classic pie experience.
Final Reflection: The Sweet Simplicity of a Perfect Pie
The pursuit of the perfect pie filling, a seemingly simple endeavor, reveals a deeper truth about the joy found in culinary creation. It's not just about following a recipe; it's about understanding the balance of flavors, the texture's subtle dance, and the satisfaction of crafting something delicious from humble ingredients. This beginner's cream pie filling recipe, designed for ease and accessibility, proves that even the most novice baker can achieve extraordinary results.
This exploration into the heart of cream pie filling has underscored for me the enduring power of simple recipes to connect us to our culinary heritage and to each other. The act of baking, of sharing a slice of pie with loved ones, transcends mere sustenance; it becomes a gesture of care, a celebration of shared moments. The best things in life are simple,
a sentiment often repeated, rings especially true when considering the uncomplicated pleasure of a perfectly creamy pie.
Now, I invite you to embrace the simplicity of this recipe. Don't be intimidated by the idea of pie-making; let this be your starting point, your springboard to culinary exploration. Experiment with different flavor combinations, personalize your crust, and most importantly, savor the process. The journey to the perfect pie is as rewarding as the destination itself. So, gather your ingredients, preheat your oven, and let the sweet aroma of success fill your kitchen.
Unlock Your Inner Pastry Chef: Make Cream Pie Magic!
Thanks for taking the time to explore the world of cream pie bases with us! We hope you now feel confident in tackling this classic dessert. Ready to put your new skills to the test?
- Bake your dream pie: Grab your ingredients and whip up that perfect cream pie base – the recipe's still fresh in your mind! Let us know how it goes!
- Share your creation: Post a picture of your masterpiece on social media using #BakeWithEaseCreamPie – we’d love to see it!
- Explore other BakeWithEase recipes: Discover more delicious recipes for fillings and toppings to complete your pie journey.
What unique flavor combinations will you experiment with for your next cream pie? Let's hear your ideas!