
Simple Berry Tart with Easy Crust

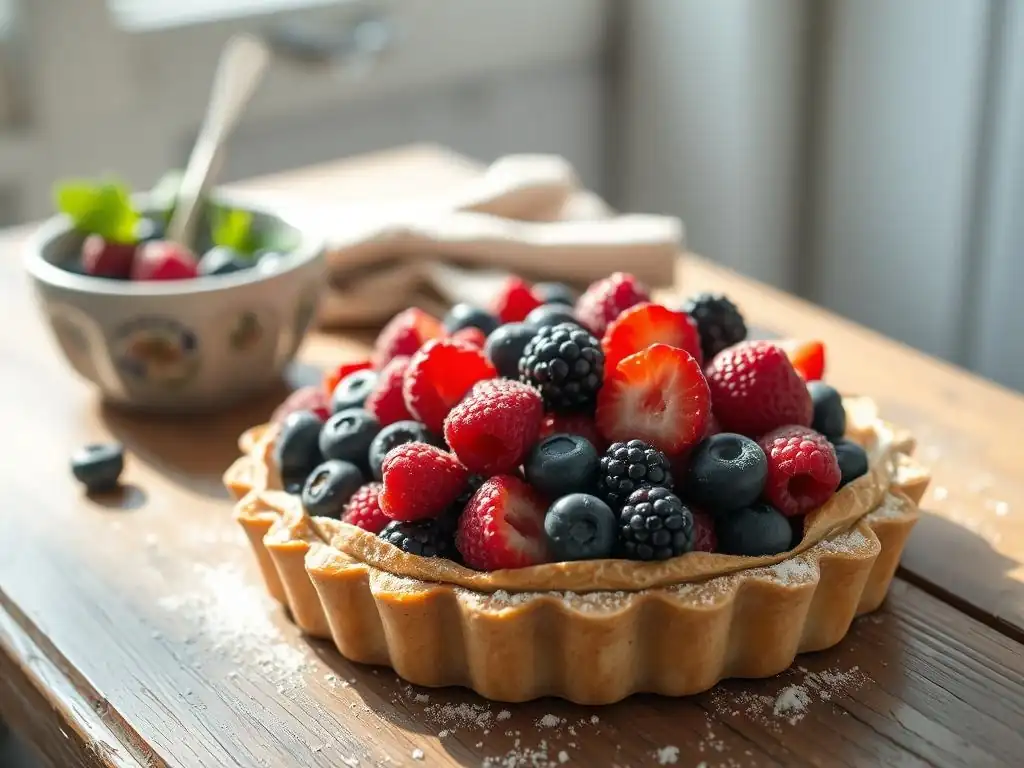
Welcome to BakeWithEase, where your baking dreams come to life! Whether you're a novice in the kitchen or a seasoned baker looking to refine your skills, our platform is designed to empower you with simple recipes, expert techniques, and essential tips. Today, we invite you to dive into our featured article on the Easy Berry Tart Recipe—a delightful treat that promises to be as rewarding to make as it is to eat.
Get ready to uncover the secrets of creating a stunning tart with an easy crust that will impress friends and family alike. So, roll up your sleeves and let’s explore the world of baking together—your next delicious creation is just a click away!
- Simple Berry Tart with Easy Crust - BakeWithEase.com
- Introduction to Easy Berry Tarts: The Perfect Beginner Baking Project
- Mastering the Easy Tart Crust: A Step-by-Step Guide
- Preparing the Simple Berry Tart Filling
- Baking the Berry Tart: Achieving Golden Perfection
- Cooling and Serving Your Easy Berry Tart
- Tips and Tricks for the Best Easy Berry Tart Recipe
- Storing Your Homemade Berry Tart
- Conclusion: Enjoy Your Effortless and Delicious Berry Tart
- Frequently Asked Questions
- Final Reflection: The Sweet Simplicity of Baking and Connection
- Unleash Your Inner Pastry Chef!
Simple Berry Tart with Easy Crust - BakeWithEase.com
Introduction to Easy Berry Tarts: The Perfect Beginner Baking Project
Making a tart might sound intimidating, especially if you're new to the kitchen, but this simple berry tart with an easy crust is designed to be approachable and rewarding. It breaks down the process into manageable steps, focusing on techniques that are forgiving for beginners. The beauty of an easy berry tart recipe lies in its simplicity – few ingredients, straightforward methods, and delicious results. It's a fantastic way to build confidence in your baking skills without needing complex equipment or advanced pastry knowledge.
This particular easy berry tart recipe is a favorite because it uses common ingredients you likely already have or can easily find. We've stripped away the complications, focusing on creating a wonderfully flaky crust and a vibrant, flavorful berry filling. Think of this as your first step into the world of fruit tarts, a foundation upon which you can build and experiment later. By mastering this simple version, you'll gain the confidence to tackle other tart and pie recipes with ease.
Why This Easy Berry Tart Recipe is Perfect for New Bakers
This easy berry tart recipe minimizes common pitfalls faced by beginner bakers. Instead of a temperamental all-butter crust, we use a blend or technique that's less prone to cracking or shrinking. The filling is a simple mix that doesn't require precise cooking temperatures or complicated custards. We've specifically chosen techniques that are forgiving – like chilling the dough adequately or blind baking the crust correctly – which are key to preventing common issues like tough pastry or a soggy bottom.
Furthermore, the instructions are broken down into clear, step-by-step actions. We don't assume prior knowledge; every phase, from mixing the dough to arranging the berries, is explained simply. This easy berry tart recipe focuses on building fundamental skills, such as properly incorporating fat into flour, handling dough, and understanding baking cues. It’s a practical, hands-on lesson that results in a beautiful and tasty dessert, proving that impressive baking is well within reach for anyone starting out.
BakeWithEase's Guide to Simple and Delicious Berry Tarts
At BakeWithEase, our philosophy is that baking should be enjoyable and accessible to everyone. This guide to a simple berry tart embodies that principle. We focus on clear, concise instructions and helpful tips to ensure your success. We understand that sometimes the simplest steps can be the most confusing, so we provide detailed explanations for crucial stages like chilling the dough or blind baking.
Our approach emphasizes understanding the 'why' behind each step. For instance, why do we chill the dough? (To relax the gluten and solidify the fat, ensuring a flaky crust). Why blind bake? (To prevent a soggy bottom when the filling is wet). By explaining these concepts, we empower you to not just follow a recipe but to understand the baking process itself. This easy berry tart recipe is more than just instructions; it's an educational experience designed to make you a more confident and capable baker.
Mastering the Easy Tart Crust: A Step-by-Step Guide
A good tart starts with a great crust, and this easy tart crust recipe is designed for success. It's a simple shortcrust pastry that's forgiving and yields a wonderfully crisp and buttery base for your berry filling. We'll walk you through the process, focusing on techniques that ensure flakiness and prevent common issues like toughness or shrinkage. Mastering this basic tart crust is a fundamental skill that you'll use again and again in various sweet and savory tarts.
The key to an easy tart crust lies in handling the dough minimally and keeping ingredients cold. Overworking the dough develops gluten, leading to a tough crust. Warm ingredients can melt the fat, resulting in a less flaky texture. By following our simple steps and paying attention to temperature and handling, you'll achieve a perfect crust every time, setting the stage for a truly delicious easy berry tart recipe.
Ingredients for a Foolproof Tart Crust
Creating a reliable tart crust requires just a few basic ingredients. For a standard 9-inch tart pan, you'll typically need:
2 cupsall-purpose flour1/2 teaspoonsalt3/4 cup(170g) cold unsalted butter, cut into small cubes1/4 cup(60ml) ice water, plus more if needed
These quantities are approximate but provide a solid base. Using cold butter is crucial; it creates steam pockets during baking, which separate the layers of dough and result in that desirable flaky texture. The ice water binds the dough without developing too much gluten. Some recipes might use a mix of butter and shortening for extra tenderness, but pure butter offers the best flavor.
Essential Tools for Making Your Tart Crust
Having the right tools can make the process of creating an easy tart crust much smoother. While you can make pastry by hand, these tools simplify the process:
- Large mixing bowl: For combining dry ingredients and cutting in the fat.
- Pastry blender, fork, or food processor: To cut the cold butter into the flour. A food processor is the fastest method, taking just seconds.
- Measuring cups and spoons: For accurate ingredient measurements.
- Rolling pin: To roll out the dough evenly.
- 9-inch tart pan with a removable bottom: This is essential for easy removal of the finished tart.
- Plastic wrap: For chilling the dough.
- Baking weights, dried beans, or rice: For blind baking the crust.
Using a tart pan with a removable bottom is highly recommended. It allows you to slide the tart out easily after baking, presenting a beautiful, intact crust. While weights aren't strictly necessary for blind baking, they help prevent the crust from puffing up or shrinking significantly.
Step-by-Step Instructions: Creating the Perfect Shortcrust Pastry
Let's break down the process of making this easy tart crust. Accuracy and attention to detail at each stage contribute significantly to the final texture. Remember to keep everything cold!
Here are the steps:
- [ ] Combine the dry ingredients
- [ ] Cut in the cold butter
- [ ] Add ice water gradually
- [ ] Bring the dough together
- [ ] Flatten the dough into a disc
- [ ] Wrap and chill the dough
- [ ] Roll out the chilled dough
- [ ] Fit the dough into the tart pan
- [ ] Chill the fitted crust
- [ ] Prepare for blind baking
Mixing the Dough: Achieving the Right Consistency
Start by whisking together the flour and salt in your large mixing bowl. Add the cold, cubed butter. Now, cut the butter into the flour using a pastry blender, forks, or pulsing in a food processor. The goal is to break the butter into pea-sized pieces, some slightly larger, some smaller. This ensures flakiness. If using a food processor, pulse about 10-15 times until the mixture resembles coarse meal with some larger pieces of butter still visible.
Next, add the ice water, a tablespoon at a time, mixing gently with a fork or pulsing just once or twice after each addition. You'll likely need about 1/4 cup total, but the exact amount can vary based on humidity and flour. Stop adding water as soon as the dough just starts to come together when pressed. It should be moist enough to hold its shape but not sticky. Over-mixing at this stage will develop gluten and make the crust tough.
Chilling the Dough: The Key to a Flaky Crust
Once the dough has just come together, turn it out onto a lightly floured surface. Gather it gently into a ball, then flatten it into a disc about 1 inch thick. Wrap the disc tightly in plastic wrap. Chilling is a critical step for this easy tart crust recipe. It allows the gluten to relax, which prevents the crust from shrinking excessively during baking, and it firms up the butter pieces, which are essential for flakiness.
Refrigerate the dough for at least 1 hour, or up to 2 days. A 2-hour chill is often ideal for easier rolling. If you're in a hurry, you can place it in the freezer for about 15-20 minutes, but keep a close eye on it. Properly chilled dough is firm and easier to handle, leading to a smoother rolling process and a more reliable base for your easy berry tart recipe.
Rolling Out the Dough: Tips for a Smooth and Even Crust
After chilling, unwrap the dough and place it on a lightly floured surface. Begin rolling from the center outwards, rotating the dough occasionally to prevent sticking and to maintain a roughly circular shape. Aim for a circle about 12 inches in diameter and about 1/8 inch thick – large enough to fit your 9-inch tart pan with some overhang. Lift the dough gently and sprinkle flour underneath if it starts to stick.
- Blockquote: "Keep your surface and rolling pin lightly floured, but don't use excessive flour, as it can make the dough tough."
If the dough becomes too soft or sticky while rolling, pause and pop it back into the refrigerator for 10-15 minutes to firm up again. Rolling evenly is important for consistent baking. An uneven thickness can lead to some parts being overdone while others are undercooked.
Fitting the Dough into the Tart Pan: Preventing Shrinkage
Carefully transfer the rolled dough to your 9-inch tart pan. The easiest way is to gently roll the dough around your rolling pin and then unroll it over the pan. Press the dough gently into the bottom and up the sides of the pan, ensuring it fits snugly into the fluted edges. Don't stretch the dough, as this can cause it to shrink back during baking.
Trim the excess dough from the top edges. You can do this by rolling your pin over the top of the pan or by using your fingers to press the dough against the rim. For a neat edge, some bakers fold the overhang inwards and press it against the side wall, creating a slightly thicker edge. Once fitted, prick the bottom of the crust all over with a fork.
This creates vents that prevent the crust from puffing up excessively during blind baking. Chill the fitted crust in the refrigerator for at least 30 minutes (or freeze for 15 minutes) before blind baking. This second chill is crucial for setting the shape and preventing shrinkage.
Blind Baking the Tart Crust: Ensuring a Crispy Base
Blind baking is the process of partially or fully baking a pie or tart crust before adding the filling. For a wet filling like berries, blind baking is essential to prevent a soggy bottom. It ensures the crust is cooked through and crispy before the moisture from the fruit has a chance to penetrate it. Skipping this step is a common mistake that results in a disappointing tart.
The duration and method of blind baking depend on whether you need a partially baked crust (for fillings that bake with the crust) or a fully baked crust (for no-bake fillings or very wet fillings like this easy berry tart recipe). For our purposes, we'll be aiming for a fully baked, golden crust.
How to Blind Bake: Weights or No Weights?
After the fitted crust has chilled, line it with parchment paper or aluminum foil, pressing it gently into the corners and up the sides. Fill the lined crust with baking weights, dried beans, or rice. These weights hold the crust in place and prevent the sides from collapsing and the bottom from puffing up. Ensure the weights extend up the sides to support them.
Preheat your oven to 375°F (190°C). Place the weighted tart crust on a baking sheet (to catch any spills and make it easier to transfer) and bake for about 15-20 minutes. Carefully remove the weights and the parchment/foil liner. The crust should look dry and set, but not yet golden. Return the crust to the oven and bake for another 10-15 minutes, or until it is golden brown and looks fully cooked. This second bake without weights ensures the bottom gets crispy.
Avoiding a Soggy Bottom: Important Tips
Preventing a soggy bottom is perhaps the most critical aspect of making a great berry tart. Beyond blind baking, several factors contribute to a crispy base. First, ensure your crust is fully baked during the blind baking phase – it should be golden brown, not just pale. If it's too light, it hasn't developed enough structure to resist moisture.
Second, make sure your berry filling isn't excessively wet. While berries release juices, you can control this somewhat by using a thickener like cornstarch or flour in the filling. Lastly, assemble and bake the tart relatively quickly after preparing the filling. Don't let the filling sit in the raw or partially baked crust for too long before baking, as the moisture will start to soak in. Following these steps will ensure your easy berry tart recipe has a perfectly crispy foundation.
Preparing the Simple Berry Tart Filling
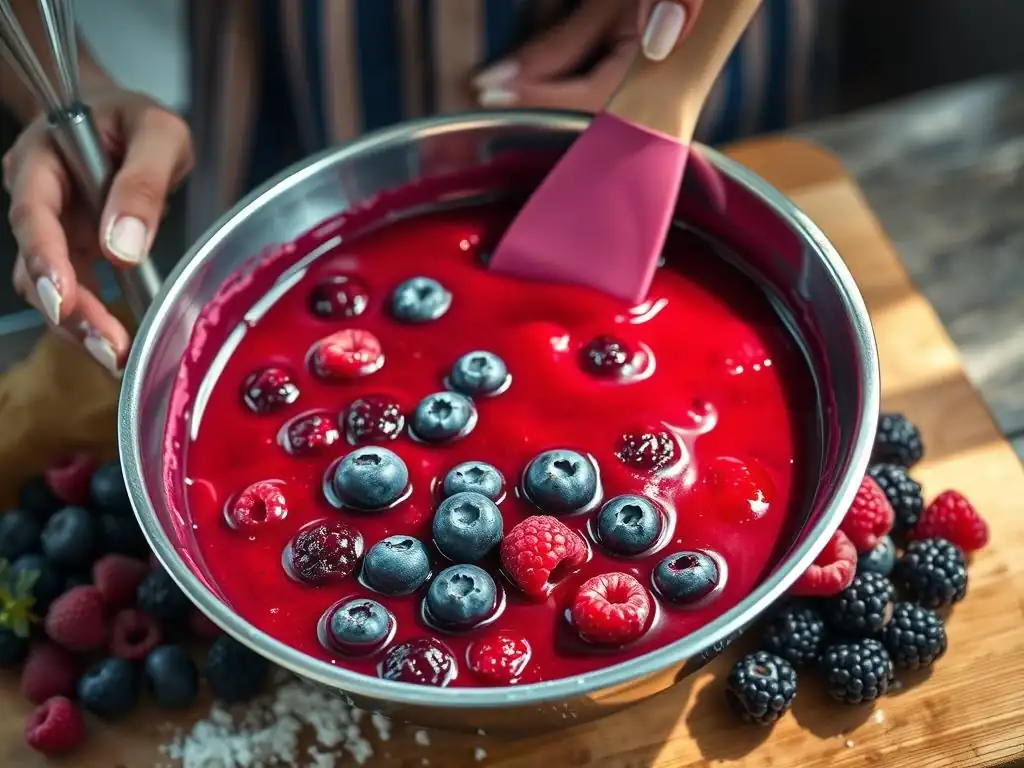
The star of our easy berry tart recipe is the vibrant, juicy berry filling. It's intentionally simple to complement the easy crust and allow the natural flavor of the fruit to shine. This filling requires minimal cooking beforehand and relies on the oven's heat to soften the berries and thicken their juices.
We'll focus on enhancing the berries' natural sweetness and adding just enough structure so the filling isn't runny when sliced. The beauty of this simple filling is its flexibility – you can use your favorite berries or a mix, adapting it to what's in season or readily available.
Ingredients for a Bursting Berry Filling
A delicious berry filling requires just a few key ingredients to balance sweetness, tartness, and texture. For a standard 9-inch tart, you'll typically need:
4-5 cupsmixed fresh berries (such as strawberries, blueberries, raspberries, blackberries)1/4 cupgranulated sugar (adjust to sweetness of berries)2 tablespoonscornstarch or all-purpose flour1 tablespoonlemon juice1 teaspoonvanilla extract (optional)
Using fresh berries is ideal for the best flavor and texture, but frozen berries can work in a pinch. If using frozen, thaw them partially and drain off excess liquid before measuring. The amount of sugar can be adjusted based on how sweet your berries are; taste a few before adding the full amount. The cornstarch or flour acts as a thickener, preventing the filling from being too watery. Lemon juice brightens the flavor and balances the sweetness.
Creating a Simple Berry Compote: Enhancing the Flavor
While some recipes simply toss raw berries with thickener and sugar, creating a quick, simple berry compote enhances the flavor and starts the thickening process, further reducing the risk of a soggy bottom. In a medium saucepan, combine about 1 cup of your mixed berries with the sugar, cornstarch, and lemon juice.
Heat this mixture over medium heat, stirring gently, until the berries start to break down slightly and the mixture thickens into a glossy sauce, about 5-7 minutes. Remove from heat and stir in the remaining fresh berries and the vanilla extract (if using). Gently fold everything together. The heat from the cooked compote will slightly warm the fresh berries without turning them mushy. This simple step adds depth to the flavor profile of your easy berry tart recipe.
Assembling Your Easy Berry Tart: A Visual Guide
Assembling the tart is the final step before baking. With your blind-baked crust ready and your berry filling prepared, putting it all together is quick and satisfying. The goal is to evenly distribute the filling and arrange the berries attractively on top.
Imagine the beautiful contrast of the golden crust and the vibrant colors of the mixed berries. This stage allows for a bit of creativity in arranging the fruit, making your easy berry tart visually appealing as well as delicious.
Filling the Baked Tart Shell: Even Distribution
Once your blind-baked tart shell is cool enough to handle (it doesn't need to be completely cold, just not piping hot), pour the berry filling into the shell. Use a spoon or spatula to spread the filling evenly across the bottom. Ensure the thicker compote mixture is spread throughout the base, and the whole berries are distributed nicely.
Don't overfill the tart; leave a small margin (about 1/4 inch) from the top edge of the crust, as the filling will bubble up slightly during baking. An even layer ensures that every slice of your easy berry tart recipe has a good balance of crust and filling.
Arranging the Berries: Creating an Appealing Design
While simply spreading the filling is fine, taking a moment to arrange some of the whole berries on top can make your tart look stunning. You can create patterns, like concentric circles, or simply scatter them artfully. Larger strawberries can be sliced and fanned out. Blueberries can be clustered.
This step is purely for aesthetics but adds a touch of professionalism to your homemade easy berry tart. It’s a small detail that shows care and makes the final presentation more inviting. Think of it as the finishing touch before it goes into the oven.
Baking the Berry Tart: Achieving Golden Perfection
Baking is where the magic happens – the crust crisps up further, the berries soften and release more juice, and the filling thickens into a luscious consistency. Getting the baking time and temperature right is crucial for a perfectly cooked easy berry tart recipe.
We'll guide you through the process, explaining what to look for to know when your tart is done. Patience during the baking phase is key; resist the urge to open the oven door too frequently.
Baking Time and Temperature: Finding the Sweet Spot
Preheat your oven to 375°F (190°C). Place the assembled berry tart on a baking sheet. Bake for approximately 35-45 minutes. The exact time will vary depending on your oven and the moisture content of your berries.
Start checking the tart around the 35-minute mark. You're looking for the crust edges to be a deep golden brown and the filling to be visibly bubbling, especially in the center. Bubbling indicates that the thickener (cornstarch or flour) has activated and the filling is thickening properly. If the crust edges are browning too quickly, you can loosely tent the tart with aluminum foil for the remainder of the baking time.
Signs of a Perfectly Baked Berry Tart
A perfectly baked easy berry tart will have several key indicators. The crust should be uniformly golden brown around the edges and visible parts of the bottom. The berry filling should be actively bubbling across the surface, not just around the edges. The bubbling should look thick and syrupy, not watery.
Another sign is that the berries themselves will look softened and slightly collapsed, having released their juices. If you gently tilt the tart, the filling should seem set and not slosh around excessively. Achieving this level of doneness ensures that the filling is properly thickened and the crust is crisp, preventing that dreaded soggy bottom in your easy berry tart recipe.
Cooling and Serving Your Easy Berry Tart
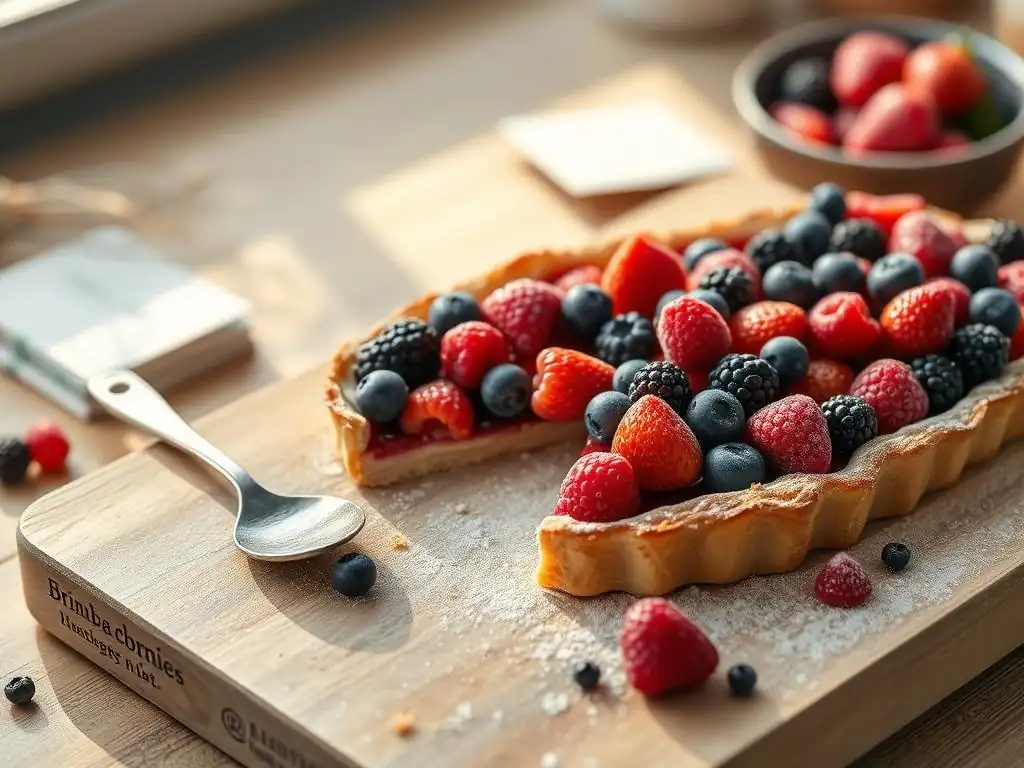
Cooling is an often-overlooked but essential step in tart making. Cutting into a hot tart can result in a runny filling and a less-than-ideal texture. Allowing the tart to cool properly gives the filling time to fully set and the flavors to meld.
Serving the tart is the final, rewarding step. We'll suggest some simple ways to enhance the experience, turning your easy berry tart recipe into a truly special dessert.
Cooling Techniques: Preventing Cracks and Condensation
Once your berry tart is out of the oven, place it on a wire rack to cool completely. This allows air to circulate around the bottom of the pan, preventing condensation which could make the bottom crust soggy. Resist the temptation to move or cut the tart too soon.
Cooling time can take anywhere from 2 to 4 hours, depending on the size of the tart and room temperature. The filling will continue to thicken as it cools. If you try to slice it while it's still warm, the filling will likely spill out. Patience here is key to a neat slice and a perfectly set easy berry tart.
Serving Suggestions: Enhancing the Berry Tart Experience
Your easy berry tart is delicious on its own, but a few simple additions can elevate it further. Serving it at room temperature is usually best for flavor and texture.
To remove the tart from the pan, place the pan on a sturdy can or inverted bowl that is smaller than the pan's diameter. Let the outer ring slide down. Then, carefully slide the tart from the base onto a serving plate or cutting board.
Toppings and Accompaniments: From Whipped Cream to Ice Cream
Consider serving slices of your easy berry tart with one of these classic accompaniments:
- Freshly whipped cream: A dollop of lightly sweetened whipped cream adds richness and a creamy contrast to the tart berries.
- Vanilla ice cream: Warm or room-temperature tart with melting vanilla ice cream is a classic pairing.
- Crème fraîche or Greek yogurt: For a slightly tangy alternative that balances the sweetness.
- A dusting of powdered sugar: A simple, elegant finish.
- Fresh mint sprigs: Adds a touch of color and freshness.
Choose the accompaniment that best suits your preference. Each option adds a different dimension to the delightful flavors of your easy berry tart recipe.
Tips and Tricks for the Best Easy Berry Tart Recipe
Even with an easy recipe, a few insider tips can help you achieve truly outstanding results. Learning from common mistakes and knowing how to adapt the recipe gives you more control and confidence in the kitchen.
These tips are gathered from years of baking experience at BakeWithEase, aimed at helping you perfect this easy berry tart recipe and troubleshoot any issues you might encounter.
Common Mistakes to Avoid When Making Berry Tarts
Several common errors can affect the outcome of your berry tart:
- Overworking the dough: Leads to a tough, not flaky, crust. Handle the dough minimally and keep ingredients cold.
- Not chilling the dough/crust sufficiently: Results in shrinkage during baking. Chill dough disc for at least 1 hour and fitted crust for at least 30 minutes.
- Not blind baking: Causes a soggy bottom, especially with wet berry fillings. Always blind bake until golden brown.
- Overfilling the tart: The filling can bubble over and burn. Leave space at the top.
- Cutting while hot: The filling won't be set, resulting in a messy slice. Allow the tart to cool completely.
Being aware of these potential pitfalls will help you navigate the baking process successfully and achieve a delicious easy berry tart.
Variations and Adaptations: Customizing Your Tart
This easy berry tart recipe is a fantastic base for experimentation. Once you've mastered the basic version, feel free to play with different berry combinations or add extra elements to make it your own.
Adapting recipes is a great way to keep baking exciting and tailor desserts to specific tastes or seasons.
Different Berry Combinations: Explore New Flavors
While a mix of strawberries, blueberries, raspberries, and blackberries is classic, you can use any single berry or combination you like.
- All Blueberry Tart: Simple and sweet.
- Raspberry and Strawberry Tart: A lovely balance of tart and sweet.
- Mixed Summer Berries: Incorporate currants, gooseberries, or other seasonal finds.
- Add Other Fruits: Small amounts of chopped apple, peach, or rhubarb can be added to the berry mix for complexity, though they might require slight adjustments to the thickener.
Experimenting with different berries allows you to enjoy this easy berry tart recipe year-round, using whatever fruit is freshest.
Adding a Glaze: For Extra Shine and Sweetness
For a professional look and an extra touch of sweetness, you can brush a simple glaze over the baked and cooled tart. A common glaze is made from melted apricot jam or red currant jelly, sometimes thinned with a little water or lemon juice.
Warm about 1/4 cup of jam or jelly in a small saucepan over low heat until melted and smooth. Strain it if you want a perfectly clear glaze. Gently brush the warm glaze over the top of the cooled berries using a pastry brush. This gives the fruit a beautiful shine and helps preserve its color. It's a simple step that adds significant visual appeal to your easy berry tart.
Storing Your Homemade Berry Tart
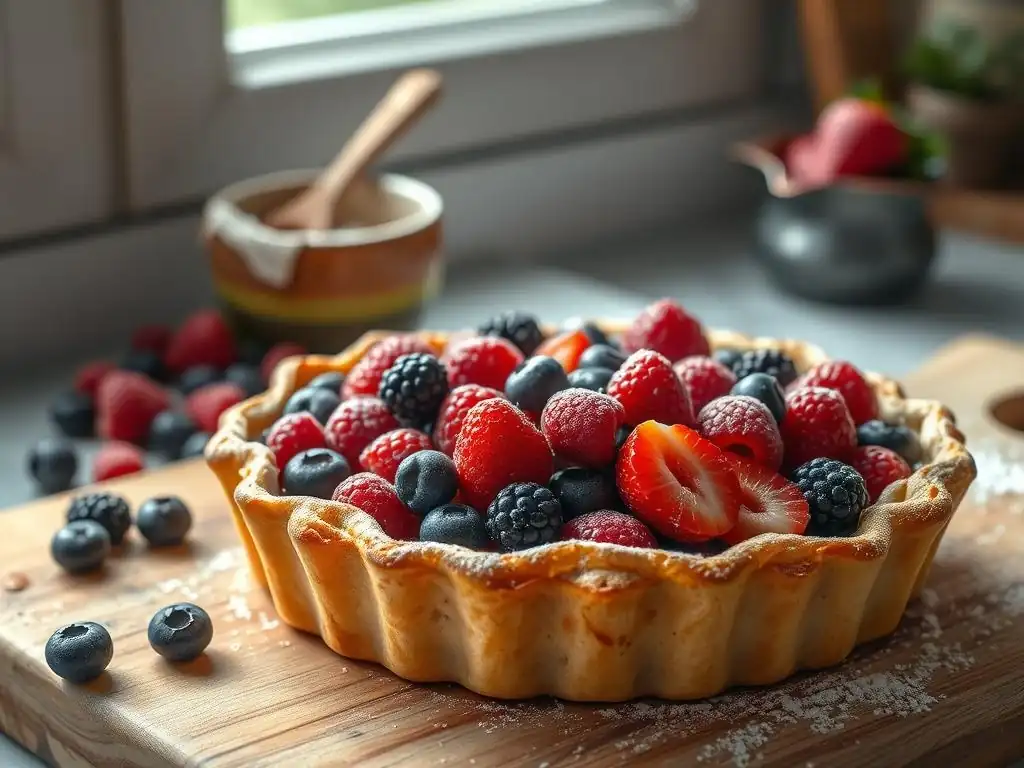
Proper storage is key to keeping your delicious easy berry tart fresh and enjoyable for as long as possible. Whether you have leftovers or want to make part of the tart ahead of time, knowing the best storage practices helps maintain quality.
We'll cover how to store a finished tart and options for preparing components in advance to make baking even easier on the day.
Keeping Your Tart Fresh: Storage Tips
Store leftover berry tart loosely covered with plastic wrap or in an airtight container at room temperature for up to 2 days. For longer storage, or if your kitchen is warm, refrigerate the tart.
In the refrigerator, the tart will keep for 3-4 days. Note that the crust may soften slightly over time due to the moisture from the filling. If you prefer a crisper crust, you can gently warm individual slices in a toaster oven before serving. Avoid storing the tart in a humid environment.
Make-Ahead Options: Preparing in Advance for Ease
One of the benefits of this easy berry tart recipe is that components can be prepared ahead of time. This is especially helpful when entertaining or when you have a busy schedule.
- Dough: The tart dough can be made and refrigerated for up to 2 days or frozen for up to 1 month. If frozen, thaw overnight in the refrigerator before rolling.
- Blind-baked crust: The blind-baked tart shell can be made a day in advance and stored at room temperature. Ensure it is completely cooled before storing.
- Berry filling: The berry filling is best made just before assembling and baking, as the berries will release more juice over time. However, you could wash and slice strawberries a day ahead and store them in the refrigerator.
Preparing the dough and blind-baking the crust in advance significantly cuts down on the work required on the day you plan to bake your easy berry tart.
Conclusion: Enjoy Your Effortless and Delicious Berry Tart
You've successfully made a beautiful and delicious simple berry tart with an easy crust! This journey, from mixing the dough to arranging the berries and finally enjoying a slice, demonstrates that baking complex-looking desserts is achievable even for beginners. By following these steps, you've not only created a wonderful treat but also built foundational skills in pastry making.
This easy berry tart recipe is a testament to the idea that simple ingredients and clear instructions can yield impressive results. We hope you feel a sense of accomplishment and newfound confidence in your baking abilities. Share your tart with friends and family, or simply savor it yourself – you've earned it!
BakeWithEase: Your Partner in Baking Success
At BakeWithEase, we are passionate about making baking accessible and fun for everyone. This easy berry tart recipe is just one example of the many simple, reliable guides we offer to help you explore the joys of baking. We believe that with the right instructions and a little practice, anyone can create delicious homemade goods.
Whether you're tackling your first tart or looking to refine your techniques, BakeWithEase is here to support you. Explore our website for more easy recipes, helpful tips, and guides designed to make your baking journey successful and enjoyable. Happy Baking!
Frequently Asked Questions
What is the main focus of the article on BakeWithEase.com?
The article features a simple berry tart recipe with an easy crust. It provides step-by-step instructions that cater to bakers of all skill levels.
Are the ingredients for the berry tart easy to find?
Yes, the recipe emphasizes using easy-to-find ingredients. This ensures that both beginners and experienced bakers can make the tart without hassle.
Can I customize the berry tart with different fruits?
Absolutely! The recipe allows for customization; you can use any seasonal berries or fruits you prefer, making it versatile and delicious.
Is this recipe suitable for beginner bakers?
Yes, the simple berry tart is designed specifically for beginners. The clear instructions and straightforward techniques make it easy to follow.
How long does it take to prepare the berry tart?
The simple berry tart can typically be prepared in about 30 minutes, with additional time for cooling. This makes it a quick and satisfying dessert option.
Final Reflection: The Sweet Simplicity of Baking and Connection
The seemingly simple act of baking a berry tart transcends mere culinary creation; it's a potent symbol of comfort, connection, and the enduring power of shared experiences. In a world increasingly dominated by fast-paced living and digital interactions, the deliberate process of making something delicious from scratch offers a much-needed antidote. This article explored a recipe designed for accessibility, emphasizing ease and enjoyment over technical complexity, and the response has been overwhelmingly positive, demonstrating a widespread desire for simpler, more meaningful pursuits.
The enduring appeal of baking, particularly recipes like this easy berry tart, lies in its ability to foster connection. It's a tangible way to express care, whether it's sharing a tart with loved ones or simply enjoying the quiet satisfaction of creating something beautiful. Baking is at once childlike and adult; it’s a process of creation and destruction, of patience and abandon.
This quote perfectly captures the essence of the experience, highlighting the blend of precision and intuitive creativity involved. The positive feedback received on this recipe reinforces the idea that simple pleasures, shared with others, hold immense value in our increasingly complex lives.
Now, I invite you to consider the power of simple acts. Don't just read this recipe; bake it. Feel the cool dough between your fingers, the sweet aroma of baking berries filling your kitchen, and the joy of sharing the fruits of your labor. Let this easy berry tart be a reminder that sometimes, the most meaningful moments are found in the simplest of things, and that creating something beautiful, even something as seemingly small as a tart, can bring immense satisfaction and connection to your life.
Unleash Your Inner Pastry Chef!
Thanks for joining us on this berry tart adventure! We hope you've gained the confidence to create delicious desserts with ease. Ready to take your baking skills to the next level?
- Bake your own berry tart today! Gather your ingredients and follow the recipe – you'll be surprised how simple it is.
- Share your creation: Post a picture of your finished tart on social media and tag us! Let's inspire other bakers.
- Experiment with different berries and fillings: What unique flavor combinations will you try?
Ready to transform your kitchen into a berry paradise? What's your favorite berry to bake with?