
Simple Food Processor Pie Dough

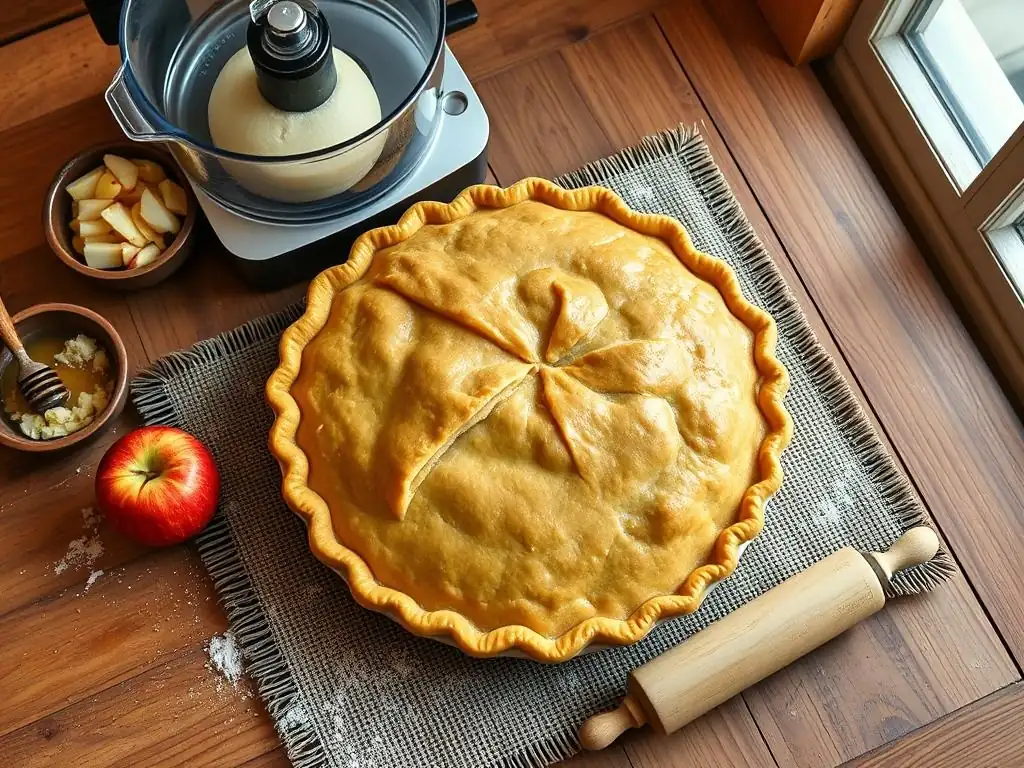
Welcome to BakeWithEase, your partner in creating delicious baked goods! Ever wondered if perfectly flaky pie crust could be unbelievably simple? Prepare to be amazed, because our Easy Food Processor Pie Dough recipe is about to revolutionize your baking. Discover the secrets to effortless pie making and unlock a world of delectable possibilities. Get ready to bake with ease!
- Classic All-Butter Pie Dough: A Step-by-Step Guide
- Achieve Flaky Perfection with Homemade Pie Dough
- Mastering the All-Butter Pie Dough Recipe
- Step-by-Step: Making All-Butter Pie Dough
- Tips for Perfect All-Butter Pie Dough
- Baking with Your All-Butter Pie Dough
- Troubleshooting Common Pie Dough Problems
- Storing All-Butter Pie Dough
- Variations on the Basic All-Butter Pie Dough Recipe
- Enjoy Your Homemade Pie!
-
Frequently Asked Questions
- What are the benefits of using a food processor for pie dough?
- Can I use different types of fat in this "Easy food processor pie dough" recipe?
- How do I avoid over-mixing the dough when using a food processor?
- What's the best way to chill the pie dough after processing it?
- What kind of flour is best for "Easy food processor pie dough"?
- Final Reflection: The Joy of Effortless Pie
- Unleash Your Inner Pastry Chef!
Classic All-Butter Pie Dough: A Step-by-Step Guide
Achieve Flaky Perfection with Homemade Pie Dough
Creating a truly spectacular pie starts with the crust, and nothing quite compares to the rich flavor and delicate flakiness of an all-butter pie dough. While some bakers might find pie dough intimidating, using a food processor simplifies the process dramatically, making it accessible for even beginners. This method helps keep ingredients cold and minimizes handling, two crucial factors for achieving that coveted flaky texture.
Mastering this classic recipe is a fundamental skill for any home baker. An easy food processor pie dough recipe means you can whip up a batch quickly, opening the door to countless sweet and savory pie possibilities. Forget store-bought crusts; with a little practice and this simple guide, you'll be creating bakery-quality pies right in your own kitchen.
Why All-Butter Pie Dough?
All-butter pie dough is celebrated for its superior flavor and texture compared to crusts made with shortening or lard. Butter contributes a rich, slightly sweet taste that complements both fruit and creamy fillings beautifully. Unlike other fats, butter melts at a relatively low temperature, which is key to creating flaky layers during baking.
As the butter melts in the oven, it releases steam, pushing apart the layers of dough. This separation creates thousands of tiny air pockets, resulting in a light, airy, and incredibly flaky crust. While shortening can produce flakiness, it lacks the depth of flavor that only butter provides, making an all-butter dough the preferred choice for discerning bakers seeking both taste and texture.
Mastering the All-Butter Pie Dough Recipe
Achieving perfect all-butter pie dough relies on precise measurements, proper technique, and keeping your ingredients cold. The food processor is a powerful tool here, making the process much faster and less messy than traditional hand mixing, which is why it's ideal for an easy food processor pie dough. It quickly cuts the butter into the flour, creating the necessary texture before you even add liquid.
Understanding the role of each ingredient and piece of equipment is vital. This recipe focuses on simplicity and effectiveness, ensuring that even novice bakers can achieve excellent results. By following these steps, you'll build the confidence to make homemade pie dough a regular part of your baking repertoire.
Ingredients for a Flaky All-Butter Pie Crust
The magic of a flaky all-butter crust comes down to just a few simple ingredients, primarily flour, butter, and water, all kept very cold. Typically, a standard double-crust recipe uses about 2 ½ cups of all-purpose flour. The flour provides the structure for the dough.
Cold, unsalted butter is non-negotiable. For 2 ½ cups of flour, you'll usually need around 1 cup (two sticks) of cold butter, cut into small cubes. The cold butter is cut into the flour, creating pea-sized or slightly larger pieces that will melt during baking to form layers.
Finally, you'll need ice water – approximately ½ to ¾ cup – added just until the dough comes together. The cold water helps prevent gluten development, keeping the crust tender, and binds the dry ingredients and fat together. Some recipes also include a pinch of salt and a teaspoon of sugar for flavor.
Equipment Needed for All-Butter Pie Dough
Making an easy food processor pie dough requires minimal specialized equipment, but a few key tools make the process much smoother. The star of the show is a food processor with a sharp blade. A standard 7-cup or larger capacity food processor is ideal for a double-crust recipe, allowing enough space for the ingredients to be processed efficiently.
You will also need a measuring cup for the flour and a dry measuring cup for the butter cubes (though weighing is more accurate if you have a scale). A liquid measuring cup is essential for the ice water. A sturdy spatula or bench scraper is helpful for gathering the dough. Finally, plastic wrap is necessary for wrapping the dough before chilling. Having these items ready before you start simplifies the entire process.
Step-by-Step: Making All-Butter Pie Dough
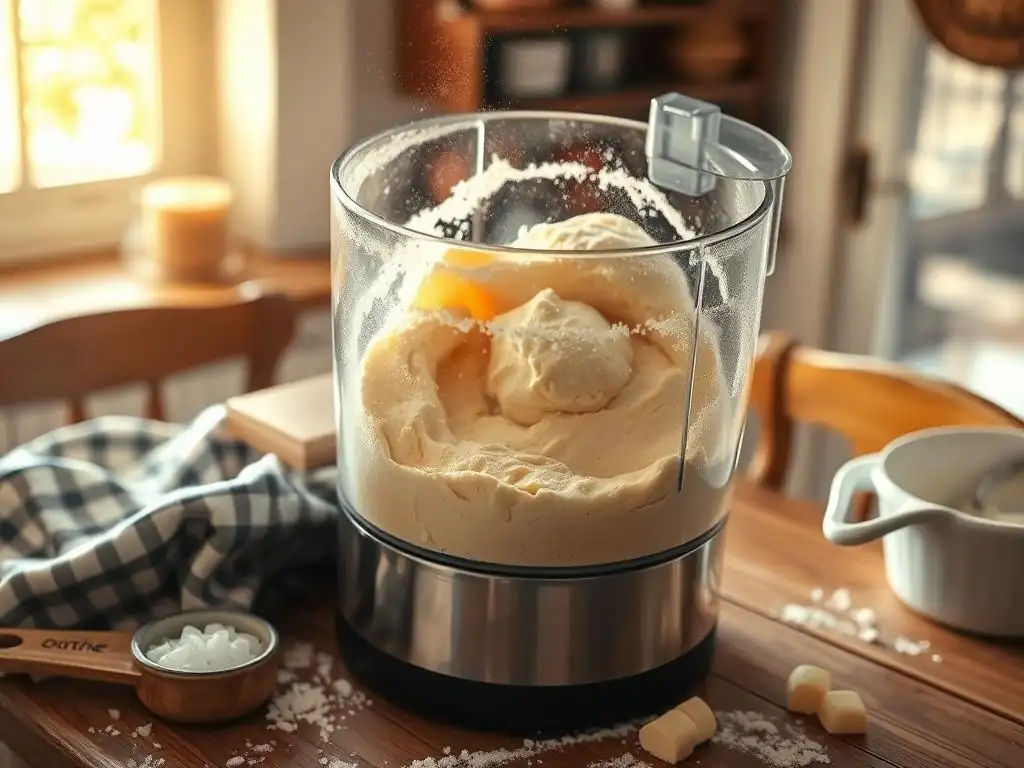
This easy food processor pie dough method breaks the process down into simple, manageable steps. The goal is to work quickly to keep the ingredients cold and avoid overworking the dough, which can lead to a tough crust.
Step 1: Combining Dry Ingredients
Begin by adding the all-purpose flour, salt, and any optional sugar to the bowl of your food processor fitted with the blade attachment. Pulse the dry ingredients a few times to ensure they are well combined. This takes just a few seconds, usually 3-5 quick pulses.
Ensuring the dry ingredients are evenly distributed is important for consistent results. This initial step also helps to slightly aerate the flour before the fat is added. Use about 2 ½ cups of flour and ½ teaspoon of salt for a standard recipe.
Step 2: Cutting in Cold Butter
Next, add the cold, cubed unsalted butter directly into the food processor bowl with the dry ingredients. The butter should be very cold, straight from the refrigerator, and cut into roughly ½-inch cubes. Process the mixture using short pulses.
Pulse in bursts of 1-2 seconds until the butter is cut into the flour. You are looking for a mixture that resembles coarse meal with some larger, pea-sized pieces of butter still visible. Avoid over-processing; this step typically requires about 10-15 pulses, but watch the texture closely rather than counting pulses. Some recipes suggest pulsing until the mixture resembles coarse sand, which is also acceptable, but leaving some pea-sized pieces often leads to flakier results.
Step 3: Incorporating Ice Water
With the food processor running, drizzle the ice water through the feed tube, a tablespoon at a time. It's crucial to use ice water to keep the dough cold and minimize gluten development. Add just enough water for the dough to start coming together.
Stop adding water as soon as the dough begins to clump together when you pinch a small amount. The mixture should look shaggy and just barely hold its shape. A standard recipe often requires between ½ and ¾ cup of ice water, but the exact amount can vary based on flour type and humidity. Be cautious not to add too much water, as this is a common cause of tough crusts. The dough should not form a solid ball in the processor; it should still look somewhat crumbly but cohesive.
Step 4: Forming the Dough and Chilling
Carefully empty the shaggy dough mixture from the food processor onto a clean, lightly floured surface. Gently gather the dough together and form it into a flat disc (or two discs if making a double crust). Avoid kneading or overworking the dough.
Wrap the disc(s) tightly in plastic wrap. It is absolutely essential to chill the dough for at least 30-60 minutes in the refrigerator before rolling it out. Chilling allows the gluten to relax (preventing shrinkage) and the fat to firm up, making the dough easier to handle and contributing to flakiness. Many bakers prefer to chill the dough for at least 2 hours, or even overnight, for optimal results.
Tips for Perfect All-Butter Pie Dough
Achieving a truly excellent pie crust consistently involves paying attention to a few key details throughout the process. These tips are particularly helpful when making an easy food processor pie dough, as the speed of the processor can sometimes lead to overworking the dough if you're not careful.
Keeping Ingredients Cold
Maintaining cold temperatures is arguably the most critical factor in successful all-butter pie dough. Both the butter and the water must be ice cold. Cold butter creates distinct pockets within the dough that melt and produce steam during baking, resulting in flaky layers.
If your kitchen is warm, consider chilling your flour and even the food processor bowl for 15-20 minutes before starting. Work quickly once the butter is out of the refrigerator. If the dough becomes warm and sticky while you're working with it, wrap it and pop it back into the fridge for 10-15 minutes to firm up before continuing.
Handling the Dough Gently
Once the water has been added and the dough is transferred from the food processor, handle it as little as possible. Overworking the dough develops gluten, which leads to a tough, rather than tender, crust. Gather the dough gently and form the disc(s) quickly.
Avoid kneading the dough like bread dough. The goal is just to bring the shaggy mixture together into a cohesive mass that can be wrapped and chilled. The less you handle the dough with your warm hands, the better the final texture will be.
Testing for Proper Consistency
Knowing when you've added enough water is key. After pulsing in the water, take a small pinch of the dough mixture from the food processor bowl. Squeeze it between your fingers. If it just barely holds together without being wet or sticky, it has the correct consistency.
If the dough feels dry and crumbly and doesn't hold its shape when pinched, add another tablespoon of ice water and pulse a couple more times before testing again. If it feels wet and sticky, you've likely added too much water. While difficult to fully correct at this stage, adding a tablespoon or two of flour and pulsing briefly might help absorb some excess moisture, but it's better to err on the side of slightly too dry than too wet.
Baking with Your All-Butter Pie Dough
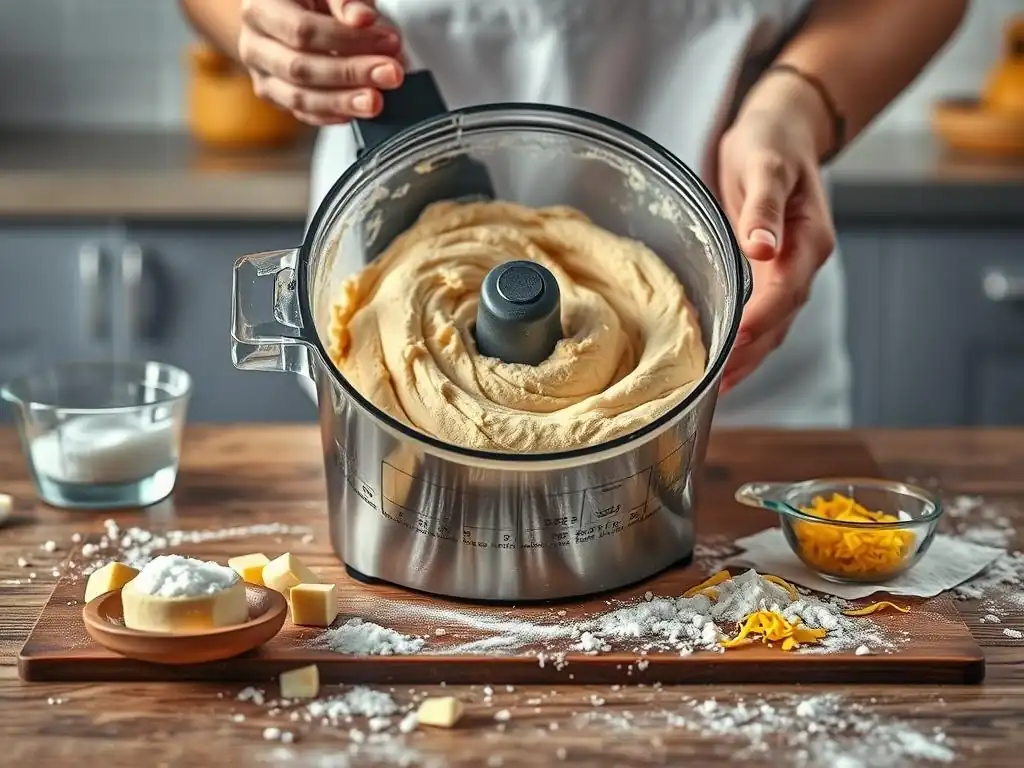
Once your easy food processor pie dough is properly chilled, it's ready to be rolled out and transformed into a beautiful pie crust. Handling the chilled dough correctly is essential for successful rolling and baking.
Rolling Out the Dough
Remove the chilled dough disc from the refrigerator and let it sit at room temperature for just 5-10 minutes to make it slightly more pliable (but still very cold). Lightly flour your work surface and rolling pin. Roll the dough from the center outwards, rotating the dough frequently and adding just enough flour to prevent sticking.
Roll the dough into a circle about 1/8 inch thick and large enough to fit your pie plate with some overhang (usually 12-13 inches in diameter for a standard 9-inch pie plate). If the dough cracks, you can patch it gently. Carefully transfer the rolled dough to your pie plate, ease it into the bottom and up the sides, and trim or crimp the edges. If the dough becomes soft while rolling, return it to the fridge for 10-15 minutes.
Blind Baking the Crust
Blind baking is often necessary for pies with wet fillings (like quiche or custard pies) or no-bake fillings. This process partially or fully bakes the crust before the filling is added. Line the chilled, formed pie crust with parchment paper or foil and fill it with pie weights, dried beans, or rice.
Bake in a preheated oven at about 375°F (190°C) for 15-20 minutes until the edges are set. Remove the weights and paper/foil and continue baking for another 5-10 minutes for a partially baked crust, or 10-15 minutes more until golden brown for a fully baked crust. This step prevents the bottom crust from becoming soggy.
Apple Pie Recipe with All-Butter Crust
A classic apple pie is the perfect showcase for a flaky all-butter crust. After preparing your easy food processor pie dough and chilling it, roll out one disc for the bottom crust and fit it into a 9-inch pie plate. Prepare a filling with about 6-8 cups of sliced apples (like Granny Smith or Honeycrisp), mixed with ½ to ¾ cup sugar, 2 tablespoons flour or cornstarch, 1 teaspoon cinnamon, and a pinch of nutmeg and salt.
Pour the apple filling into the bottom crust. Roll out the second dough disc for the top crust – you can make a solid top, lattice top, or cutouts. Place the top crust over the filling, crimp the edges to seal, and cut vents in the top. Bake at 425°F (220°C) for 15-20 minutes, then reduce the temperature to 375°F (190°C) and bake for another 35-45 minutes, or until the crust is golden brown and the filling is bubbling.
Troubleshooting Common Pie Dough Problems
Even with an easy food processor pie dough recipe, you might encounter a few common issues. Knowing how to identify and address them can save your pie.
Dough Too Wet
If your dough is sticky, difficult to handle, and adheres excessively to your work surface or rolling pin, you likely added too much ice water. This happens easily if you pour too much water at once.
- Solution: If the dough is only slightly too wet, you can try adding a tablespoon or two of flour while gently gathering it on your work surface. If it's significantly wet, it's hard to fully recover the ideal texture, but chilling it for a longer period (1-2 hours or more) can help make it more manageable to roll, though the resulting crust might be tougher than desired.
Dough Too Dry
If the dough mixture in the food processor looks excessively crumbly, won't come together when pinched, or cracks excessively when you try to roll it out, you didn't add enough ice water.
- Solution: If you catch this before forming the disc, add another tablespoon or two of ice water through the food processor feed tube and pulse a few more times. If you've already formed the disc and started rolling, you can try sprinkling a teaspoon of ice water over the cracked areas and gently pressing it in, but it can be difficult to achieve a smooth roll. It's generally better to add water incrementally during the initial mixing stage.
Dough Shrinking
If your pie crust shrinks significantly during baking, pulling away from the sides of the pie plate, it's usually due to insufficient chilling or overworking the dough. Both cause the gluten to be too tight.
- Solution: Ensure you chill the dough for the recommended time, ideally at least 60 minutes, or even longer. Avoid stretching the dough when fitting it into the pie plate; gently ease it in. Some bakers even recommend a second short chill (15-20 minutes) of the formed crust in the pie plate before baking to help the dough relax.
Storing All-Butter Pie Dough
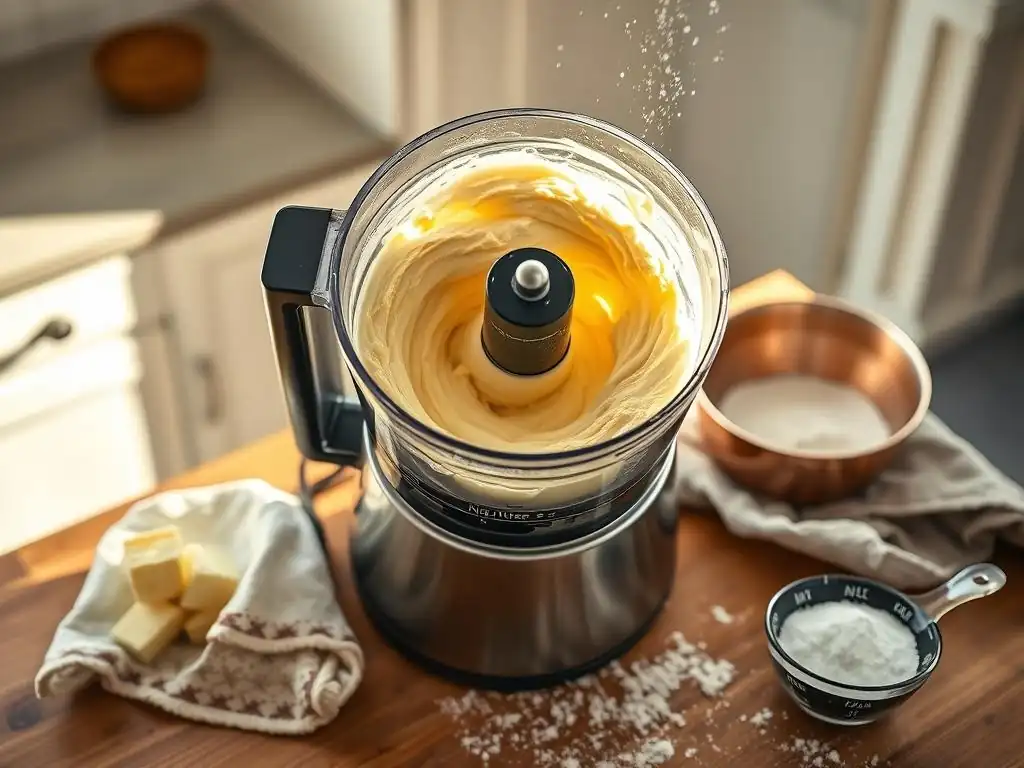
One of the benefits of making pie dough ahead of time is convenience. Properly stored, your easy food processor pie dough can be kept for future use, making last-minute pie baking much simpler.
Refrigerating the Dough
Unbaked all-butter pie dough can be stored in the refrigerator for a short period. After forming the disc(s) and wrapping tightly in plastic wrap, place the dough in the fridge.
The dough will keep well for up to 3 days in the refrigerator. Beyond that, the quality can start to degrade, and the butter might begin to oxidize slightly, affecting the flavor. Always ensure it is wrapped very tightly to prevent it from drying out or absorbing odors from the fridge.
Freezing the Dough
For longer storage, freezing is an excellent option. Tightly wrapped dough discs can be frozen for several months. After wrapping the disc(s) in plastic wrap, place them in a freezer-safe zip-top bag or wrap them again in foil for extra protection against freezer burn.
Frozen dough can be stored for up to 3 months. To use frozen dough, transfer it to the refrigerator the day before you plan to bake to allow it to thaw slowly and evenly. This slow thawing helps maintain the texture. Avoid thawing at room temperature, which can cause the butter to melt and make the dough greasy.
Variations on the Basic All-Butter Pie Dough Recipe
Once you've mastered the classic easy food processor pie dough, you can experiment with variations to add different flavors and colors to your crusts. These simple additions can elevate your pies even further.
Adding Spices to the Dough
Incorporating spices directly into the dough adds subtle flavor that complements many fillings. Common additions include cinnamon, nutmeg, ginger, or cardamom, especially for fruit pies. For a savory crust, consider adding black pepper, dried herbs like thyme or rosemary, or a pinch of cayenne pepper.
Simply whisk about ½ to 1 teaspoon of ground spice (or 1-2 teaspoons of dried herbs) in with the dry ingredients in Step 1 before adding the butter. This ensures the spice is evenly distributed throughout the dough. Start with smaller amounts and adjust in future batches based on your preference.
Making a Chocolate Pie Dough
A chocolate pie dough provides a rich, decadent base perfect for cream pies, tarts, or even certain fruit fillings like cherry. This variation is only slightly different from the basic recipe.
Replace about ¼ cup of the all-purpose flour with unsweetened cocoa powder. Use the same amount of cold butter and ice water. Add the flour, cocoa powder, salt, and sugar (increase sugar slightly if desired, perhaps to 1 tablespoon) to the food processor. Proceed with cutting in the butter and adding ice water as usual. The dough will have a beautiful dark color and a subtle chocolate flavor.
Enjoy Your Homemade Pie!
With your flaky, golden all-butter pie dough ready, you are well on your way to enjoying a truly homemade pie. Whether you've filled it with sweet apples, tart cherries, creamy custard, or a savory filling, the effort you put into the crust will be evident in every delicious bite.
Mastering an easy food processor pie dough is a rewarding skill that unlocks endless baking possibilities. Don't be discouraged if your first attempt isn't perfect; practice makes perfect, and every pie is a learning experience. So go ahead, bake that pie, share it with loved ones, and savor the satisfaction of creating something wonderful from scratch.
Frequently Asked Questions
What are the benefits of using a food processor for pie dough?
Using a food processor for pie dough ensures a consistent texture and quicker preparation. It helps to keep the butter cold, which is crucial for a flaky crust.
Can I use different types of fat in this "Easy food processor pie dough" recipe?
Yes, you can experiment! While the recipe likely calls for butter, you could try shortening for a more tender crust or a combination of both for flavor and texture.
How do I avoid over-mixing the dough when using a food processor?
Pulse the ingredients in short bursts until the dough just comes together. Over-mixing develops gluten, leading to a tough, not flaky, crust.
What's the best way to chill the pie dough after processing it?
Wrap the dough tightly in plastic wrap and flatten it into a disc. This helps it chill evenly and makes it easier to roll out later. Proper chilling is key for preventing shrinking during baking.
What kind of flour is best for "Easy food processor pie dough"?
All-purpose flour is a good starting point. However, some bakers prefer pastry flour for a more delicate and tender crust.
Final Reflection: The Joy of Effortless Pie
The pursuit of perfect pie crust just got a whole lot simpler. This article demonstrated how a food processor can transform the often-daunting task of pie dough creation into a quick and enjoyable experience, accessible to even the most novice bakers. The ease and consistency achieved using this method are game-changers, opening up the world of homemade pies to a wider audience.
The impact of readily available, high-quality pie crust extends far beyond the simple act of baking. It's about reclaiming the tradition of homemade goodness, fostering a connection to simpler times, and sharing the joy of creating something delicious from scratch. As Julia Child wisely said, Find something you're passionate about and keep tremendously interested in it.
For me, that passion is baking, and making pie dough easier for others is a way to share that passion and inspire others to find their own culinary joy.
Now, it's your turn. Don't let the fear of a difficult pie crust hold you back from the satisfaction of creating something beautiful and delicious. Try this recipe, experiment with different flavors, and share your creations with loved ones. The simple act of making a pie, from a perfectly crafted crust to the warm, comforting filling, is a testament to the power of homemade goodness and the enduring magic of sharing a meal. Embrace the ease, embrace the joy, and embrace the deliciousness of a perfectly simple pie.
Unleash Your Inner Pastry Chef!
Thanks for joining us on this delicious journey into the world of effortlessly flaky pie dough! We hope you now feel confident and excited to tackle any pie recipe. Ready to put your new skills to the test?
- Whip up your first food processor pie crust: The best way to solidify your learning is to put it into action. Grab those ingredients and give it a go! You'll be amazed at how easy it is.
- Share your baking triumph: Show off your beautiful pie crust creation on social media – use #BakeWithEasePie to inspire others!
- Explore more easy recipes: Dive deeper into our collection of simple baking recipes designed to save you time and deliver incredible results.
What unique flavor combination will your first food processor pie crust showcase?